 This blog includes a very infrequent series of posts reviewing the processing powers of PureRAW. The third version of this raw image processor has just been released and I downloaded the trial to see how it performs. I was impressed by what the previous version did to clean up some high ISO shots but the need was limited and the price was high enough that I didn’t see the point in signing up for it. I was curious as to whether the third version would change my mind.

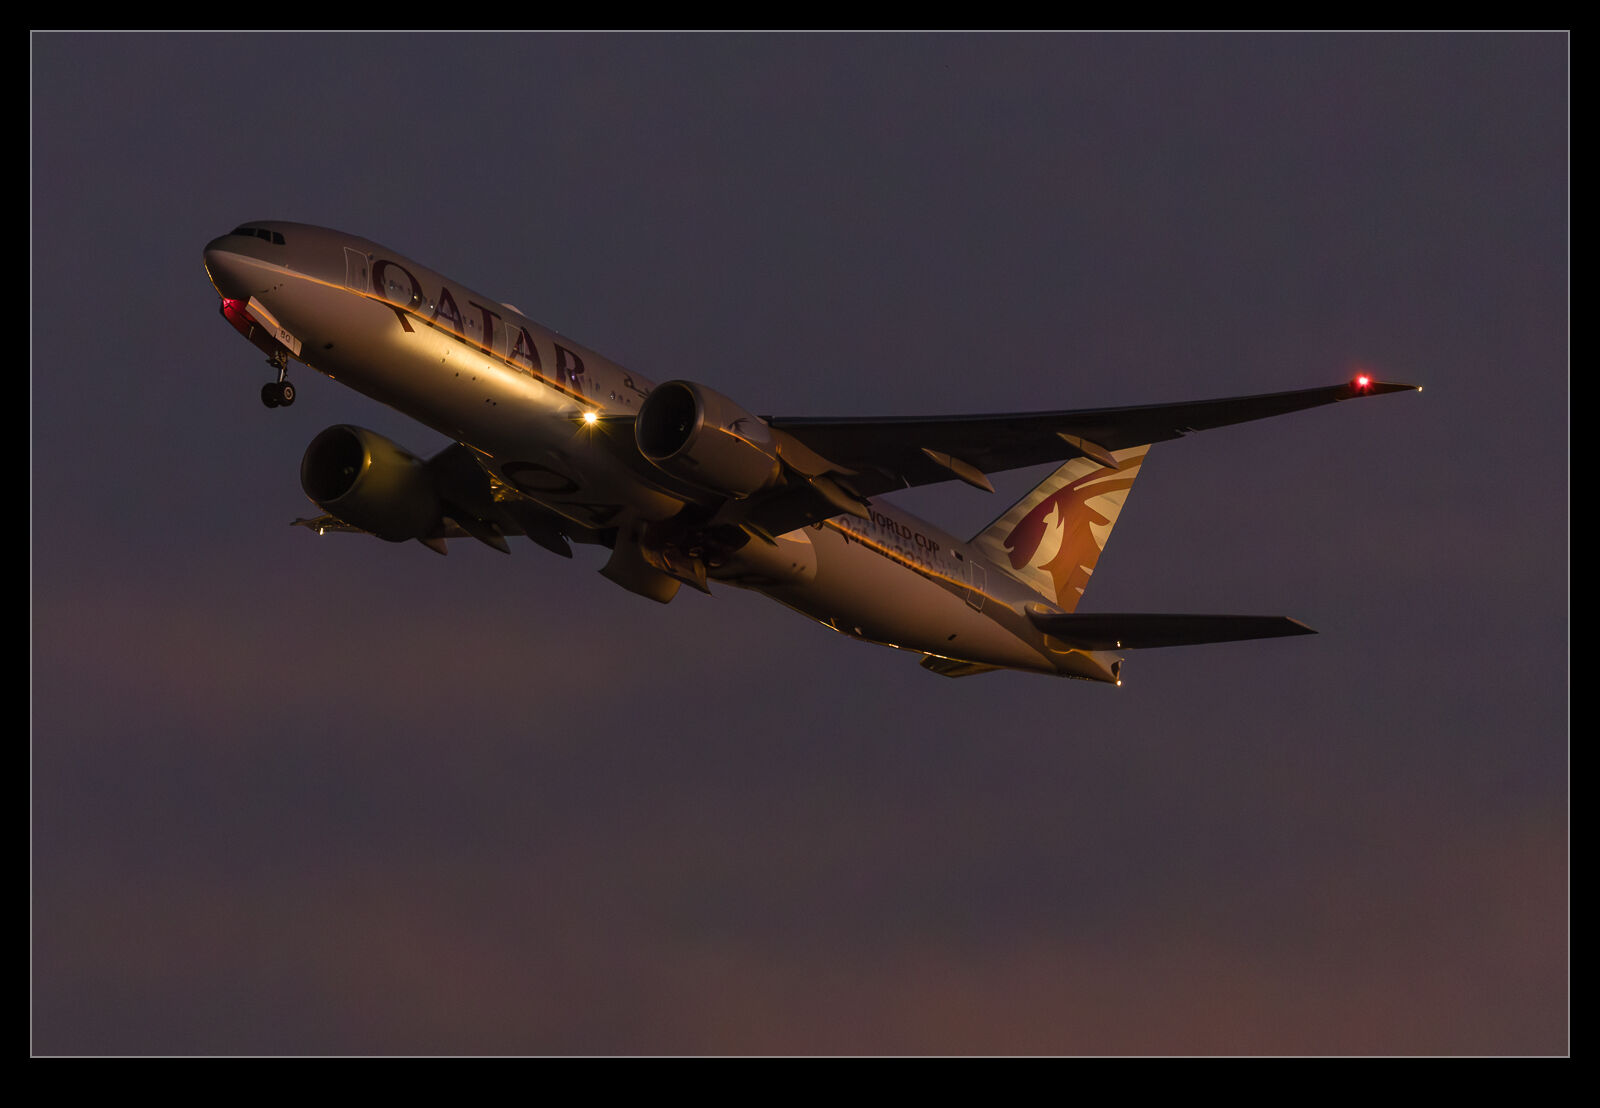
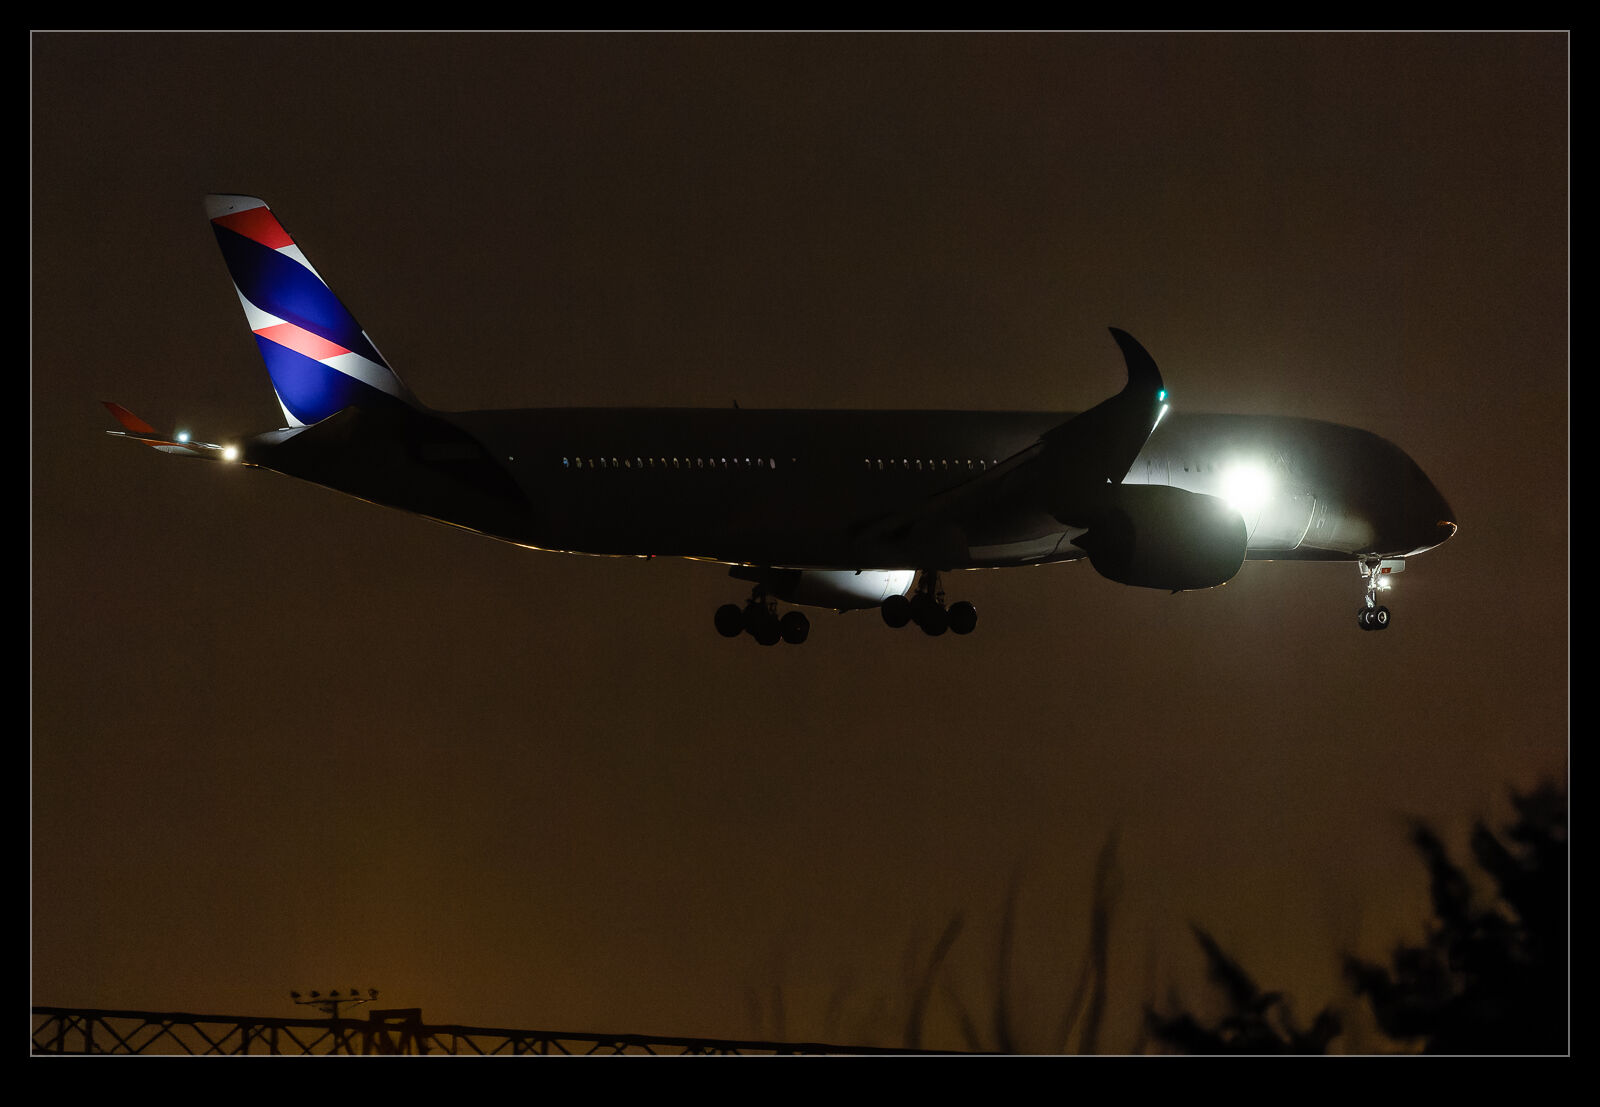
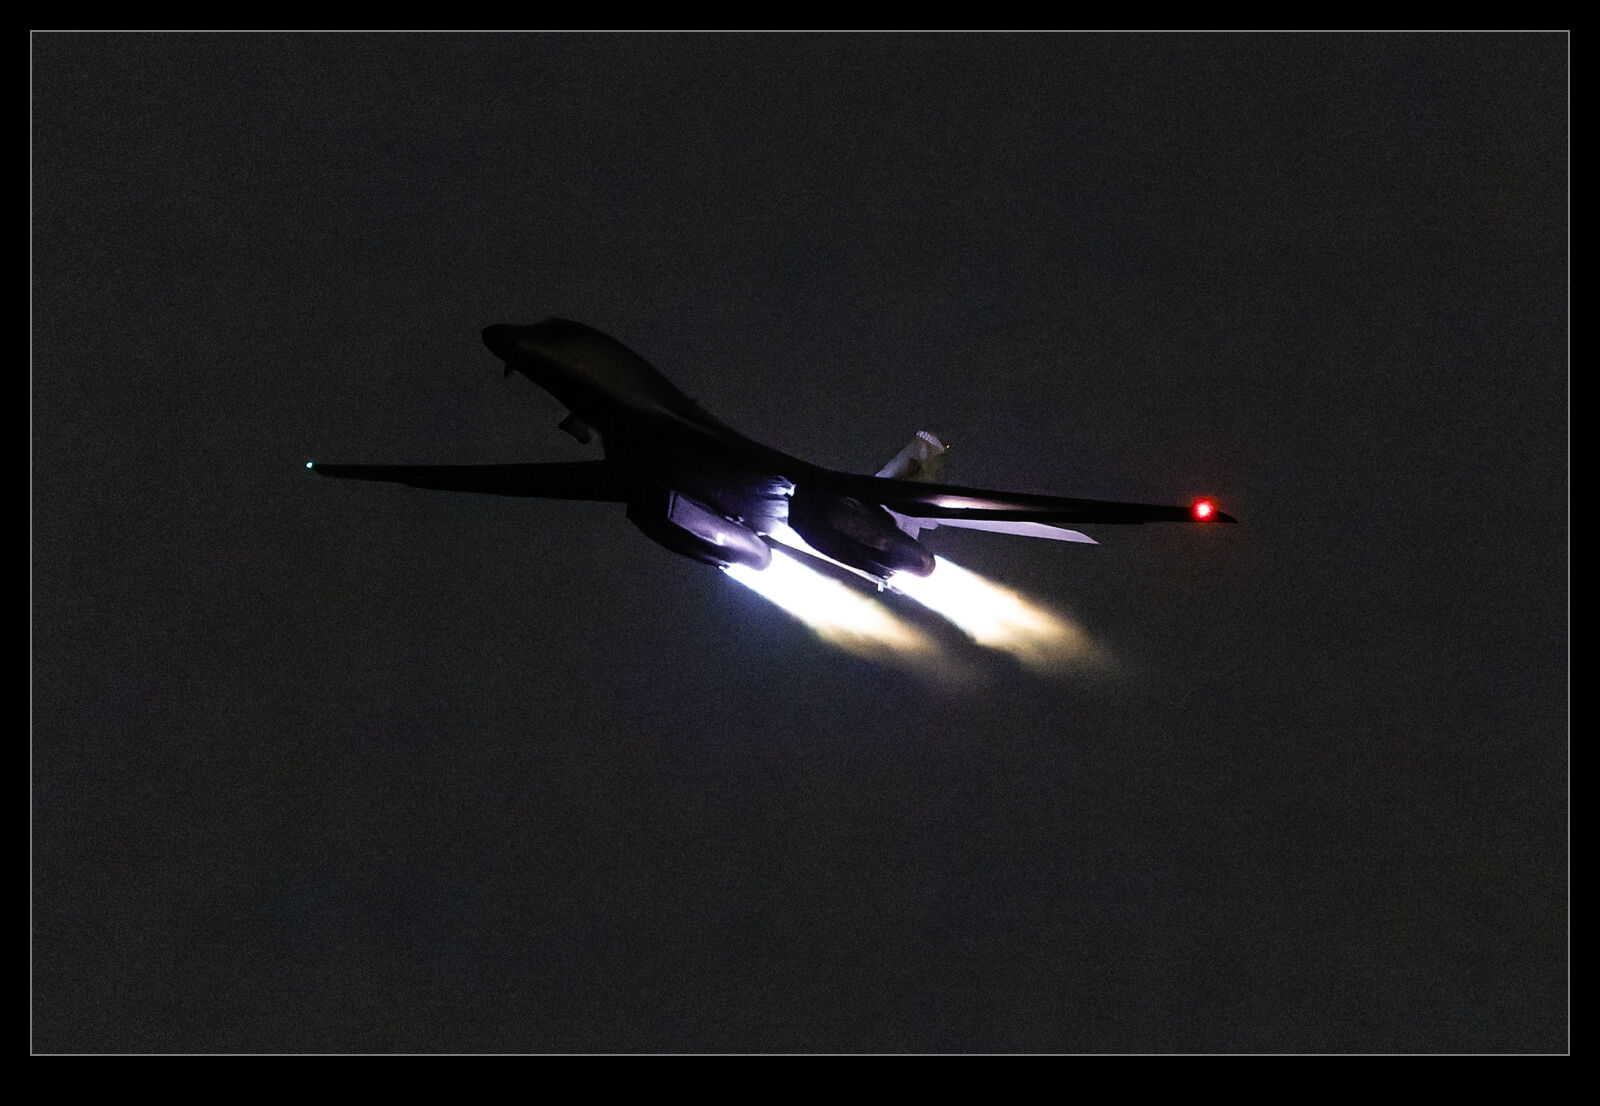
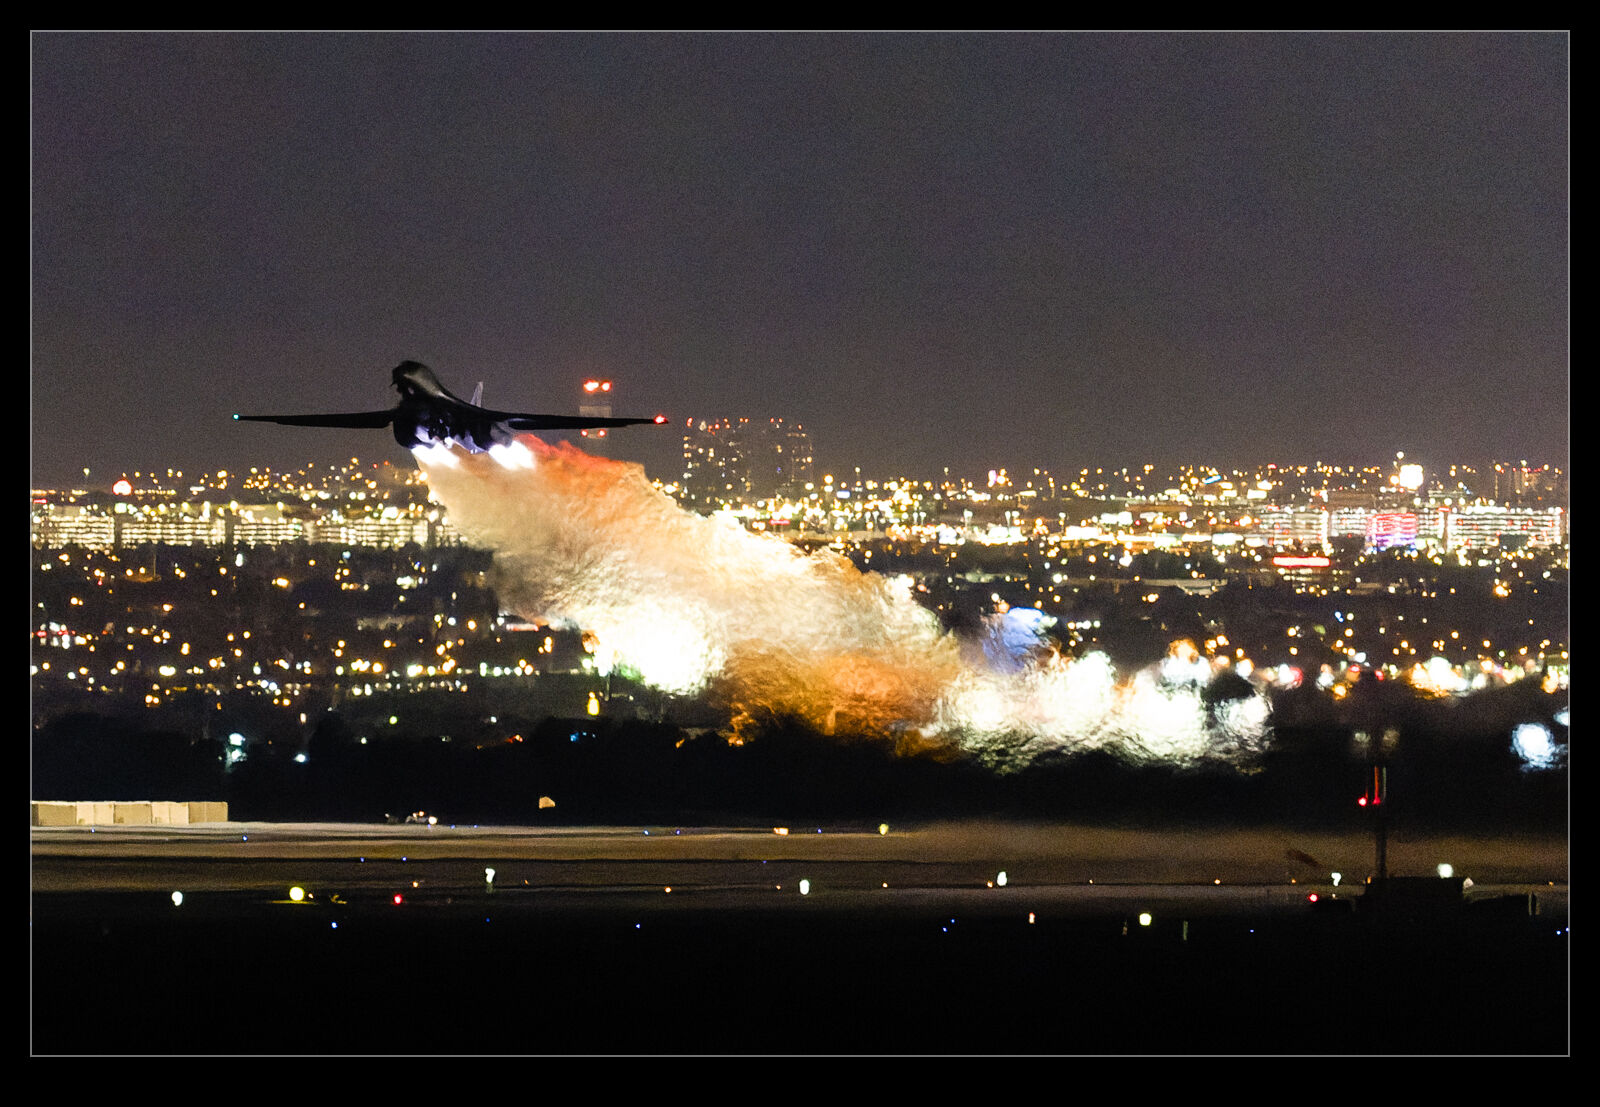 When I download one of these trials, I always try to avoid installing it until I have time to play with it. The trial last 30 days so I want to make sure I make good use of the time. Once I got around to installing it, I put it to work. I was disappointed to find the trial was limited to 20 images at a time which is a little restrictive but, for the purposes of evaluating it, I could work around this. I had two things I wanted to do. First, I wanted to convert some shots that I had previously tried for PureRAW2 to see how different they were. Second, I had some recent night shots which I also wanted to try.
 So, how did it perform? Results were mixed. I found the conversion process was quick sometimes and would slow down or stop on others. This was annoying but I suspect is something that they will fix before too long so I wasn’t that worried. What I was surprised about was that, when starting the process in Lightroom, the new DNGs will be reimported into Lightroom. However, this was unbelievably slow. I would set it off, the conversion would finish and then, a long time later, they would suddenly get added. Again, something that is probably going to get fixed but bloody annoying in the mean time.
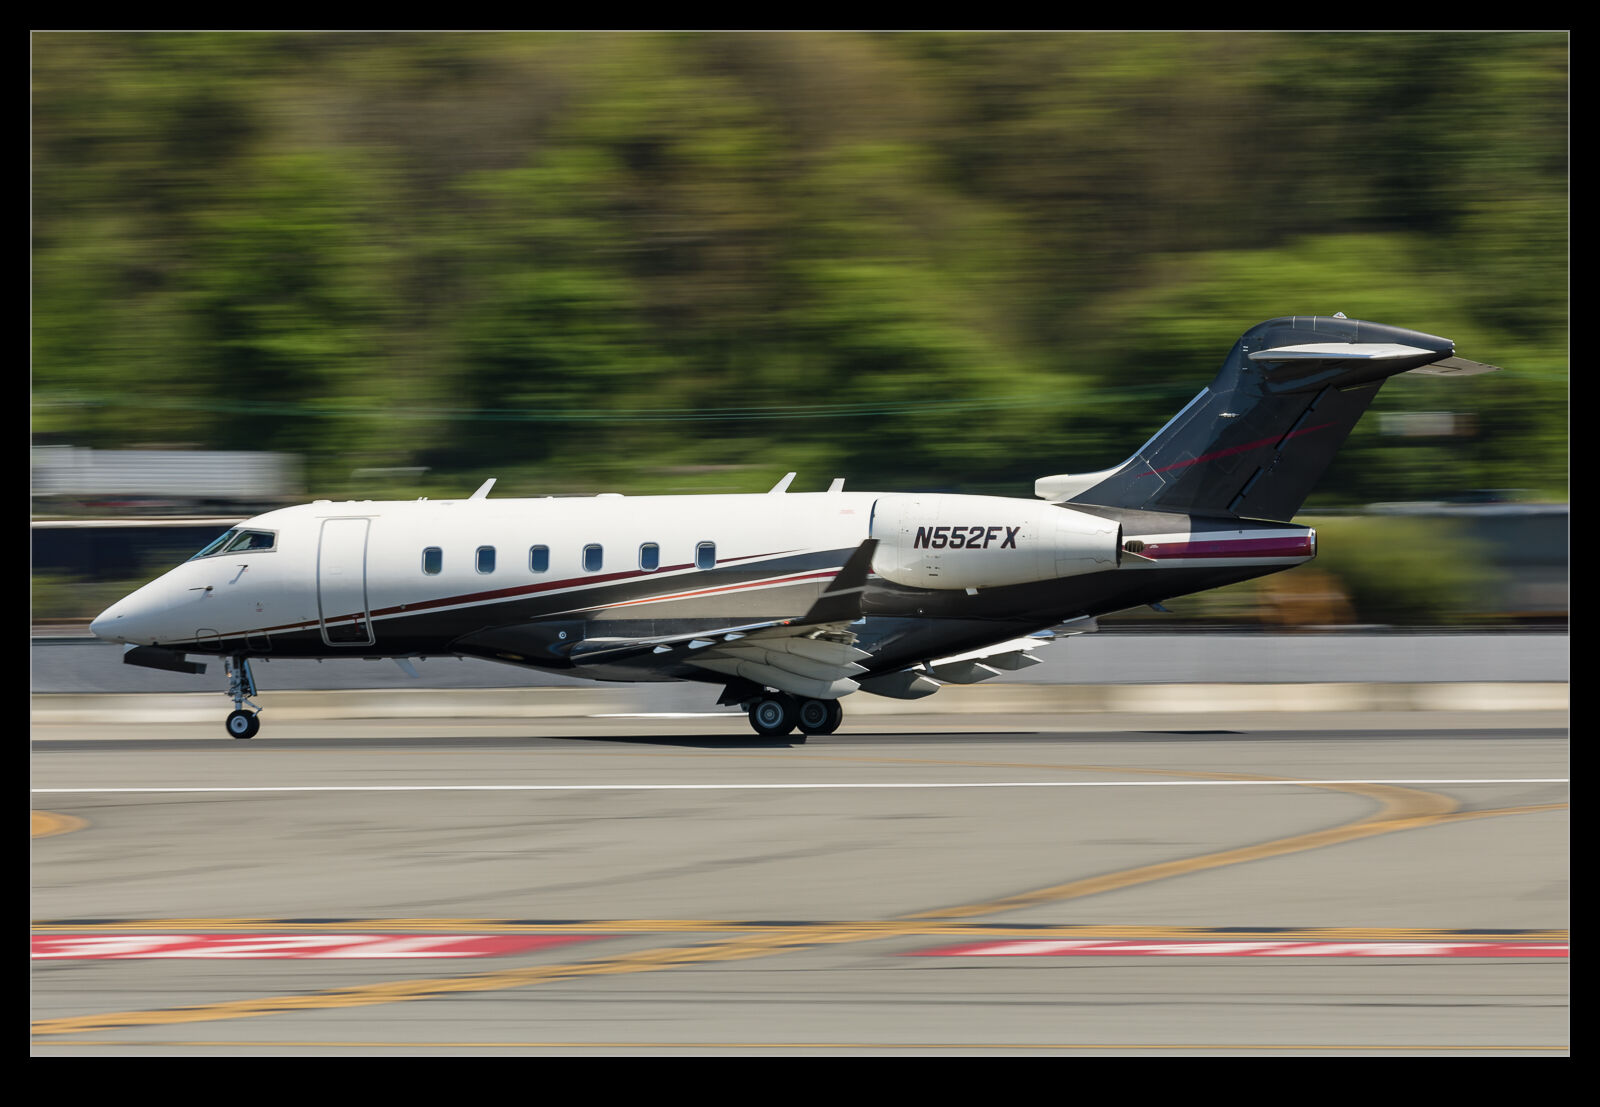
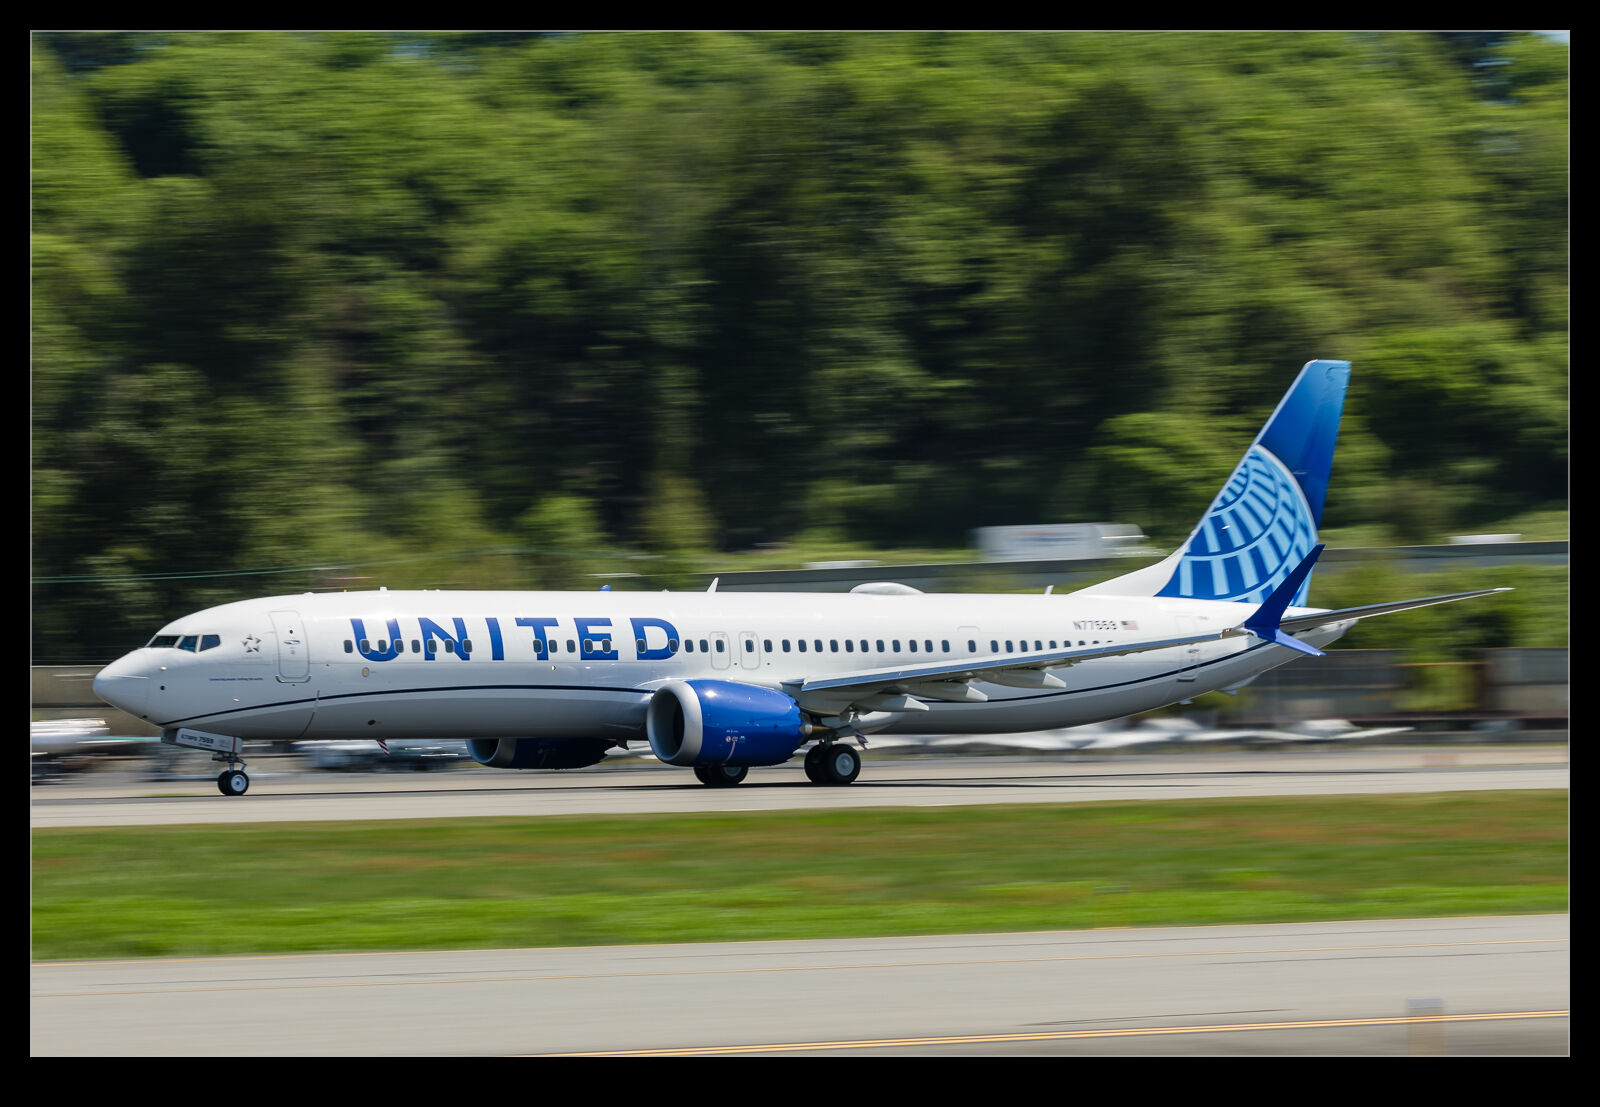
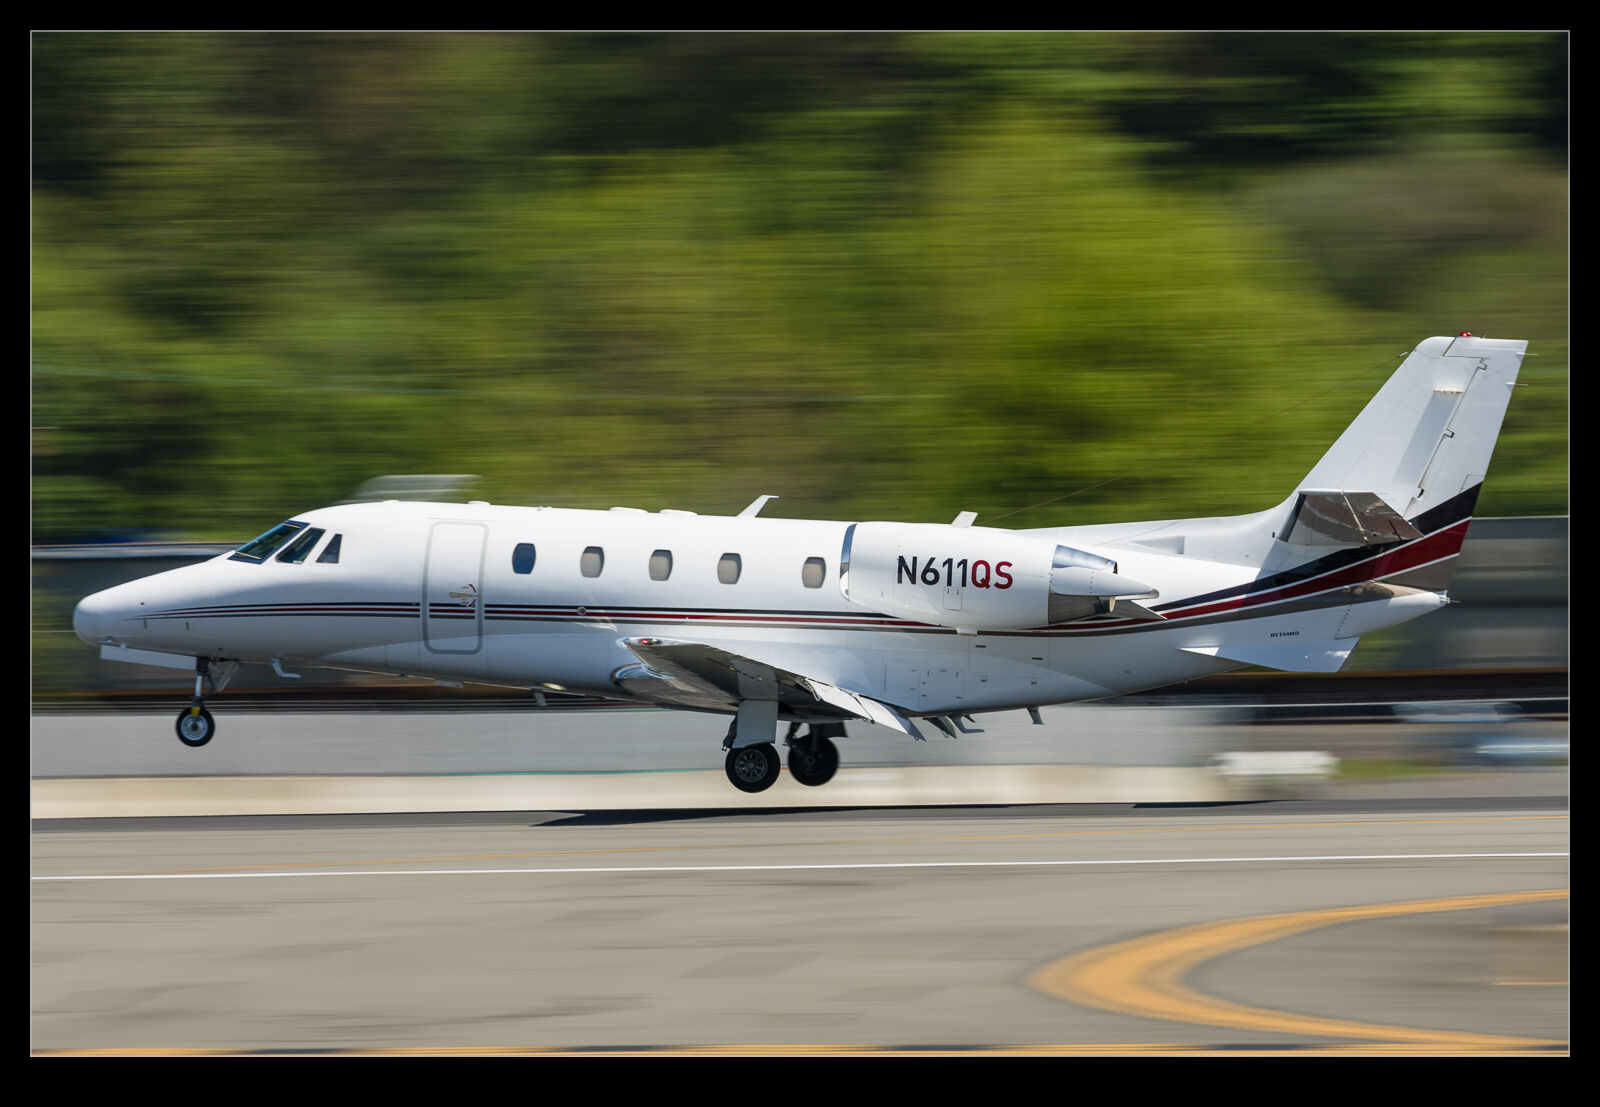
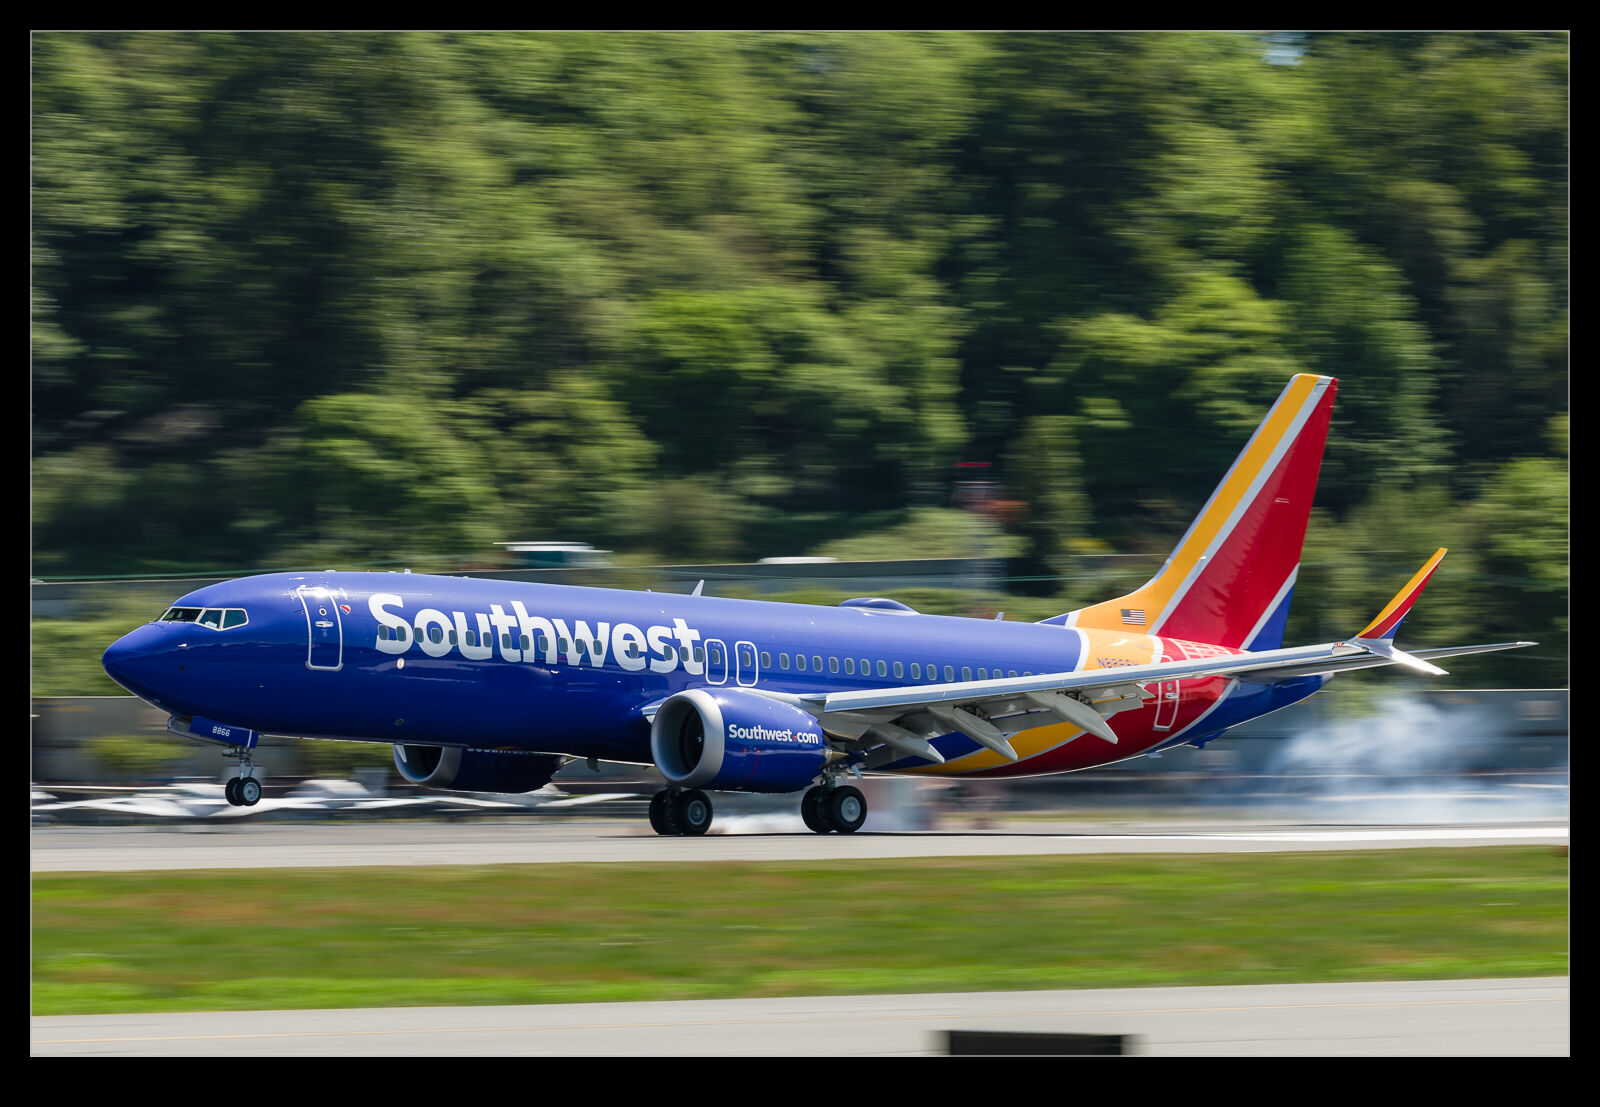
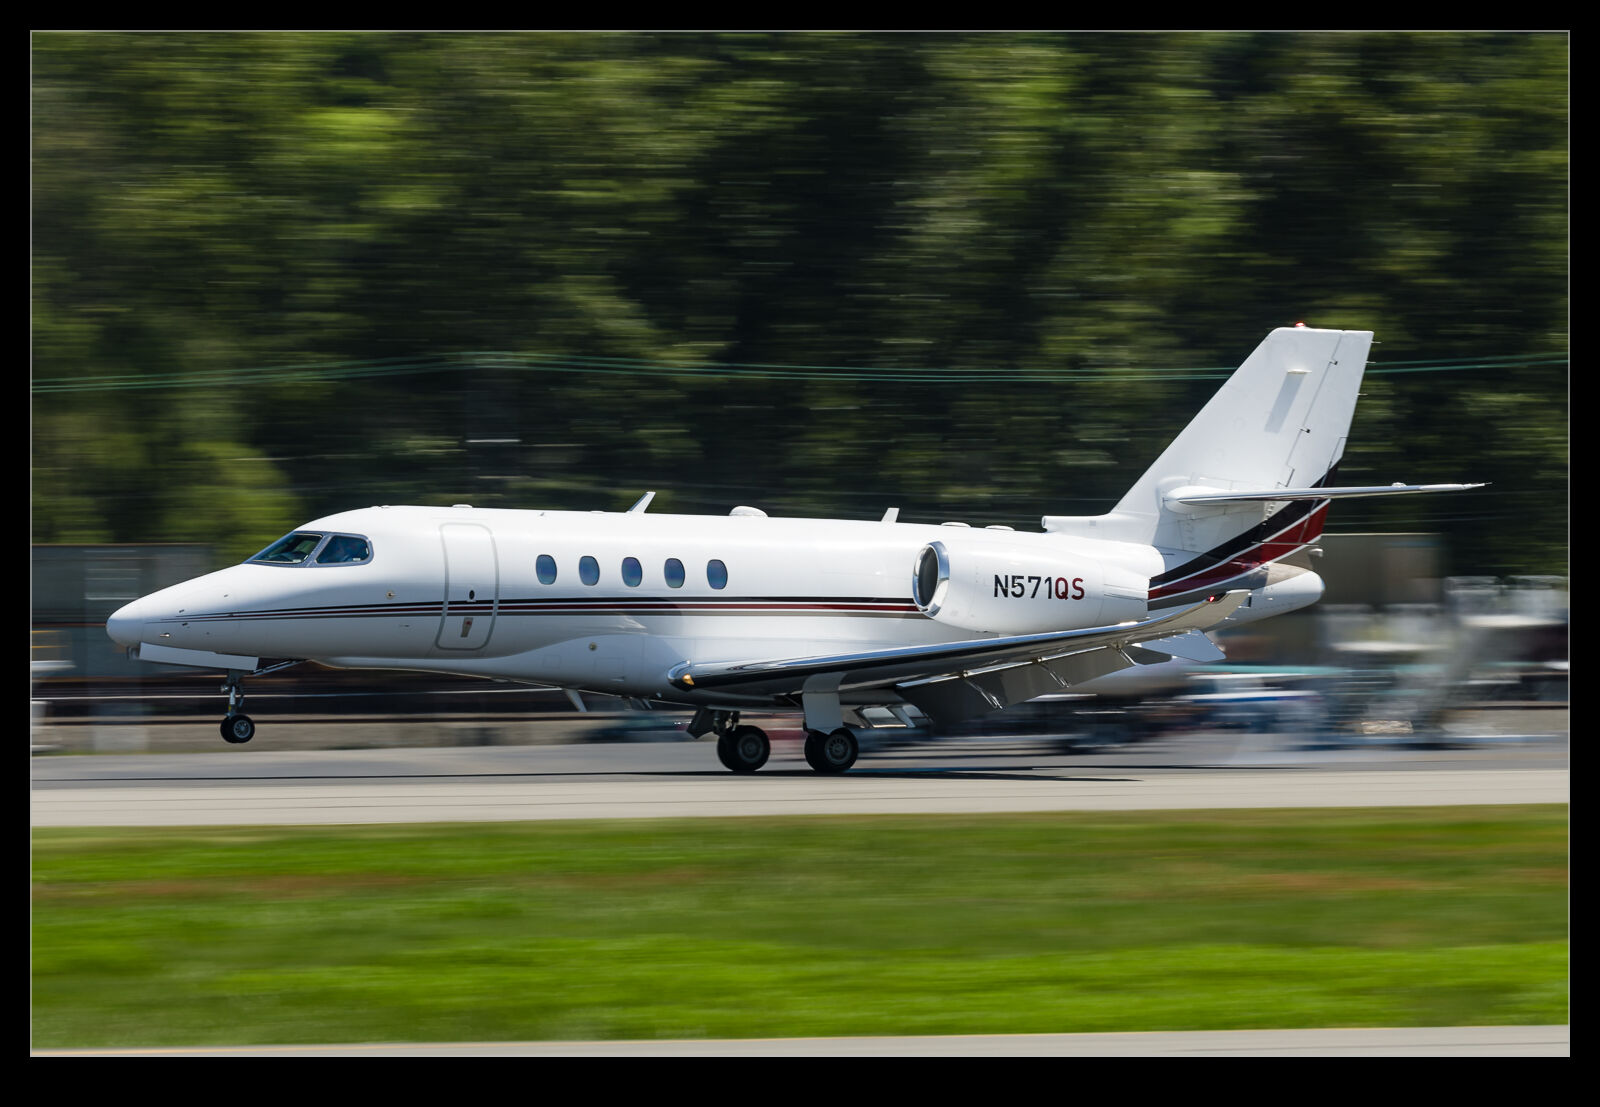
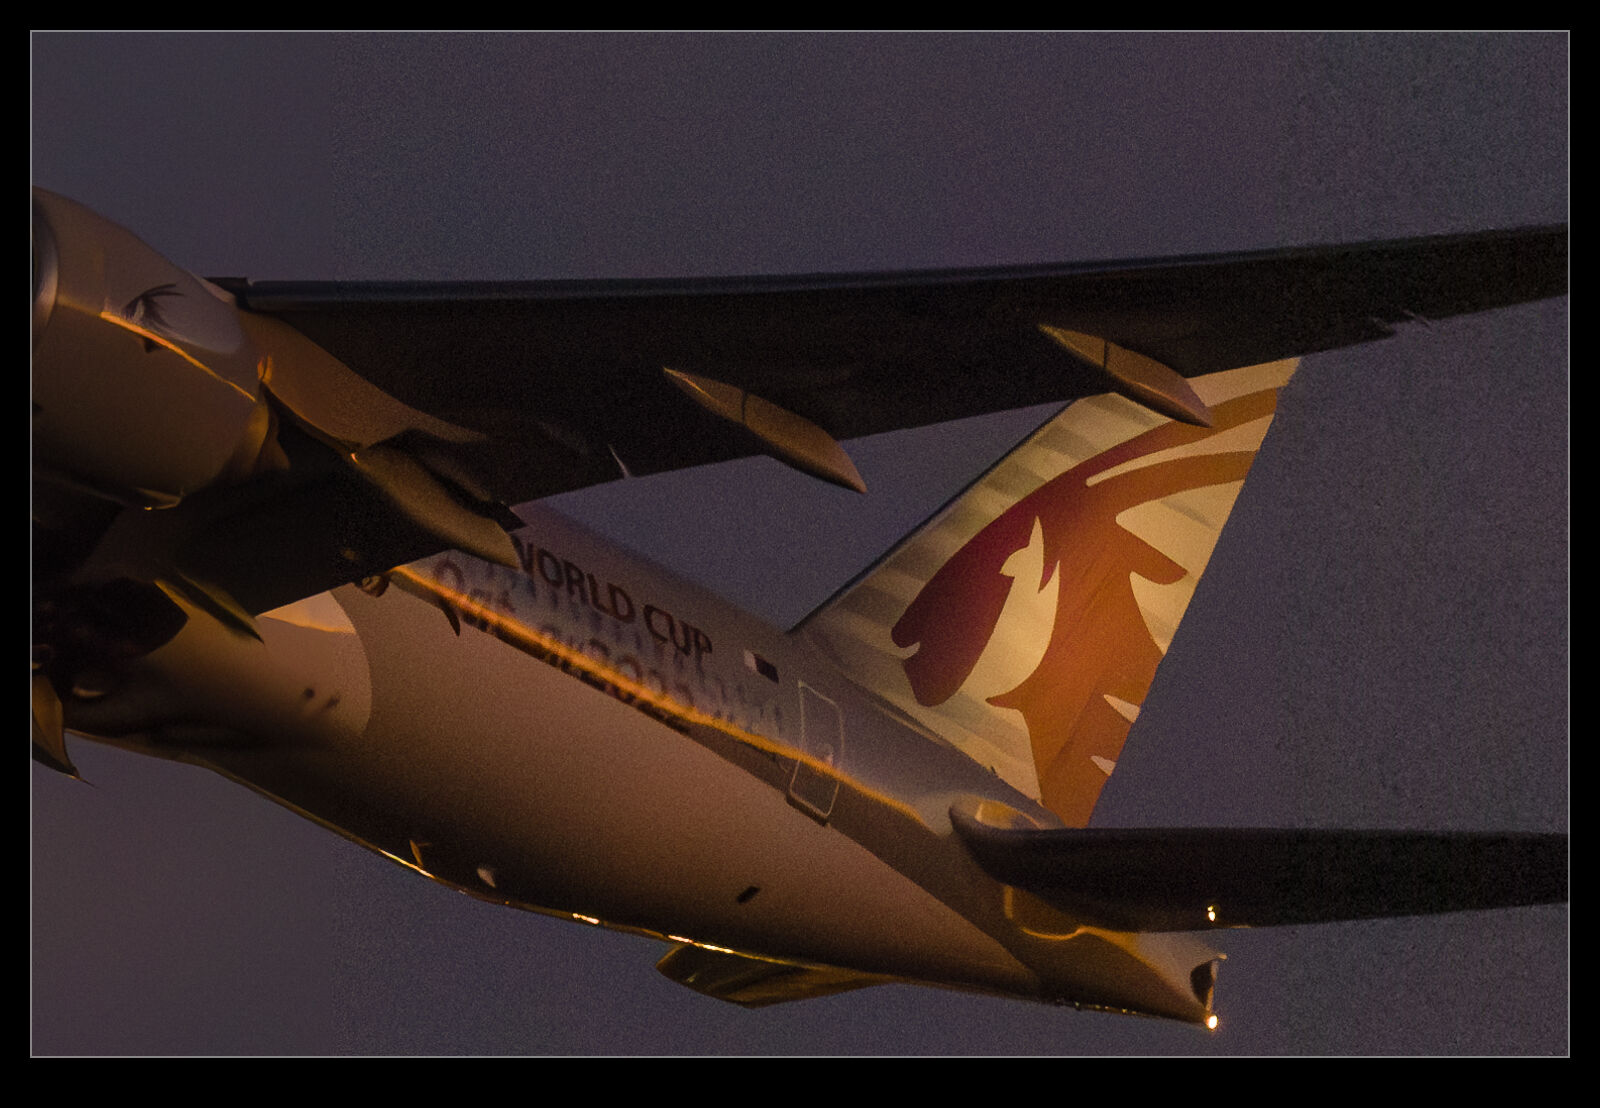
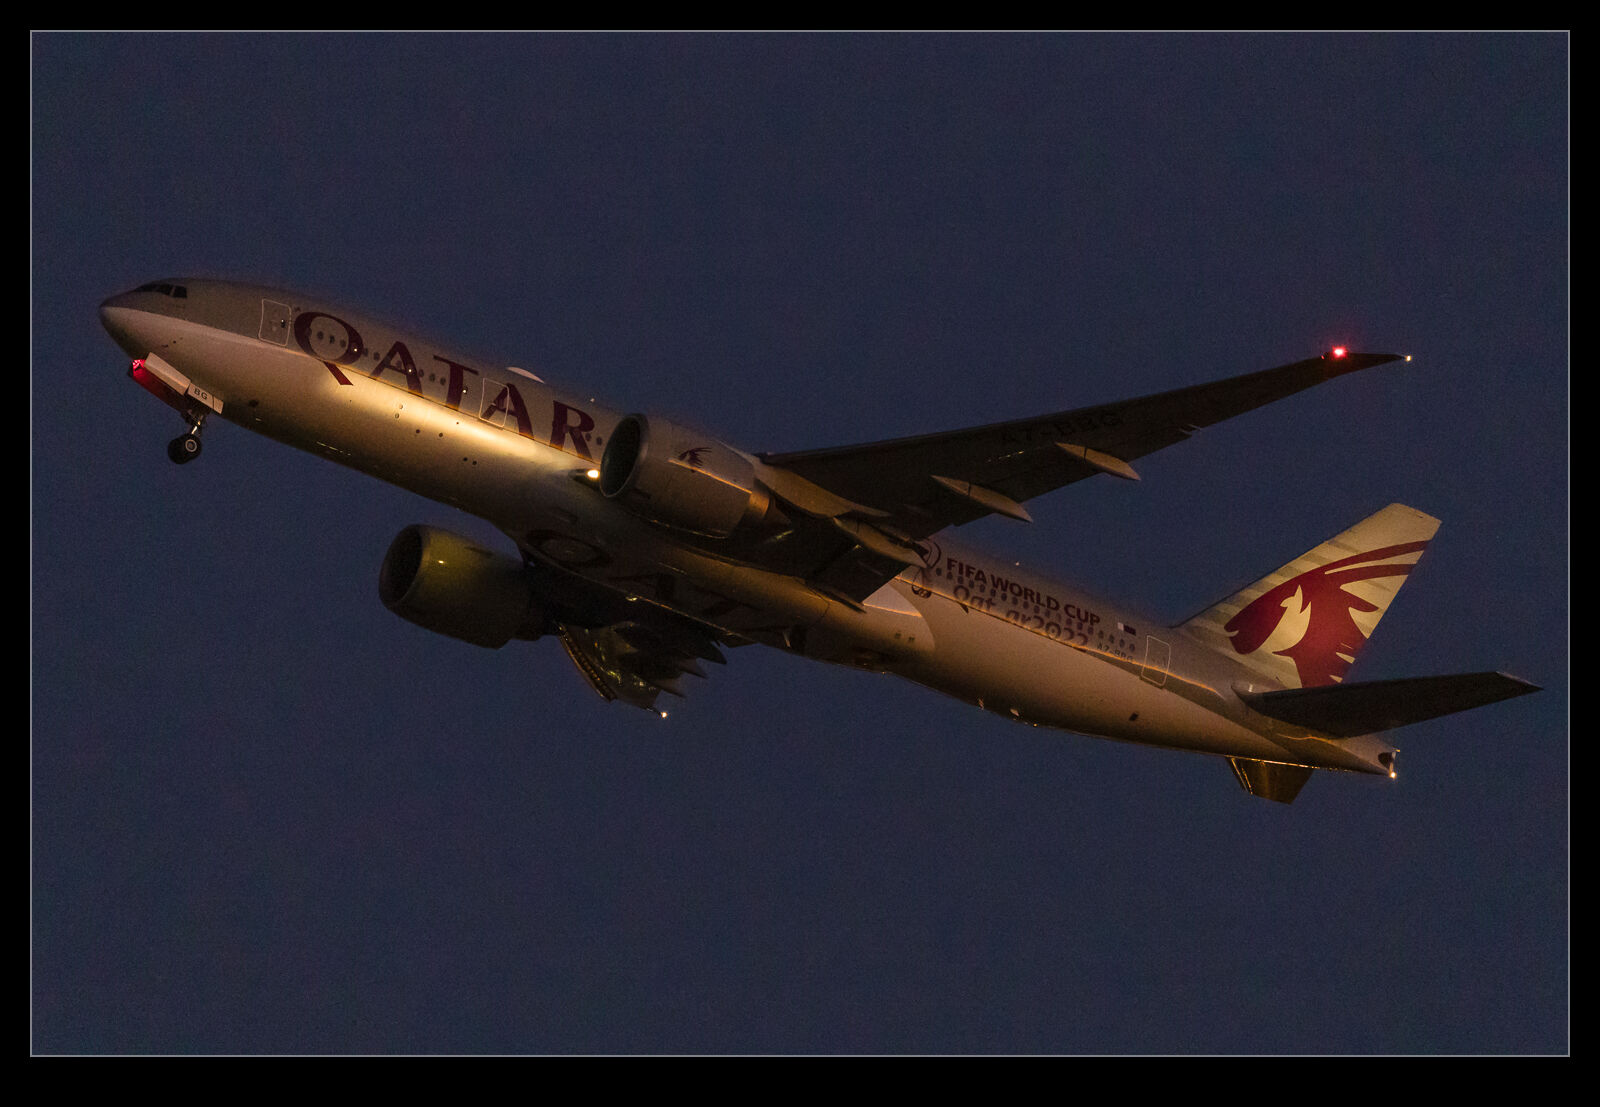
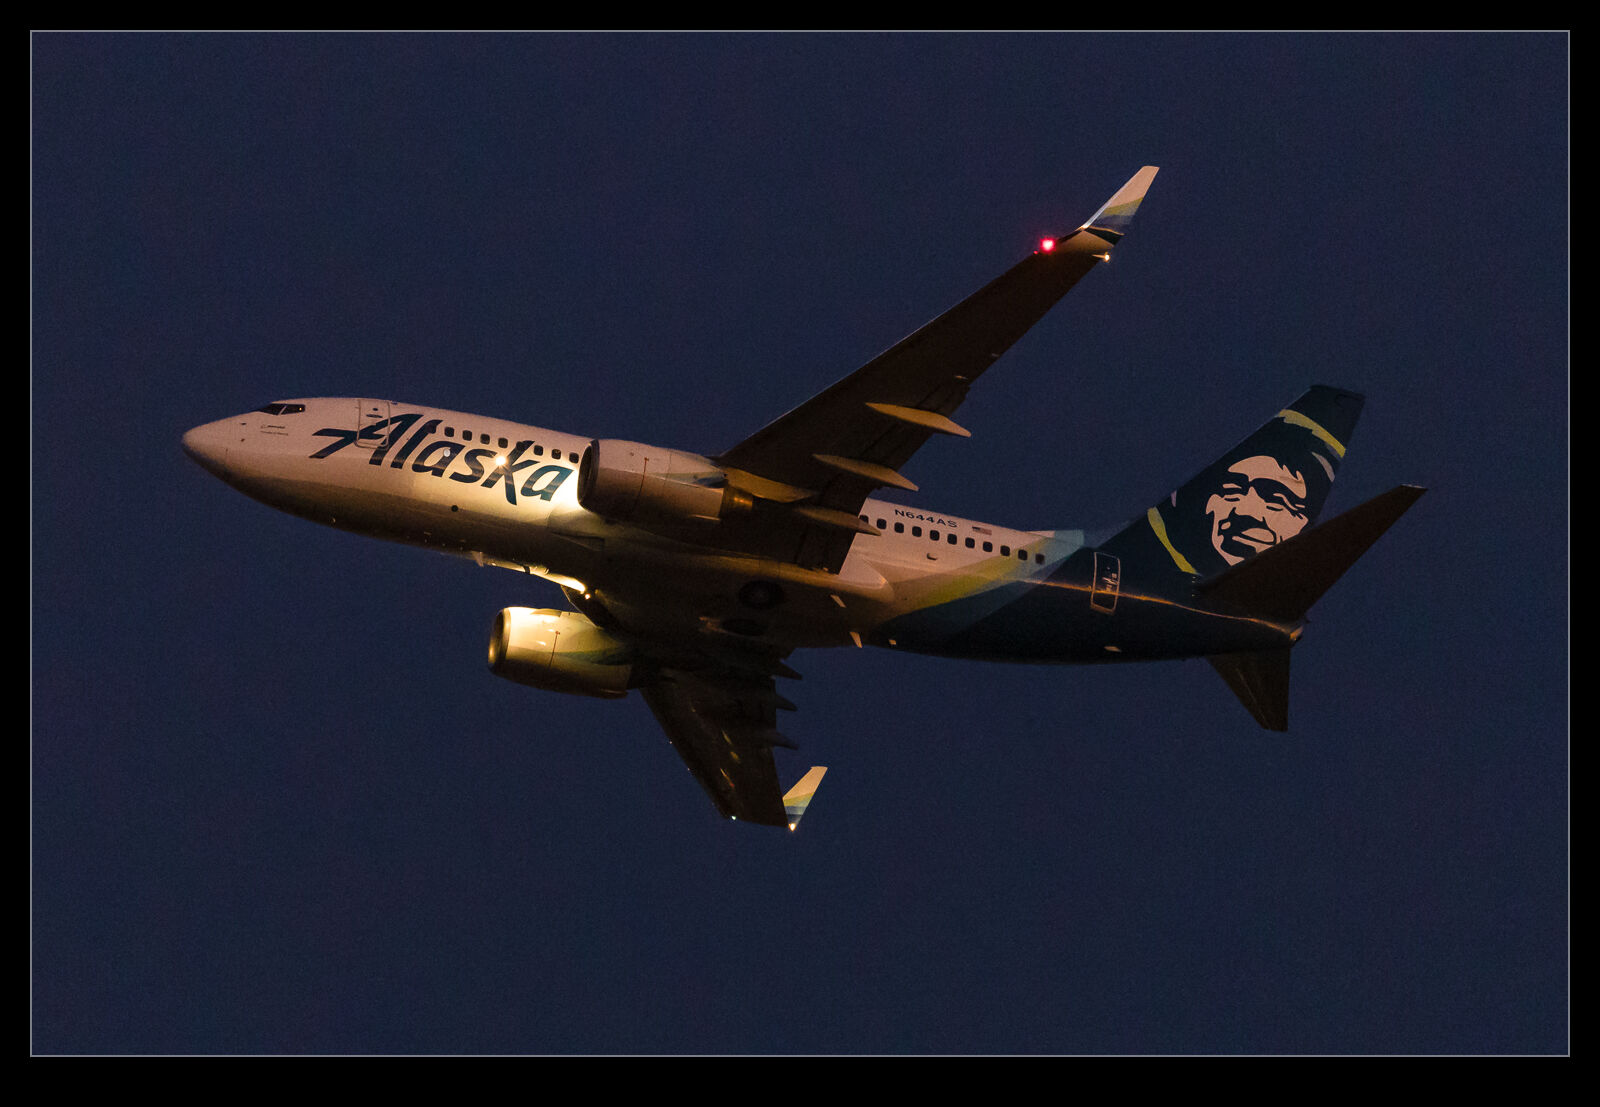
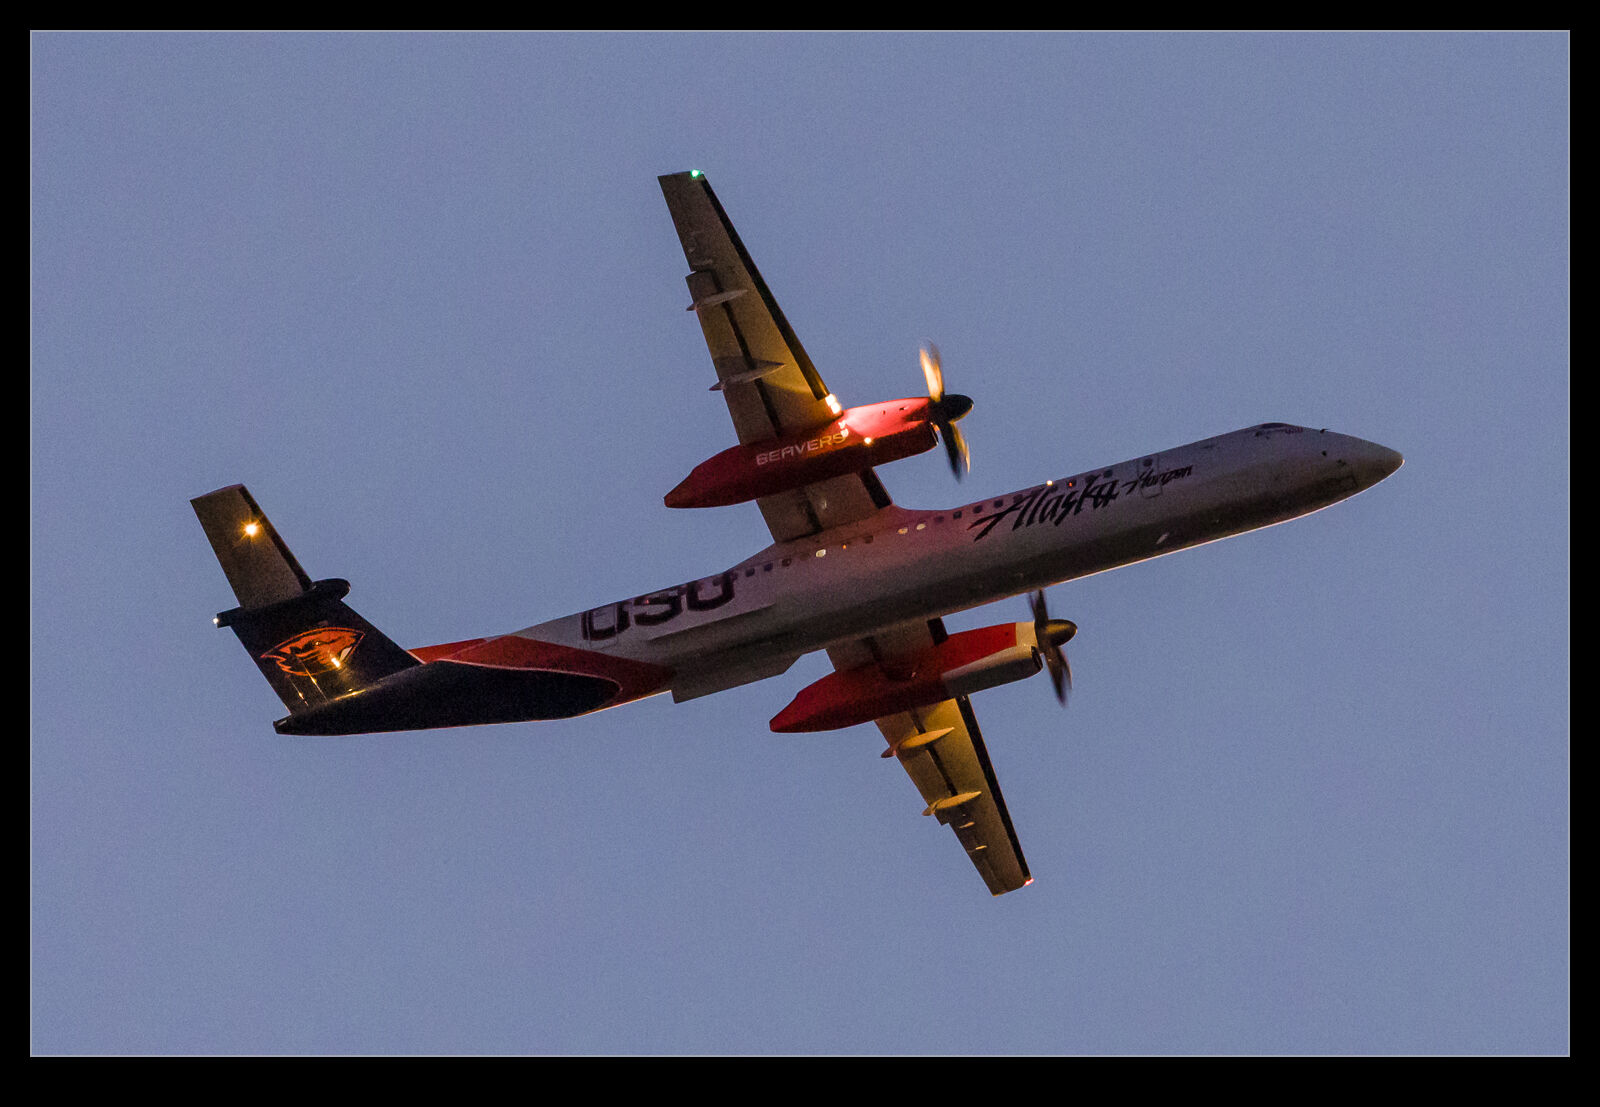
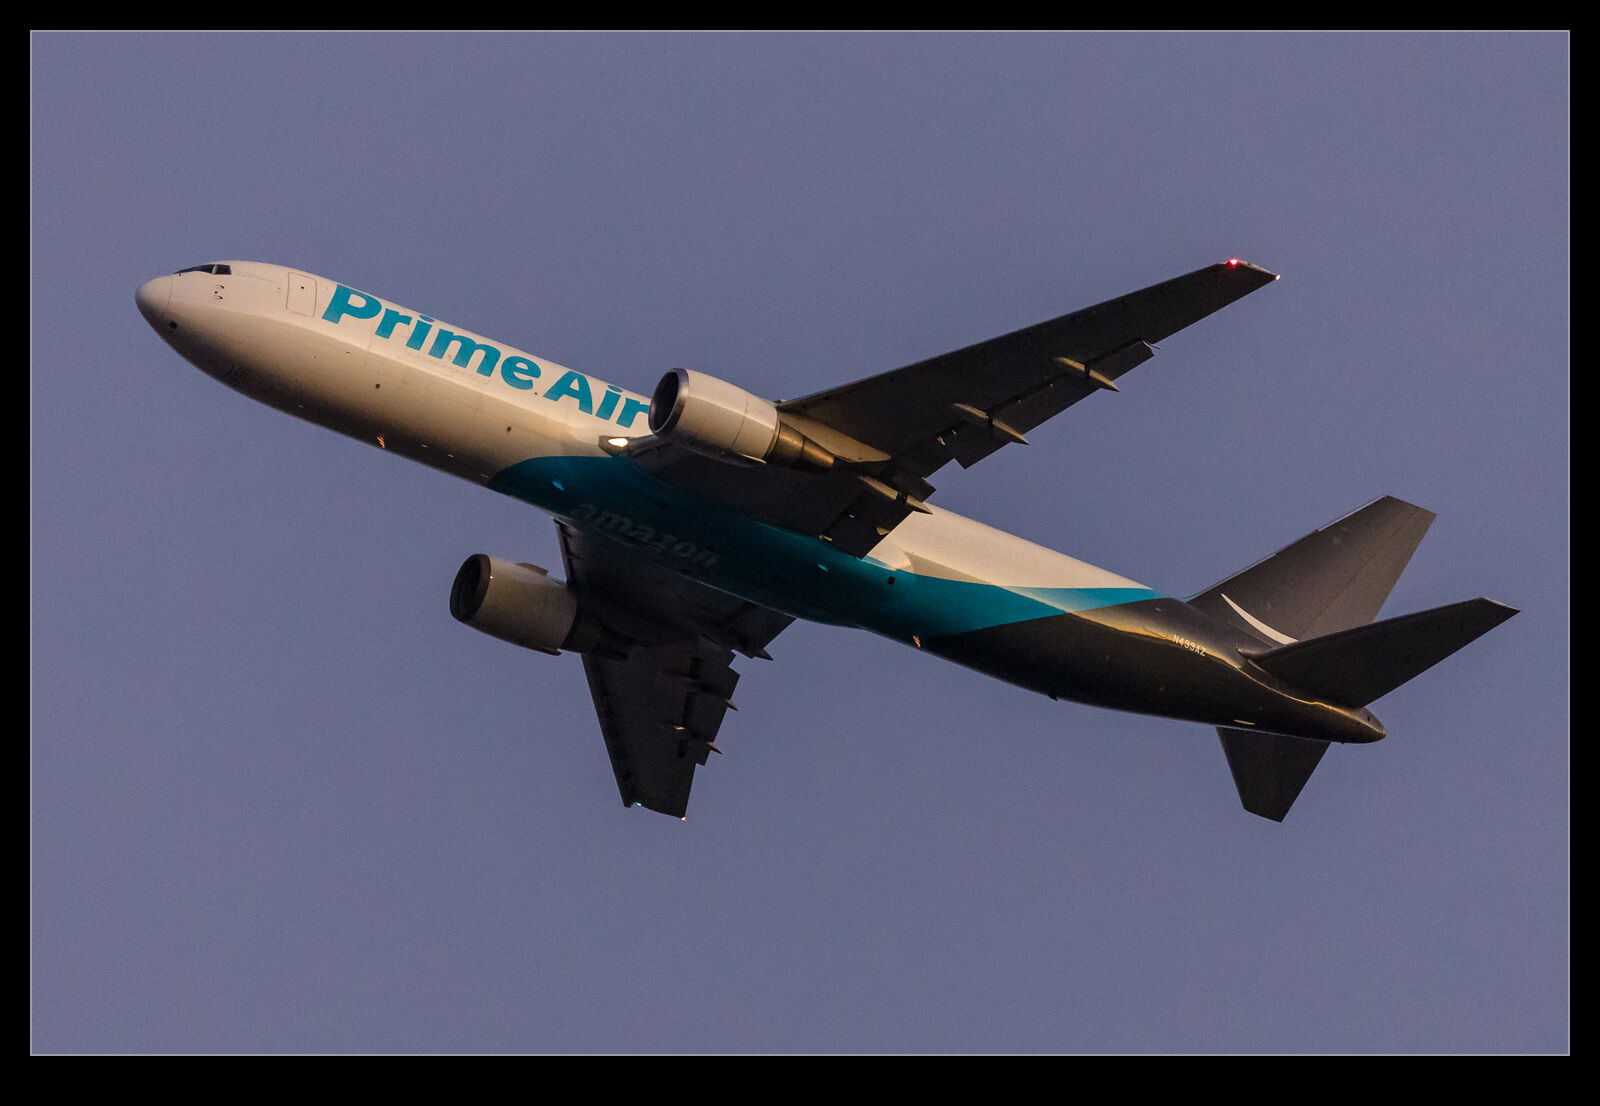
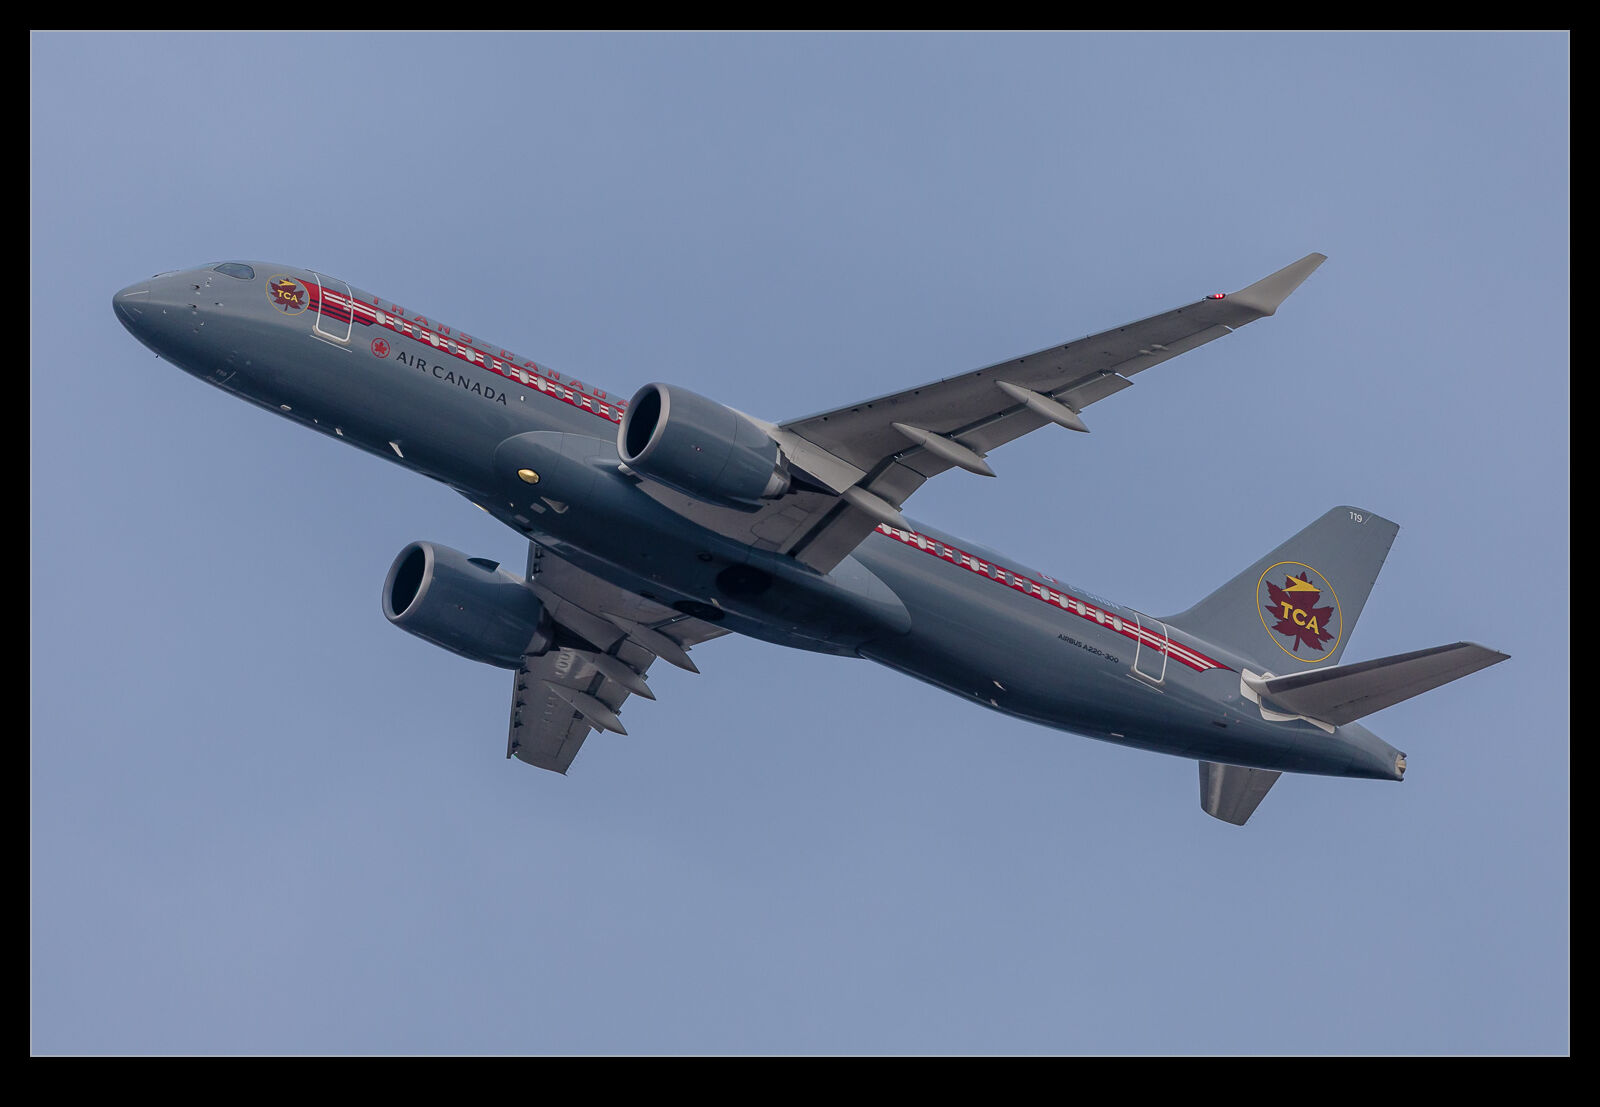
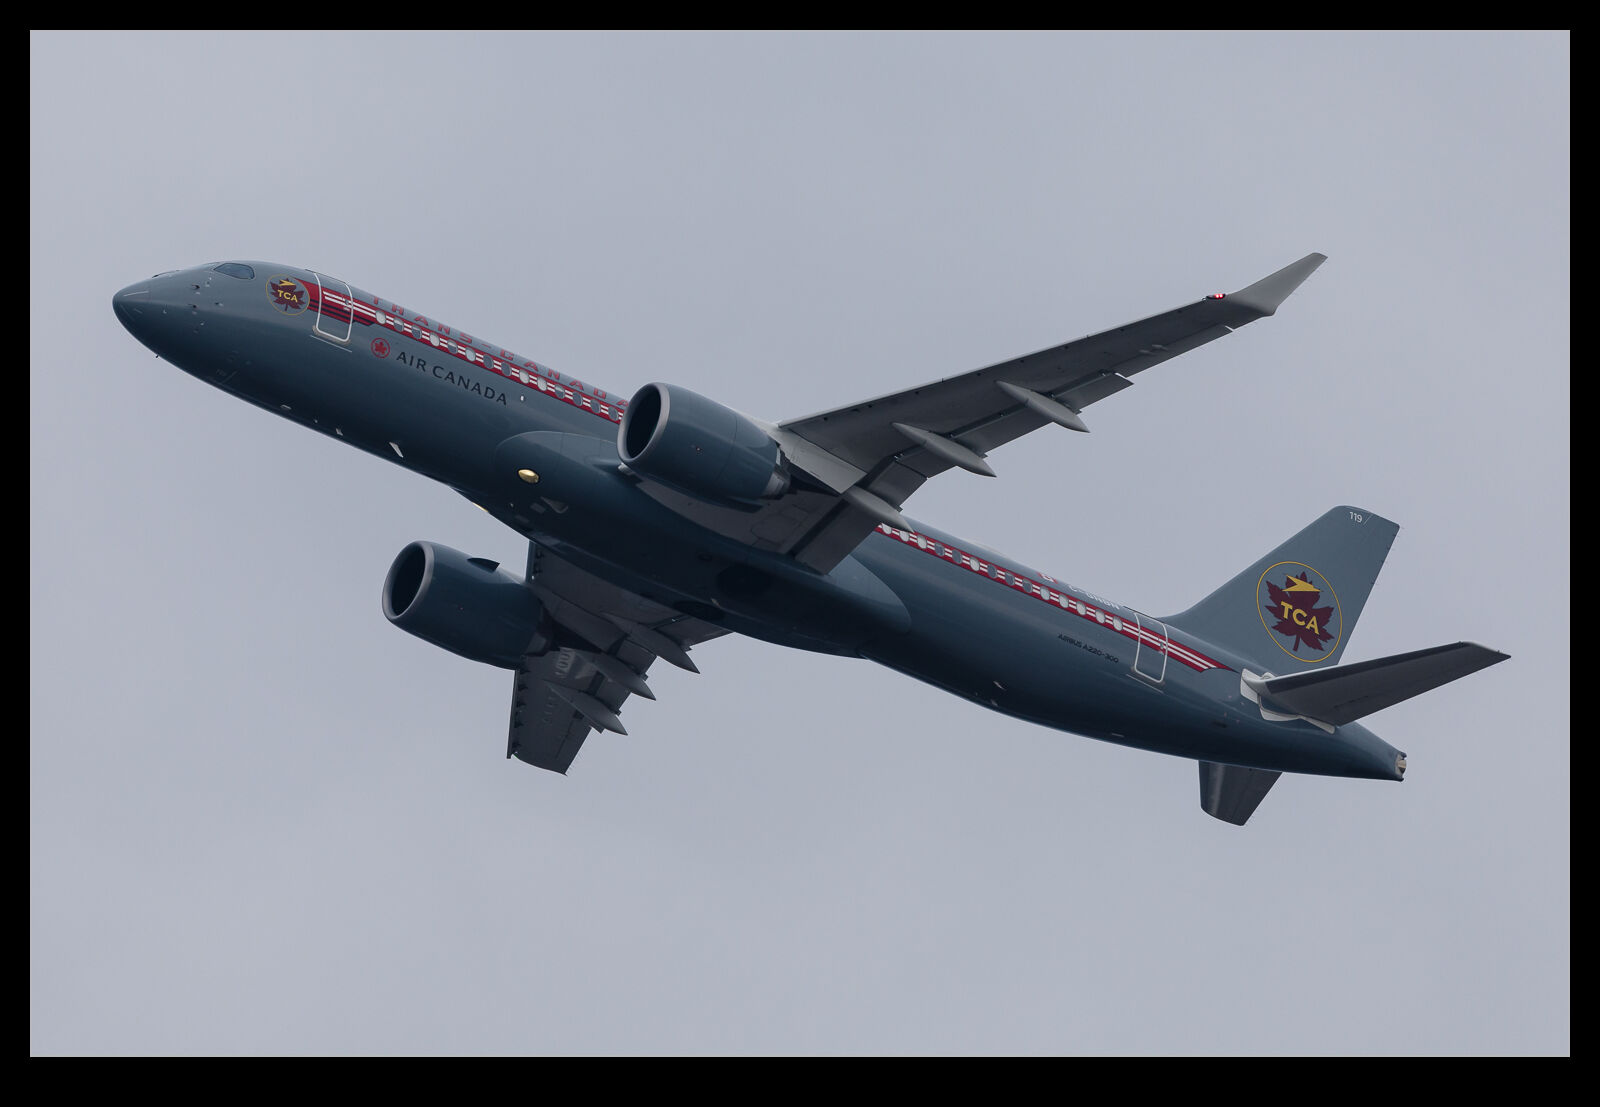
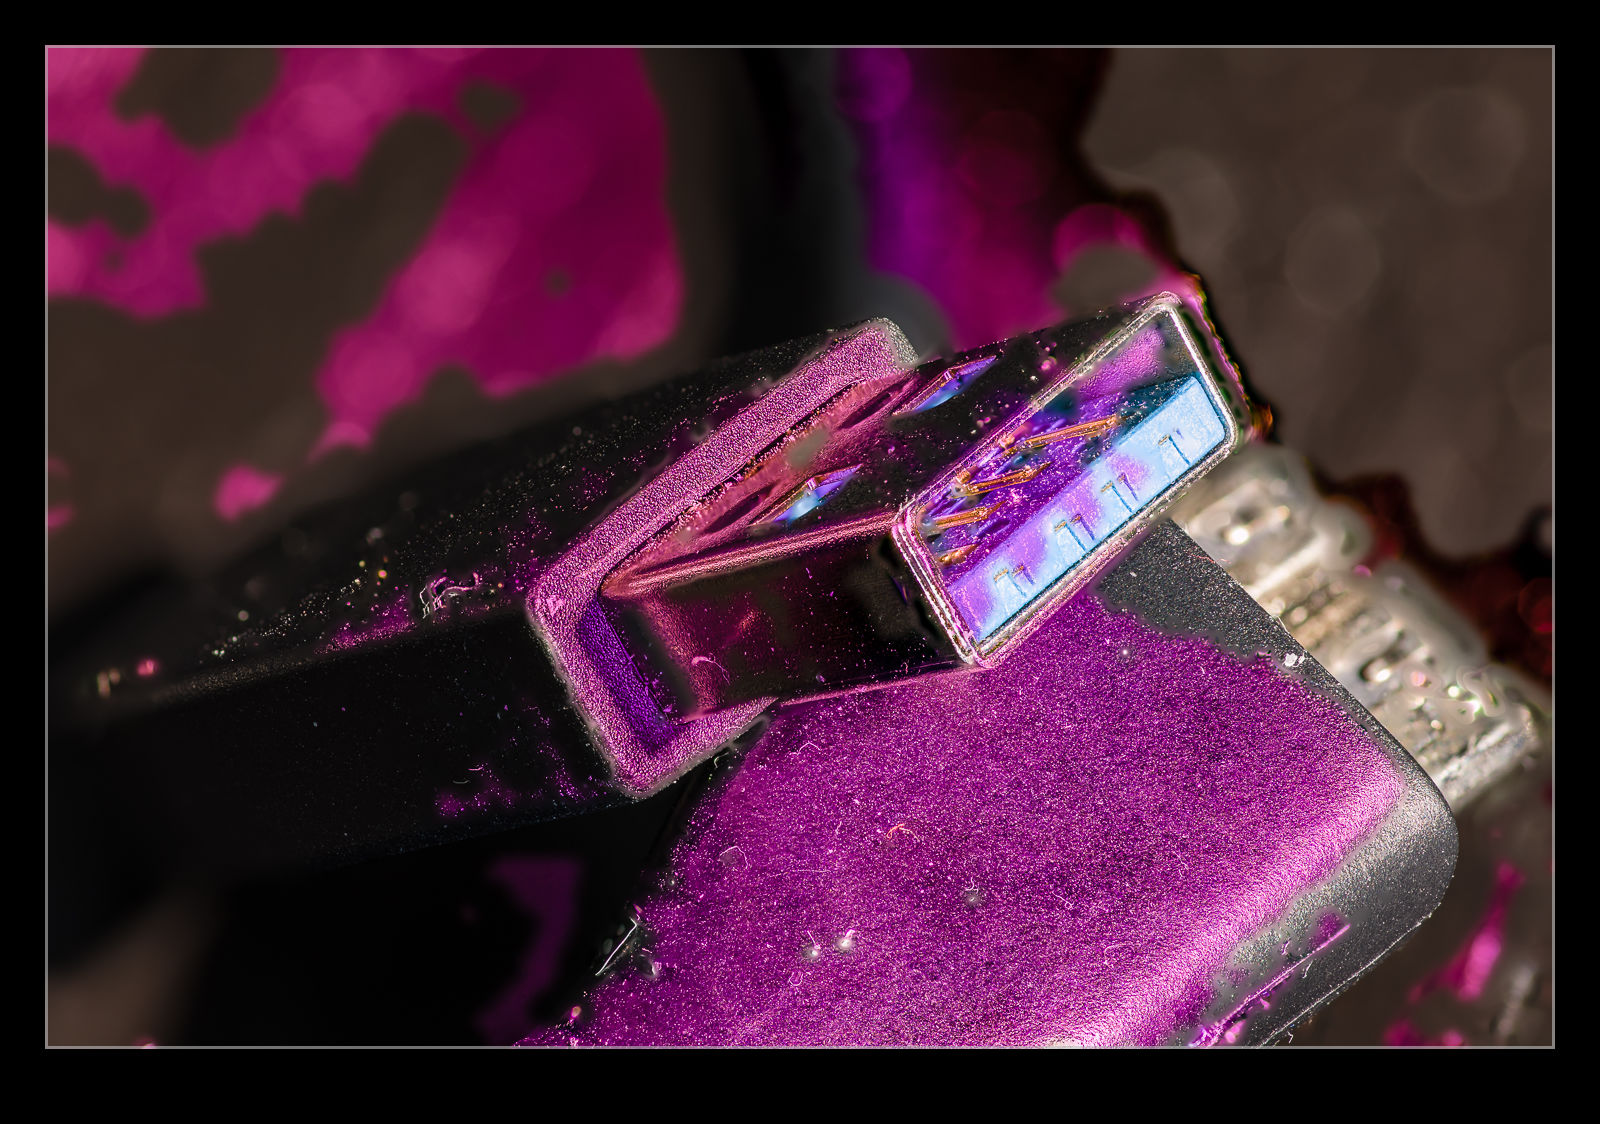
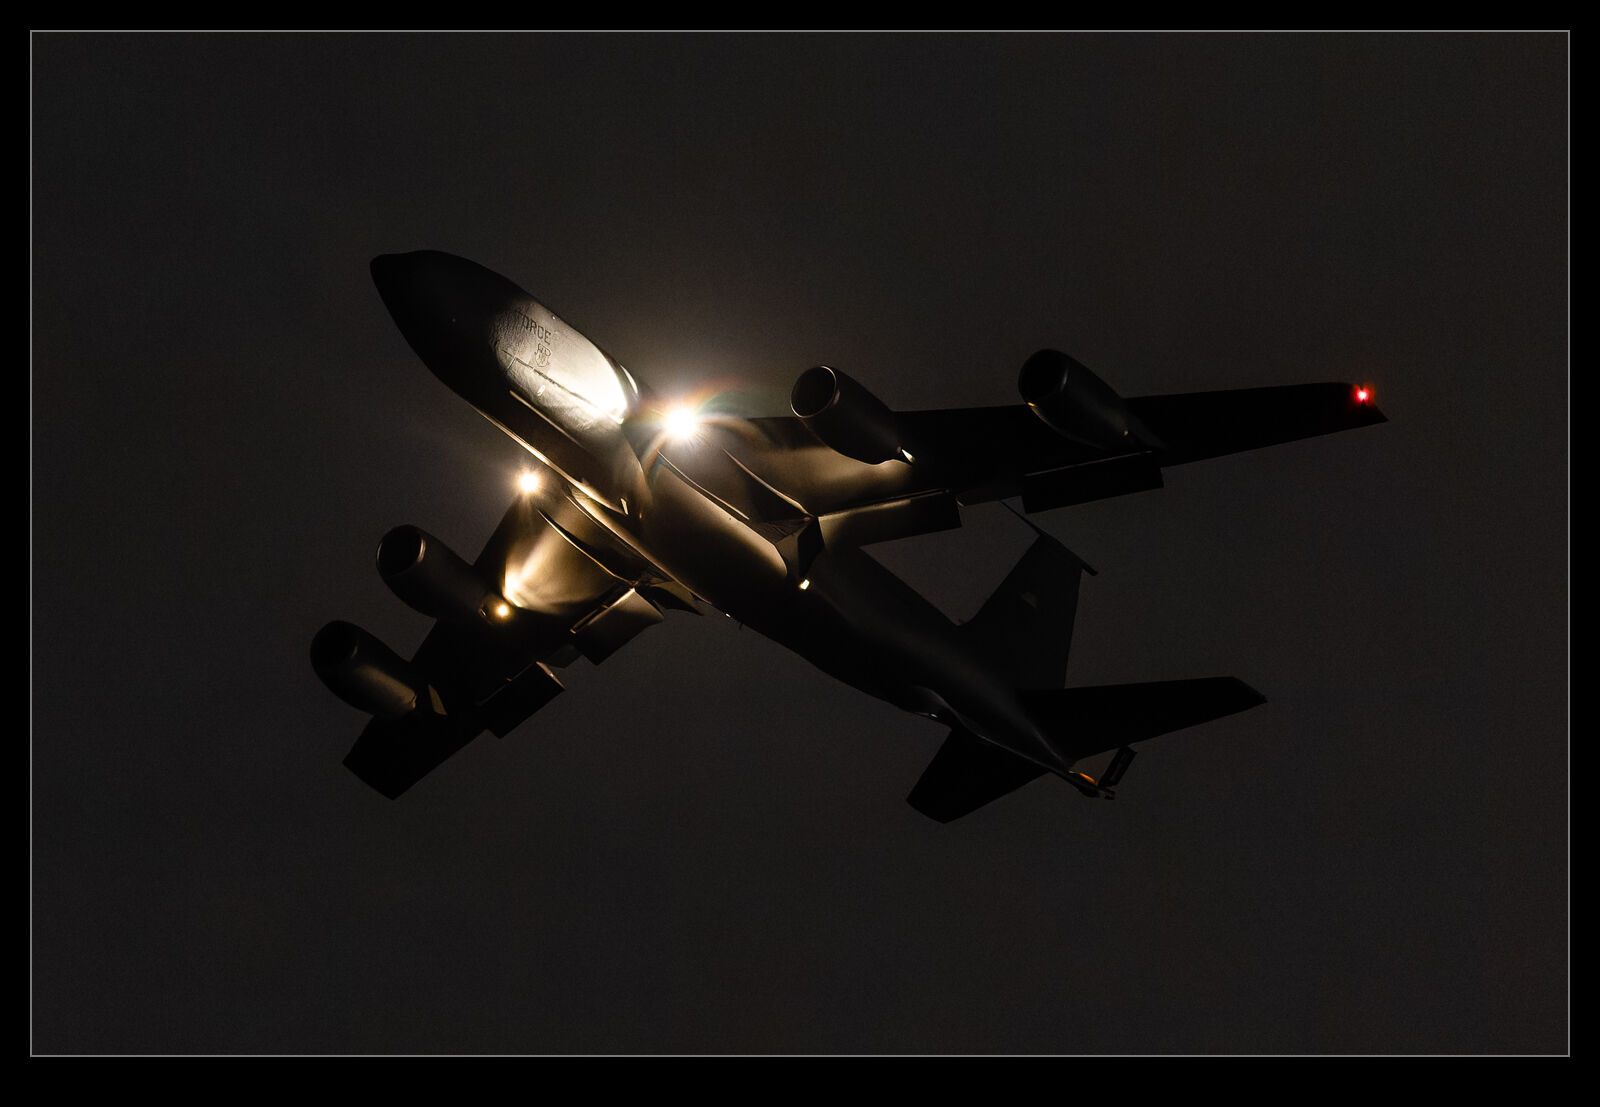
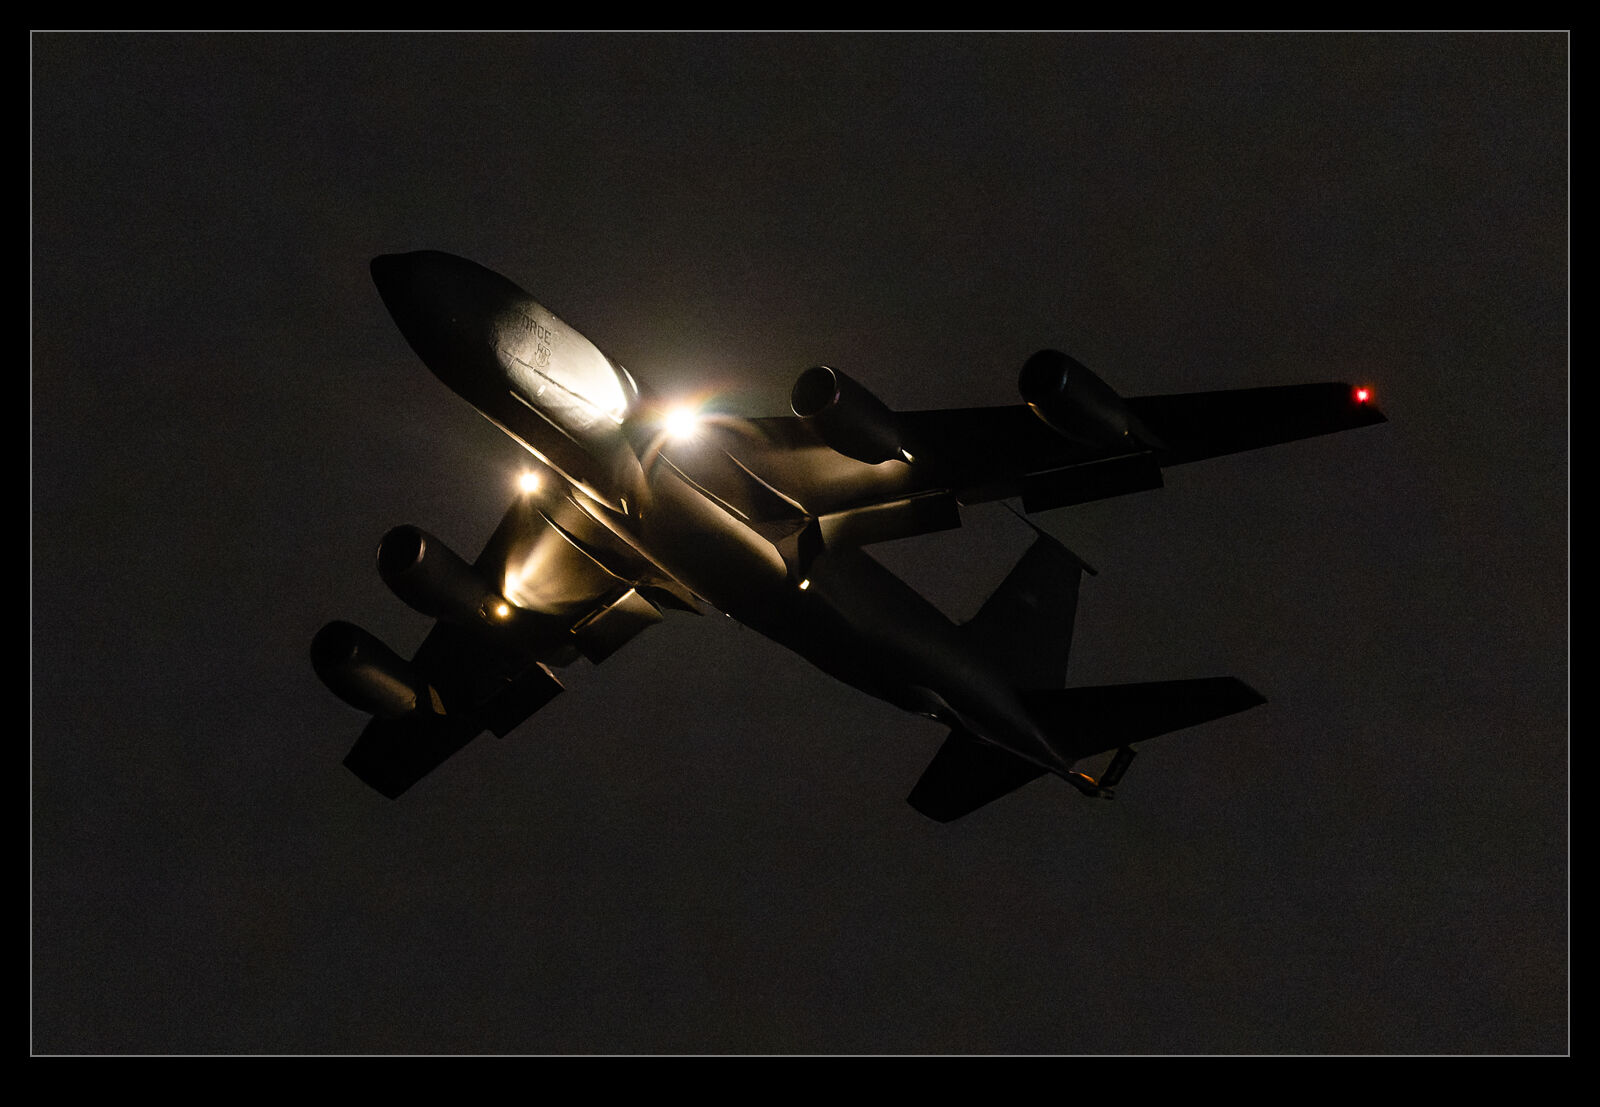
As for the output, I was quite amazed by the results. I will show here some of the Lightroom edits along with PureRAW2 and PureRAW3 versions of the files. As you can see, the latest version really does clean up images a lot. However, I don’t think it is all good. Some of the shots feel like they have been over sharpened and look too crunchy. Also, the algorithm seems to get imaginative when it comes to lettering on airframes. Some of the results have created shapes that just are not there in the original shot. For some shots, this might not be an issue but, when something is supposed to be recognizable, the odd artifacts show up conspicuously. If the shot had been soft and noisy, you wouldn’t have worried but, because it is supposed to be clear and sharp, the weird results stand out.
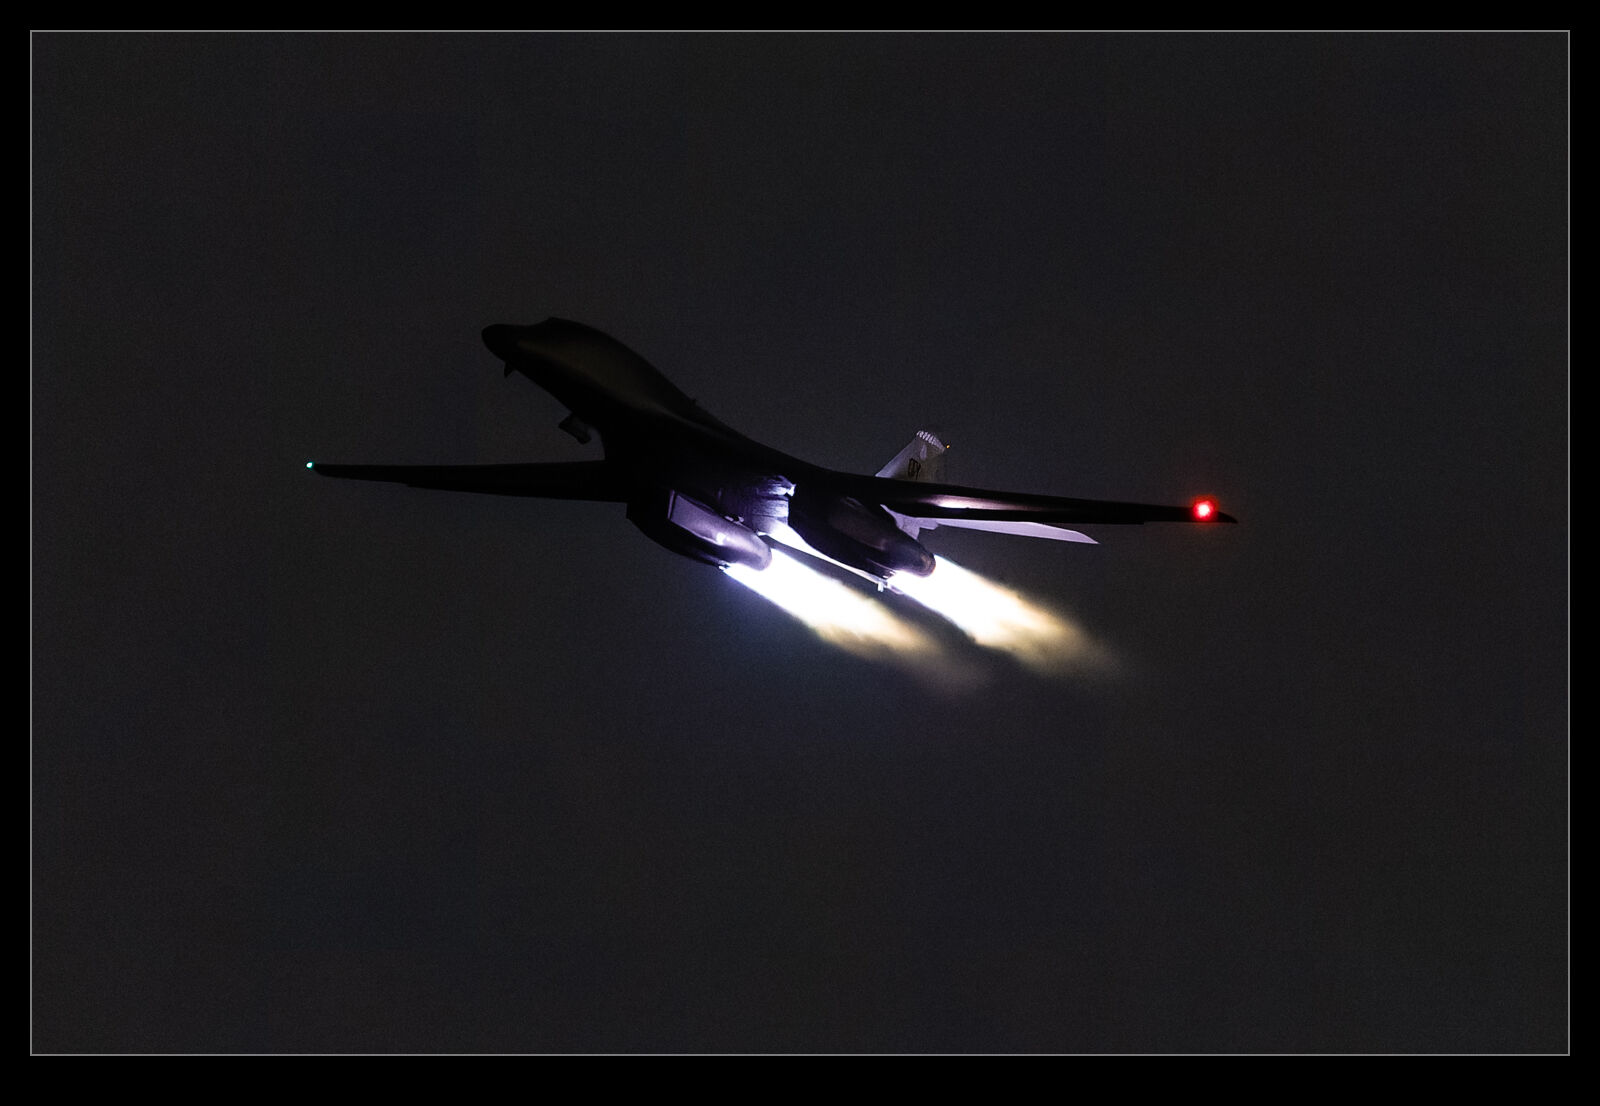
Is it worth it? Not for me. I used it on some more normal exposures and couldn’t really see much benefit. Certainly not enough to make the effort worth it. For high noise, it does provide some nice results and some odd side effects but, I don’t shoot enough of them to make that really worthwhile. For now, it shall sit in the interesting but not interesting enough category. Maybe we shall have the fourth installment of this series when PureRAW4 comes out!
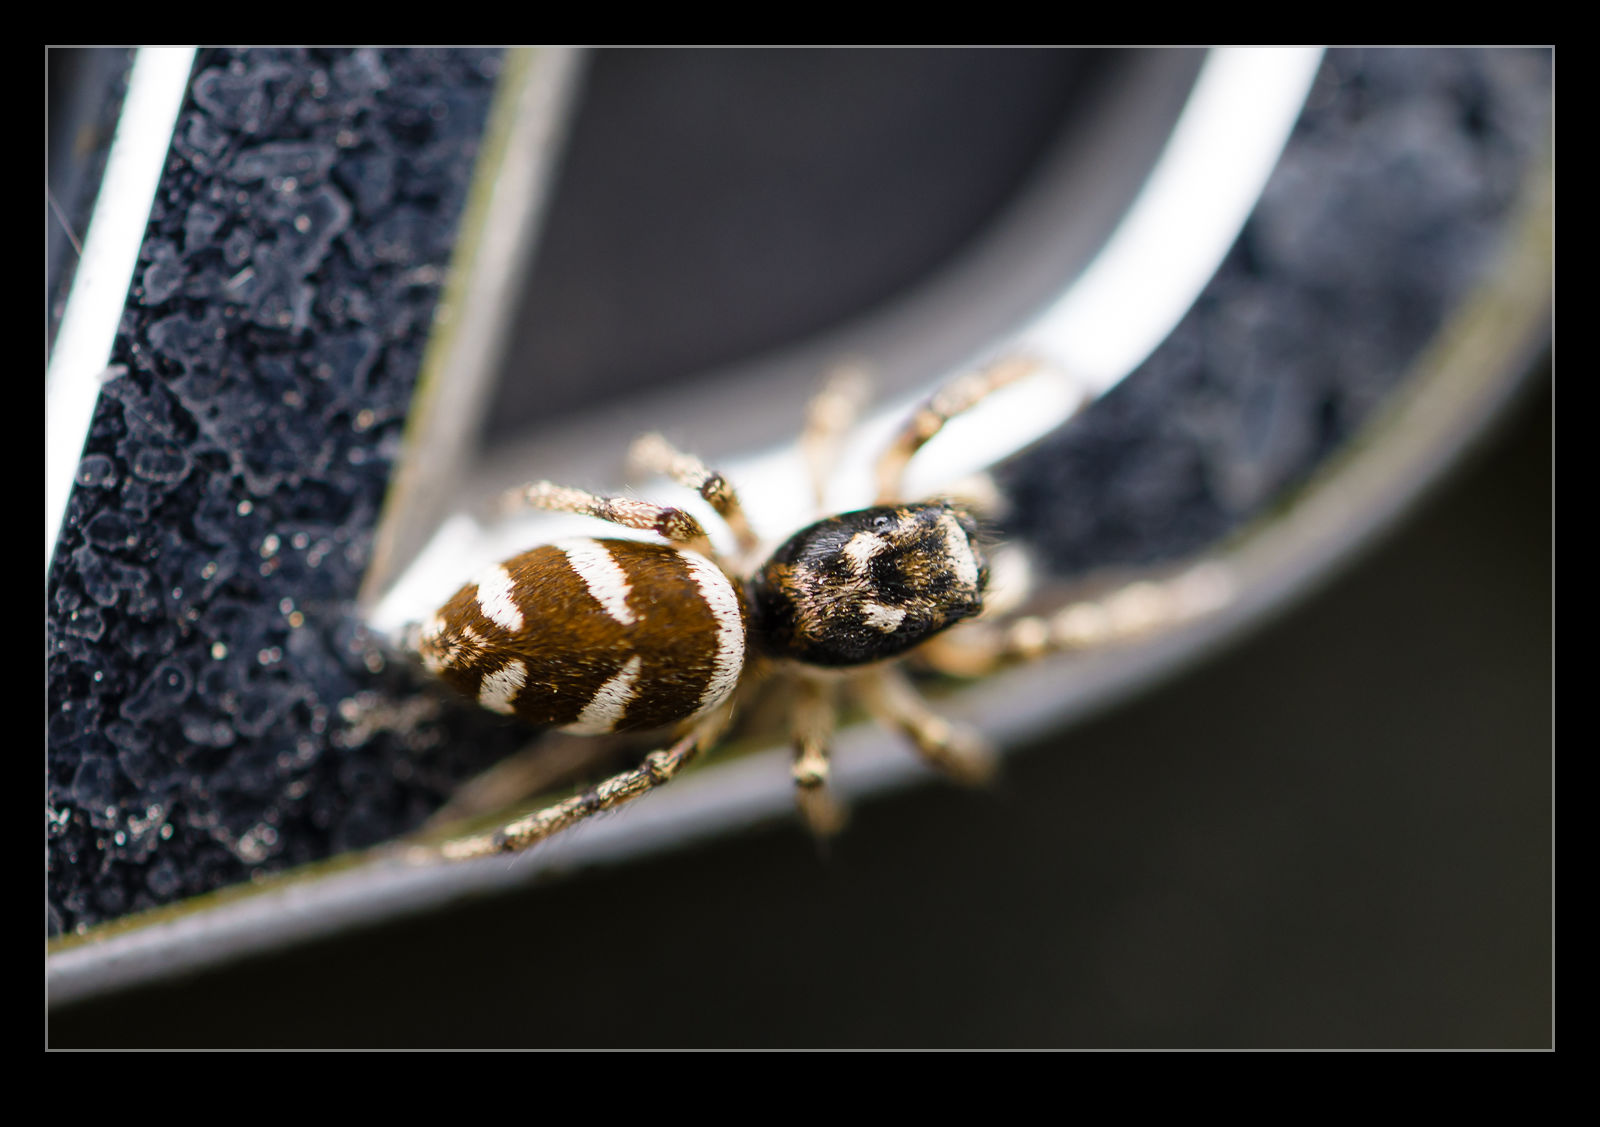
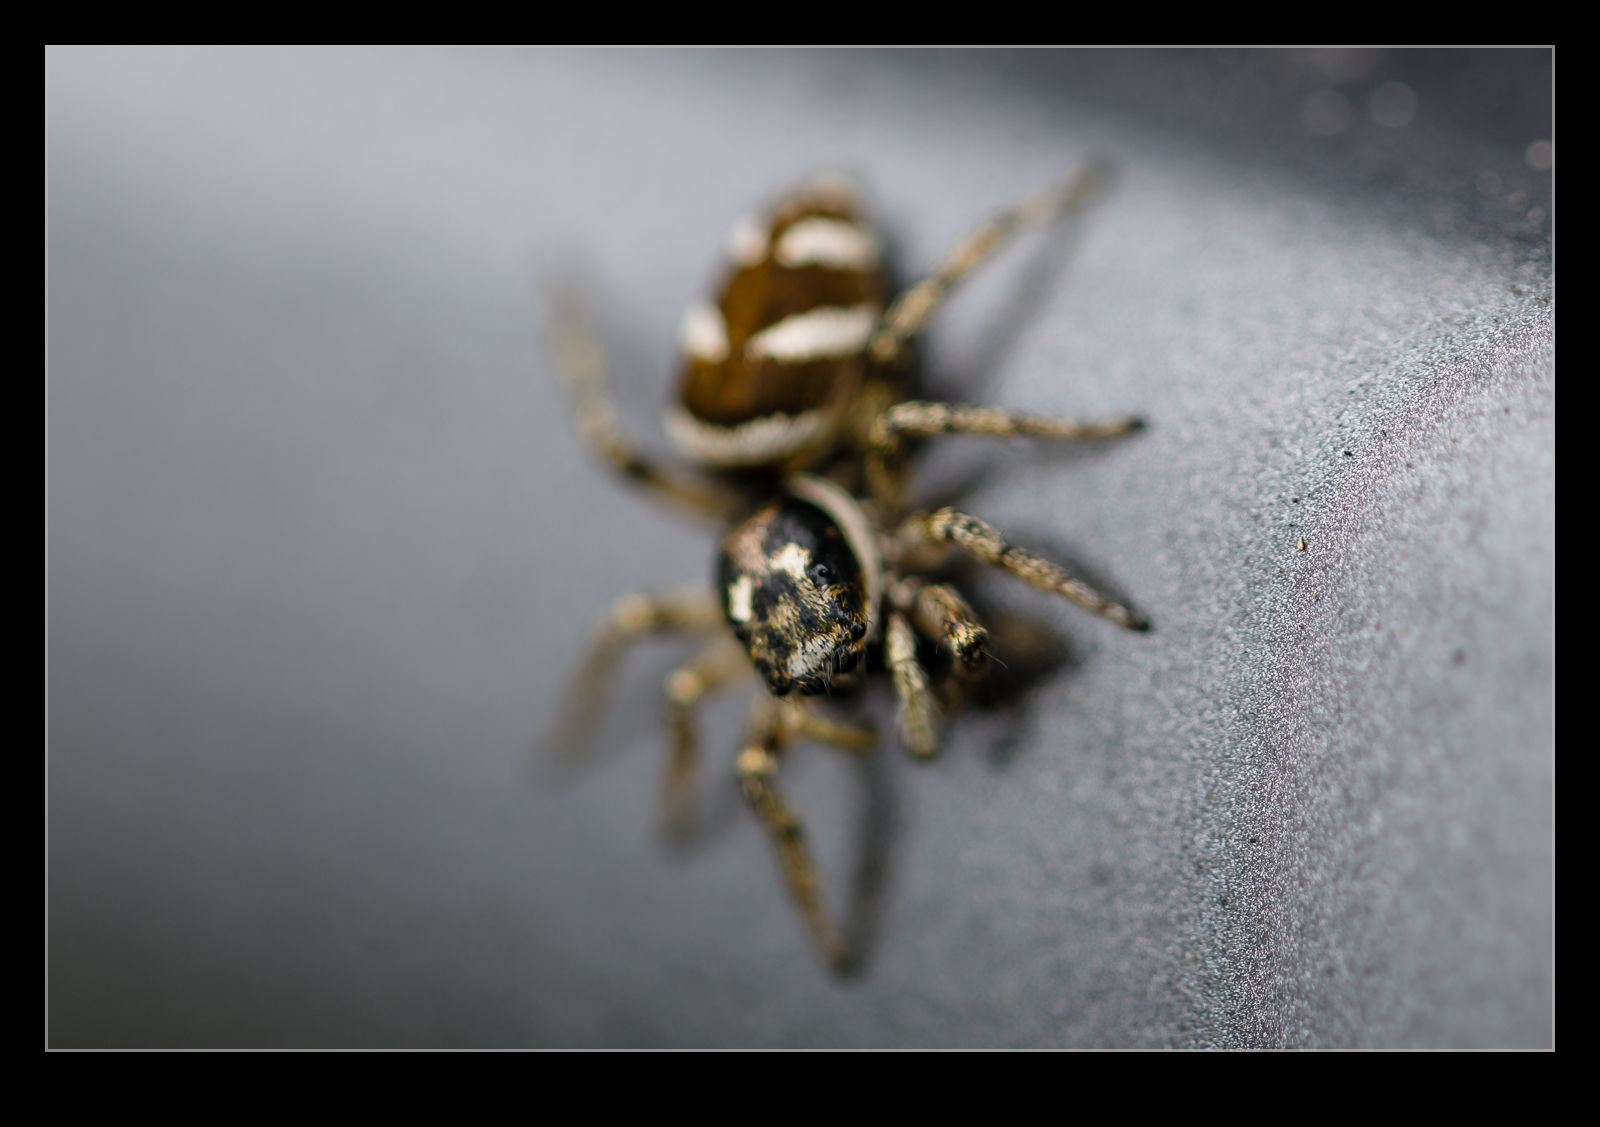
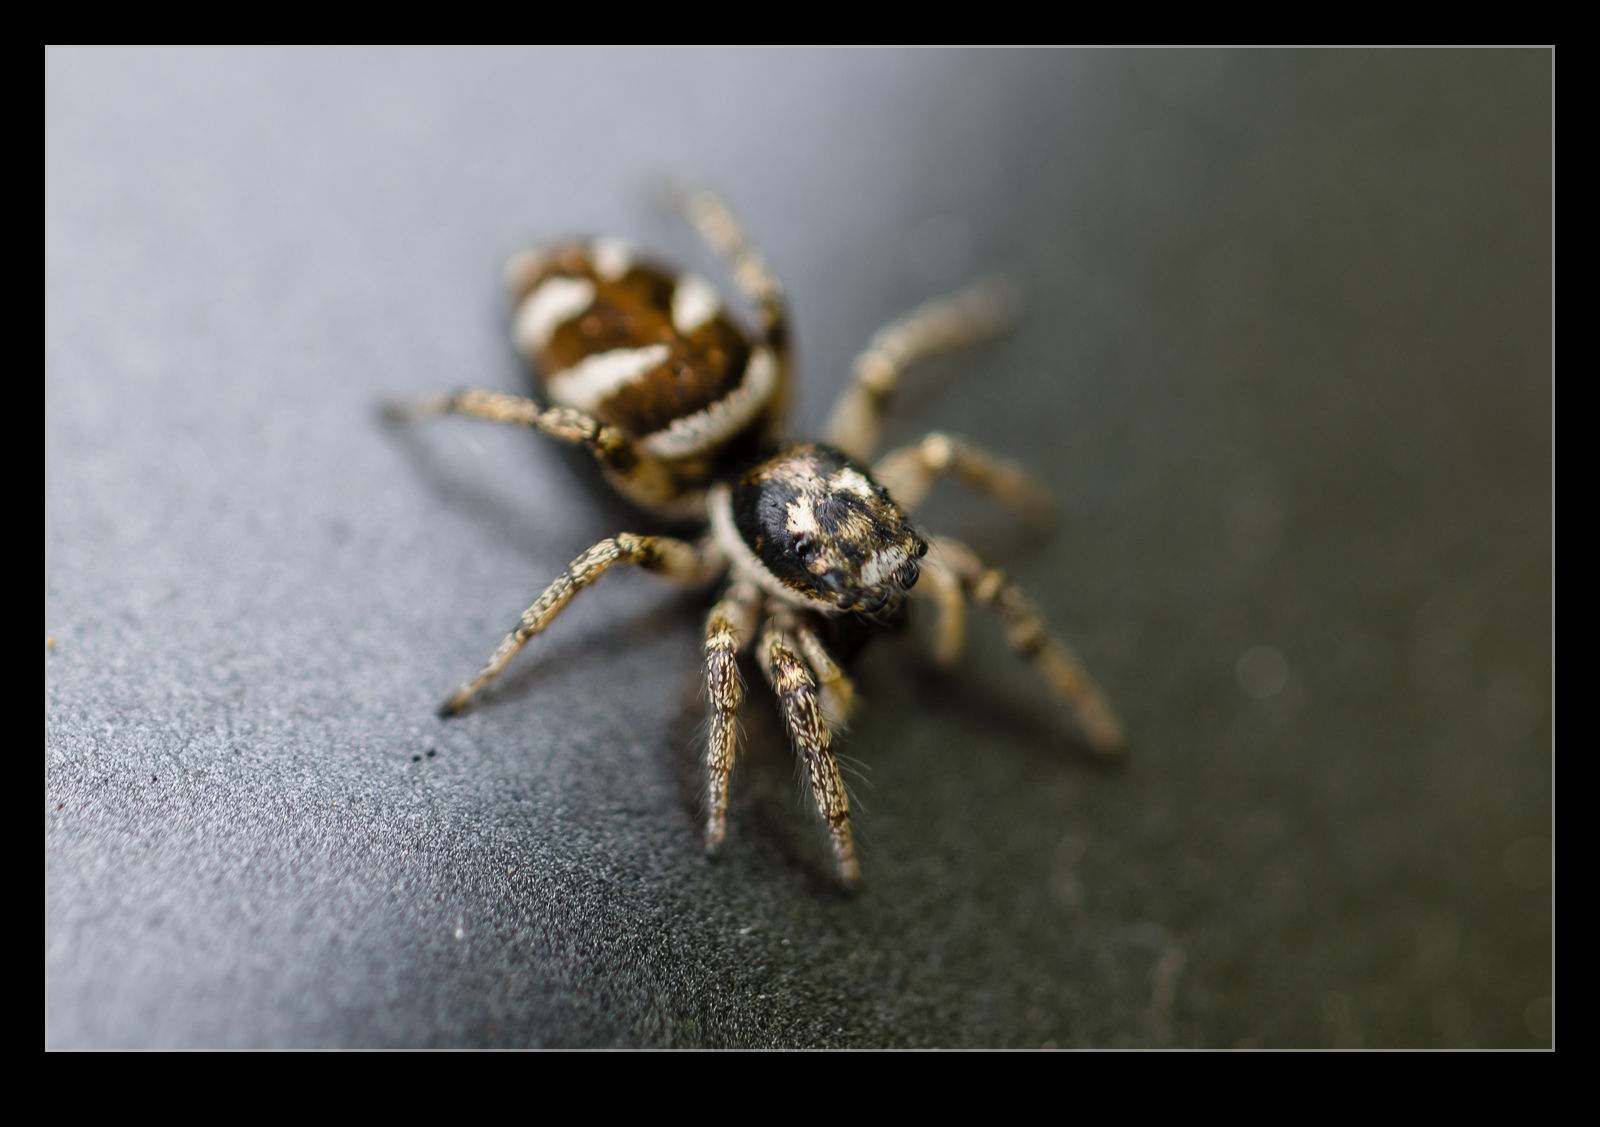 I was waiting for a friend to arrive at SEA and was parked up in Burien. I noticed a couple of small jumping spiders on the car and, since I had the macro lens in the trunk, decided to try and get a few shots of them. The problem with spiders and mirrorless cameras is that the focusing logic hasn’t been trained to deal with their multiple eyes. The body tends to be what the camera focuses on. Still, I was able to get a few reasonable shots as they scurried across my car.