Tag Archives: technique

Updates to the Workflow

A while back I wrote a piece about how I manage my workflow when bringing in new pictures from a shoot.  If you are so inclined, you can read the original post here.  I thought it might be appropriate to bring the topic up to date since I have tweaked the workflow a bit since then.  As I mentioned before, this is not all original thinking from me.  I have picked up suggestions from a number of places and then adapted them to my own needs.  If they are useful to you, that is great.  All of this is based on using Lightroom as an image management tool.

The basic process involves creating a series of Smart Collections for a given shoot.  I have adapted these collections a little and have a basic set, not all of which are required for every shoot.  However, what I have done is exported these collections to a folder on my computer so I can re-import them for each shoot and tweak them rather than start from scratch each time.  For example, they all have the keywords section blank so that I can paste in the required keywords for the shoot easily.

I will initially create a Collection Set for the topic and, if this is an event that occurs more than once, a Collection Set within that for the specific date.  Then, within that, I shall import the Smart Collections from my templates.  In the first instance, these will have lots of files in them since the criteria have not been narrowed down but I shall then edit each one to have the appropriate keywords and, if required, the specific dates.  Date Taken is the criterion I will use then, either with a specific date or a range.   Of course, this does require me to have put the appropriate keywords on all of the images first including whether they are HDR, panorama or time lapse images.

The following are the smart collections and a description of what they contain.  To avoid repetition, it can be assumed that they will all fit the keyword and date range criteria.

  • Not Rejects – All images that have not been rejected, are not marked as HDR or panoramas and are not video clips
  • Picks – All images that have been marked as a Pick and are not video clips
  • HDR Originals – All marked as HDR that are RAW files
  • HDR Edits – All marked as HDR that are not RAW files
  • Pano Originals – All marked as panoramas that are RAW files
  • Pano Edits – All marked as panoramas that are not RAW files
  • Time lapse – All marked as Time Lapse (Duh!)
  • Not Geotagged – All files that do not have GPS coordinates associated with them
  • Videos – All video files not marked as rejects
  • Rejects – All files marked as rejects (again, duh!)

The reasons for some of these are obvious but others are less so.  The not rejects file specifically excludes any shots I have marked as HDR or panorama since, when running through the edits, it is easy to see a shot that makes up one of those processes and think it is boring and delete it.  Keeping them separate from the start is important.  I keep the originals and the edits apart since, when I come back to them later, it is a lot simpler to look through the finished versions without having to find them amongst the originals.  Previously, they ended up in the same smart collection and, after getting bored trying to find the finished one, it occurred to me that they could be kept apart easily.

I now try to geotag all of my images.  Having the folder that shows that they haven’t been done reminds me to do this if I have not done it straightaway.  I have found that Lightroom has a bug (I have found more than one!) that, when you have imported a bunch of stuff, if you go to the map page, it gets a little lost and keeps the map view looking like the grid view.  You can get back out without any problem but have to restart to get back to map view.  If you go to map view before doing all of the importing, it seems fine then.  However, this folder makes sure I don’t forget to do it at some point.

With all of this set up, it is then easy enough to get into the process I have outlined before.  I go to the Not Rejects folder and render 1:1 previews of all of the files.  This can take a while so I will often start it off and then go and do something else for a while.  I can then come back and run through the images.  I will have a full screen version on one screen and the zoomed 1:1 image on the other.  This allows me to easily see which shots are not sharp or have an obvious flaw like a pole through the foreground or someone’s head in the way.  A quick “X” and that shot disappears from the smart collection and I am on to the next.  If it is okay, right arrow and I am moving on.  This kills a lot of shots quite quickly.

Then it is a simple case of looking at the shots in Grid view, usually quite large, to see the ones that are duplicate or just plain crap.  I can select which to get rid of and “X” again has them consigned to the trash.  Once all of this is done, I will run a BluRay backup of all of the shots including the XMP files after which I shall delete all rejects.  Hopefully that leaves me with a lot less shots to play with.  I can then pick the ones I think are the best and mark them as Picks.  It then leaves me with a smaller smart collection which I can go in and pay some attention to making more detailed edits.

This process continues to evolve.  Maybe I shall write another update in a couple of years.  In the meantime, I hope it might be helpful to someone for me to have shared it.  Happy shooting!

Skies With Menace

This time of year can get a bit stormy.  We had some interesting skies rolling across the city with cloud layers heading in different directions at different heights.  I thought a time lapse might be good for this so had a go at a couple.  The sky didn’t turn into anything too dramatic in the end but it is still fun to watch the way the levels were moving.  Here is a clip of what there was.

Cheap Macro

wpid5358-AU0E4107.jpgWhile the idea of trying macro photography has always been of interest to me, I have never got around to actually doing it aside from an old lens I had in my pre-autofocus days that had a macro setting.  The idea of renting a macro lens had occurred to me but the reason to do it hadn’t come up and I didn’t feel like renting the lens without having something to use it on.

wpid5360-AU0E4111.jpgThen I remembered reading about reversing a lens to use it for macro.  I have a 50mm that I I hand held in reverse to see how well the macro effect would work.  It seemed pretty good so I decided to get a mounting ring to reverse the lens on the camera.  Amazon came up with a bunch of options and the one I got set me back the enormous total of $8!

wpid5362-AU0E4114.jpgThe simple answer is that it works.  It is a little inflexible to use compared to something designed for the task but it does work.  The depth of field is extremely shallow and you get some odd distortion across the edges of the image.  Obviously there is no focus or exposure control.  I just set the camera to aperture priority mode and dial in the normal f/1.8 of the lens and the exposure seems to work out pretty well.  Then it is a case of moving the camera around to get focus.  Not something I am going to do a lot but, for $8, I don’t have to worry about getting a lot of use out of it!

32 Bit HDR

wpid5294-C59F0909-Edit.jpgWhile HDR might be a topic that causes all sorts of heartache for some people (they either love it or loathe it), I find it to be a really useful tool in some situations.  I have played around with some really over the top processing in the past just for the fun of it but my main interest has been in getting an image that can cope with the wide range of lighting that sometimes shows up in images.  While I have experimented with some of the third party HDR packages, I have ultimately ended up using the HDR Pro functionality of Photoshop.

This has been working okay for me but I was always a little less than satisfied with the results.  I have understood that the HDR merging process is only the first part of the technique and then the Develop settings in Lightroom (or ACR) are required to make the whole thing work a lot more effectively.  However, the slightly flatter look along with a level of desaturation that it was hard to bring back meant I was almost there but not quite.

wpid5292-C59F0909-Edit-2.jpgA recent change that has been introduced and which it took me a while to get around to playing with was the 32 bit HDR approach.  In this, the original files are merged to create a 32 bit TIF file.  Getting to this from Lightroom required me to tweak my settings slightly. I always had the file edit settings laid out to make a PSD file.  I had to tweak them to make TIF the preferred file.  I have to remember this so that I don’t always have TIF output instead of PSD which seems to have a smaller file size.

Once you get into HDR Pro, the choice in the tab at the top covers whether you want 8 biit, 16 bit or 32 bit output.  I had previously been using 16 bit.  This includes a lot of sliders that give you options as to what you want the output to look like.  If you change to 32 bit, there is a single slider. It shows you an effect of changing the white point but I don’t think it actually changes the output file.  You decide whether any ghost removal is required as with the 16 bit file and then click to get it on its way.  Once the final file is created, I just save it and go back to Lightroom.

wpid5290-C59F0911.jpgHere, the Develop module is changed in its functionality.  You can make some pretty aggressive changes with the sliders compared to a normal RAW file.  You can work with the exposure, the shadows and highlights and the contract as well as using the Clarity and Vibrance to punch up the image.  The nice thing is that the results are a lot more natural looking.  You don’t have the really crazy styles and you don’t have the flat look that sometimes is the result with the traditional approach.

HDR is not a huge part of what I do but I am interested in having a better result.  I am not interested in investing in new software to achieve this when it is an infrequent issue for me and not usually something that a client cares about.  However, the fact I can now do a better job with the software I already have is a great step forward.  As for these three examples, the top is the new process, the middle is the old way and the bottom is using Lightroom to try and get detail from a single RAW file.

SF City Hall

wpid5226-IMG_0942.jpgA meeting in the heart of San Francisco meant a bunch of our team were meeting downtown.  A few of us got there a little head of the meeting and, with a couple of minutes available, I wanted to check out the City Hall building since it was only a couple of blocks away.  As an old City, San Francisco has some classic architecture and this is no exception.  For some reason, despite the numerous times I have been to the city, I have never been to City Hall before.

wpid5228-IMG_0938.jpgA group of school kids were playing some orchestral music in the main hall and plenty of family members were there.  I wandered around taking a look.  Since I didn’t have my normal cameras, the phone had to serve duty.  Fortunately, that also allowed me to try another one of the 360 panoramas.  I suspect I shall be carrying another camera with me when I am next in the area.

Office Picture

wpid5220-AU0E0982.jpgI have been working in an office in Sacramento on a project for a while.  With the end of the year coming up, an office calendar is being put together.  The majority of the pictures in the calendar are from the team members and their activities throughout the year.  However, there was also a need for a group photo.  I was asked if I would take the shot.  I was happy to do it but I also am a little less happy taking pictures of people than I am when it comes to inanimate objects!

I took a couple of flashes along with me and a remote trigger.  However, I was not willing to find out whether the whole thing would work only when everyone was there.  Therefore, a little early setup was in order.  I had a couple of volunteers to help by standing in various places to see how the light was working out.  Initially it was not good with the spread of light not avoiding some harsh shadows.  A bit of tweaking improved things a bit.  When everyone arrived for the shot, the result was a little different but acceptable.  A few people still managed to get in shadows and the corners did not look as good as I would have liked but the team seemed happy with the result.  I shall have to work out how I would do it differently another time.  Not an area I work in a lot but one I would like to be better at.

Patterns of the fields

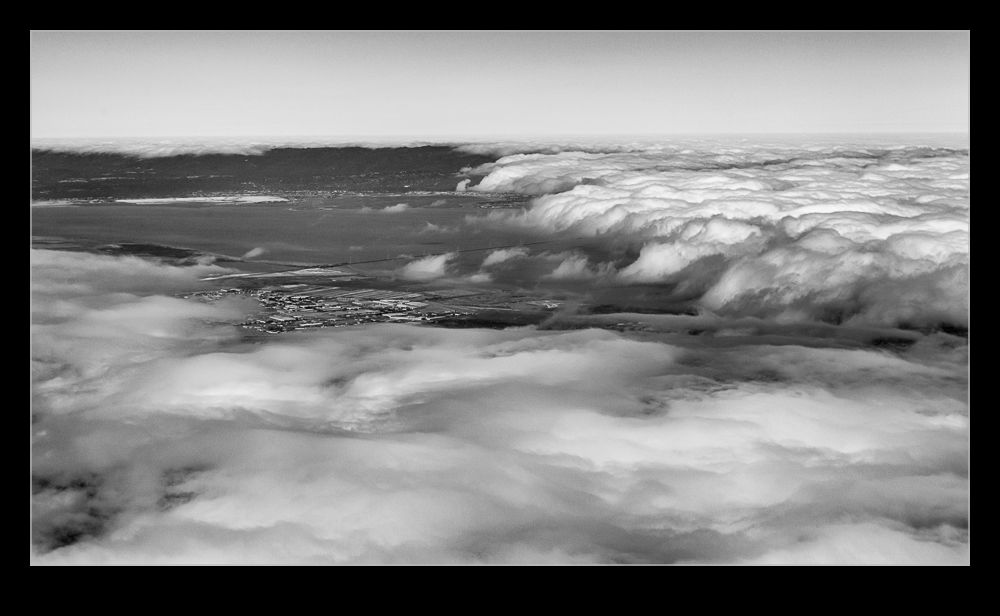
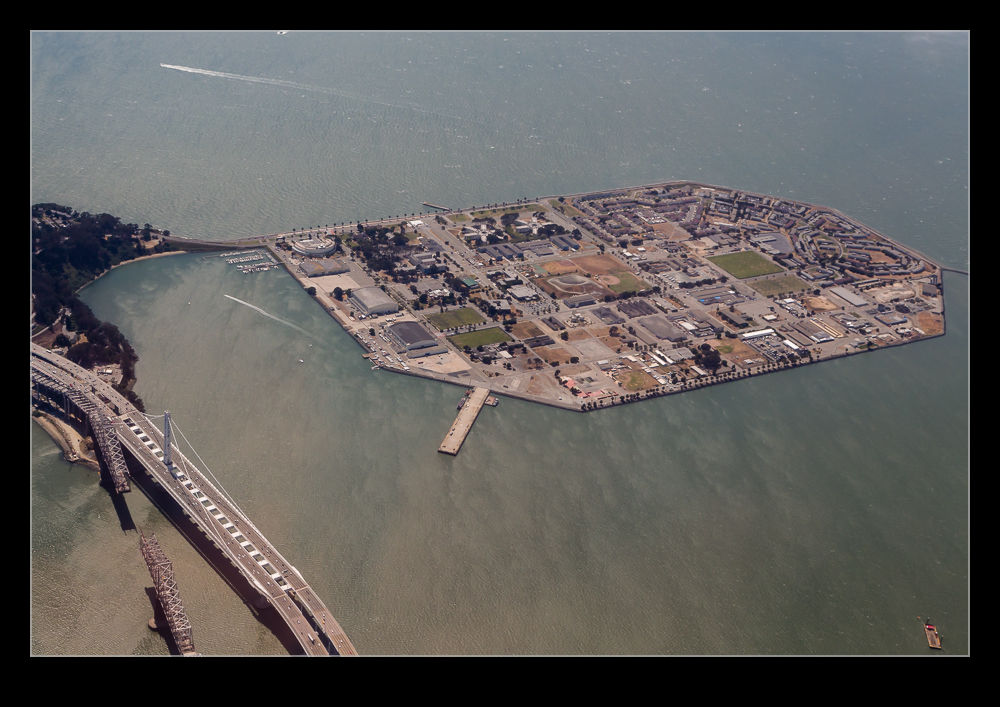
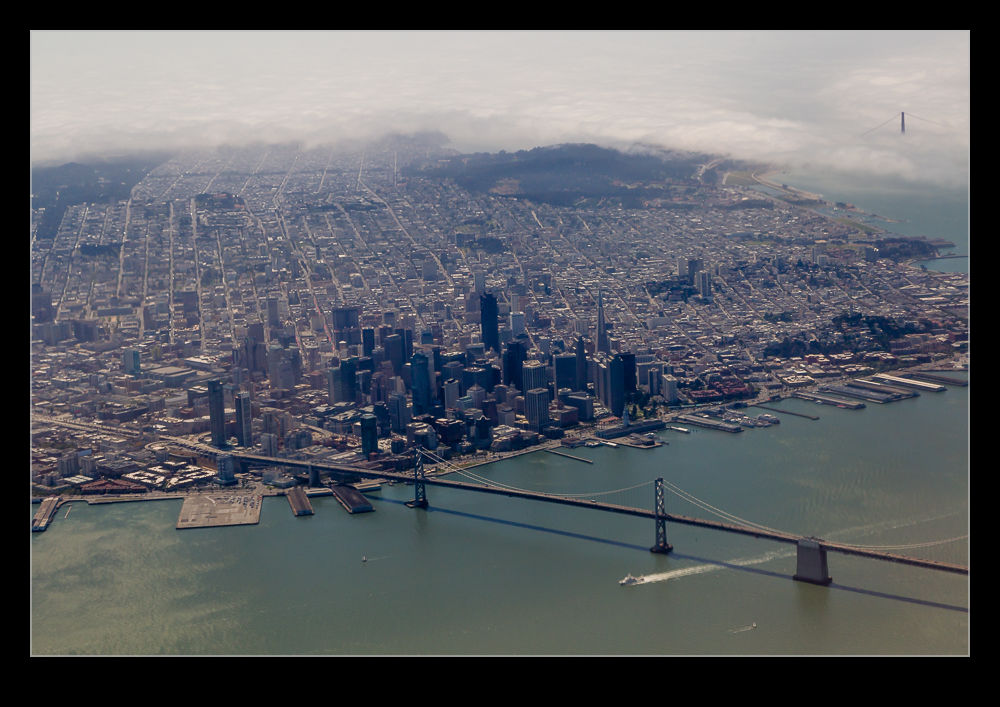
One of the things about flying across the country a lot is that you get to see a variety of scenery.  Sometimes there are wide open spaces with not much to see.  Other times there are mountains and valleys.  The unfortunate thing is that it is rather hard to get good photographs.  First there is the limitation of shooting through windows.  I always aim to be on the side of the plane away from the sun –partly out of comfort and partly for photography reasons – but having a window that is not optically perfect and then a piece of protective Perspex inside that means that reflections and distortions are a problem.  Since the windows are not uniform, you can end up with some parts of the image sharp and others not.  The autofocus can also struggle sometimes.

Even after all of that, you still have a problem with exposure.  You are quite a long way away from whatever you are shooting (shooting straight down is impractical given the window angles and how bad the optical properties become if angling across the window) so you have a lot of atmosphere to deal with and haze becomes a problem.  A certain amount of compensation is possible in post processing but it is always annoying that the shot does not look like the image you thought you saw at the time.

However, sometimes you just have to suck it up since you are seeing something that you otherwise would never see.  One thing that struck me on a recent flight was the patterns on the ground.  The fields had been harvested relatively recently and the harvesting had left different fields with different effects making some great patterns on the ground.  You would see these but, since you are moving along at a fair old clip, you had a short while to see what you wanted and make the shot before you had passed the point of the best composition.

If only these would look as good as they did to me when I was there.  Oh well, hopefully you will get some idea of what I was impressed by, even if the shots themselves are not impressive.

Night flight

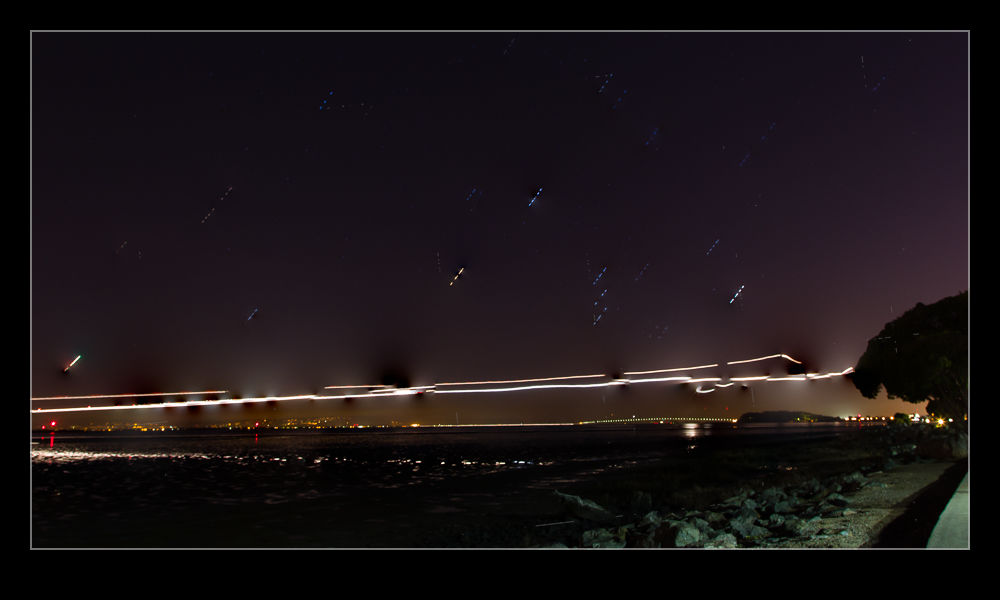
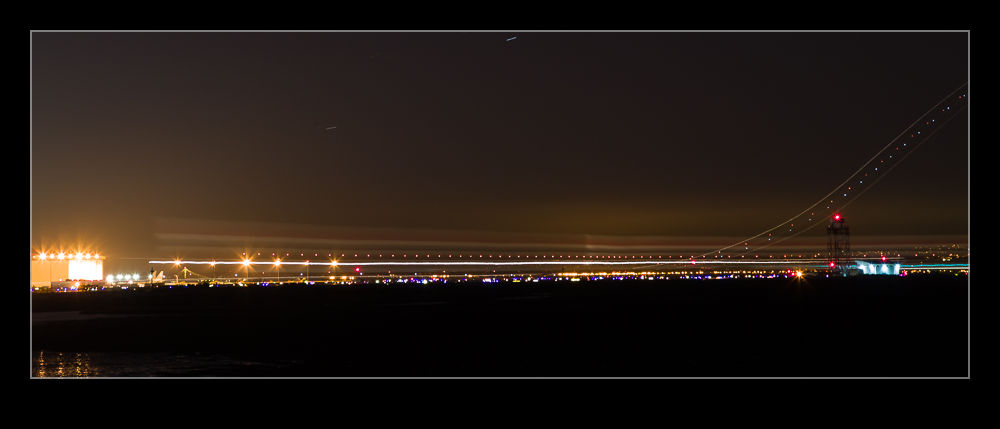
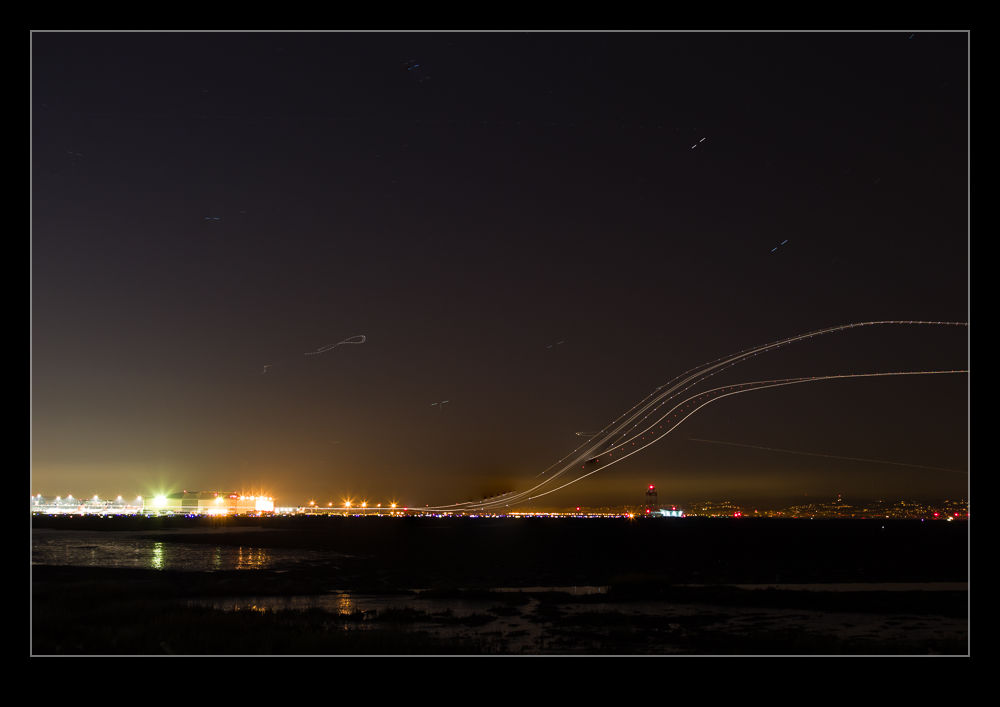
A recent flight home meant an arrival into Midway a while after the sun had set.  I had been taking some pictures out of the window as we headed back across the country and decided to try my luck after dark.  I had thought about trying out some auto ISO shots as I described in a previous post.  However, since I was shooting night scenes, the camera does its best to try and make things look properly exposed and this is not what you need.  Instead, I had to manually set the ISO to a higher number and then drop the exposure compensation to between -2 and -3.

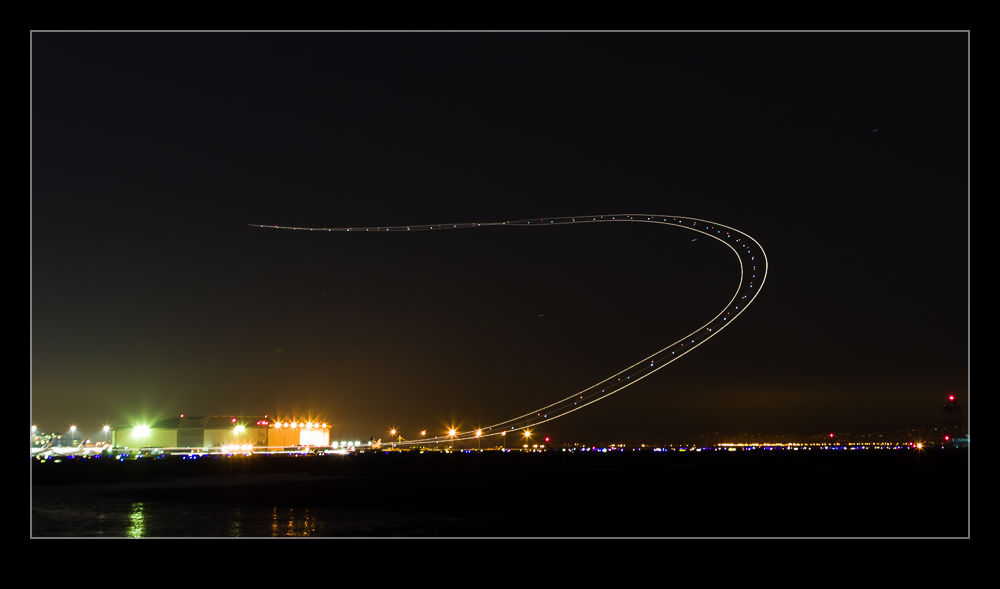
The shots came out okay but they weren’t terribly interesting.  However, as we got lower, I decided to go for something a bit more interesting and slowed the shutter speed down dramatically.  I braced the camera against the window frame and decided to see what sort of light trails I could get.  The exposures were a couple of seconds or more so this is rather tricky.  While the background is blurred deliberately, I had the top of the engine and the winglet in for reference.  Avoiding blurring them was more hit and miss.

I tried a bunch of shots and was pleased with the number that came out well.  However, the effect only seems to work in a couple of situations.  One is a turn.  This puts more ground lights in the frame and turns everything into a nice curve.  The other is when you are very low at which point everything is moving past you close and fast.  I might try this again before too long but will have to ponder what might improve things.  One technique issue I was pleased with was remembering to turn off image stabilization.  With long exposures, it causes the image to wander so, when bracing, it actually makes things worse.  Unlike me to remember that first time out but sometimes I do get lucky!

Playing with Noise Reduction

One of the biggest developments that there has been in digital imaging in recent years has been the improvement of performance in low light.  A few years ago, it was hard to get a decent image at above ISO400 and much post processing work was required to try and make the images workable.  Plug-ins for noise reduction were very popular.  However, the camera manufacturers have been very aggressive in developing chips and processors that allow shooting at ISO levels that would have been unthinkable a while back.  You hear of cameras being perfectly acceptable at ISO6400 and above.

My cameras are not the newest on the market but there are certainly not slouches in low light.  However, I have never been terribly happy with the performance at high ISO settings with the image breaking up a bit when viewed up close.  This is where I have to admit that I can be a complete idiot sometimes.

I shoot RAW all of the time and then process the images in Lightroom.  I have created some presets of development settings that I apply each time I import an image and which then acts as the starting point for any additional editing.  This is where my problem lies and why it has taken me so long to realize it I can’t imagine.  Anyway, enough of the self-flagellation and on with the topic.

The problem lies in the Detail section of the Develop module.  This is where sharpening and noise reduction are applied.  I have some basic settings I start with here and, when I was importing shots taken at high ISO settings, I was not changing them.  I would play with the noise reduction but things still didn’t look right.  The problem was, of course, the sharpening.  The basic setting I had entered was sharpening far too much for the ISO setting and was causing some odd breakup of the image.  I finally realized this one morning while lying in bed – I have no idea why I was thinking of this but it suddenly came to me.

I got up and opened some high ISO images and went to the detail area.  I zeroed out the sharpening and the noise reduction.  Everything looked awful.  Then I brought back the noise reduction and things suddenly started looking a lot better.  When I was happy with the noise, it was time to bring back some sharpening.  Things were a little soft after the noise was taken out so the sharpening brought back a bit of punch to the image.  A tweak on the amount and opening up the radius a bit made things look good.  Then a more aggressive level of masking of the sharpening and suddenly the image was looking way better than before.

When I was happy with things, I saved a new preset that was just sharpening and noise reduction and labeled it as High ISO Detail.  Now I can apply it to any images that need it and be in a far better starting position for further processing.  Each image will require its own approach if I am going to make more effort on post processing but I will now be starting from a far cleaner place.  The samples above are comparison of approximately 100% crops with my original settings and the revised approach.  Hopefully you can see the difference.  It might be annoying to realize you have been missing something for so long but at least I finally worked it out!

Auto ISO

There is a function built in to my cameras that, until recently, I had never bothered to use.  It hadn’t been something that immediately grabbed my interest and so I had forgotten about it to some extent.  Therefore, when it could have been useful to me, I had not thought about how to make good use of it.  This is Automatic ISO.  This is an interesting idea when you start to think about it in more detail and one that might cause some to react in strange ways.

Many photographers will react poorly to the camera doing anything automatically.  They will say how they like to have control.  Then they will totally contradict themselves by telling you that they always shoot in aperture priority mode, totally ignoring the fact that the camera set the shutter speed for them in this mode “automatically”!  Therefore, for anyone reading (is anyone reading?) who jumps to the “I am against automatic anything” approach, why don’t you go and analyze exactly how your camera works and you use it.  If you are totally manual in everything you set, congratulations.  You obviously don’t need to read this anyway.

For anyone else who is a little more open-minded and who hasn’t played with this capability, let me explain why I tried it.  Plenty of times I have the camera in aperture priority in a situation where it is quite dark.  I know this is not clever of me but I often notice that the shutter speed is low because I can hear that it is!  In situations like this I might then tweak the ISO setting to try and bring things back into a range I am comfortable with.  My technique for this is rolling the dial a bit and seeing what I get.  Not clever analysis by any stretch.

Recently I was shooting a job in natural light (or lack thereof) that started long before the sun came up.  I knew I was going to be using some pretty high ISO settings to get useable shots and this is when the auto ISO function came to mind.  I went to manual mode, set the aperture and shutter speed I wanted and switched ISO to A.  Now, it worked out what was needed to get the exposure right.  As the light conditions improved, the ISO got dialed down but I didn’t have to do anything other than find what I wanted to shoot, compose and get on with it.  The only limitation I had was that I don’t know how (or even if) you can add exposure compensation in this situation.  Something for me to research – maybe even take the dreaded step of reading the manual!

The results were very satisfactory.  I got the images I wanted and didn’t have to constantly wonder about whether my ISO setting was right.  Obviously, this is not a solution for every situation but it does provide a good approach in some conditions.  Maybe you will have a time when it is worth a go to.