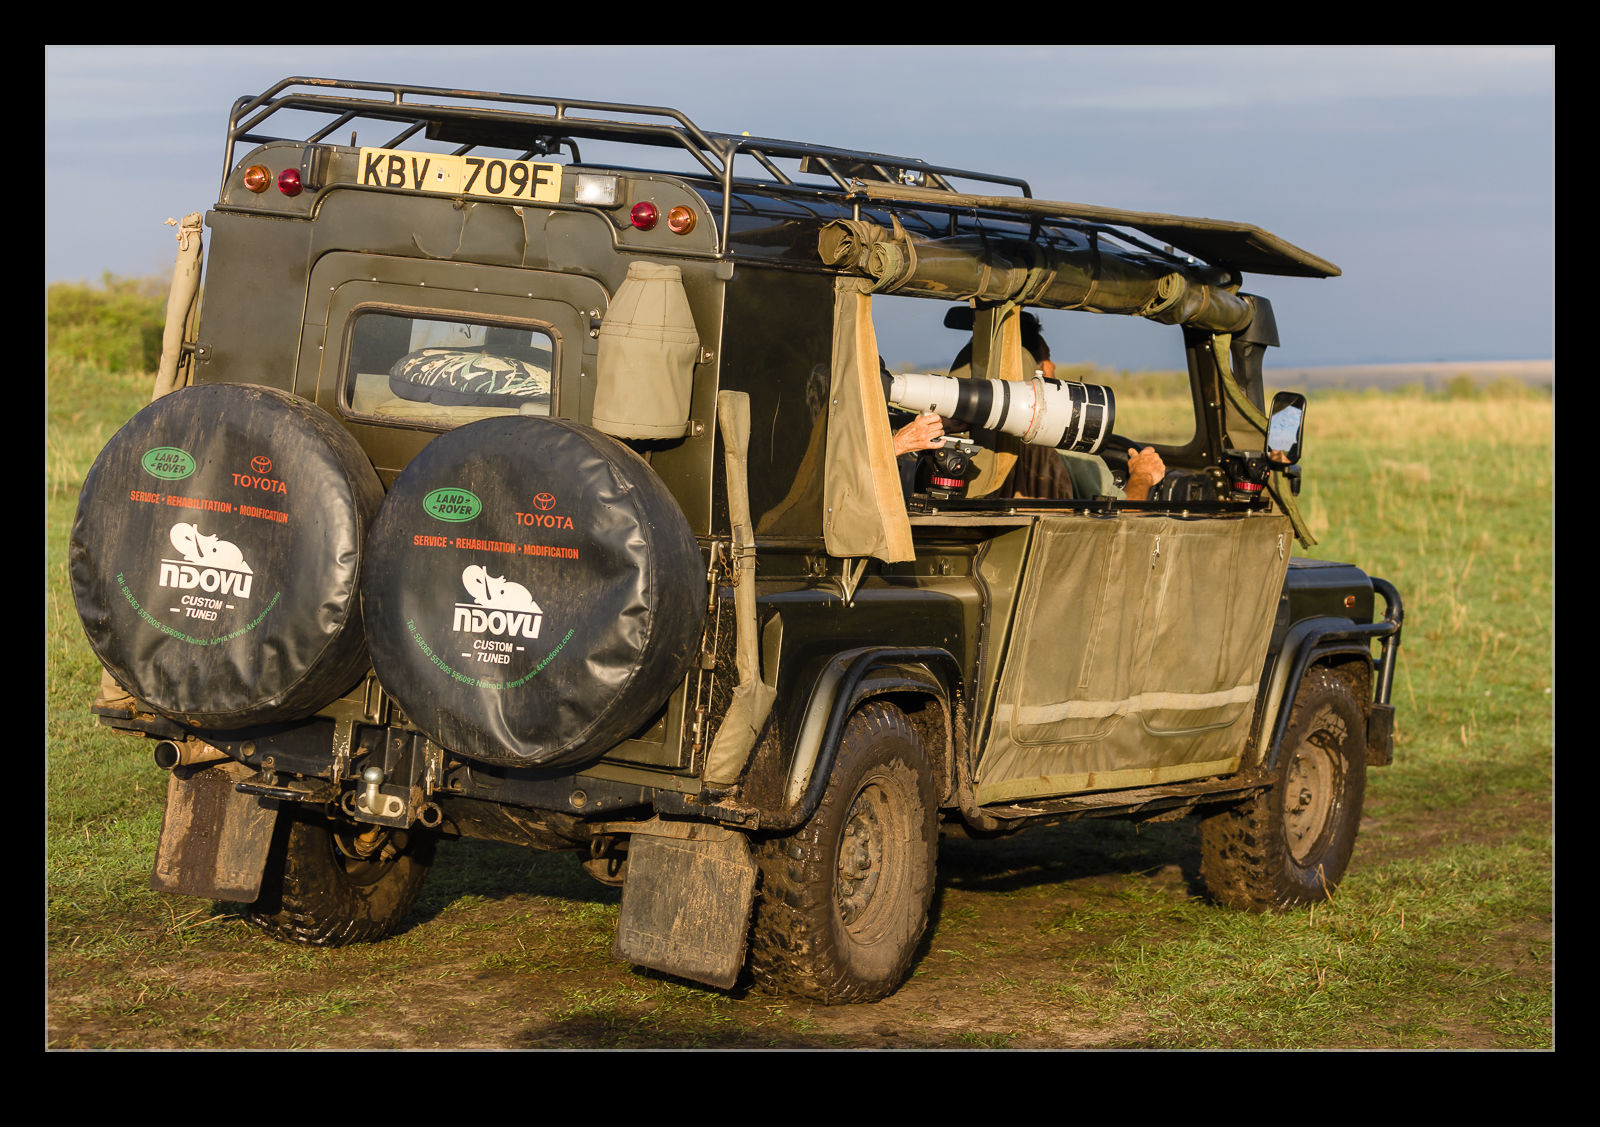
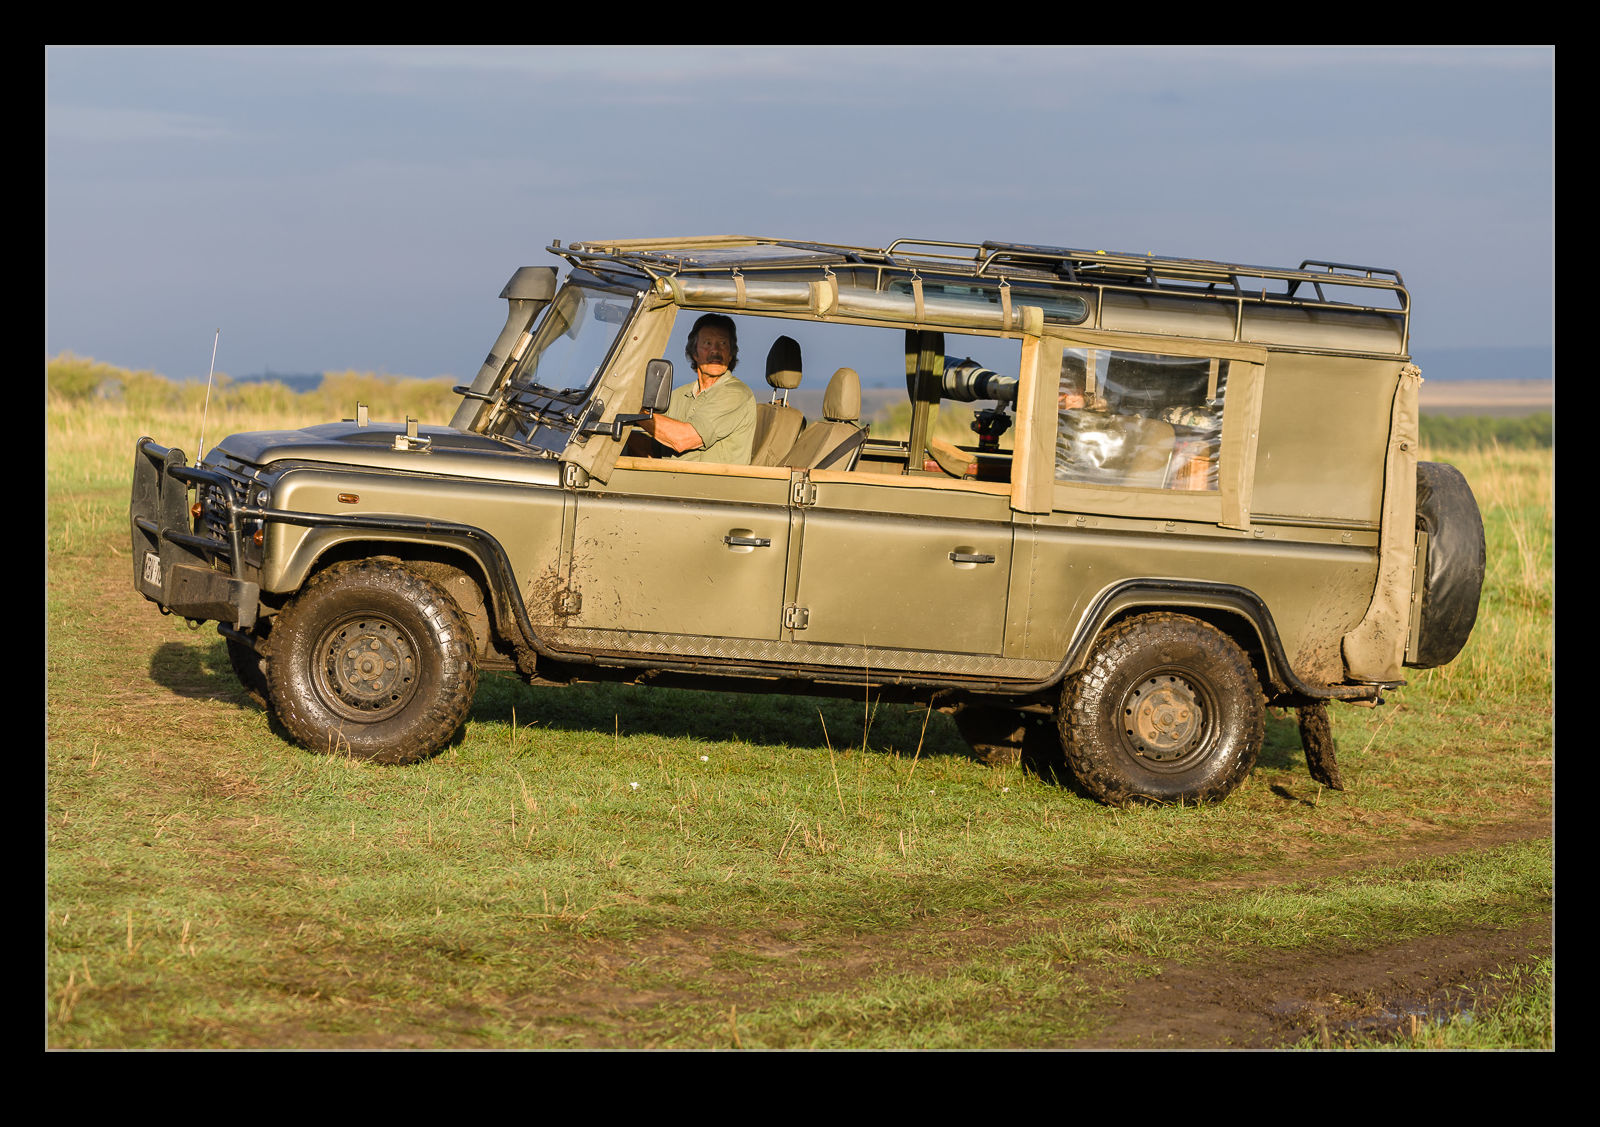
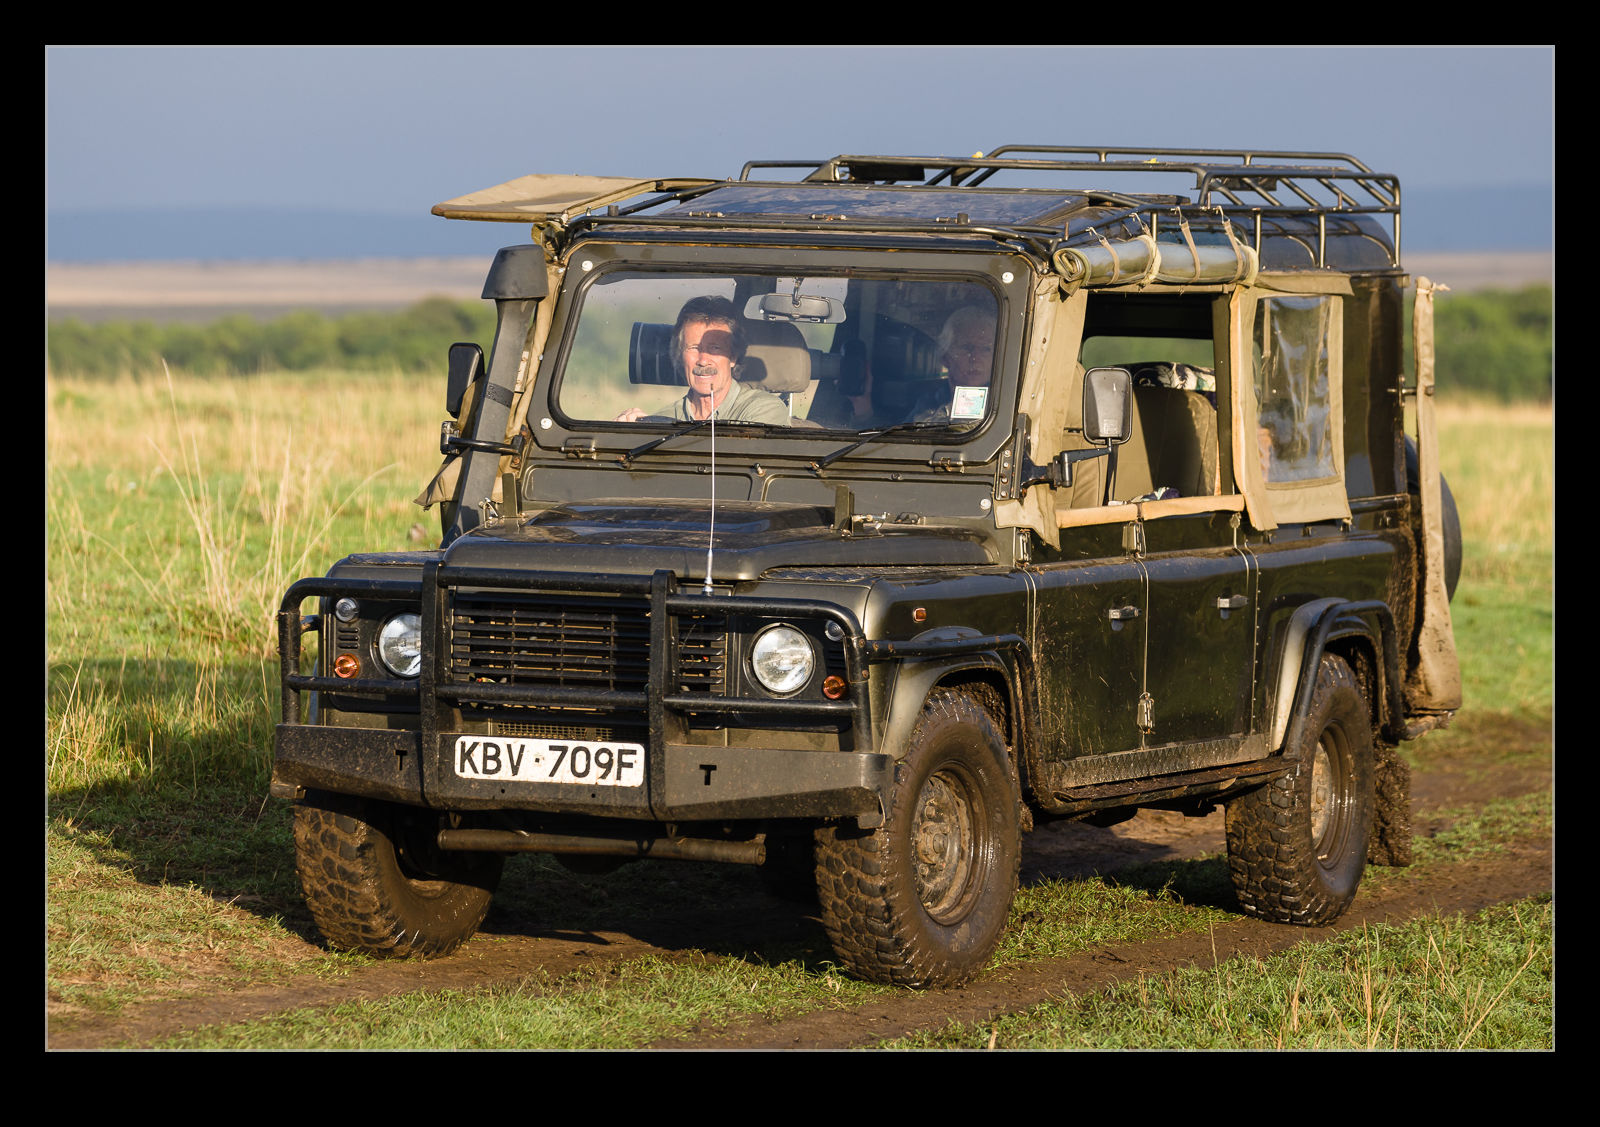
 When I was a lot younger, I watched wildlife programs on the BBC. There was a film maker that was on my local BBC region called Simon King. He graduated to working in the Maasai Mara where he was on with another photographer and film maker who had been there for many years. His name is Jonathan Scott. He still lives in Kenya and, with his wife Angela who is also a photographer, can be seen out and about in the Mara covering the animals. I was really pleased when we came across the pair of them. He was driving their Land Rover with his wife in the back shooting out the side. He had a camera mounted close but too. I waved at him at one point and he smiled and waved back. Had a bit of a fanboy moment!
Tag Archives: photography
How Many Megapixels?
How many is too many? I really don’t know. I refer to the number of pixels that can be squeezed onto the sensor for a digital camera and what is desirable or not. Over the years the camera manufacturers have steadily increased the number of pixels on their sensors and come up with ever greater resolutions as a result. This has been both beneficial and problematic. What I am not sure about is whether I am missing the point with all of this.
My first DSLR was a Canon EOS 10D. It was a 6.3Mp camera – something that would now be considered unacceptable on a cell phone. It was a great camera, even if it did have a number of limitations that would be considered unheard of today. However, for its day it was very good. I had full page images printed in magazines from it with absolutely no problem.
As the megapixel wars got going, I was adopting larger and larger file sizes by default. I would tell anyone who asked that megapixels were not the most important thing when buying a camera and there were plenty of other issues to consider. I certainly don’t mind having a more dense file when I need to crop in to a shot but the impact on memory cards, the need for ever larger hard drives and the upgrades to computers to process the larger files were downsides that I didn’t appreciate.
For a while it seemed like the pixel count had leveled off a bit and the focus was on gaining better noise performance at high ISO settings. This seemed like a very worthwhile approach for me. However, big sensors are now back in play with the Nikon D800 leading the way and Canon talking about some large sensor cameras to come. (I think it is worth noting that, since the pixel count is a function of the square of the linear resolution, these larger counts do not translate in to a huge improvement in linear resolution. Yes, you do get more detail but it isn’t quite as mind-blowing as some will suggest.)
Am I a dope for not welcoming this? Am I taking a Luddite approach in sounding happy with what I had and not appreciating the advances? Do I just accept that all of my gear has to be upgraded periodically to stay in line with the latest thing whether it is camera file sizes, the processing requirements of new generation software or the interface needs of the latest devices. I’m sure there are some benefits to having such dense files but I am not sure that they matter for what I do.
As for the uses for large file sizes, there is always much discussion about printing big or using for billboards. Only a photo nerd looks at a picture from six inches and billboard resolutions are actually quite poor. I wonder what a good resolution level really is. Anyone care to suggest the perfect compromise?
Cheap Macro
 While the idea of trying macro photography has always been of interest to me, I have never got around to actually doing it aside from an old lens I had in my pre-autofocus days that had a macro setting. The idea of renting a macro lens had occurred to me but the reason to do it hadn’t come up and I didn’t feel like renting the lens without having something to use it on.
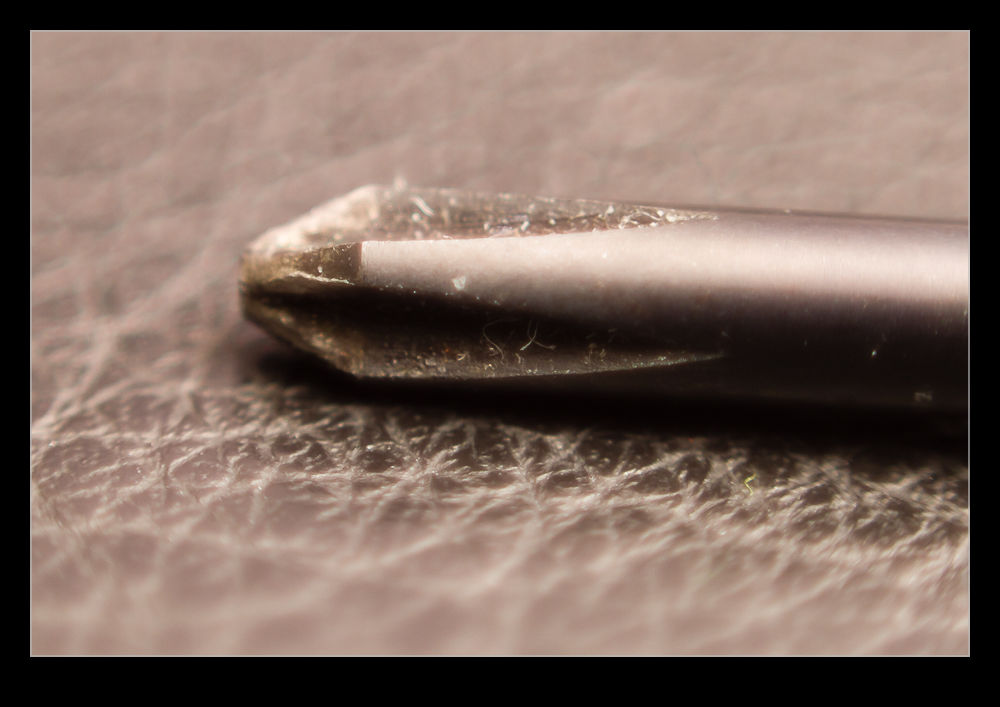 Then I remembered reading about reversing a lens to use it for macro. I have a 50mm that I I hand held in reverse to see how well the macro effect would work. It seemed pretty good so I decided to get a mounting ring to reverse the lens on the camera. Amazon came up with a bunch of options and the one I got set me back the enormous total of $8!
 The simple answer is that it works. It is a little inflexible to use compared to something designed for the task but it does work. The depth of field is extremely shallow and you get some odd distortion across the edges of the image. Obviously there is no focus or exposure control. I just set the camera to aperture priority mode and dial in the normal f/1.8 of the lens and the exposure seems to work out pretty well. Then it is a case of moving the camera around to get focus. Not something I am going to do a lot but, for $8, I don’t have to worry about getting a lot of use out of it!
Changed Workflow
I have changed my approach to editing my pictures quite a bit recently. This has served two purposes. The first is to make better use of my storage requirements and the second is to focus more quickly on the better images. Sadly, this has highlighted to me how I have actually missed out on some of my better work in days gone by. Not a happy lesson to learn but a valuable one.
I never used to delete images since storage was not a problem. I did occasionally find images that newer RAW processors could do something with. However, to be honest that was a rare occasion and, even then, I wasn’t likely to have an outlet for that image. However, by not getting rid of stuff, I really cluttered up what I had. Moreover, I would scan through and find images I liked the look of and mark them as favorites. When I would come back to them later, I would find they were a bit flawed – not sharp enough usually being the problem. What was worse was that I would search based on ratings and so wouldn’t bring up the next shot which actually might have been almost identical but sharper!
Consequently, I had a workflow that hid the good shots and encouraged me to pick the wrong examples by mistake. I have now changed all of this. Part of this is driven by trying to keep storage requirements under control. I have been shooting a lot of rotor-craft and getting good rotor blur requires low shutter speeds which often means shooting lots of frames to get a few sharp ones. When you are being buffeted by the down-wash, no amount of good technique is going to be enough! I do generally shoot more these days anyway so I have a lot to work through.
The first thing after downloading is to generate 100% previews of all images. I can then set up Lightroom with one side as the full image and the other has the 100% view. This way I can determine sharpness of the shot at the same time as seeing whether the overall image is okay, i.e. no poles across the shot or noses cut off! I have copied a process I saw demonstrated online where I assign a job descriptor in Lightroom and then set up smart collections for that job of Picks, Not Rejects and Rejects. I have also started separating out video clips to another smart collection. By reviewing the Not Rejects folder, anything rejected gets automatically removed so it thins out as I go.
This certainly brings the numbers down but not always as dramatically as I would like. I suppose I should be pleased that I am not shooting such a low percentage! Once I have done this, I can now trust that the shots that are left are all considered usable. Then I can go through again and weed out the obvious duplicates by picking the best of a given type. This will really help to thin things out. The other thing I will do (which I also tend to start as I get further through the first review) is culling those that are just not interesting. I have come to the realization, far too late, that only the best shots are ever going to see a use somewhere (and most of them won’t either). Therefore, a relatively uninteresting shot that is sharp and well composed might as well go in the trash unless it has something unique about it. Most don’t!
This has resulted in me thinning down the shoot far more rapidly. The review also includes marking as Picks those I particularly like. Hopefully, this will make it a lot simpler to get to the good stuff in due course. Now I am also gradually following the same process for the large selection of previous images. Maybe I won’t have to upgrade my hard drives for quite a while with all of this space I am freeing up and the reduced rate at which I am filling space.
One footnote to all of this. My NAS runs a backup of everything every night. When images get deleted, they will be gone from the backup the following night. However, before anything is deleted, it is all backed up to Blu Ray discs. That way, nothing is truly gone forever. However, it would require some serious effort to go back to those discs to find something that is deleted since they are gone from the Lightroom catalog. However, they are easy to backup so why not?
Final Overnight Time Lapse
I mentioned before that I had tried to do an overnight time lapse video. In that post I detailed all of the ways I had screwed up the process. Rather than sulk, I did take all of those lessons to heart and went back for a second attempt. This time, I was a lot more successful. I hadn’t got around to figuring out how to make the tethering work properly but the alternative was acceptable and I had learned the rest of my lessons.
One minor hurdle still existed. Our windows are not at their cleanest at this time of year and shooting through the glass is the only option. We are due to have the cleaners take care of them shortly (although that will probably only guarantee some rain immediately afterwards). In low light and with a wide enough aperture, the dirt smudges are not too much of a problem. I have to make sure the shoot doesn’t include any time with direct light on the window which would make the muck flare up in the shots.
The other minor issue is a function of the double glazing. More intense light can show up the effect of the light bouncing between the glass panes. At night this isn’t a hassle except with the moon which is so bright. For some reason I should be able to figure out but can’t, the center of the window almost totally removes this effect and it gets worse towards the edges. However, the moon is so bright in the scenes it blows out and, since the whole thing animates to a video, the loss of shape in the shots becomes less apparent as the moon zips across the sky.
With all of that said, here is the video itself. It seems to have worked out well. Sadly, the messed up effort seemed to have got some more interesting light sequences from the windows of the building but you can’t have it all. Enjoy!
What a Balls Ups
I have previously played around with time lapse videos made with an SLR, a timer release and some software linked to Lightroom to create the finished video. I decided to go a little longer with one and make a video throughout the night, starting before sunset and finishing off once the sun had come back up again. This did not prove to be as simple as I had hoped!
It should be pointed out that most of these problems are entirely of my doing. First of all, I did a calculation of how many shots I thought would be necessary to complete the clip. This was more than would fit on one of my compact flash cards. No problem, the camera has a second slot. It turns out that, unlike the MkIV which will switch to the second card when the first is full if you so desire, the MkIIN won’t do that. Okay, not problem. I shall tether it to Lightroom and download direct to the laptop.
This didn’t work. I believe this was also my fault as the MkIIN has a firewire connection as well as the USB and the USB tethering showed up on the computer but didn’t actually do anything. Okay, I can fix this. I shall let it run for a long time and change the card shortly before going to bed and the new card should work through the rest of the night. A fully charged battery and off we went to dinner.
Upon my return, I find that the camera is not shooting any more. Foolishly, while I worked out that a 16Gb card would be fine, I didn’t remove the 8Gb card that was in there so the card was full. I swapped the card with another one quickly and set it off. A while later I come back to check on it and nothing is happening. The new card is full. I hadn’t formatted it first. What a fool. I also have a flat battery. This is not going to be good. Fortunately, the MkIIN came with the DC adapter as standard (unlike the MkIV – how tight are you Canon?) so I swapped that in, put in a fresh card and formatted it. Then I went to bed.
This finally worked. The remaining shots worked fine. The result wasn’t too bad but, since it had some obvious jumps in it – the moon was traversing the scene when the gaps occur – it wasn’t usable. However, it did teach me a bunch of thing that I now need to deal with for the second attempt. let’s see if I can balls that up as well!
The ISAP Cometh
Okay, you have to forgive the theatrical title but it made me smile! It is not long now until the annual symposium of the International Society of Aviation Photographers or ISAP. This year it is being held in San Diego and I have to admit, I can’t wait. I have been a member of ISAP for a number of years now and find the annual symposium to be an excellent event. My first symposium was in Pensacola and I turned up knowing absolutely nobody. I couldn’t believe the friendly welcome I received from so many people and that is a continuing theme throughout ISAP for me.
The symposium is a very well organized event. We have two full days of presentations on different aspects of the business with a field trip day in the middle that takes us to some location that would not normally be available with access to great aircraft to shoot – all with a really great bunch of people. What more could you ask for?
The levels of the attendees vary greatly. Some are enthusiasts while others are long established professionals. Everyone is open to discuss the topics on offer and there are a willingness to share knowledge that is very refreshing. I have learned a ton of good stuff at these events. It is also an opportunity to share your work. Putting together whatever I want to take with me is something that I start thinking about long in advance. Having some prints put together for display along with any other presentational forms is both fun and a little intimidating. These are the best in the world that you are showing your stuff to!
Soon I will be heading off. For those of you interested but who have never gone, give it some thought. For those of you that are members already, see you there!
