When totality occurred during the eclipse, I was literally and figuratively in the dark. I had practiced shots of the sun prior to the day to get the exposure right and, while the eclipse covered up the sun, the remaining section was unaffected so the exposures were right. Besides, I bracketed each shot because, we, why not? At totality, I removed the solar filter and switched to program mode because I didn’t want to have to work anything other than the shutter. I still bracketed the shots.
I got shots that I really liked but, I didn’t get anything that showed any detail around the edge of the eclipse. Everything was bright. Even with wide bracketing, the shots were quite blown out. I was a little disappointed by this but it was a minor thing. Seeing the eclipse had proved to be far more satisfying than any shot I got. However, it turns out an error of mine had a lucky side effect.
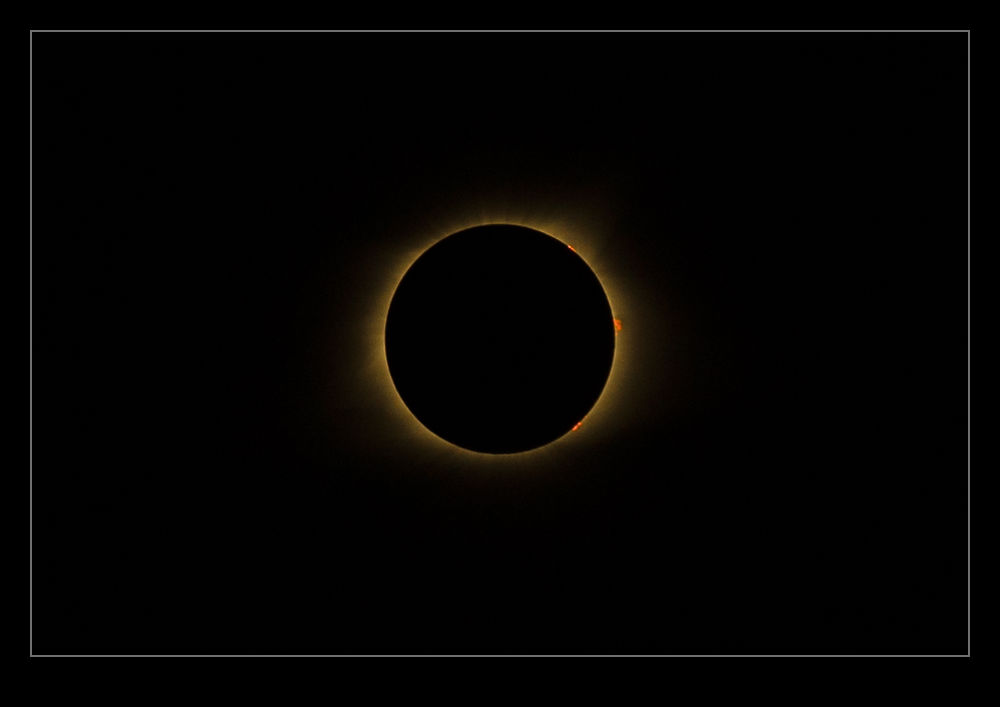 I had been shooting a time lapse sequence on the other camera. When I removed the solar filter (eventually) during totality, I didn’t change the exposure. Consequently, the shots were a lot more underexposed than the shots on the other camera. While the subject was a lot smaller in the frame because of the framing for the time lapse progression, I still had some detail of the eclipse and I realized some solar flares were visible on the side of the eclipse. I hadn’t planned this – it just happened by luck and I am happy to take all the luck I can get. As they say, “Better to be lucky than good!”
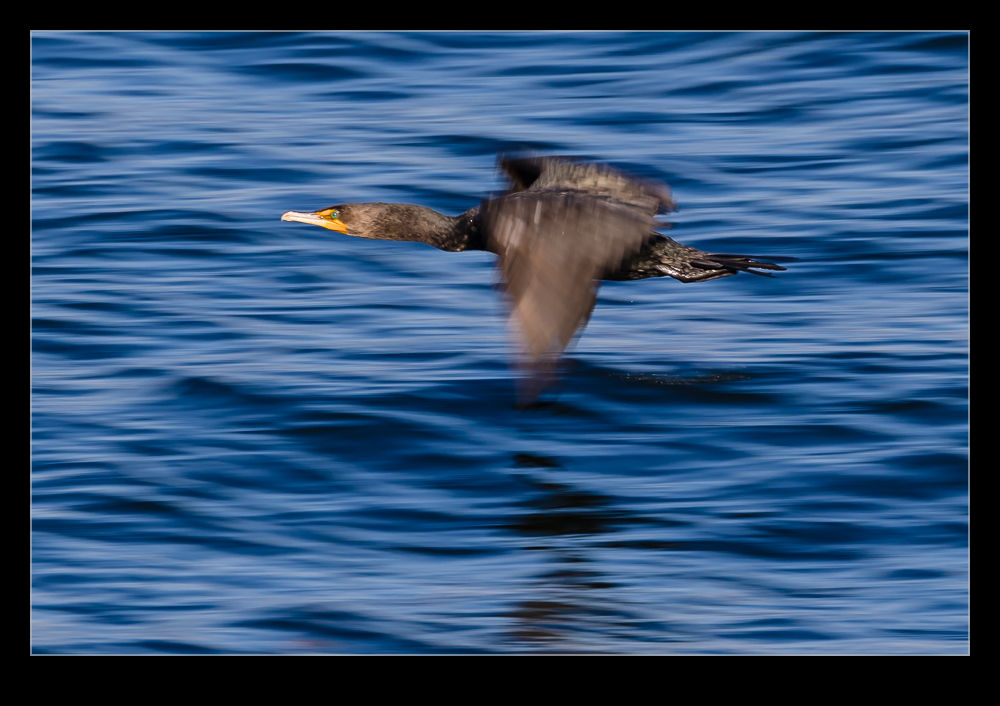
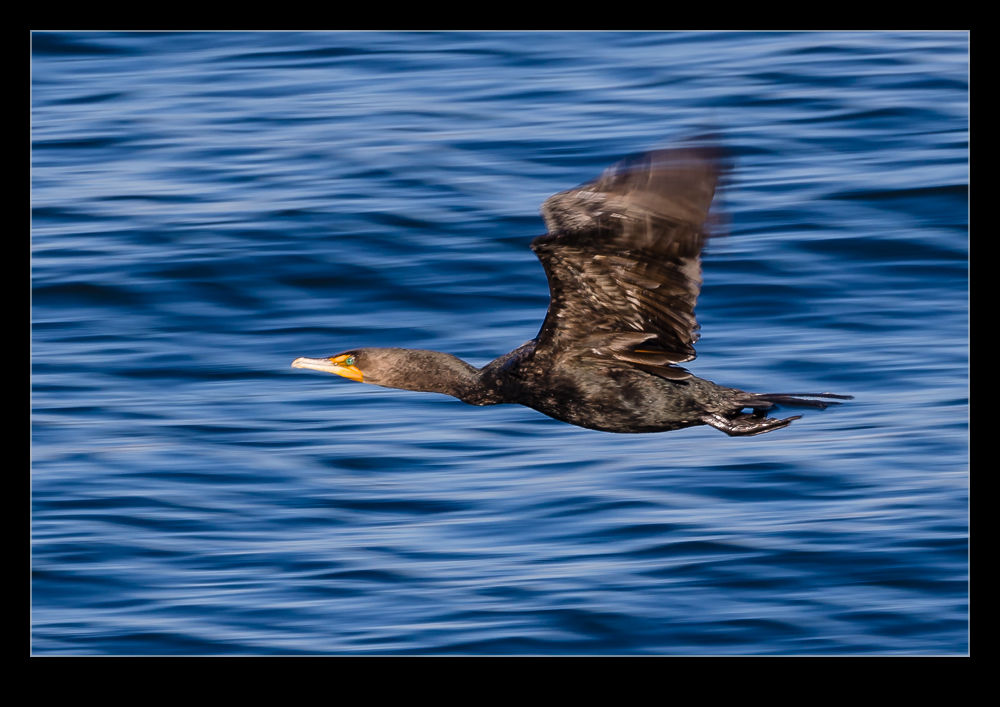 An impromptu shot of a cormorant is a good thing as far as I am concerned. Normally when I photograph birds, I am shooting wide open at as high a shutter speed as possible. However, this time I was set up for shooting at a lower shutter speed when the cormorant came by. Consequently, the success rate was down a bit. I did still get some shots though and the motion blur gives more of a feel of speed, even if it is just the water blurring out.