Tag Archives: technique

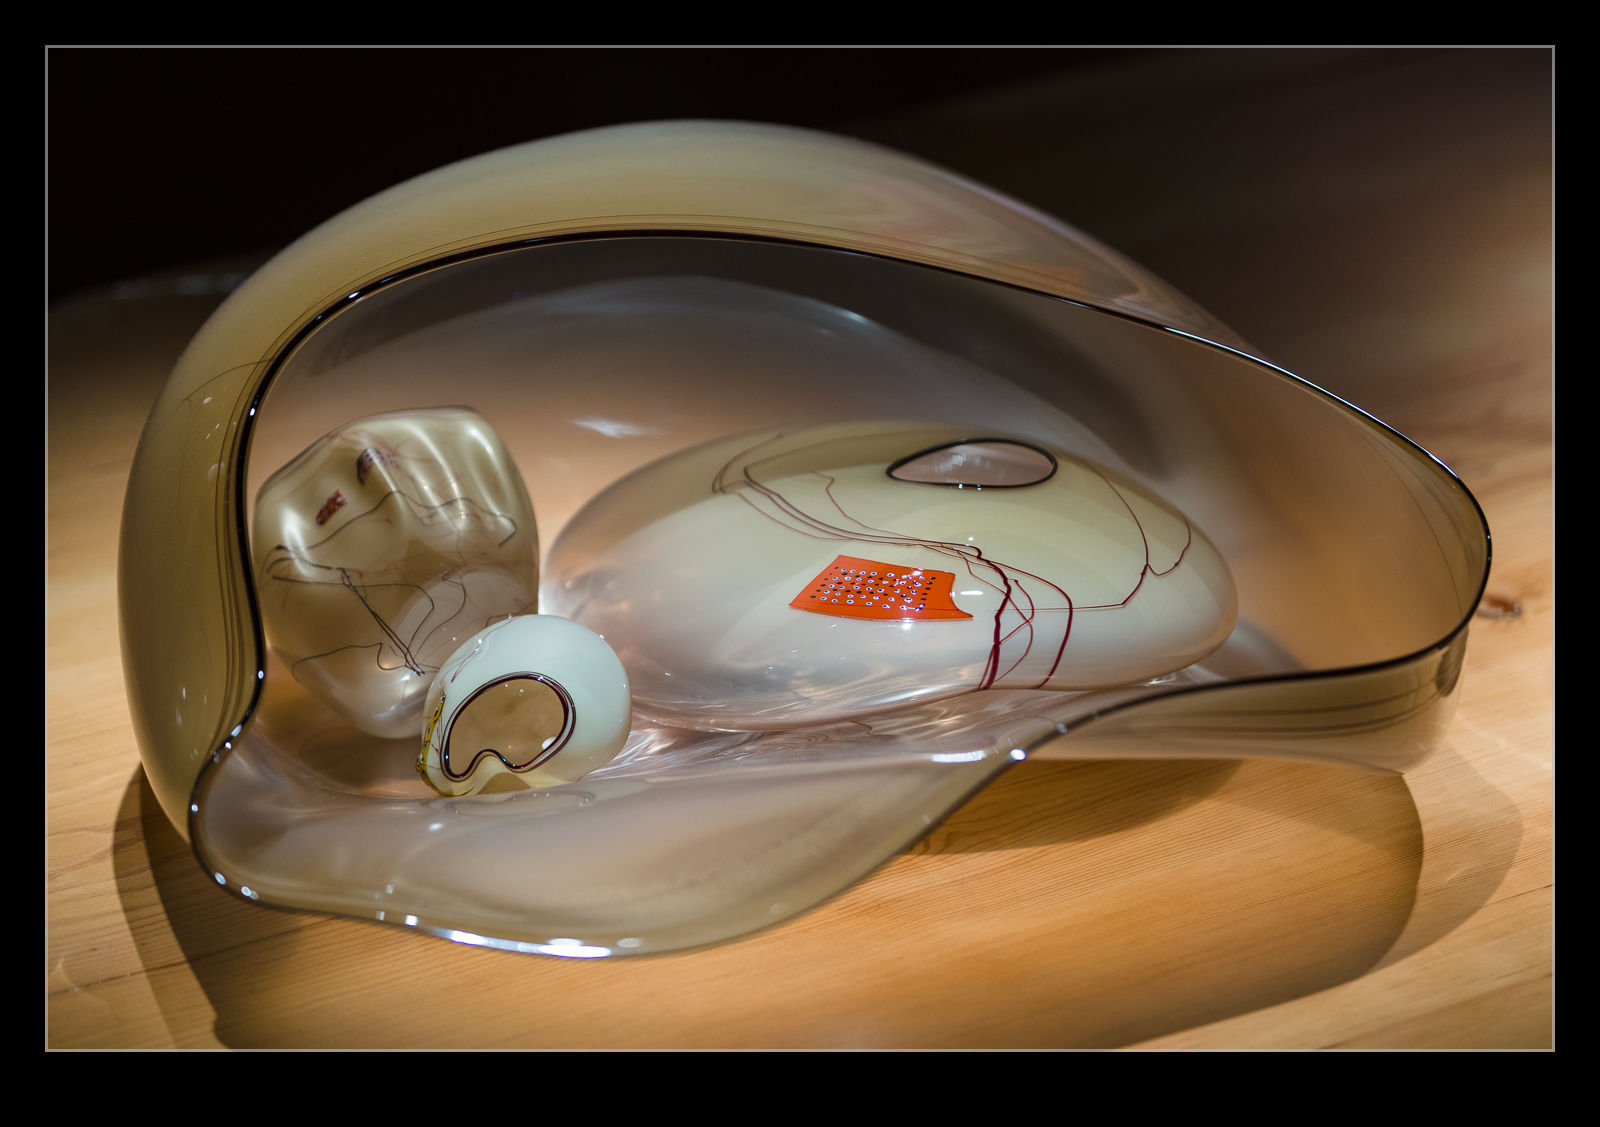
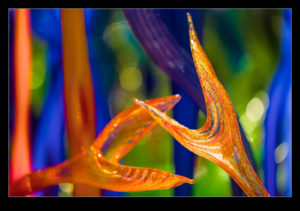
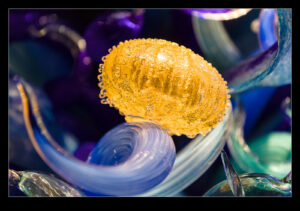
What New Shots Can I Get at Chihuly

With new visitors staying, we were back at the Chihuly Museum in Seattle.  Since I had photographed there a few times already, I thought I would take in a different lens and just use that to try and get something different to that which I had shot before.  I took the 70-200mm f/2.8 lens with me.  First, the big aperture would be good in the dim conditions.  Second, that wide aperture would allow me to play with some shallow depth of field (the longer reach of the lens helping to enhance that effect) and lastly, that longer focal length would mean I could experiment with tight crops or longer views across galleries.

Here are a few of the shots I got as we walked around the galleries.

Negative Lab Pro 2.0 Update

A while back, I bought the Lightroom plugin, Negative Lab Pro.  This is a plugin that converts digital images of negatives to a positive image.  I wrote about it in this post.  A short time ago, the developer brought out a version 2.0 upgrade to the plugin.  It turns out, the upgrade was free for those of us that had bought the original plugin.  I installed the upgrade to see how things have been improved. 

Initially, I was very disappointed.  The conversion process after the update seemed to be awful.  Things looked dark and blotchy and efforts to unconvert and reconvert the images didn’t help.  I was perplexed by this since a number of users had already exclaimed how happy they were with the update.  If in doubt, follow the old approach of closing stuff and restarting it.  I closed Lightroom and reopened it and whatever was wrong before was now fixed.  The conversion worked very well.  The controls have been expanded to give you a bit more to play with.  The main benefit I am seeing so far is in the color balancing.  Shots seem to have a more natural look to them without me having to work too hard on the color in the first place.  Shots like those with a lot of sky and an odd colored aircraft will still test the algorithm a lot but otherwise it seems to have a good handle on things.  It is also now able to handle frame edges without getting confused.  You can tell it how much of the edge to ignore which is a useful feature although I have got into the habit of cropping carefully already.

All in all, the upgrade seems to be a good one.  Since it hasn’t cost me anything, that is a nice thing to have.  It is also good to know that the developer is continuing to work on the product which holds out the hope of further upgrades to come.  I continue to recommend this to anyone that has been scanning their old negatives with a digital camera.

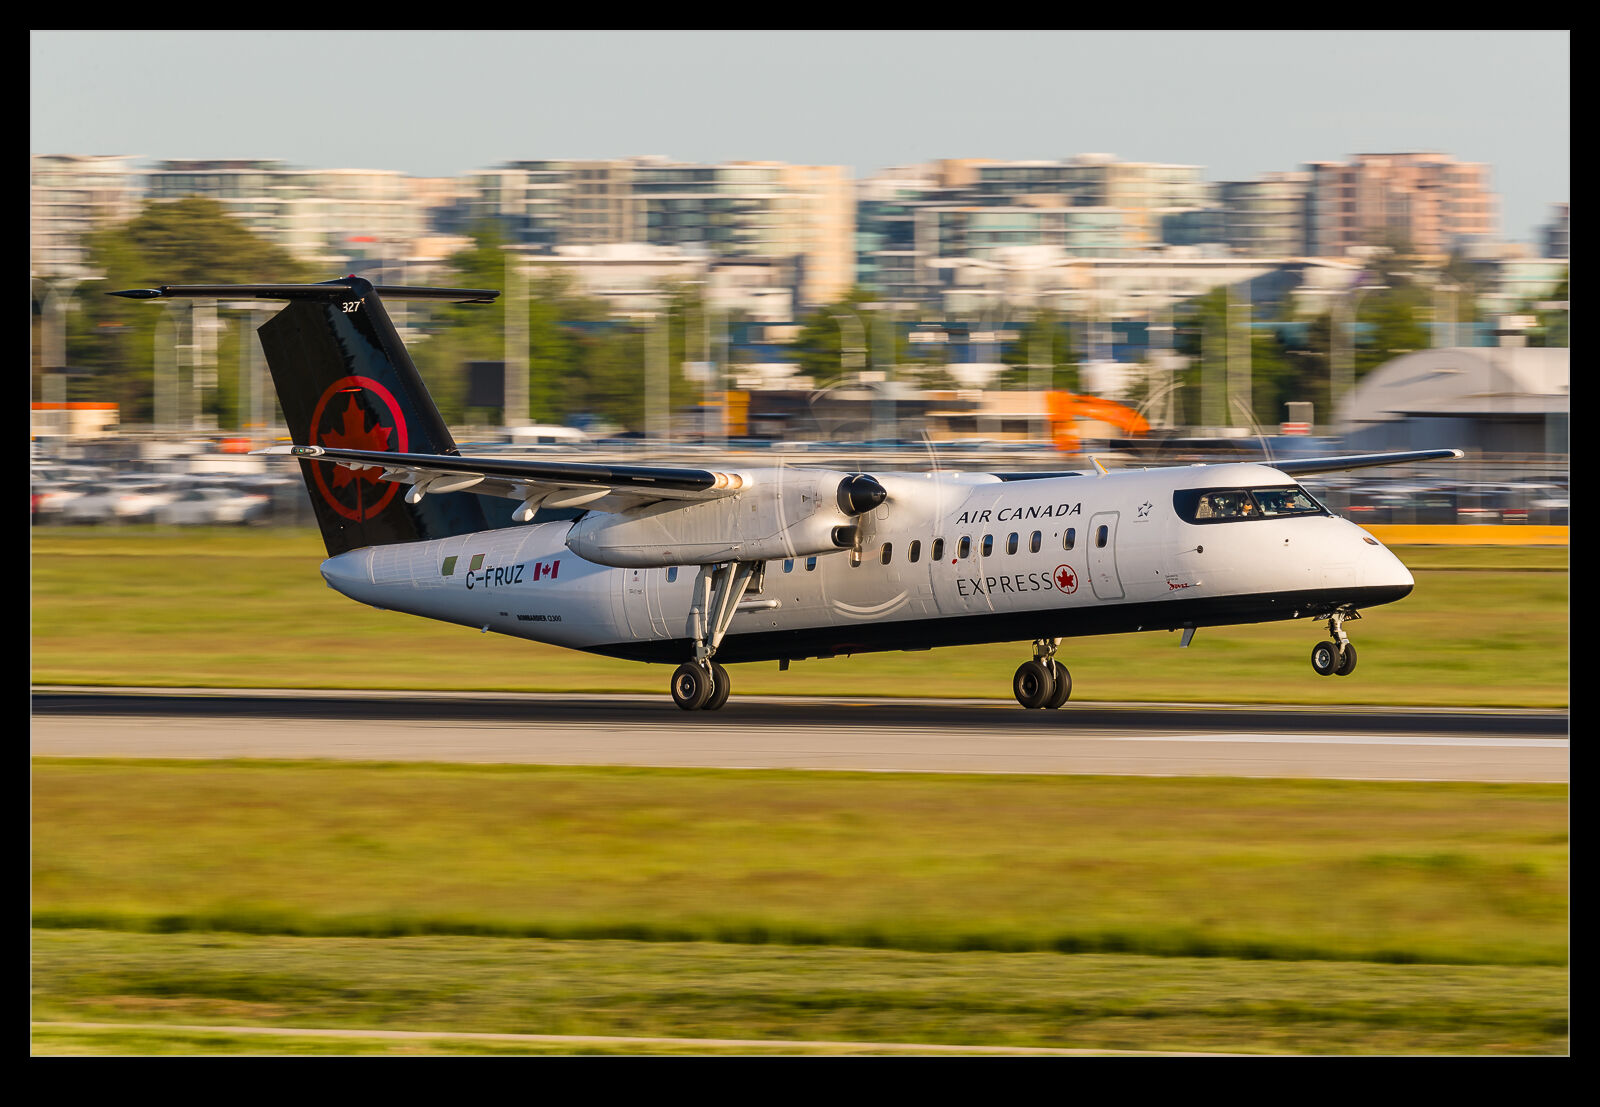
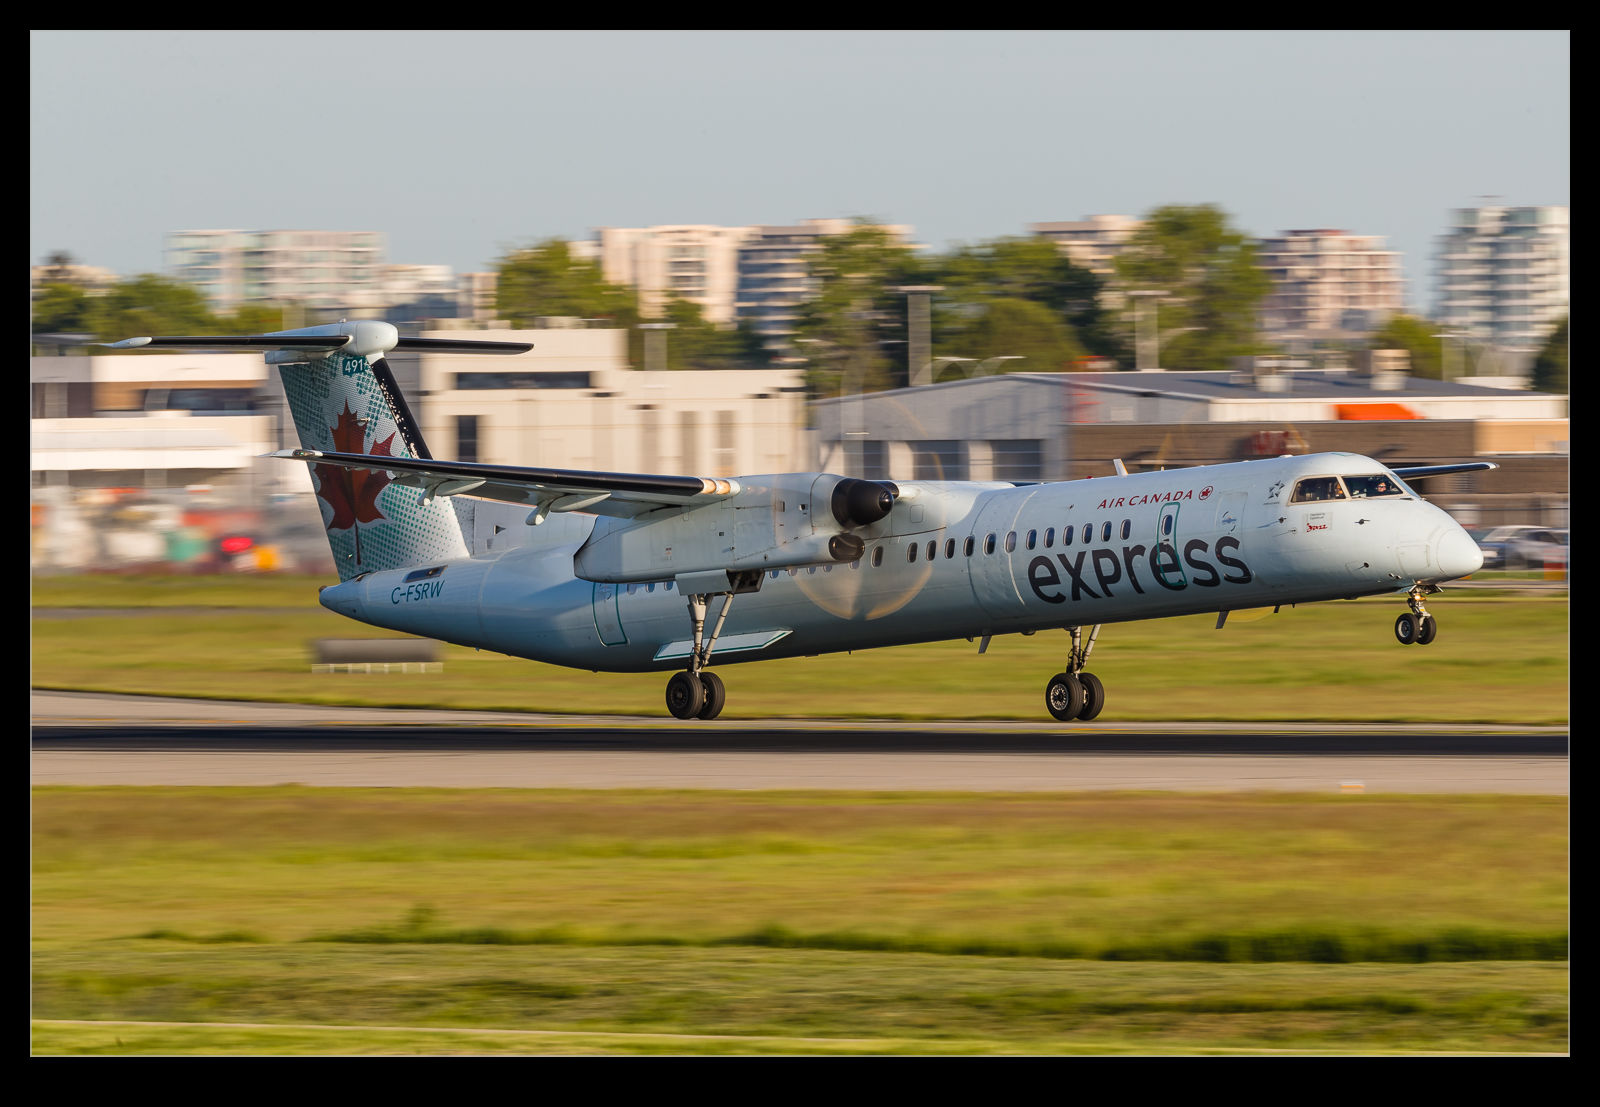
How Slow Can I Go With the Turboprops?

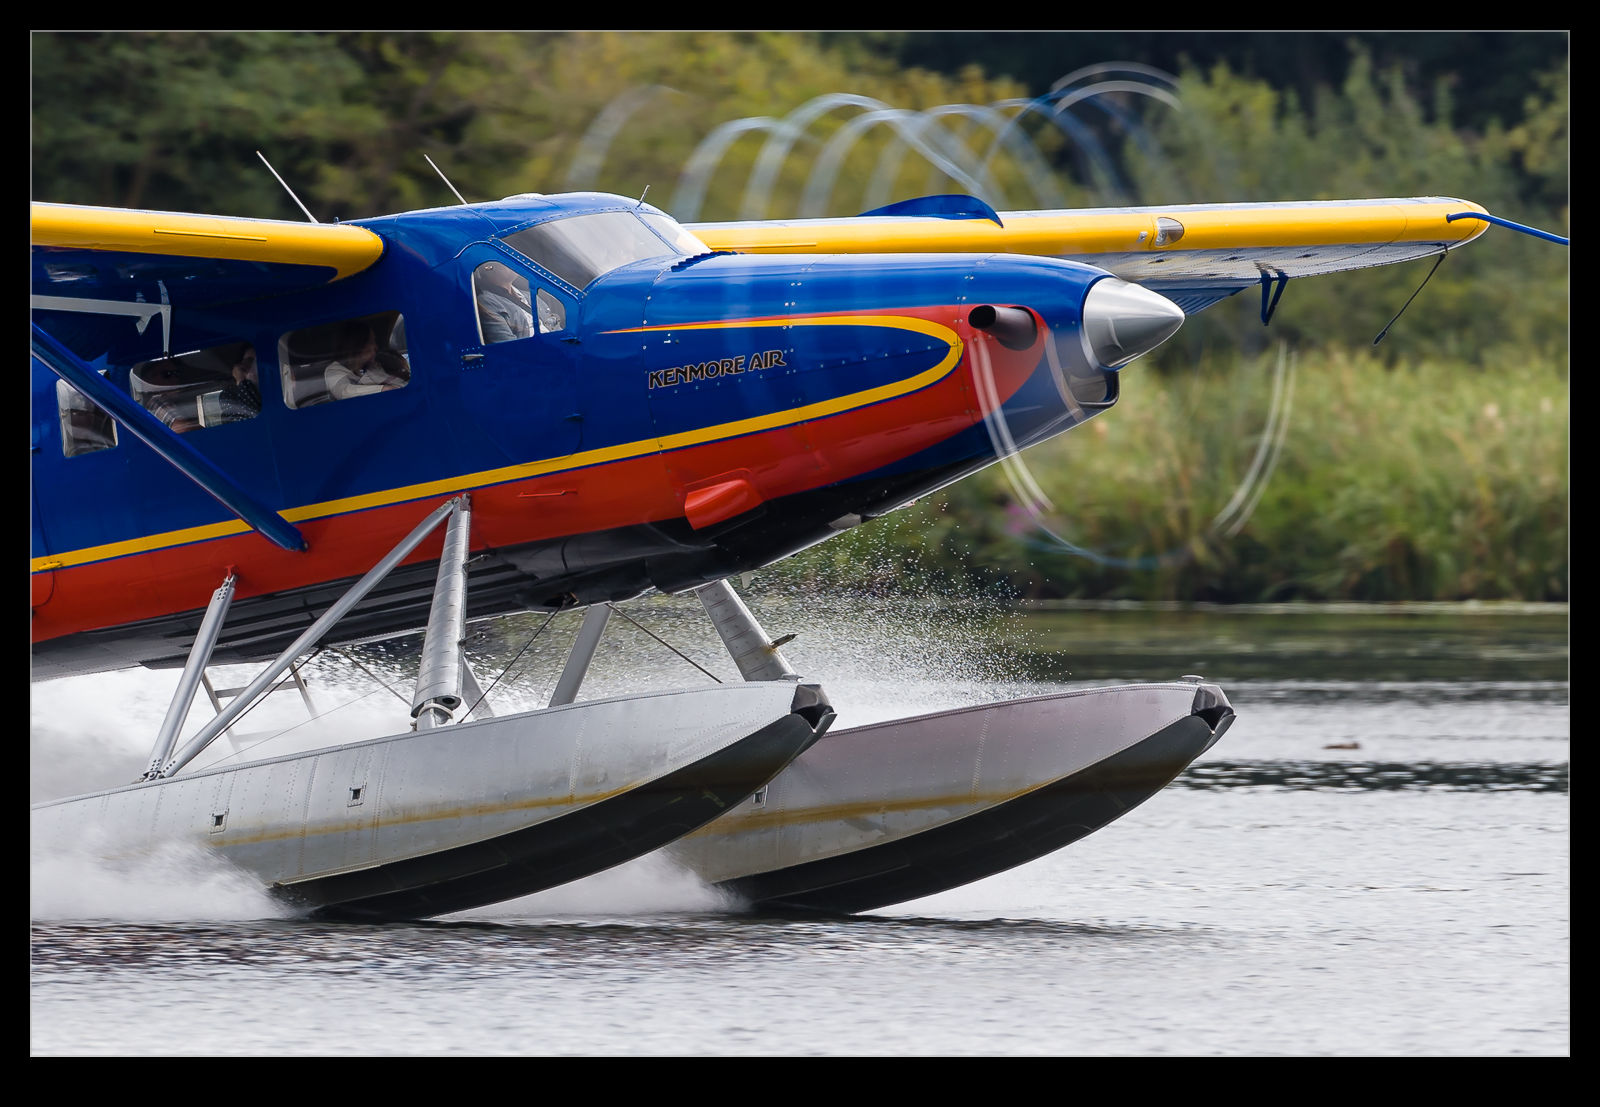
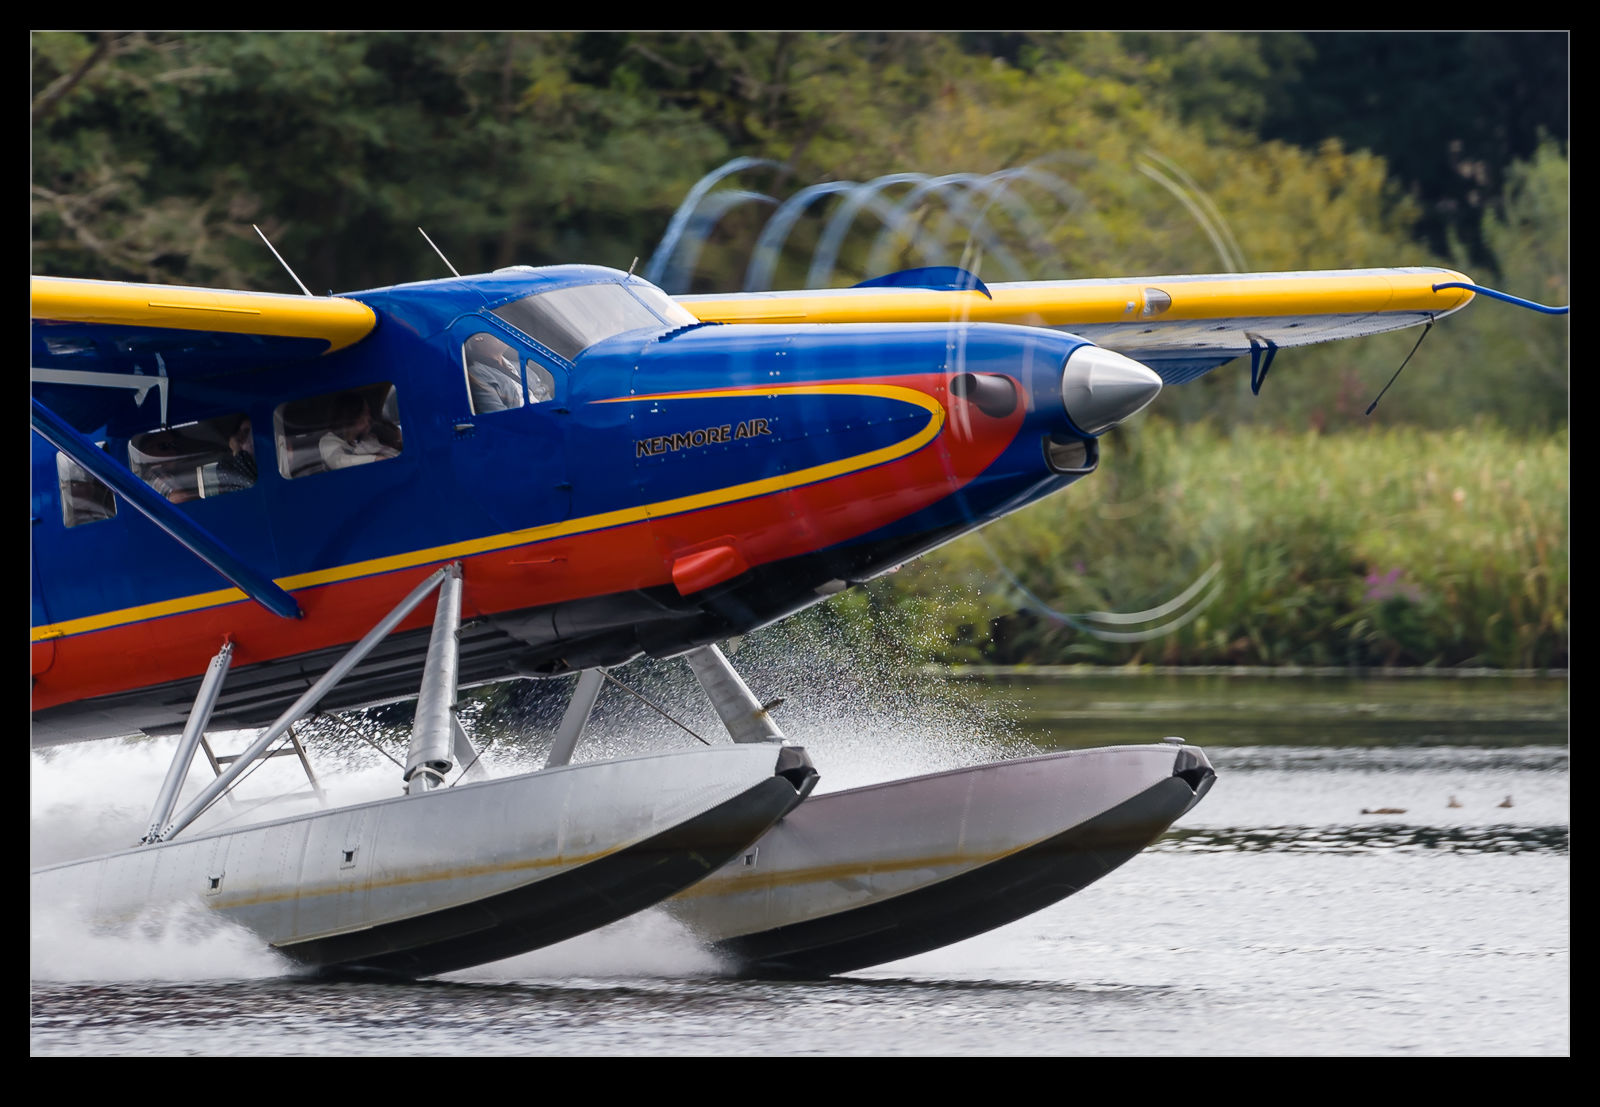
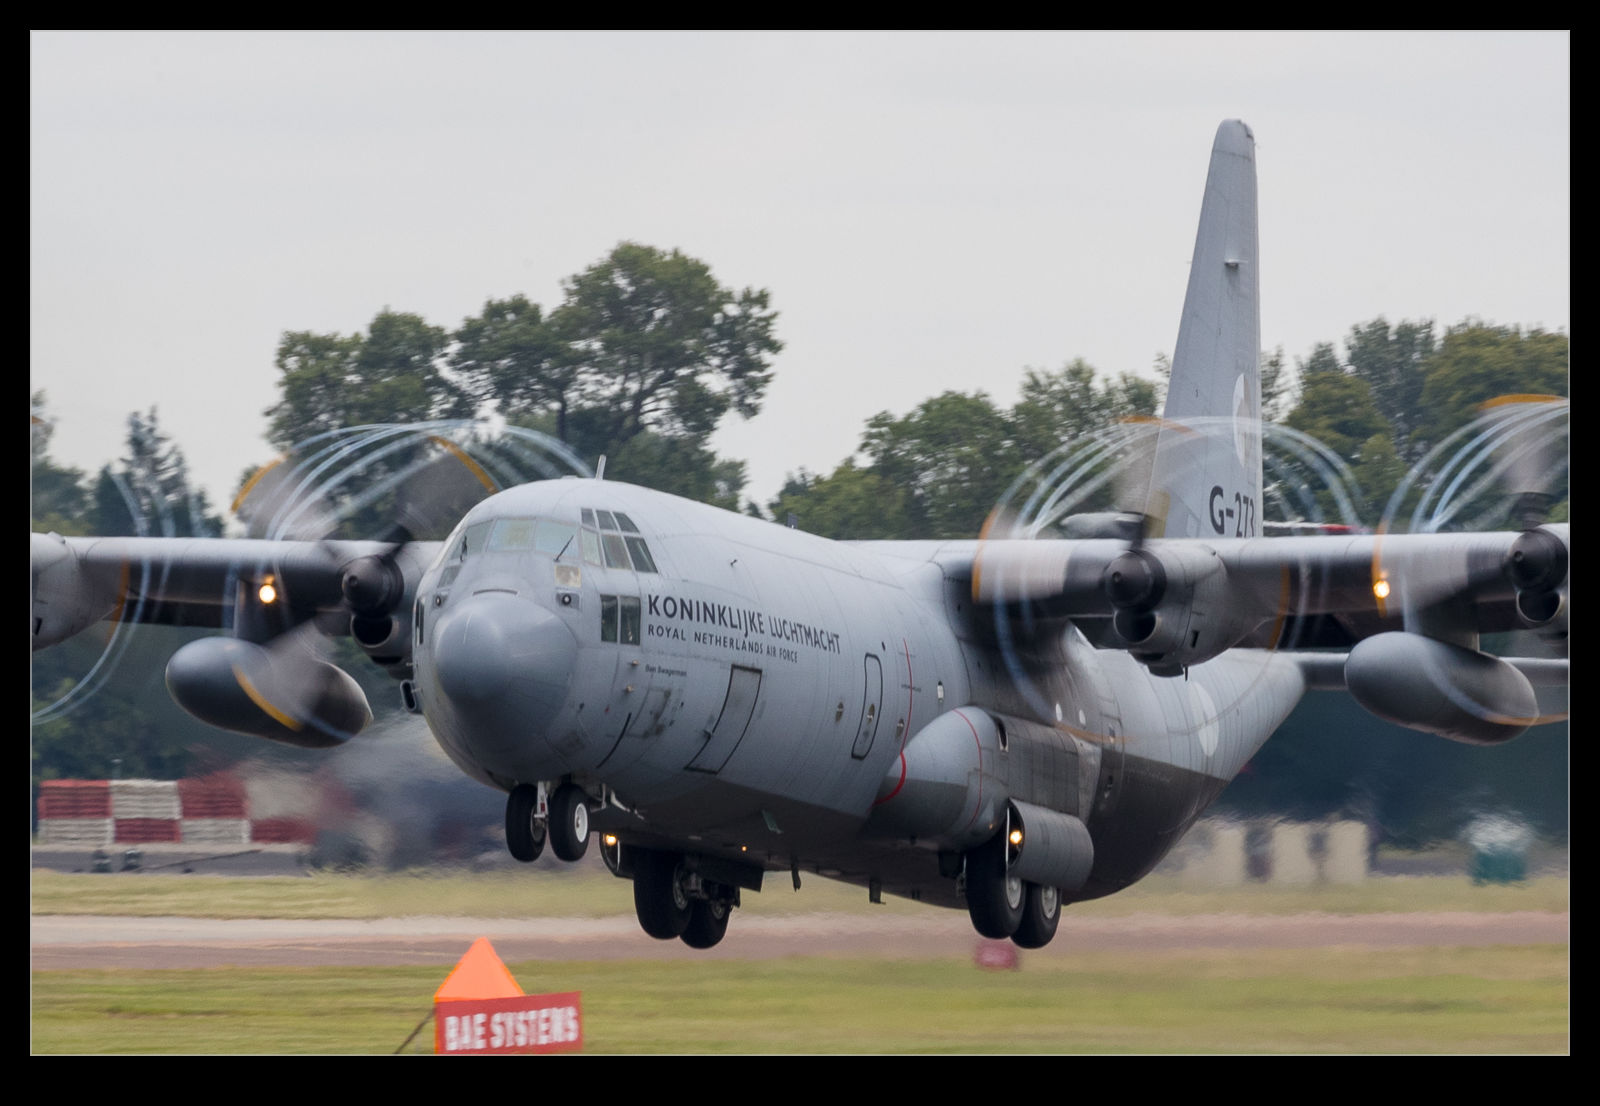
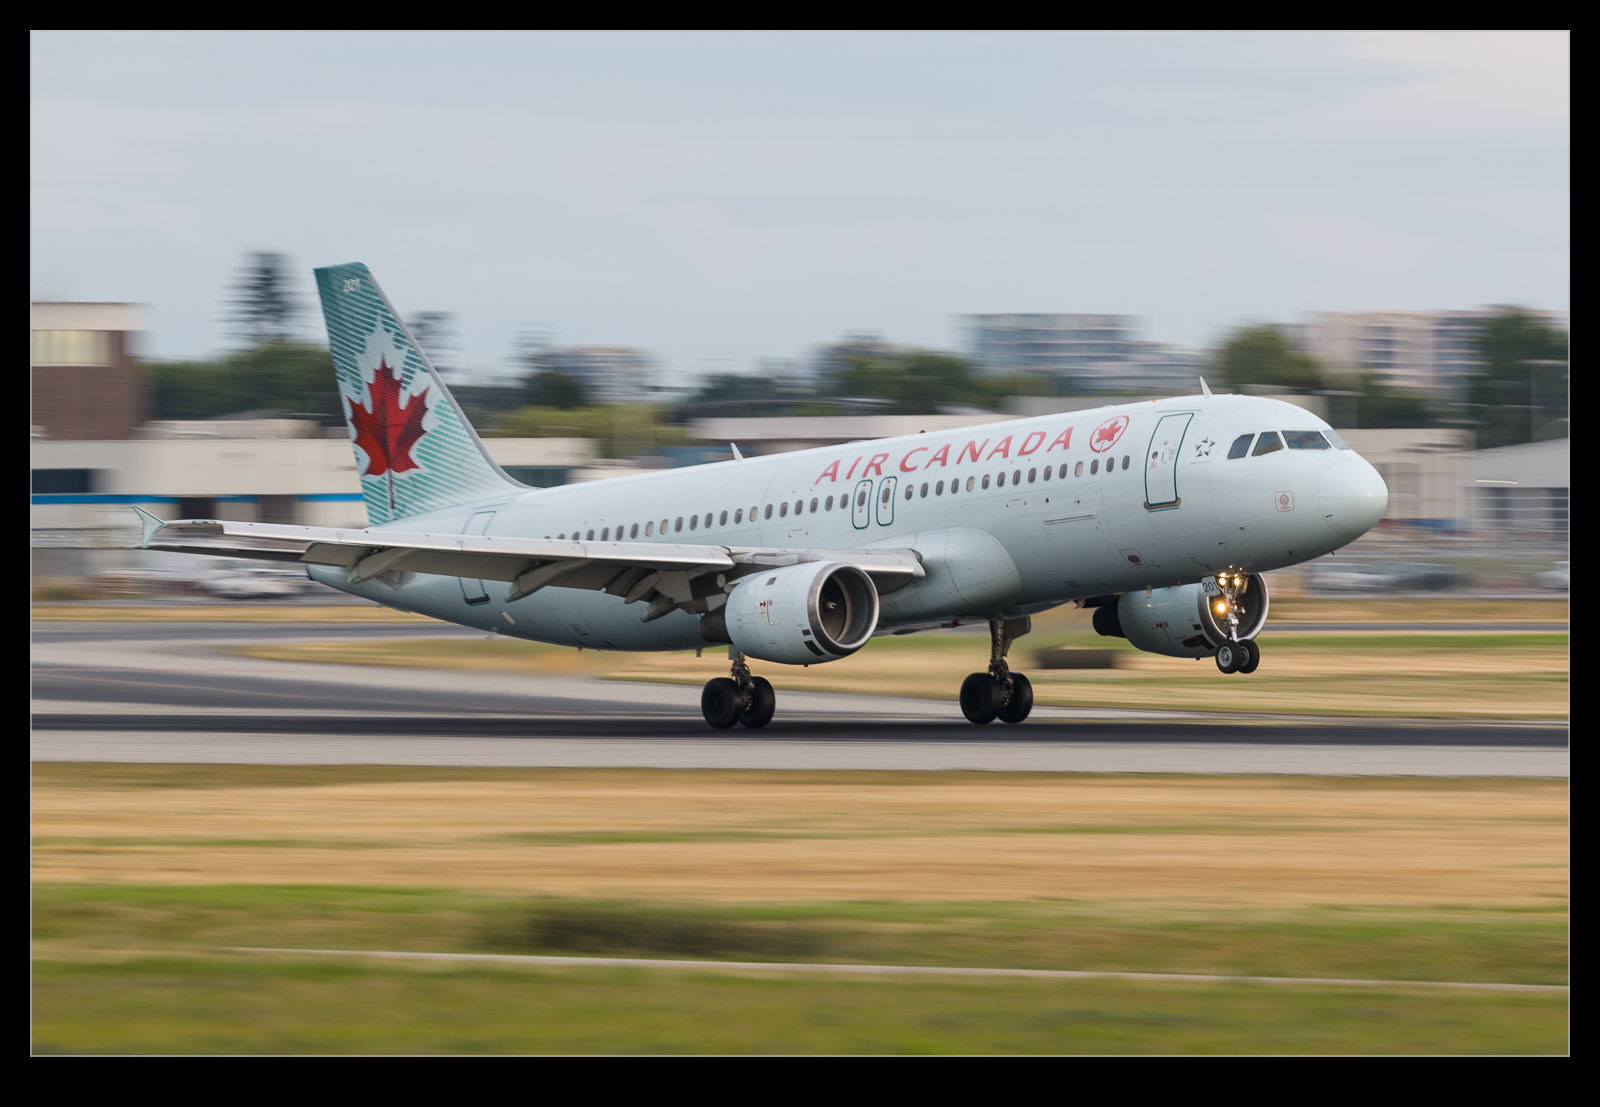
Shooting Dash 8s and Q400s at YVR is not going to be particularly interesting so I was able to spend some time playing with shutter speeds progressively lower and lower.  Shooting very low shutter speeds on the 500mm handheld is a bit of a crapshoot but you never know what you might get.  Besides, the evening light meant it wasn’t so bright that you were at ridiculous apertures with the associated endless dust spotting!

I was quite prepared to have got absolutely nothing from these shots.  However, either my luck was good or my technique has improved – I think we both know which it is – and I got a few sharp ones with plenty of prop blur and background blur combined.  Background blur always makes for a more interesting shot.  However, when you want to make sure you get the shot, you aren’t always willing to risk it.  Having something that is not a make or break shot means you can have a lot more leeway for experimentation.

HDR Tech Comparison – What’s Up Lightroom?

A while back I saw a Scott Kelby video on YouTube about the HDR functionality in Lightroom and that in Photoshop.  I had assumed that they were the same prior to seeing his video but he showed that the Photoshop version of the HDR was significantly cleaner than that in Lightroom.  I was interested in how this could be but I wasn’t too concerned.  The Lightroom version was so easy to use I figured the impact was not so much that it would show up in my shots.

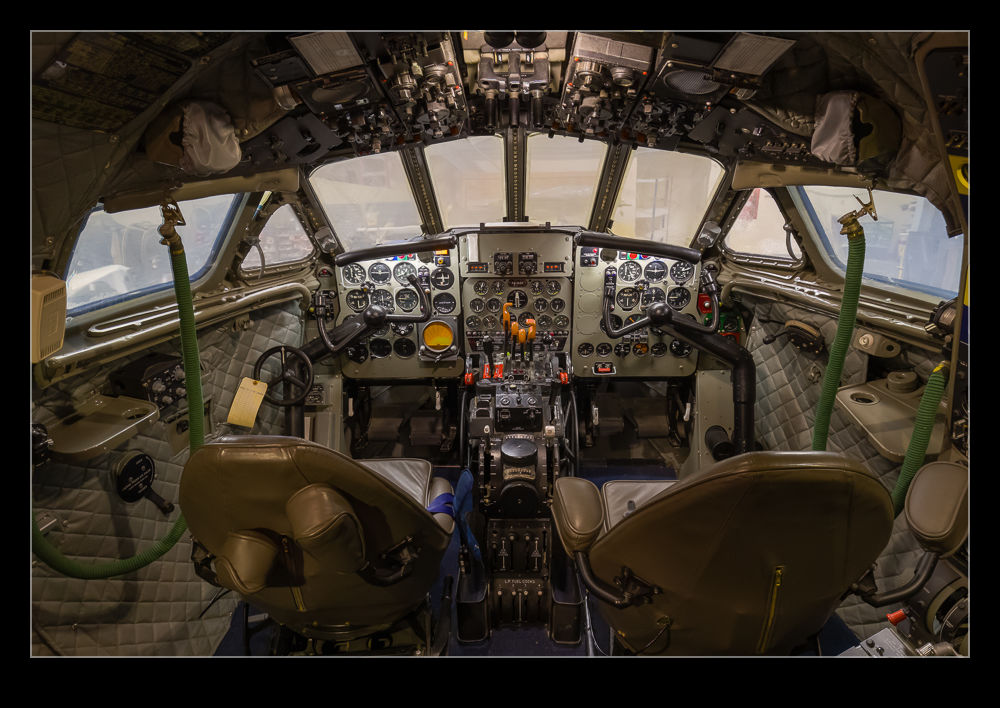
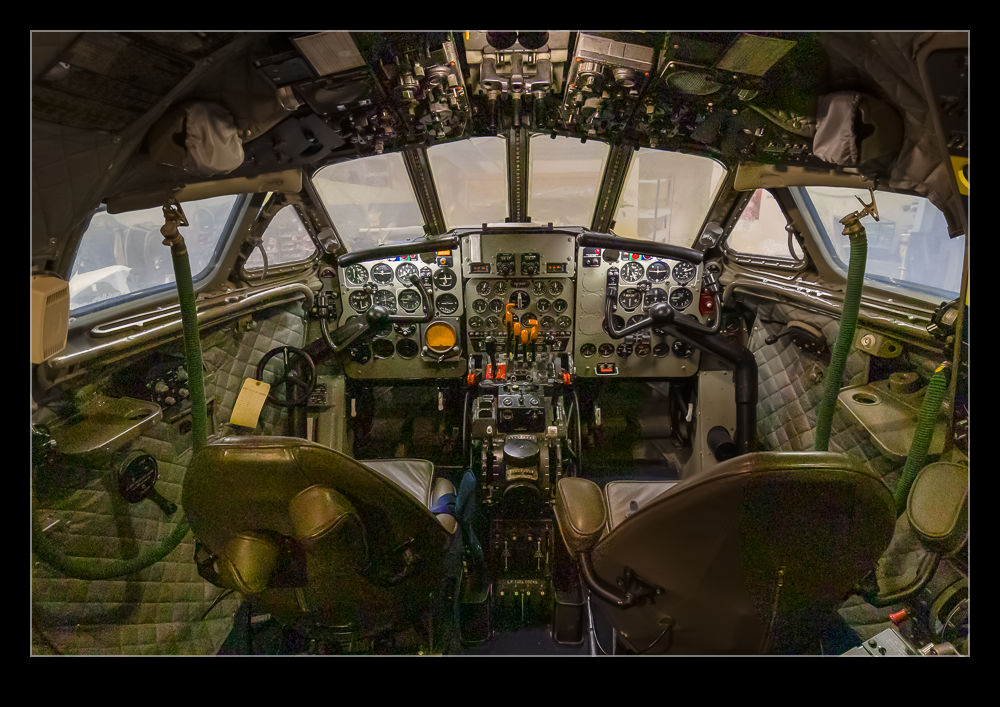
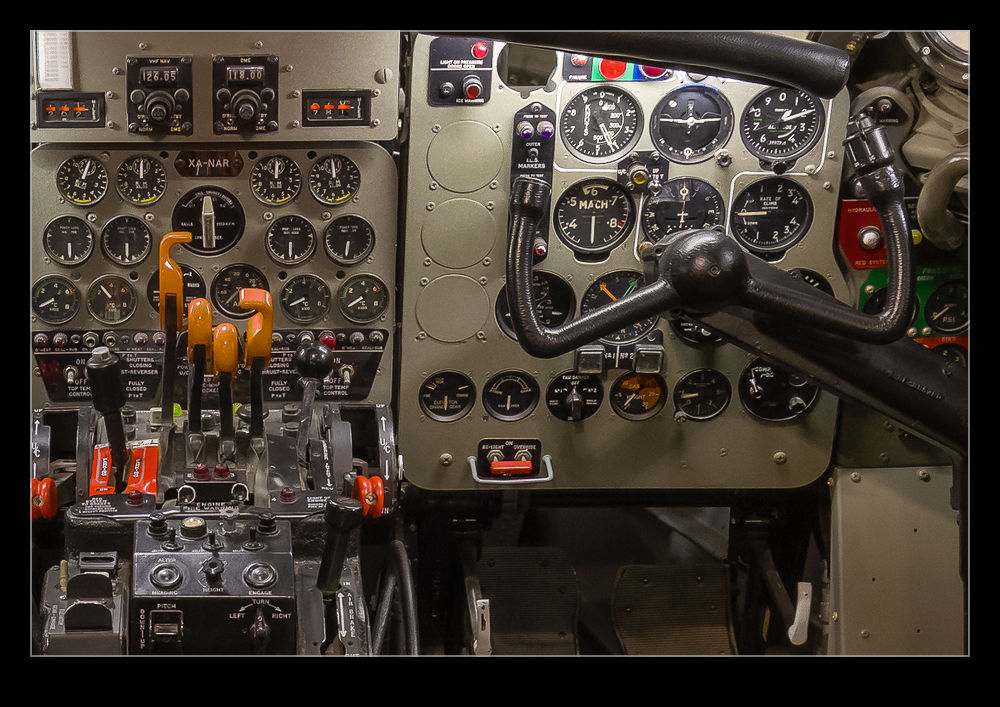
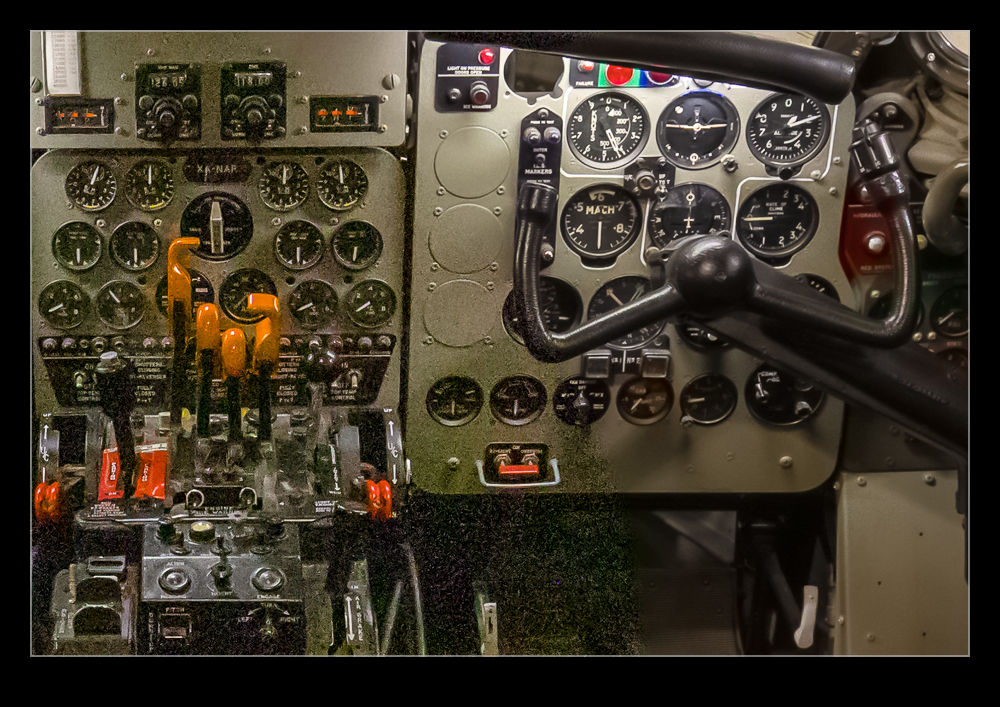
Then, I found out I was wrong.  I was in the cockpit of the Comet at the Museum of Flight’s restoration facility at Paine Field.  I took a sequence for HDR because the cockpit is very dark but the view out of the windows is much brighter.  It isn’t particularly important since the view outside is nothing special but I did it anyway since I was there.  The lighter shot had quite a bit of shadow noise and, when I created the HDR in Lightroom, the noise was very conspicuous on the finished version.  I decided to try it in Photoshop to see what happened.  The difference was significant.  I include both of the full shots as processed along with the section of cockpit shadow so you can see the impact.

Recovering a Crashed Card

I was downloading shots from two cards into Lightroom when one of the downloads seemed to hang.  I have seen this before and on those occasions, removing the card and starting again did the trick.  This time it didn’t and, when I reinserted the card, the computer said I needed to reformat it.  I thought I would try it back in the camera to see if that was okay but no joy.  Time for RescuePro Deluxe again.  I wrote about using this previously.  I had an issue with it one time when I tried a recovery and the same thing happened this time.  The card drive letter doesn’t show up (nor do any of the others).

There is a simple fix to see them all which is to press the H key.  However, I hadn’t made a note of that previously and couldn’t remember.  Fortunately, their help desk gave me the code and the pictures were all swiftly recovered.  (I jest.  The program works well but recovering everything it can find on a 64Gb card and then working through that to find the files you really want rather than something from months previously is a bit of a slow process.  Still, it is a lot better than the alternative of having no shots!)

Negative Lab Pro

In previous posts I have described my efforts at scanning old negatives using a digital camera, macro lens and a light table.  I have had mixed success with the process for converting the negatives into positives with some films responding better than others.  I was okay with the output but thought things could be better.  A YouTube video showed up on my page that was about scanning negatives with a digital camera and I decided to watch to see if they did anything different to me.  The technique for shooting the negatives was similar enough but they introduced me to a Lightroom plugin called Negative Lab Pro.

I downloaded a trial of the software and gave it a go.  I was sufficiently impressed with the output that I stumped up the cash for the full version.  It isn’t cheap but, given that I can now use it on several thousand images, I figured it was worth the investment.  The plugin requires a small amount of effort.  I revert the images back to a normal San without any of my previous edits and conversions.  The first thing to do after that is to take a white balance reading from some of the visible edge of the film to neutralize any color shift.  Then you crop in on the image.  Apparently, it is important to avoid getting any unexposed edges in shot as this messes with the algorithm.

Then you open up the dialog box.  It analyses the image and does a conversion.  You then get some basic sliders to tweak the settings such as exposure and color balance.  There are some auto setting check boxes but I haven’t found them to be too helpful so far.  Then you click okay and the image is ready to do further editing in Lightroom.  You can also do batch conversions of images if you want although I think it is probably better to focus on individual processing.  I have been playing with this on a range of images so far and I like the results.  My old negatives are not that great and this is not going to suddenly make them amazing but I am impressed how much more I can get out of some of the scans using this software.

Lightroom 8.2 Detail Enhancer

Updates to Lightroom come along relatively regularly and they tend to include new features along with fixes and performance tweaks.  The latest update, Lightroom 8.2, includes a new addition called Detail Enhancer.  This is a feature that is designed to provide some better small-scale detail as part of the raw conversion process.  It creates a new DNG file based on a more complex calculation of the demosaicing of the sensor data.

I saw some videos about it and figured it wasn’t going to be of much use for the type of thing I am working on.  However, it did trigger one possible area of interest.  The algorithms are supposed to be designed to make better calculations around the different color pixels that sensors have.  Sensors are set up in a Bayer Pattern where different color sensitive sensors occupy different pixel spaces.  They each record in one color and then software interpolates between them to create colors for each pixel irrespective of which color was originally recorded at that location.

In a post from a while back, I mused on the way in which the colors of the Southwest Livery and the registration clashed and seemed to provide a distorted image even when everything around them was sharp.  I was pondering whether this was artifacting caused by the different colors and the way the sensor was recording the data.  If this was the case, maybe this new functionality would change the way things were rendered.  I dug out a few of the shots that had previously demonstrated this effect and ran the process on them.  These shots show the wide shot, the original rendering of the close up and the revised rendering using Detail Enhancer.

As you can see from the comparisons, Detail Enhancer does not suddenly render a perfect registration for the aircraft.  However, to my eye at least, it does appear as if the results are noticeably better then they were with the original rendering.  For completeness, the original rendering is done with the latest process version of Adobe’s raw converter to make things as fair as possible.  It does appear to make a difference.  This makes me think my theory about whiny things looked wrong might have some merit, even if this update has not fully resolved things.

Focus Stack Animation

In some previous posts I showed the results of experimenting with focus stacking.  In those posts, I would combine one of the individual shots with the finished effort to show how shallow the depth of field could be on individual shots and how deep the focus was on the final image.  I was pondering whether this was an effective way of communicating the concept to someone when it occurred to me that animation might be a better way.  I created a new stack of images for a different subject but this time I used Photoshop to animate the movement of the point of focus through the shot and then show the final image.  This can then be an animated GIF.  I wonder, does this provide a better demonstration?

Learning a Better Way to Blend in Photoshop

I occasionally use the Statistics function in Photoshop to blend multiple images in order to get rid of the distractions that I don’t want like people or vehicles.  Up until now, this has been a real pain to do.  I would identify the images in Lightroom but would have to open Photoshop, go into the Statistics function, use the browse function in there to select the images and then it would run everything in one go.  This was not a convenient way to go and the output image then needed to be manually added to Lightroom which is not handy.

It turns out that there is a better way.  This may have been in Photoshop all along and I never knew or it could have been a recent addition.  Either way, it is there and I shall now use it for future projects.  I have even created a Photoshop action to cover the process and assigned a function key so it will now do the heavy lifting without my intervention.  It all starts out in Lightroom.  Select all the images that will be used for the blend.  Then use Edit>Open As Layers and a new document will open in Photoshop with all shots as layers.

If everything has been shot on a tripod, things will be properly aligned by default but I often do these things on the spur of the moment so they are hand held.  Consequently, while my efforts to keep pointing in the same direction are not bad, the first task is to select all layers and Auto Align layers to tidy things up.  Next, go into the Layer tab and, under Smart Object, convert to a Smart Object.  This may take a little while.

Next step is to go back into Layers>Smart Objects>Stack Mode.  This brings up the same options as you get through the Statistics function.  Select Mean and send it on its way and you end up with a shot that, depending on the number of shots taken and the clear space in enough of them, results in a clear shot.  Usually I find that I haven’t got enough shots of the right type to get everything to disappear so some ghostly elements may remain but they are certainly less distracting than the figures in the original shots.  I have no idea what the other modes will achieve and the descriptions Adobe provides in their help files are so obscure as to be virtually useless. Instead I shall have to experiment with them to see what happens.  Thankfully, now I have this new method, I can undo the last step easily to try each option which would not have been possible using the Statistics dialog.  Another win!

A Further Trial in Focus Stacking

In a previous post I wrote about a focus stacking effort I made with images of a model aircraft at a show.  I had been meaning to have another go at this and do so in a more controlled environment.  I then ended up buying myself a macro lens for use in my negative scanning efforts and immediately started playing with it to shoot things close up – it’s a macro lens for goodness sake!

As an f/2.8 lens, when shooting macro shots, the depth of field is really shallow.  This got me thinking about trying another focus stack.  A small Leatherman seemed as good a target as anything.  I set up with manual focus, put the camera on a tripod, went to manual exposure and then shot a sequence with small changes to the position of focus for each shot.  Then it was off to Photoshop.

Photoshop did a pretty good job really.  The distortion of the areas out of focus means that the area that the subject covers can vary quite dramatically as the focus shifts backwards and forwards.  The algorithm did well getting things masked and blended.  The only bit it struggled with was at the very top where the knurled edge seemed to confuse it a bit.  The top shot is the finished effort while two others are included to show how much things are out of focus in the individual shots.