Tag Archives: night

Salisbury Cathedral

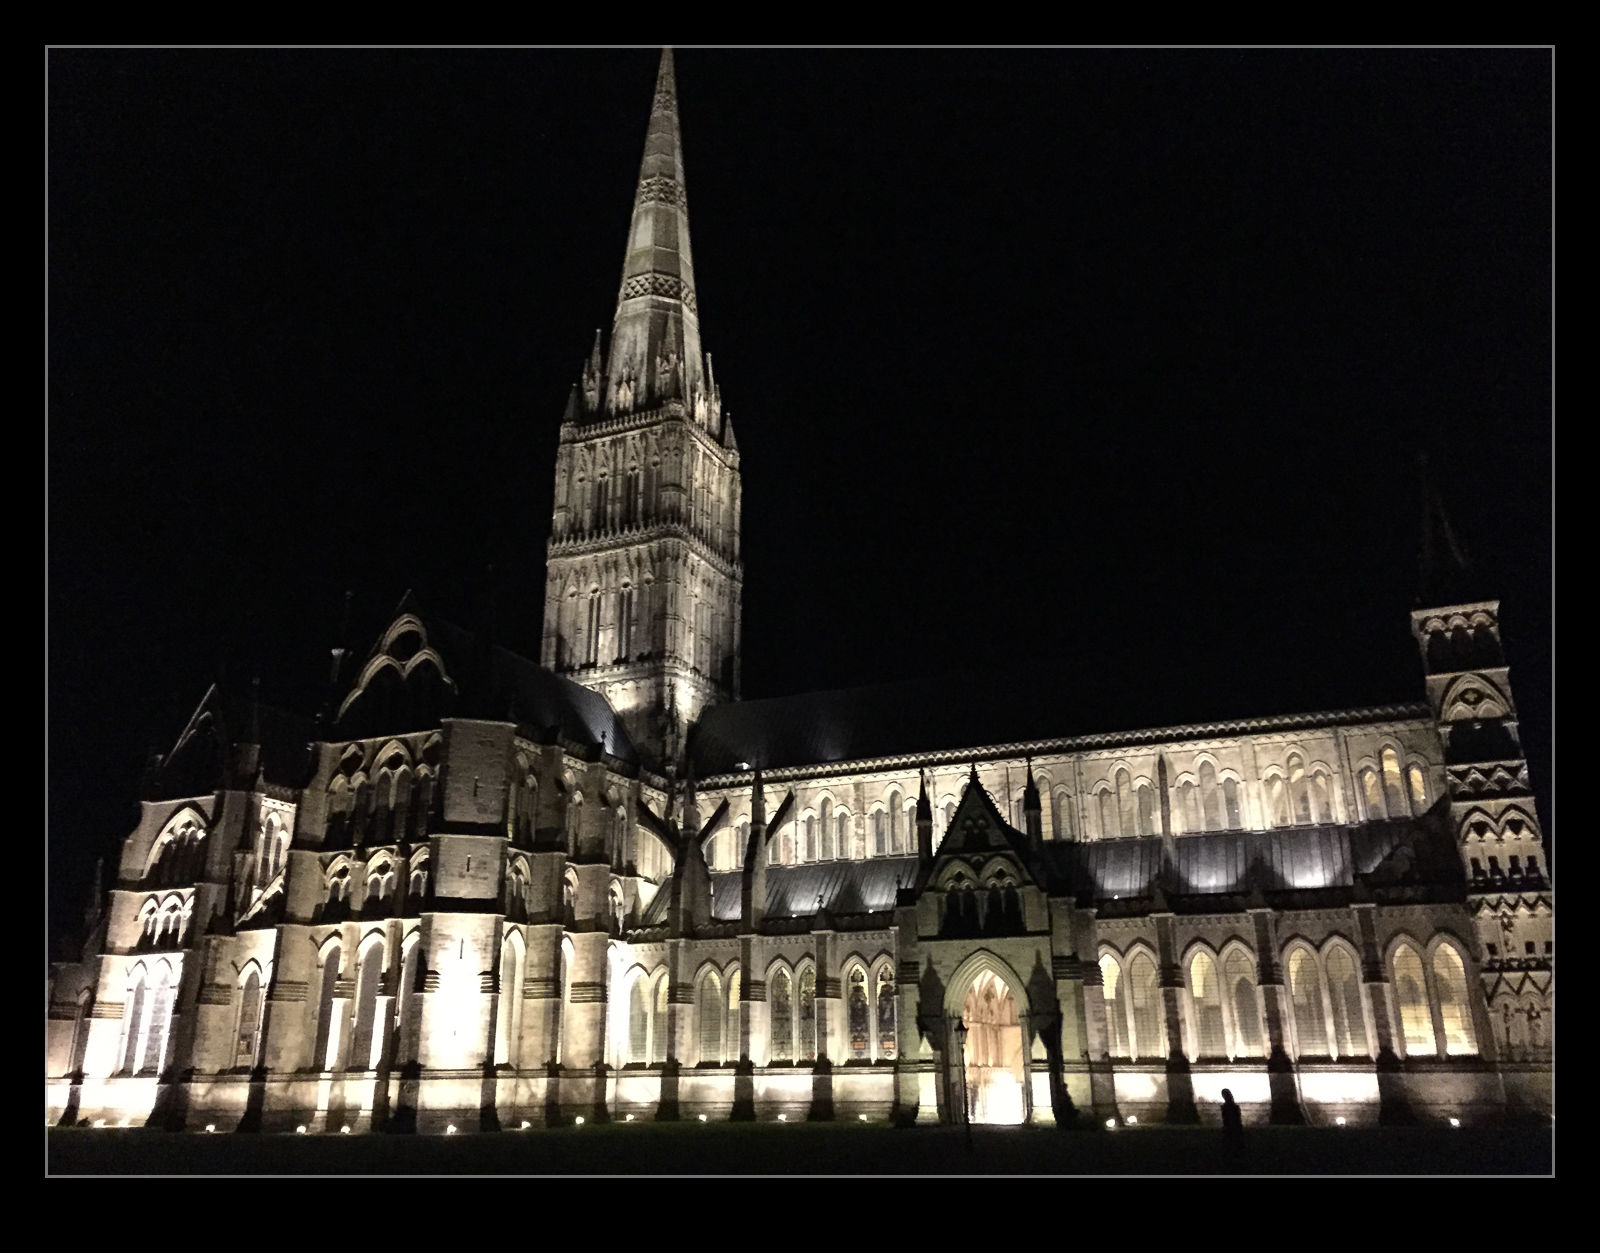
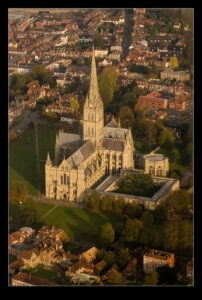
IMG_3309.jpgWe had a nice evening out with my nephew, Chris, while we were in the UK. He took us in to Salisbury for dinner. When we had eaten, he took us for a short walk through the center of the town and to the Cathedral. It was nicely lit up for the evening. I only had my cell phone with me but the camera on that seemed to do a reasonable job capturing the shot. I was pleasantly surprised. Just for comparison, I add a picture below of the cathedral I took a few years ago while flying over Salisbury with my friend Sean in his Europa.

QB5Y2694.jpg

Wall of Fire Take Two

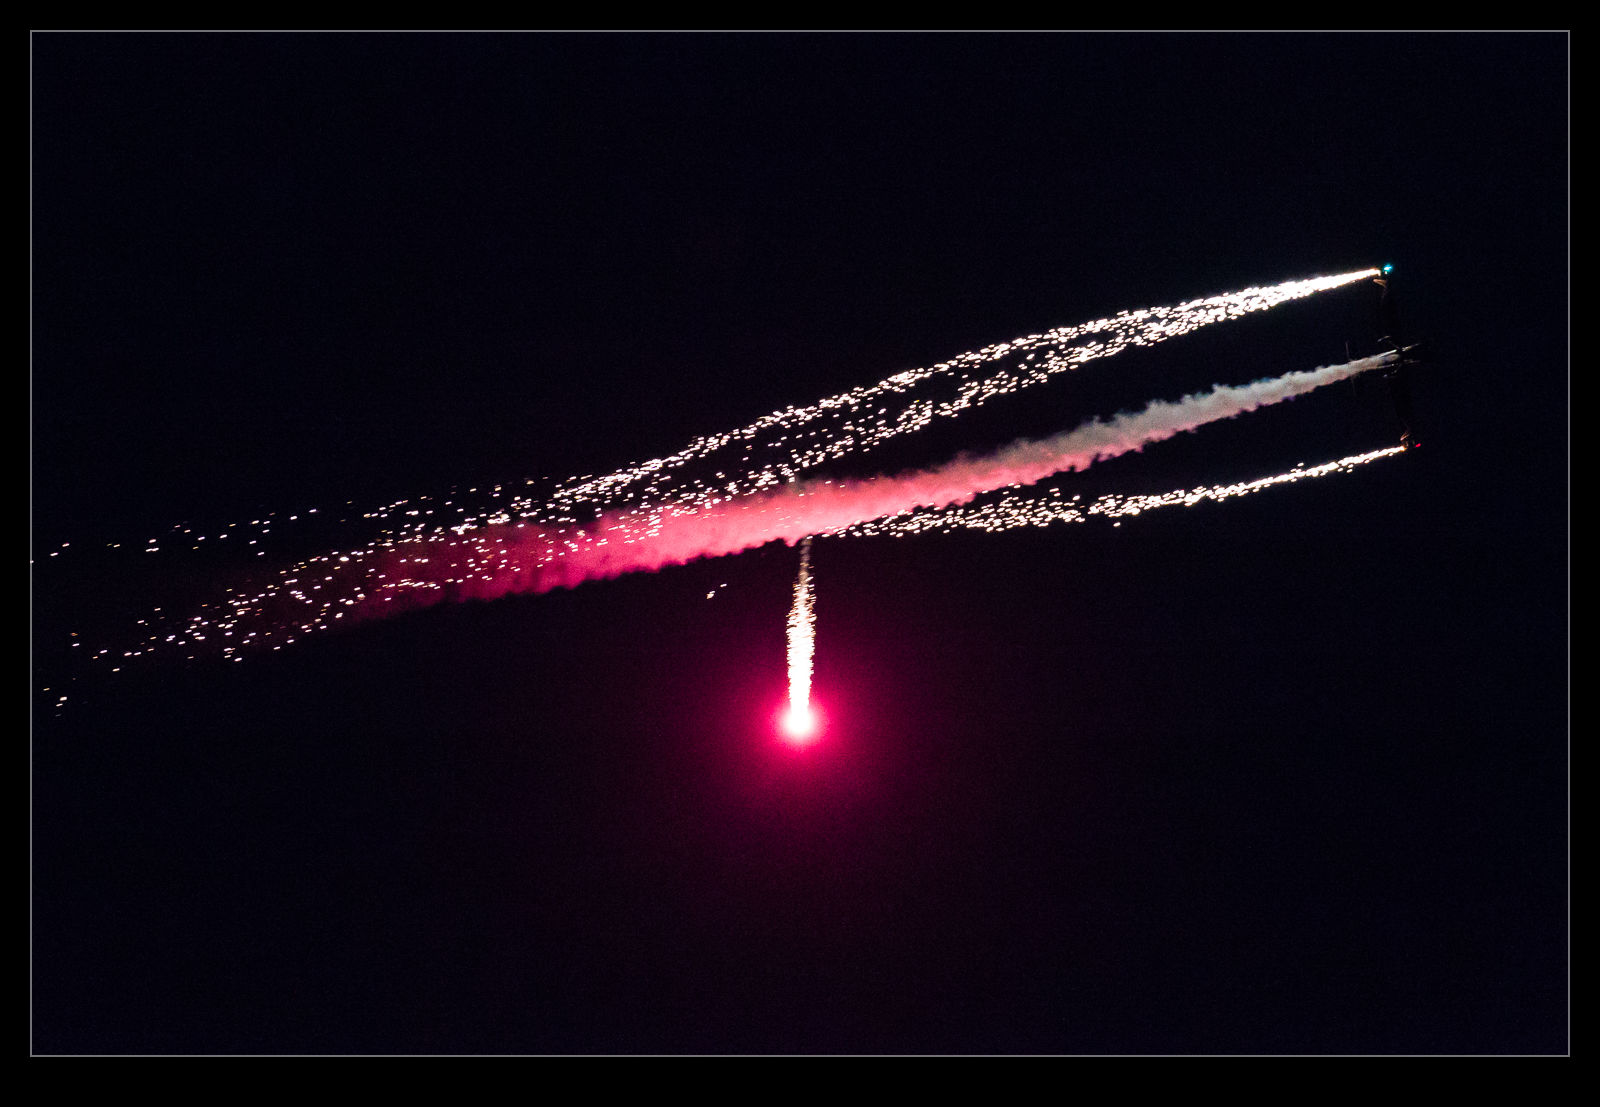
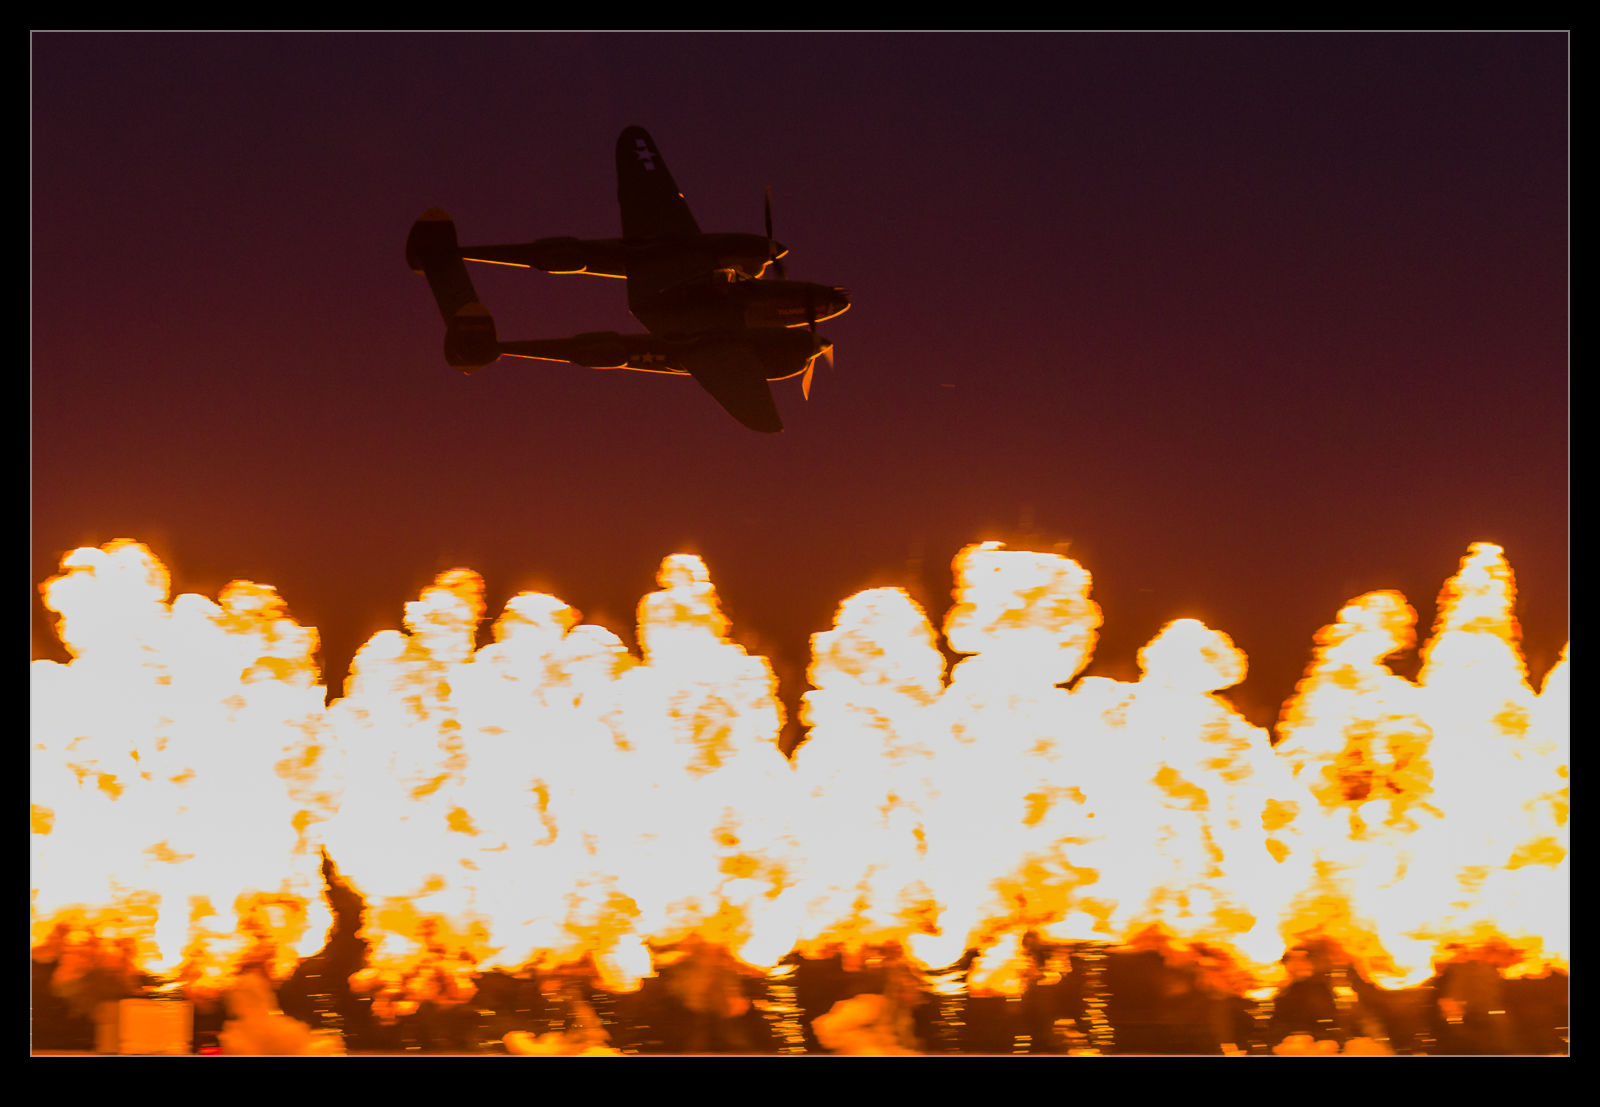
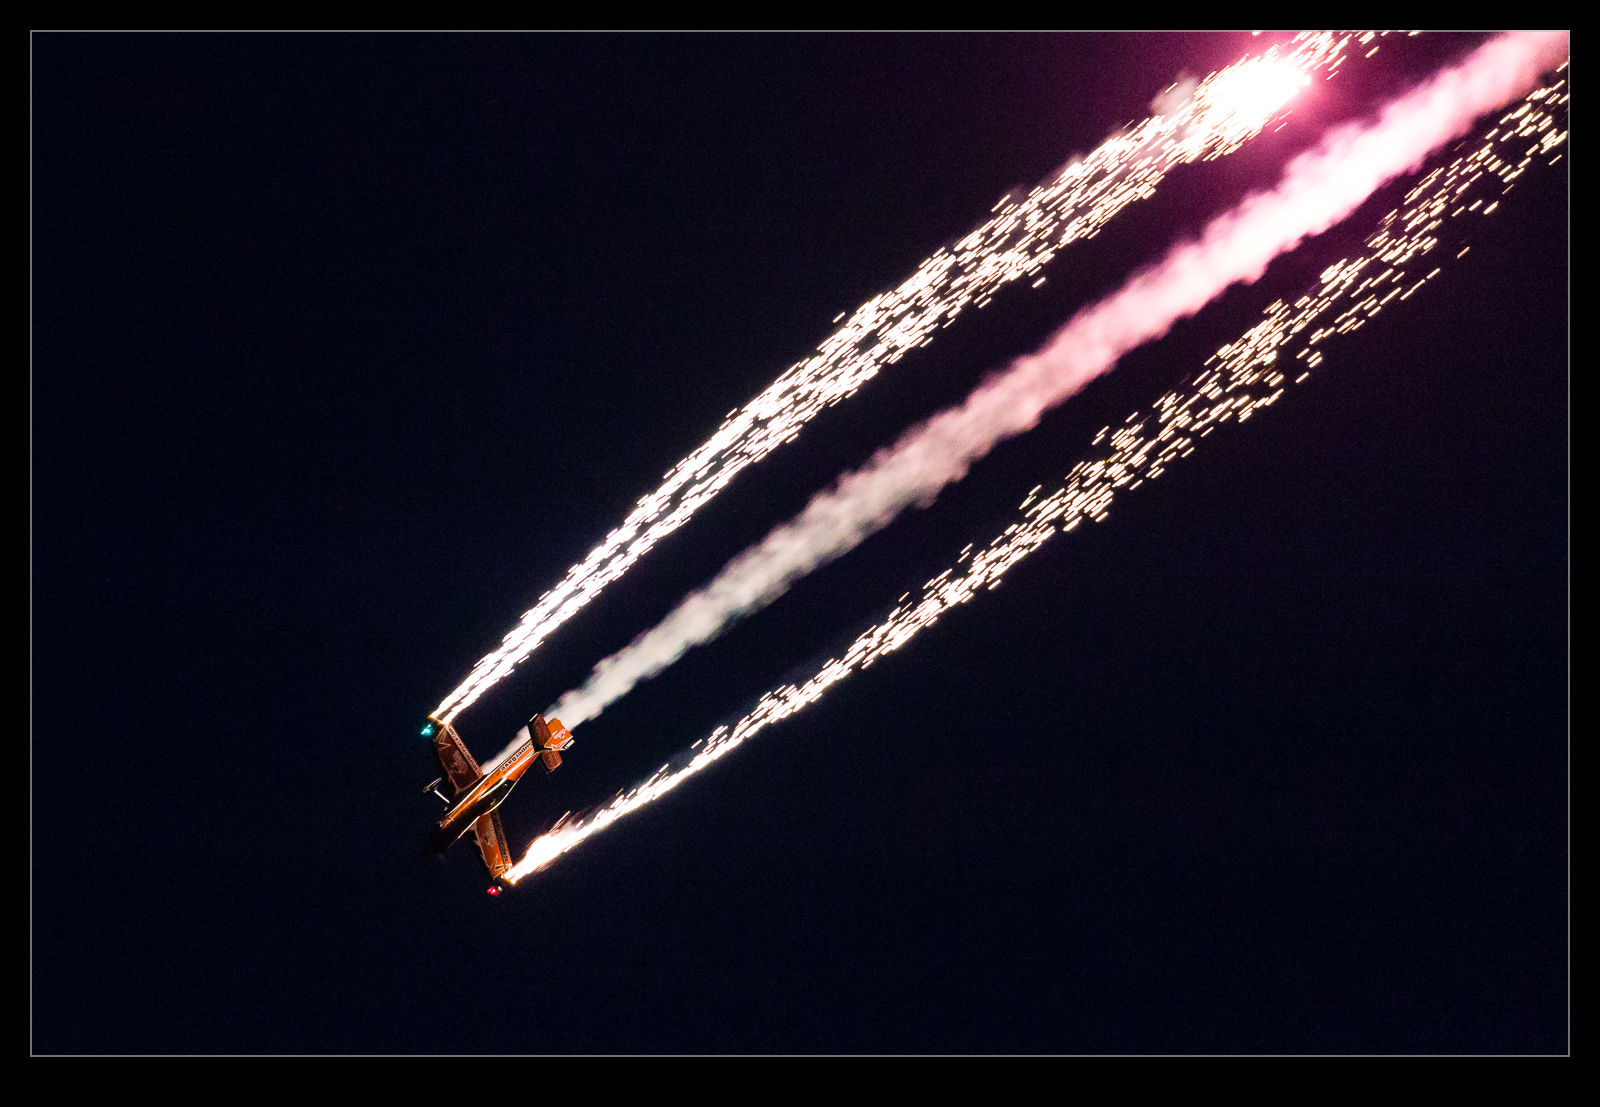
AU0E3654.jpgWhile I was walking around the display line of the Airshow of the Cascades during the evening show, the Erickson collection’s P-38 was carrying out its display. I was in amongst a lot of people when the announcer told everyone to be ready for a special pass. My location was not great but I got ready as the P-38 ran in for a topside pass expecting the detonation of some pyrotechnics behind it. Nothing happened. The P-38 flew by and no explosions.

A short while later, the announcer had a second crack at getting us ready for the pass. Obviously the first pass had not worked as planned. This time the P-38 was coming in from the opposite direction. I also had a few moments to try and reposition myself to get a better view. This shot was the result. Some of my friends were further up the display line and got a different angle on the shot which was cool. Even so, I am pretty happy with this.

Borough Market

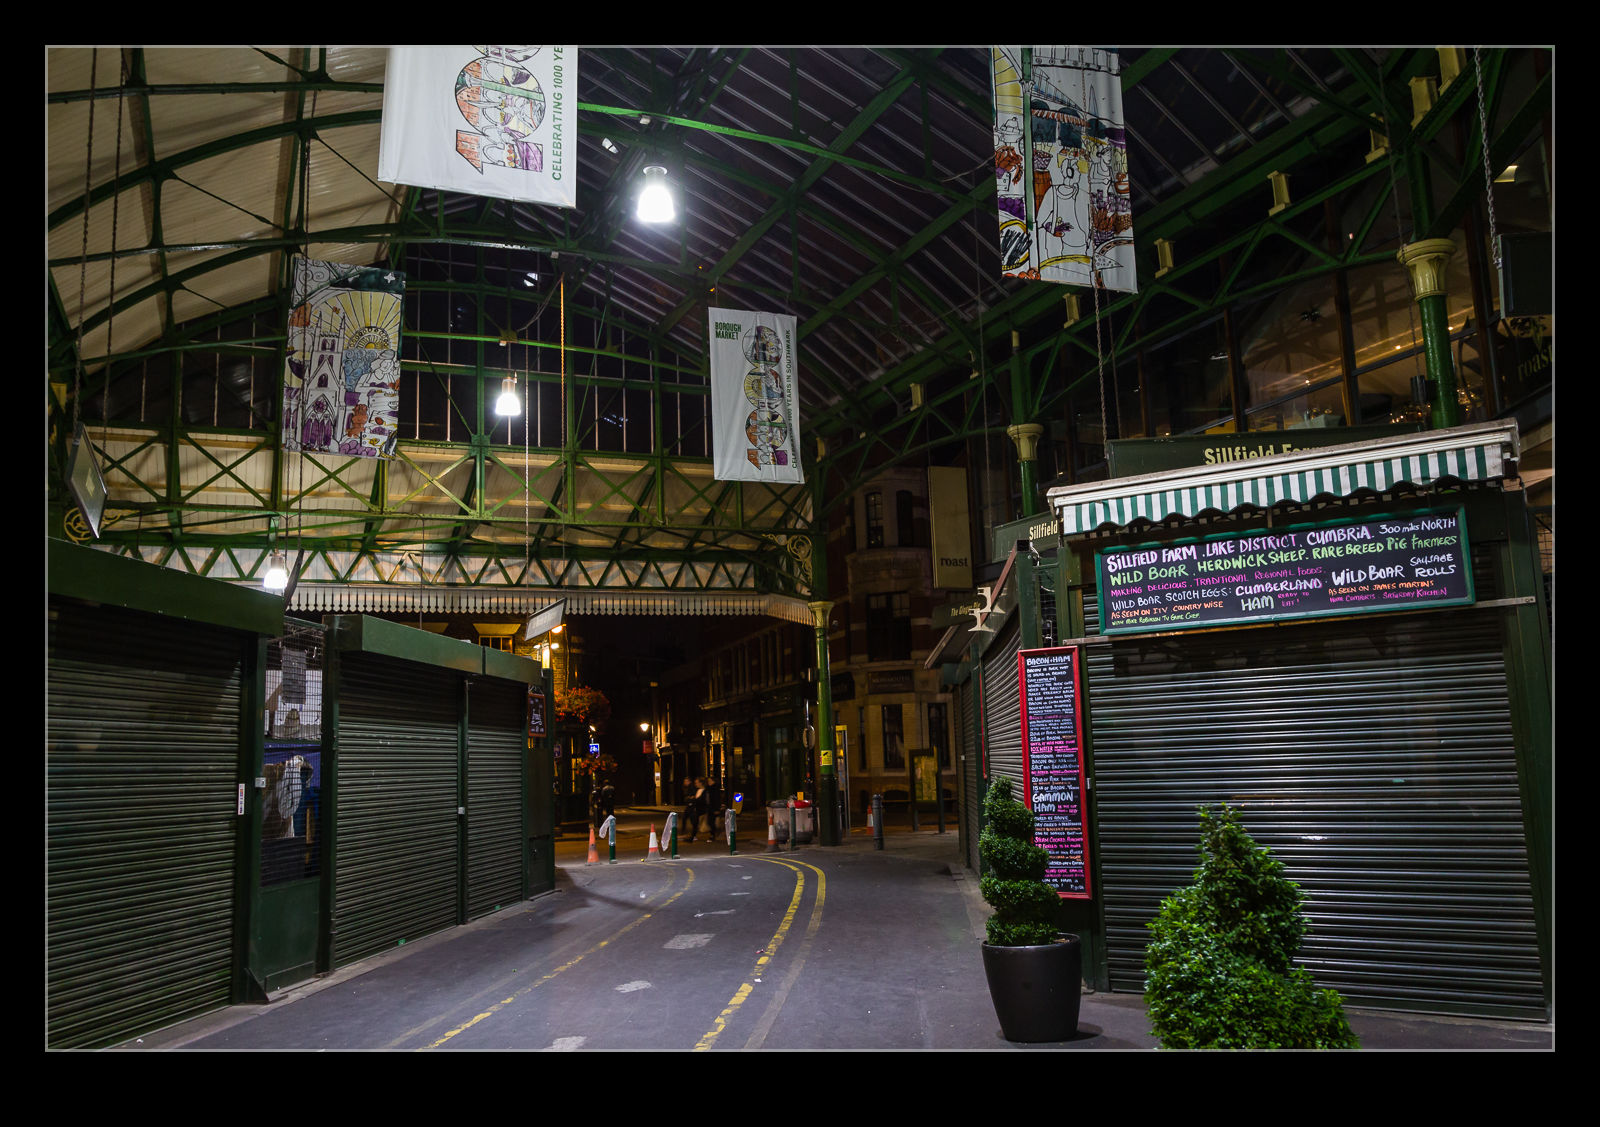
C59F0392.jpgWhen we lived in the UK, Borough Market was a favorite destination. It is a covered market near London Bridge and not only did it have a lot of good suppliers of meats, fruits and vegetables, there were other providers of food ready to eat that meant a shopping trip there could result in coming home with a lot of good stuff. There were a number of good food shops in the surrounding area too including Neals Yard Dairy, a supplier of some great cheese. We could take the train direct to London Bridge so it was a relatively easy trip to make.

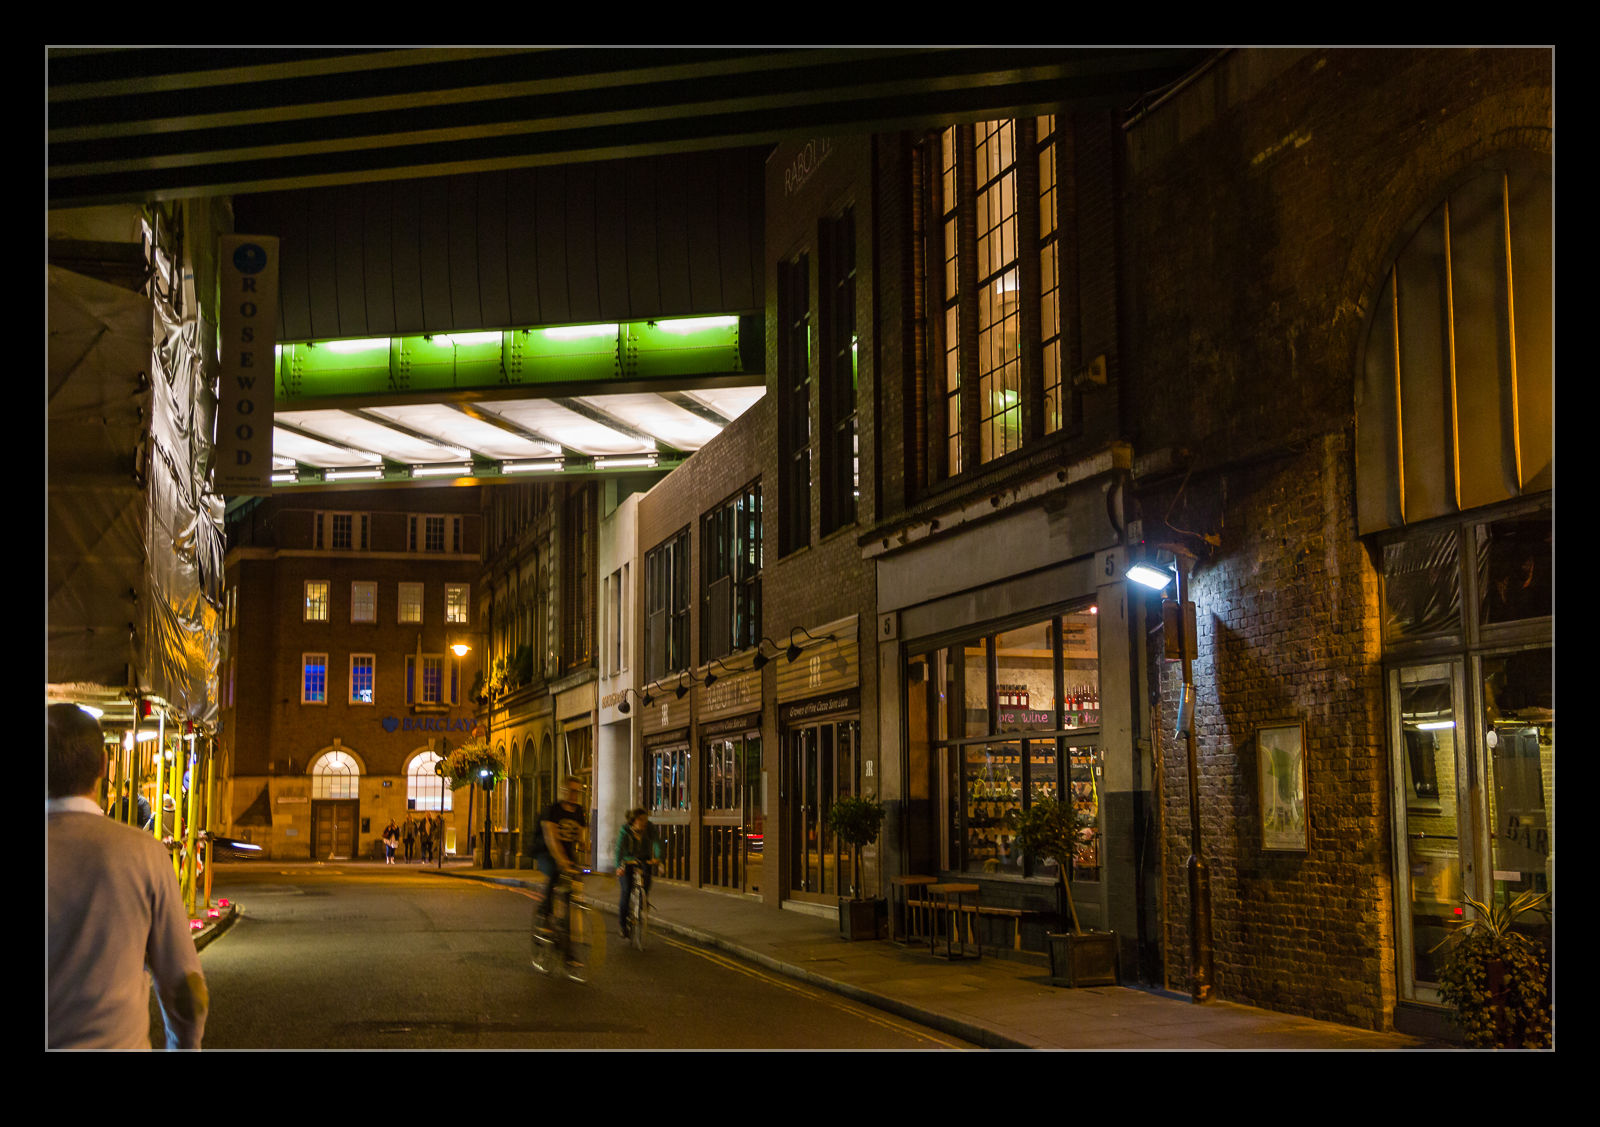
C59F0395.jpgWe had dinner near the market with my brother on our recent visit and our route back to the hotel took us through the market. At night, it is a very different place. The stalls are all closed up and there is no-on around. There is still lighting (I wouldn’t be walking through if there weren’t) but the place has a very quiet/spooky feel to it. It is quite the contrast to a normal day there. If we had more time, we would have been there when everything was open but there was only so much time in London so we had to skip it this time.

The Shard

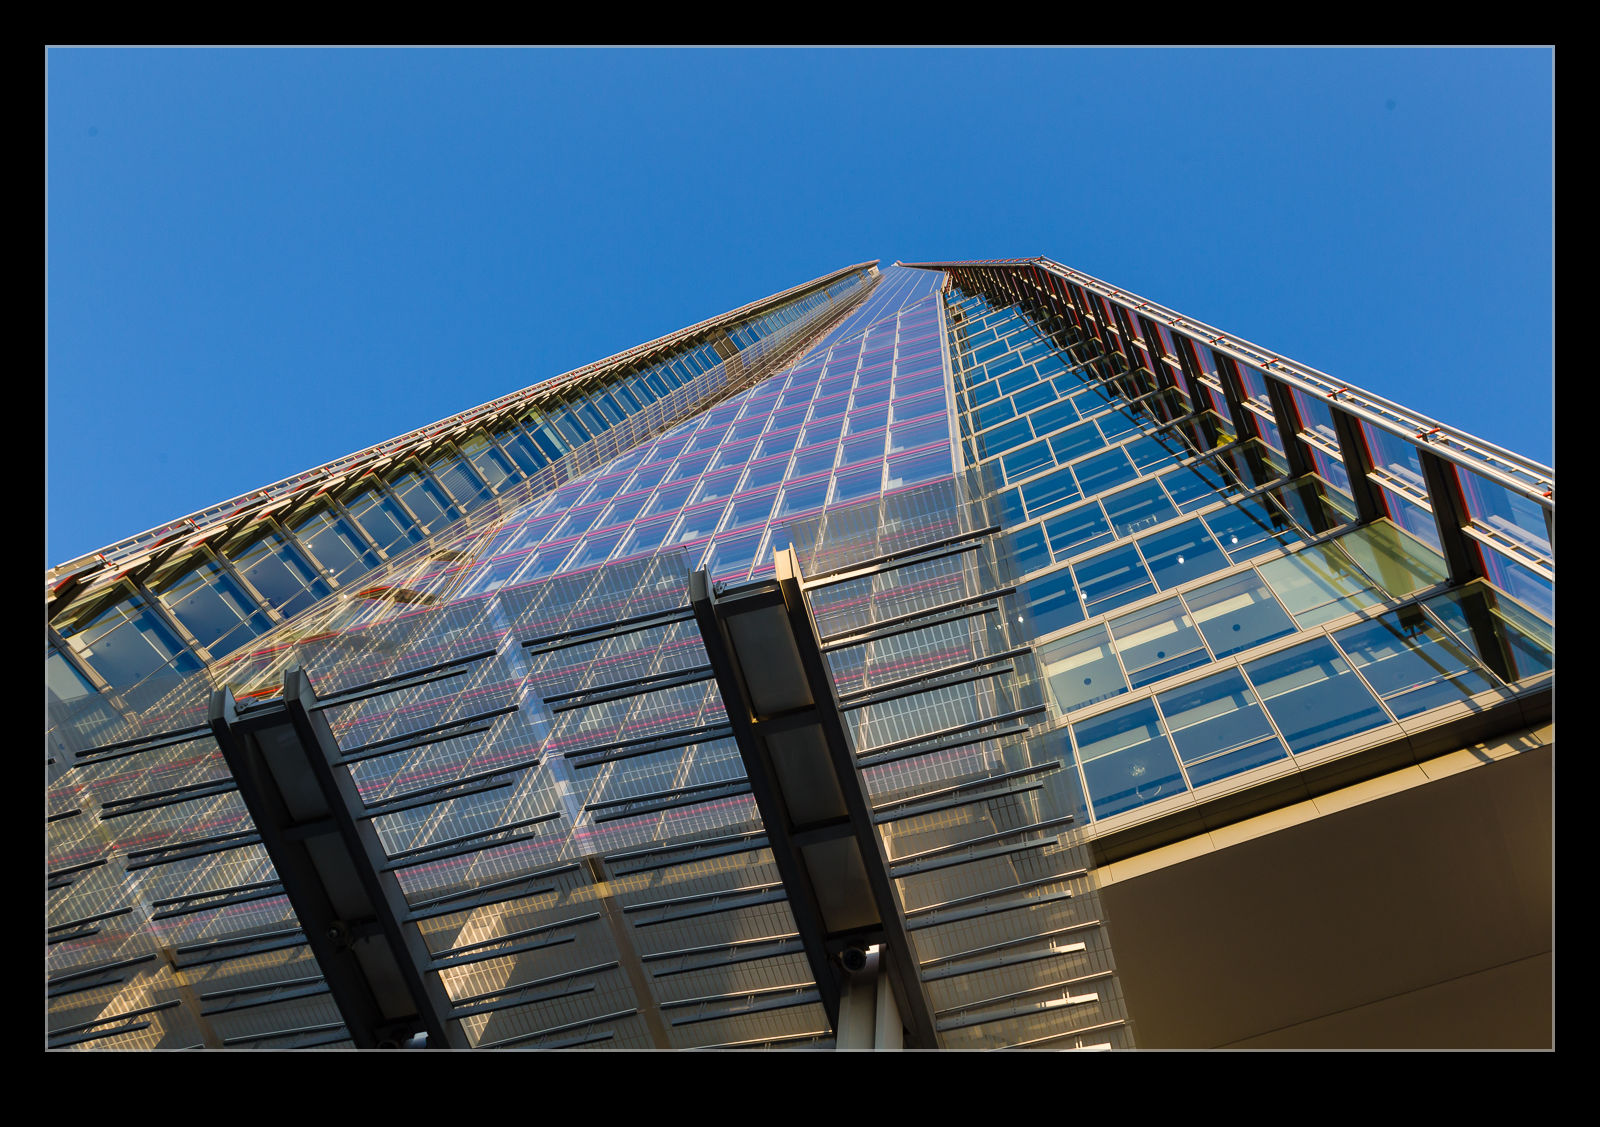
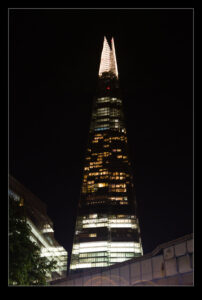
C59F0385.jpgVibrant cities are constantly changing. It is over ten years since I left London so it is no surprise that the skyline has changed a bit. The City is always prone to change. The architecture of the new buildings is always supposed to be distinctive and the buildings get names that reflect their appearance. I’m sure the Swiss Re building did not intend to be known as The Gherkin but it is. The tallest of the new buildings has embraced its shape. When first conceived it was known as the Shard of Glass. Now it is just The Shard.

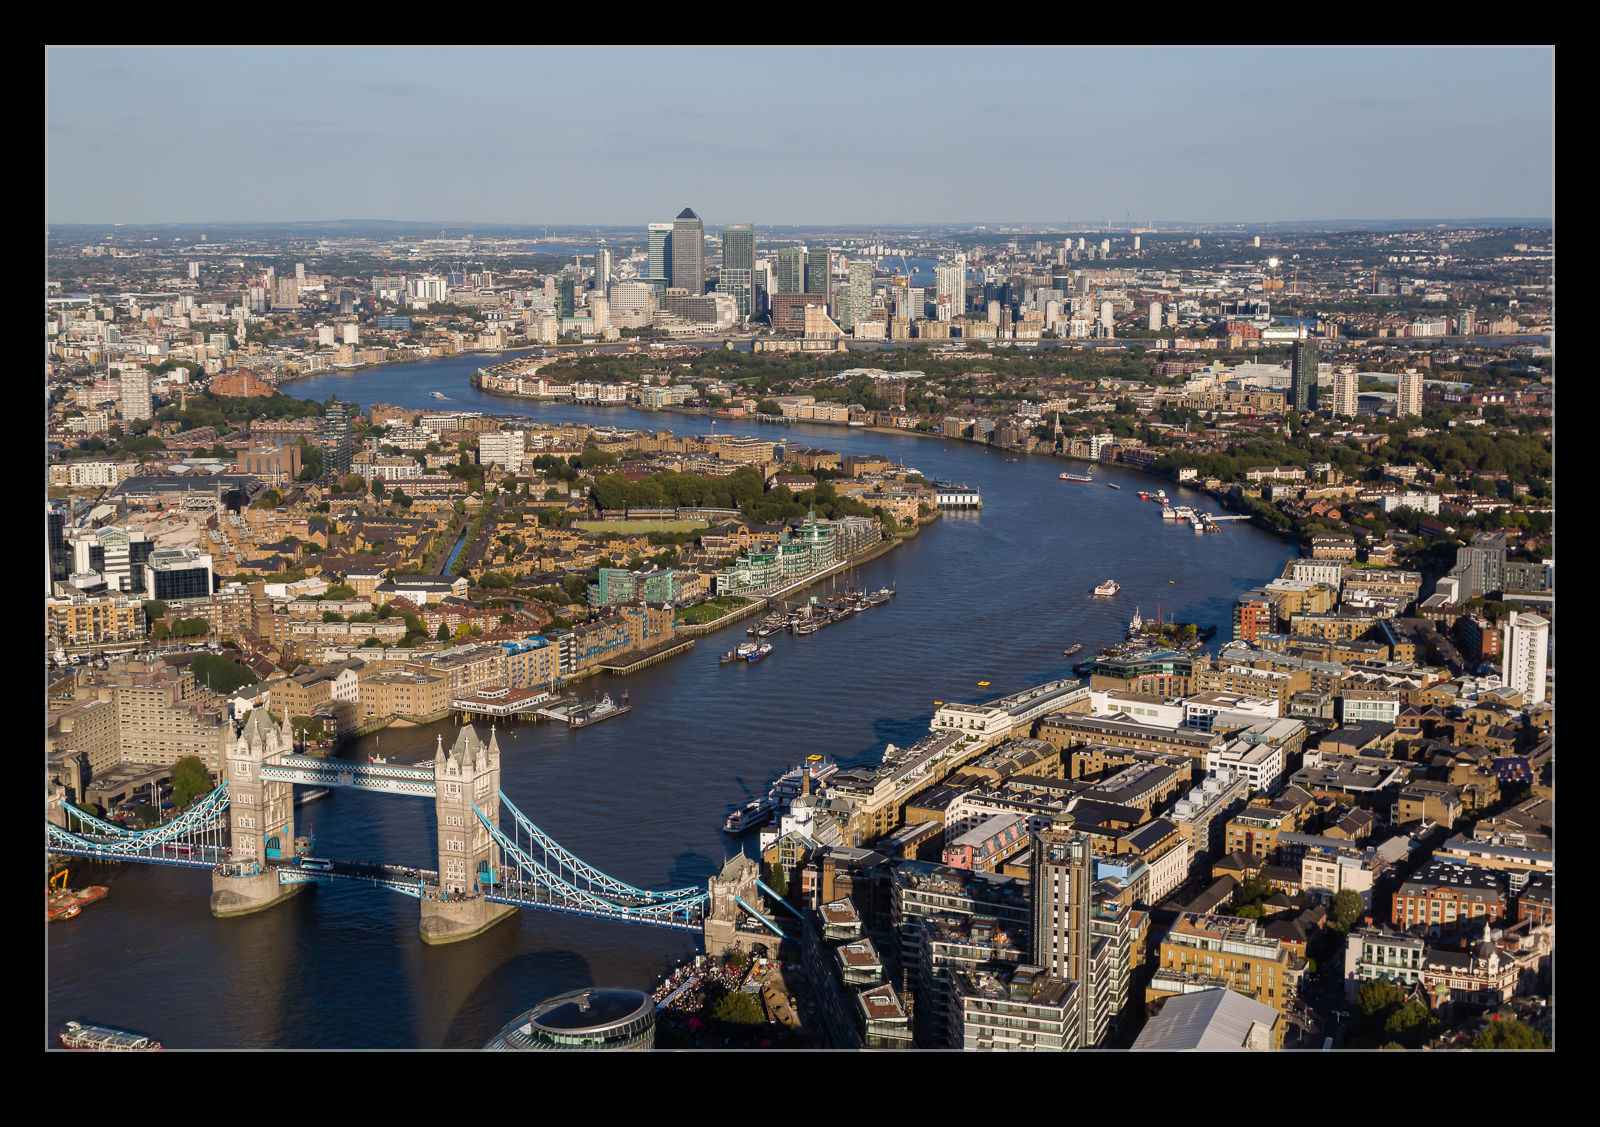
C59F0324.jpgI first saw The Shard a couple of years ago when taking a helicopter flight over the city. I blogged about that trip in this post. At that point I was looking at the building from an elevated position. On this trip we wanted to check it out from up close. Like any really tall structure (and it is currently the tallest in Europe) there is a market for people to go to the top and see the surrounding view. We met up with my brother to see what it was like.

We visited at the end of the afternoon. This meant the light to the east was very nice but the view towards Westminster was a little compromised by looking into the sun through the usual London haze. This wasn’t a problem but it did limit some photographic opportunities. Then again, the layers of glass are not great for avoiding reflections anyway.

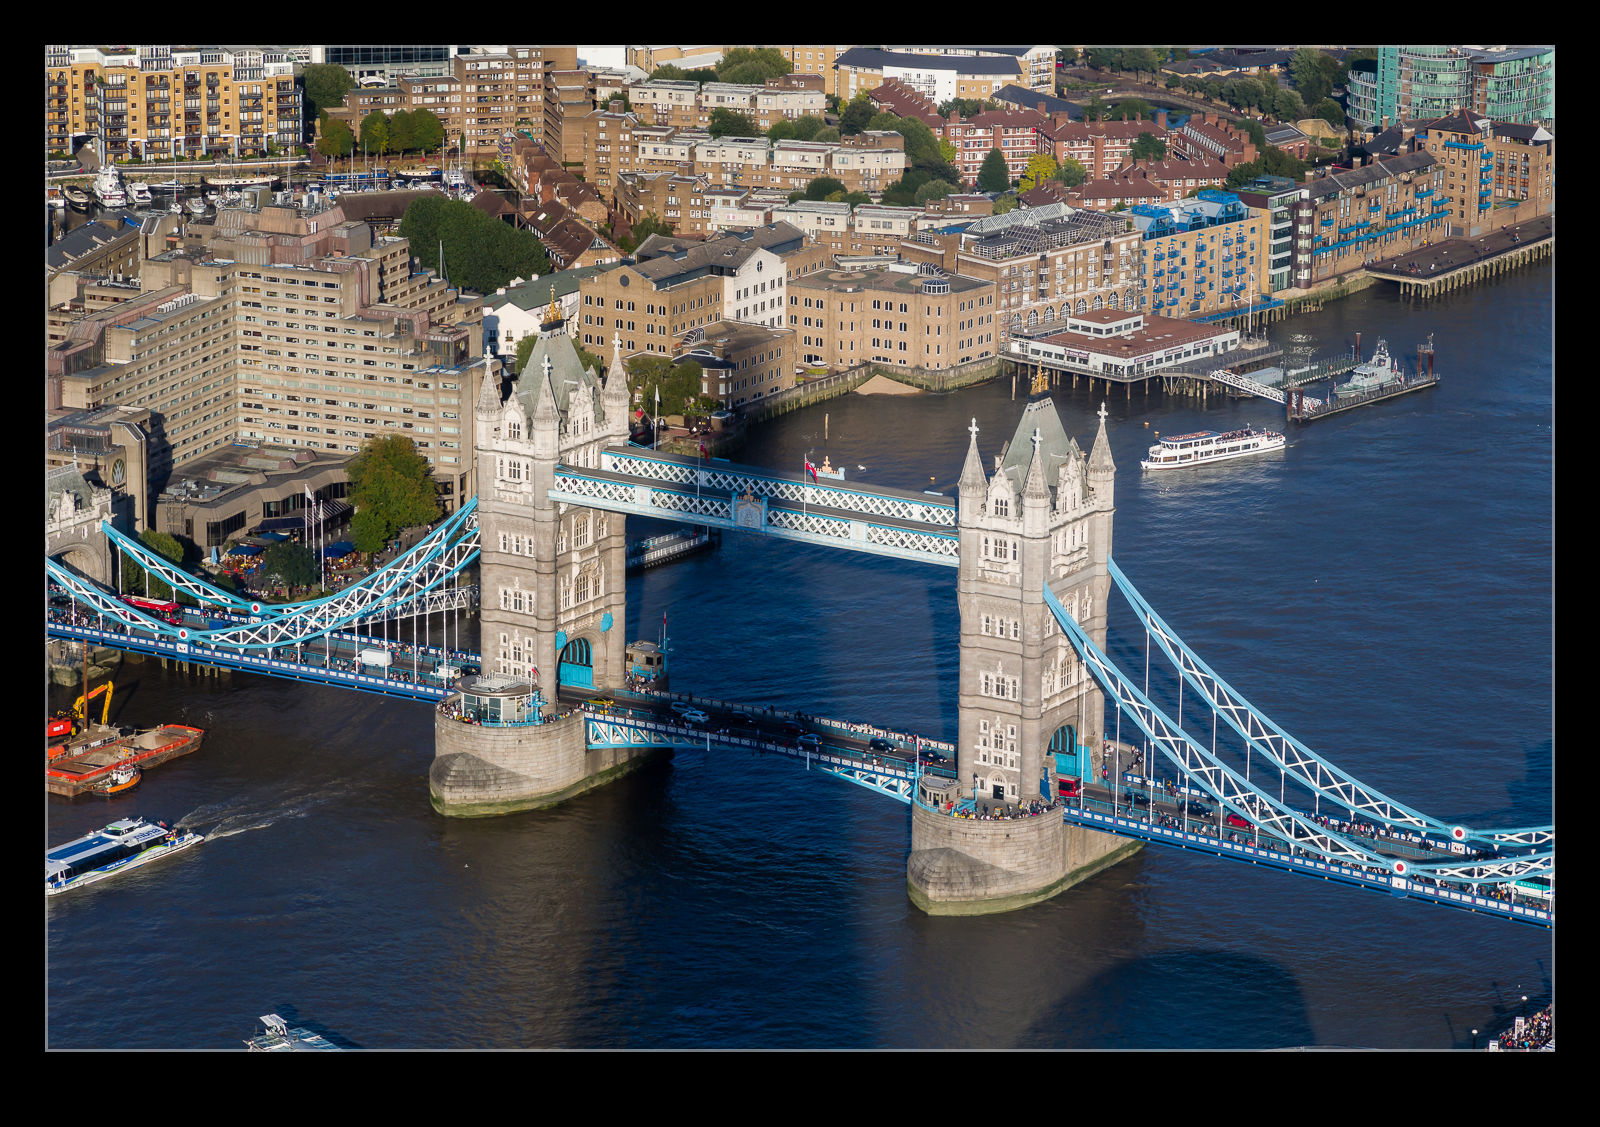
C59F0370.jpgA few years ago I was on the roof of the Sears Tower for sunrise and got to watch the shadow of the building move across the landscape. I wrote about that here. We were able to do something similar this time. The shadow of the Shard is a neat point which, while we were there was pointing straight at Tower Bridge. A nice effect!

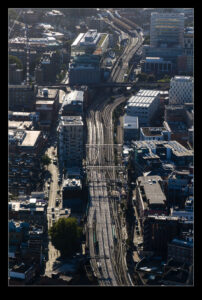
London is a city that is built around railway lines. They weave through many parts of the city and London Bridge station is directly below The Shard. In the evening light, the tracks reflect the sun in a way that makes them very visually interesting. Only when the trains come along do you remember why they are there. From that height you can see several of the different rail routes into the city. Even though it was Sunday evening, there was still plenty of traffic moving along the tracks. Weekday mornings are very different of course.

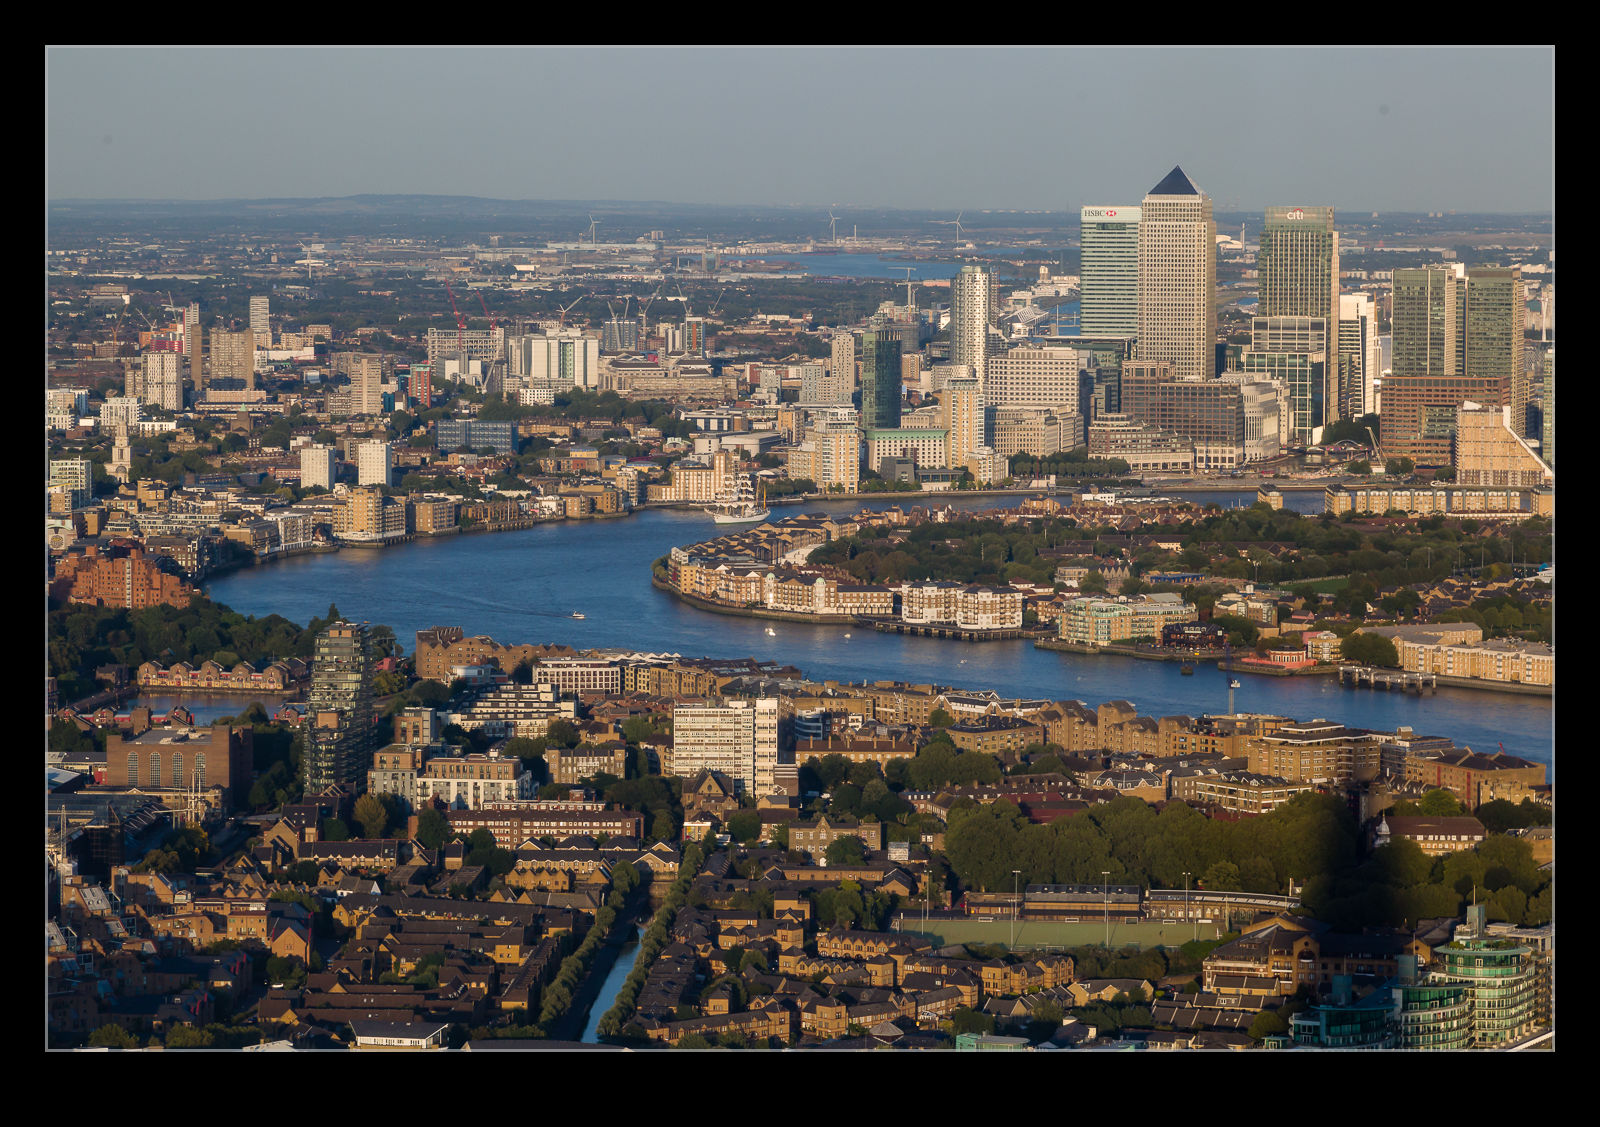
C59F0383.jpgA high vantage point gives such a different perspective on what would otherwise appear large. The various buildings in the City are all below you. Tower Bridge looks like a toy. The Tower is dwarfed by the buildings around it. Monument is easily missed in amongst the multitude of large structures that came after the calamity it recalls. The London Eye – previously one of the best spots to view the city from – is well below you.

If you look further afield, you can see the old Maritime School at Greenwich or the Olympic Stadium in one direction or Wembley in another. To the south you can see Crystal Palace and on to the North Downs. (Yes, they are south of London but at least they are north of the South Downs!). You can see small housing areas squeezed in between the commercial buildings. Even small parks and sports grounds show up. There was even a tall ship coming up the river under sail. I was curious as to whether it would come up to the Pool and have Tower Bridge raised or not be we didn’t have enough time to wait and find out.

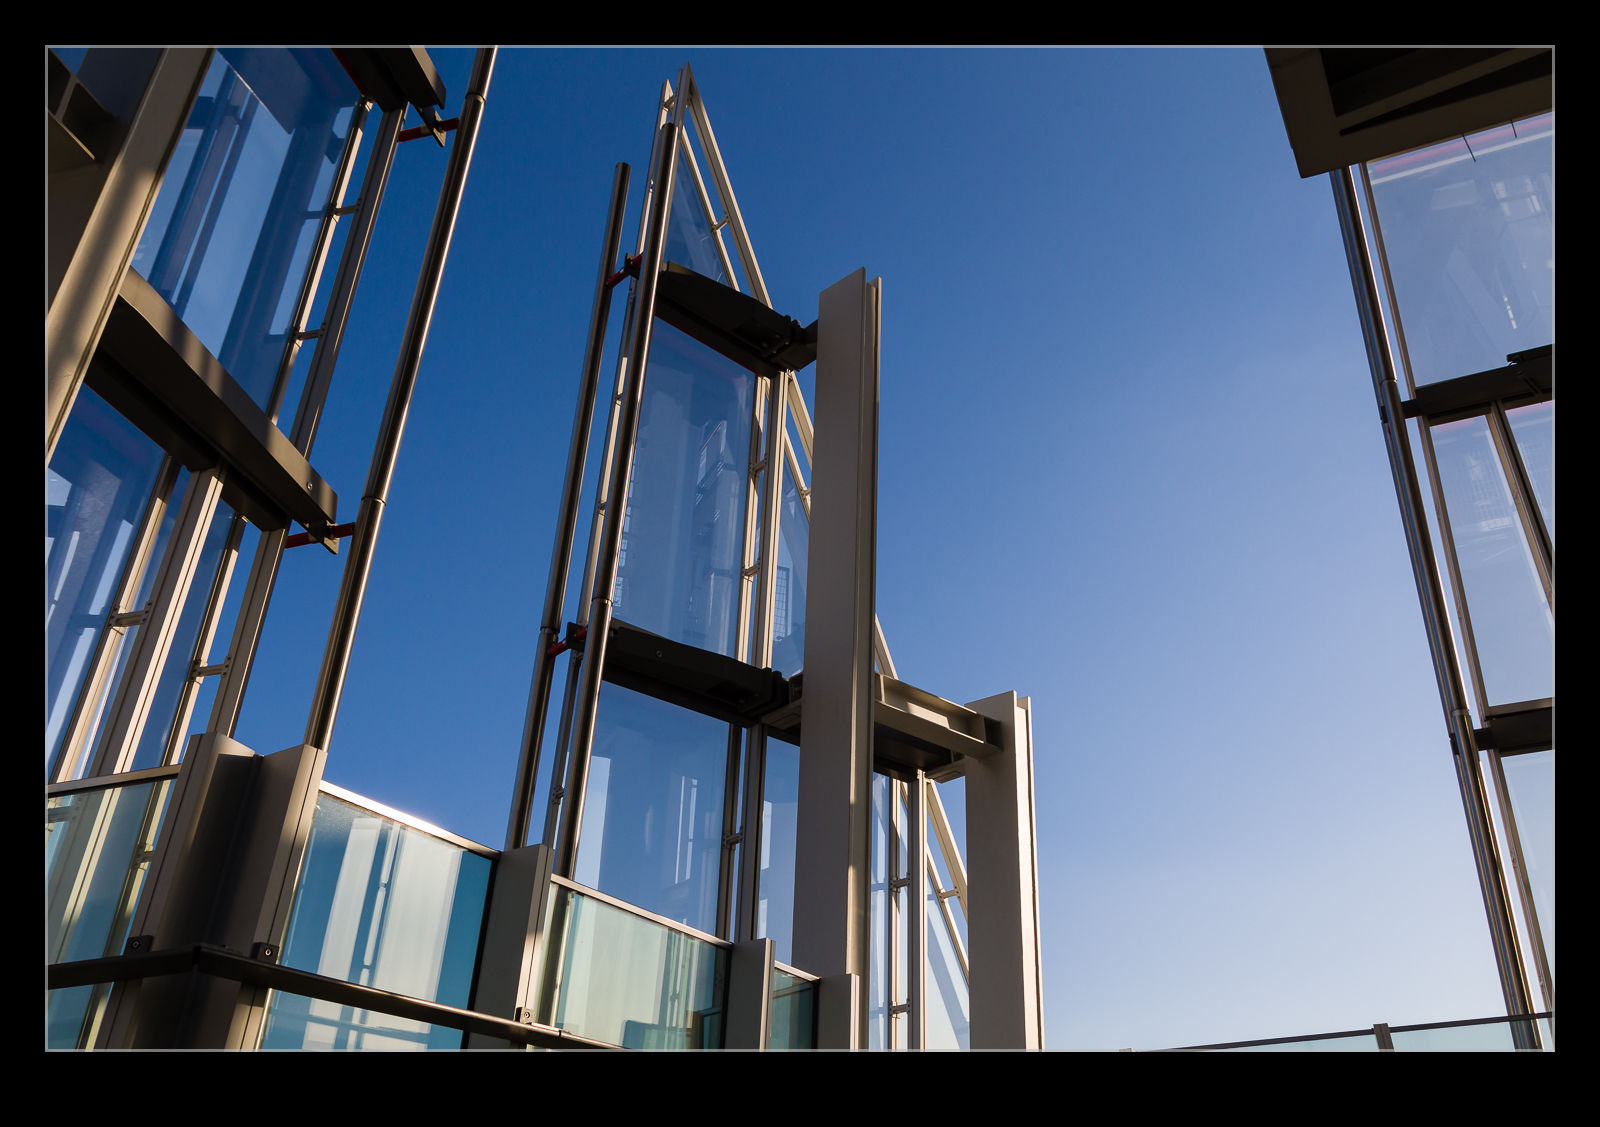
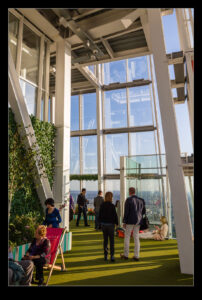
C59F0321.jpgIt took a while for us to work out that there is a second level to the public area. We went up the stairs to the area that is open to the air. It was quite interesting that they had this spot without enclosure. Sadly, apparently people do try launching stuff out of the gap. Not sure what piece of brilliance they think this will achieve but there you go. Having the fresh air is a nice feature though.

Once we were done we headed off to dinner. I couldn’t resist getting a few extra shots as we went away. Once it was dark, I took a few more because it looks pretty dramatic in the dark. Overall, a cool addition to the city I think.

Fire in the Hills

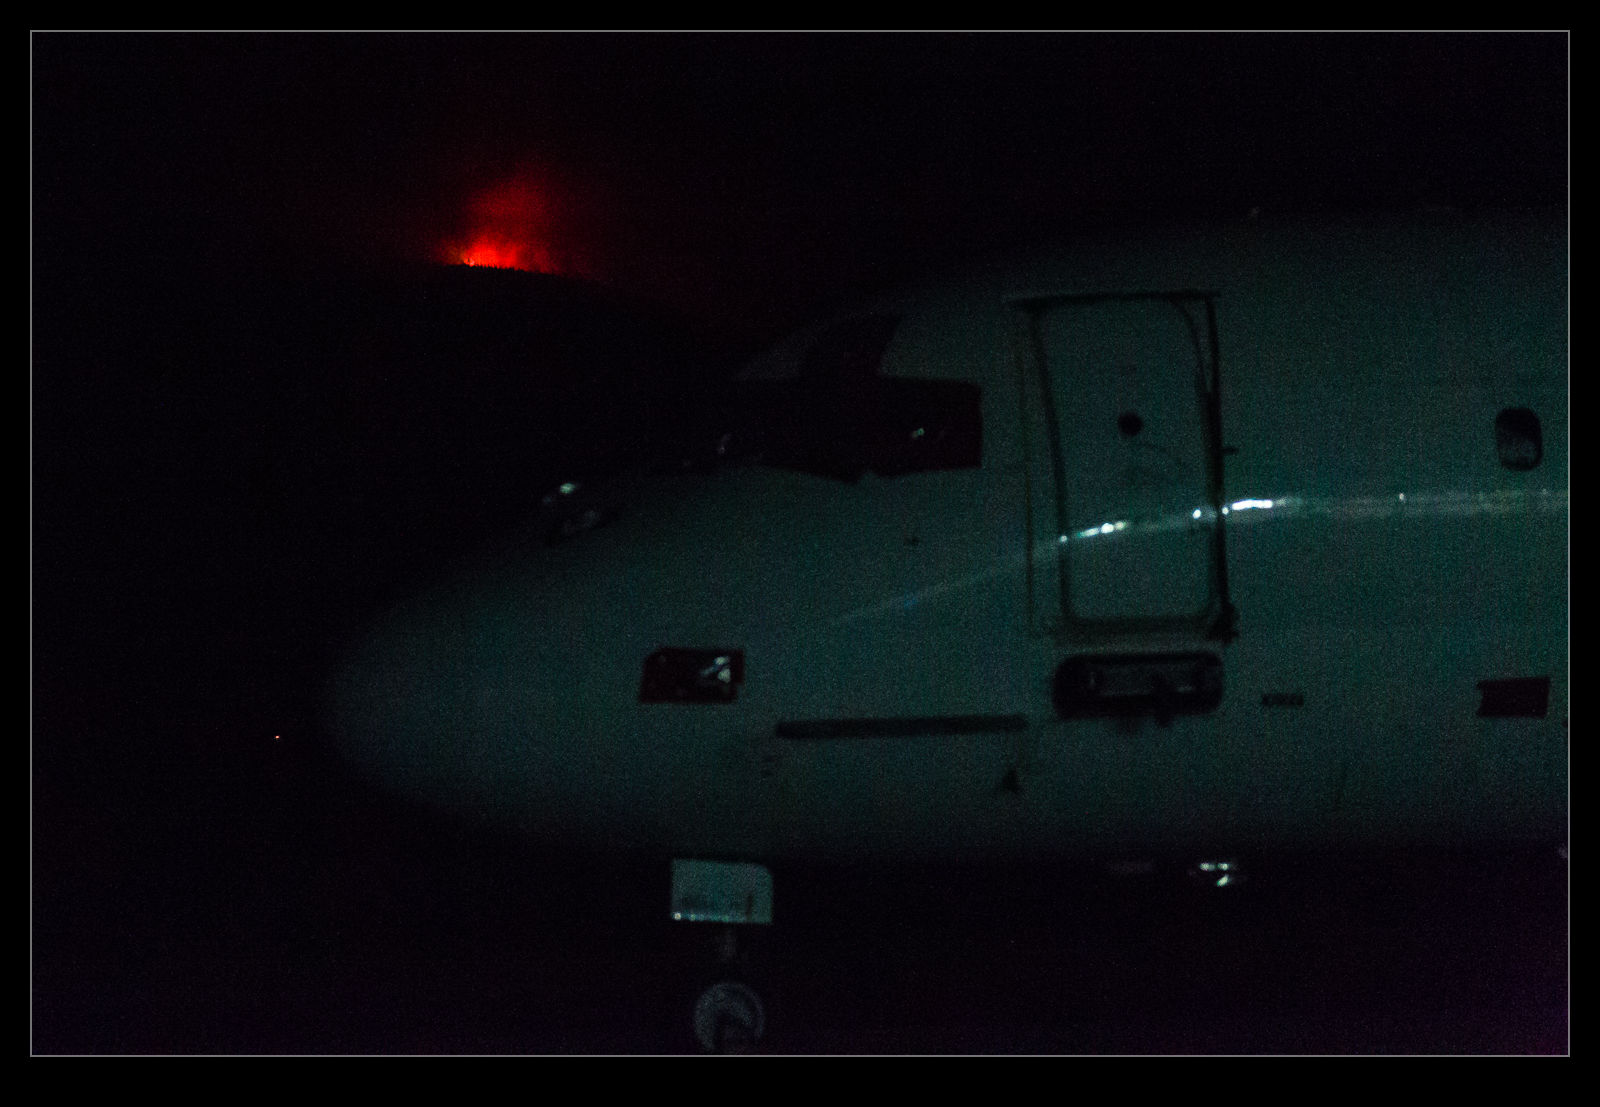
AU0E3772.jpgThe reason for the Airtanker activity at Redmond was the fire that was raging in the hills west of Madras. During the day the most obvious sign of the fire was the smoke that was hanging in the air and obscuring the view of the hills in the distance. However, as night fell, thing became quite different. The hillside where the fire was raging was suddenly very obvious. The red glow from the flames was visible even at the distance we were away.

You could see the fire was alive. The intensity and shape of the glow was varying all of the time. The ridges that were between our location and the fire sometimes almost completely obscured things but the glow was soon visible again. I have no idea how intense things were in the ground but I imagine it was very tough for those fighting it. Their bravery was recognized by all of us watching from a distance.

Hornet After Dark

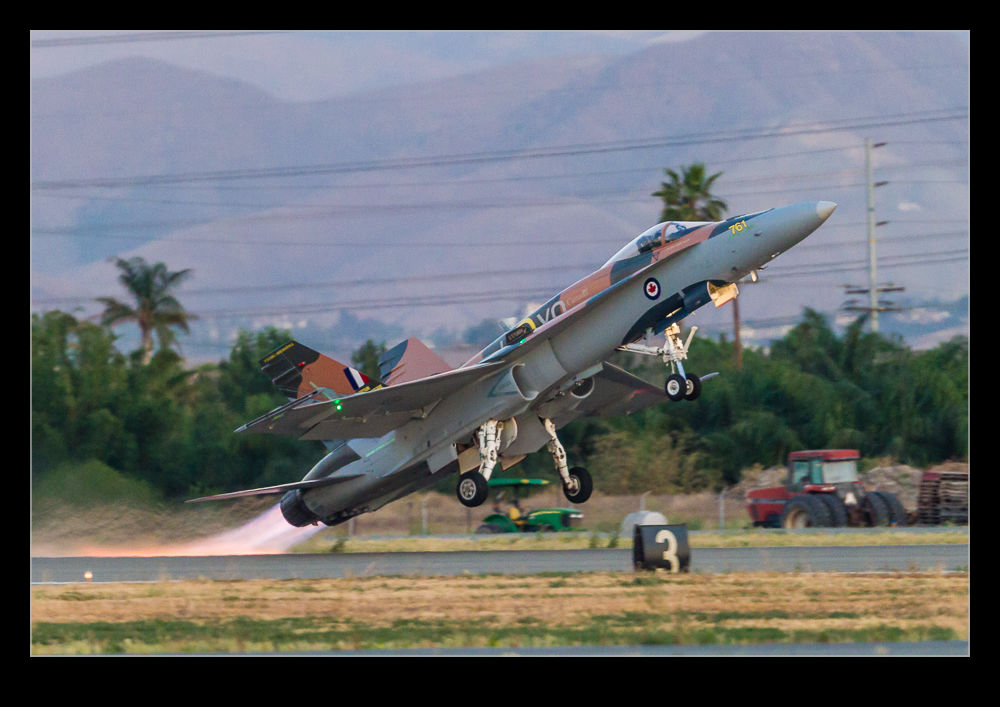
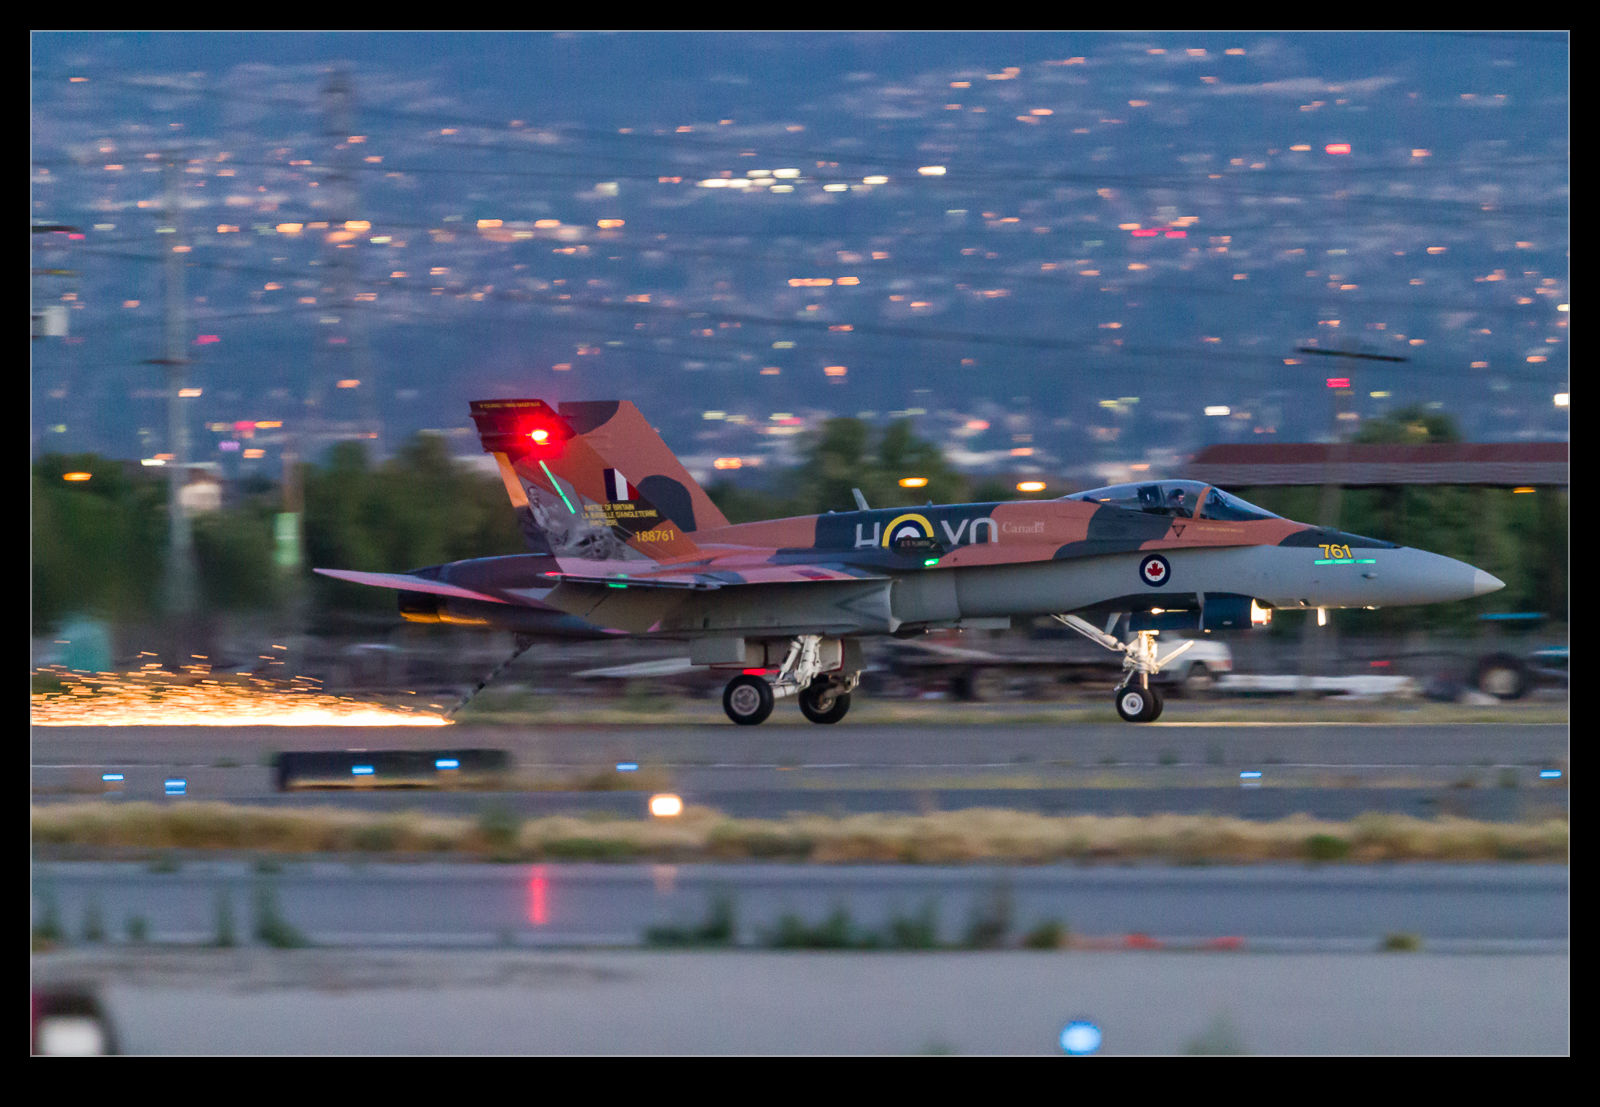
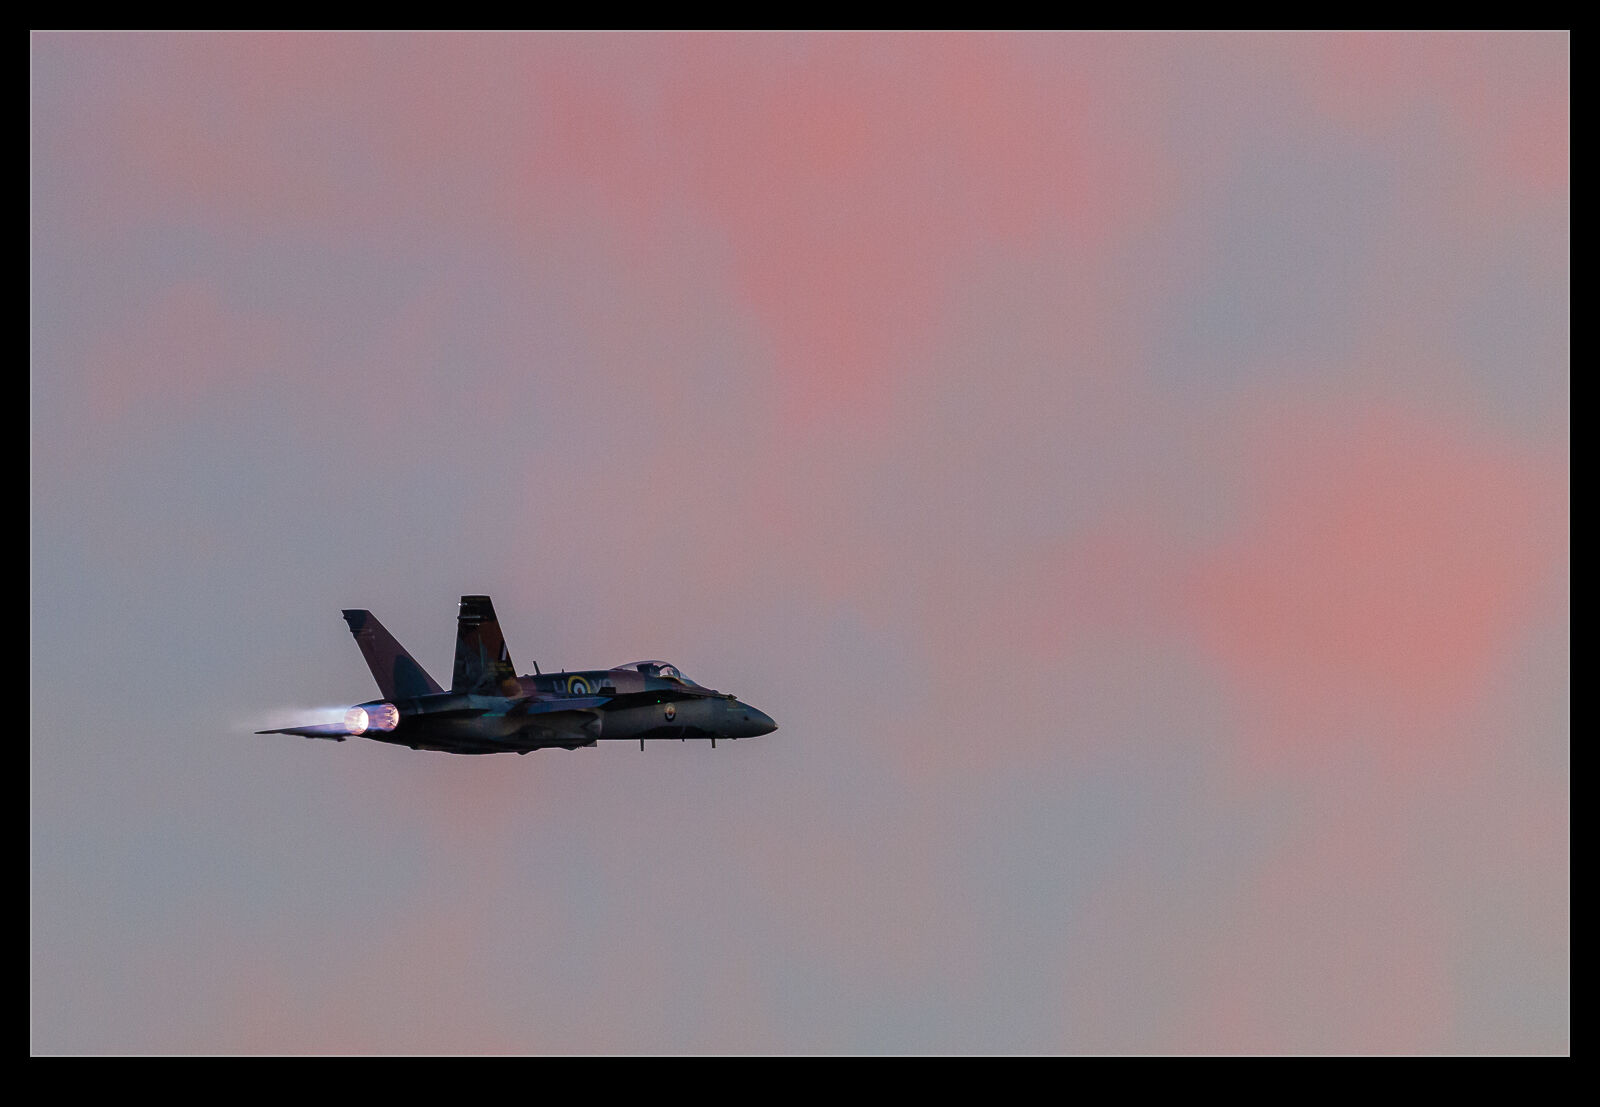
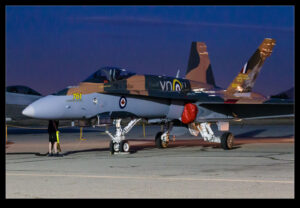
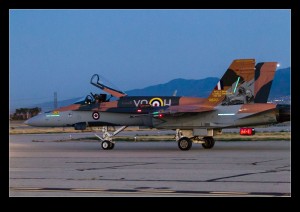
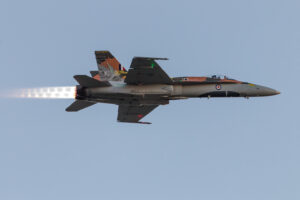
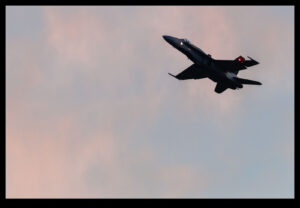
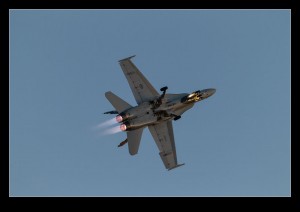
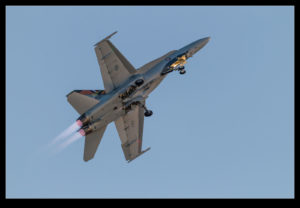
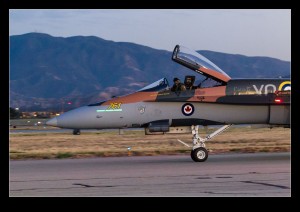
The Canadian Hornet that was at Chino was the last display to fly during the sunset show. (We had a long discussion about whether it is a CF-18 or a CF-188 during the down time but that can be saved for another day.) The aircraft taxied out as the sun was just getting close to setting. We were thinking this would be the perfect combination. Taking off before sunset would allow us to get some shots of it in the low sun when it would look at its best and the, as the sun finally set, we would get the glow of the burners against the darkening sky.

AU0E0401.jpgSadly, they decided to hold their departure until after the sun had already set. I think this was a missed opportunity. It did mean, though, that things were really dark by the end of the display. This was a time that really testing the capabilities of the camera. I was shooting at very high ISO settings in ranges that I would normally avoid. However, getting the shot sharp is better than having a low noise shot that is blurred.

AU0E0345.jpgThe aircraft pulled off the runway pretty aggressively and the burners really showed up nicely against the runway surface. The display itself was fine but the camouflage of the commemorative scheme was a bit tricky in the conditions. The finale of the display was the landing with the hook lowered. The Hornet touched down and the arrestor hook dragged along the runway surface leaving a bright shower of sparks behind it. The effect was pretty dramatic! I talked to one of the maintenance technicians later about it and asked how many of those they could do. One landing is enough to kill the head of the hook. He did say that they are easy to replace and that he had brought five of them on the trip. A neat way to wrap up the show.

Time Lapse Tutorial

I have mentioned in the past some of my interest in time lapse. I recently posted a sequence on here and a friend of mine asked me to put together a guide to how I had gone about doing it so here you go.

When putting together a time lapse, the first thing is trying to establish what will be special about what you are shooting a sequence of that will make a time lapse more interesting than any other form of presentation. Usually this involves something that changes slowly in real time but becomes more dynamic in a time lapse such as a sunset or storm cloud development. Alternatively, it is something where a lot happens over a long time that isn’t terribly dramatic on its own but, when speeded up, becomes far more impressive. This could be a sequence of activities with multiple people or launching airplanes as was the case for the one I recently made.

Once you have established what it is that makes it interesting, then you have to decide how best to portray that. Choosing your location and your angle of view are the next challenges. I was shooting departing and arriving aircraft at SFO so I needed an angle that gave me a good view of them and a field of view that allowed plenty of the movement to be seen without everything being too far away to be noticeable. In this case, shooting at night works well because the lights stand out far more making the aircraft more conspicuous than would be the case during the day.

Now it is time to get into the technical issues. How long a clip do I want to make? Shooting time lapses means getting a large number of still shots which will each be a single frame of video. Video frame rates vary but I used 30fps for the sequences I make. Therefore, 30 shots will give me a second of video. If I want a minute of video, I need to shoot 1,800 shots. That’s a lot of shots. Also, figure on shooting more before and after the main action since it is nice to have some spare video at each end to play with in future editing.

You know how many shots you need but how long in real time do you want to cover? Are you starting before sunset and finishing well after sunset? Do you have a peak period of activity that you want to cover? Now you can see how many shots you need over a given amount of time so you will work out how long the interval between each shot can be? The interval between shots is critical but you must also factor in how long a shutter speed you want. This is where shooting at night is a lot nicer because you can get nice long shutter speeds. These make for smoother looking videos because there is no jerkiness. Shooting on a sunny day with a very short shutter speed and a few second interval will result in a jerkier output. The “rule” is to have the exposure time at least half the interval. Doing that during the day may require some neutral density filters. At night it is a lot easier to manage.

Now to mount and control the camera. Obviously a tripod is a necessity to make a stable platform for the shots. A cable release is a must have and preferably one with a timer built in so you can program the intervals. However, if you are shooting at night, you can get away with putting the camera on burst mode with a shutter speed to match your interval and then lock the shutter release open. It will then just keep shooting. The other camera thing to consider is image stabilization if you have long shutter speeds. IS can wander around for long exposures making everything blurred. Keep it turned off. I would also switch autofocus off once you are happy everything is sharp to avoid the focus getting changed by the camera. If the conditions are changeable, you might go with something like aperture priority to accommodate changing exposures. At night, manual might be your best bet. Always keep an eye on how the exposures are doing if in a programmed mode to ensure you aren’t exceeding your interval with your shutter speed. There are complex bulb ramping tools available to use if you want to get advanced. I haven’t tried these since they haven’t been necessary for my purposes so I can’t give good advice. I do have the functionality in a cable release device that connects to my iPhone called Triggertrap but I haven’t ever pushed it to its limits.

One thing you will discover is that fixed apertures are not fixed. Cameras will go to a slightly different aperture for each shot which can result in slight variations in exposure. This “flicker” can be managed by clever manipulation of the lens position but I prefer to use software to fix it. The software will also help if you end up tweaking the camera settings during the capture sequence.

Last piece of equipment advice is bring a chair. Once everything is at work, you don’t have much to do. You can shoot with a second body of course or you can sit back and relax. If you have a buddy along, that is not a bad thing! I shoot all of my sequences in RAW format. For night shoots this gives you a lot of latitude for tweaking the exposures. It does use up a lot of memory but storage is cheap these days. With charged batteries and big cards, you are good to go.

Once the shoot is done, you get home with a ton of images that look remarkably similar. First I import them into Lightroom. I will keyword them in the same way as anything else from a shoot including adding a time lapse keyword. Then I will make sure all of the time lapse shots are in one subfolder before jumping over the LRTimelapse. I am not going to try and write a tutorial on using LRTimelapse. The website for the software has far better guides to how to use everything. However, I will focus on the key elements I go for.

The main one is the Deflicker process. This is a routine that analyses each shot and applies little tweaks to the exposure to avoid any visible flicker. You can draw out a box in the image preview to tell it where to analyze. This means you can pick an area that is constant in the image as a reference and avoid areas where there is a lot going on. If the image exposure is gradually changing, it won’t affect that. It will just take out the individual variance. You can see a trace of how the overall exposure tracks during the sequence.

The other element I sometimes use is panning. You can define keyframes in the sequence and jump back into Lightroom to crop each one as you wish. Back to LRTimelapse and it will calculate the individual crops for each frame to make a smooth pan between your chosen keyframes. Quite nice to provide a little variety if you wish. I always crop the images to a 16×9 format since that works nicely for HD output formats.

When all of your tweaks are fixed, you save the metadata files and go back to Lightroom to reload them. (There can be a bit of back and forth like this throughout the process.) In Lightroom, there is an export dialog from LRTimelapse which then renders out the individual files from each shot. These will then be taken by LRTimelapse and rendered as a video clip.

Sounds really simple that way and, to be honest, it is pretty straightforward. A little practice helps of course. When it works out, the result can be very satisfying. Of course, a lot of times, you see something that you really wish you had done differently. That is something you will have to put down to experience and try to remember next time you are out shooting.

One last thought – if you are shooting something that involves light trails at night, consider making each image a layer in Photoshop and blending them together as a stack to see what happens. It can work pretty nicely sometimes. However, you can end up with a pretty huge Photoshop file so your computer may groan while processing it. Happy shooting!
SFO Night Time Lapse Take 2

wpid13560-C59F6490.jpgLast summer my friend Paul had been across and we had hatched a plan to shot some time lapse and night streak shots of SFO from a hill that overlooks the airport. The plan seemed like a good one but it was thwarted by two things. First, there was some cloud in the area which obscured some fo the view. Second, it doesn’t get dark until late in the summer and Paul was on UK time so was pretty worn out by the time we could do anything.

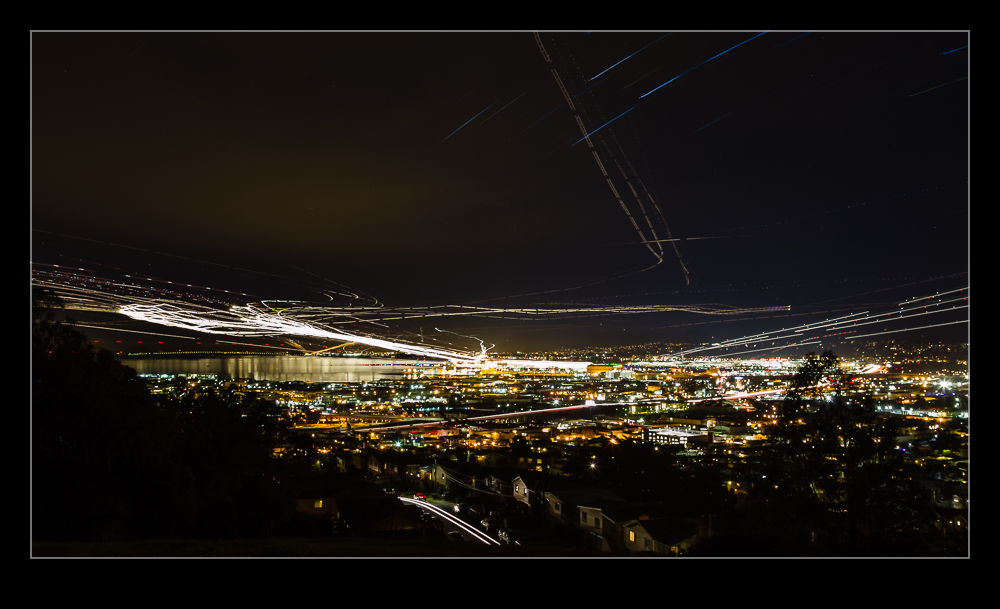
Instead, we concluded that a second attempt would be made when he was over during the winter. So it was that we found ourselves back up on the hill. We had come well prepared this time with sturdy tripods and good cable releases. The only thing I had forgotten was the chairs since you have a lot of time to hang around on a dark hillside taking shots like this. I took a long sequence of shots that would be edited into the time lapse. When I got home, some quick work in LRTimelapse and the video was together as you can see below. I also decided to see how well the sequence would blend together to get a streak image. I have never tried to work with quite so many layers in Photoshop before. It certainly struggled with it but it did work. Unfortunately, there must have been some very slight movement on the tripod because the ground lights did not exactly align which made for a blurry foreground when using the Lighten blend mode. To counter this, I duplicated one of the base layers and masked that back in to give the ground a clearer image. The blended version is the one at the top of the post.

Night Launches

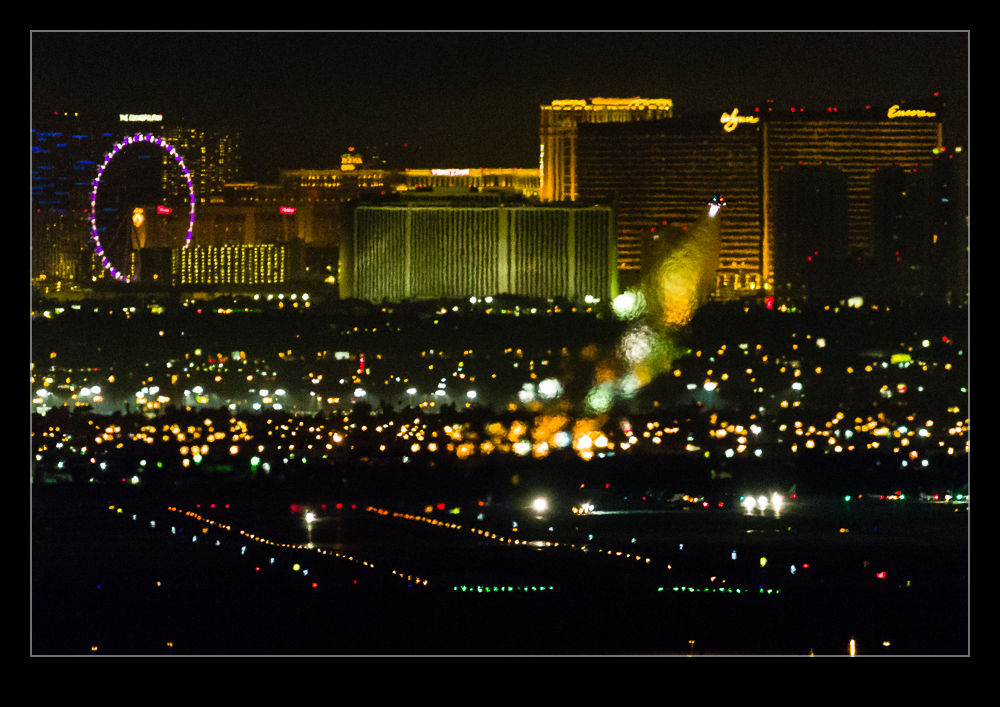
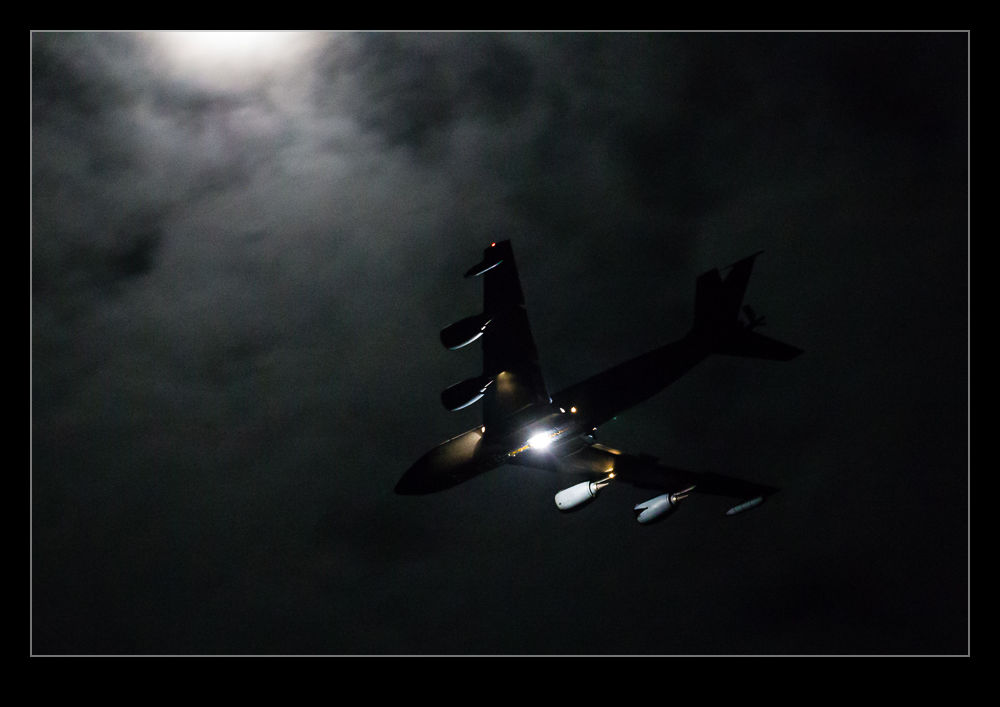
wpid13242-C59F8185.jpgWhen the daylight flying activities are over, there is still the night and Red Flag has a night mission that is flown on most days. Therefore, after dinner, you can head up to a spot north of the speedway where there is a great view over the base with Las Vegas in the background. It is dark up there so there are not many good chances for shooting the jets but you can sometimes get some shots of stuff flying over if it lights itself up.

wpid13240-C59F7969.jpgHowever, you can get some shots of the base with the launching jets showing up either from their afterburners or from the heat distortion they leave behind.

wpid13238-C59F7906.jpgThe other thing is to run a time lapse and see the jets moving around on the base and then streaking off into the sky. I ran a couple of them over two nights. Below is the result of one of them. Two things to note. First, the launch was very spread out. The main jet launch was actually quite late and I was tired and cold so cut short the sequence while they were still heading out. The second is that a weird optical effect shows up in the video. It is a movement of the image a bit like heat haze. However, since the shots are taken over such a long period of time, you would think that would not be an issue. Something is going on though so if anyone has any suggestions, feel free to comment with your thoughts.

Dublin Gaels Soccer

wpid12918-C59F7413.jpgOur local high school has a strong sports setup and Nancy and I had been to see a football game last year. I blogged about that here if you want to check back. I was recently discussing this with a couple whose son goes to the school and plays football and soccer. The soccer season is underway at the moment and the last game of the regular season was imminent. I decided I would head along and have a go at shooting the game.

wpid12914-C59F6574.jpgIt was played on the same field as the football so we had the same lighting to deal with. While the lights are good, they are not great for photography. I had both cameras ramped well up on the ISO settings. This worked okay in most situations although the noise is still a bit noticeable. More modern bodies seem to have very impressive noise characteristics but my gear seemed to do okay. I hadn’t shot soccer before so it was interesting working out who to follow and what shots to go for.

wpid12916-C59F7062.jpgSome of the shots I envisaged did not look good at all in reality. There are certain aspects of kicking and throwing a ball that look good in motion but make for rather odd poses when stills. A good lesson to learn I guess. Meanwhile, I did manage to get some more action packed elements sometimes. Keeping the ball in shot and showing what is going on was fun to try. It was also fun to see shots that show something you don’t normally notice. The expressions on faces during the game are quite funny and sometimes it looks like the game was far more violent than was the case.

I put together a compilation of some shots for the families to take a look at. They have had some basic editing but not more. If you want to take a look at those, there are at http://robedgcumbe.com/client/gaels/soccer/ so have a peak.

The team are now into the playoffs so hopefully they will have a good run!