Category Archives: technique

Playing with Blending Layers

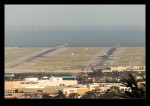
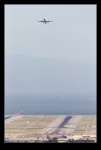
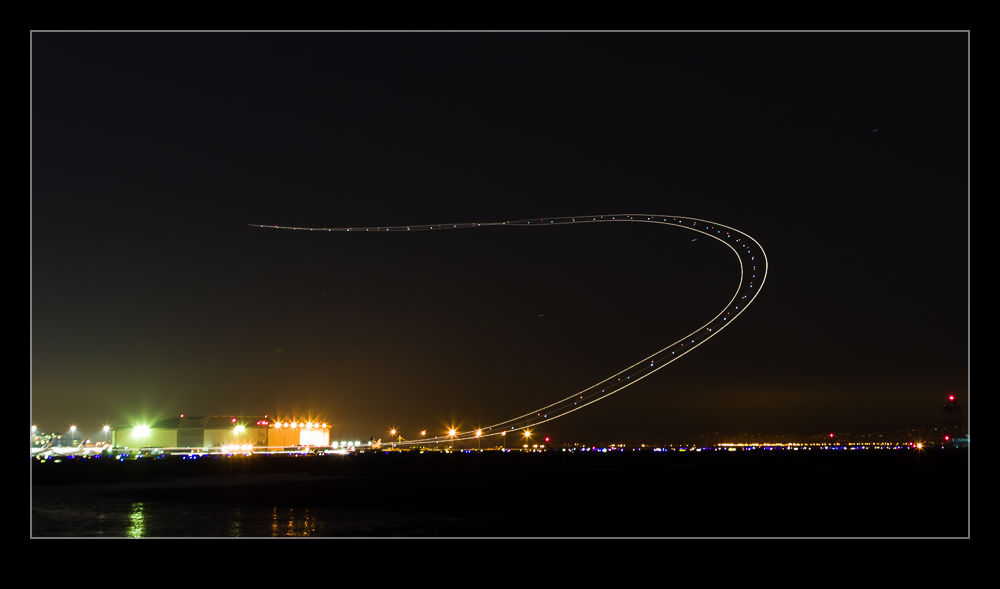
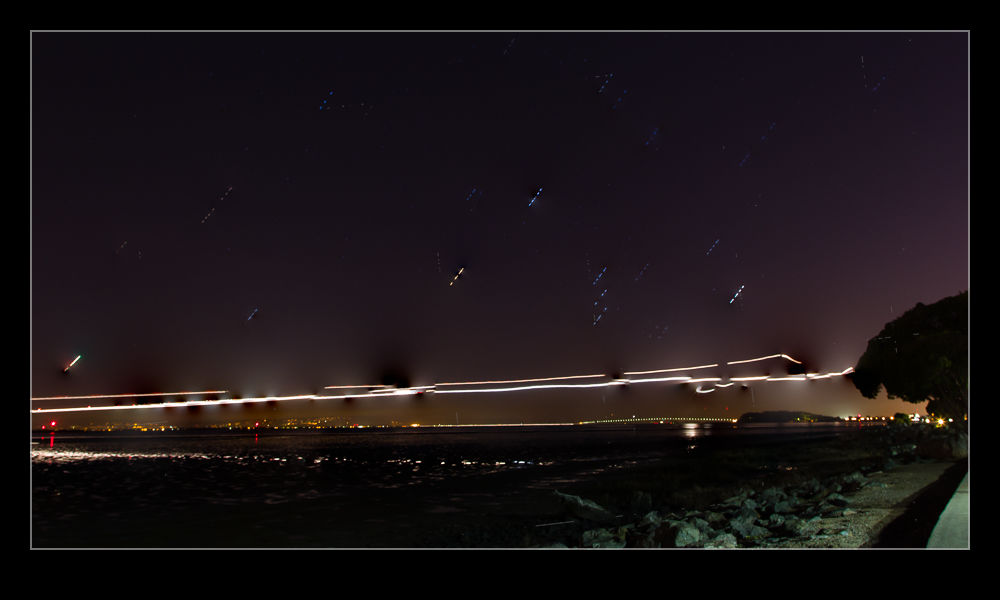
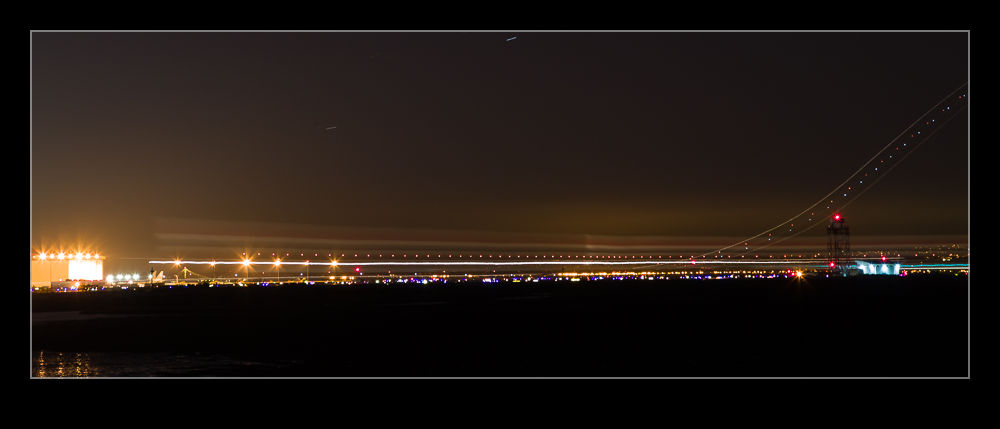
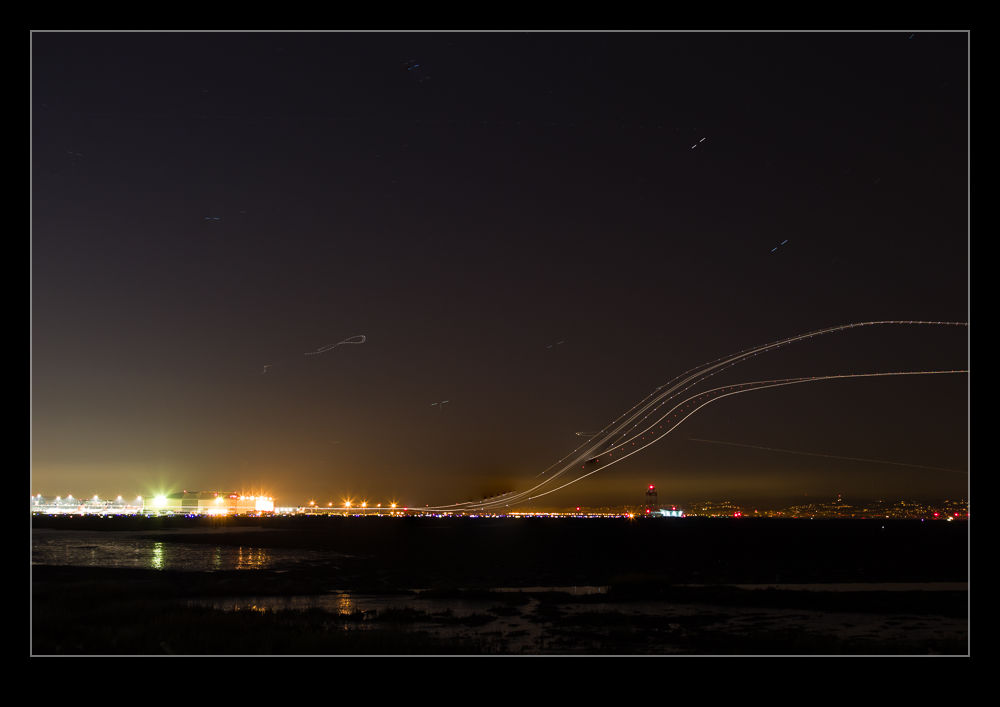
I have been making some shots with multiple exposures to overlay.  This is something I have posted about before and the shots here are similar to those from before.  However, this post is less about the shots and more about the post processing I used.  Previously I opened up all of the shots as layers in a single file and then auto-aligned them.  Once done, I then used the Auto Blend functionality to show each shot o the aircraft in place.

This was a lot quicker than my previous approach and was something I picked up from posts on photographing star trails.  However, recently, I have not been as happy with the results as I should have been.  Some of the planes, particularly those near to the edges, had some odd artifacts appearing.  Also, if there were any overlaps, the blending masks could give some weird effects.  Therefore, I have taken a different approach for a while.  This is slower, I admit, but I think it gives a better result.

Once the alignment of the images is done, I hide them all except the bottom layer by Alt clicking on the eye beside the last layer.  Then I add the next layer up back in but mask it out completely.  A white brush on the mask then allows me to paint back in the new aircraft positions.  This is a bit laborious but it does allow you to decide exactly what you want in and what you don’t.  if one file is not helpful to the composition, you can easily ignore it.

If the layers are not all exactly aligned from shooting on a tripod, you will also get gaps at the edges on different layers.  You can also fill these in by brushing in the layers that provide the right coverage and get a complete image.  Once you are happy, flatten the whole thing and you are done.

Fort Point

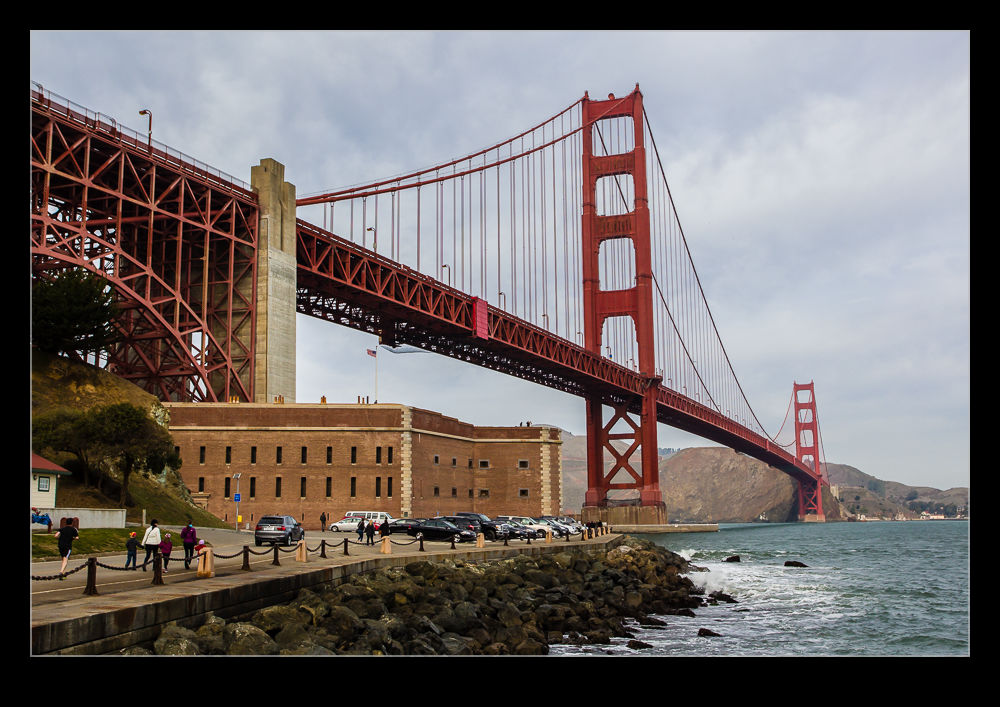
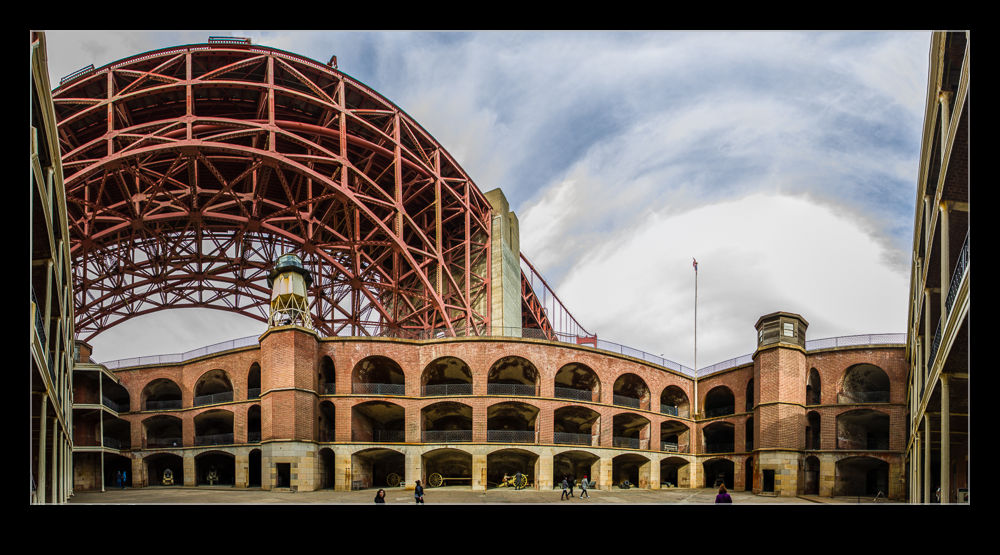
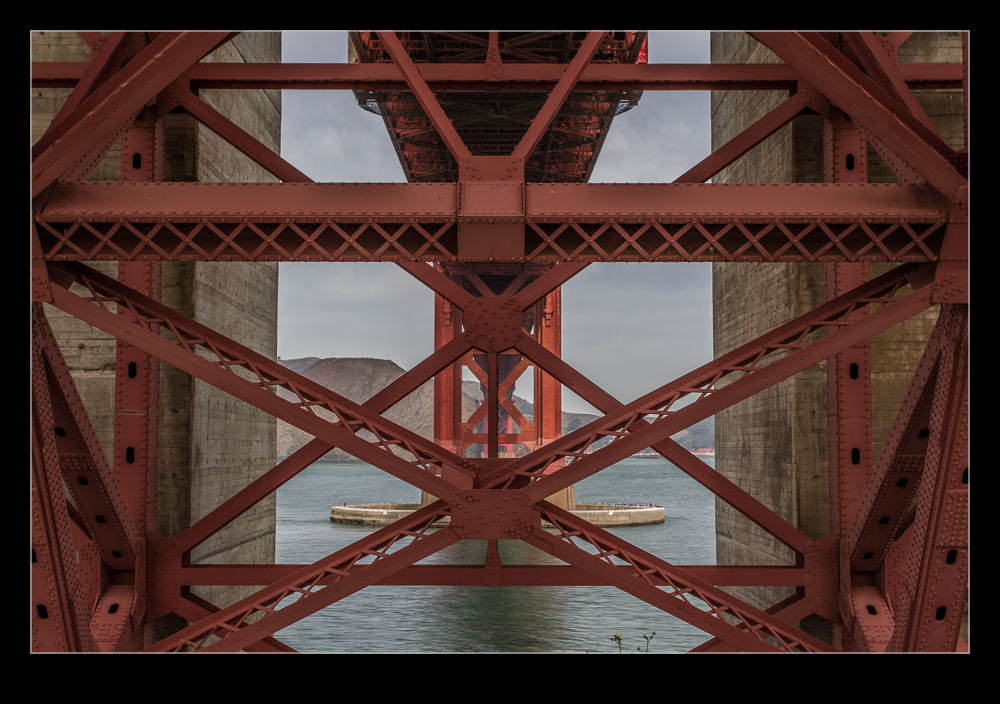
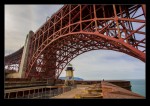
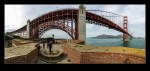
wpid8626-C59F4428.jpgA great place in San Francisco to take people but one that seemingly is ignored by many tourists is Fort Point.  Located at the mouth of Golden Gate, it is a fort designed to protect the bay entrance.  Now it is right underneath one end of the Golden Gate Bridge so it provides a very different vantage point for bridge viewing.

wpid8638-C59F4531.jpgI forget how interesting a place it can be.  We took our visitors there so that they could get the unusual view of the bridge but we ended up spending a lot more time there since the place is very interesting in itself.  Why do I not remember that?

wpid8628-C59F4438.jpgThe fort structure is very cool and it has a number of exhibits including old cannons, rooms configured as they were when it was in use and displays on the building of the bridge above it.  The upper levels provide a great view of the entrance to the bay as well as the bridge and he bay itself.  Being so close to the bridge gives you a chance to play with some angles that provide a more distorted view of things which can be quite fun.

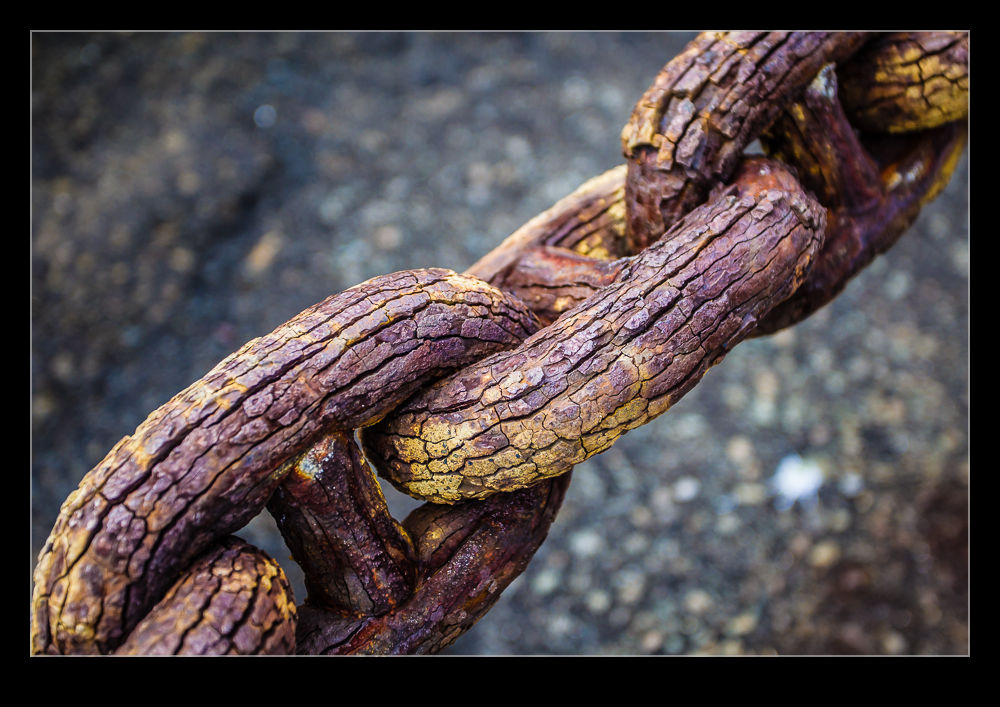
wpid8634-C59F4500-Edit.jpgAlso, you are under some of the ironwork which has great colors and textures.  A little HDR can help here to cover the well shaded structures as well as the views beyond that are in full light.  Whether you want to see the context or go a little abstract, you can find something to play with.  Meanwhile, some panorama options are there to be played with given the shape of the fort and the bridge beyond.

Changing My Approach to Panoramas

Ever since Adobe got their act together with the Photomerge function in Photoshop, it has been my default for creating panoramas.  Previous versions were a little unreliable but they cracked it a few versions back and I have not changed my approach since.  However, a recent bit of YouTube exploring has changed that again.  Russell Brown had a series of videos on making panoramas from aerial shots and, while I was watching them because they were aerials, the stuff he came up with on stitching panos was actually more useful to me.

Instead of using Photomerge, he uses the same functionality of Photoshop but in individual steps.  The technique involves opening all of the shots as layers in a single file (something you can do straight from Lightroom which maintains the re-import linkage that I like about Photomerge).  Then you select all layers and use Edit>Auto Align Layers.  This gives you the same options as Photomerge.  Apparently, according to Russell, if you have a series of shots where you have rotated position but are looking horizontally, Spherical works best.  If you are looking up or down, use Circular.

The result can be quite distorted if you use Circular but it will all get better soon.  If you aren’t happy, you can undo the step which is a lot easier than starting from scratch which is what you would have to do in Photomerge.  Once the alignment is done, Edit>Auto Blend Layers while take care of the rest of the stitching and blend everything together nicely.  It defaults to a Panorama blending option.

With the blend done, flatten the layers and open Filters>Adaptive Wide Angle.  This will default to a panorama setting and, if you have the distorted output from the Circular settings, now you will suddenly see everything come back to what it should be.  You can tweak this filter to get verticals and horizontals aligned as you wish and then you end up with a good pano output.  Some cropping and filling of blank areas with Content-Aware fill and the job is done.  I shall be taking this approach for all my panos from now on.  If you don’t use this approach already, you might want to give it a try.

Also, you can go to the original source on this and check out Russell’s videos on YouTube.

RescuePro Deluxe

Today we have something of a product review combined with a workflow experiment.  None of this was something that I wanted to do but circumstances dictated it was time.  I had been out for the day shooting some wildlife including some sea otters – that will show up in a future post – and, one returning home and downloading my images, a few of the shots showed up strangely with no preview in Lightroom when I started to import them and were apparently corrupted on the card.  Not sure what the cause of this was.  The body had just come back from an annual service at Canon and the card was a new one.  However, they both worked fine for the majority of the day with just some minor problems with a couple of dozen shots.  I shall try and sort that out later.

So, to the problem at hand.  I use Sandisk Extreme cards and have had virtually no problems to date.  Therefore, I was in new territory.  One thing that I do have as a result of using these cards is a bunch of coupons for RescuePro Deluxe.  This is software for retrieving lost files from cards.  I had used it once many years ago when recovering some shots that had been deleted on the card but not formatted and it had worked well.  That was my issue then.  Now I needed it due to a problem I hadn’t created.

My first minor problem was that the software defaults to recovering the images to a folder on the C: drive.  Since my desktop has an SSD running the OS and everything else on other drives, it isn’t overloaded with space so dumping 32Gb of images on to it caused a minor hiccup.  A kicked out of the program, restarted it and found how to change the output directory and then we were off and running.  However, now I came across my next issue.  It found all of the files on the card, not just the ones that were lost.  This is where the brain had a small “doh” moment.  I figured if I opened up the card in Explorer and deleted the good shots, it would mean the search would be a lot quicker.  Of course, if you are using software designed to find files that have been deleted, it still finds them all.  Why didn’t I think of that at the time?  Oh well, no big deal since this was all running in the background.

The result of the scan is that all files on the card are now stored in a folder.  Unfortunately, they are named sequentially File001, File002 etc.  This makes working out which are the missing files a bit more tricky.  So, two things were needed for the next step.  First, find out the filename for the first file on the card.  Then import all of the files into Lightroom by adding them where they are rather than copying them to a new location.  With them in Lightroom, it is a simple task to rename them all to their original names using the rename function and making sure you start with the filename of the first file that we found a moment ago.  Now all the files have the right name and are still in the recovery folder.

The next step might seem counterintuitive.  I delete them all from Lightroom.  I don’t delete the master files; just remove them from the catalog.  Next – trust me, I haven’t gone mad – I them re-import them all.  At this point, Lightroom sees the files with the right names and details and so automatically recognizes which ones are already in the catalog.  It then will pick out the ones which were the original missing files and you can import them properly to wherever you want them.  Now the recovery folder can be deleted (subject to your normal backup protocols).  It sounds a bit complex but, if you work through the process, the longest part of it is the scan of the card for the files in the first place.  After that, it all happens pretty quickly.

While RescuePro Deluxe is not the most user friendly piece of software, it did do what was required and I got it free with the cards I have.  You don’t own the software.  You get a one year subscription with the coupon.  Hopefully I won’t need it again this year but it is there if required.  I have a bunch of these coupons from various card purchases so I imagine I will be in good shape as long as required.  If you have gone through something similar and have a better way of dealing with it, please do let me know.  It is always good to learn from the experiences of others.

Blur That Prop!

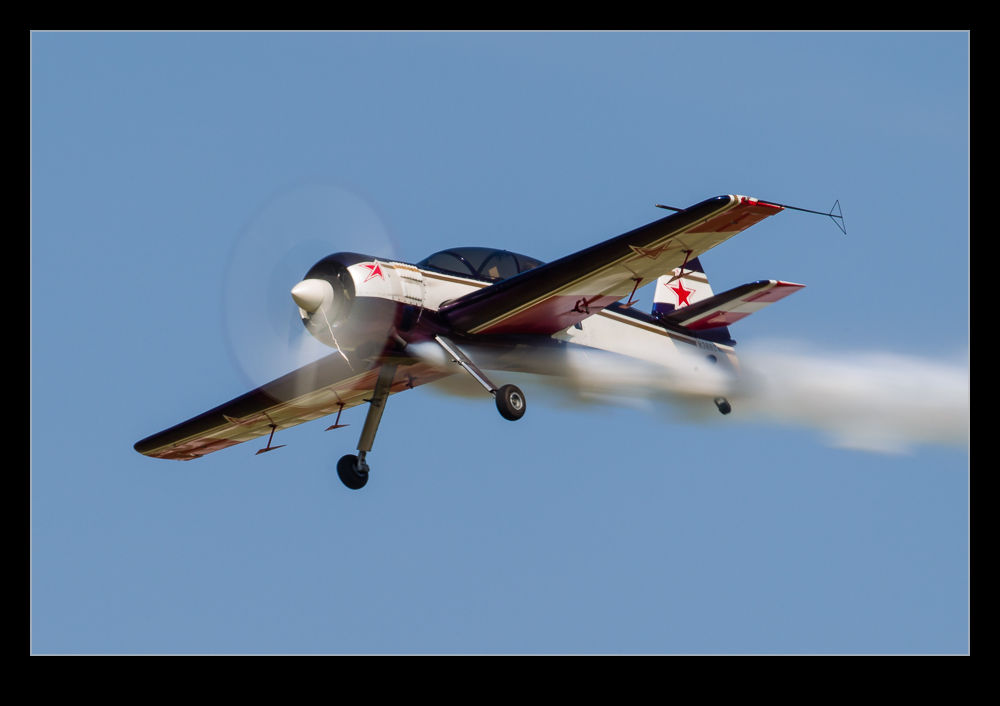
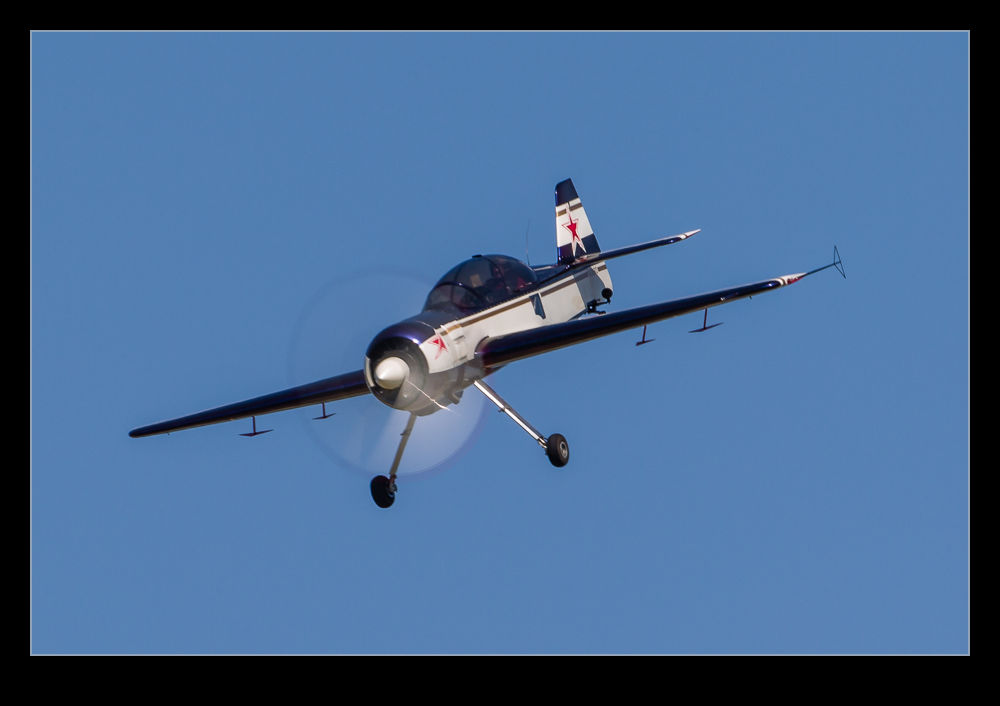
wpid7596-C59F7698.jpgAsk any aviation photographer about camera settings and they will quickly turn to shutter speed for prop aircraft.  The goal is a nicely blurred prop and no frozen blades.  This requires a slow shutter speed and this can have downsides.  If you are using a long lens, getting a sharp shot of a moving target with a low shutter speed can be tricky.  A bit of spray and pray with the shutter button can be required.  Interestingly, if you are closer to the aircraft and using a shorter focal length, things are not necessarily better.  When you are close in, the different parts of the airframe are actually moving at different speeds and angular rates to you so one part might be sharp when another isn’t.  Sometimes this looks okay but often it just looks crap.

I have become less focused on gaining the great blur for ground shots.  Air to air it is something a lot more worthwhile since the other plane is not moving relative to you – well, hopefully not that much.  Therefore, you can experiment going slower with hopefully some good results.  Similarly, when I am shooting helicopters close in and hovering, I will give it a go too.

wpid7594-C59F7690.jpgRecently, I was at the Waukegan show and I decided that, since what I was shooting was not something that I had to get (either I would have other chances or I wasn’t so bothered anyway), I would play with some really low speeds.  I ended up shooting at 1/80th of a second which, on a 500mm lens is a stretch.  Needless to say, you are not going to see the failures.  When I have played like this before, I have had times when not one of the shots was of any use.  However, this time I did get a few lucky results – yes, they were luck.  You can have great panning technique (which is not always true for me) but the math is not in your favor when doing this.  Therefore, I shall be happy with the results this time around.  I won’t be doing this all of the time but playing around is an important thing to do when you have the chance.  Just don’t do it when you really want to have a shot you can keep.

Updates to the Workflow

A while back I wrote a piece about how I manage my workflow when bringing in new pictures from a shoot.  If you are so inclined, you can read the original post here.  I thought it might be appropriate to bring the topic up to date since I have tweaked the workflow a bit since then.  As I mentioned before, this is not all original thinking from me.  I have picked up suggestions from a number of places and then adapted them to my own needs.  If they are useful to you, that is great.  All of this is based on using Lightroom as an image management tool.

The basic process involves creating a series of Smart Collections for a given shoot.  I have adapted these collections a little and have a basic set, not all of which are required for every shoot.  However, what I have done is exported these collections to a folder on my computer so I can re-import them for each shoot and tweak them rather than start from scratch each time.  For example, they all have the keywords section blank so that I can paste in the required keywords for the shoot easily.

I will initially create a Collection Set for the topic and, if this is an event that occurs more than once, a Collection Set within that for the specific date.  Then, within that, I shall import the Smart Collections from my templates.  In the first instance, these will have lots of files in them since the criteria have not been narrowed down but I shall then edit each one to have the appropriate keywords and, if required, the specific dates.  Date Taken is the criterion I will use then, either with a specific date or a range.   Of course, this does require me to have put the appropriate keywords on all of the images first including whether they are HDR, panorama or time lapse images.

The following are the smart collections and a description of what they contain.  To avoid repetition, it can be assumed that they will all fit the keyword and date range criteria.

  • Not Rejects – All images that have not been rejected, are not marked as HDR or panoramas and are not video clips
  • Picks – All images that have been marked as a Pick and are not video clips
  • HDR Originals – All marked as HDR that are RAW files
  • HDR Edits – All marked as HDR that are not RAW files
  • Pano Originals – All marked as panoramas that are RAW files
  • Pano Edits – All marked as panoramas that are not RAW files
  • Time lapse – All marked as Time Lapse (Duh!)
  • Not Geotagged – All files that do not have GPS coordinates associated with them
  • Videos – All video files not marked as rejects
  • Rejects – All files marked as rejects (again, duh!)

The reasons for some of these are obvious but others are less so.  The not rejects file specifically excludes any shots I have marked as HDR or panorama since, when running through the edits, it is easy to see a shot that makes up one of those processes and think it is boring and delete it.  Keeping them separate from the start is important.  I keep the originals and the edits apart since, when I come back to them later, it is a lot simpler to look through the finished versions without having to find them amongst the originals.  Previously, they ended up in the same smart collection and, after getting bored trying to find the finished one, it occurred to me that they could be kept apart easily.

I now try to geotag all of my images.  Having the folder that shows that they haven’t been done reminds me to do this if I have not done it straightaway.  I have found that Lightroom has a bug (I have found more than one!) that, when you have imported a bunch of stuff, if you go to the map page, it gets a little lost and keeps the map view looking like the grid view.  You can get back out without any problem but have to restart to get back to map view.  If you go to map view before doing all of the importing, it seems fine then.  However, this folder makes sure I don’t forget to do it at some point.

With all of this set up, it is then easy enough to get into the process I have outlined before.  I go to the Not Rejects folder and render 1:1 previews of all of the files.  This can take a while so I will often start it off and then go and do something else for a while.  I can then come back and run through the images.  I will have a full screen version on one screen and the zoomed 1:1 image on the other.  This allows me to easily see which shots are not sharp or have an obvious flaw like a pole through the foreground or someone’s head in the way.  A quick “X” and that shot disappears from the smart collection and I am on to the next.  If it is okay, right arrow and I am moving on.  This kills a lot of shots quite quickly.

Then it is a simple case of looking at the shots in Grid view, usually quite large, to see the ones that are duplicate or just plain crap.  I can select which to get rid of and “X” again has them consigned to the trash.  Once all of this is done, I will run a BluRay backup of all of the shots including the XMP files after which I shall delete all rejects.  Hopefully that leaves me with a lot less shots to play with.  I can then pick the ones I think are the best and mark them as Picks.  It then leaves me with a smaller smart collection which I can go in and pay some attention to making more detailed edits.

This process continues to evolve.  Maybe I shall write another update in a couple of years.  In the meantime, I hope it might be helpful to someone for me to have shared it.  Happy shooting!

Passing Airliners

wpid7447-AU0E0226.jpgMore on the looking out of the window of airliners theme today.  This time the subject is other airliners.  If you don’t stare out of the window much, you might not be aware just how much other traffic is out there.  Actually, there is quite a lot.  At various times you might see other jets passing in the opposite direction, pacing you at a distance and crossing your path.  Sometimes they seem very close.  With some of the apps that are available now, if you have wifi on-board, you can even be prepared for some of them showing up.

wpid7445-AU0E9875.jpgHere I shall highlight a quality warning.  The attached shots are not great.  They illustrate a point but nothing more.  There have been quite a few occasions when we passed very close to another aircraft.  However, those were not times I had a camera handy.  even if I had, the chances of getting a good shot are not great.  Even when you are close, you are really not that close.  It just seems a lot closer than normal – which it is.  However, you are still well separated.  Therefore, to get a shot, you need a medium length lens at least.

wpid7443-AU0E9863.jpgSadly, aircraft windows are not designed for optical perfection.  Moreover, since they are pressurized and scratches are a source of fatigue which you certainly do not want, the manufacturers put a nice perspex sheet between you and the window.  They certainly are not optically perfect.  Now you are shooting with quite a long lens through two layers of less than perfect material.  This is not a good recipe for quality shots.  There we go.  I have made plenty of excuses.

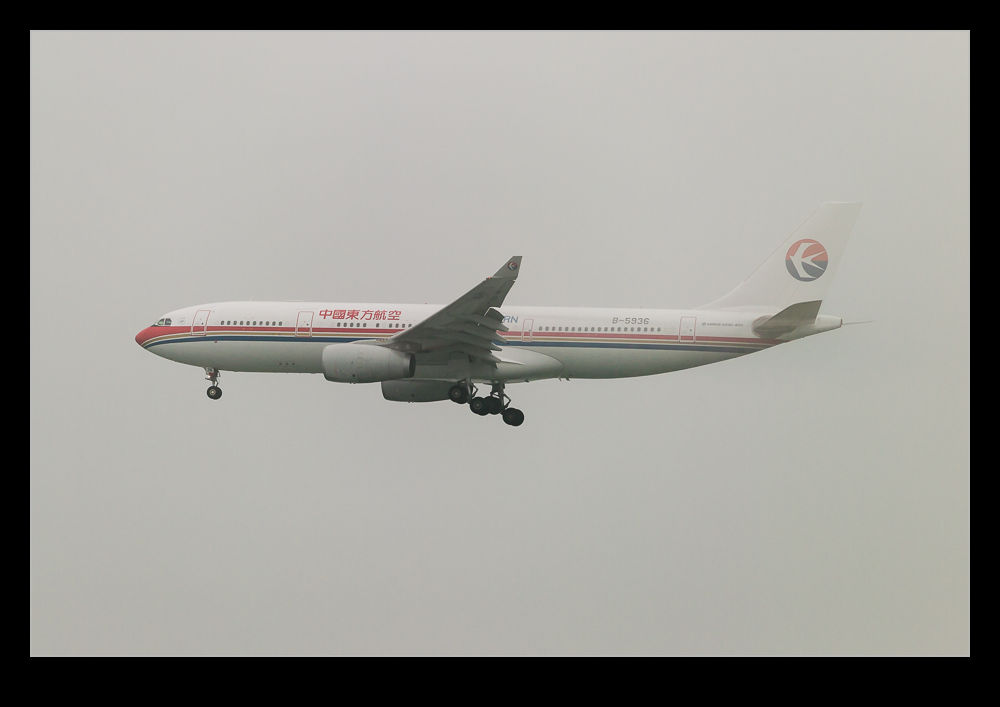
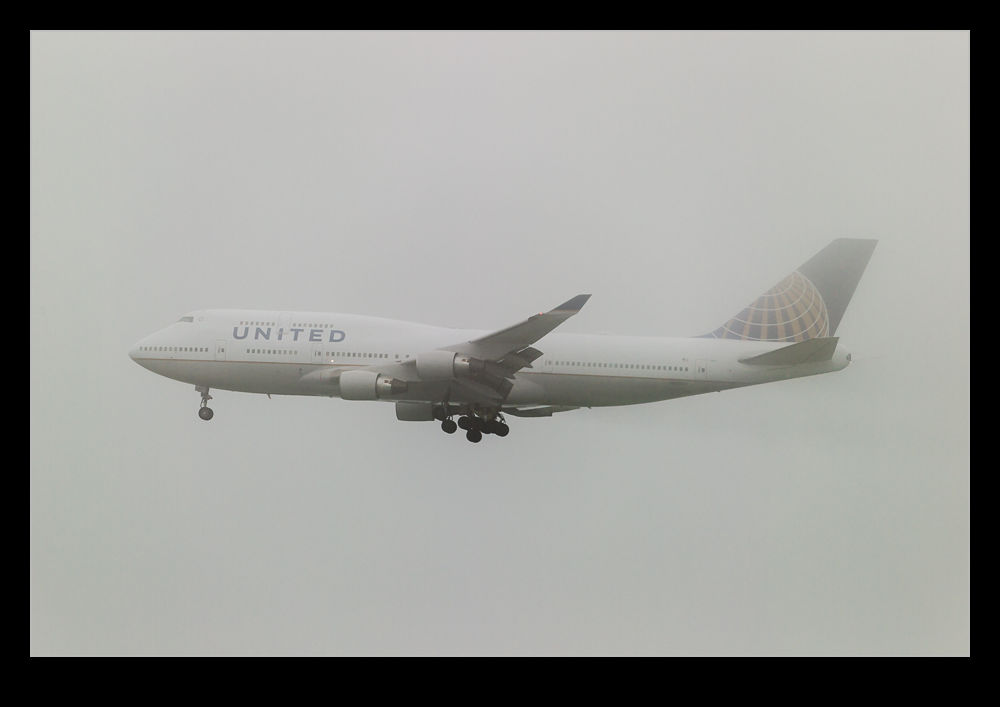
wpid7455-AU0E0314.jpgYou are now going to get a small aircraft if you are lucky and a small blur if you are not.  If it is pulling a contrail, you might do better since they can make some nice shapes.  However, chances are you won’t get much at all.

wpid7449-AU0E0251.jpg

Trump Tower Construction Time Lapse

Every once in a while, I think about something that I was working on before I started blogging and wonder whether it would make a good post or not.  Where we live in Chicago, we are very close to the Trump International Hotel and Tower.  When we first moved here, it was the Chicago Sun-Times building.  They demolished that and built the tower on the same site.

During the construction, I took a lot of pictures, first of the demolition and then the new construction.  Building the tower would have made a good blog on its own if I had been blogging then.  However, can’t turn back time!  One thing I tried to do was take pictures from the same position on a regular basis to maybe make a time lapse.  These pictures have languished for a long time.  However, since Photoshop is now a lot more useful for making video, I brought all of the files in as layers to make a video.  Since the position moved each time I took a picture despite my best efforts, Photoshop allowed me to align the layers and get tings (almost) back in register.  Then some transitions and some music and we have a video.  Hope you like it.

Web video sizing

I have been getting more and more interested in video work in the last couple of years.  Shooting video at the same time as stills is a regular feature of any shoot I am now on.  I am even getting better at planning my shot requirements for the video in order to have some hope of putting together a relatively coherent piece later.  The recent ISAP symposium had some good information on that.  However, that is not the point of today’s piece.  Instead, I am thinking about video size.

I have a YouTube channel on which I upload my content.  As s shameless plus, if you want to check it out, go to http://www.youtube.com/user/EdgcumbePhoto and you can see the videos I have previously uploaded.  Subscribe if you want and it will let you know about all of the exciting new videos I upload!  Okay, we return from that commercial break and resume normal programming.  I shoot everything in HD and edit the footage for 1080p output.  This can result in some quite large files.  YouTube allows you to upload full 1080p so that is what I have been doing.

Unfortunately, our current internet connection is not helpful here.  While we have pretty decent download speeds, the upload speeds are very slow.  DSL was not designed for upload and consequently, the upload speeds have not kept pace with the download speeds and the needs of users generating more and more content.  A recent video I made was about eight minutes long.  The 1080p version of this was nearly 2Gb.  Uploading this took over a day!!!

Now, when I watch videos on YouTube, what resolution do I watch them at?  I certainly like HD footage but I only ever use 720p.  This is a combination of avoiding bandwidth issues as well as the size of my monitors.  There really is no need to be any larger.  I wonder whether this is normal.  I started looking at what is available on other videos I was watching and quite a few only go to 720p.  I thought a quick experiment was in order.  The eight minute video I mentioned before can easily be regenerated at 720p so I did that.  The file size came out to just over 300Mb.  That is a pretty dramatic reduction in file size and upload time.

I think I have been wasting time and bandwidth creating files too large for anyone to need.  I am going to stick with 720p for a while and see how things work out.  We might have access to a different net connection before too long and I might check out upload speeds then but, for now, this seems to be a far more sensible approach.