Category Archives: technique

Focus Stack Animation

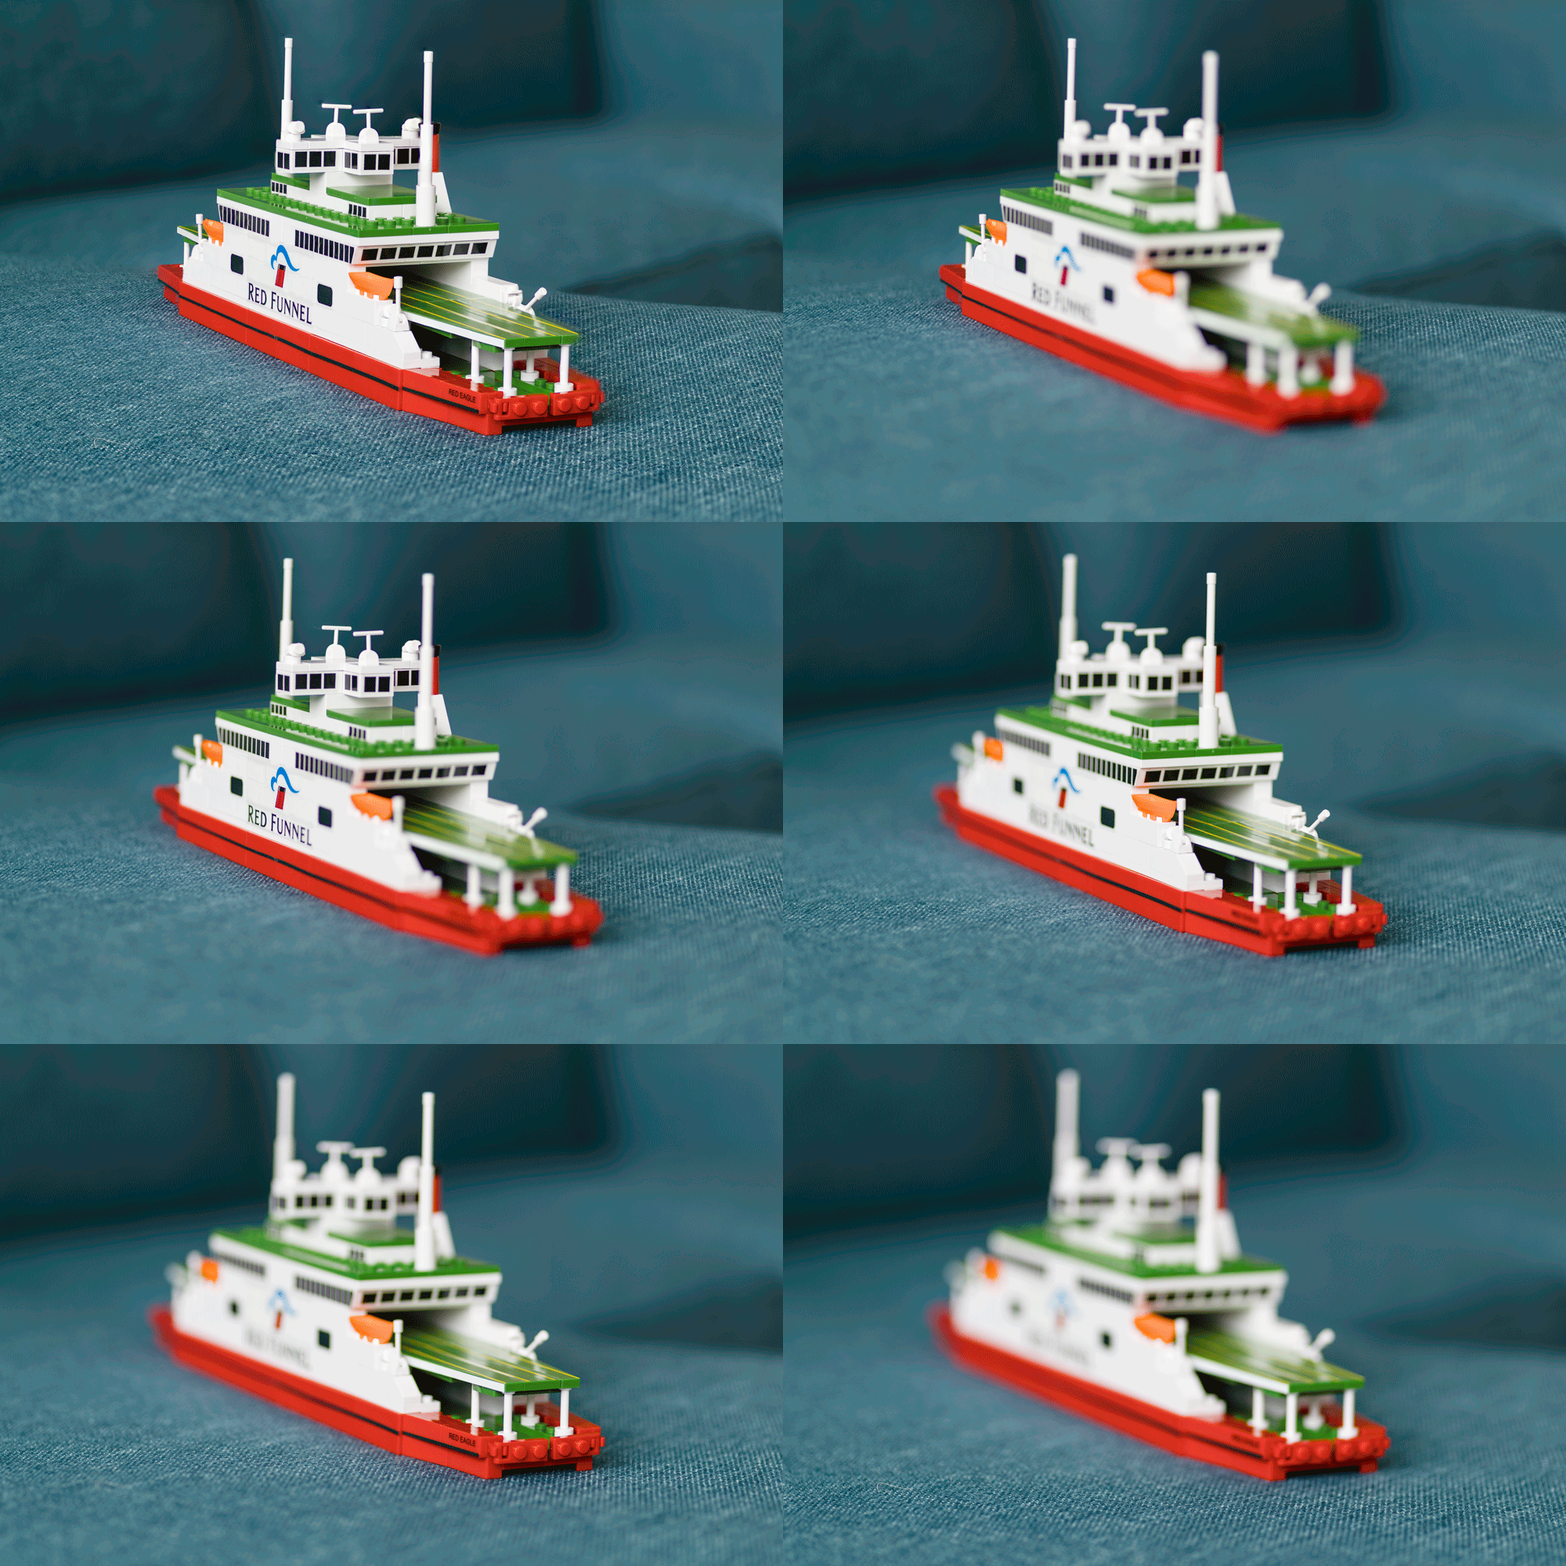
In some previous posts I showed the results of experimenting with focus stacking.  In those posts, I would combine one of the individual shots with the finished effort to show how shallow the depth of field could be on individual shots and how deep the focus was on the final image.  I was pondering whether this was an effective way of communicating the concept to someone when it occurred to me that animation might be a better way.  I created a new stack of images for a different subject but this time I used Photoshop to animate the movement of the point of focus through the shot and then show the final image.  This can then be an animated GIF.  I wonder, does this provide a better demonstration?

Seattle Pano from West Seattle


With our visitors, we took a trip to West Seattle.  The afternoon light on the city looked nice and a pano seemed to be in order.  Here is a Zoomify version of it so you can look around the city at your leisure.

Learning a Better Way to Blend in Photoshop

I occasionally use the Statistics function in Photoshop to blend multiple images in order to get rid of the distractions that I don’t want like people or vehicles.  Up until now, this has been a real pain to do.  I would identify the images in Lightroom but would have to open Photoshop, go into the Statistics function, use the browse function in there to select the images and then it would run everything in one go.  This was not a convenient way to go and the output image then needed to be manually added to Lightroom which is not handy.

It turns out that there is a better way.  This may have been in Photoshop all along and I never knew or it could have been a recent addition.  Either way, it is there and I shall now use it for future projects.  I have even created a Photoshop action to cover the process and assigned a function key so it will now do the heavy lifting without my intervention.  It all starts out in Lightroom.  Select all the images that will be used for the blend.  Then use Edit>Open As Layers and a new document will open in Photoshop with all shots as layers.

If everything has been shot on a tripod, things will be properly aligned by default but I often do these things on the spur of the moment so they are hand held.  Consequently, while my efforts to keep pointing in the same direction are not bad, the first task is to select all layers and Auto Align layers to tidy things up.  Next, go into the Layer tab and, under Smart Object, convert to a Smart Object.  This may take a little while.

Next step is to go back into Layers>Smart Objects>Stack Mode.  This brings up the same options as you get through the Statistics function.  Select Mean and send it on its way and you end up with a shot that, depending on the number of shots taken and the clear space in enough of them, results in a clear shot.  Usually I find that I haven’t got enough shots of the right type to get everything to disappear so some ghostly elements may remain but they are certainly less distracting than the figures in the original shots.  I have no idea what the other modes will achieve and the descriptions Adobe provides in their help files are so obscure as to be virtually useless. Instead I shall have to experiment with them to see what happens.  Thankfully, now I have this new method, I can undo the last step easily to try each option which would not have been possible using the Statistics dialog.  Another win!

Lightroom Issues Update

In quite a few previous posts, I have mentioned the troubles I have had with Lightroom recently.  This was all triggered by an update a while back and subsequent updates have not solved any issues.  The problems just continued and I was unable to get anything to address the sluggish behavior.  The program would respond better when I was working in the Develop module but it was very difficult in Library and when importing.

I recently had a bit more success.  I contacted someone who, while not working for Adobe, does have a business based around Lightroom and has good connections with the company.  I was able to send this individual a copy of my catalog.  They had a play with it and had similar issues with memory overuse so it wasn’t a hardware issue.  They were able to pass on the catalog to an Adobe engineer to investigate further.  I feared there was some corruption in the catalog and hoped they would find a solution.

It transpires that there is not any corruption.  Instead, it is in the nature of the catalogs that I have created that the problem lies.  A long time ago I posted about my approach to processing a shoot.  I would use a Collection Set for each shoot in which I would use smart collections to take shots with the right combination of keywords and dates.  They would split out rejects from non-rejects and put HDR, panorama shots and videos in separate smart collections.  This made processing the shoot more efficient.

As a result of this approach, I have, over the years, accumulated a large number of these collection sets with smart collections in them.  This is what is causing the trouble.  The program is getting bogged down with all of them.  This leaves two ways forward.  In the short term, I am going to go through these smart collections and turn them into simple collections.  Hopefully this will reduce the processing burden.  I don’t need the smart functionality any longer so I can just take the selected images and make simple collections out of them.

The longer term action is that Adobe is now aware of this issue.  Hopefully they can investigate a way to address this in a future update so that it isn’t constrained in the same way.  It happened suddenly so there was something in the coding that changed to cause the issue so maybe it can be similarly quickly fixed.  In the early days of Lightroom, it was limited in the number of images it could have before things got sluggish and that was resolved so hopefully this can be too.  We shall see.  If it is, you’re welcome!
 

A Further Trial in Focus Stacking

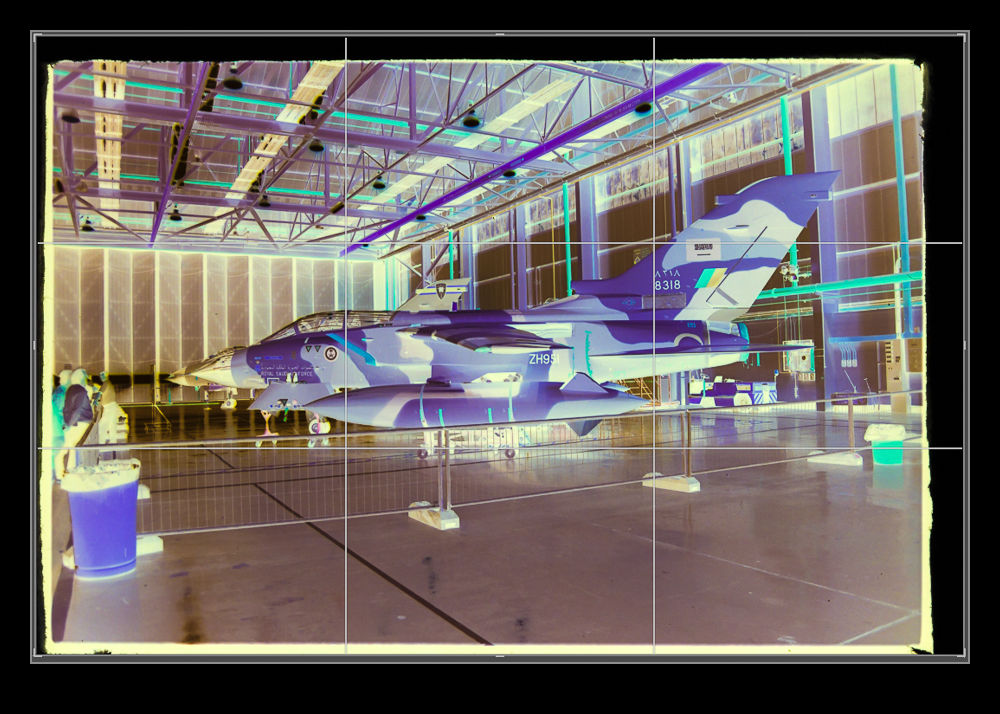
In a previous post I wrote about a focus stacking effort I made with images of a model aircraft at a show.  I had been meaning to have another go at this and do so in a more controlled environment.  I then ended up buying myself a macro lens for use in my negative scanning efforts and immediately started playing with it to shoot things close up – it’s a macro lens for goodness sake!

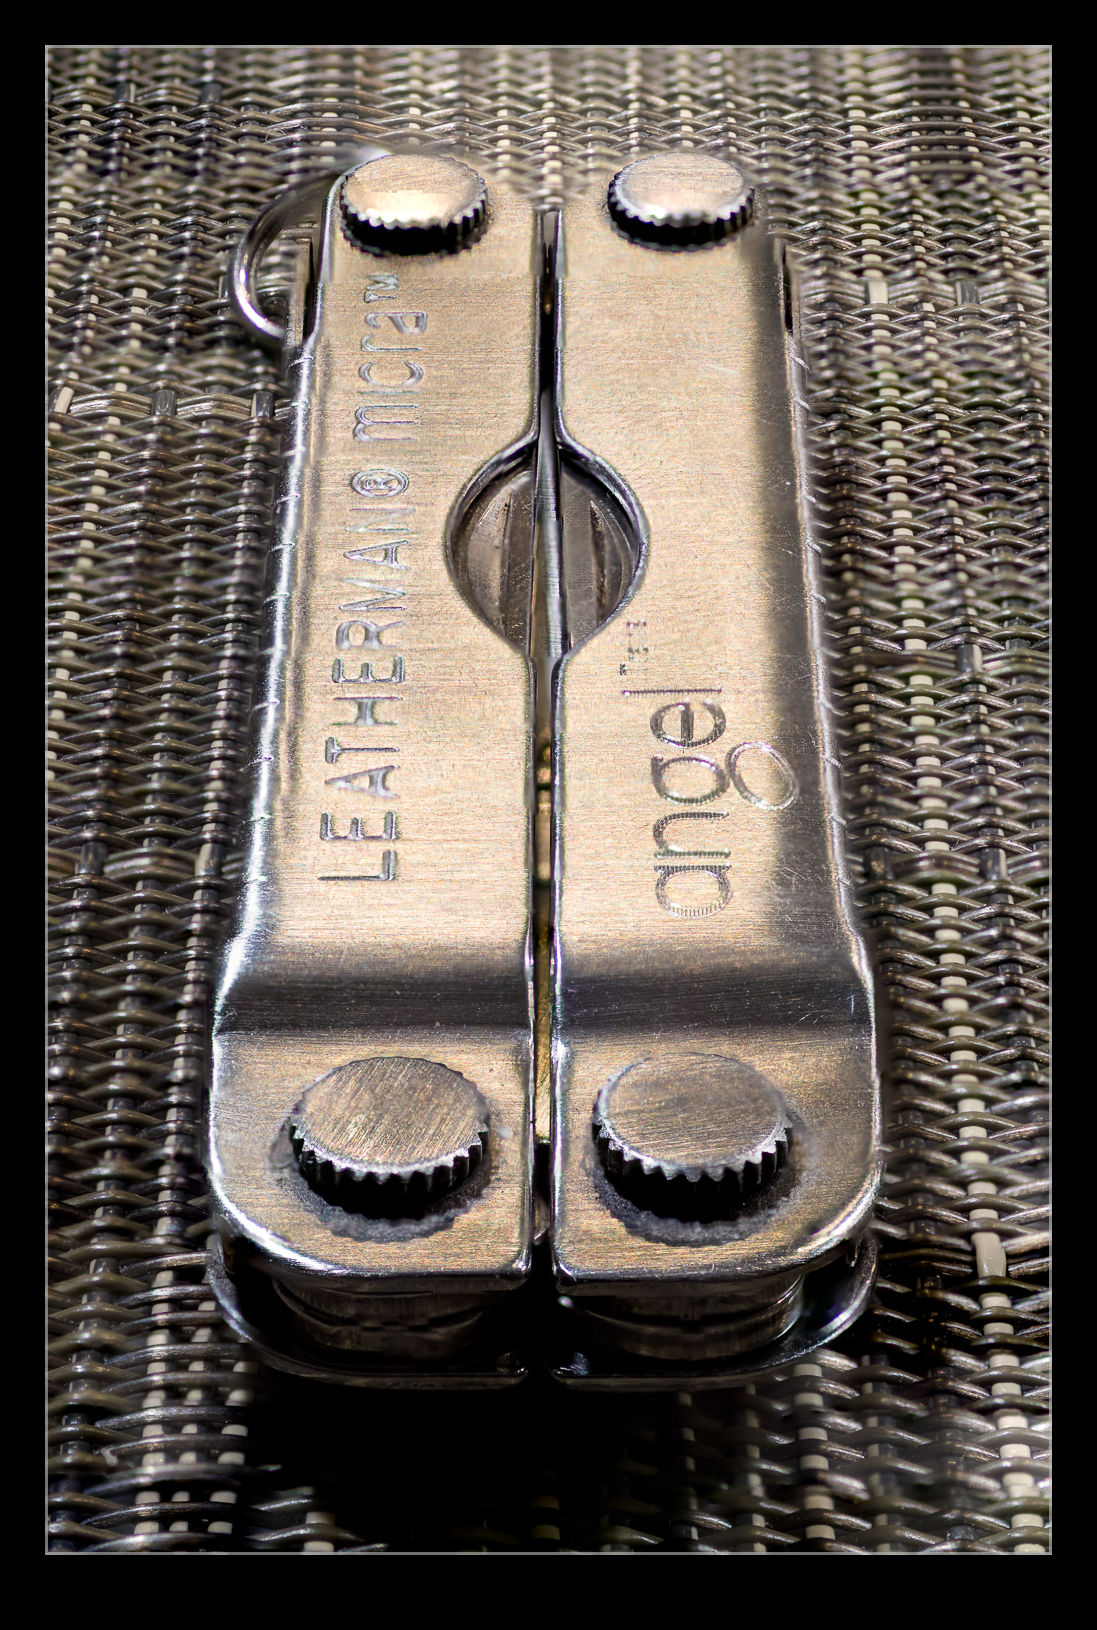
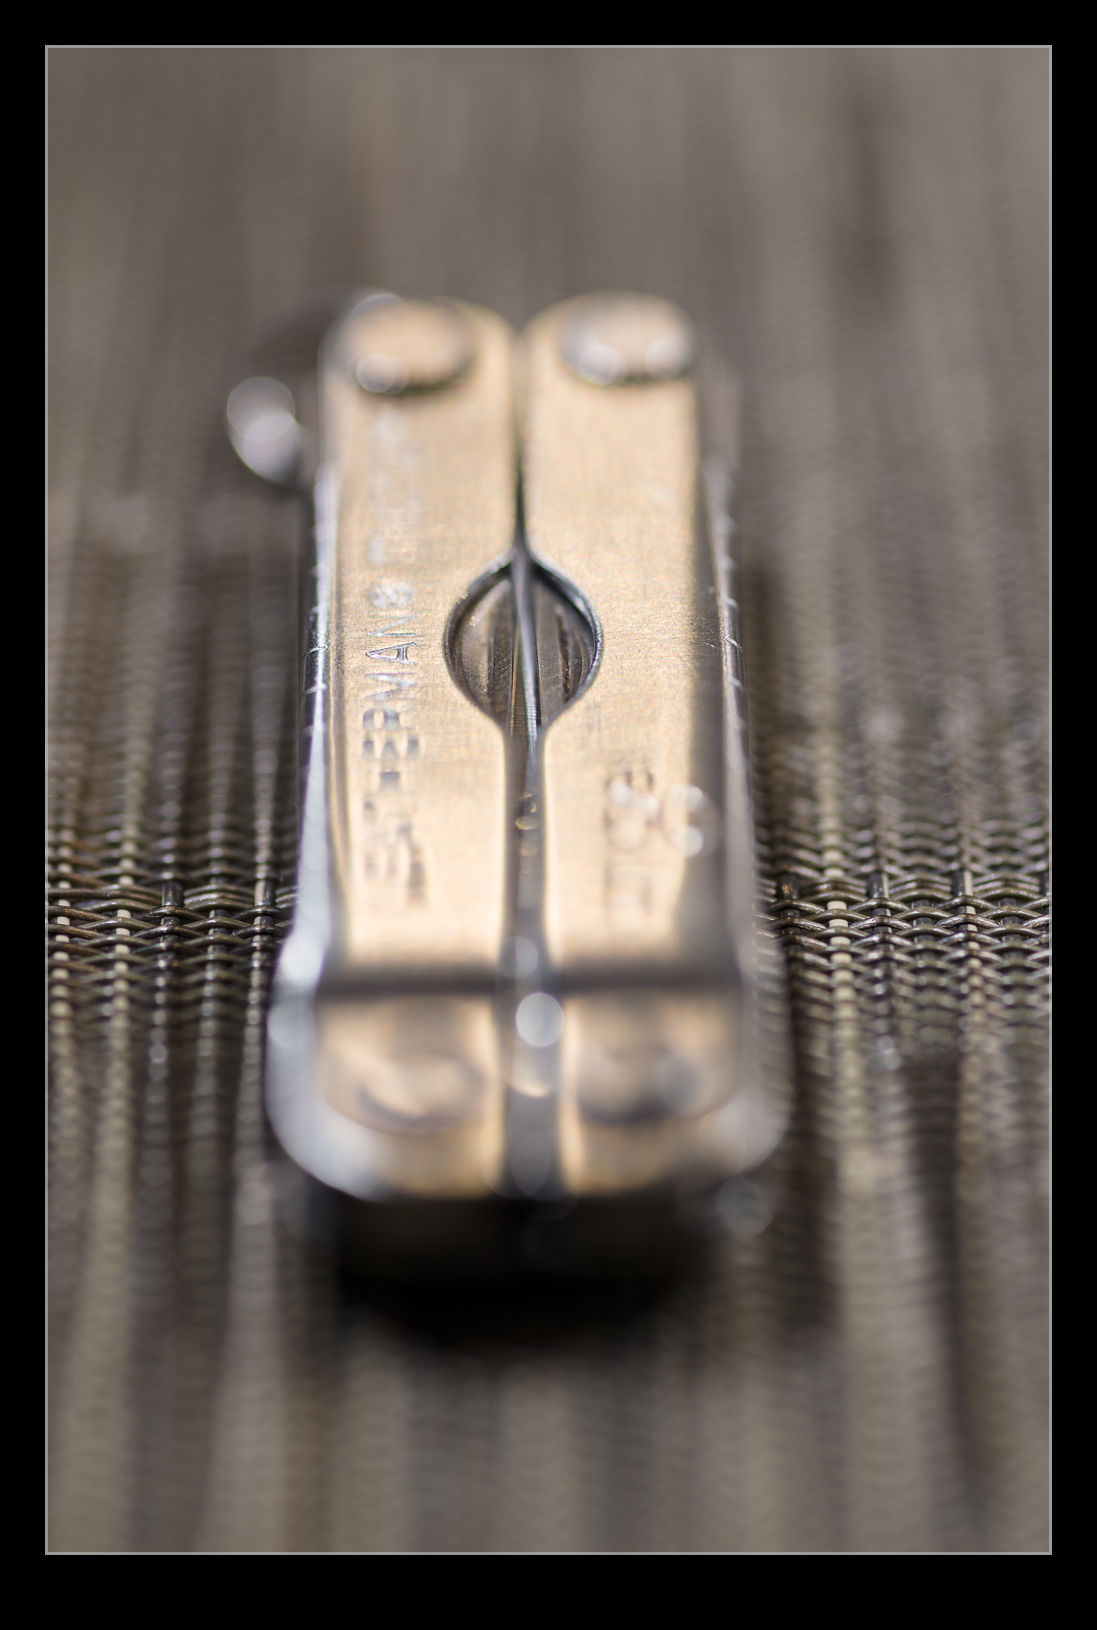
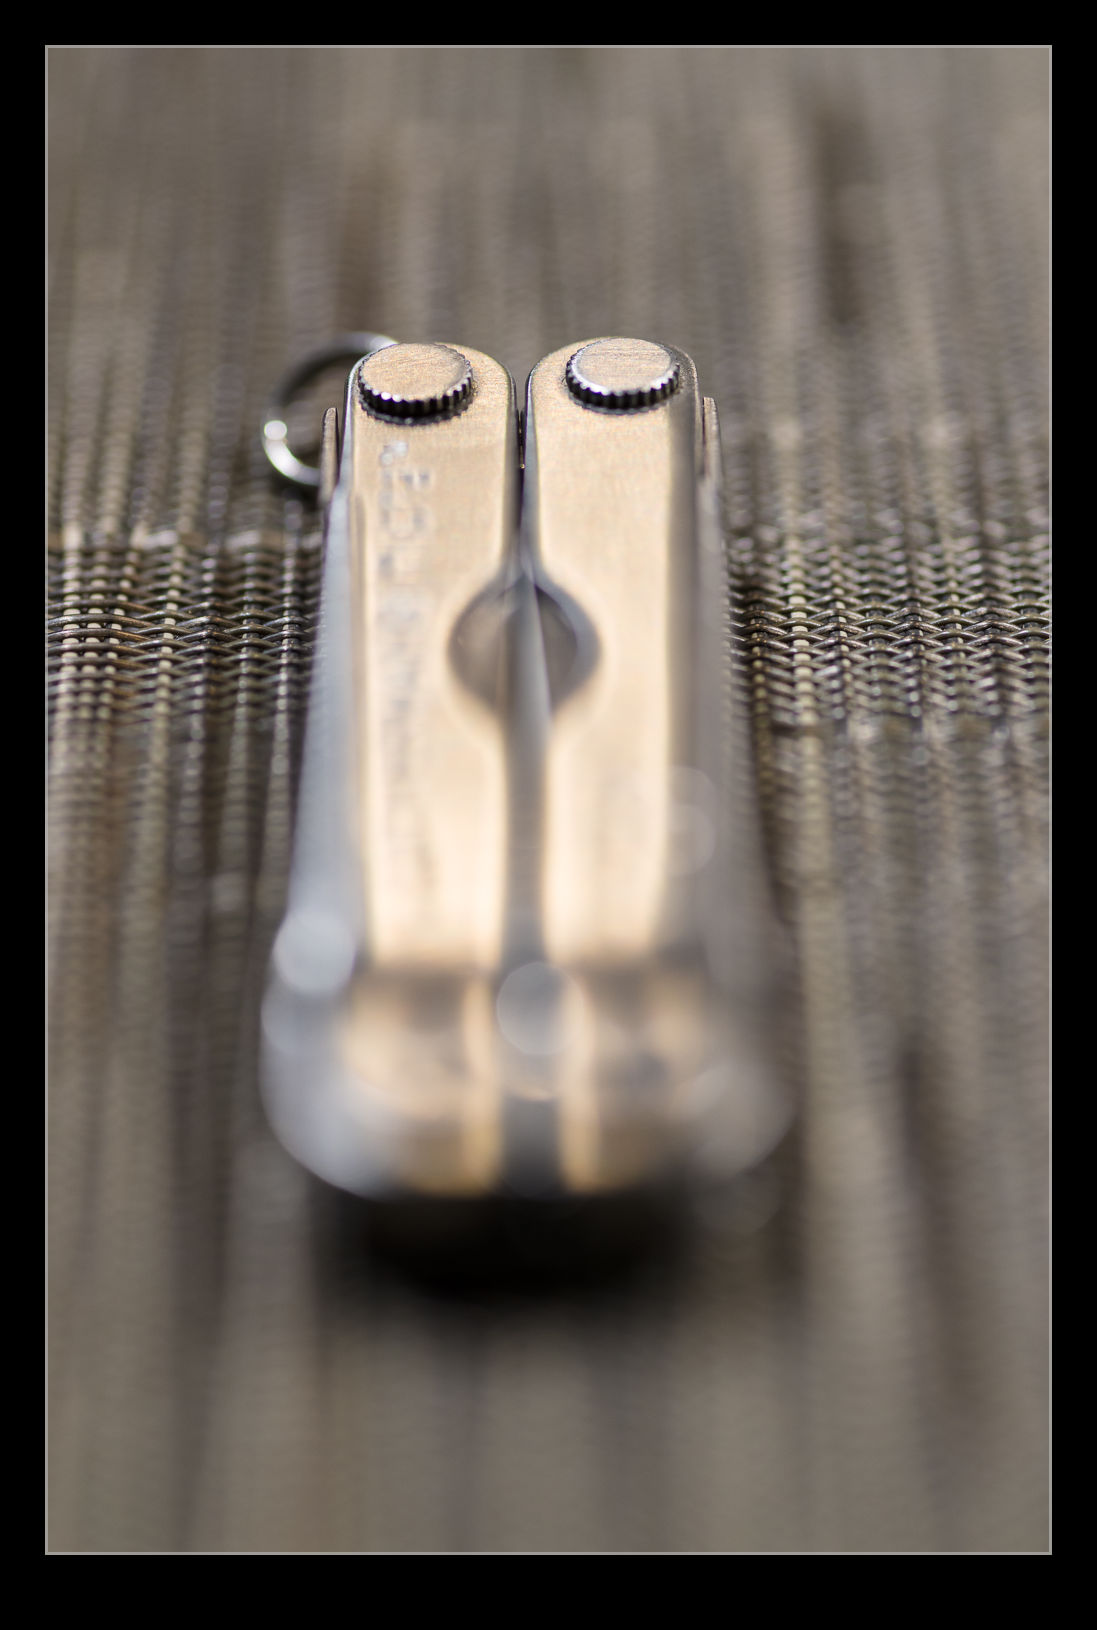
As an f/2.8 lens, when shooting macro shots, the depth of field is really shallow.  This got me thinking about trying another focus stack.  A small Leatherman seemed as good a target as anything.  I set up with manual focus, put the camera on a tripod, went to manual exposure and then shot a sequence with small changes to the position of focus for each shot.  Then it was off to Photoshop.

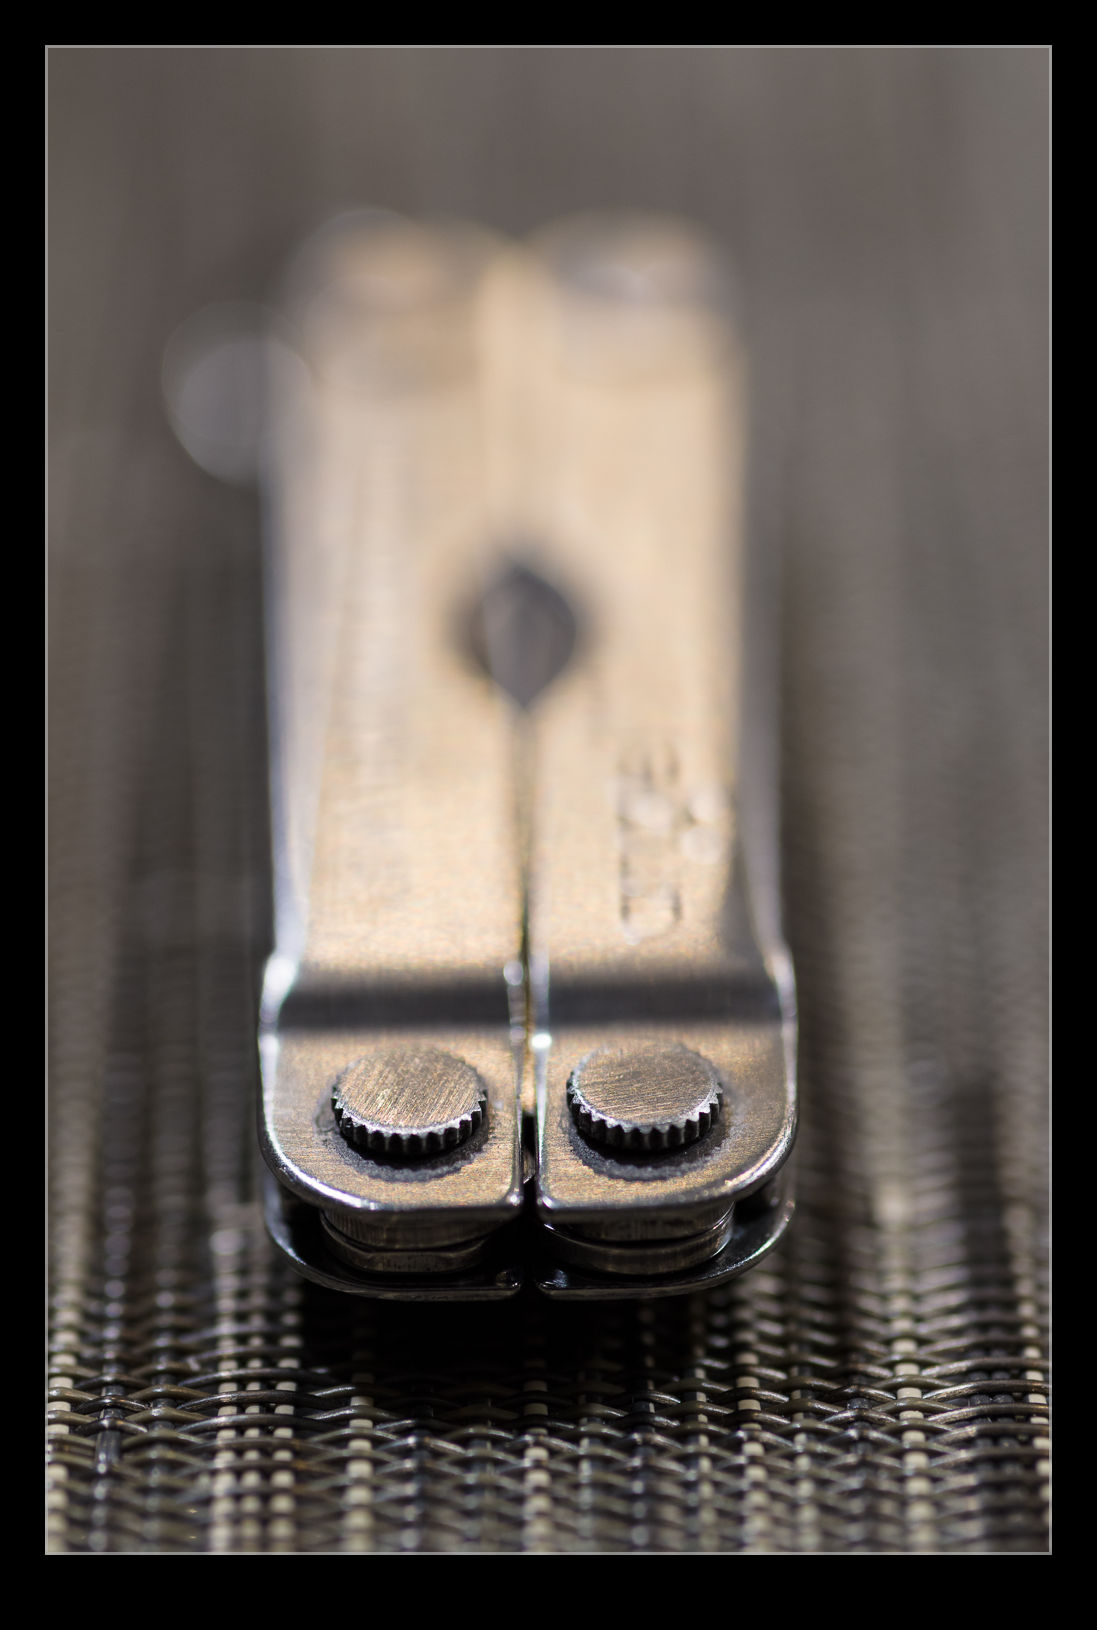
Photoshop did a pretty good job really.  The distortion of the areas out of focus means that the area that the subject covers can vary quite dramatically as the focus shifts backwards and forwards.  The algorithm did well getting things masked and blended.  The only bit it struggled with was at the very top where the knurled edge seemed to confuse it a bit.  The top shot is the finished effort while two others are included to show how much things are out of focus in the individual shots.

Tokyo Station

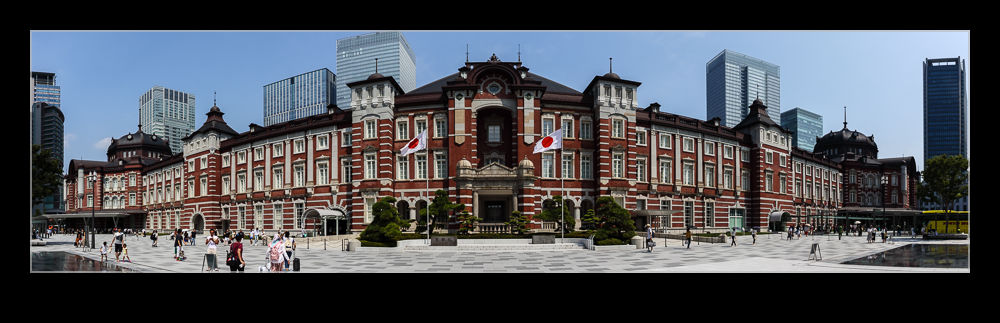
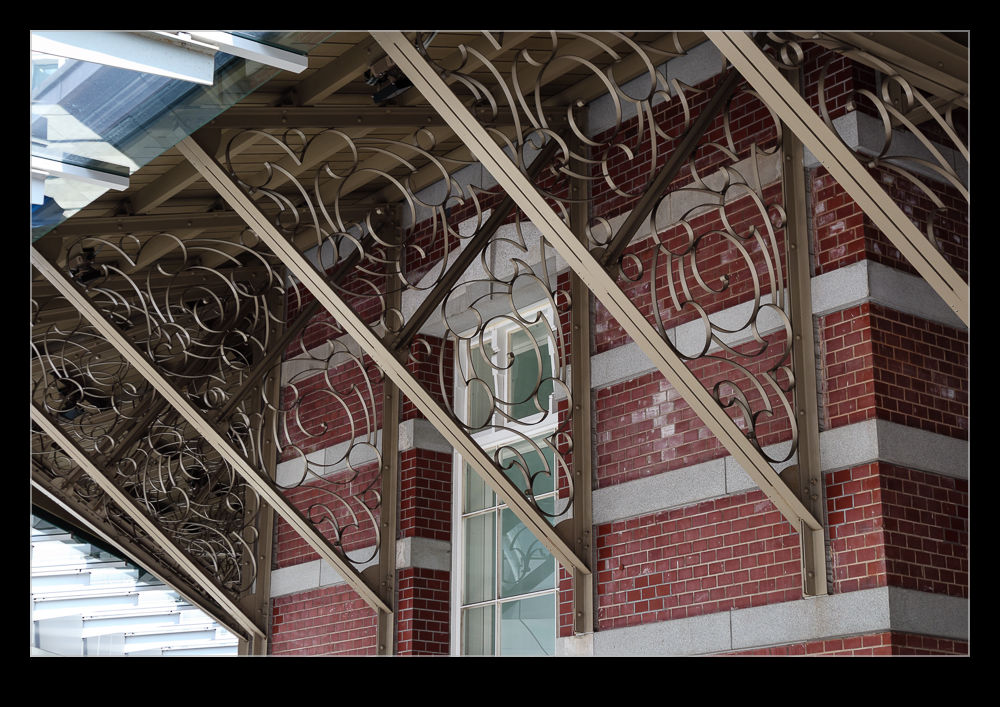
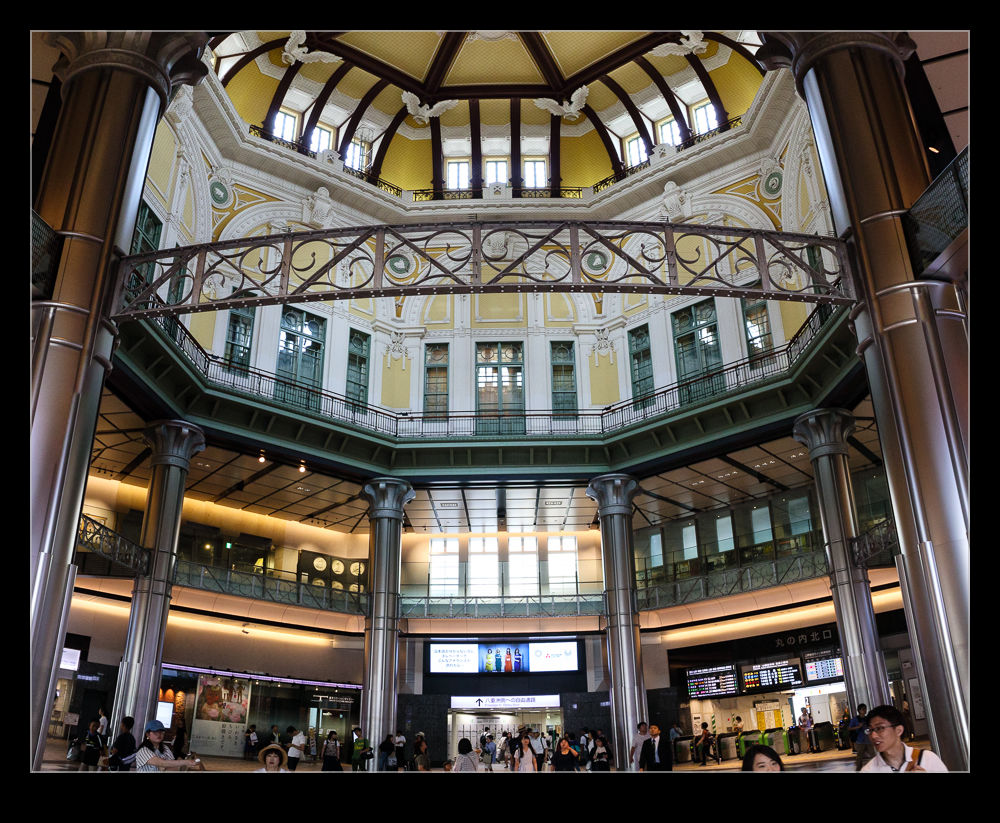
I briefly saw Tokyo Station last time I was in Japan.  This time I wanted to take a better look.  While the station has been significantly redeveloped over the years, the west frontage that looks towards the Imperial Palace has retained the brick structure designed and built over 100 years ago (although some rebuilding was necessary over the years).  I think it is an interesting looking building and an interesting contrast with the high-rise developments around it or even the old buildings that can still be found in the city.

I got there in mid-morning and my brain was obviously not firing on all cylinders.  The front was in shade with the sun quite high in the sky and I thought for some reason I had left it too late.  I ended up taking a bunch of pictures of the building, none of which I was terribly happy with given the shadow on the front and the bright overall conditions.  I did shoot some of the details around the hallways and overhangs which were fine.

It was only later when I returned from the Palace grounds that I realized which way the building was facing and that the sun had now come around to the front of the station, not retreated.  Consequently, things were a lot more brightly illuminated.  Let’s not kid ourselves.  Midday sun is not the greatest thing for shooting but, for getting snapshots for the trip, this was a significant improvement.  With such a wide and low structure, a panorama was obviously going to be tried!

Practice Panning to Make it Different at BFI

I was killing some time at Boeing Field and the light was dropping fast.  There was a variety of traffic inbound but nothing that counted as terribly unusual and not, therefore, something I desperately cared about getting a good shot with.  As a result, I decided to play around with low shutter speeds to see how it changed the look of the shots at a familiar location, to see how the sharpness varied across the airframe and to see just how badly may panning skills have degraded.  Needless to say, the results were pretty mixed.  The worst of the lot will clearly never see the light of day but here you can see some of the shots that I was okay with.  The conclusion from the output is that I should go a bit lower in shutter speed to increase the sense of speed.


Blending to Remove Traffic

During a previous visit to Vancouver, I experimented to blending images of the same scene to remove objects I didn’t want included.  When photographing the bridge at Deception Pass, I decided to have another go at this.  The bridge was very interesting but I found the traffic on the bridge to be a distraction.  Looking at some of the shots afterwards, it wasn’t as bad as I thought at the time but, even so, I decided to try processing the shots.

This was the same approach as before.  Load all of the images into Photoshop using the Statistics function and use Median to average things out and hopefully remove the items that I didn’t want to appear.  It seemed to work pretty well.  The top shot has the output while the one below is one of the input shots cropped in along with the final result to show what was removed.

My First Attempt at Focus Stacking

I first read about focus stacking a long time ago and I have been meaning to try it for ages.  The premise is to take a series of shots with the focus set in different positions throughout the scene and then to use software to blend the images together to create on image with focus all the way through the shot.  This seemed like a simple thing to have a try with but I never got around to having a go.  Then I came across a situation that looked like it might be a good example to try.

I was visiting a model show at the Museum of Flight.  I was taking a few photos of some of the more expertly crafted models on display.  I was shooting with a longer lens and using a relatively small aperture to try and minimize the shallow depth of field that you get when shooting small objects close up.  I decided to shoot a model of a Fairey Gannet and the shallow depth of field triggered something in the deep recesses of my brain about focus stacking.  Of course, I had not planned for this so no tripod and just an effort to get focus on different parts of the model without moving the camera too much.

I took the shots and got on with my visit.  When I got home, I almost forgot about the stacking experiment but, fortunately, I did remember.  I exported the images to Photoshop as layers of the same shot.  Then, since they were hand held, I did an Auto-Align action to get them in place.  After that, Auto-Blend was selected.  It seemed to realize that they were a blend stack rather than a panorama – quite clever – and the software quickly did its thing.  Despite not taking too many shots and do it all hand held, the result came out pretty well.  The top shot is the finished product while the lower two show the extremes of the focus range for the original shots.  If I had managed a shot focused right on the back of the fin, the result may have been a bit better still.