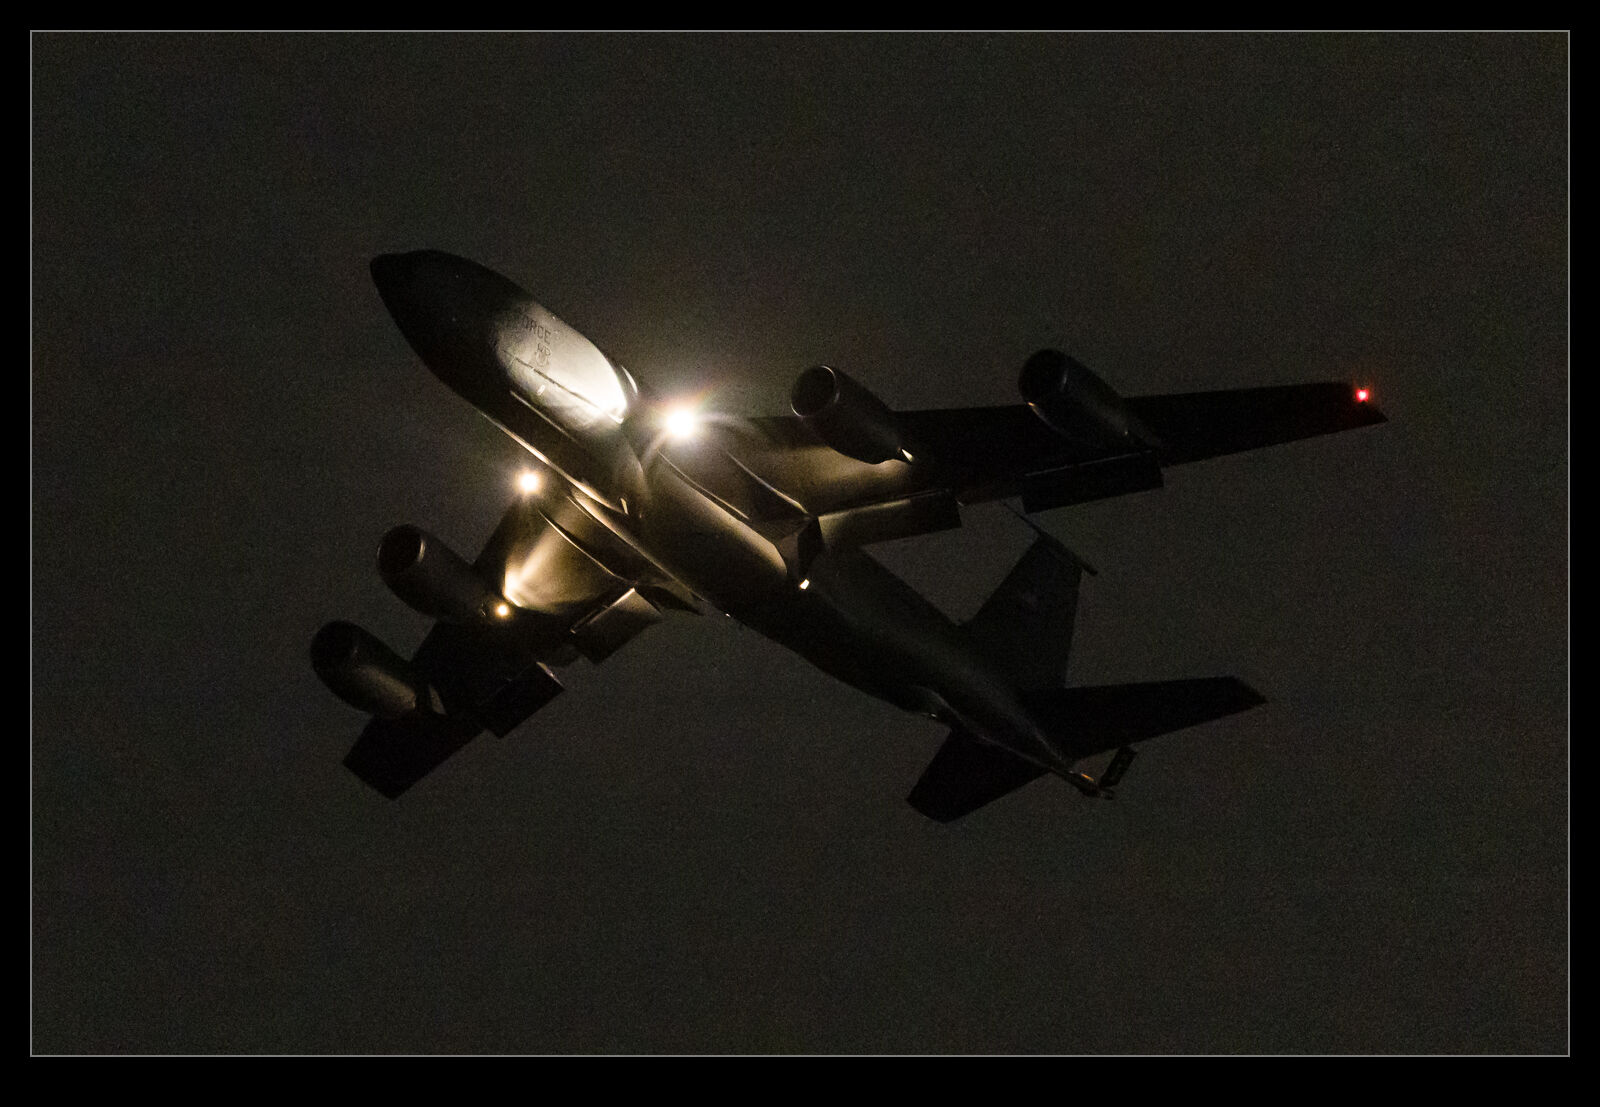
 I did a little filming on a bike ride with an old GoPro Hero 5 of mine. The current generation of action cameras has all sorts of clever tech built in which can deal with rotation of the camera and stabilizing the image. The Hero 5 doesn’t have any of that and I ended up spending a lot of time stabilizing the images in post processing to try and get something usable out of it. I was surprised how badly it came out and started thinking about an upgrade to incorporate all of the newer capabilities. It was at this point that I got a little silly. I had seen videos before about the Insta360 cameras and had found them intriguing but not so much that I wanted to get one. Now I was looking for a new camera, the capabilities that they have seemed like it could be a good step forward.
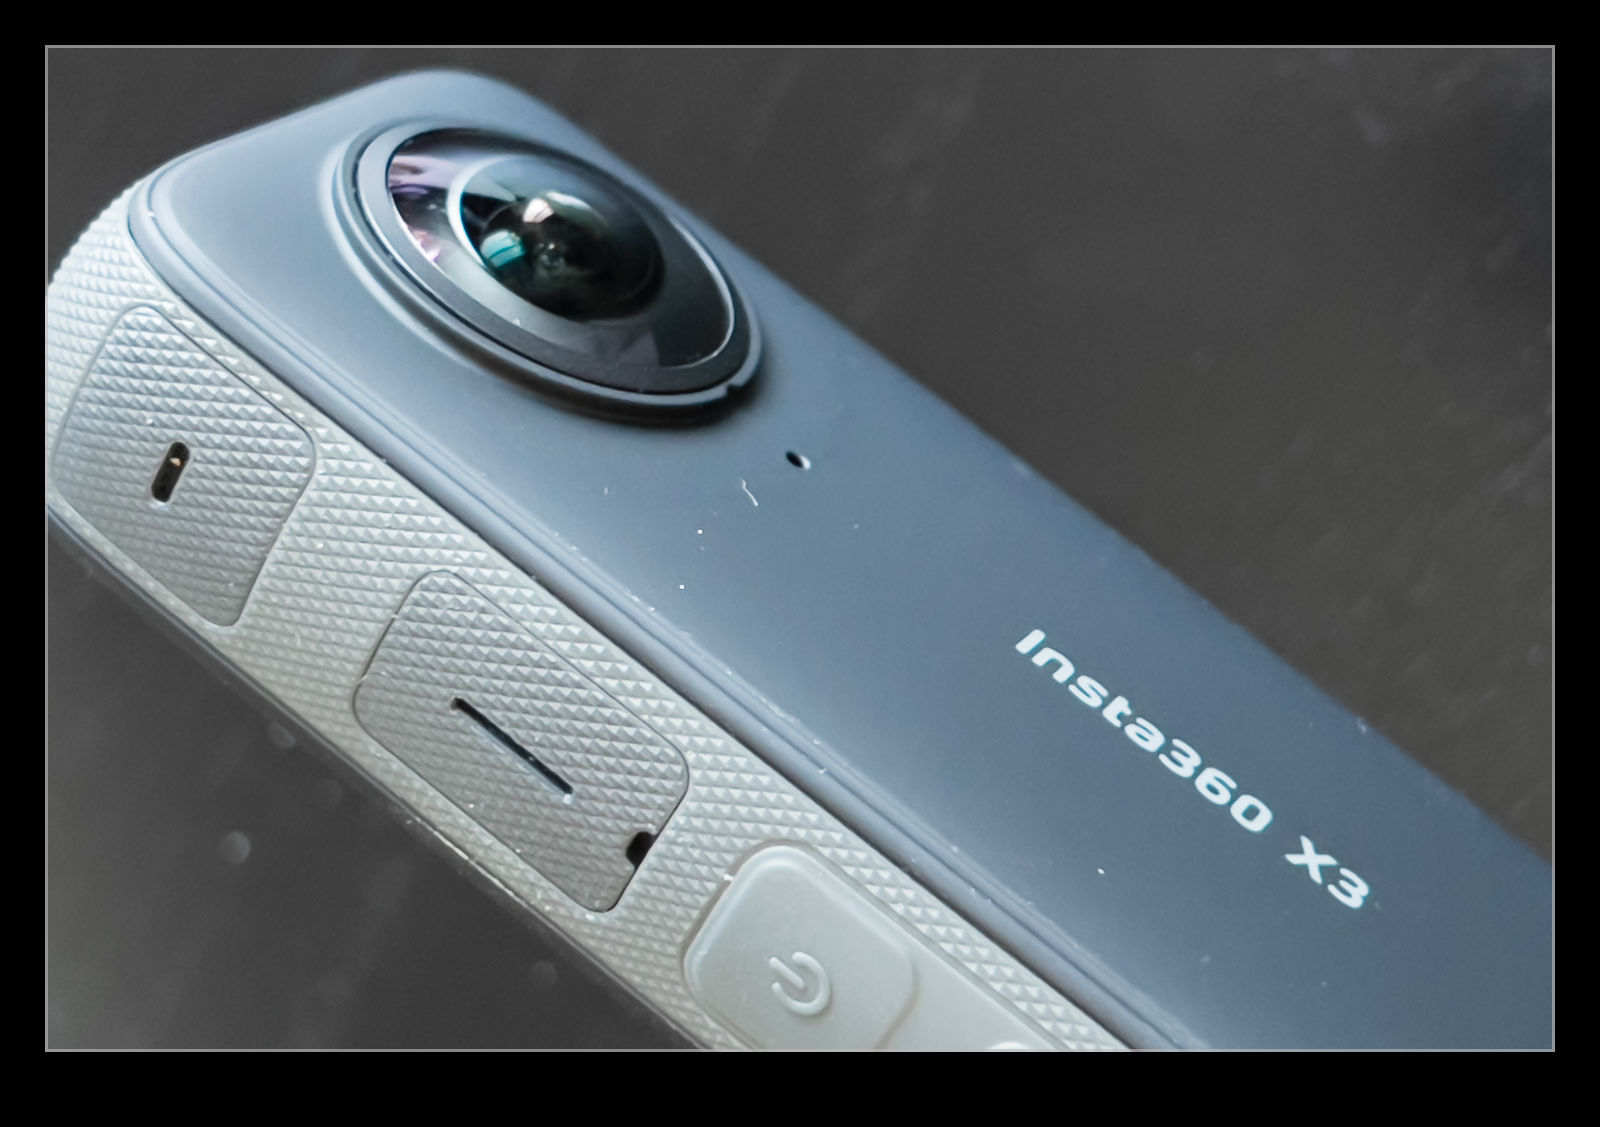
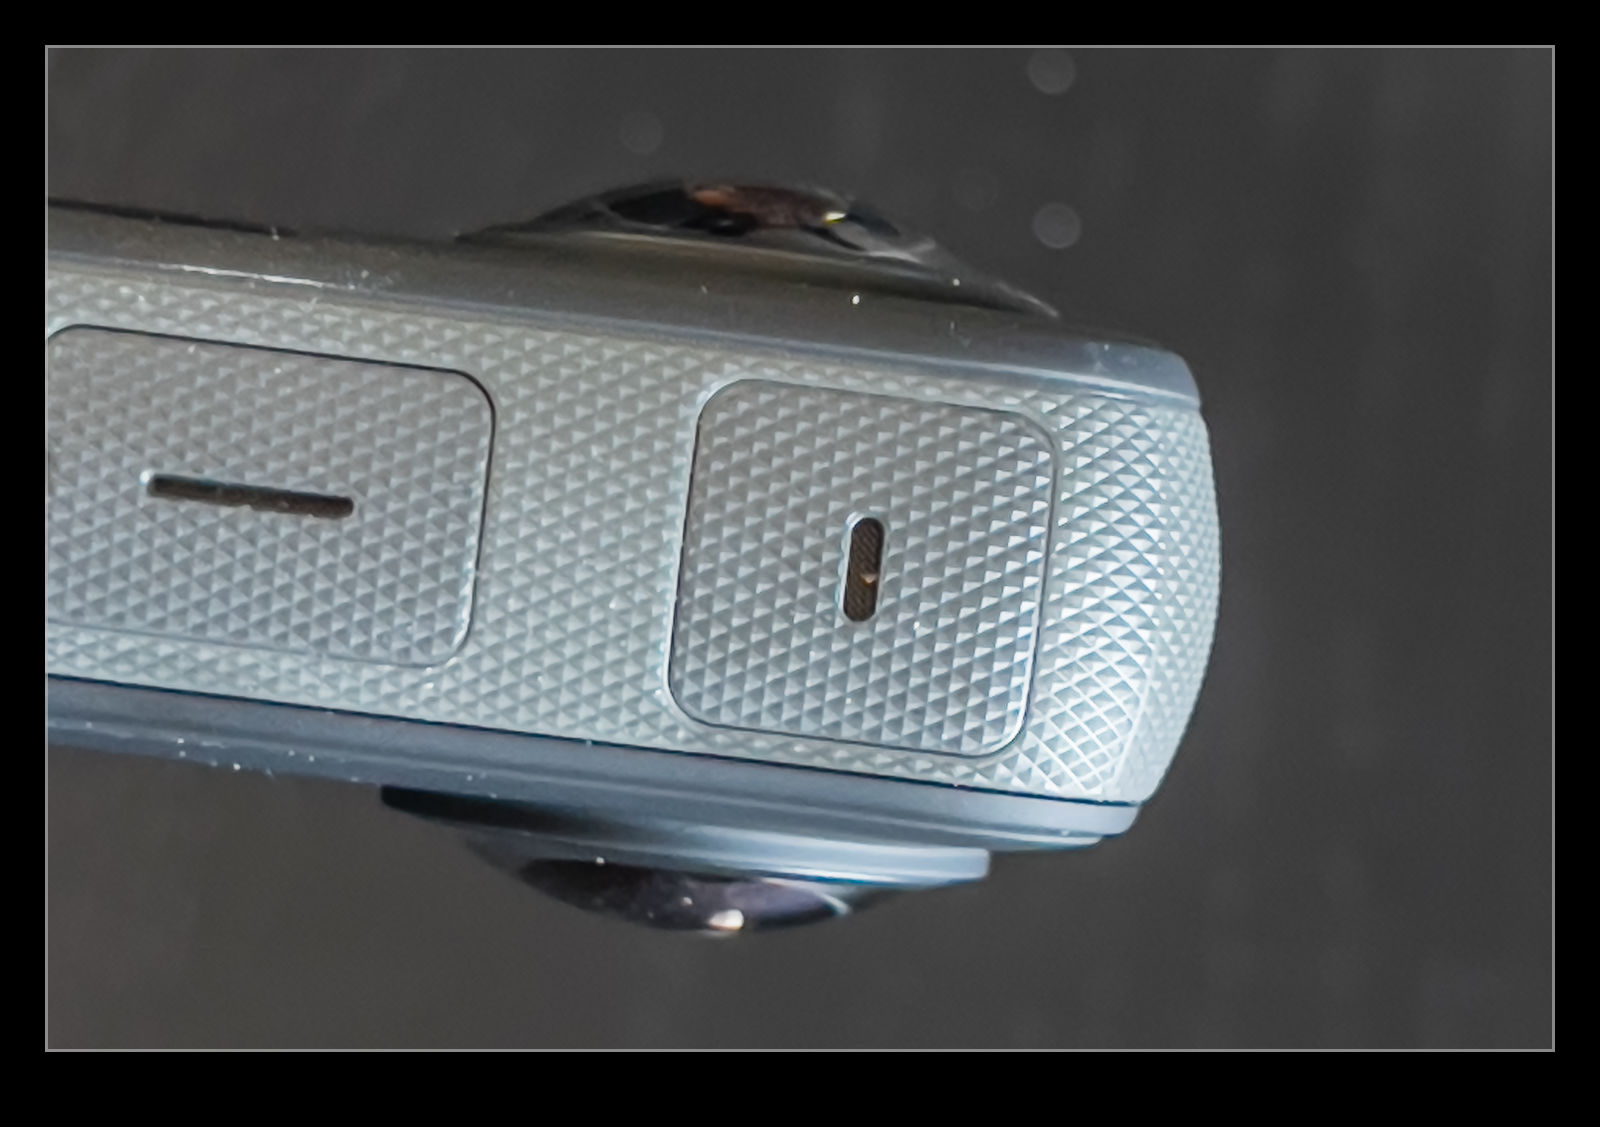 For those that haven’t seen one, the Insta360 in its current X3 form has two cameras on opposite sides of the body with fisheye lenses with over 180 degrees of coverage. The sensors are 5.7K resolution and the camera can stitch the two outputs together to give spherical coverage. It also has a stick on which you can mount it which the camera will recognize the location of and take both images to effectively remove the stick from the video. With the high resolution of the original files, you can then use their software – either on your phone or using the desktop app – to pan and zoom around the original files and generate video output of whatever you want.
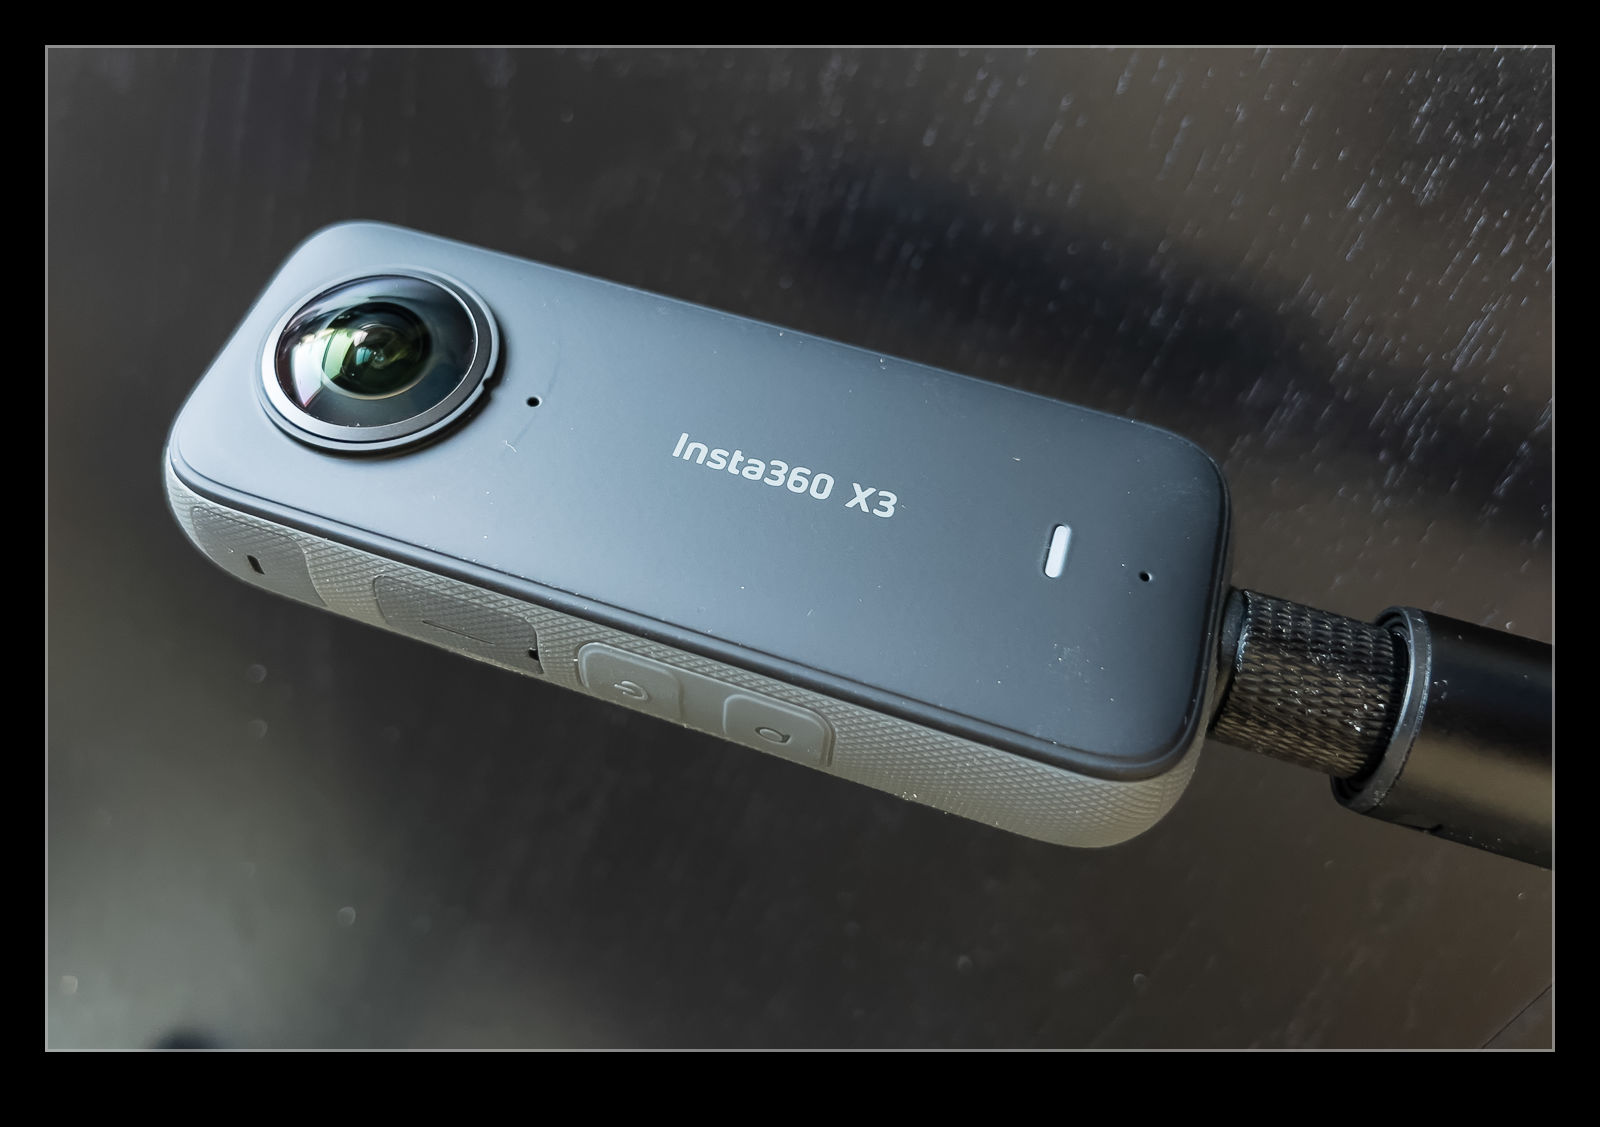 What this means is that you don’t have to frame a shot when you are shooting. The only thing you have to do is have the camera in the right place. You can worry about where it is pointing later on which is great when you are already doing something else. The removal of the stick is very impressive, only slightly undermined but the fact your hand that is holding it now looks a little odd. Also, if the shadow of the stick is in shot, the software doesn’t know to do anything about that! (As an aside, there is a mode where you only shoot with one side like a normal action camera if you want.)
What is the downside to all of this? Big files! You are shooting a lot of data on two cameras simultaneously so you can fill up cards fast. You do also have to then review each clip and pick your angles for the shots, but you would have had to do that beforehand otherwise so no great loss. Other than that, not a lot to complain about. I have tried it on a few occasions so far. The length of the stick makes it seem like you have a drone flying above you if you put it up there. A cool result. I took it out on a bike ride to see how things came out and I have a short video below that shows you the result. No great cinematography here but an introduction to what can be done. Remember that each shot is only moving the camera around and the panning and zooming is all done back at home. Amazing tech!