Category Archives: equipment

Shooting After Sunset

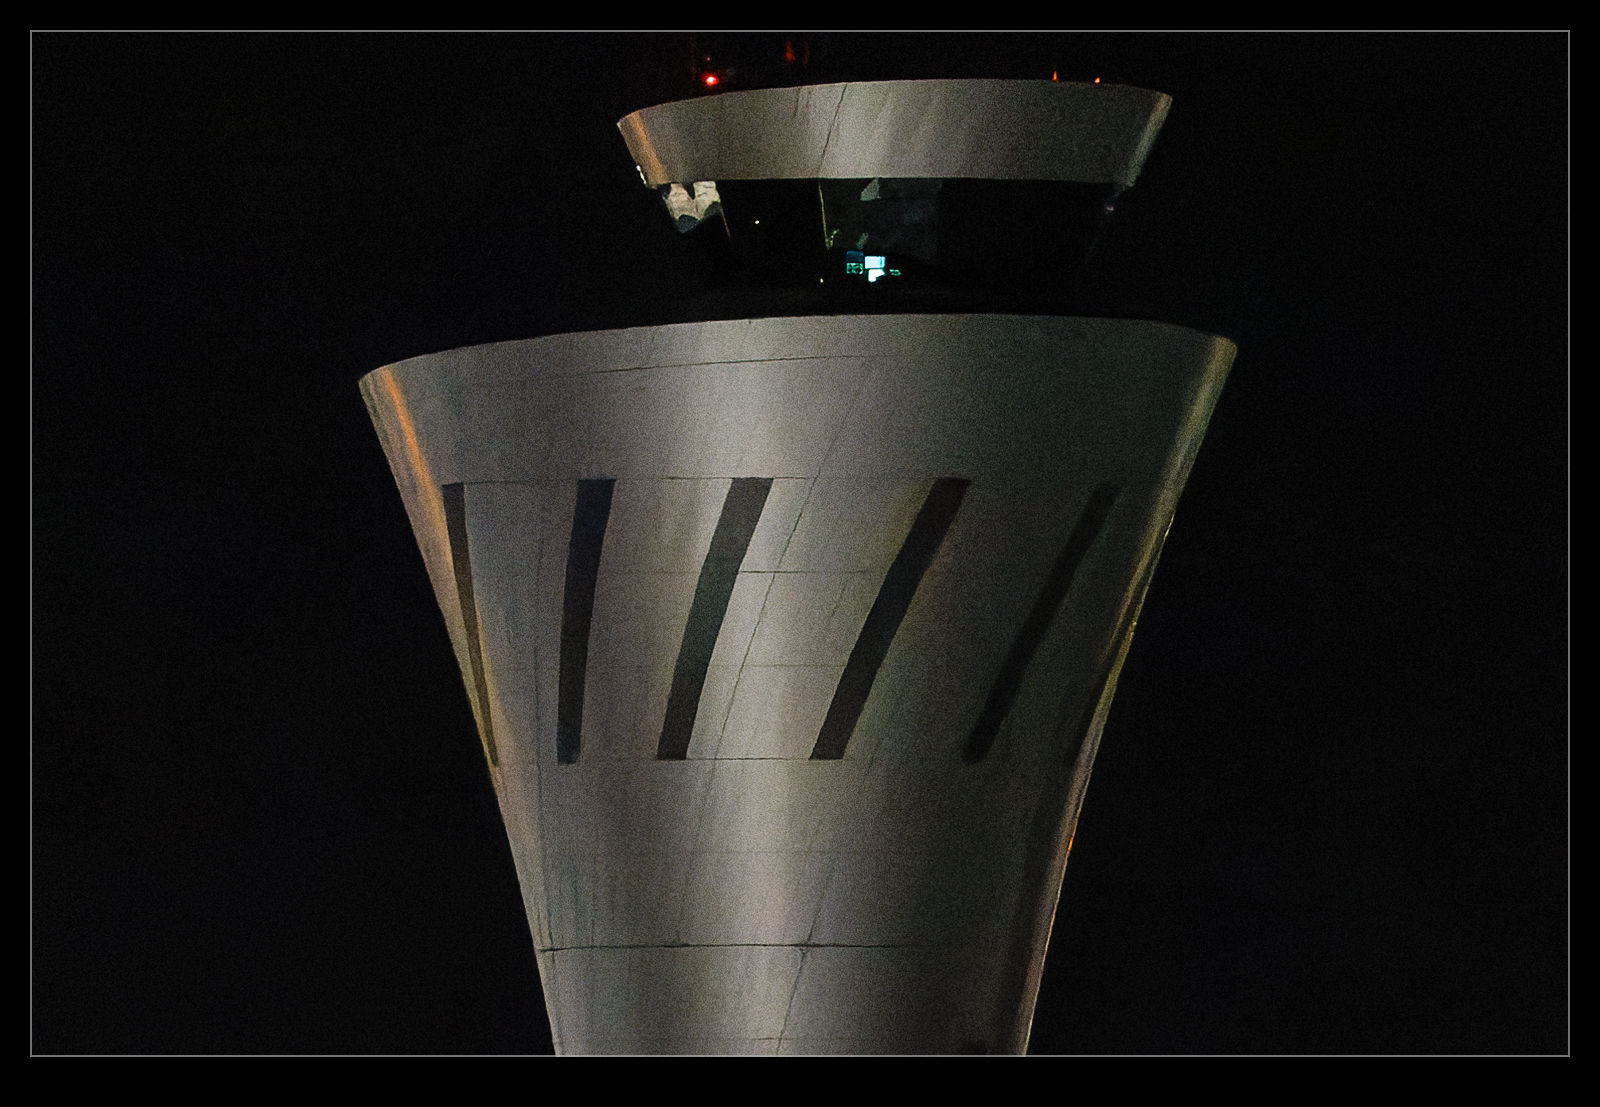
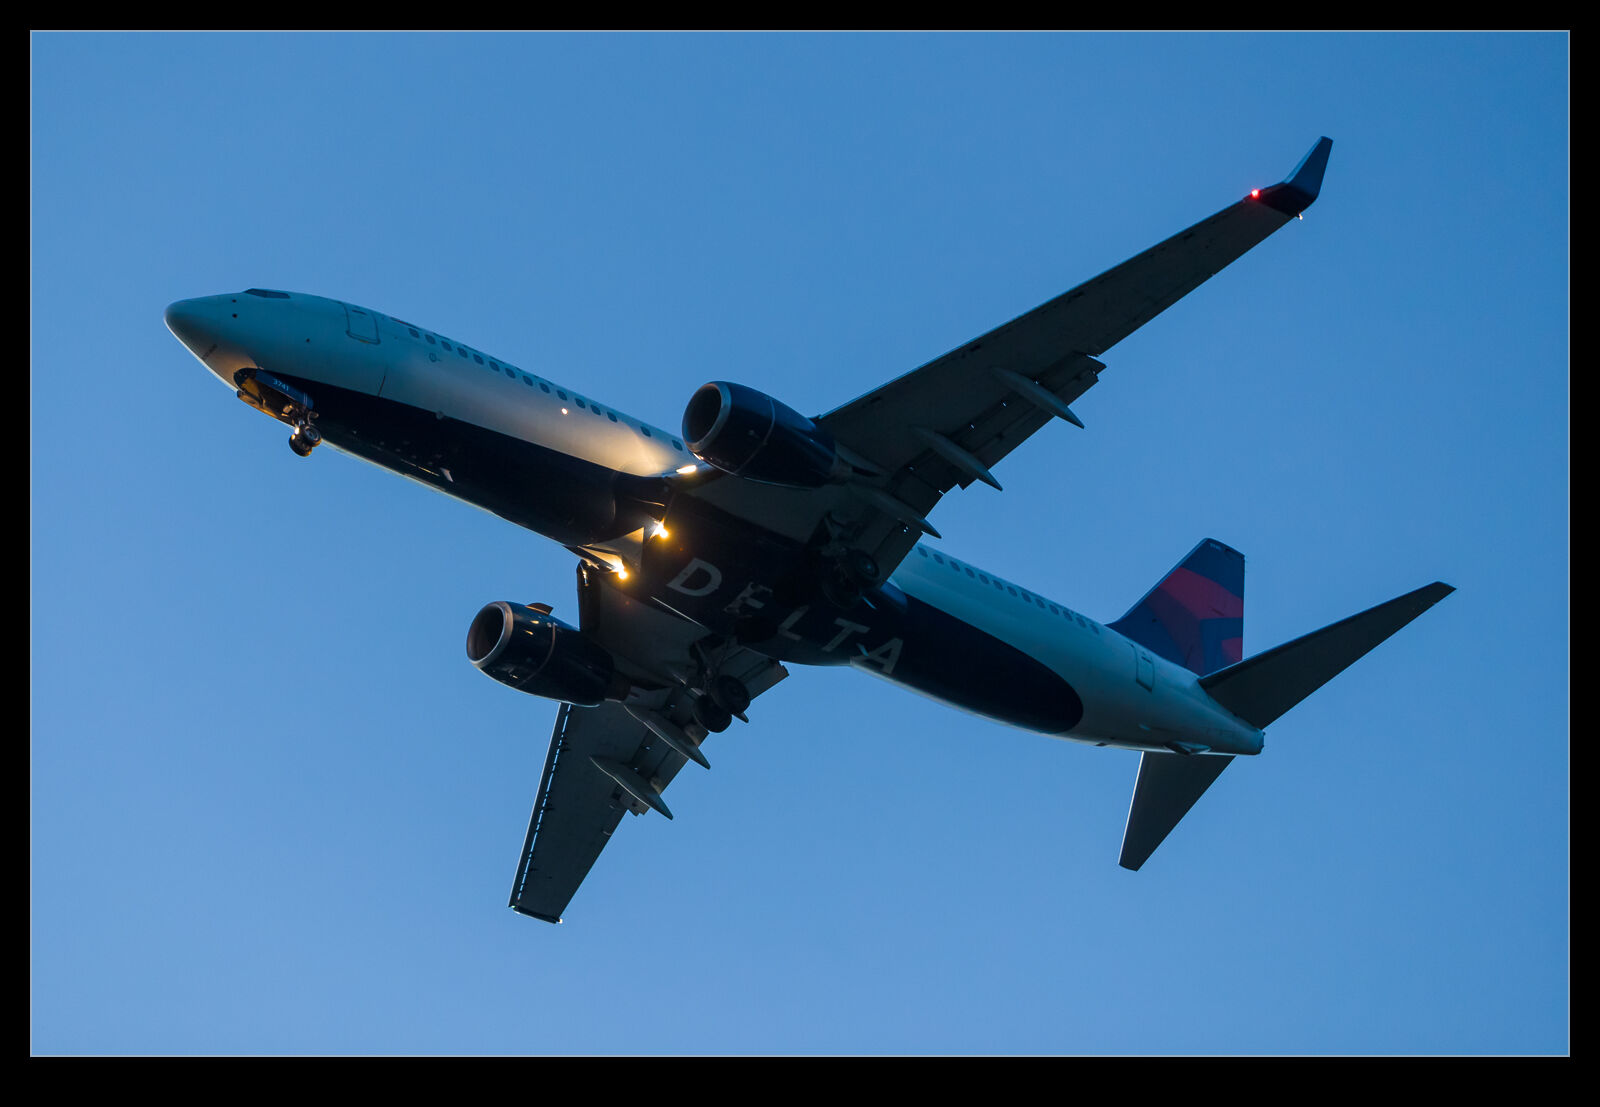
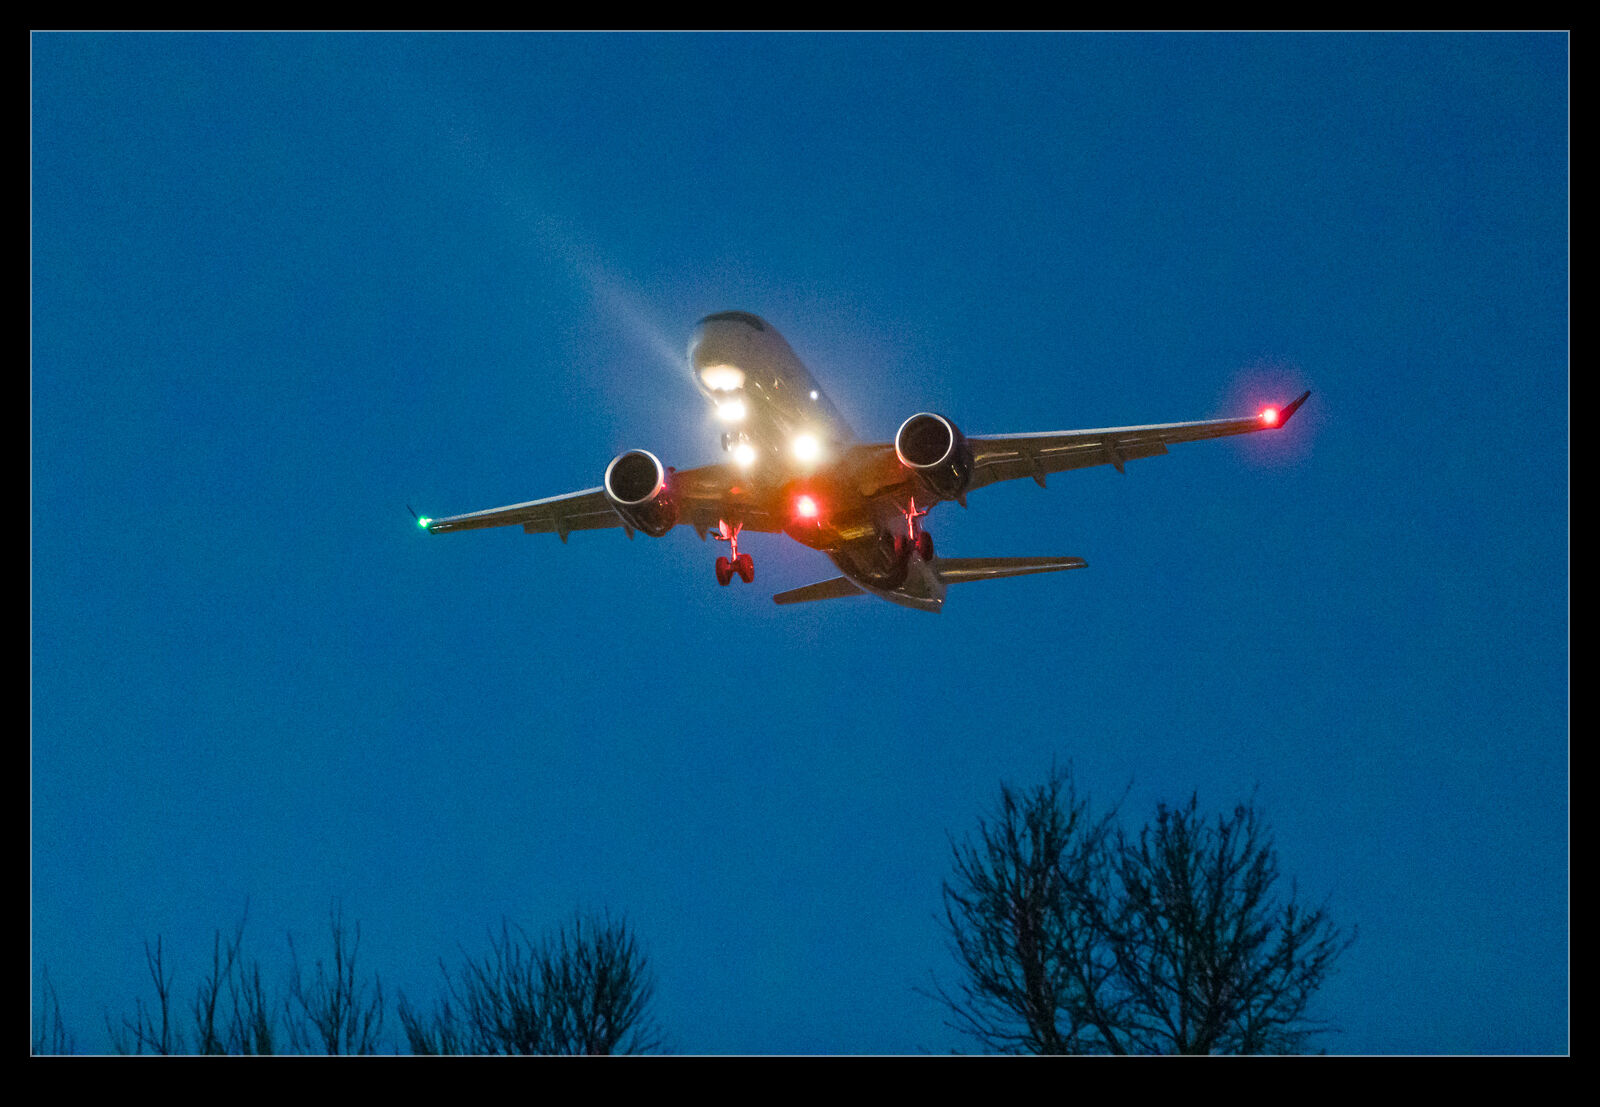
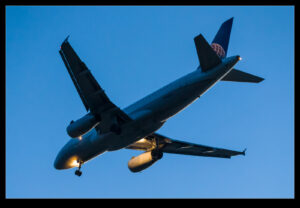
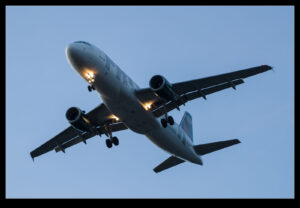
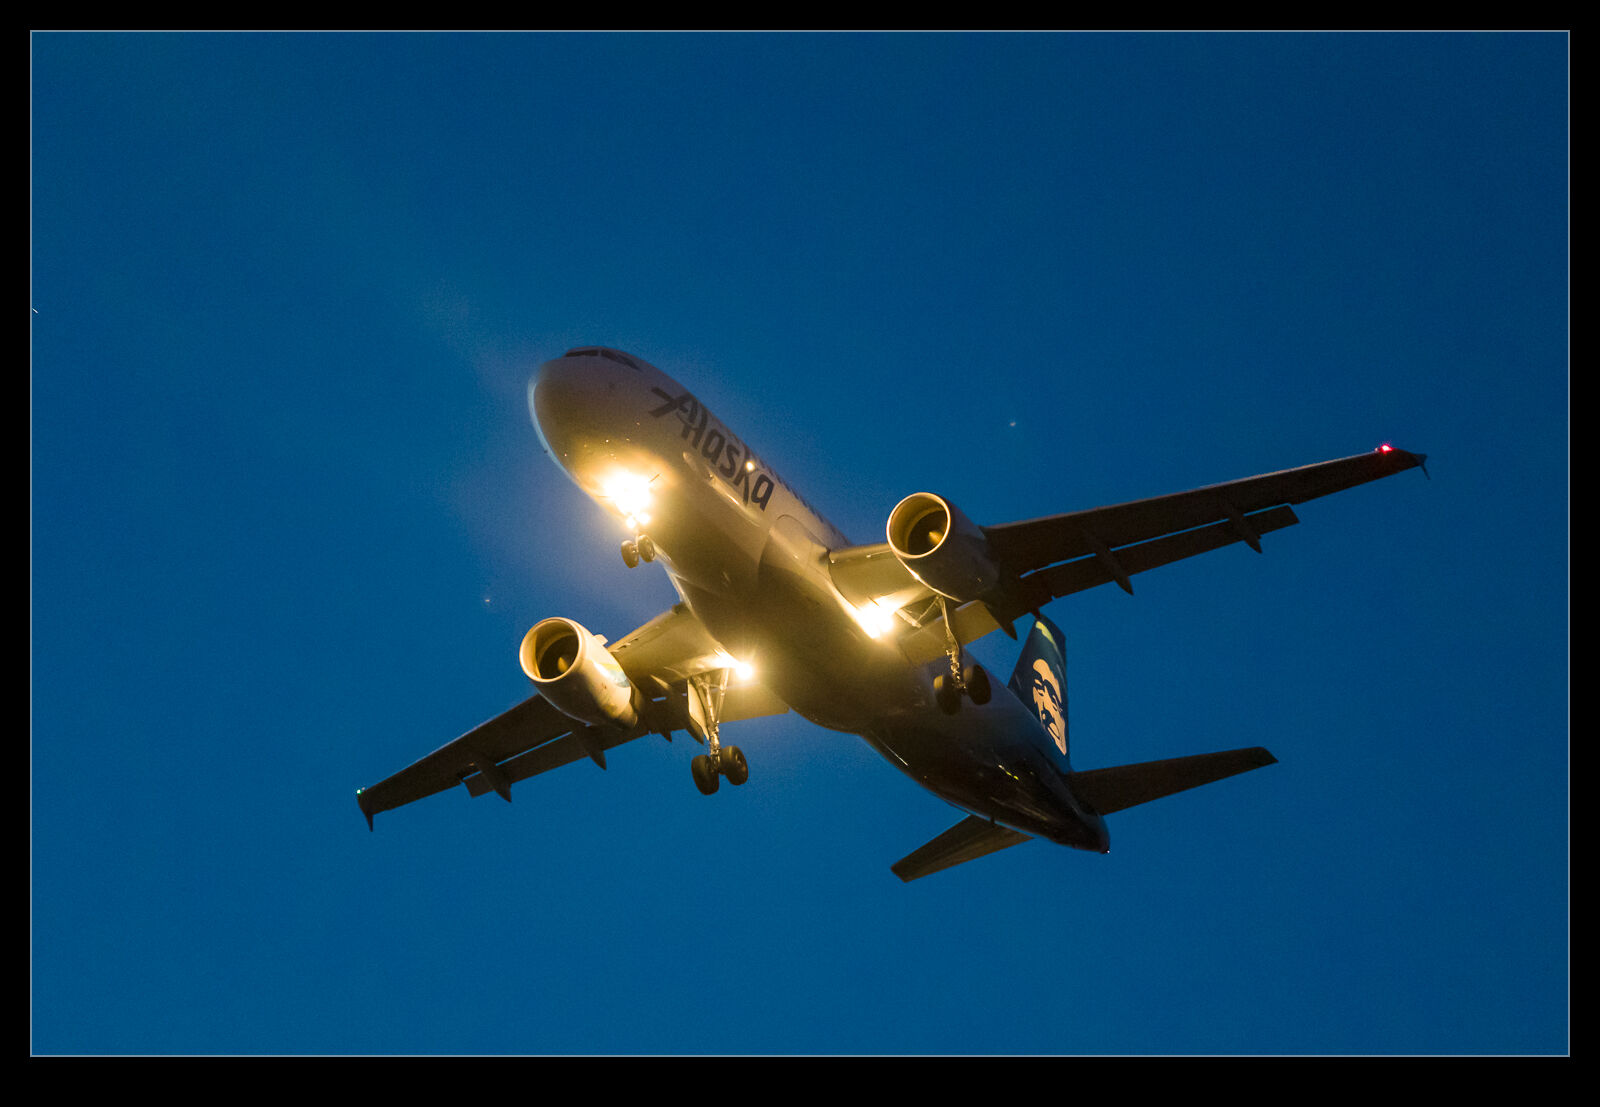
For a while, I had been thinking about trying to do some night photography of airliners.  I had seen some good shots people had got but SeaTac does not have a lot of ambient light to illuminate aircraft flying overhead.  It would be better if there was a large public space under the approach that would provide so brightness to work with.  I was down at SeaTac to pick up a colleague and knew I would be there as the sun went down so I decided to have a go at some shots.

I used the 70-200 f/2.8 to get as much light as possible.  The sun was going down so I was going through quite the transition of lighting conditions.  Some were just twilight while other were when things were getting quite dark.  The autofocus was also struggling since the center point was being used and the underside of the jet lacked much contrast in the dark.  I still got a few usable images.  The lack of light means they aren’t too great but it was fun to try something different.  Now to find a better location!

Night Touchdown

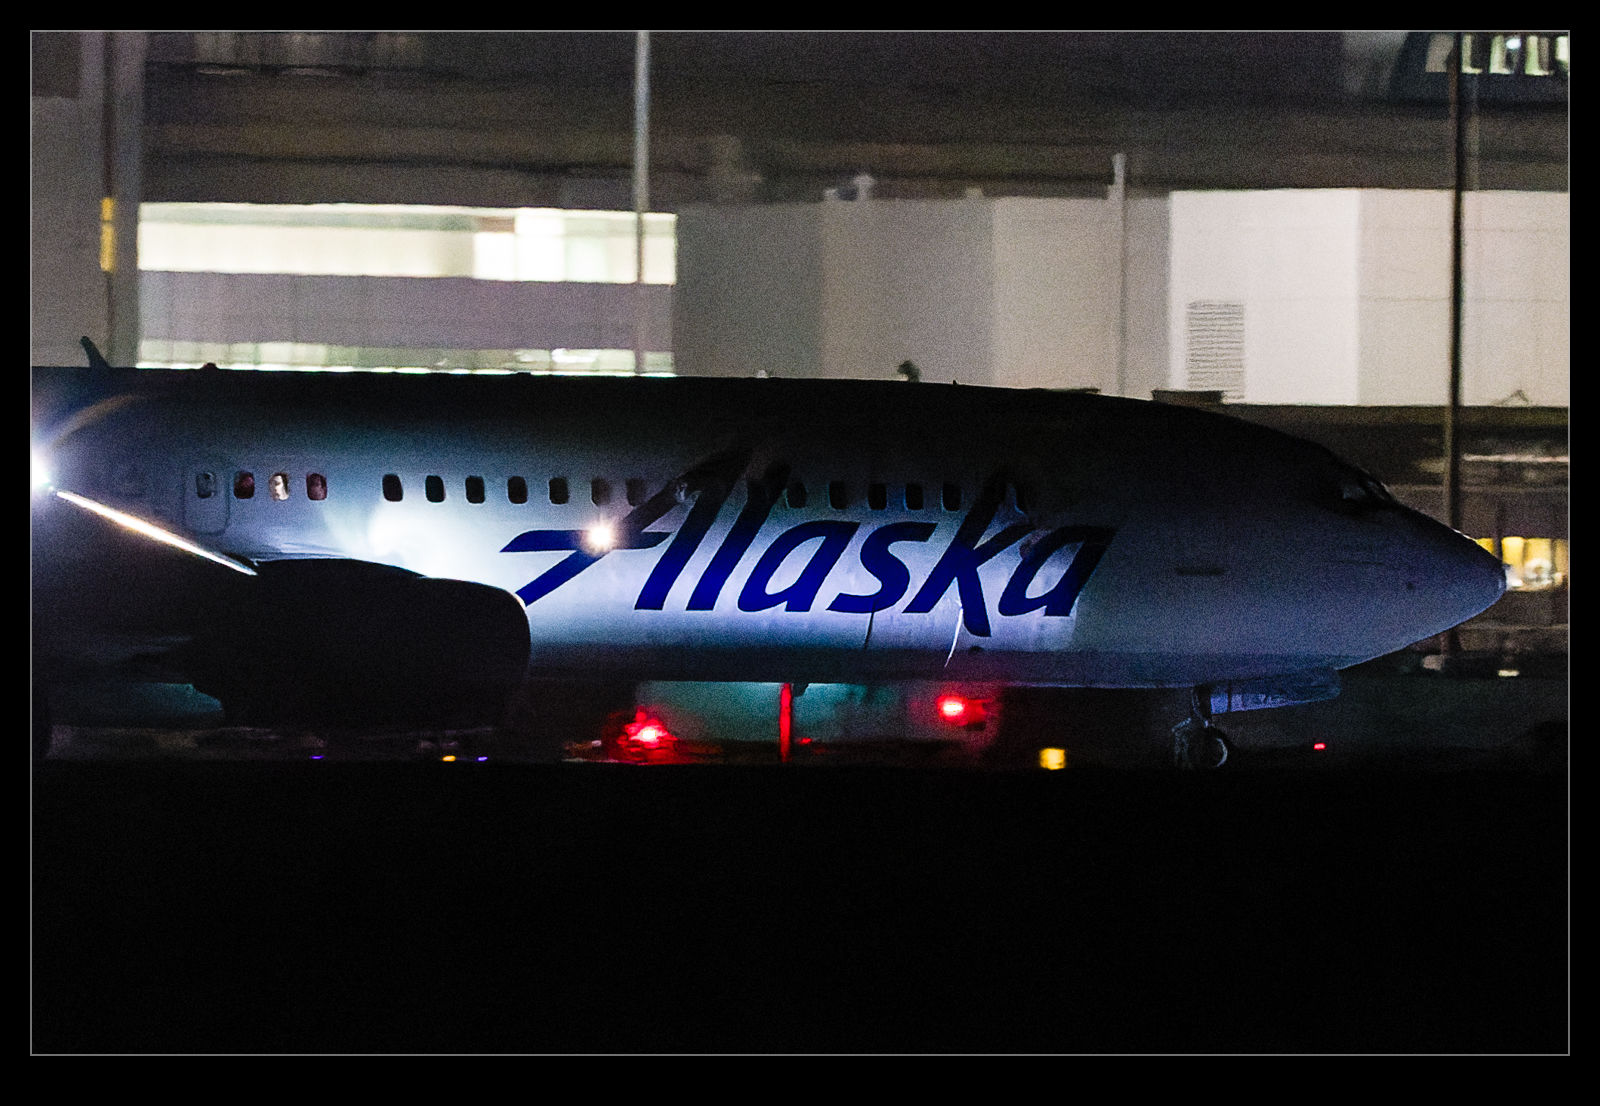
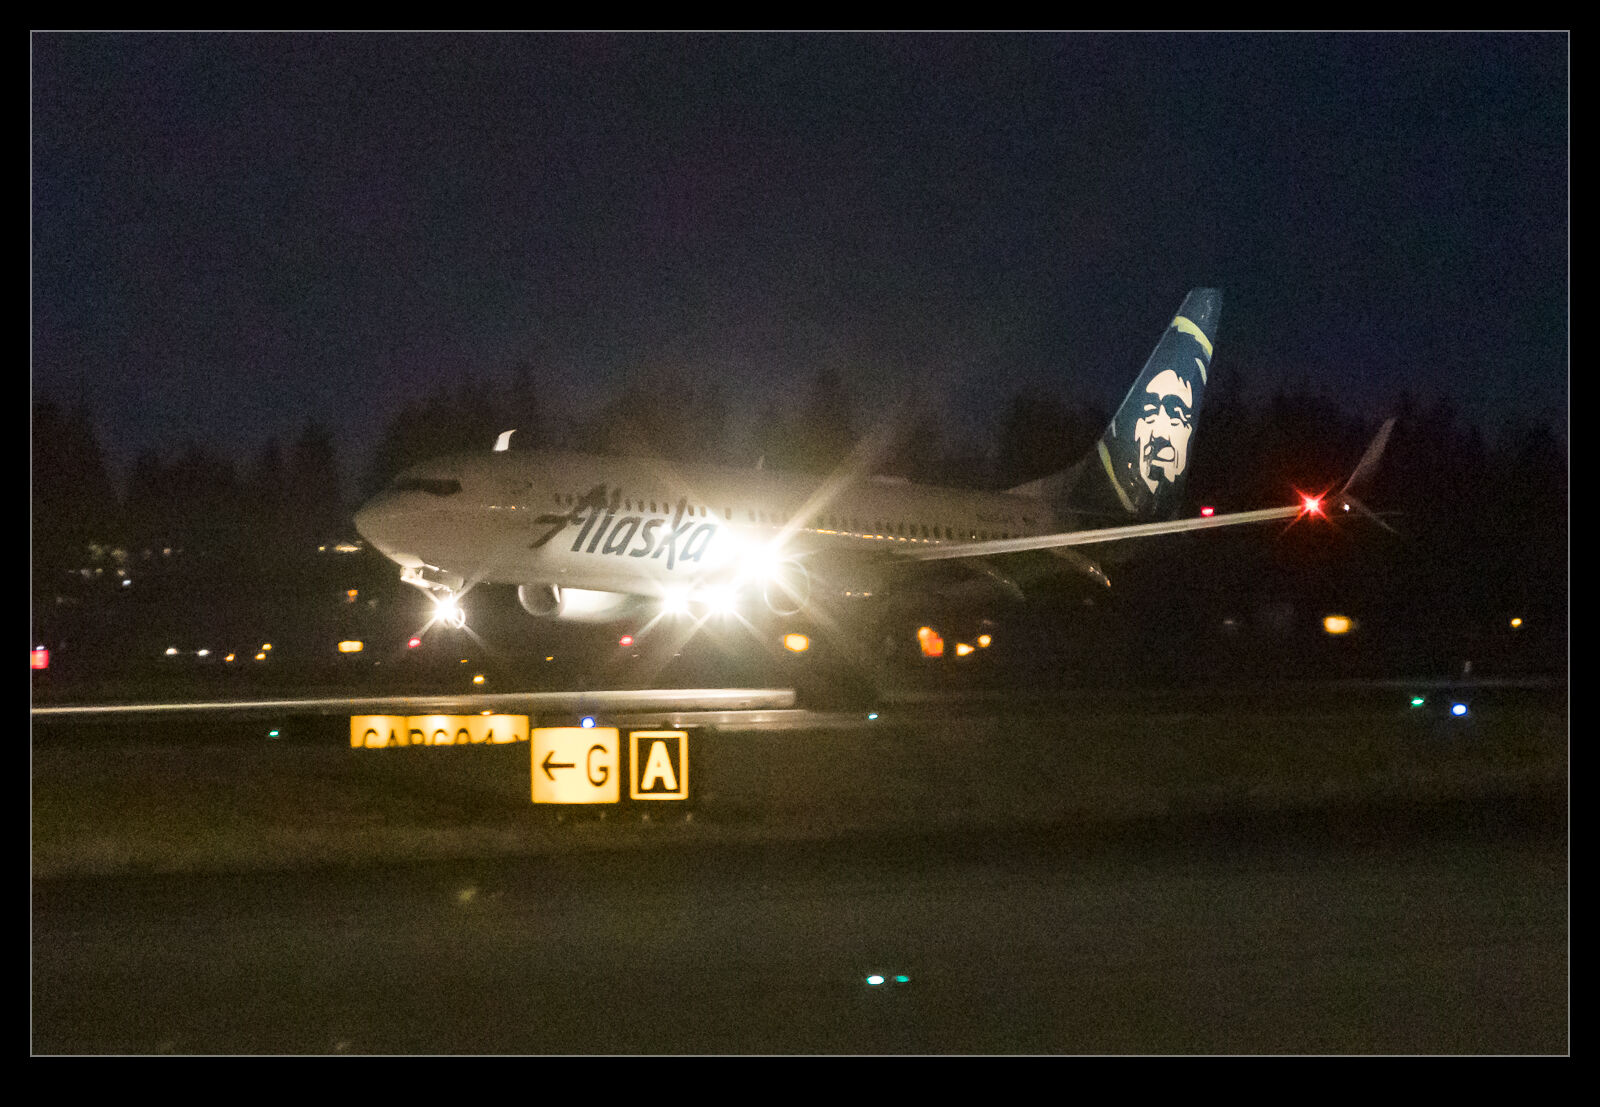
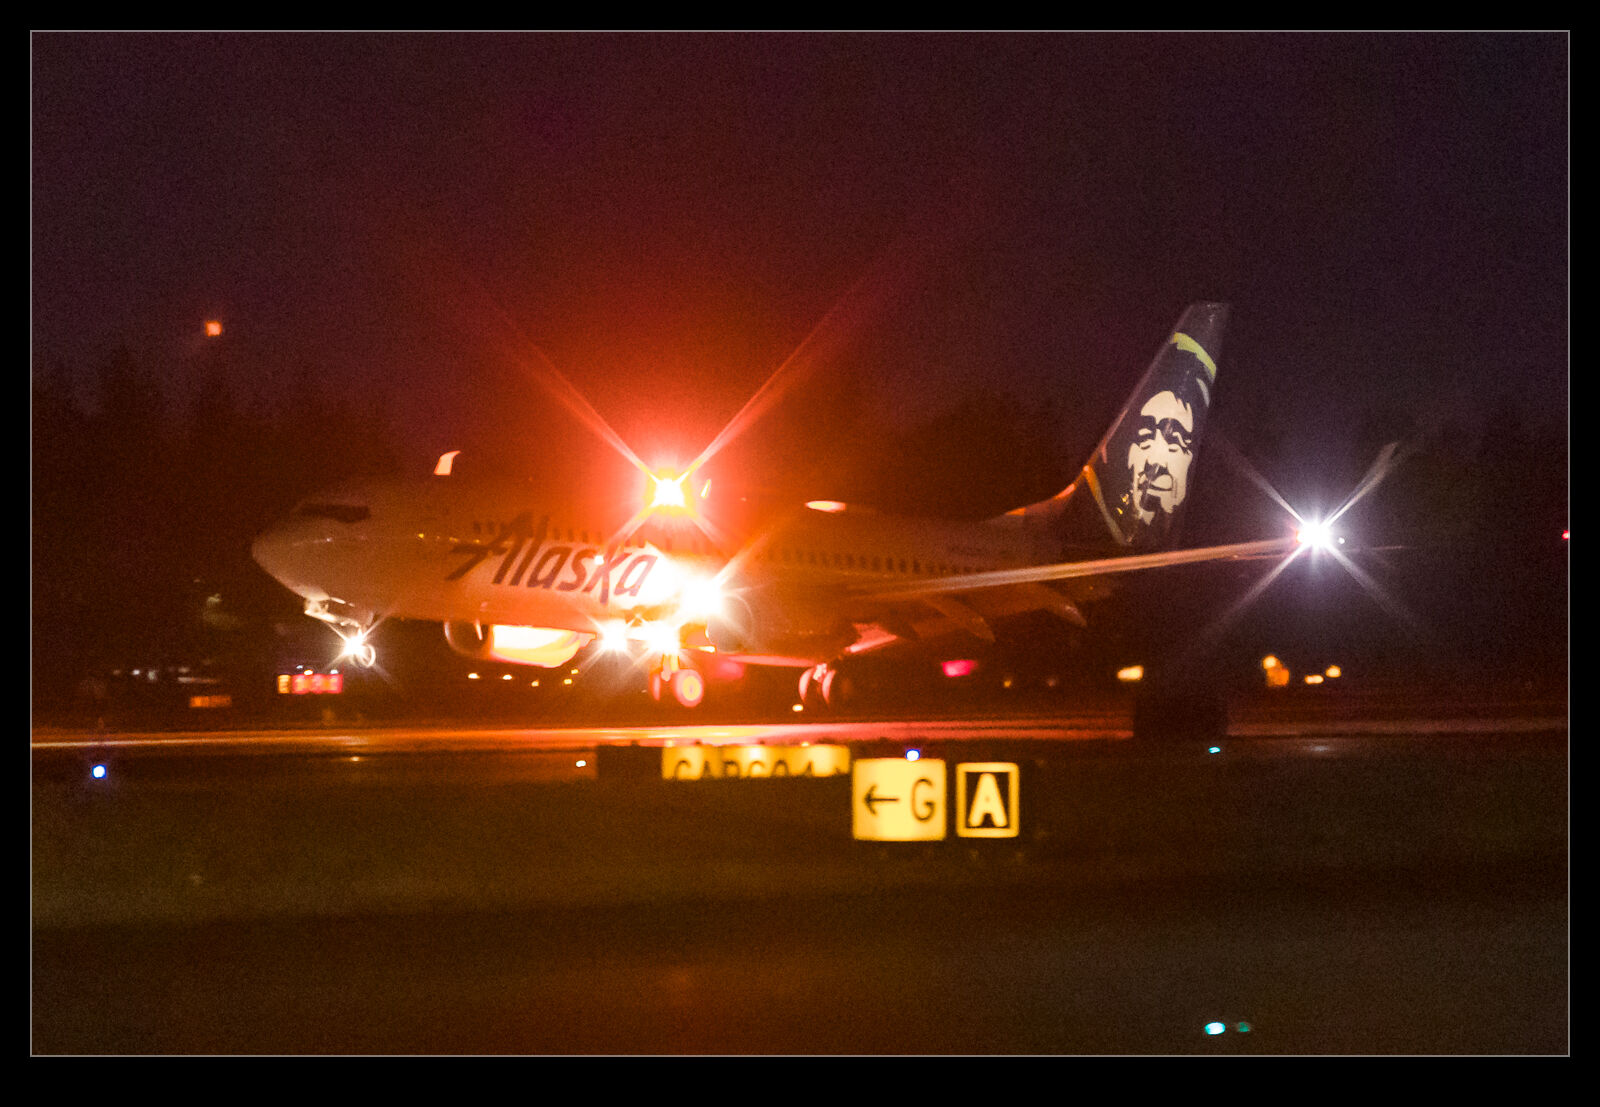
I posted about some night photography I tried on jets approaching SeaTac.  After finishing that up I was heading to the terminal to pick up my colleague and I decided to go for a shot of touchdown in the dark.  This was not going to be an easy one to get since it is really pretty dark at the north end of the airport so little ambient light.  I was relying on the lights of the jet and pushing the ISO to a really high level.  It is true that the noise gets really tough in those conditions but when looking at the image at a normal size, it really is not a big deal.  Besides, it is a shot we would never have done in pre-digital days.

How Dark Can This Thing Shoot

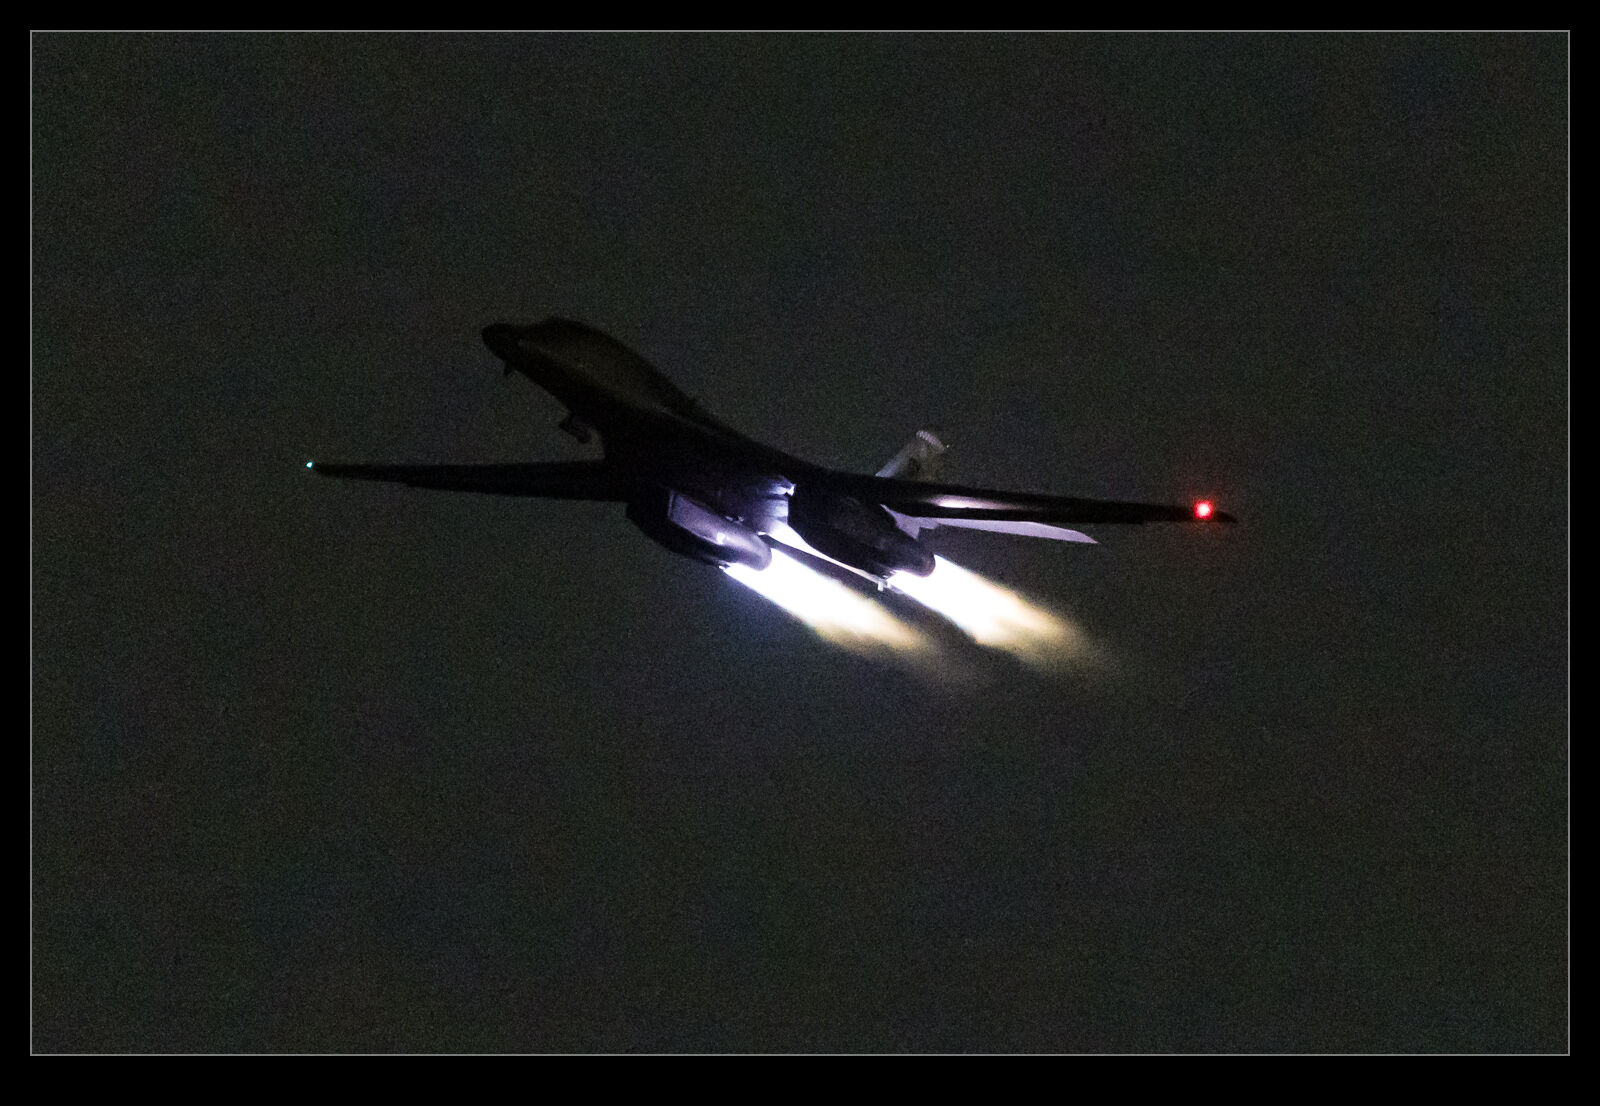
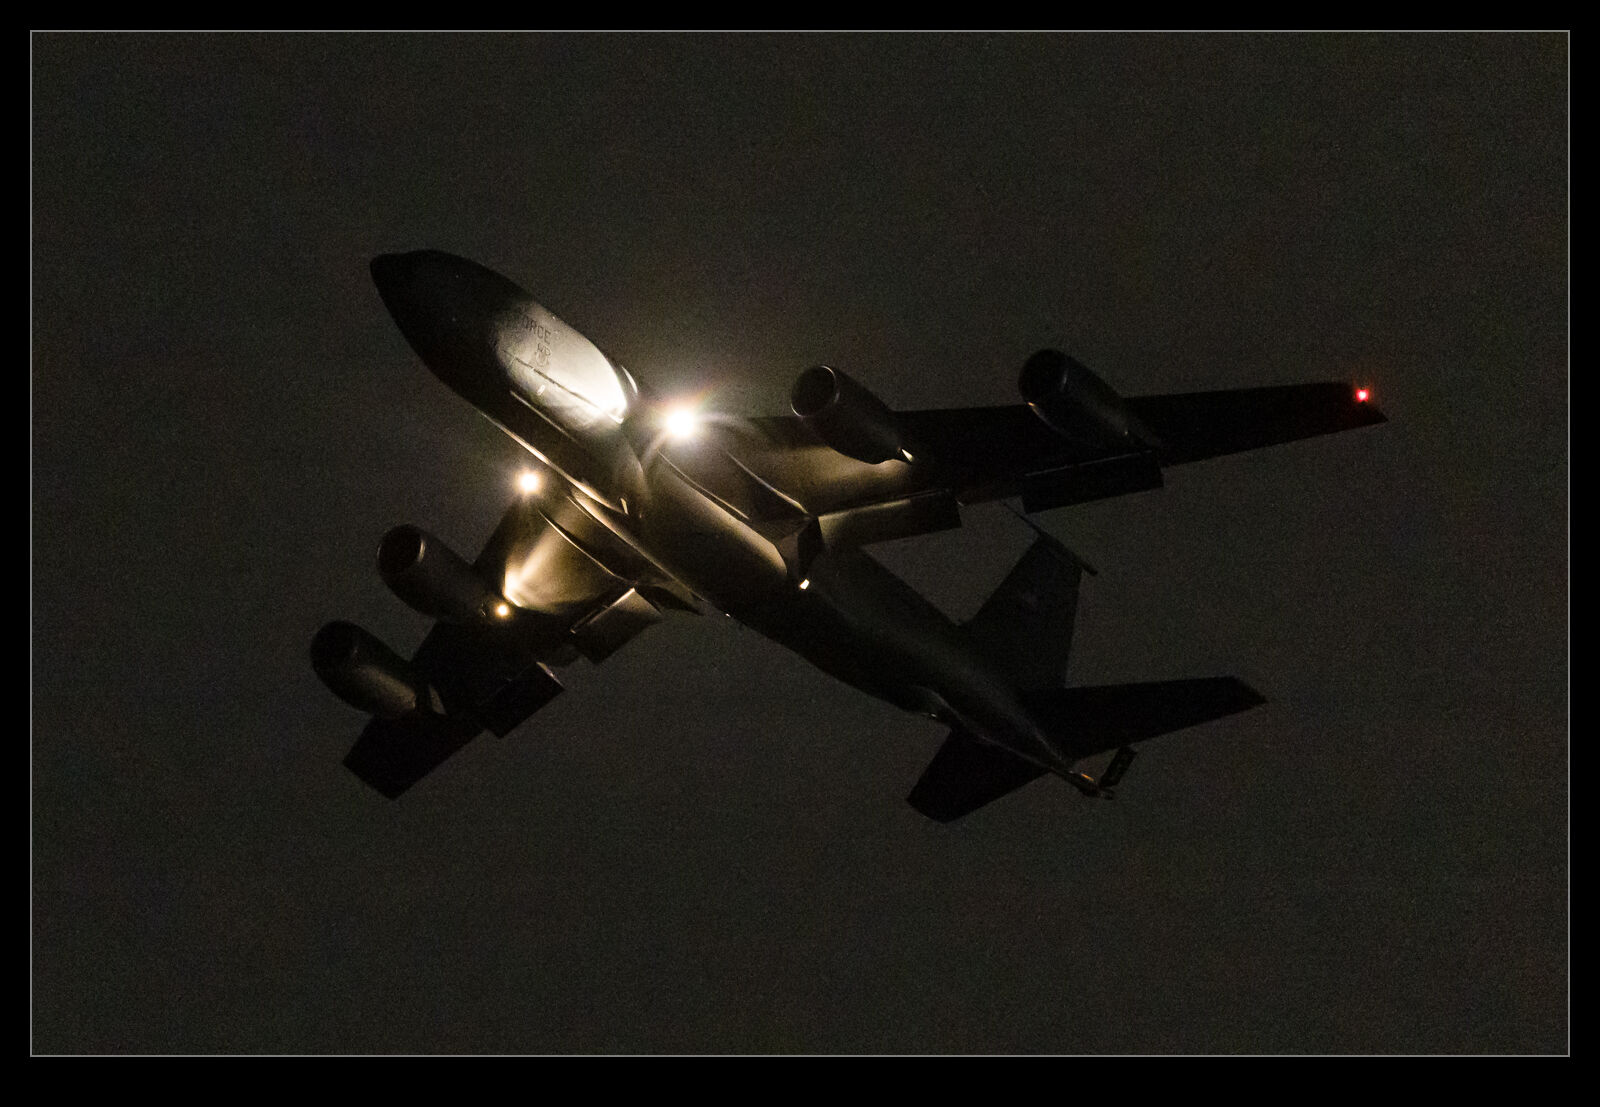
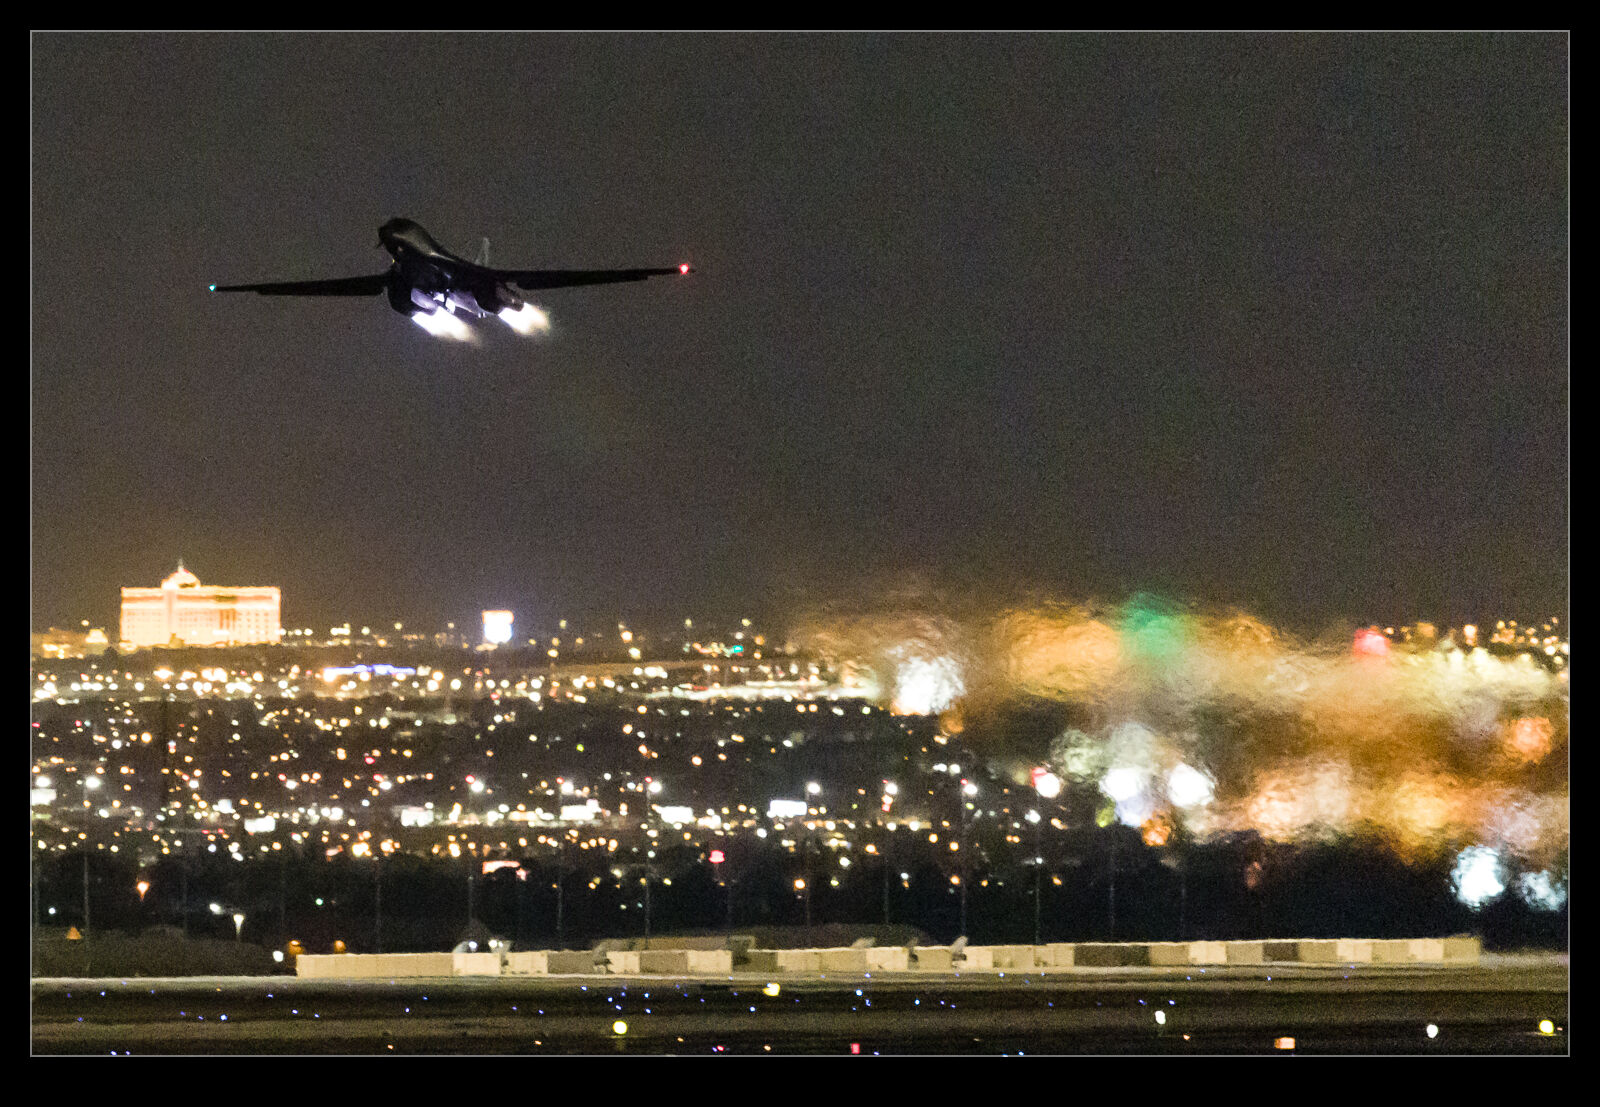
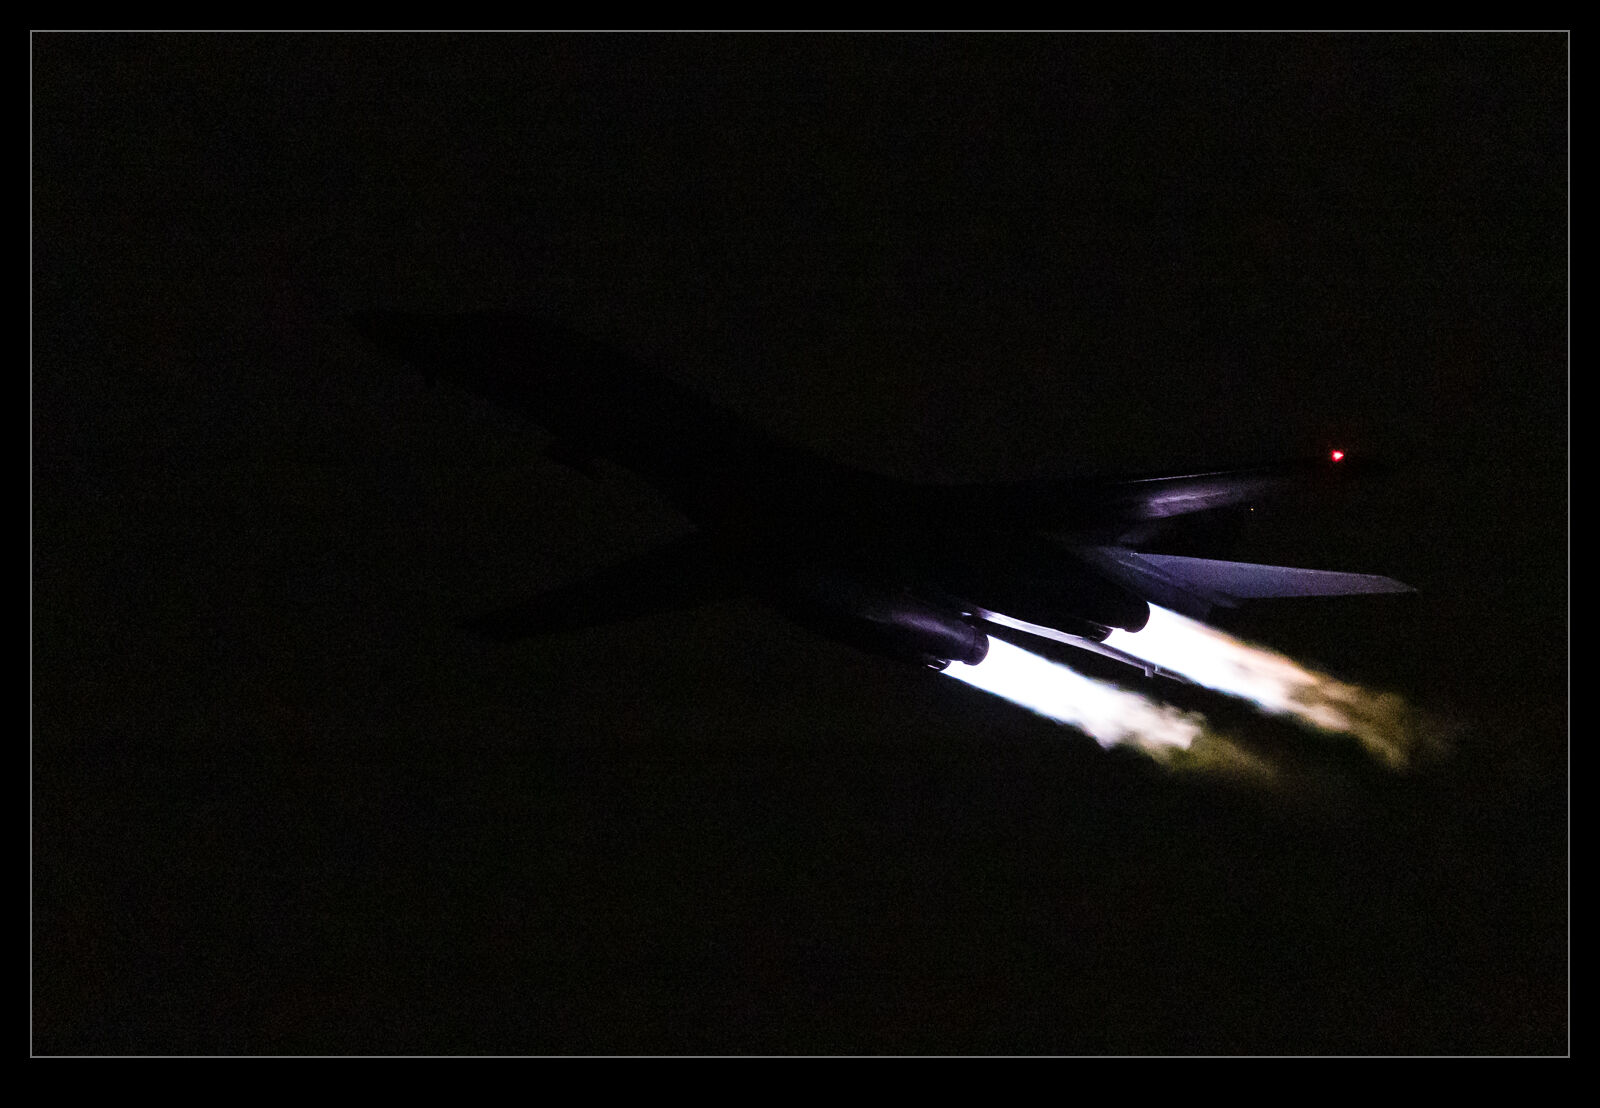
Every once in a while, I really test the high ISO capability of the cameras I have.  The R3 got an early test when I was at Red Flag,  I went out on two evenings to shoot some night departures and experimented with the ability of the camera to perform in those conditions.  The high ISO capability of cameras has not moved on too much to be honest.  The max ISO I used on my 1DXII was 51,200 and the R3 is still the same.  It does appear to be a bit cleaner but they have possibly hit a bit of a limit.  What I had not tried out before was an electronic viewfinder in such conditions.

The first night, I went out into the dunes to be ready for the B-1 departures.  As it turned out, they didn’t launch that night.  I did get some fighters coming out my way for a while before I concluded that this was a bust and I was heading back to the hotel.  I tried shooting a few of the jets but I discovered the limitations of the camera pretty rapidly.  When there is no light, the electronic viewfinder really struggles.  The frame rate of the viewfinder drops like a stone and tracking a subject becomes pretty problematic.  The frames per second drop too so the chances of a result are slim.  With an optical viewfinder, this is not an issue but the chances of a good shot are also slim.

I returned to the hotel feeling pretty dispirited by this result.  I wondered whether this was a real problem for adopting the R3.  The following night, I went out again with the B-1s again being my main target.  This time I had some tankers heading out before the B-1s launched.  It was a very different evening.  Sure, the lack of light still makes the chances of getting a good shot pretty low but the camera seemed to have no problem tracking the subjects and keeping the viewfinder frame rate up to a perfectly acceptable level.  If I had only gone from the previous night, I would have concluded that it was unusable.

The embedded images in the RAW files looked pretty good but the Lightroom edits required a lot more work.  DPP might be the answer or DxO PrimeRAW could do a good job.  However, that is not the issue.  Will the camera allow me to shoot at night with very dark subjects.  Apparently, the answer is yes.  It can handle it.  However, it can’t track an almost black subject with a couple of navigation lights like an optical viewfinder can.  That is a limitation that I may have to live with.

Giving the R3 A Workout At Nellis

I had given the R3 a couple of trips out before I headed to Nellis.  I had shot it at BFI and at Juanita Bay.  However, my trip to Nellis was the first time it was going to really be given a serious blast with constant shooting and varying conditions.  How would it perform and could it be the camera for me for the next few years?

First, I should point out that I have not yet had a proper investigation of the various functions of the camera and how to configure it.  Consequently, I was not using it in the best way I could but was instead experimenting with it as I went.  So, given that limitation (of me, not necessarily the camera), how did it go?  Overall, things were very impressive.  Let’s start with the simple things.

Battery life was really good.  I shot a little late on the first night, all of the second day and the beginning of the third on one battery.  I had spares with me but the battery life, while maybe not as long as for the 1DXII, was still very good.  It is also a nice thing that I can recharge with a USB-C charger if I need to which means not taking the large battery charger with me.

Autofocus was very impressive.  When things are a long way off, it is still guessing at what to look at and that is something I need to investigate.  However, it seemed to recognize planes very early on and then track them very effectively.  The ability to let it track a target allowed me to worry about composition far more than I used to with center point focus.  I could move planes to the edge of the frame to get a wingman in and still have focus working well.

Exposure was okay.  I have the viewfinder set up to give me the exposure simulation which is handy for understanding what the camera is seeing.  This helped me out once when I have managed to change the ISO to 800 by accident.  Not sure how I did that but I was able to notice it quickly.  However, I am not so sure about how quickly it adjusts as conditions change.  Moving from a cloudy background to blue sky provides a rapid change that the camera needs to accommodate and it sometimes seemed a little slow to work it out.  When shooting raw, your have some latitude to adjust afterwards, of course.

Handling was good.  It felt good in the hands and I am wondering whether I will miss the hand grip I have used in the past.  The controls are good.  The smart controller is neat but it does get adjusted a lot without realizing.  I also am so used to using center focus that I sometimes assume that I have to keep the subject in the same space to keep it in focus, not realizing that I can re-center things with the camera following things.  I did struggle to work out how to chance the card that I was using.  I found a way but it was not as simple as for the 1DXII.

Image stabilization is something that is causing me a lot of trouble.  It isn’t the performance of the stabilization.  That is really impressive.  What I am struggling with is that the stabilization switches on and then stays on.  I can put the camera down for a while and I can still hear the IS motors in the lens whirring away.  Eventually they switch off but this seems like it is really chewing battery life.  I have tweaked a few things to reduce it but, on the 1DXII, the IS would switch off after  about 20 seconds.  Why it this happening?  Again, this may be my failing but I would like to understand why it happens and try to switch it off.

Frame rate is very impressive.  I rarely switched it up to the 30fps setting.  15fps was blasting through the cards at a prodigious rate as it was so no need to make things any worse.  I have the audio shutter turned on so I have something to remind me when I am taking too many shots and to hopefully keep things under control.  However, while the frame rate may notionally be similar to the 1DXII, it consistently hits it which does result in a lot more photos than I was used to.  More culling to come I guess.

Having the ability to connect to my iPad and phone is a real benefit.  I used to just have this with the M6 and I really liked that.  Being able to connect to the R3 gives me a lot of flexibility.  I was able to send a few shots to a friend while out in the field.  I will use this sporadically but it is definitely a good capability to have.

Overall, it was a great experience.  I had two bodies with me but I focused on shooting with the one R3 and the other body, a 1DXII, stayed in the bag almost all of the time.  I had it ready in case but didn’t end up using it.  At no point during the time there did I think about reverting.  I do still have a few tweaks to work out with how to set the camera up but it was a very positive experience.  I think that this camera might be the one for me.

Go With The Long Lens

For quite a while I have been shooting almost exclusively with the 100-400mm lens while photographing aircraft.  Recently, I knew I had a couple of smaller aircraft inbound and I picked up the 500mm which hadn’t got a lot of use for a while.  While it is a fixed focal length and therefore inflexible for things getting too close, with something small, it works out fine.  When I checked out the images later, I noticed that I had a far higher keeper rate at low shutter speeds than I have got recently with the 100-400.

I decided to stick with it again on another day of shooting and had similar results.  I decided even to sacrifice the closer shots and work with the long lens to get framing I wanted further away and to then go for close ups of details when things got too large.  I was overall very happy with the results.  I think the weight of the 500mm is such that it is a lot harder to disturb it with small twitches.  The 100-400 is so much lighter, maybe it is more sensitive to my lack of smoothness.  The inertia of the big lens is a benefit.  I think I shall be using it more again going forward.  Besides, it is so sharp when you get it right!

First Experience With The R3

My 1DXII bodies have been doing sterling work for the last five or so years and continue to be reliable.  In the interim, the camera world has made a shift from SLR technology to mirrorless.  Canon was a slow starter in this space but has since got in to gear.  I am not an early adopter and waited until something came along that really appealed to me.  The R3 body was that thing.  It combines the latest of the mirrorless technology with a body like the 1D series and the associated great battery life.  It was enough to make me take the plunge.

Getting one was a different story.  I ordered one in the fall of 2021.  I wanted to get one first to work with it and make sure it was the thing for me before committing to a pair of them.  Recently, I got the call that my body had finally come in.  I was very excited to try it out.  I then got a call from the store within an hour of the first saying that the second body was on.  I had ordered this much later with the intent of knowing whether I was happy or not before it showed up.  I decided to defer it and see how things went.  I think the credit card was pleased with that decision too!

I have now had a week of playing with it having shot some aviation and some wildlife.  I have not really had a chance to dig deep yet so this is just first impressions.  Overall, it is really impressive.  The ergonomics are familiar after years of shooting with 1D bodies.  However, the controls are more complex and things are not identical so I am taking a while to get comfortable with where everything is.  This will probably take me a while.

Battery life has been very good.  I was expecting it to be worse than the 1DXII but it seems to have stood up to a lot of shooting with tons of life left.  New batteries don’t hurt of course and we shall see how things play out.  The small megapixel bump is fine but it really is barely noticeable compared to the 1DXII.  24Mp versus 20Mp might sound like a big increase but when you look at the linear pixel count it is only a small increase.

Autofocus is amazing and confusing.  Its ability to pick up targets and then track them across any part of the image is fantastic.  It seems to have very good accuracy and I am liking the shots I am getting.  Eye detection on wildlife is spookily good.  However, I don’t yet know how to control the autofocus properly.  There are so many ways to customize things that I have yet to understand.  For example, I haven’t yet worked out how to make it focus on a center spot only like my old setup.  Most of the time, the clever stuff is more useful but there are odd times when you want it to do something simple.  With small subjects or cluttered backgrounds, this can be important.

I also have to get used to pressing the button when I pick up the camera.  I am used to looking through the viewfinder to sight a subject before pushing anything but the viewfinder shuts off after a while and needs to be woken up.  It would be good if that could be done with some motion sensing (maybe it can and I haven’t found it yet).

I have tried the eye control a little.  It seems to work pretty well.  Calibration with my glasses was fine and the contract lenses were okay too but I have put that to one side for now while I leaned to understand a whole bunch of other functions of the camera.  I have also connected it to my phone and iPad which has been a handy thing to do.  I did briefly experience with the automatic focus stacking which seemed to work well and I shall try more of that in due course.  I haven’t tried any video yet at all.

I have had to change my cards and card readers since both of the card types are new to me.  That was a nuisance but not the end of the world.  I actually bought them a while back so I wouldn’t have to worry about it now.  I got the 24-105 lens in the RF mount.  My old 24-105 was a bit beaten up and the image quality was not strong so a replacement seemed like a good idea.  They had been as rare as rocking horse poo but fortunately were in stock when I went in so I got one.  I also have the convertor for my other lenses and they seem to be working extremely well.  The combination with in body stabilization has improved them too and I find some of the tracking of moving subjects in the viewfinder easier than it used to be – something which I attribute to the IBIS.

Overall, I am happy so far.  Definitely some things to work on understanding.  At the time of writing (versus publishing), I am about to go on a trip when I shall shoot a lot of planes.  This will be a big test but the initial experience makes me think it should go well.  The camera tracks the cockpit of planes like the eyes of a bird so I am feeling confident it will be good.  I think the conversion to mirrorless is going to be complete for me based on what I have seen so far but within the next month, I should know whether it will work for me or not.

Backblaze Online Backup

After asking a few people on Facebook for experience with online backups, I have recently committed to using Backblaze to provide a separate backup of my entire data.  There is a NAS backup system I use as well as BluRay disc based backups but all of these are in the same place so are vulnerable to a single event taking them out.  Having an online service was something I had contemplated for a while but finally I have done something about it.

I picked Backblaze because they have an unlimited data plan for about $70 per annum.  I could use Amazon Prime for some of it but their plans are quite specific and the add ones become quite expensive.  Backblaze is all in.  I have about 13Tb of data currently.  I switched my Xfinity plan to unlimited for the upload phase.  I have a good connection so, after about 14 days of uploading, I was about halfway through so it should be done within a month.  I shall then see what the impact on bandwidth is going forward.

I have already had cause to use it.  I had a hard drive failure in my desktop.  Almost everything on it was already backed up but it turns out there were a couple of folder on there which, while recreateable, were lost initially.  Fortunately, Backblaze had already backed them up so I was able to get them back quickly and easily.  I hope I don’t need it again but having the entire system backed up will make me feel a lot more comfortable and having it constantly working in the background will be easy.

Mistake with a Polarizer

I have been using the polarizer a lot during the summer with my photos.  The high sun provides harsh lighting and a lot of contrast and I have been using the filter to cut down the light and to try and reduce glare from white aircraft fuselages.  It has mainly been used on my longer lens also helping to get shutter speed down to provide some motion blur in backgrounds.  However, I did put it on a wider lens when some planes were taxiing past me.

This proved to be a mistake.  It did take out some of the glare and make things a little more balanced from a contrast perspective but, when used on a wide angle lens, it did result in some unintended effects in the skies.  The polarizer effect is quite varied depending on your angle relative to the sun and this results in quite a dark sky in one part of the shot and a brighter sky in the other.  The result is an odd effect which distracts from the plane itself.  Consequently, I have avoided using this filter for these shots more recently.

DxO PureRAW Testing

Whenever you suddenly see a bunch of YouTube videos on a similar topic, you wonder whether a company has been sending out copies of its product to people to get them talking about it.  I think this must be the case with DxO Mark since I have come across a lot of videos about their new raw convertor, PureRAW.  Having watched a couple of the videos – the technique clearly works – I was curious about the capabilities of the product.  Since they provide a 30 day free trial, I decided to give it a go.

One of the topics which seems to get people really worked up if they are too focused on the products and less on the photos you take with them is Raw conversions.  You can shoot JPEGs in camera but, if you shoot Raw, you tend to have a lot more flexibility with post processing.  (For those not in to this stuff – and I am amazed you are still reading this if that is the case – a Raw file is the data that comes off the sensor with very little processing applied.). Software developers come up with their own ways of converting this data into an image.  Camera manufacturers provide their own raw converters but they don’t share the detailed understanding with the software manufacturers so they have to create their own.
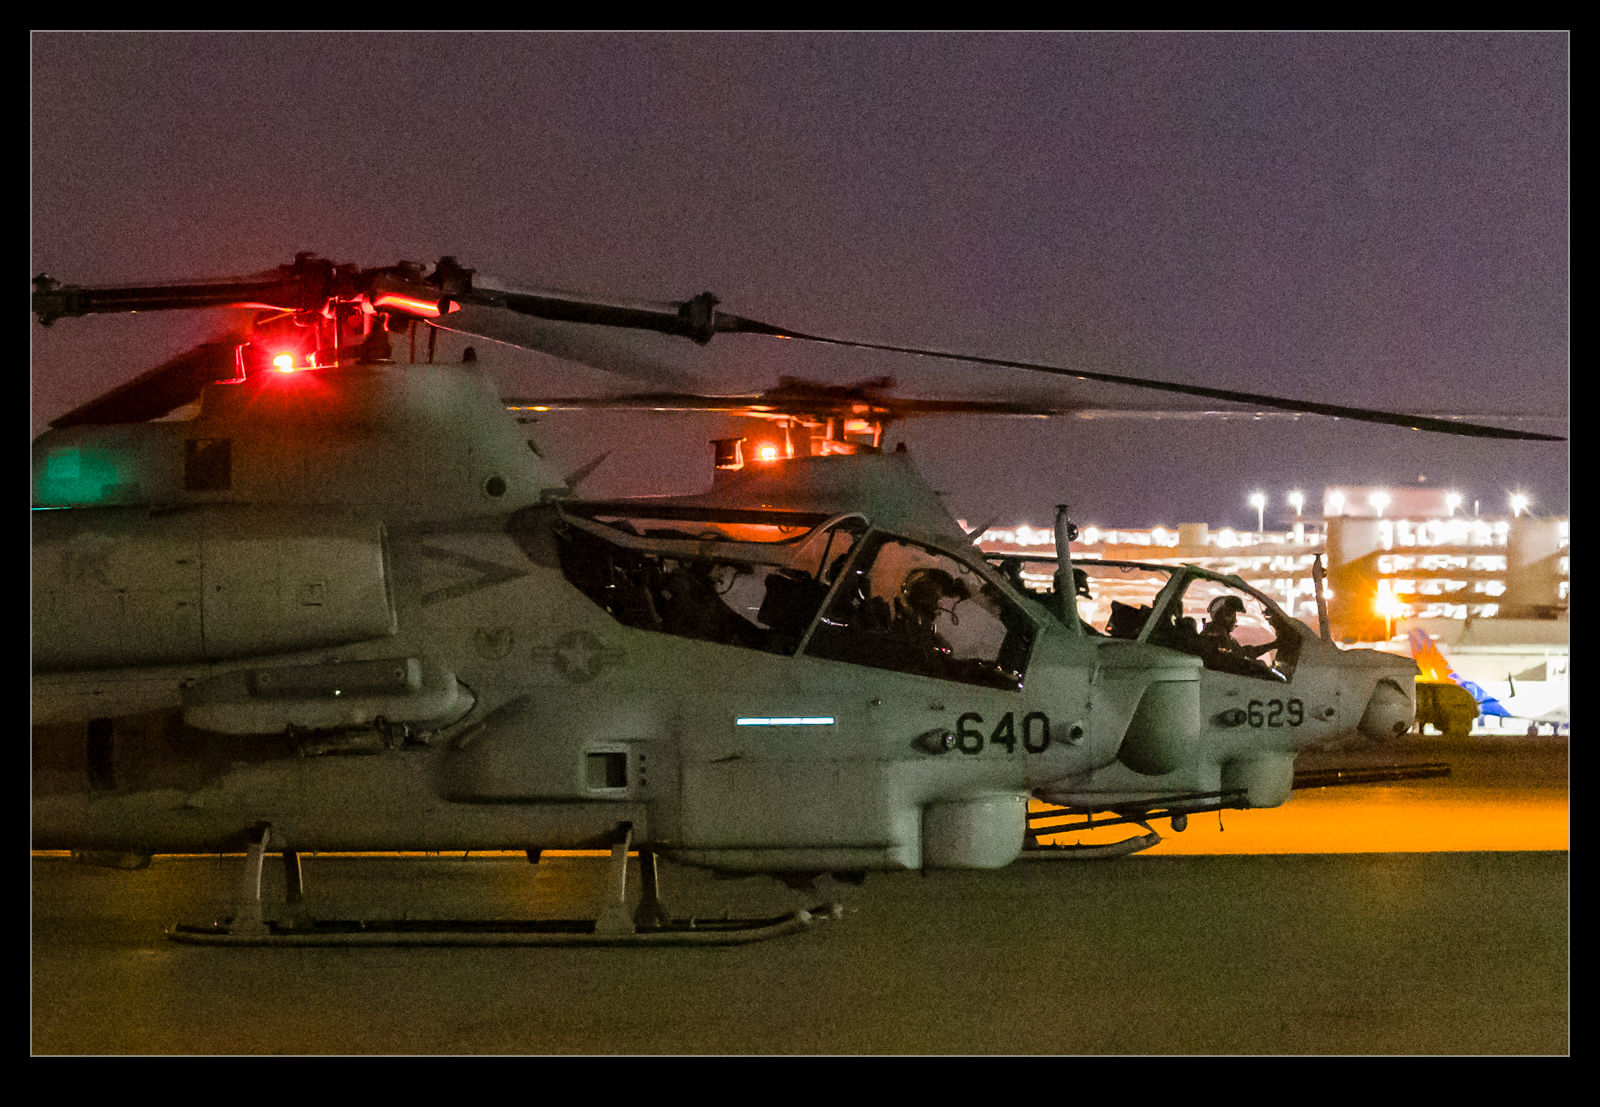
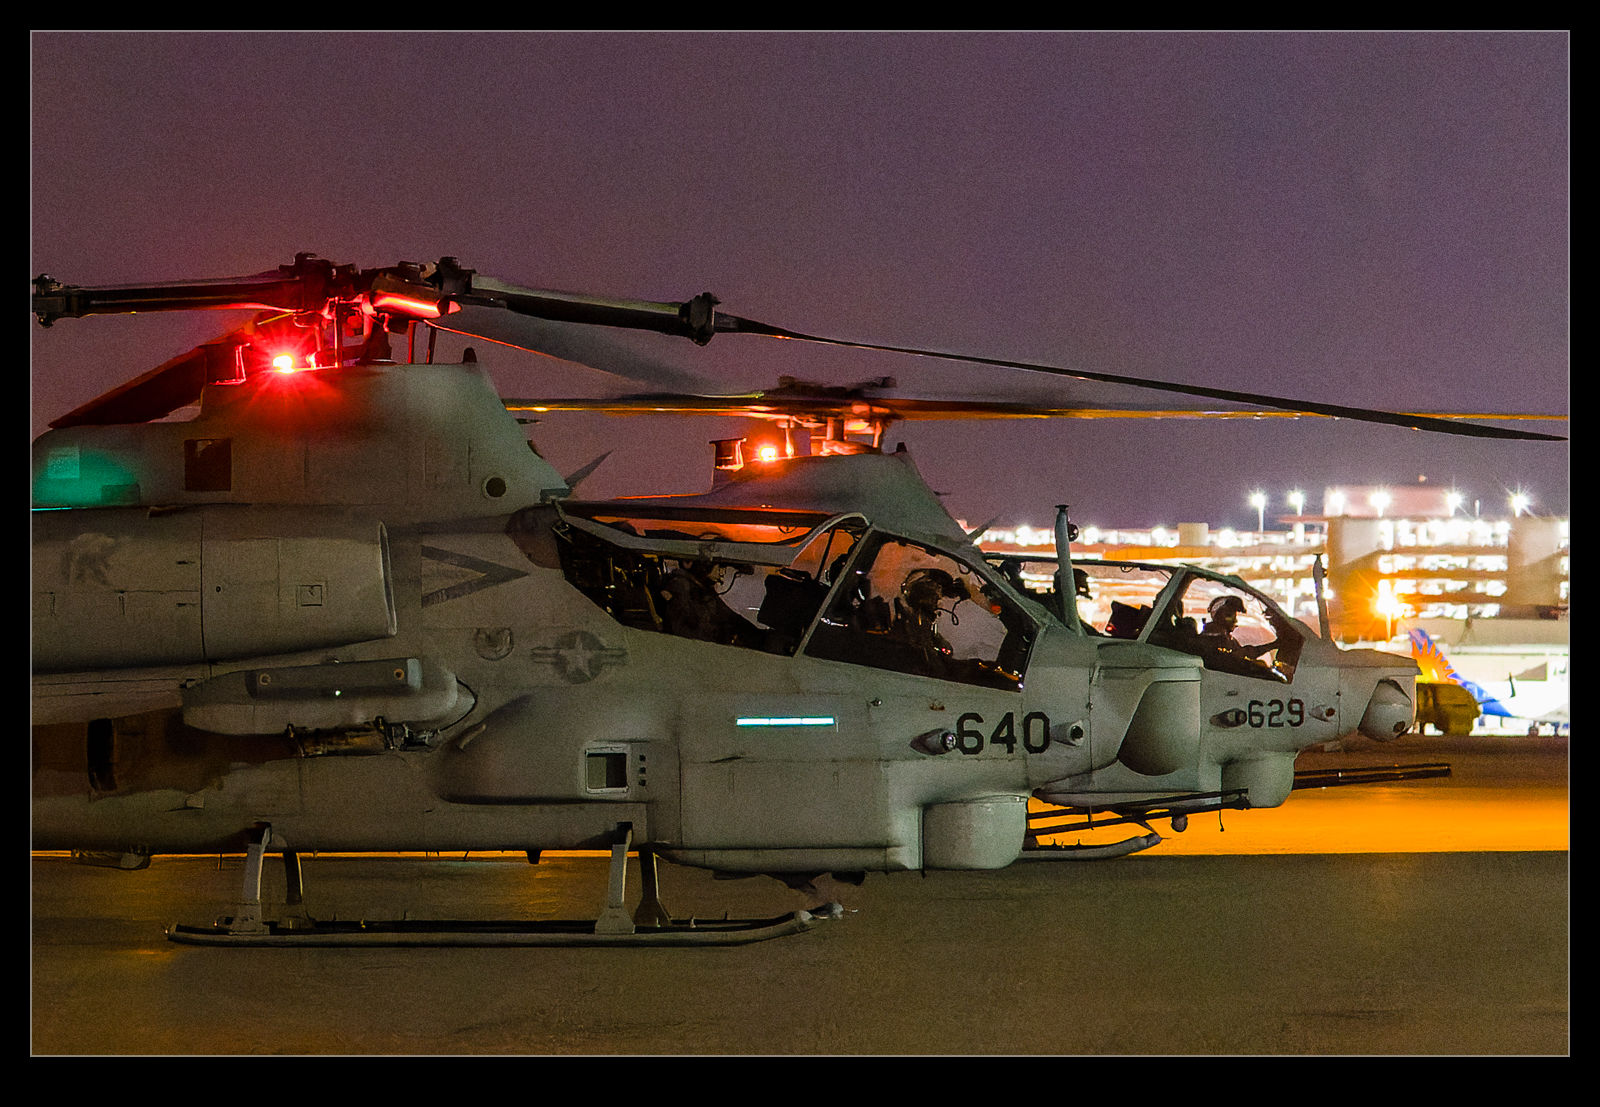
The most widespread software provider is Adobe with their Camera Raw convertor built in to Photoshop and Lightroom.  There are others with their own software and you can come across some quite heated discussions online about which is the best.  Hyperbole abounds in these discussions with anyone getting in to the debate almost always dismissing Camera Raw as terrible.  It’s clearly not terrible but it might have its limitations.
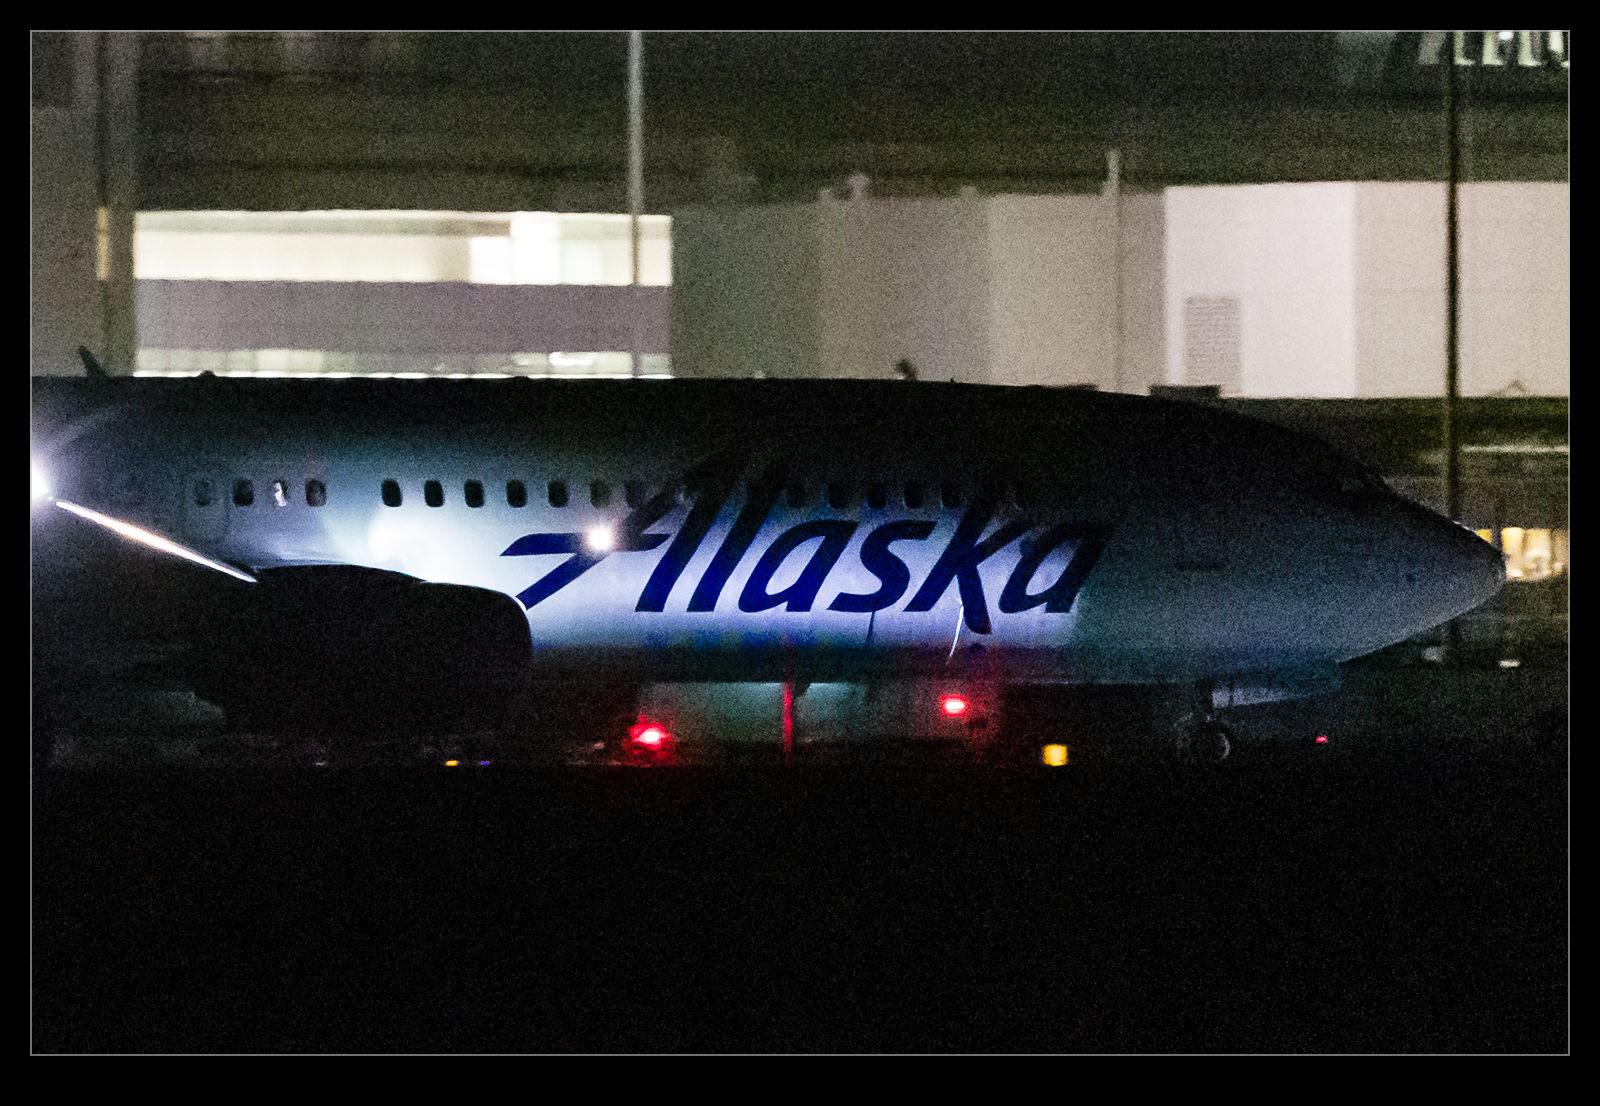
PureRAW is a convertor which doesn’t really give you much control.  Instead, it takes the Raw file, does its magic and then creates a new DNG raw file which you can them import direct in to Lightroom (if you choose – which I do) to continue to edit in much the same way you would have previously.  Watching the reviews, they seemed to suggest that for normal shots at normal ISO settings, there was not much in it.  However, for high ISO images, they showed significant differences with reduced noise, sharper images and clearer detail.  Some reviewers thought it might even be a bit oversharpened.
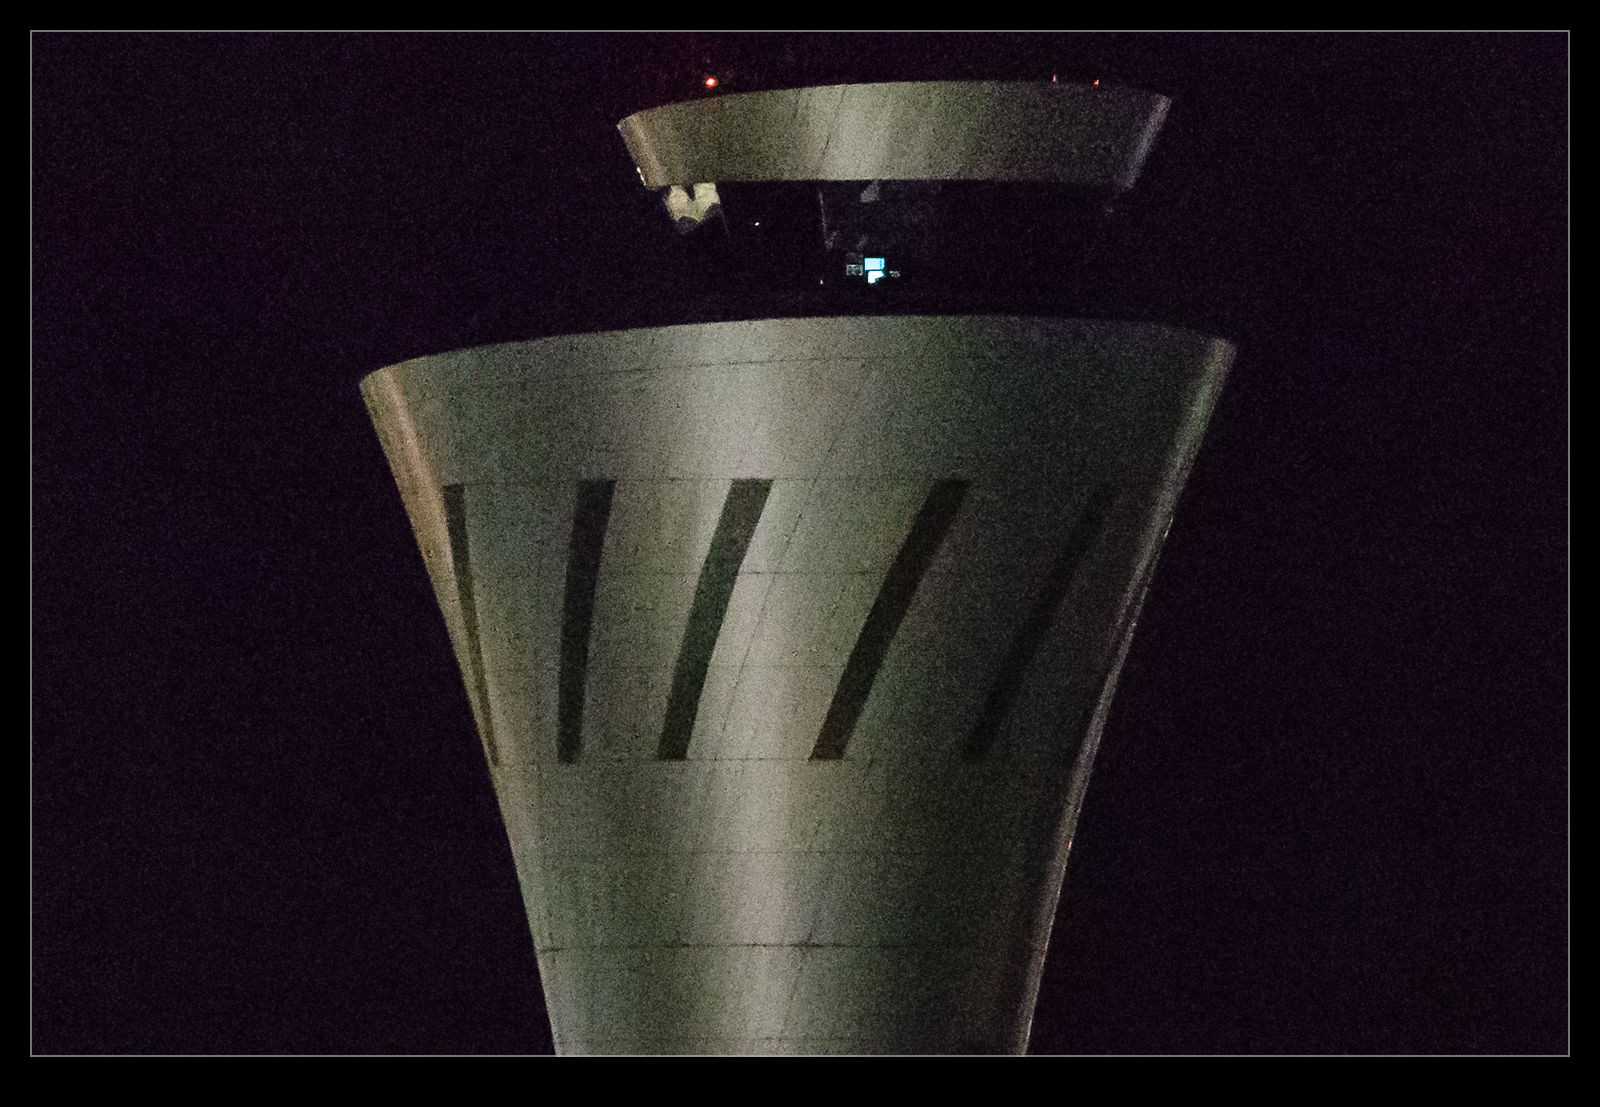
I figured I would try out my own experimentation with some really high ISO images.  I have some shots at ridiculously high ISO settings that I took at night or in poorly lit environments.  These seemed like a good place to start.  The workflow is not ideal – this would not be something I do for all images but only for some that seemed like they would need it – because I have to select the shot from Windows Explorer (getting there by right clicking on the image in Lightroom) and then drag in to PureRAW.  I can drag a whole bunch of shots over there before having to do anything to them.

The program will download profiles for the camera and lens combinations if it doesn’t already have them and you have to agree to this.  Not sure why it doesn’t do it automatically to be honest but I guess there is a reason.  When you have all of the shots of interest selected, you click Process and off it goes.  It isn’t terribly fast but I wasn’t dealing with a huge number of shots.  Interestingly, I took a look at Task Manager to see how much resource it was using and the processor was barely ticking over so it wasn’t stressing the machine at all.  At a later stage, for reasons I shall explain in a while, I did deactivate the use of the graphics card and things got considerably slower.
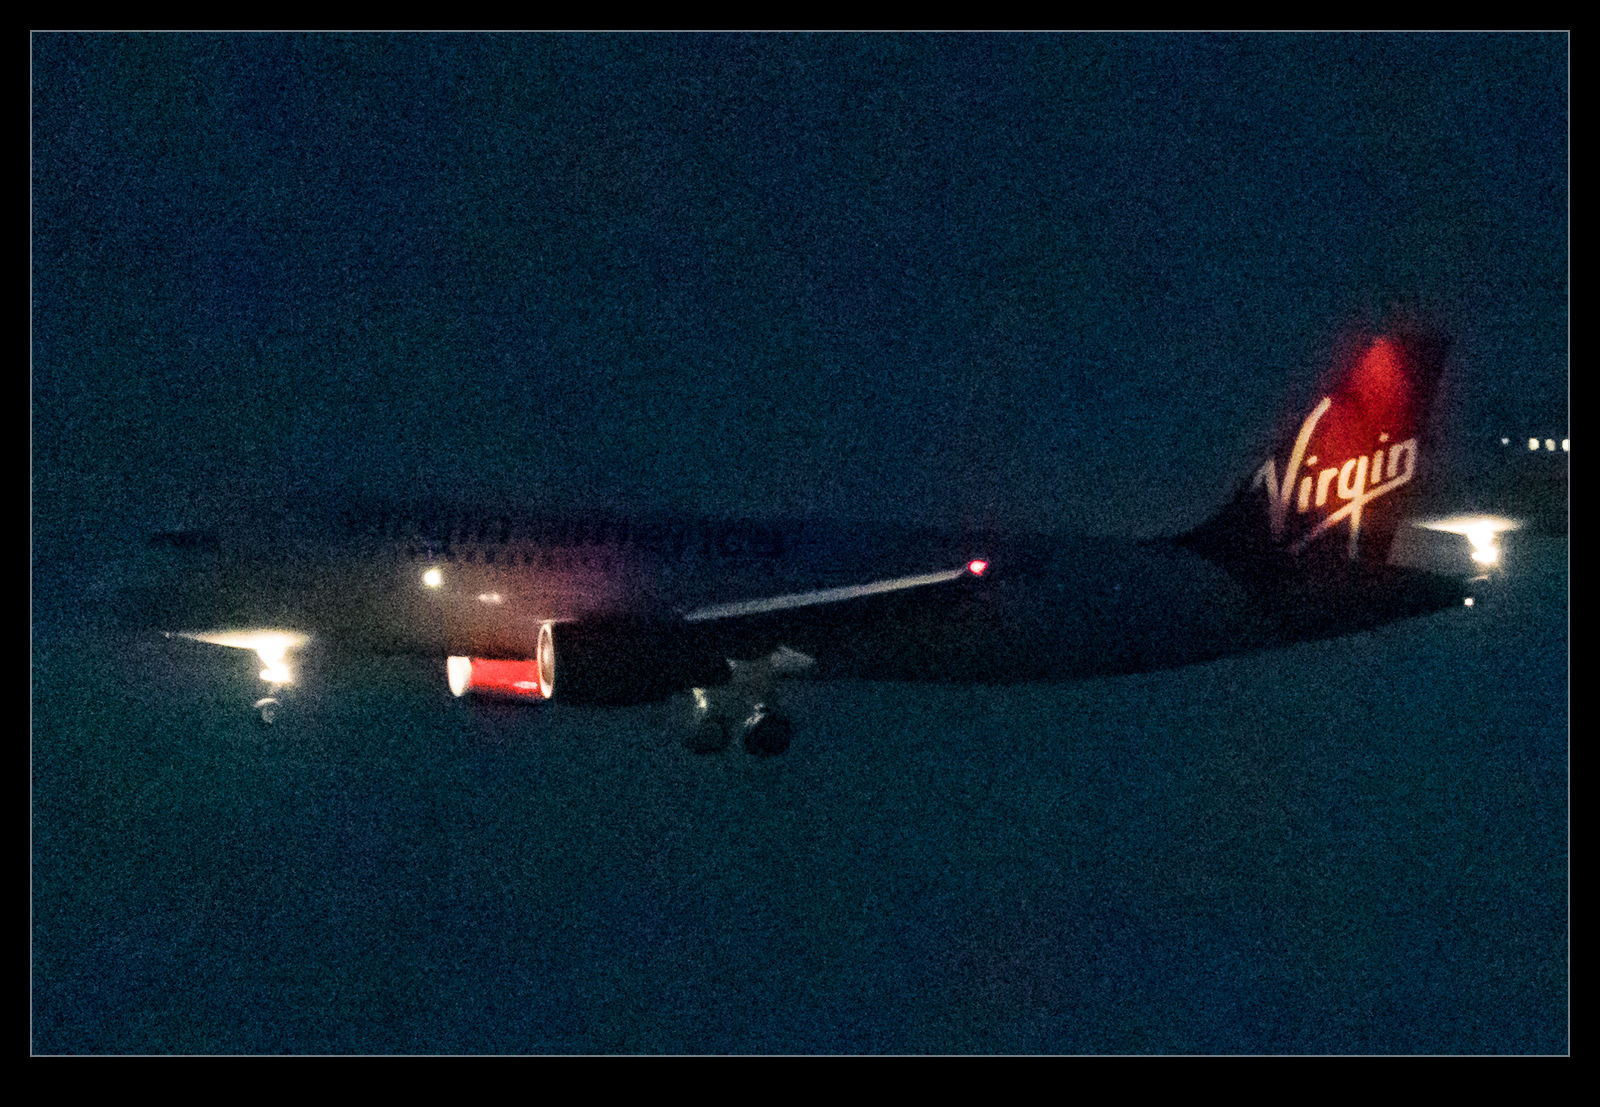
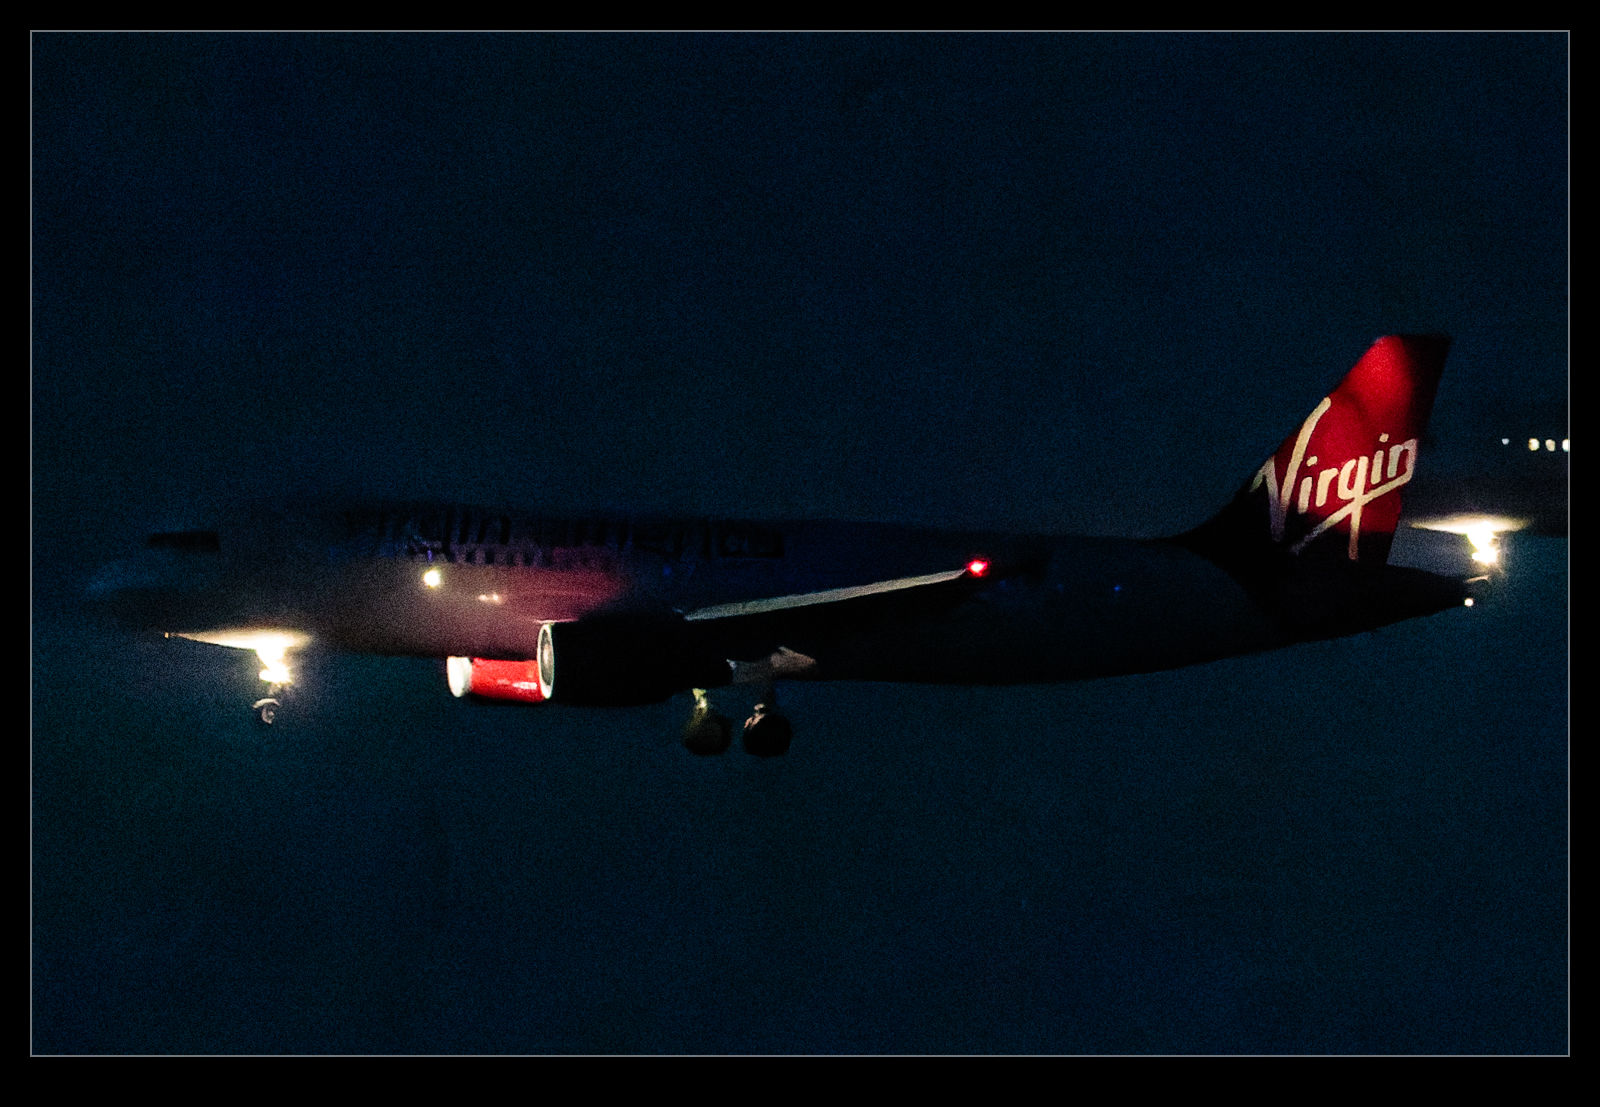
When the processing is finished, you have the option to export them to Lightroom.  It saves them in a sub folder for the original folder and they all import together.  Since I have Lightroom sort by capture time, the new files arrive alongside the original which makes comparing them pretty simple.  For the 204,000 ISO shot (an extended range ISO for that camera), things were slightly better but still really noisy.  For the 51,000 ISO shots, things actually did appear to be pretty impressive.  I have a normal profile for the camera that I use for the raw conversion and a preset for high ISO conversions and the comparison is not dramatic but it is definitely a sharper, more detailed and slightly cleaner result.

I have put pairs of shots in the post with crops in on each image to give a comparison of the output so you can judge for yourself.  Will I buy the software?  I don’t know.  It is currently $90.  That is quite a bit for software that does one thing only.  The interface with my workflow is a bit clunky and it has benefit in a relatively limited set of circumstances from what I have seen so far.

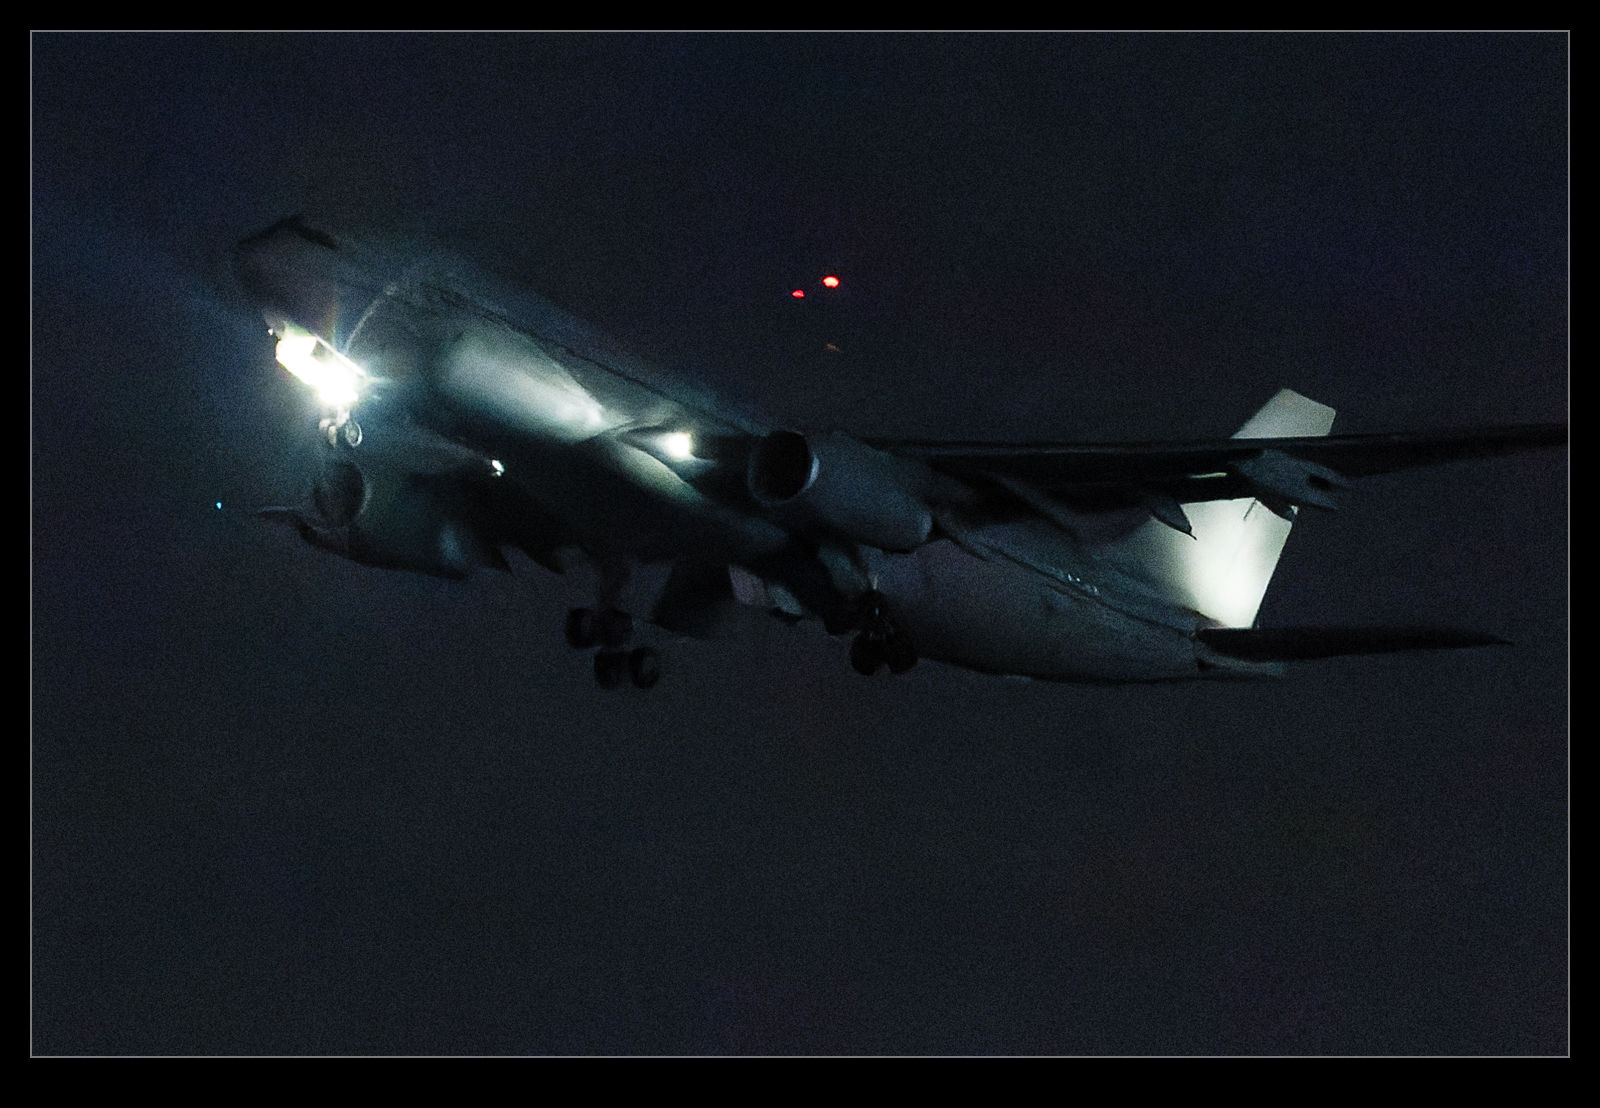
Now for some further feedback as my experimentation has progressed.  I did try the tool out on some more normal shots.  There are some minor differences from a conversion of the raw within Lightroom but they don’t seem to be significant enough to justify the investment.  I played with some shots that had very contrasty scenes and it was slightly less noisy but, again, not that big a deal.  They also felt over sharpened.

I have had some problems with the program.  After a while, I got conversions where the new DNG file was just black.  This happened on a few occasions.  I found switching to CPU only solved the issue but only after I deleted the DNGs that had been created.  Interestingly, once I went back to Auto mode, it continued to work.  A weird bug and not one unique to me apparently.  I have also had erratic results when it exports to Lightroom with it failing to do so on a number of occasions.  This is really laborious to deal with and, combined with the fact that the drag from Lightroom to PrimeRAW only works on a Mac and not on Windows, the lack of integration is really enough to put me off.

So far, I will let the trial expire.  It is a tool that is capable of some interesting improvements in more extreme situations but the integration is poor and the benefits are limited for me so, with that in mind, it just isn’t worth the expenditure.  If it made more of a difference to normal shots, I might consider it but it currently doesn’t offer enough to justify the cost or the process slowdown.
Polarizing the Overfliers

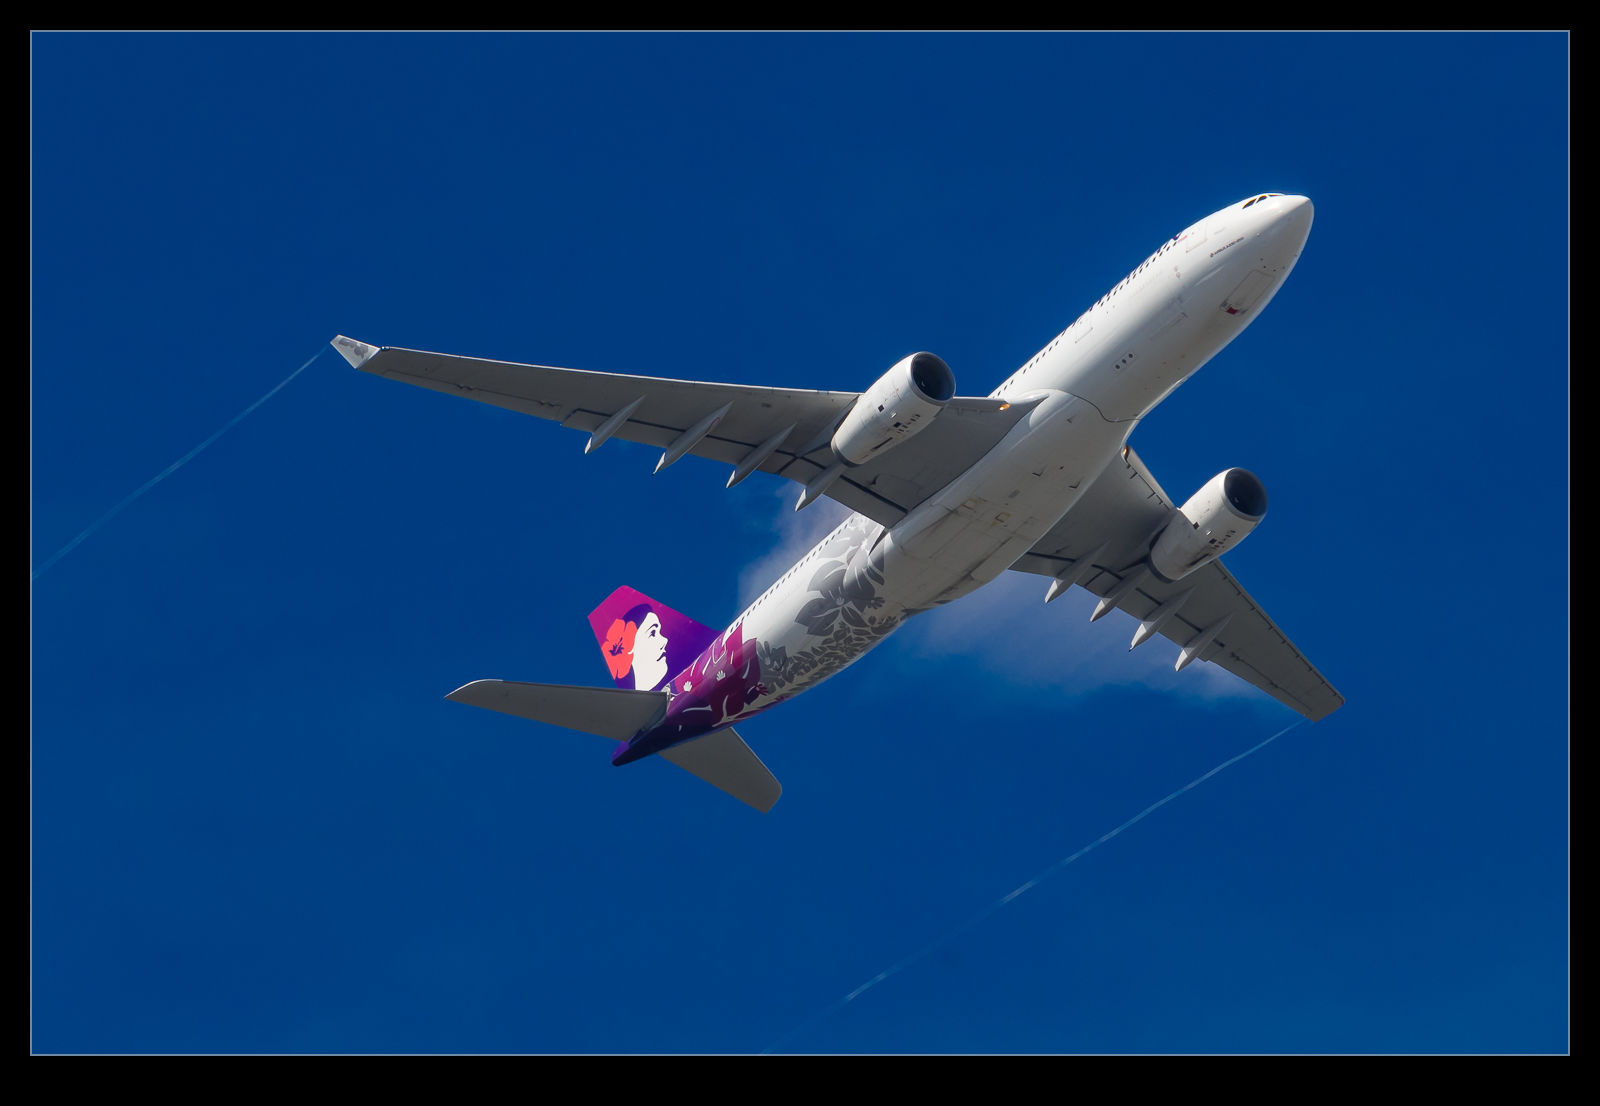
I was in a location where a couple of the departures from SEA were overflying me.  I happened to have the camera to hand (of course I did) and I had the polarizer on there at the time.  I had an Alaska Airlines 737 (what a shock from SEA) and a Hawaiian Airlines A330.  I grabbed a few shots.  The thing I like about the polarizer is cutting down on the glare from the white fuselages but they were still pretty bright.  The rest of the sky was darkened considerably and, when editing to address the white fuselages, even more dark.  I quite like the deep and moody look it gives to the shots with very little editing involved.  Both jets pulled some vapor as they came through the same area so clearly there was extra moisture in that one spot.  Maybe it was a thermal?