Category Archives: equipment

Variable Neutral Density Filter

Two of my shooting requirements have led me to the world of neutral density filters. Getting a low shutter speed on helicopters often results in very small apertures which can be a pain when it comes to sensor dust. Also, when I am shooting video I also want to be able to slow down the shutter speed. This can sometimes be hard to do and again shows up the sensor dust if it is there and dealing with it on video is a bit more effort.

Consequently, I decided to try out a variable neutral density filter. There are plenty on the market but I decided to go cheap! Why not? I never spend too much cash on photographic equipment!! This was from Amazon and was only about $40 so I wasn’t going to lose sleep if it turned out to be a bust. When the time came available, I decided to do some testing. I shot a clear sky with the filter set to varying levels of light reduction. I then imported these images into Lightroom to see how they looked. The answer was not good. In the mid range, things were actually reasonable. At the low and high ends, there was a significant variation in brightness across the image. This was not going to work.

I then decided to keep things simple. I already have a filter holding system for my old Cokin filters. I decided to buy a couple of neutral density filters for this. Then I can use either of them or both if the circumstances require. Not quite as flexible as a variable filter but pretty close and certainly more reliable without going to the expense of one of the top of the line variable models. We shall see how I get on.

Negative Scanning

I have a lot of negatives and transparencies from my days of shooting film and various of them have been scanned at times either for projects or just because I wanted to have them as part of my digital library. For a long time, I have made use of a Minolta Scan Dual III film scanner. While it doesn’t appear to like modern operating systems, a few tweaks to the config files make it run with Windows 7. However, it is not a totally smooth process and the scanner has a habit of hanging at odd times which requires a lot of fiddling to recover.

When I built my latest computer, I didn’t bother to install the drivers and the box is sitting on a shelf. I was figuring I would come back to it if I needed to. Recently, I needed to scan a single strip of film and wondered whether I had an alternative. I do have a flatbed scanner that has a film scanning capability. I had previously dismissed flatbeds for film scanning since they were seen to be inferior to dedicated film scanners. However, my film scanner was pretty old and gave me mixed results and my flatbed is relatively new. Therefore, I figured I ought to give it a go.

First, the limitations. It will scan a strip of film of shots but you have to move a small device between each shot between scans. No scanning a full holder of film or slides. Big scanning jobs are therefore a lot less practical. As for the image quality, I have yet to find a way to have much control. A preview scan is done but if it comes out with a poor exposure, for example, I have yet to find a way to adjust it. The dedicated film scanner allows all sorts of tweaking. Then there is the speed. If I go for the highest resolution, the scans take many minutes for each exposure. I can wander off and do something else but, if you have more than a couple of images to scan, this is a slow and inefficient process

As for the output quality, it is a mixed bag. The scans are not too bad. Despite the lack of control, if the original is a straightforward image, it comes out okay. Large areas of a similar color such as a sky are subject to banding. I suspect this is a problem all of the time but most pronounced on large areas of one color.

So, am I going to make do or is the film scanner going to be resurrected? I think I will get it back off the shelf. The time and quality issues are sufficient to make the flatbed not helpful except for odd individual scans. It does a nice job on documents but that is it. Now I shall have to find a location for the film scanner and sort out the config files again.

Think Tank Shapeshifter Review

Camera bags. Hmm… How many of them are there and how many can I own? Will I ever find the perfect bag? Of course not. However, in recent years I have come a bit closer. I have owned a variety of camera bags and actually still own all of them since I never get rid of any of them. My first Think Tank bag was the start of things getting a little bit better. They do make some really good bags that seem to have been well thought out. It also helps that I have become better focused on what I actually want from any particular bag. No bag does all things so I have systems that are suited to certain roles.

One thing I have been troubled by for a while is taking a camera with me on work trips. When I am traveling light for the work trip, carrying some camera gear with me is a bit problematic. I have recently been carrying a body and lens or two packed in my roll-aboard bag but this is hardly ideal. My work backpack was too small to stuff camera gear in along with the computer and other bits. Then, as if by magic, I get an email from Think Tank. They are offering a free trial of the Shape Shifter. This is a backpack that expands. It has a pocket for laptops and can hold bodies and lenses individually along with having plenty of pockets for other bits. This looks like the sort of thing that could go under an airplane seat leaving the space up top for the regular roll-aboard. It would also make the camera available while in the seat if anything looks interesting out of the window.

The trial is a month and, if you don’t like it, you just have to ship it back. I decided to give it a go and with a trip imminent, the timing seemed perfect. I am now back from the trip and I can confirm it did exactly what was required. Not only was it ideal for the travel but it also allowed me to carry the camera gear to the meetings so I could head off shooting after work without having to go back to the hotel. (It is also nice to not have to leave the gear in the hotel room.) When fully loaded, it is pretty heavy. I didn’t fill it up so with all sections full and a larger laptop – it can take a 17” one if you like carrying heavy laptops around – it would weigh a ton. However, it does the job perfectly. I guess it isn’t going back at the end of the month. One more bag for the collection!

Flying Out of The Bay Area

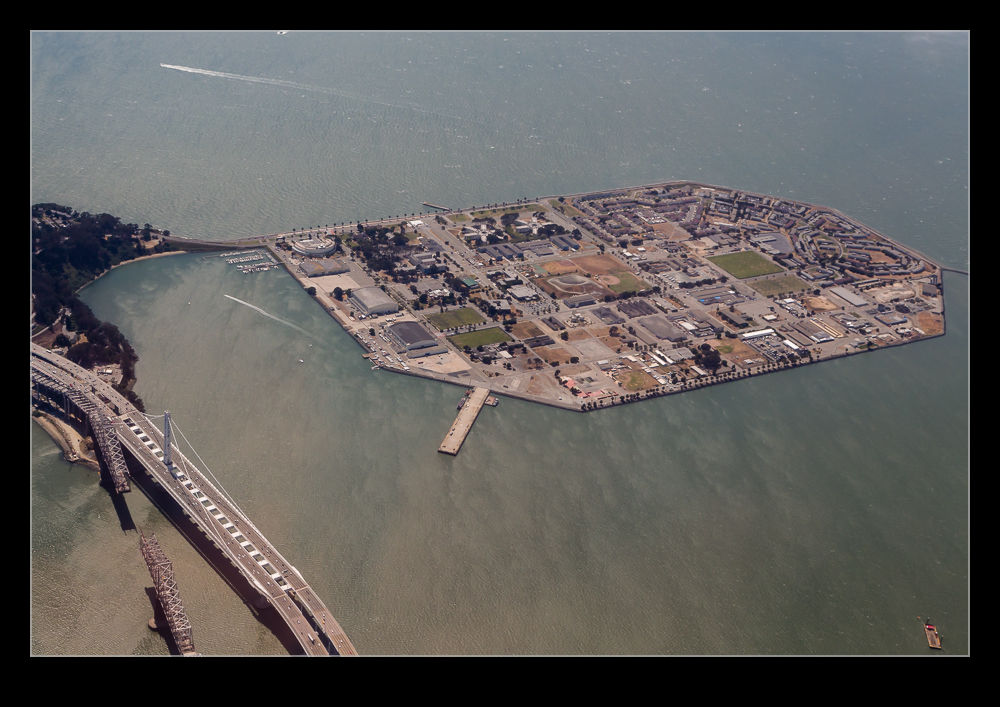
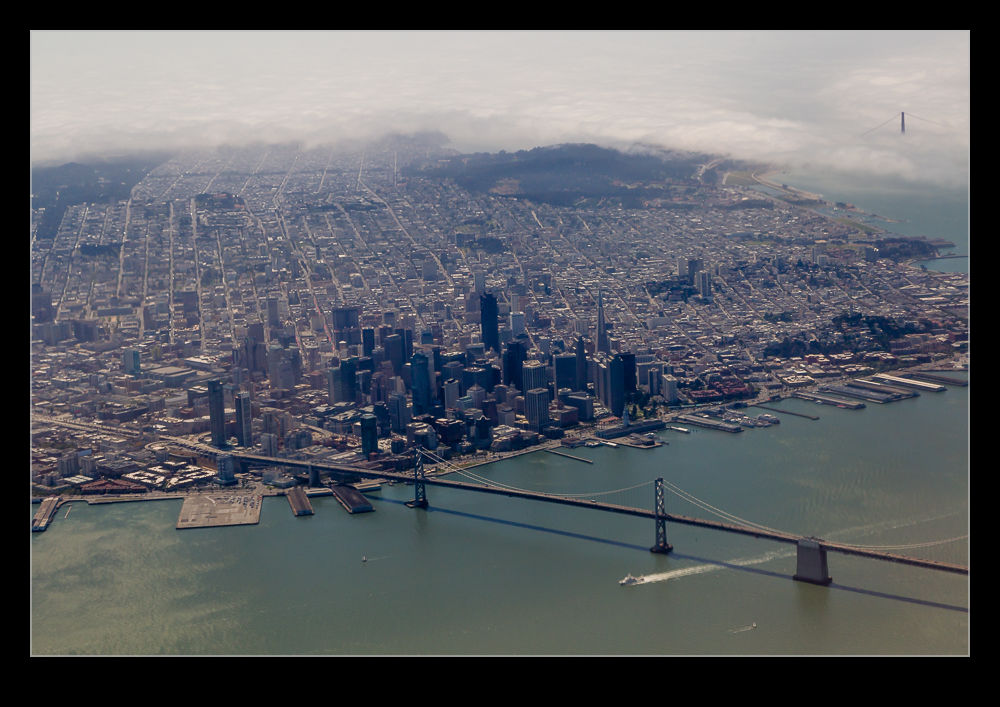
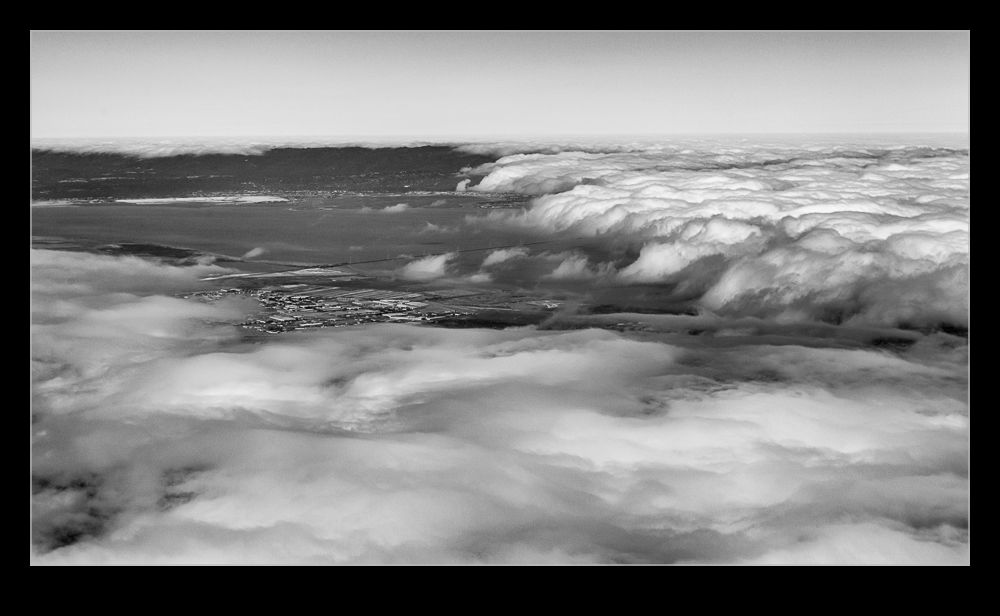
wpid10541-C59F1221-Edit.jpgI have been traveling a reasonable amount recently and on one of my trips we took off from Oakland and flew out over San Francisco Bay, past the city and the Golden Gate and up to the north. The first time, I had my camera with me but it was in my bag in the overhead locker. My phone was still to hand of course so I grabbed a few pictures with that. They were passable but nothing special. I also was fighting some reflections given the time of day and the position of the sun.

wpid10531-C59F8732.jpgWhen I came to make the same trip again, I planned ahead and did two things. One was to have my camera with me rather than in the overhead and the other was to bring the Lens Skirt to try and cut down on the reflection issues. My methodology for having the camera to hand involves yet another camera bag but I shall leave the description of that to another post.

wpid10529-C59F8710.jpgI should point out that on the first outing, I got interesting pictures both out and back. The second time, the weather was not so cooperative. On the outbound leg, the Golden Gate was shrouded in fog with the bridge just poking out of the top of the clouds. On the return leg, most of the bay was shrouded in cloud so the views of Oakland that I had got with my phone were obscured. Here is a selection of the shots. I will be making this trip again no doubt so will probably try and get a better selection. Shooting out of airplane windows is problematic and not usually the source of great images but airliners do get you in places that have views that are unusual and worth recording, even if they are not going to be published.

Building a New Computer

In my world, computers tell you that they want to die.  They start doing something a little odd as an initial warning and then get progressively more troublesome.  I had been contemplating the replacement of my system for a while but recently, the CPU cooling packed up completely and I was stuck between getting some replacement parts or getting on with the new system.  I went the latter route.  This was helped by having a bunch of components on the old system that had been upgrades and could easily transplant across to the new machine.  This reduced what I needed to buy.

Things did not end up being plain sailing sadly.  I built up the system and got everything ready to run.  A press of the button and nothing happened.  In fact, that isn’t quite true.  There was a brief whirr from the power supply followed by a tiny wisp of smoke.  Great!  A dodgy power supply to start with.  Fortunately, the supply on the old system was good.  It didn’t have as many power plugs and the new one but enough to do the job.  However, the system still didn’t seem to be enthusiastic about starting up.  I gave up and visited a local computer place and they had a quick look.  It turns out my first problem was that a motherboard gets tied in to an OS installation and, since I was now on a new motherboard, it didn’t like the old drive.  That means a clean install which is a bit more time consuming.  However, that did not end the trouble.  The guys in the store couldn’t see anything else wrong so I decided to leave it with them for a longer look.

A problem connector proved to be the issue and then it was a simple process to get the installation of everything done.  Things seemed to be running fine for a while but then, when processing some video, it just shut down.  I thought it might be a memory error so ran a program called Memtest.  it came up with no issues.  I tweaked the BIOS settings for the memory but still it would get upset when working too hard.  I re-ran Memtest and changed it from Default setting to multi-threading and then it quickly failed.  A bit more information but still no solution.

Another trip to the shop and I left it with them.  They tried using one of their power supplies and it passed all of the tests with flying colors.  Turns out old power supplies degrade and often don’t have their full juice anymore.  A new unit with plenty of oomph and now I have the machine up and running.  it chews through things with relative ease.  I have also avoided reinstalling anything superfluous so we have a nice lean machine – at least for now.  Not sure I would build my own machine in future.  It was cheaper and gave me exactly what I wanted but it was a lot more effort than I had planned.  The extra to buy it might be worth it.

Updated Approach to Lightroom Catalogs

I have been a user of Lightroom since Adobe release version 1 quite a few years ago.  It has been a very useful tool for me and something that dominates my workflow.  In the early days, there were issues with the number of images that a catalog could have before it started to respond sluggishly.  Consequently, I created a series of different catalogs for different subject areas.  Military aircraft were in one, civil in another, wildlife in a third, sports in a fourth and so on.  This system was fine to use although it had a few minor drawbacks in that some images would be in more the one catalog.  I would import them to one and then export them to the other.  However, as I edited one version, the other one did not always keep up despite saving the sidecar files to disc.

At some point, Adobe updated the functionality of the application and it was no longer so constrained by the number of files in a catalog.  However, I had a series of catalogs that I was familiar with so I didn’t pay much attention to this change.  However, over time, it occurred to me that I was making my life more complex than it needed to be.  I could probably cut down the number of catalogs dramatically and make the workflow a bit simpler.

I decided to have one catalog for all of my aviation related imagery and the other for everything else.  To do so, I created a new catalog for each of these and started importing from the other catalogs.  This was not as smooth a process as you might have imagined.  There were duplicate images as I knew and you could set the system up to make these virtual copies so nothing got lost along the way.  However, sometimes the import did not go well.  They were large catalogs coming into an even larger catalog and this caused some struggles.  I had to delete and start again at some points but ultimately I got it to work.  I did have to recreate some of the collections which did not transfer so easily in some cases but it is now done.

Did it make life easier?  Yes, it did.  Having just two catalogs is now a lot more straightforward.  Do they run just as well?  No.  The aviation catalog does seem to be a bit sluggish sometimes.  Usually it works fine but it is definitely not as responsive as the individual ones were.  I shall see how this develops over time.  A new machine is in the works so whether that will make a difference or not, we shall see.

LRTimelapse

I have previously written about some time-lapse software that I use based on a recommendation from my friend Jo Hunter.  I used this software for a while before the creator, Gunther Wegner, updated it to a new version and deactivated the version I had.  I was a bit miffed by this but I was able to continue using the export settings from his application within Lightroom but with me having to manually manage the file cropping.  All transition and smoothing capability was lost but I could still make a basic time-lapse.

Sadly, the latest versions of Lightroom have done away with that as well and now I couldn’t even render the video.  Therefore, I decided to take a look at the latest version of his software.  It is now on version 3 so I have skipped a version en route to this place.  I had shot a few sequences recently and wanted to be able to manage them properly so decided to come back and have another go with his application.

There have been some improvements in tidying up the software so the workflow is a bit better.  There is still a certain amount of effort as you switch back and forth with Lightroom.  You have to put all of the images into a single folder while working on them.  This means a modification to my storage strategy but it isn’t difficult to manage in Lightroom and, when you are done, you can revert the images to their original locations and still render the video output.  It might be nicer if he gave you a more flexible approach to selecting files but this is not a hardship.

It has changed a little from what I am used to since now it starts out analyzing the files before you have created keyframes.  Once this is done, you save the xmp files out and reload them in Lightroom.  Define your keyframes and make any edits to them that you want and save xmp again.  Back to LRTimelpase to load the changes and now it does its smoothing very quickly.  Save xmp again and back to Lightroom and now there is an Export setting along with all of the other export options.  No going to the Slideshow module any more.

The results are pretty good.  The new export functionality actually generates a sequence of still images which it stores.  You then head back into LRTimelapse where you have a series of options for rendering a video sequence from those stills.  You can have it automatically delete the stills when it is done or keep them and render again using different output options.  This is pretty flexible although it means you have to pay attention to what you have used so you don’t end up with a ton of stored intermediate images.  The video output looks good.  I am not using the product commercially so do not have the full commercial license.  That will allow output in 4K formats.  I only wanted 1080p HD format for my purposes.  It is a little interesting that 4K is automatically assumed to be commercial use.  With people able to record 4K on GoPros these days and 4K TVs showing up, I suspect this is going to be a more mainstream format before too long.  Maybe it will be in the personal use license of future versions of LRTimelapse.  We shall see.

Was it worth the upgrade?  Yes.  Not least because I wanted to have the capability back that I had lost when Lightroom changed its output but, even so, I have found the new version to be quite a bit more friendly to work with.  I think it will encourage me to work on a few more projects.

Phantom Quadcopter

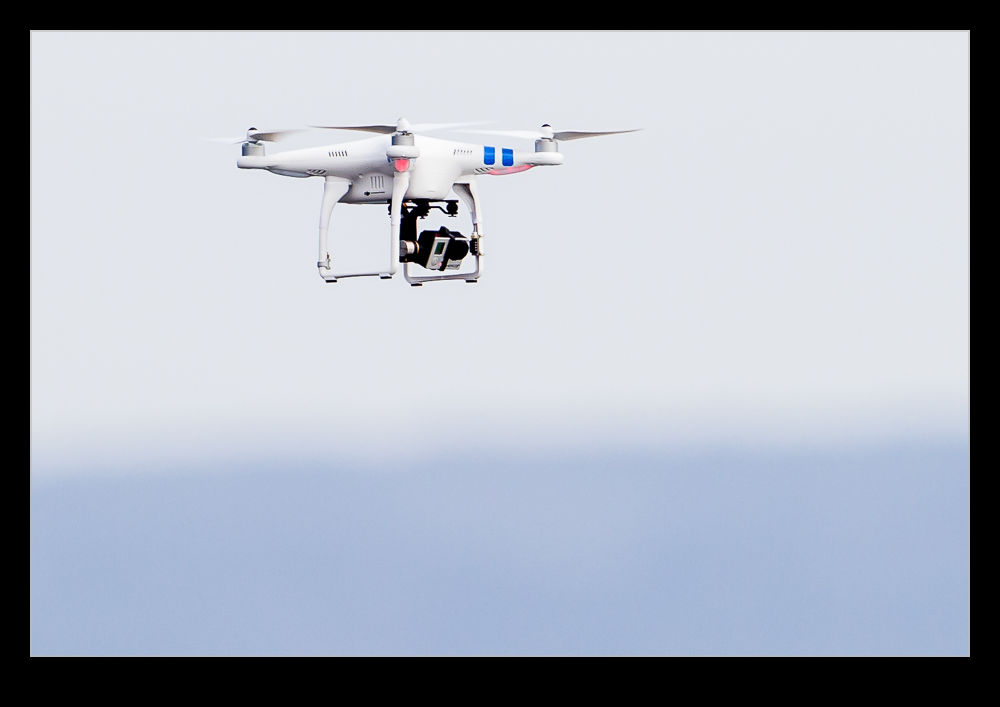
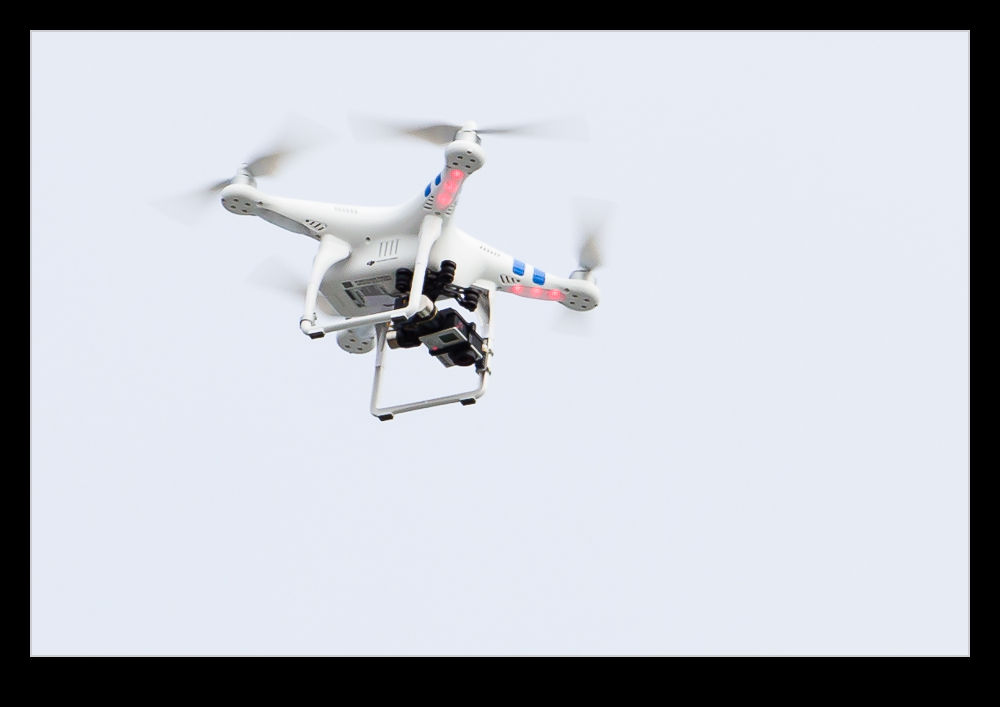
wpid8968-AU0E1563.jpgWhile watching the surfing at Santa Cruz, I wasn’t the only one with a camera.  There were quite a few of us shooting from the ground but one person was taking it up a notch – literally.  They were flying a Phantom Quadcopter with a GoPro mounted underneath.  Phantoms are a hot thing right now.  The view that you can get from an elevated position is excellent and the combination of the new quadcopter designs with the lightweight GoPro (and other brand) cameras makes for a very useful tool whether shooting stills or video.

wpid8970-AU0E1573.jpgThe control system is quite advanced.  The system keeps the machine were it is and you demand any change in location.  Rather than having to constantly control the machine to stay where you want, it takes the majority of the burden from you.  Very helpful if you want to concentrate on what you are filming.  I am quite tempted to rent one at some point to give it a try.  I have seen them in the wild a couple of times and find them rather impressive.  I think it is a little too limited in role for me to think about getting one (although when has that ever held me back?)  It would be good to try one first, though.

RescuePro Deluxe

Today we have something of a product review combined with a workflow experiment.  None of this was something that I wanted to do but circumstances dictated it was time.  I had been out for the day shooting some wildlife including some sea otters – that will show up in a future post – and, one returning home and downloading my images, a few of the shots showed up strangely with no preview in Lightroom when I started to import them and were apparently corrupted on the card.  Not sure what the cause of this was.  The body had just come back from an annual service at Canon and the card was a new one.  However, they both worked fine for the majority of the day with just some minor problems with a couple of dozen shots.  I shall try and sort that out later.

So, to the problem at hand.  I use Sandisk Extreme cards and have had virtually no problems to date.  Therefore, I was in new territory.  One thing that I do have as a result of using these cards is a bunch of coupons for RescuePro Deluxe.  This is software for retrieving lost files from cards.  I had used it once many years ago when recovering some shots that had been deleted on the card but not formatted and it had worked well.  That was my issue then.  Now I needed it due to a problem I hadn’t created.

My first minor problem was that the software defaults to recovering the images to a folder on the C: drive.  Since my desktop has an SSD running the OS and everything else on other drives, it isn’t overloaded with space so dumping 32Gb of images on to it caused a minor hiccup.  A kicked out of the program, restarted it and found how to change the output directory and then we were off and running.  However, now I came across my next issue.  It found all of the files on the card, not just the ones that were lost.  This is where the brain had a small “doh” moment.  I figured if I opened up the card in Explorer and deleted the good shots, it would mean the search would be a lot quicker.  Of course, if you are using software designed to find files that have been deleted, it still finds them all.  Why didn’t I think of that at the time?  Oh well, no big deal since this was all running in the background.

The result of the scan is that all files on the card are now stored in a folder.  Unfortunately, they are named sequentially File001, File002 etc.  This makes working out which are the missing files a bit more tricky.  So, two things were needed for the next step.  First, find out the filename for the first file on the card.  Then import all of the files into Lightroom by adding them where they are rather than copying them to a new location.  With them in Lightroom, it is a simple task to rename them all to their original names using the rename function and making sure you start with the filename of the first file that we found a moment ago.  Now all the files have the right name and are still in the recovery folder.

The next step might seem counterintuitive.  I delete them all from Lightroom.  I don’t delete the master files; just remove them from the catalog.  Next – trust me, I haven’t gone mad – I them re-import them all.  At this point, Lightroom sees the files with the right names and details and so automatically recognizes which ones are already in the catalog.  It then will pick out the ones which were the original missing files and you can import them properly to wherever you want them.  Now the recovery folder can be deleted (subject to your normal backup protocols).  It sounds a bit complex but, if you work through the process, the longest part of it is the scan of the card for the files in the first place.  After that, it all happens pretty quickly.

While RescuePro Deluxe is not the most user friendly piece of software, it did do what was required and I got it free with the cards I have.  You don’t own the software.  You get a one year subscription with the coupon.  Hopefully I won’t need it again this year but it is there if required.  I have a bunch of these coupons from various card purchases so I imagine I will be in good shape as long as required.  If you have gone through something similar and have a better way of dealing with it, please do let me know.  It is always good to learn from the experiences of others.
Passing Airliners

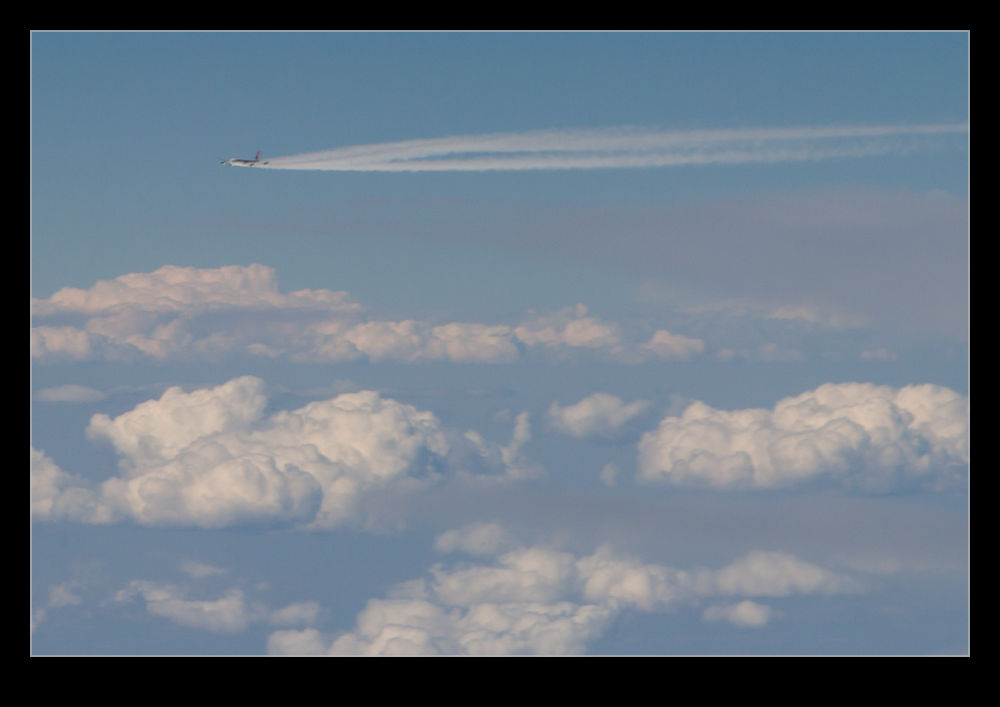
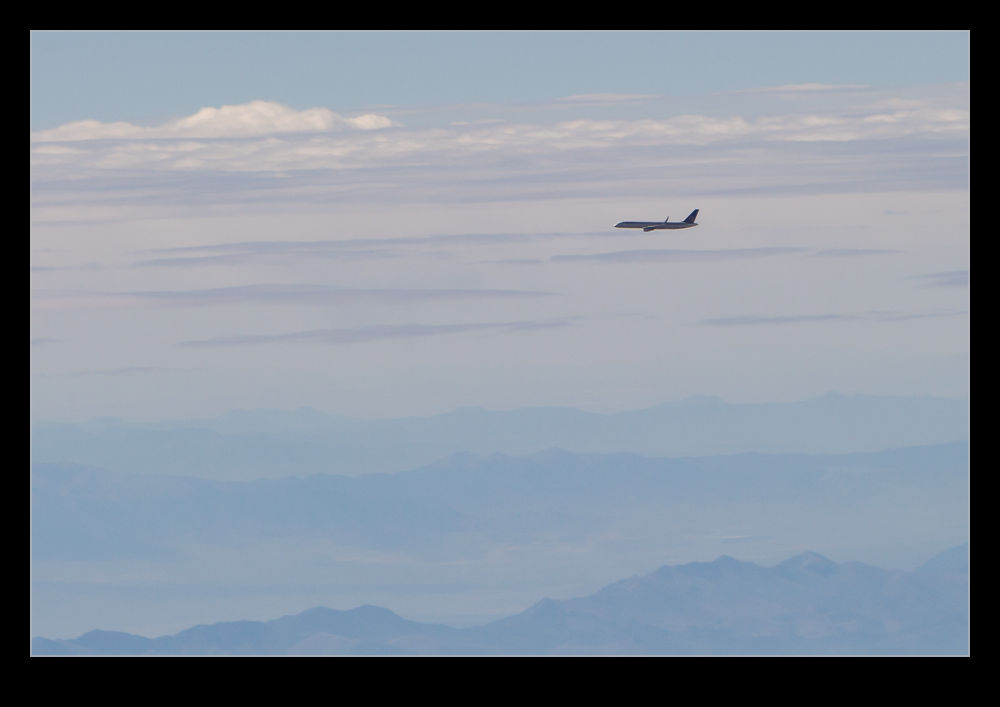
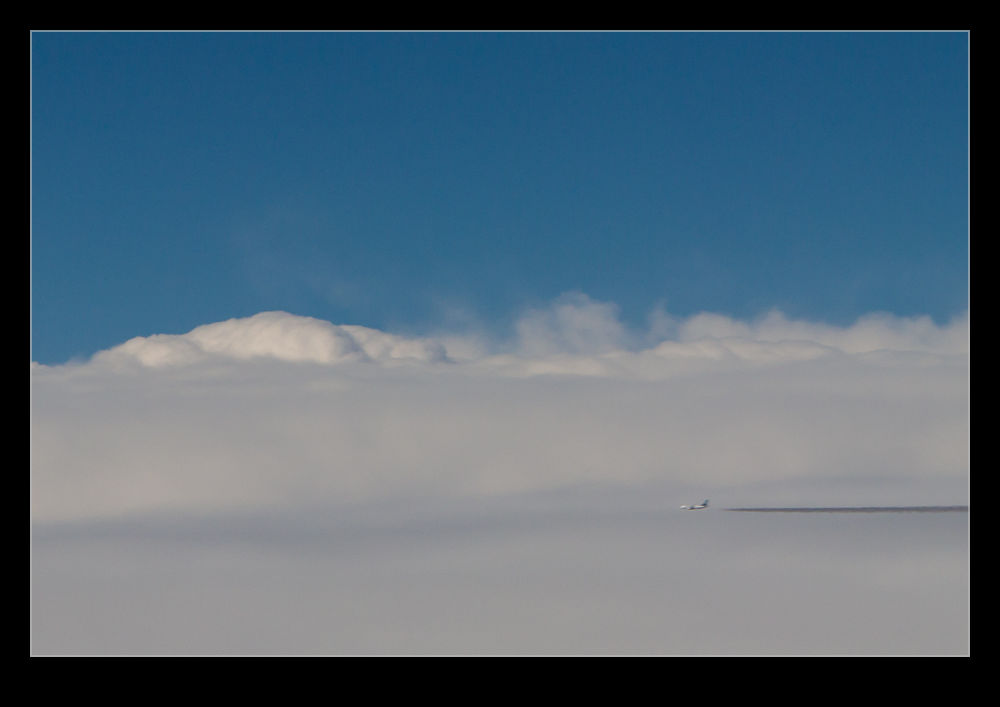
wpid7447-AU0E0226.jpgMore on the looking out of the window of airliners theme today.  This time the subject is other airliners.  If you don’t stare out of the window much, you might not be aware just how much other traffic is out there.  Actually, there is quite a lot.  At various times you might see other jets passing in the opposite direction, pacing you at a distance and crossing your path.  Sometimes they seem very close.  With some of the apps that are available now, if you have wifi on-board, you can even be prepared for some of them showing up.

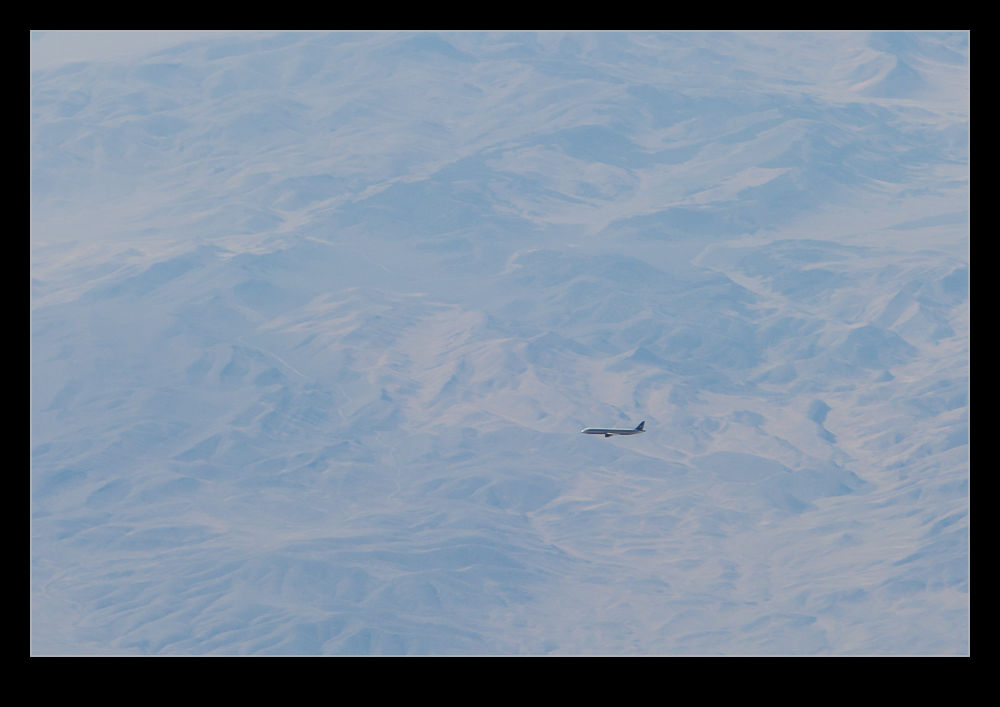
wpid7445-AU0E9875.jpgHere I shall highlight a quality warning.  The attached shots are not great.  They illustrate a point but nothing more.  There have been quite a few occasions when we passed very close to another aircraft.  However, those were not times I had a camera handy.  even if I had, the chances of getting a good shot are not great.  Even when you are close, you are really not that close.  It just seems a lot closer than normal – which it is.  However, you are still well separated.  Therefore, to get a shot, you need a medium length lens at least.

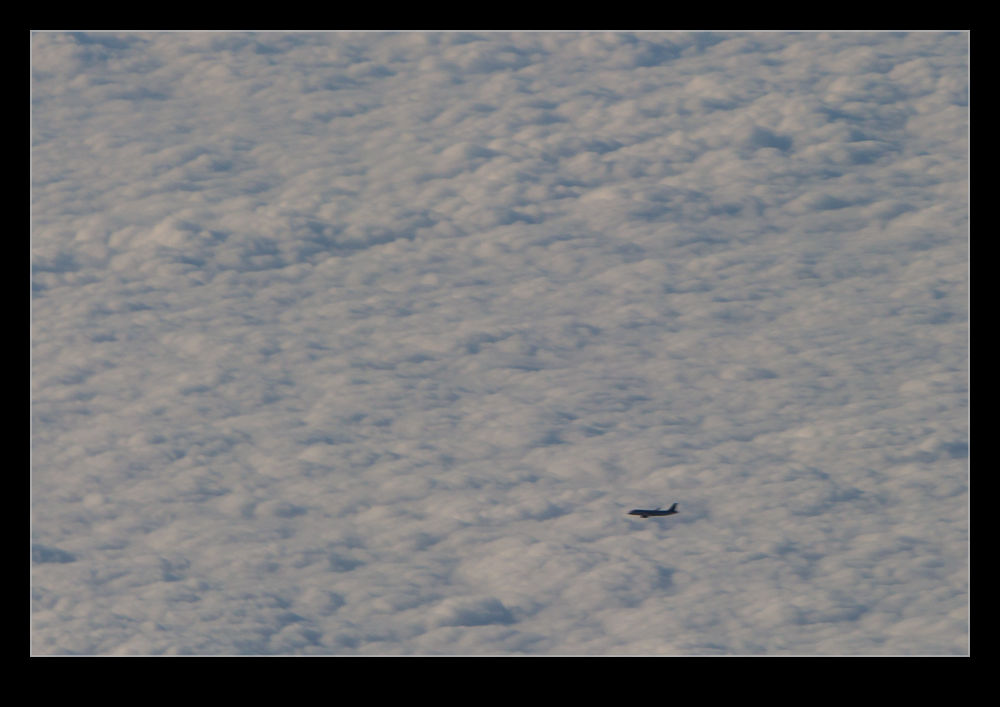
wpid7443-AU0E9863.jpgSadly, aircraft windows are not designed for optical perfection.  Moreover, since they are pressurized and scratches are a source of fatigue which you certainly do not want, the manufacturers put a nice perspex sheet between you and the window.  They certainly are not optically perfect.  Now you are shooting with quite a long lens through two layers of less than perfect material.  This is not a good recipe for quality shots.  There we go.  I have made plenty of excuses.

wpid7455-AU0E0314.jpgYou are now going to get a small aircraft if you are lucky and a small blur if you are not.  If it is pulling a contrail, you might do better since they can make some nice shapes.  However, chances are you won’t get much at all.

wpid7449-AU0E0251.jpg