Category Archives: equipment

Cleaning the Printer

Everyone who owns an inkjet printer knows that the manufacturers are slightly below war criminals in the rankings of evil.  They sell a printer at a really great price and then you have to sell vital organs to afford the ink cartridges to keep it running.  The first ones are the worst since the cartridges don’t seem to have much ink in them and a vast amount of it is used charging up the system so you need your first replacements after barely any printing at all.

Recently, I discovered a new level of trickery.  As I commented in a discussion with a friend who had commented on a previous post, I don’t actually do much photo printing anymore.  The quality and price of online print houses is so compelling that using the (more expensive than gold) inks is hardly worth it, particularly when you find yourself having the clean the nozzles every time and blowing through even more ink.  Consequently, my big old printer is mainly used for work and that is usually black and white stuff.  However, some documents have color in them and the blocked nozzles render those prints illegible so a clean out is necessary.

I have had issues with cleaning the printer in the past.  I was getting ink smudges on the back of the paper which was coming from the sponge pads across the bottom of the print bay.  These pads absorb spare ink during cleaning cycles.  What I didn’t know was that the printer assumes a life for them.  I started to get a message telling me that internal components were coming up to service life expiration.  This troubled me a bit but not as much as the message that followed later that day saying they had expired.  Thanks for the huge advance notice!

It turns out that these sponge pads were the component in question.  Given how I had needed to clean them before, the warning was probably far later than it should have been.  Now I was stuck.  They said the printer could be serviced but also pointed out that a replacement would probably be cheaper than a service.  Nice one guys!  One thing they did provide was a software tool that would reset the internal counter so the printer would work again.  The idea was that you fixed the issue but at least you could print again.

I needed the printer (I am planning on a replacement in due course but didn’t want to have to buy it now) so ran the tool but I didn’t want to have ink slopping around and onto my units so figured I needed to do something.  Kitchen towels are quite effective at mopping up the ink from the sponge trays.  However, it seems that, however much you mop up, there is always more.  (Fortunately, it is only at one side – the side that is left exposed when using letter sized paper rather than 13” wide paper which is the widest the printer will take.)

I decided to try something more effective and take out the sponges to clean separately.  Fortunately, they are not fixed other than by tabs that slot into holes in the trays.  Since they were saturated with ink, they were still tricky to get free but, once out, I was able to put them in a lot of paper and squeeze them out and then rinse them in water.  Not totally cleaned but looking a lot more like the color I suspect they started out with.  Certainly they now have a lot of capacity to absorb more ink.

Putting them back in place was a bit more tricky.  They have to lie exactly in place and have the tabs inserted into the right slots.  I got this slightly wrong in one place and the sponge sat slightly too high.  The paper caught it as it fed in and then twisted up before getting caught against the print head.  A few rude words later and the problem was fixed.  Now I have a functioning printer again.  Let’s hope it now lasts long enough for me to decide on the long term replacement and get that sorted out.  A wireless printer is part of the plan now so it doesn’t have to be somewhere obvious and I think a laser will be better than an inkjet.  Shopping time!
How Many Megapixels?

How many is too many?  I really don’t know.  I refer to the number of pixels that can be squeezed onto the sensor for a digital camera and what is desirable or not.  Over the years the camera manufacturers have steadily increased the number of pixels on their sensors and come up with ever greater resolutions as a result.  This has been both beneficial and problematic.  What I am not sure about is whether I am missing the point with all of this.

My first DSLR was a Canon EOS 10D.  It was a 6.3Mp camera – something that would now be considered unacceptable on a cell phone.  It was a great camera, even if it did have a number of limitations that would be considered unheard of today.  However, for its day it was very good.  I had full page images printed in magazines from it with absolutely no problem.

As the megapixel wars got going, I was adopting larger and larger file sizes by default.  I would tell anyone who asked that megapixels were not the most important thing when buying a camera and there were plenty of other issues to consider.  I certainly don’t mind having a more dense file when I need to crop in to a shot but the impact on memory cards, the need for ever larger hard drives and the upgrades to computers to process the larger files were downsides that I didn’t appreciate.

For a while it seemed like the pixel count had leveled off a bit and the focus was on gaining better noise performance at high ISO settings.  This seemed like a very worthwhile approach for me.  However, big sensors are now back in play with the Nikon D800 leading the way and Canon talking about some large sensor cameras to come.  (I think it is worth noting that, since the pixel count is a function of the square of the linear resolution, these larger counts do not translate in to a huge improvement in linear resolution.  Yes, you do get more detail but it isn’t quite as mind-blowing as some will suggest.)

Am I a dope for not welcoming this?  Am I taking a Luddite approach in sounding happy with what I had and not appreciating the advances?  Do I just accept that all of my gear has to be upgraded periodically to stay in line with the latest thing whether it is camera file sizes, the processing requirements of new generation software or the interface needs of the latest devices.  I’m sure there are some benefits to having such dense files but I am not sure that they matter for what I do.

As for the uses for large file sizes, there is always much discussion about printing big or using for billboards.  Only a photo nerd looks at a picture from six inches and billboard resolutions are actually quite poor.  I wonder what a good resolution level really is.  Anyone care to suggest the perfect compromise?

It’s ISAP Time Again

wpid4590-C59F3417.jpgOnce again the annual symposium of ISAP, the International Society of Aviation Photographers is back around. This year it is being held up in Seattle. It is always a good chance to meet up with old friends and spend a few days discussing planes and taking pictures of them. I am looking forward to seeing how it all plays out this year. Hopefully, it will be a great event. We shall see.

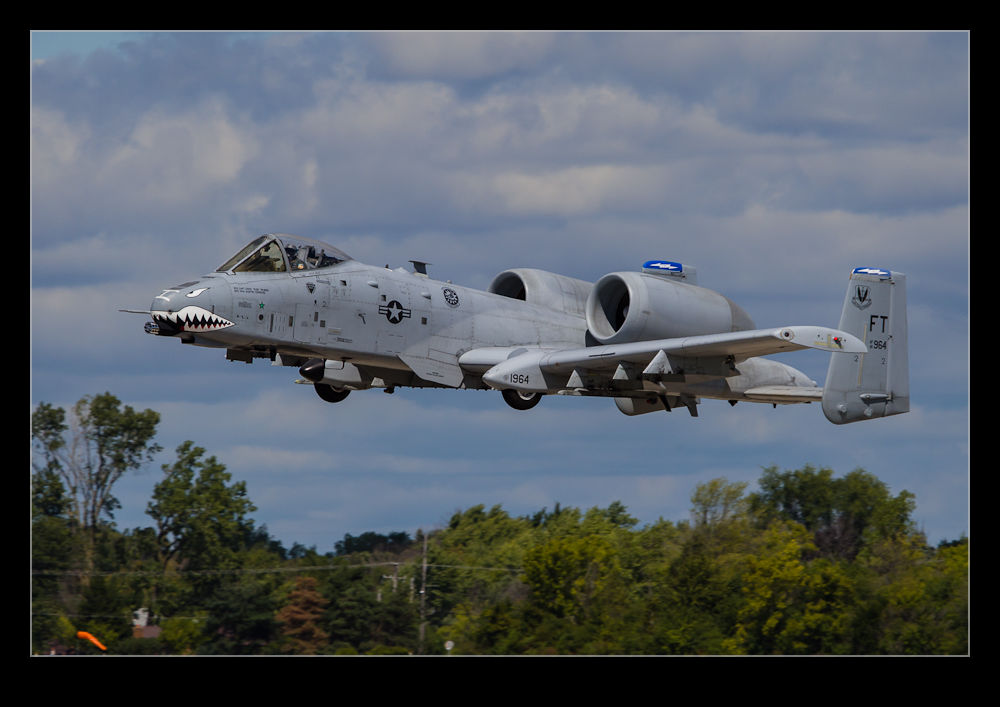
No doubt, there will be some pictures from this event that make their way onto the blog. Stay tuned to see what shows up here in the coming weeks! As to the reason for the A-10 picture above, it has nothing to do with ISAP. It’s just a picture of a plane that I like!

Cool Kit If You Are a Video Person

I shall start by pointing you at a blog that is far better written and far more informative than this one. Not a huge challenge of course. However, the author of this blog is a fantastic photographer and now also a director – Vincent Laforet. Vincent’s blog can be found at blog.vincentlaforet.com and he posts quite frequently on the subject of film making, techniques and equipment. Vincent started out as a photographer and a very good one at that. He has won a Pulitzer Prize and is a Canon Explorer of Light. I first saw him at an ISAP event where he talked about his aerial photography as well as a very moving description of his experiences after Hurricane Katrina.

His life changed dramatically when Canon released the 5D Mk II. Vincent had early access to the camera and made a short called Reverie to demonstrate the video capabilities. This short went viral and suddenly making motion pictures with SLRs was a big deal. Now he has moved geographically and professionally and works in the film business. (As an aside, if you ever get the chance to hear him speak, do go as he has some fascinating experiences to share and may well move you in the process.)

Recently, on his blog, Vincent talked of some new device that he considered a game-changer that he would be announcing. The anticipation got quite a few people interested and, when the announcement came, it did not disappoint. The device is called the MOVI (there is a cool stylized way in which MOVI is written that this blog is not going to do justice to I’m afraid) and it is made by Freefly. It is a stabilized mount that is handheld and provides the ability to get smooth shots with a single hand allowing some very creative approaches to moving the camera.

I am not much of a video guy. However, when I had my first SLR with video capability, I started experimenting with shooting video and this has progressively become more important on the projects I am working on. Video provides a very different way of presenting some subjects and it complements the stills well. My video shooting and editing skills might not complement my stills quite as well but we have to keep learning.

Since I am not investing in a significant amount of video equipment but, instead, I shoot video as part of my stills efforts, I have to be limited in how adventurous I can be. Steady handheld shots without a rig are a challenge but can be achieved. Moving is out of the question without making the viewer feel very uneasy. I recently shot some cockpit video from a jump seat during the takeoff roll and during refueling and the vibration made the majority of the footage unusable. A few small excerpts showed the experience but not long enough to make people uncomfortable.

Getting a stable platform in difficult situations is a great step forward. The MOVI is a very cool piece of gear. It is not cheap but, compared to other pieces of equipment, I think it is very affordable. More importantly, it is the start of something new. People will take this concept and run with it and we are likely to end up with many types and levels of complexity of stabilization that will suit different pockets. This could mean something that works for me. This is why I am so excited. The MOVI is great and I would love one. I don’t have the justification for one for my projects but I feel confident I will see something come from this that will make my work easier in due course.

These Things Are Tiny!

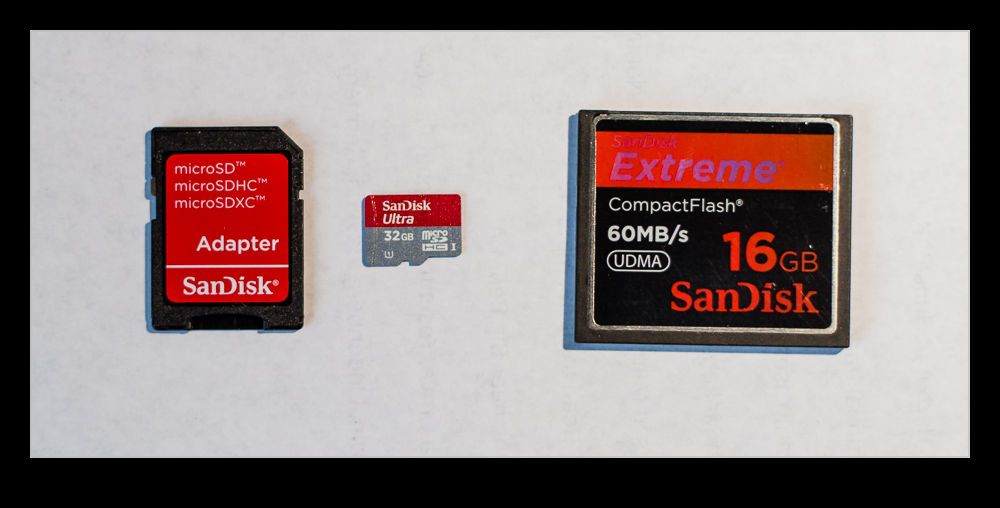
wpid5455-AU0E4768.jpgI shouldn’t be so old that I find some of the technological developments amazing but every once in a while you see something that impresses you.  I have been shooting with cameras that use compact flash cards for a long time now.  The form factor hasn’t changed in all of that time.  The SD card was seen as the way ahead but somehow the Compact Flash has always remained ahead of it.  The XQD card now seems to be the next step but we will save that for another day.

My cameras have a compact flash and an SD slot.  I have SD cards in them as backups if I suddenly need a little extra capacity but they aren’t used much.  The Compact Flash has always been faster to write to.  I do use them in my GoPro.  Recently B&H had a special on cards and, since I am about to buy a new GoPro and it uses the micro SD card, I took the opportunity to pick one up cheaply.  These things are small.

In the above picture you see a Compact Flash (16GB) and the adapter for the micro SD to fit in a standard SD slot.  Then you see the micro SD in the middle.  It is a 32GB card.  Am I the only one who thinks that thing is tiny?

Cheap Macro

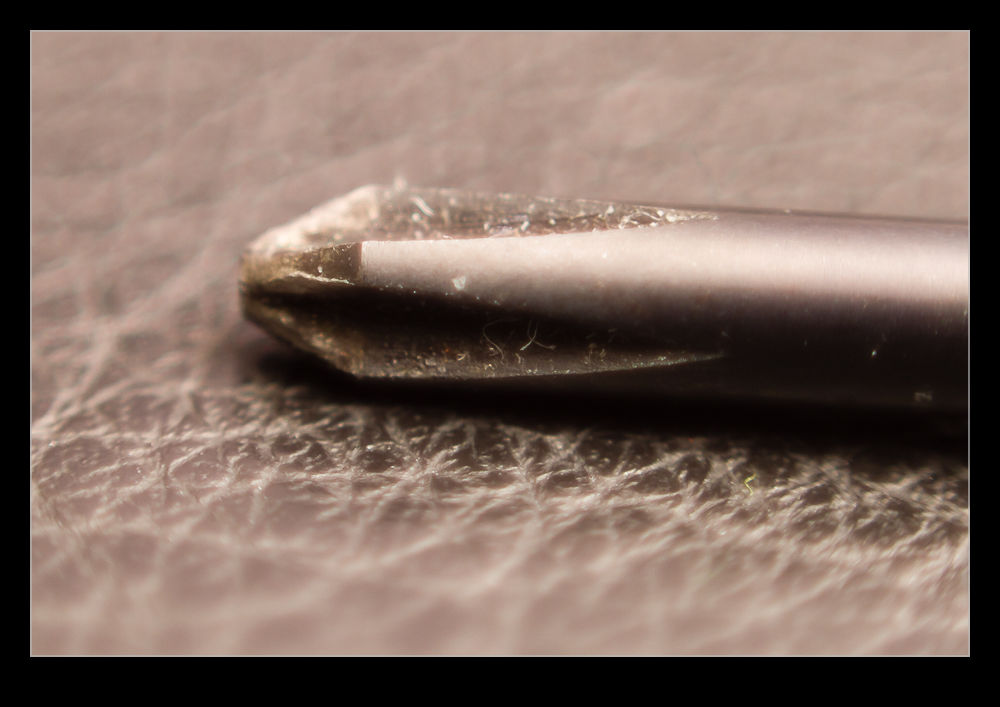
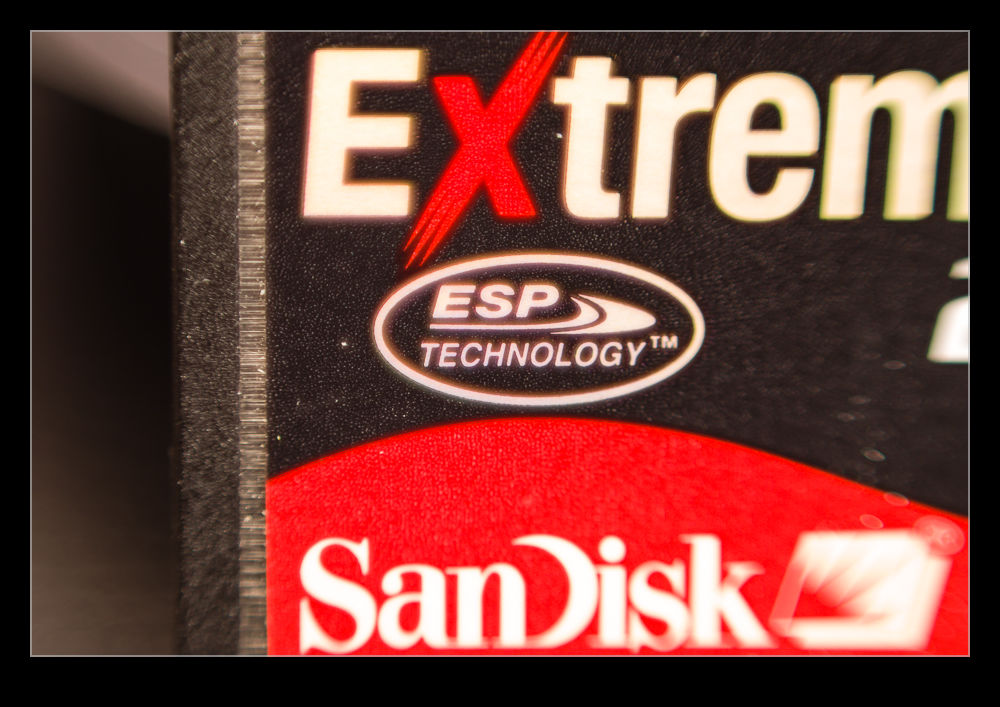
wpid5358-AU0E4107.jpgWhile the idea of trying macro photography has always been of interest to me, I have never got around to actually doing it aside from an old lens I had in my pre-autofocus days that had a macro setting.  The idea of renting a macro lens had occurred to me but the reason to do it hadn’t come up and I didn’t feel like renting the lens without having something to use it on.

wpid5360-AU0E4111.jpgThen I remembered reading about reversing a lens to use it for macro.  I have a 50mm that I I hand held in reverse to see how well the macro effect would work.  It seemed pretty good so I decided to get a mounting ring to reverse the lens on the camera.  Amazon came up with a bunch of options and the one I got set me back the enormous total of $8!

wpid5362-AU0E4114.jpgThe simple answer is that it works.  It is a little inflexible to use compared to something designed for the task but it does work.  The depth of field is extremely shallow and you get some odd distortion across the edges of the image.  Obviously there is no focus or exposure control.  I just set the camera to aperture priority mode and dial in the normal f/1.8 of the lens and the exposure seems to work out pretty well.  Then it is a case of moving the camera around to get focus.  Not something I am going to do a lot but, for $8, I don’t have to worry about getting a lot of use out of it!

Office Picture

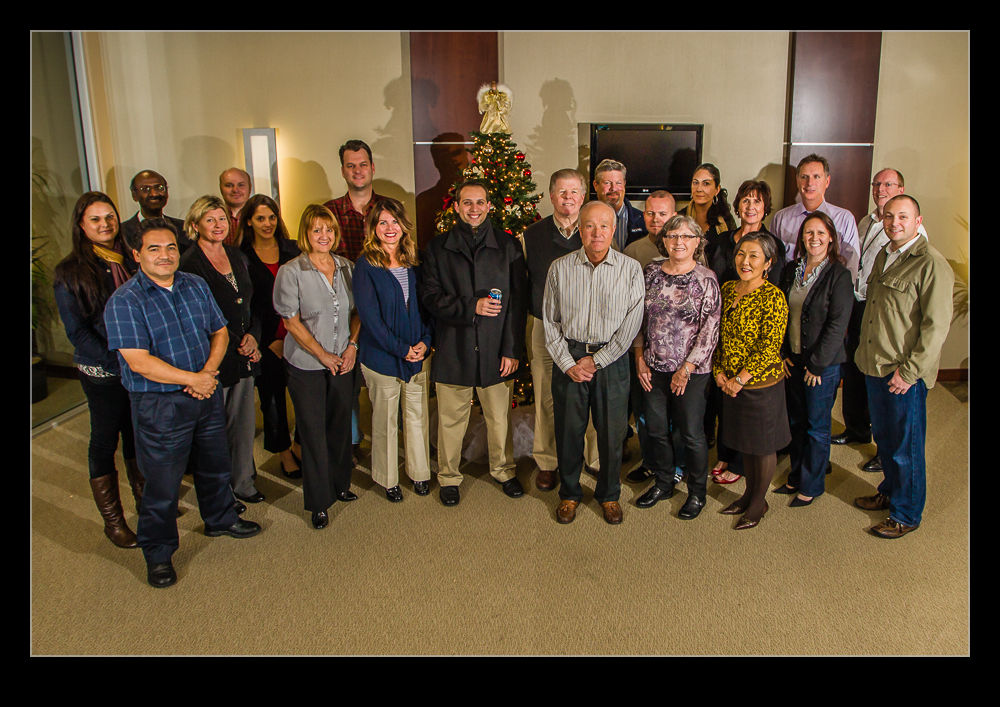
wpid5220-AU0E0982.jpgI have been working in an office in Sacramento on a project for a while.  With the end of the year coming up, an office calendar is being put together.  The majority of the pictures in the calendar are from the team members and their activities throughout the year.  However, there was also a need for a group photo.  I was asked if I would take the shot.  I was happy to do it but I also am a little less happy taking pictures of people than I am when it comes to inanimate objects!

I took a couple of flashes along with me and a remote trigger.  However, I was not willing to find out whether the whole thing would work only when everyone was there.  Therefore, a little early setup was in order.  I had a couple of volunteers to help by standing in various places to see how the light was working out.  Initially it was not good with the spread of light not avoiding some harsh shadows.  A bit of tweaking improved things a bit.  When everyone arrived for the shot, the result was a little different but acceptable.  A few people still managed to get in shadows and the corners did not look as good as I would have liked but the team seemed happy with the result.  I shall have to work out how I would do it differently another time.  Not an area I work in a lot but one I would like to be better at.

Back from ISAP

Another year’s ISAP symposium has drawn to a close and we have all headed home (or straight off to other assignments for some!).  This was a good year overall and I had a lot of fun.  Having been to a number of them over the years I have built up a number of friends that it is good to see as well as enjoying the content of the presentations.  Not everyone was there this year and I missed the presence of a few people but, hopefully, they will be back at the next event.

I saw a lot of fun things and got some shots so expect to see a few more posts in the coming days that show some of what we saw.

Lightroom 4 Impressions

It is a little while now since I upgraded to Lightroom 4 from the previous version (I will let you fill in the name here!). There were a few aspects of the new version that made me want to upgrade and I had played with the public beta version when it first came out. Of course, having ongoing support and updates is always helpful so staying with the old version was never going to be likely and when they halved the price, no further thought was required.

Now I have been using it for a while, what do I think? Well, on the whole I am reasonably pleased with the changes. The new sliders in the Develop module seem to be an improvement on the previous develop version. I was pretty happy with the way it worked before so the changes had to sell themselves to me. They have modified the way I think about the development settings since I used to be able to use Exposure alone to bring back a sky and maintain the shadows. Now I have to consider the White and Highlight sliders a lot more. I am not convinced that Highlight does a lot. White seems to be far more effective in my new approach.  Similarly the shadows slider is now more important to me than the blacks which is a change.

Another issue is with converting previous develop settings. Since the change of sliders is significant, going to the new develop version tends to result in all sliders being reset to zero. This can turn a reasonable image into something far worse initially. Lightroom does not have a conversion algorithm to get you somewhere close. It is back to the beginning. Maybe this makes a lot more sense.

The Map capability is a big improvement for me. Canon cameras are not well designed for adding a geotagging capability so I have ignored it on the whole or experimented with Jeffrey Friedl’s plugin. This is a very user friendly method and I shall make use of it a lot more I think. I like the book creation capability but would welcome some other outlets getting in the game. I have used Blurb before and they are fine but I have liked Adoramapix and have contacted them to see if they will be making templates soon. Let’s hope so.

So, is there anything wrong? Oh yes! It is slow!! The Develop module is awful at the moment. I have a pretty capable system but the sliders we very slow to react. The real time view of what you are changing is not there yet. You pick a slider, hope that the mouse click has actually selected it and then move to where you think works and then wait to see what happens. Is this acceptable? Not at all. Am I annoyed? Yes I am. Is it the end of the world? Probably not. I seem to recall that Lightroom 3 had similar issues when it first came out and was slow. Adobe released some updates pretty quickly and it ended up being a great tool. I am not going to revert back and will manage the sluggishness until they come up with a fix. If they don’t, I may have to consider but I am not the only one having an issue so I suspect it will be dealt with in the coming weeks.  Turning off the second screen makes a substantial difference but is not very useful so hopefully that will be tweaked.  A release candidate for version 4.1 is out now so, while I won’t try it out, hopefully that means the formal release is pretty close.

One other thing I will tag on her and that is the arrival of the beta version of Photoshop CS6. When the beta was released, I was not sure I would bother to try it out just yet. Photoshop is still part of my workflow but, as Lightroom has become more capable, Photoshop has been used less often and for more specialized tasks. I could probably wait, or so I thought. However, I watched some of the demonstrations of new features online and liked some of what I saw, especially the video editing. Since I shoot mo video these days, having an alternative video editor rather than upgrading the package I have might be good. It does seem to have some good basic capabilities and that is all I do most of the time. What isn’t there at the moment is good bio integration with Lightroom. Version 4 has some video clip editing for end points. It would be good if you could send the video to Photoshop in the same way you can an image. Since it would then come back to the catalog when you had finished, it would help in managing everything. Now I finish an edit and I have to import it – if I remember. If they could allow you to take multiple clips and open them as layers (again like you can with images), that would be even better since that lines up with the way video editing is set up in Photoshop. I commented on this on the Lightroom blog but we shall see if they are already working on this.

In conclusion, I am pretty happy with the new Lightroom. With the price halved I am even happier not least because the Photoshop upgrade is obviously not far away. Now to see whether they can tweak it enough to fix the minor problems.

Tidying Up a Computer

This one is for those of you that update your computers to add new capabilities and one day find you have created a monster.  I bought my computer with two hard drives installed.  I added other drives and ended up with seven of them in there.  It occurred to me that I probably wasn’t making the best use of the storage I had and I decided to make two changes.  The first was to replace the drive the OS was installed on and the second was to rationalize the drives for storage.

The original OS drive had been an SSD which was barely able to hold the OS and some of the user data.  however, at some point, something became corrupted and a new install was required.  Unfortunately, the install process which is supposed to allow a reformat of the drive as you go, somehow wouldn’t do it.  Since I needed it for work, I swapped it out with a spare normal drive I had.  This worked but took some speed out of the system.  Fixing this was the first goal.

SSD drive prices have fallen a lot so I actually bought a new SSD drive which allowed me to keep more on it without worrying about space.  This was the first part of the upgrade.  A couple of minor problems troubleshot and I was up and running.  The second thing I had to do was something I had prepared for ahead of time.  Reallocating all of my storage requirements.

Originally, I had a bunch of drives that had become part of the system over the years.  Some were in their third machine!  They were not the biggest drives around so I had a lot of space taken up with relatively limited storage capacity.  I worked out the requirements for all of my different data types – photos, documents, videos, Lightroom catalogs etc.  I then decided how I wanted them split up, what growth I needed and what drive sizes would suffice.  I was actually able to make use of drives that I already had – there were a bunch of reasonably large spares that came from updating my NAS a while back.  That also meant I had some large drives to act as intermediaries while I moved everything around.

I will have to update one of the drives in due course but it will suffice for a while.  My culling of old images will also buy me some time there!  Ultimately I got everything migrated across to its new home, the Lightroom catalogs updated to find everything again and I now have two less drives in the box and still plenty of capacity.  A bit of a pain to do but worth it I think.  Let’s hope everything behaves for a while and no further rebuilds are required!