My approach to processing images after a shoot is something that constantly evolves. I have written about how I do this in the past but a few things have changed since I wrote that so I thought I would write up the latest approach in case it is of any use/interest to any other shooters out there. I should say at the start that my workflow is based around the use of Lightroom. If you don’t use Lightroom, this might not be of any use to you although I imagine that a similar process could be achieved with other software.
One thing to highlight at the start is that, when shooting aviation (and that is the majority of my photography), I aim to slightly overexpose my shots. I have found that going a slight bit over and then bringing the exposure back down in post-production gives a better balance of exposure across the shots and also makes for more pleasing sky colors. This is something I do when shooting RAW. If you shoot in JPEG, this might still work but your latitude for adjustment afterwards is a bit reduced so you might not get the same effect. I don’t shoot in JPEG so I can’t state what happens.
All the shots are imported in to Lightroom and I will form a Collection Set for the shoot. I don’t have specific folders for shoots, nor do I have a renaming convention. I keyword all shoots and this is how I manage files and find things later. Keywording is a story for another day. Within the Collection Set, I shall create a series of Smart Collections. They vary depending on what I have shot. There will always be Not Rejects, Rejects and Picks. Then, depending on what else there is, there might be Videos, Time Lapse, Blend Stack, Pano Originals, Pano Edits, HDR Originals and HDR Edits. I keyword any of these types of shot with that term so the smart collections will pick them up. The Smart Collections may be looking for a date range or shoot specific keywords depending on what I have been shooting.
The aim for all of this is that I get a Smart Collection which is unrejected shots which doesn’t include and shots from HDRs, panos, time lapses or blend stacks. I don’t want to get rid of those shots by mistake and I want to be able to edit those shots at a convenient time. Then the Not Rejects folder becomes my focus. I am aiming to get all of them roughly corrected for exposure so I can make decisions about which shots to keep. I will be looking for sharpness/focus issues and exposure variation can really mess with how you perceive sharpness. I will open a shot up in the Develop module and I will have the Grid view on the second monitor. I can now select shots with the same exposure and choose Auto Sync. Then a change to one shot will be reflected in all of them.
It used to be that I would select the shots by eye. Then it occurred to me that the Metadata filter is powerful here. I select the filter of shutter speed and then I can select each shutter speed in turn. Now it is easy to select the similar shots and edit together. This really speeds up the quick edit process. I know tweak whatever needs tweaking and get everything basically okay. I won’t bother with detailed editing unless a shot is going to be used for something further. Now I select all files and, in the Library module, select Render 1-1 Views. Then I head off to do something else for a while.
When the rendering is done (I don’t try and do anything else while it is underway because, while you can do other Lightroom tasks, everything gets pretty sluggish. It is easier to wait. I may even shut Lightroom down and restart it after the rendering is done because it seems to like the chance to clean itself up. Then I go to the first of the Not Rejects shots. I have it full screen on the main screen and then zoom to 100% on the second screen. The Smart Collection is set up to show any file that is not marked as a reject (or all of the other stuff I mentioned earlier) so now I can click through the shots. If a shot is good, I Right Arrow to the next one. If it is bad, hit X and it disappears. Now I can run through the whole shoot and quickly get rid of all shots that are not good, be they unsharp, chopping off a bit of something or just clearly useless.
When this first pass is done, I am now left with a bunch of shots, many of which are very similar. Since I know they all are basically acceptable, I can now select all the ones that I won’t have a need for and hit X. Very quickly I am down to a far more manageable number of shots. Then I can pick which ones I want to do something with. Hit P for those and they will automatically appear in the Picks Smart Collection and I can come back to them at any time. If I have shots that will be used for a specific piece, I may create a Collection specifically for that publication and just drag the shots in so I can deal with them at any time.
That pretty much sums up how I handle a shoot. Some will have pano shots, some will have HDR, occasionally there will be time lapses and often videos. Sadly, the integration of video between Lightroom and Photoshop is non-existent so I have yet to have a good process for video editing. Maybe one day Adobe will fix that. They tempted us by having video in Lightroom but they never took it any further despite the fact that the opening in layers option for stills would be ideal for video editing. One day…
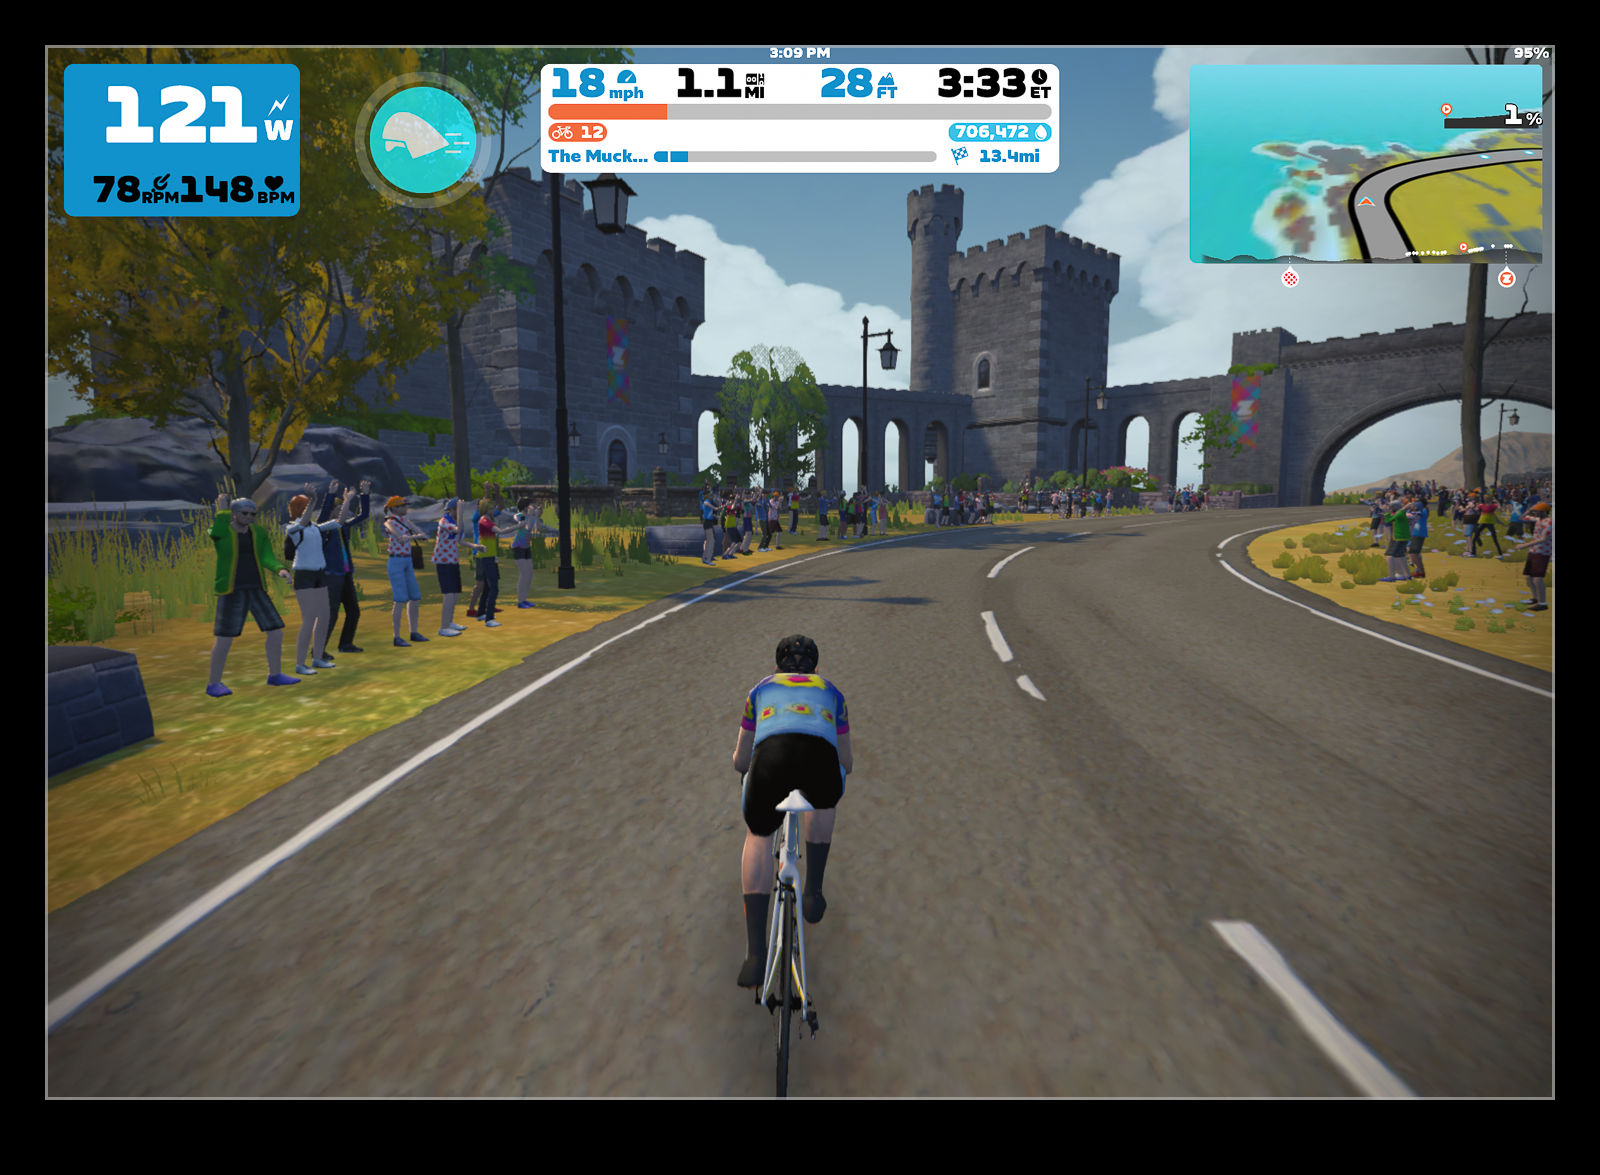
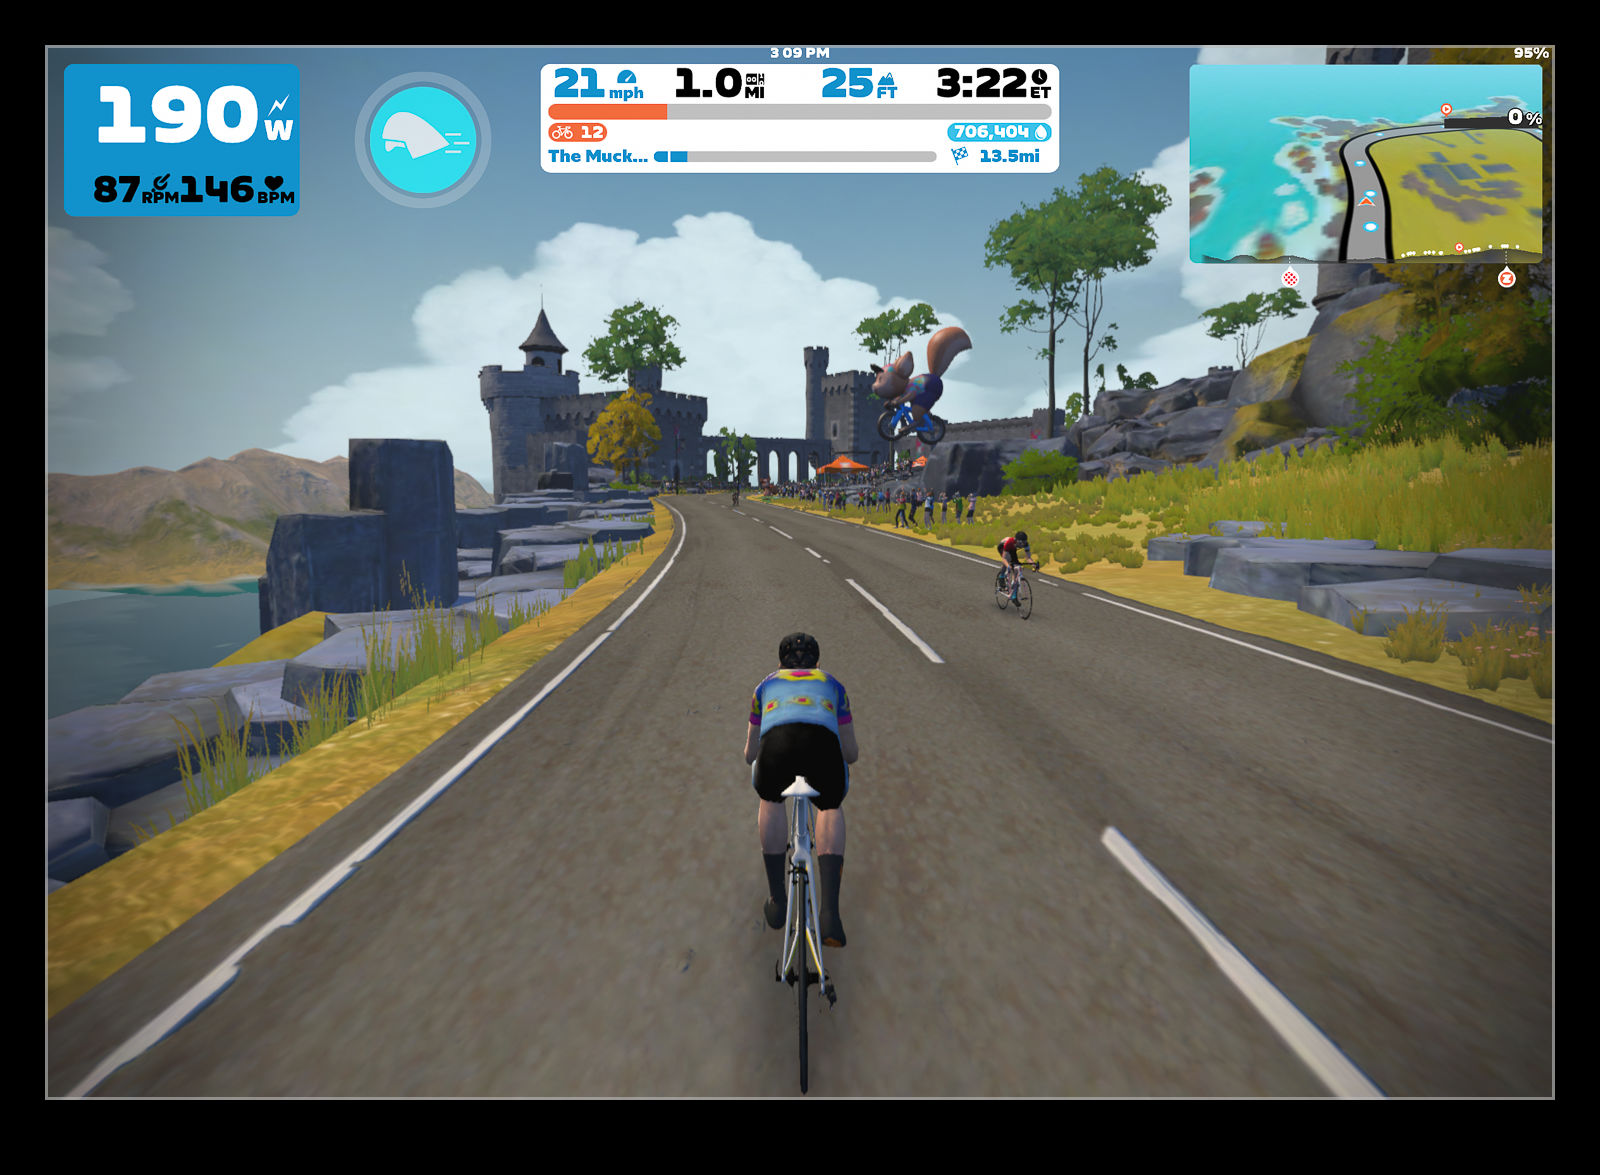
 Since I got a smart trainer for cycling, I have been using Zwift as my app for training rides. I have been very happy with the way it works and find it a great tool for training as I can do some pretty long rides on it without getting bored. I have done up to two hours which would have been inconceivable on older trainers. I did see a video recently of a new software tool that could provide similar functionality called Rolla. It is free for the time being, so I decided to try it out. Will it be a suitable replacement for Zwift?
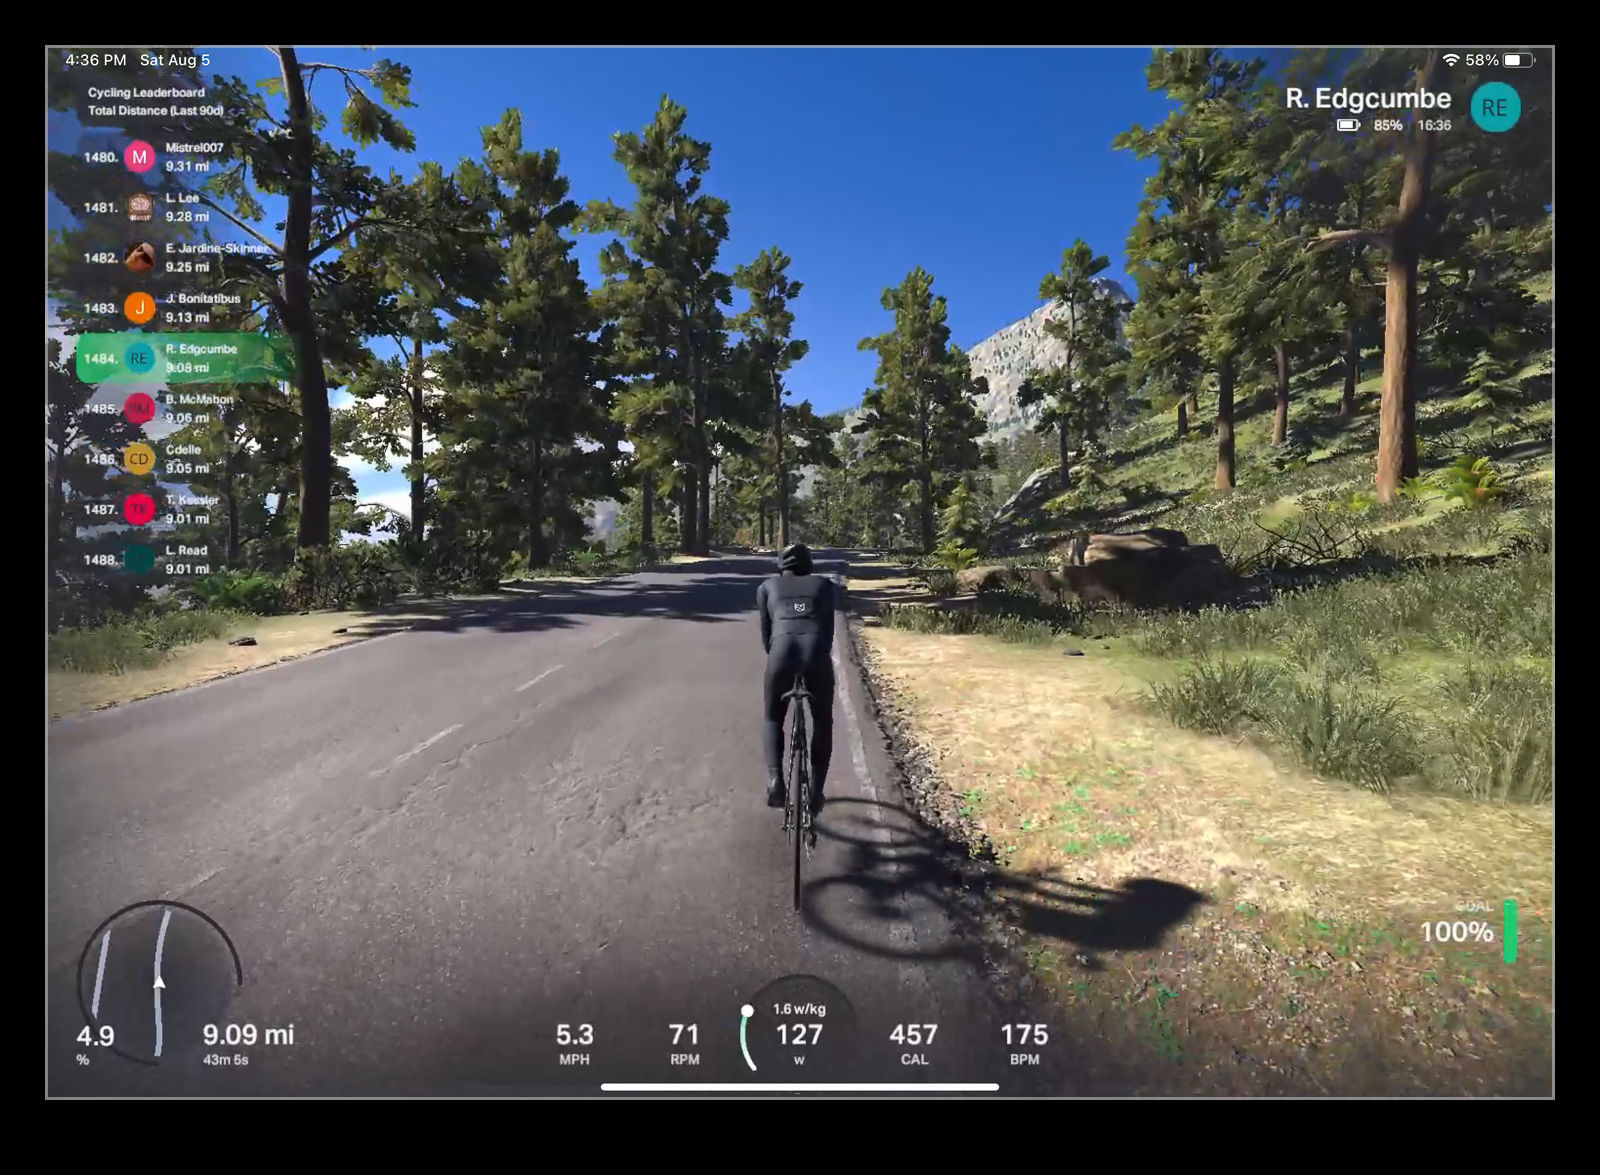
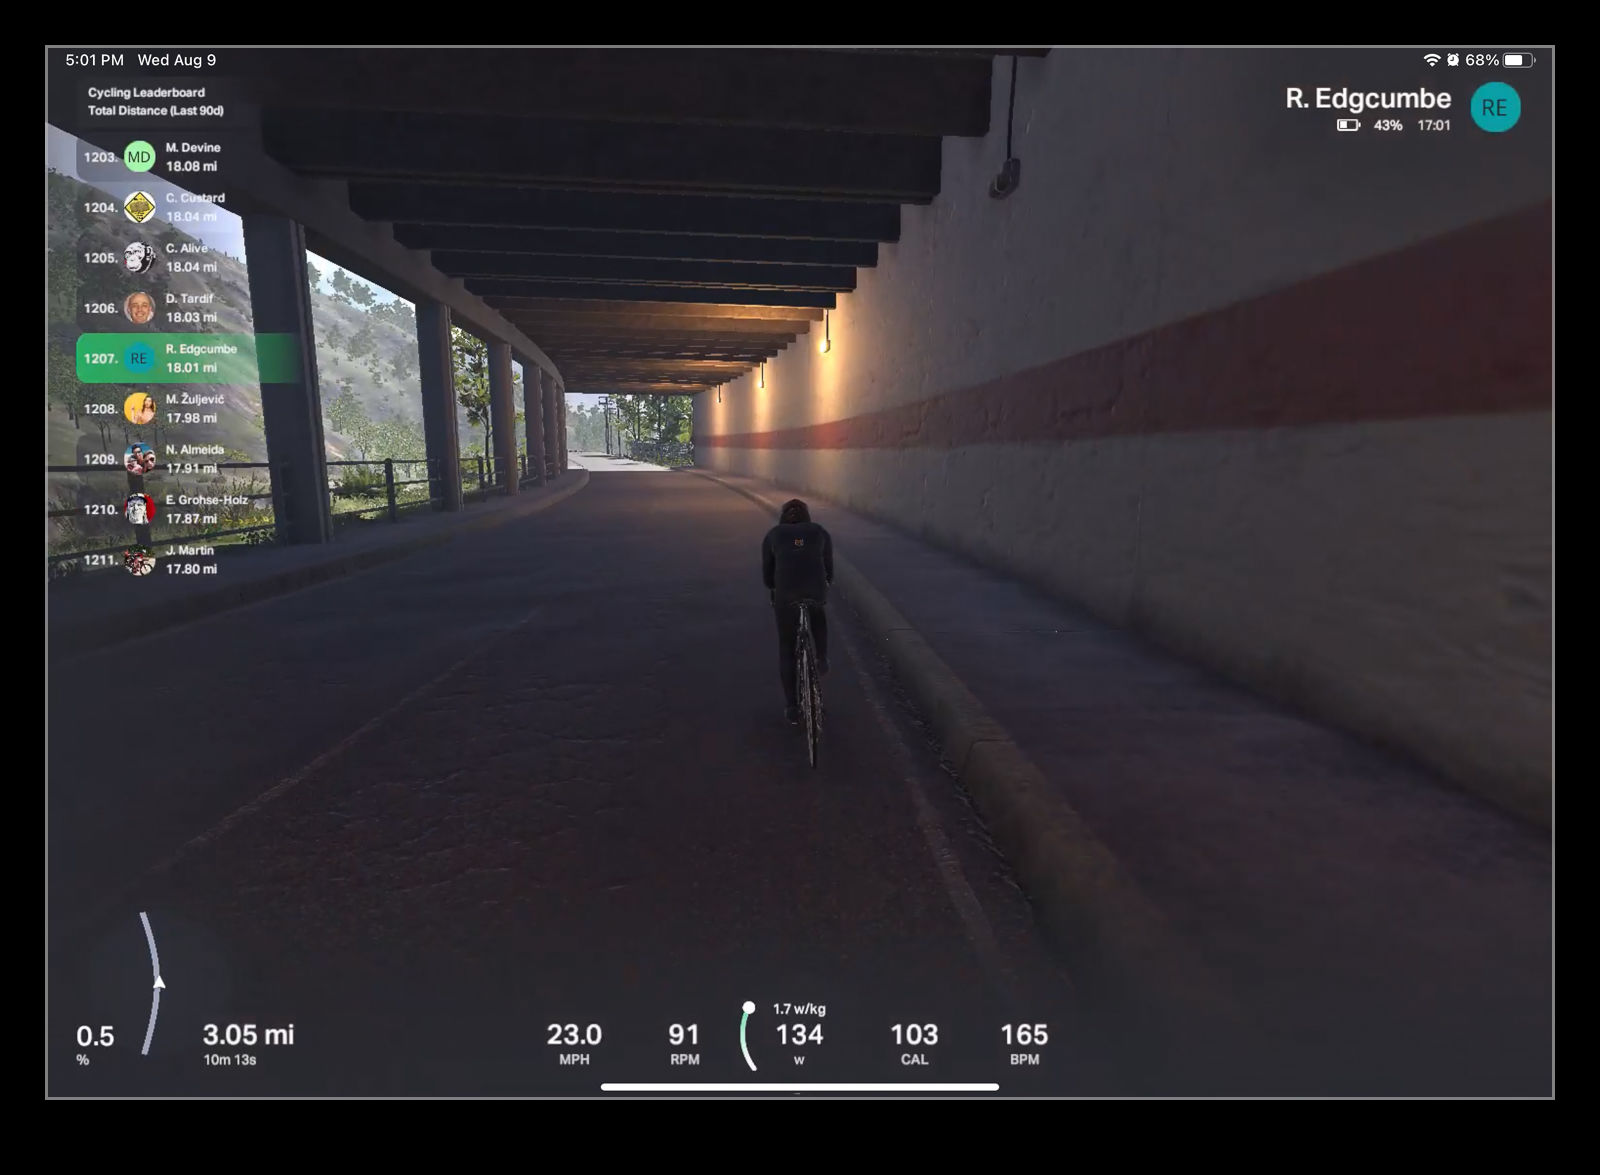
 One of the things I did like the look of was the graphics output. Zwift has a slightly cartoonish styling which doesn’t bother me at all – indeed, I quite like the odd things that they throw in like a bear falling out of a tree or a stag by the road – but having more realistic scenery was of interest. Rolla looked like it would be more like riding in real locations. As a new app, I knew it wouldn’t have extensive scenery databases yet, but they could be useful to try out.
 Having used it a few times, now, I have come across a bunch of things I didn’t like. First, the software doesn’t pick up my cadence from the trainer. I can come across the top of a climb and start speeding down the other side but my cadence on the trainer doesn’t change. It isn’t reading the cadence either so the data on screen and my data download has nothing of use. This is not helpful for training my cadence nor for having a realistic riding experience. I also had issues uploading to Strava. It now works but there is no way to get it to recognize rides already completed. The gradient is not connected so my trainer does not respond to changes in slope like it does on Zwift. That physical feedback of gradient change is very helpful, particularly as slope changes are not very visually obvious. The rider symbol looks weird too with an odd rolling motion of the hips. It’s not as bad as the runners I pass, though. They look like the T1000 from Terminator! Lastly, sometimes it just seems to have you riding off the side of the road for no obvious reason.
 All of this is to say it is a long way from being a replacement for Zwift. It is not going to be something I use for training for now but, with some time to develop it and implement new functionality (plus clean up some of the buggier elements) might make that change. I would also prefer to just use it on the iPad rather than having to have the phone app open along with the iPad to control things. We shall see. In the meantime, Zwift will remain my go to.