My 1DXII bodies have been doing sterling work for the last five or so years and continue to be reliable. In the interim, the camera world has made a shift from SLR technology to mirrorless. Canon was a slow starter in this space but has since got in to gear. I am not an early adopter and waited until something came along that really appealed to me. The R3 body was that thing. It combines the latest of the mirrorless technology with a body like the 1D series and the associated great battery life. It was enough to make me take the plunge.
Getting one was a different story. I ordered one in the fall of 2021. I wanted to get one first to work with it and make sure it was the thing for me before committing to a pair of them. Recently, I got the call that my body had finally come in. I was very excited to try it out. I then got a call from the store within an hour of the first saying that the second body was on. I had ordered this much later with the intent of knowing whether I was happy or not before it showed up. I decided to defer it and see how things went. I think the credit card was pleased with that decision too!
I have now had a week of playing with it having shot some aviation and some wildlife. I have not really had a chance to dig deep yet so this is just first impressions. Overall, it is really impressive. The ergonomics are familiar after years of shooting with 1D bodies. However, the controls are more complex and things are not identical so I am taking a while to get comfortable with where everything is. This will probably take me a while.
Battery life has been very good. I was expecting it to be worse than the 1DXII but it seems to have stood up to a lot of shooting with tons of life left. New batteries don’t hurt of course and we shall see how things play out. The small megapixel bump is fine but it really is barely noticeable compared to the 1DXII. 24Mp versus 20Mp might sound like a big increase but when you look at the linear pixel count it is only a small increase.
Autofocus is amazing and confusing. Its ability to pick up targets and then track them across any part of the image is fantastic. It seems to have very good accuracy and I am liking the shots I am getting. Eye detection on wildlife is spookily good. However, I don’t yet know how to control the autofocus properly. There are so many ways to customize things that I have yet to understand. For example, I haven’t yet worked out how to make it focus on a center spot only like my old setup. Most of the time, the clever stuff is more useful but there are odd times when you want it to do something simple. With small subjects or cluttered backgrounds, this can be important.
I also have to get used to pressing the button when I pick up the camera. I am used to looking through the viewfinder to sight a subject before pushing anything but the viewfinder shuts off after a while and needs to be woken up. It would be good if that could be done with some motion sensing (maybe it can and I haven’t found it yet).
I have tried the eye control a little. It seems to work pretty well. Calibration with my glasses was fine and the contract lenses were okay too but I have put that to one side for now while I leaned to understand a whole bunch of other functions of the camera. I have also connected it to my phone and iPad which has been a handy thing to do. I did briefly experience with the automatic focus stacking which seemed to work well and I shall try more of that in due course. I haven’t tried any video yet at all.
I have had to change my cards and card readers since both of the card types are new to me. That was a nuisance but not the end of the world. I actually bought them a while back so I wouldn’t have to worry about it now. I got the 24-105 lens in the RF mount. My old 24-105 was a bit beaten up and the image quality was not strong so a replacement seemed like a good idea. They had been as rare as rocking horse poo but fortunately were in stock when I went in so I got one. I also have the convertor for my other lenses and they seem to be working extremely well. The combination with in body stabilization has improved them too and I find some of the tracking of moving subjects in the viewfinder easier than it used to be – something which I attribute to the IBIS.
Overall, I am happy so far. Definitely some things to work on understanding. At the time of writing (versus publishing), I am about to go on a trip when I shall shoot a lot of planes. This will be a big test but the initial experience makes me think it should go well. The camera tracks the cockpit of planes like the eyes of a bird so I am feeling confident it will be good. I think the conversion to mirrorless is going to be complete for me based on what I have seen so far but within the next month, I should know whether it will work for me or not.
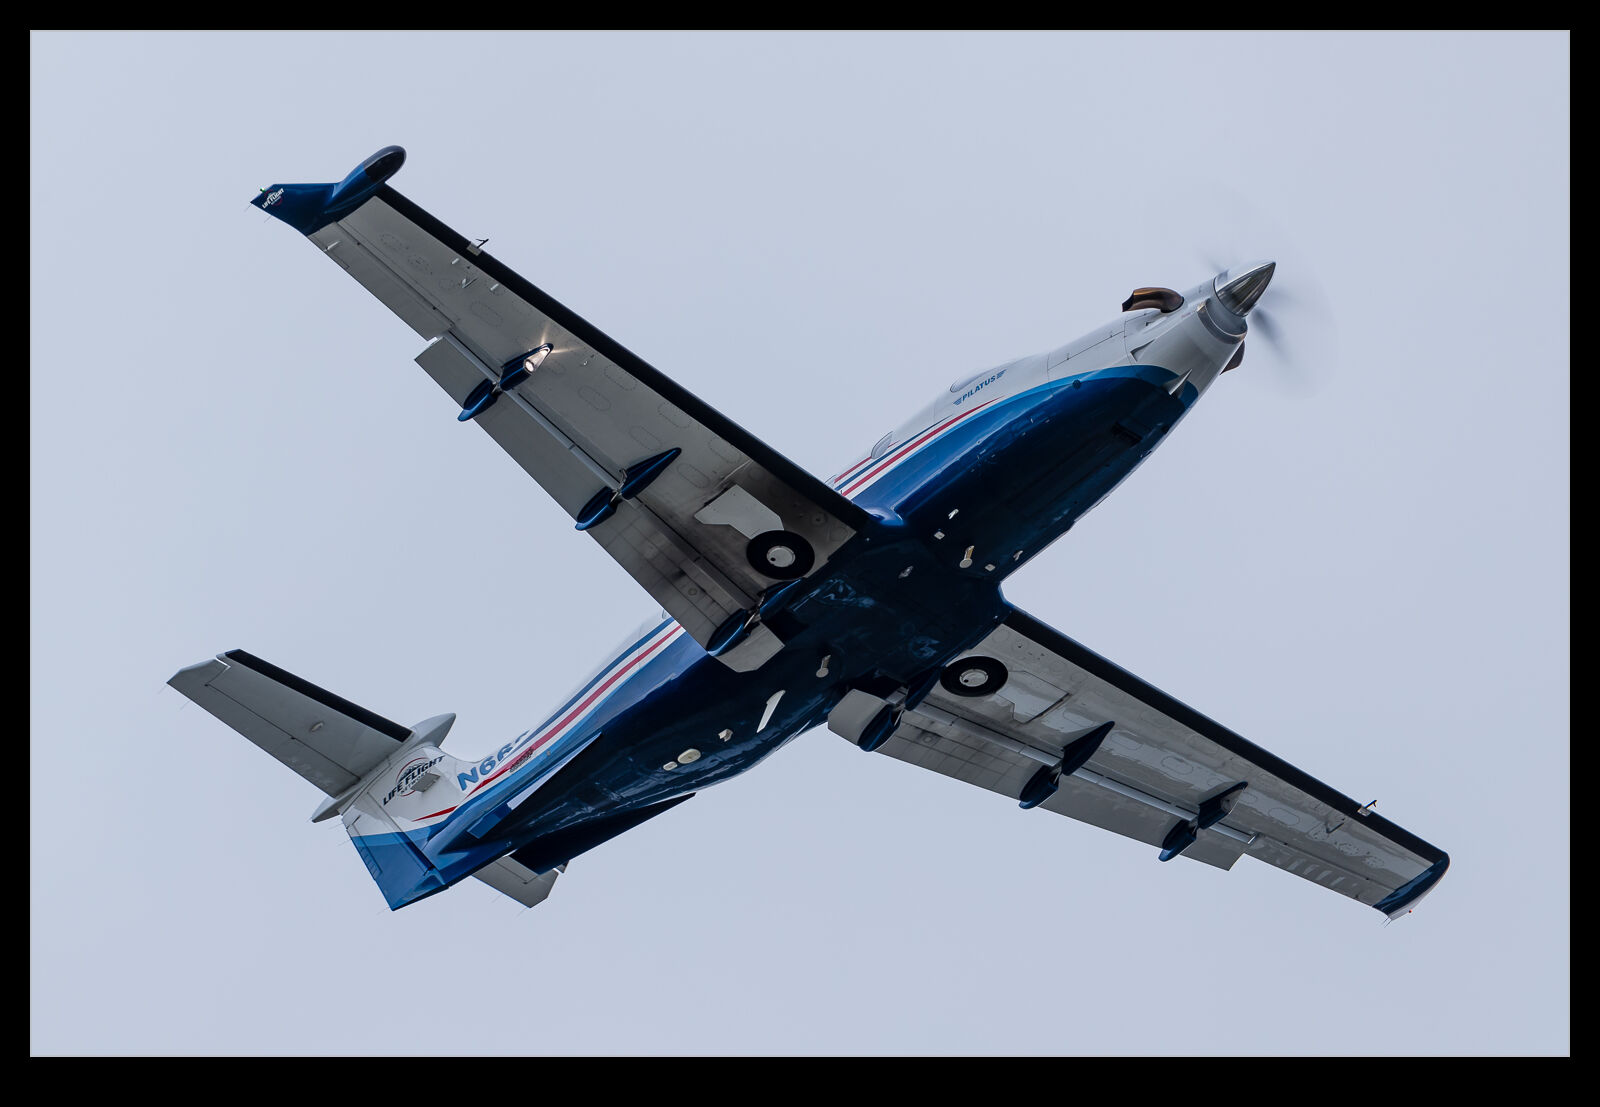
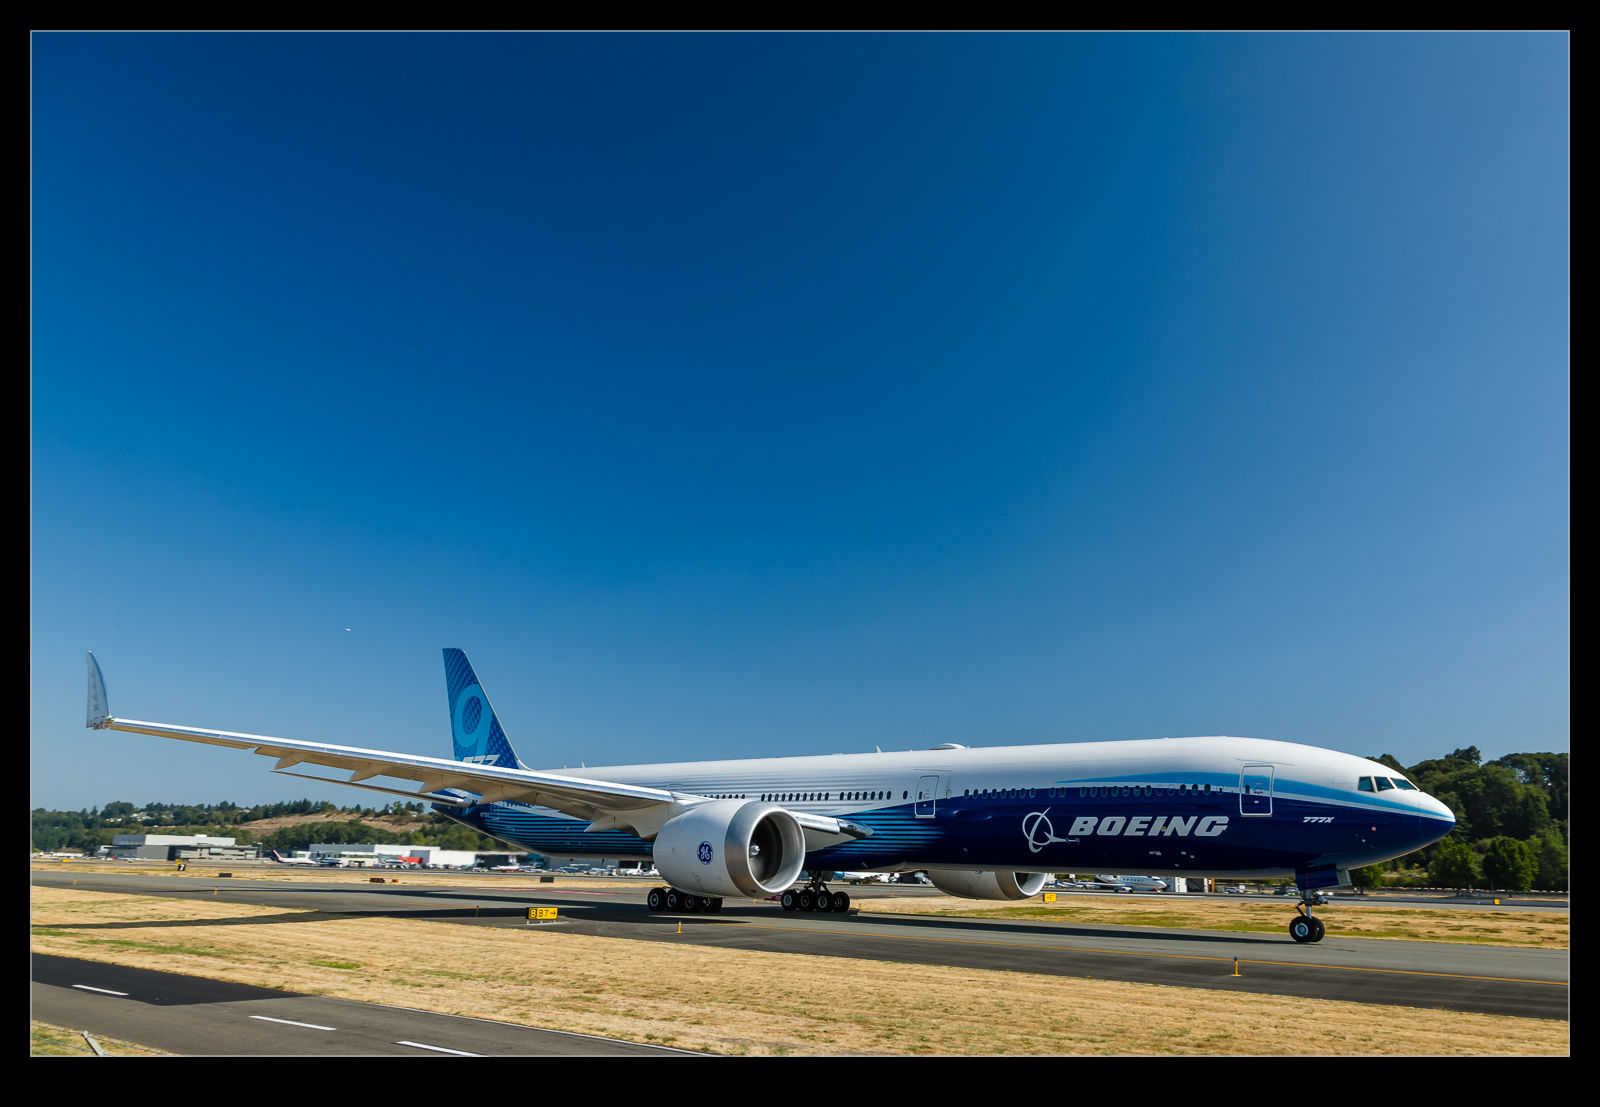
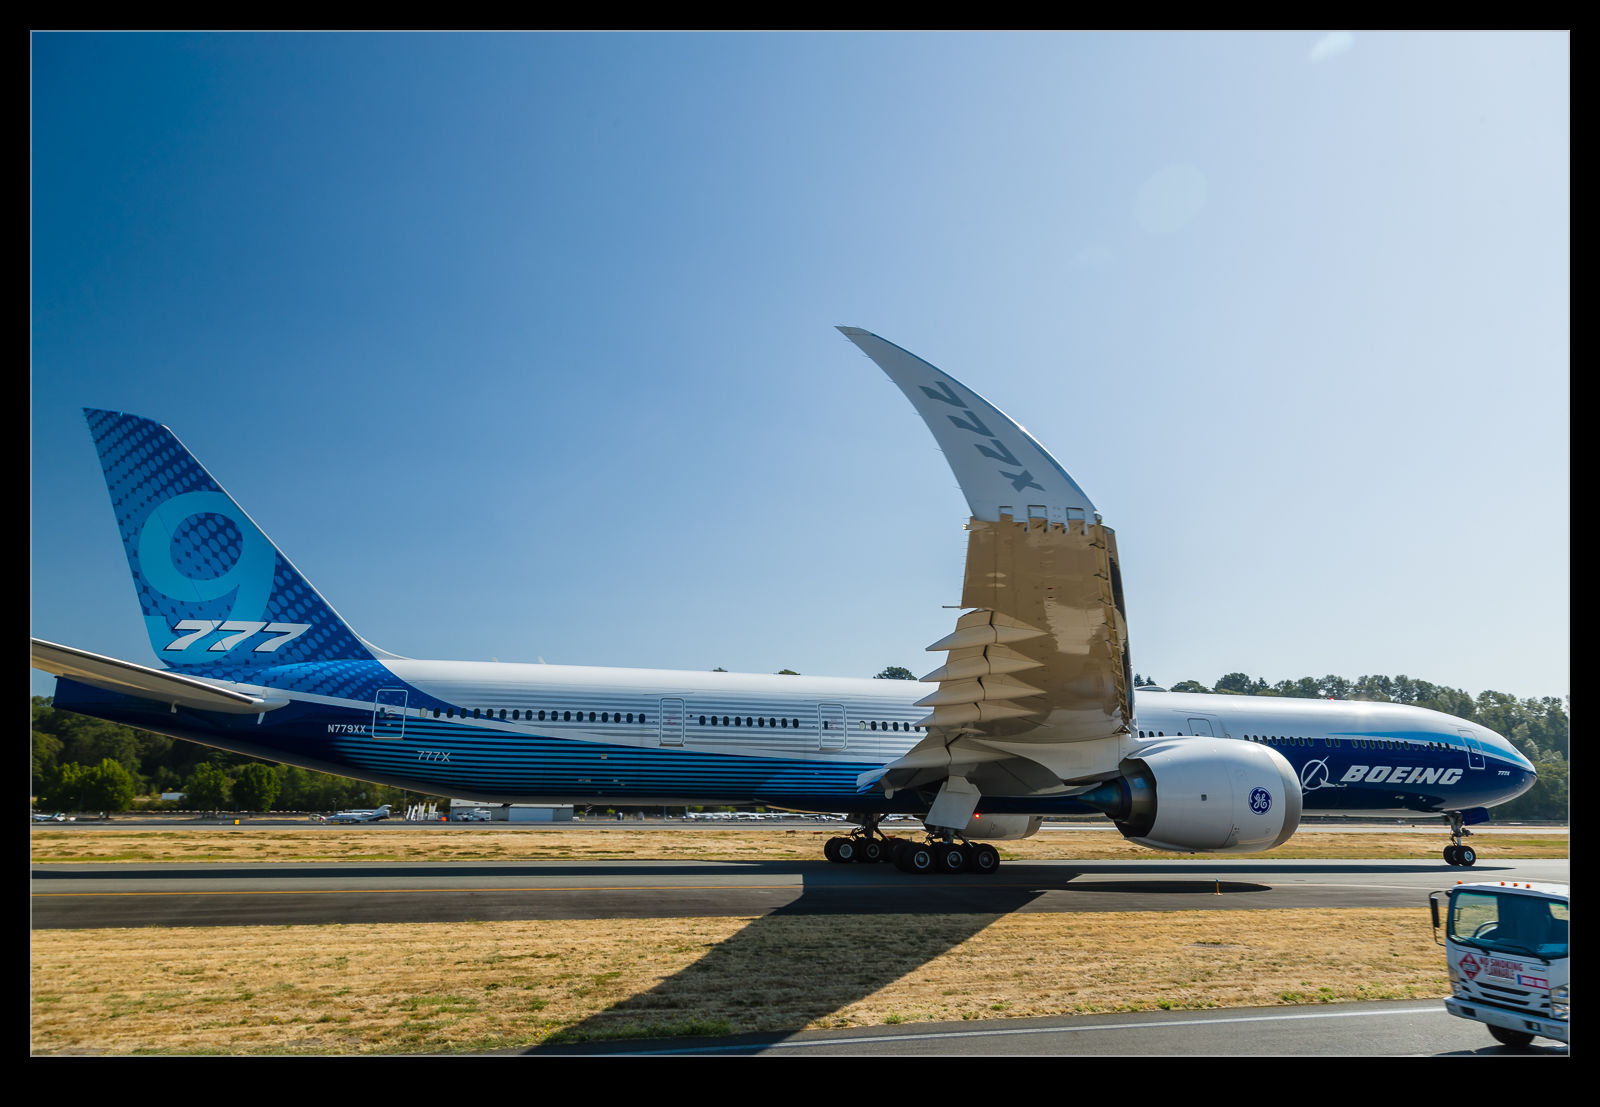
 For quite a while I have been shooting almost exclusively with the 100-400mm lens while photographing aircraft. Recently, I knew I had a couple of smaller aircraft inbound and I picked up the 500mm which hadn’t got a lot of use for a while. While it is a fixed focal length and therefore inflexible for things getting too close, with something small, it works out fine. When I checked out the images later, I noticed that I had a far higher keeper rate at low shutter speeds than I have got recently with the 100-400.
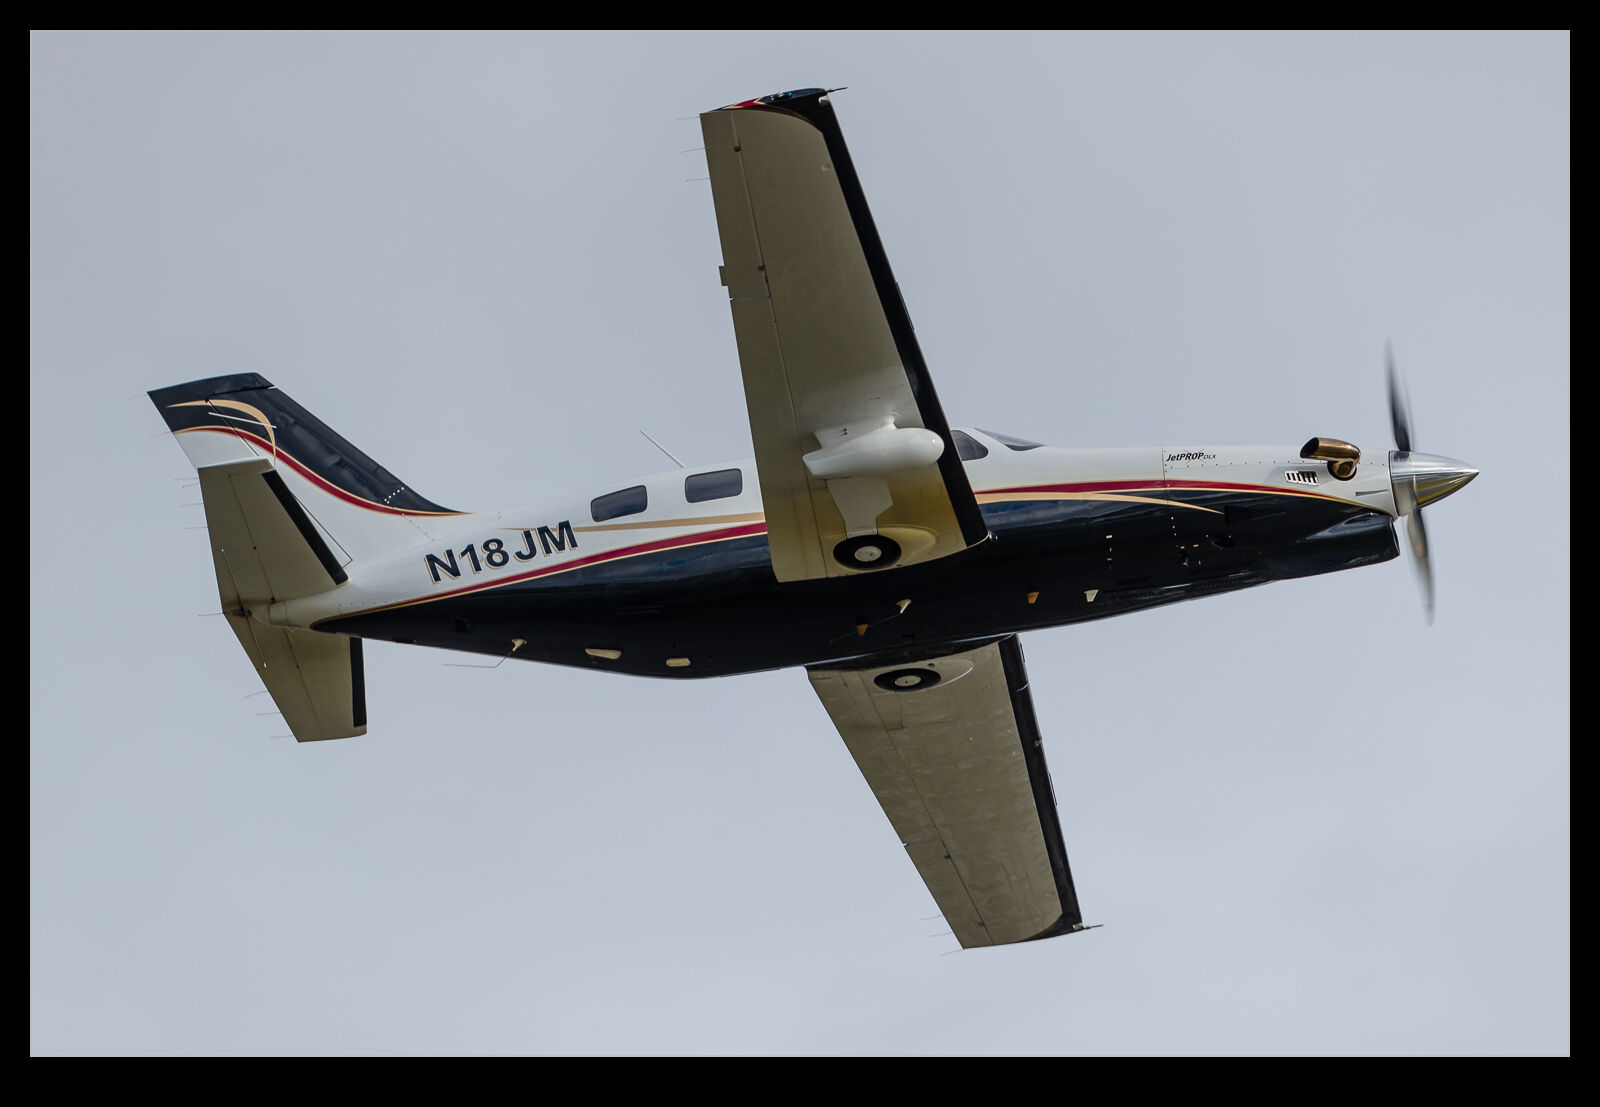 I decided to stick with it again on another day of shooting and had similar results. I decided even to sacrifice the closer shots and work with the long lens to get framing I wanted further away and to then go for close ups of details when things got too large. I was overall very happy with the results. I think the weight of the 500mm is such that it is a lot harder to disturb it with small twitches. The 100-400 is so much lighter, maybe it is more sensitive to my lack of smoothness. The inertia of the big lens is a benefit. I think I shall be using it more again going forward. Besides, it is so sharp when you get it right!