Everyone who owns an inkjet printer knows that the manufacturers are slightly below war criminals in the rankings of evil. They sell a printer at a really great price and then you have to sell vital organs to afford the ink cartridges to keep it running. The first ones are the worst since the cartridges don’t seem to have much ink in them and a vast amount of it is used charging up the system so you need your first replacements after barely any printing at all.
Recently, I discovered a new level of trickery. As I commented in a discussion with a friend who had commented on a previous post, I don’t actually do much photo printing anymore. The quality and price of online print houses is so compelling that using the (more expensive than gold) inks is hardly worth it, particularly when you find yourself having the clean the nozzles every time and blowing through even more ink. Consequently, my big old printer is mainly used for work and that is usually black and white stuff. However, some documents have color in them and the blocked nozzles render those prints illegible so a clean out is necessary.
I have had issues with cleaning the printer in the past. I was getting ink smudges on the back of the paper which was coming from the sponge pads across the bottom of the print bay. These pads absorb spare ink during cleaning cycles. What I didn’t know was that the printer assumes a life for them. I started to get a message telling me that internal components were coming up to service life expiration. This troubled me a bit but not as much as the message that followed later that day saying they had expired. Thanks for the huge advance notice!
It turns out that these sponge pads were the component in question. Given how I had needed to clean them before, the warning was probably far later than it should have been. Now I was stuck. They said the printer could be serviced but also pointed out that a replacement would probably be cheaper than a service. Nice one guys! One thing they did provide was a software tool that would reset the internal counter so the printer would work again. The idea was that you fixed the issue but at least you could print again.
I needed the printer (I am planning on a replacement in due course but didn’t want to have to buy it now) so ran the tool but I didn’t want to have ink slopping around and onto my units so figured I needed to do something. Kitchen towels are quite effective at mopping up the ink from the sponge trays. However, it seems that, however much you mop up, there is always more. (Fortunately, it is only at one side – the side that is left exposed when using letter sized paper rather than 13” wide paper which is the widest the printer will take.)
I decided to try something more effective and take out the sponges to clean separately. Fortunately, they are not fixed other than by tabs that slot into holes in the trays. Since they were saturated with ink, they were still tricky to get free but, once out, I was able to put them in a lot of paper and squeeze them out and then rinse them in water. Not totally cleaned but looking a lot more like the color I suspect they started out with. Certainly they now have a lot of capacity to absorb more ink.
Putting them back in place was a bit more tricky. They have to lie exactly in place and have the tabs inserted into the right slots. I got this slightly wrong in one place and the sponge sat slightly too high. The paper caught it as it fed in and then twisted up before getting caught against the print head. A few rude words later and the problem was fixed. Now I have a functioning printer again. Let’s hope it now lasts long enough for me to decide on the long term replacement and get that sorted out. A wireless printer is part of the plan now so it doesn’t have to be somewhere obvious and I think a laser will be better than an inkjet. Shopping time!
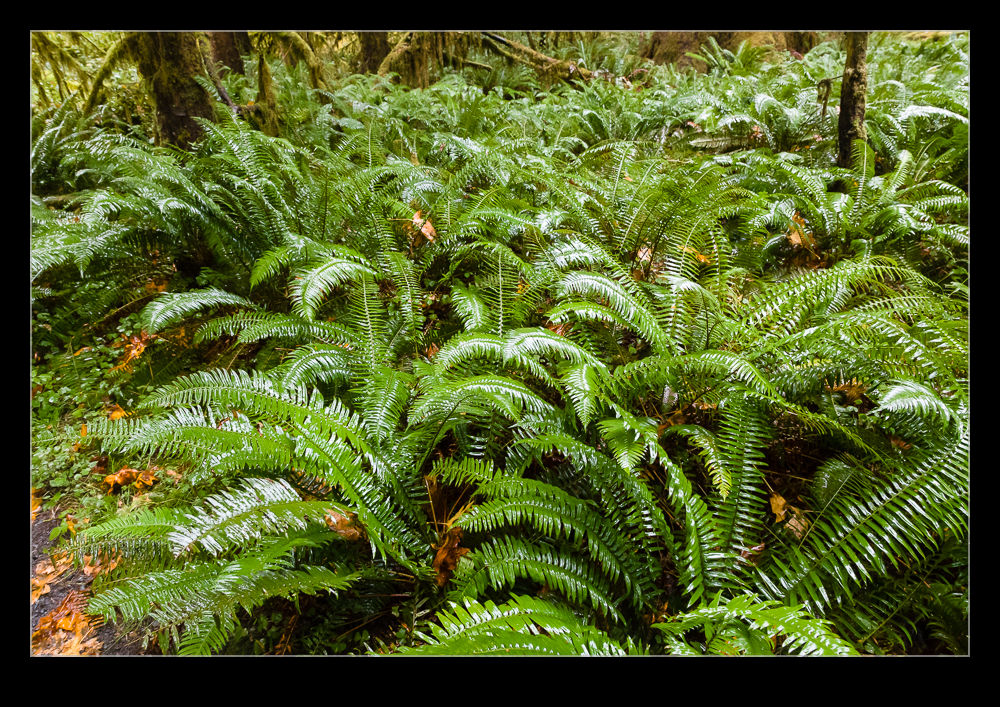
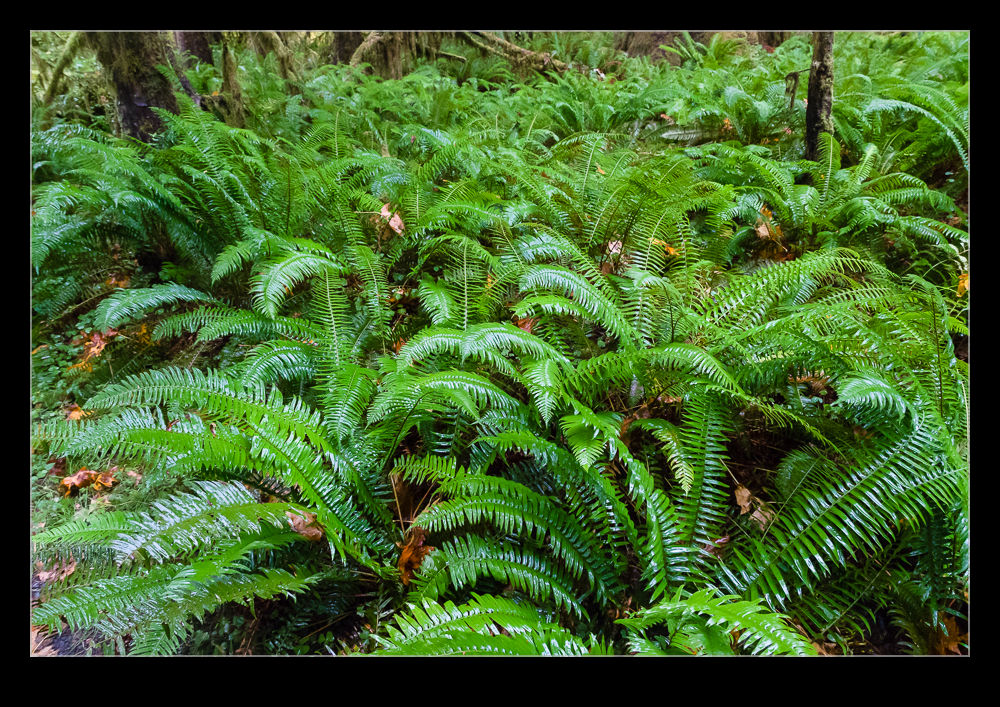 I took the polarizer with me on vacation. One place where I made good use of it was in the rain forest. While it was pretty dark in the heavy forest cover, there was moisture everywhere and this meant a lot of reflections and glare. Consequently, I went with the polarizer most of the time. While I was there, though, I decided to do some experimentation by repeating some shots without the polarizer to see how much of a difference it made. You can see the with and without shots here and judge for yourself what a difference it makes.
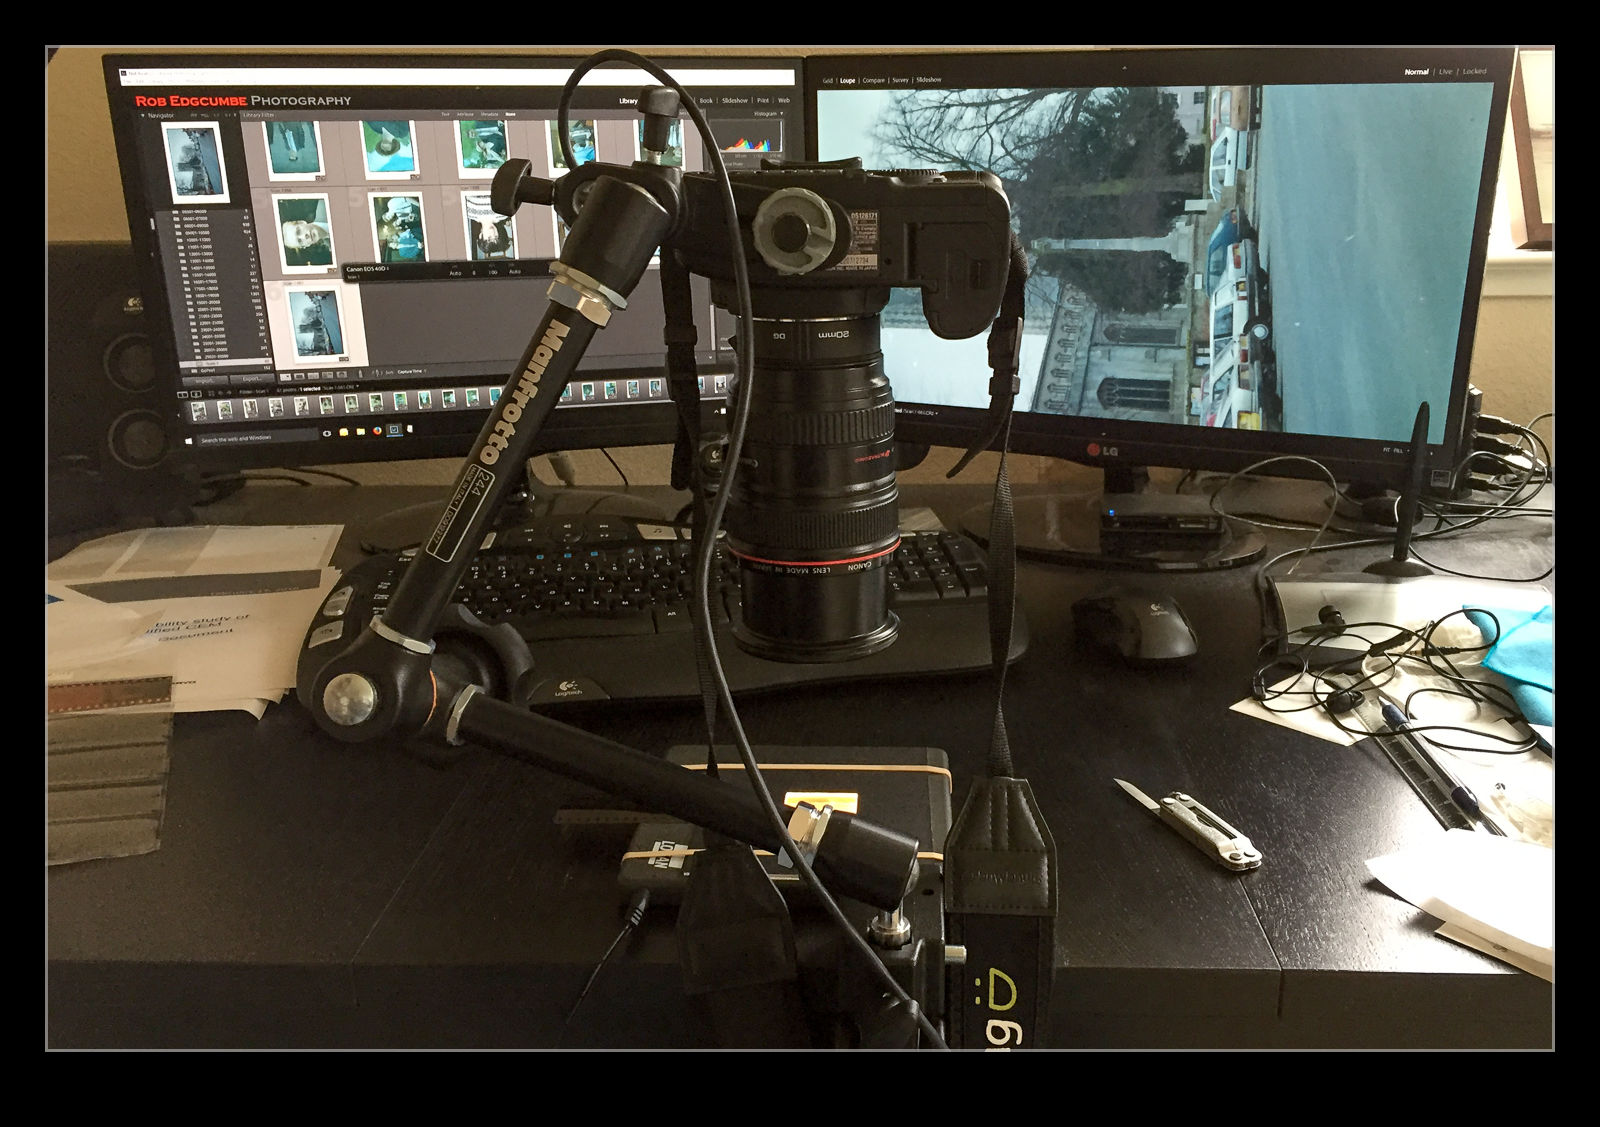 I am in the process of experimenting with a new approach to scanning old photographs. For many years I have been using a Minolta Scan Dual III scanner. It can accept strips of negatives or slides and does a reasonable job of scanning them in. It is a bit labor intensive and is certainly not fast. Moreover, the scanner is not terribly reliable and it will often hang mid scan requiring me to restart it and close down the application before restarting that too. Since it takes a long time, I often get it running and go and do something else so I might miss the problem.
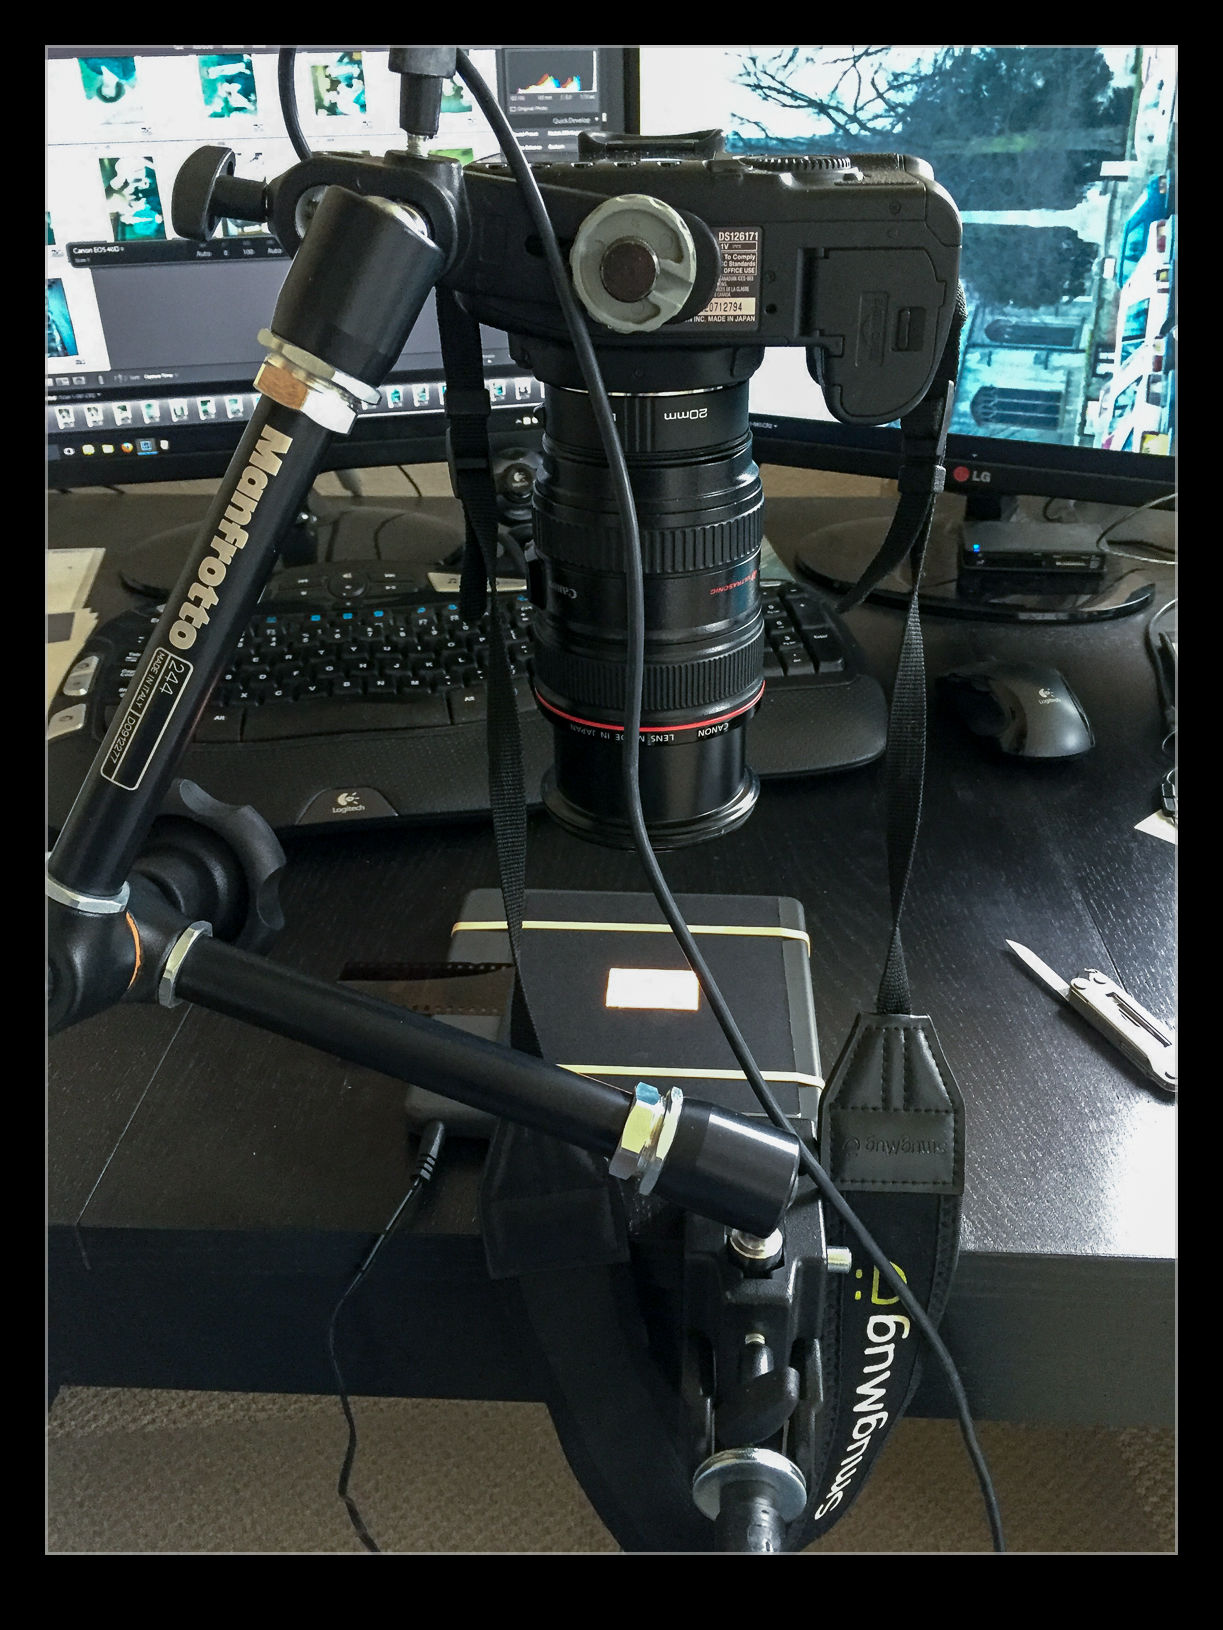
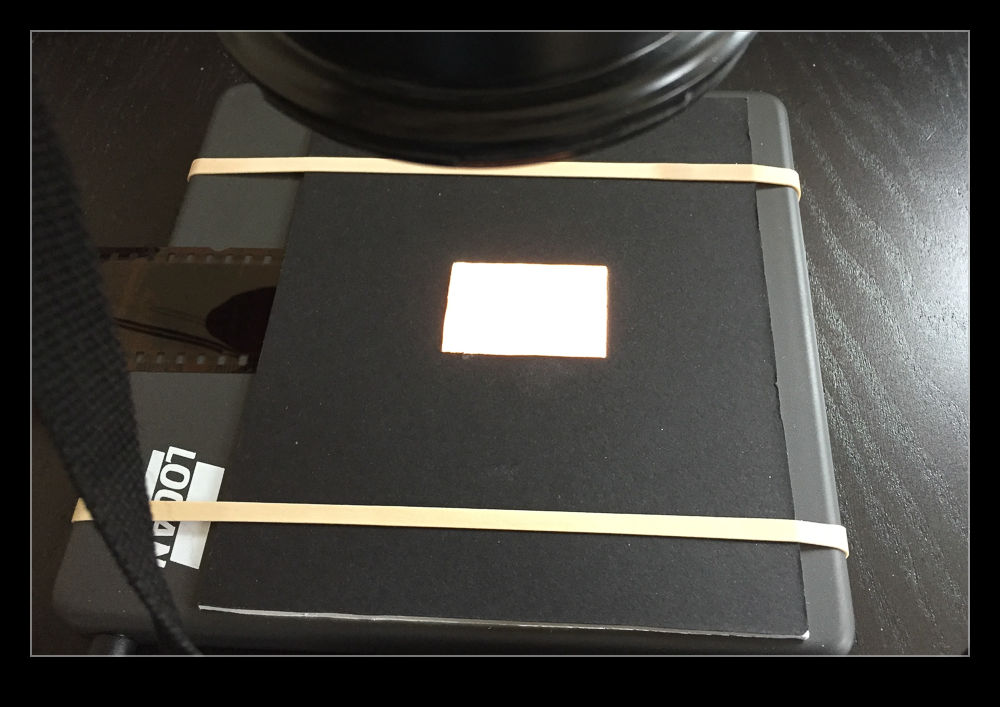 I am taking the images at my desk so I am able to tether the camera to the computer and use Lightroom to capture the images directly. This has actually provided me with an opportunity to drag out one of my older bodies that doesn’t get used anymore. My old 40D has been sitting on a shelf for a long time but it has come back into use for this project. It has more than enough resolution for this task. (Unfortunately, the batteries are now rather old and don’t hold a charge well so I am going to get an AC adapter from Amazon for ten dollars which should free me to scan as much as I want.)
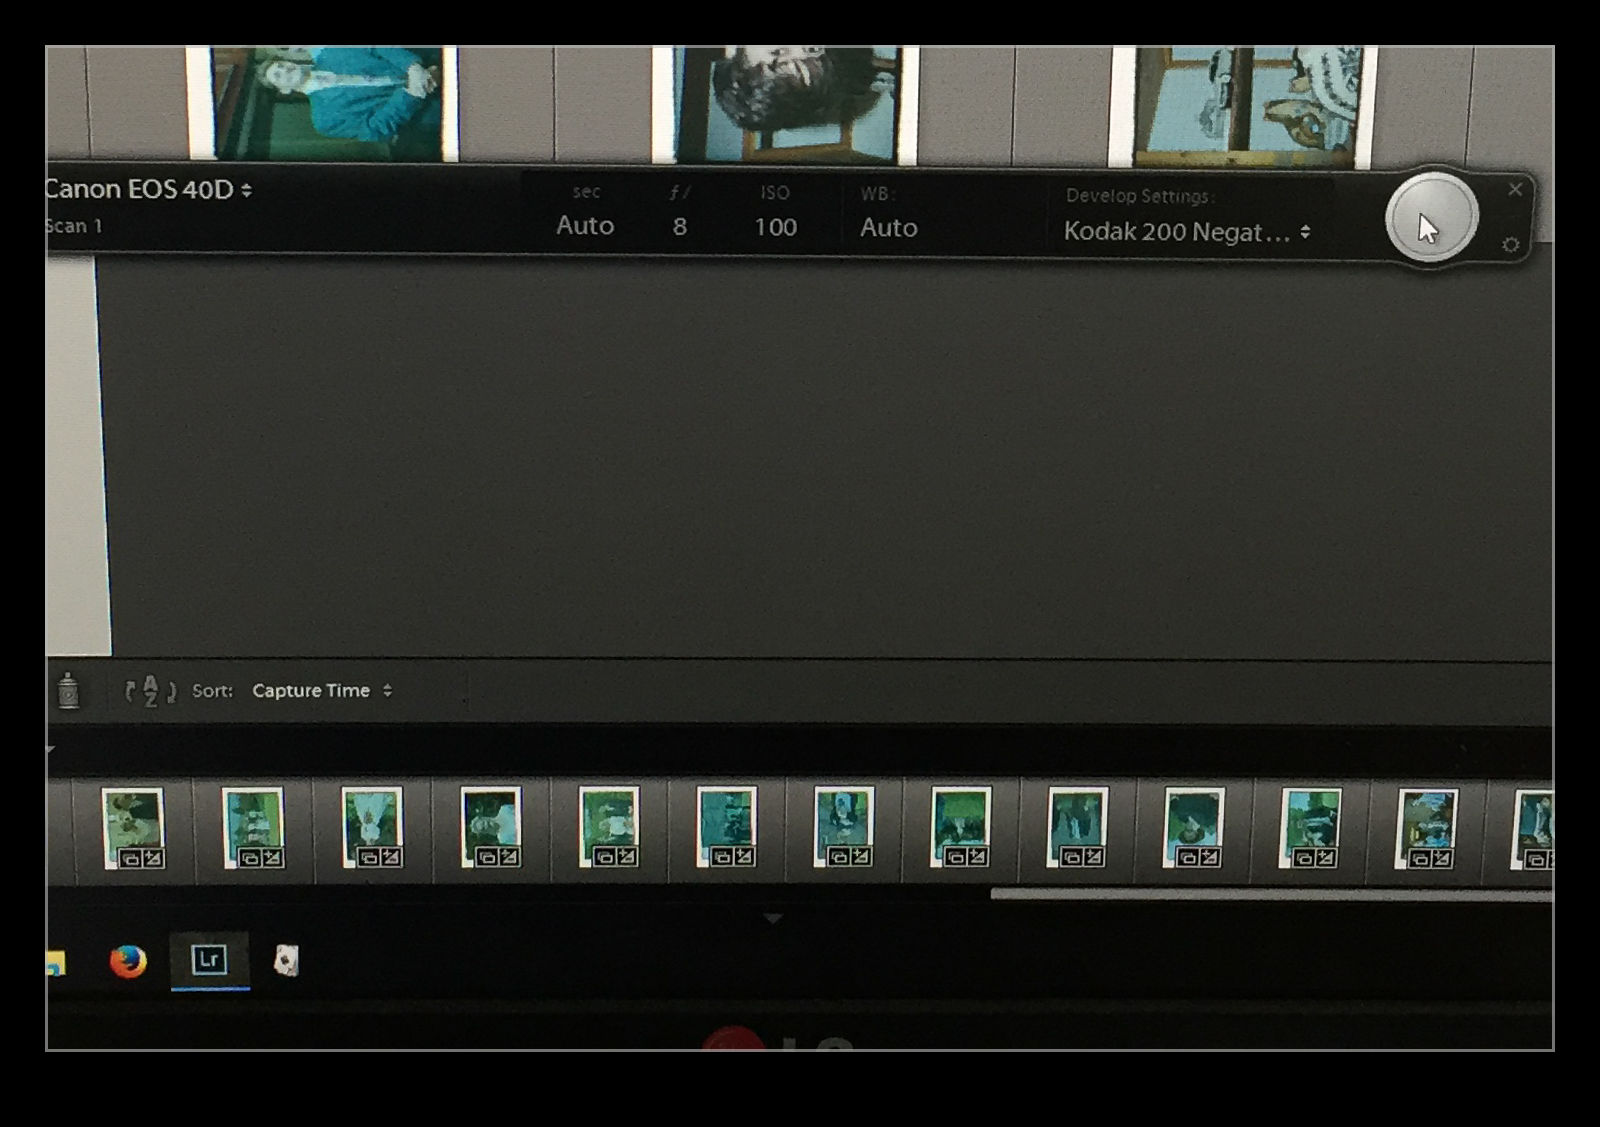 The image is now recognizable but not there yet. Now I have to do some manual manipulation to tidy it up. The sliders have to be used carefully in this case because they are now working in reverse as a result of the tone curve that I applied. This requires some thought. Exposure is still exposure but is reversed. Usually shots look a bit washed out so, what would normally by the Blacks slider is now the Whites. Shadows are handled with the Highlights and vice versa. It takes a bit of getting used to but it is not too hard after some practice. I tried using Auto Tone but it did not do a great job. I imagine the algorithms were not designed for operating in reverse!