Category Archives: technique

Hyper Lapse Landing at Phoenix

Hyper lapse is not something I have tried a lot of but I have done a little experimentation.  For those who are expert at it, my description might be a bit simplistic but it is basically a time lapse when the camera doesn’t stay still and the movement through a scene is accelerated.  I had a go at this out of a window of a Southwest flight that was approaching Phoenix.  Keeping the camera still and in the same reference to the aircraft is a little tricky but the nice thing about time lapse shooting is that small movements get blurred out quite quickly.

I liked the idea of the rapid passing of the scenery, the rapidity of the maneuvers and the speedy deployment of the flaps showing up.  I decided to let it run until we were back at the gate.  As my friend Paul said, “Don’t all Southwest flights taxi at that speed?”

SFO Night Time Lapse Take 2

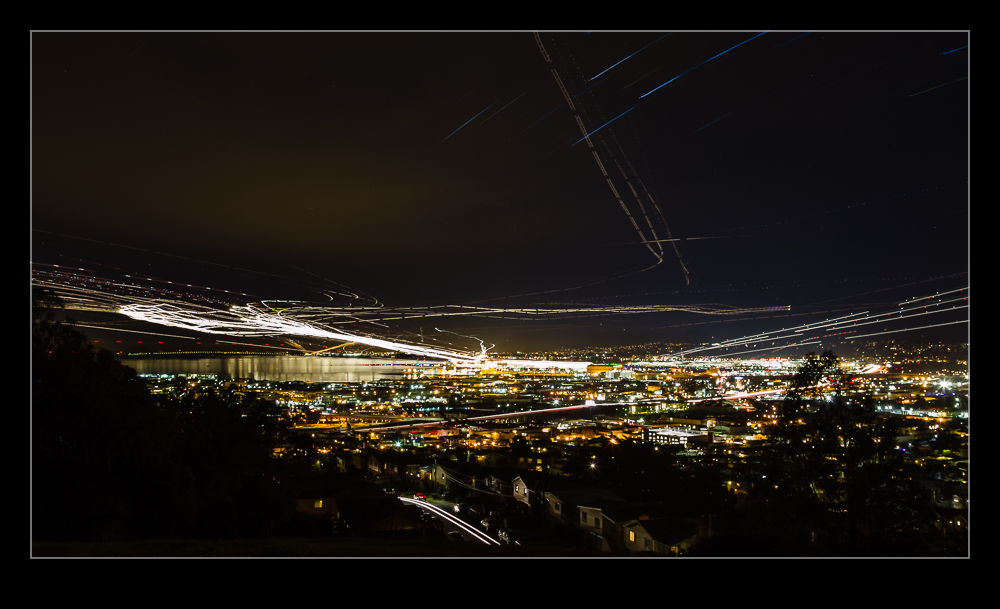
wpid13560-C59F6490.jpgLast summer my friend Paul had been across and we had hatched a plan to shot some time lapse and night streak shots of SFO from a hill that overlooks the airport. The plan seemed like a good one but it was thwarted by two things. First, there was some cloud in the area which obscured some fo the view. Second, it doesn’t get dark until late in the summer and Paul was on UK time so was pretty worn out by the time we could do anything.

Instead, we concluded that a second attempt would be made when he was over during the winter. So it was that we found ourselves back up on the hill. We had come well prepared this time with sturdy tripods and good cable releases. The only thing I had forgotten was the chairs since you have a lot of time to hang around on a dark hillside taking shots like this. I took a long sequence of shots that would be edited into the time lapse. When I got home, some quick work in LRTimelapse and the video was together as you can see below. I also decided to see how well the sequence would blend together to get a streak image. I have never tried to work with quite so many layers in Photoshop before. It certainly struggled with it but it did work. Unfortunately, there must have been some very slight movement on the tripod because the ground lights did not exactly align which made for a blurry foreground when using the Lighten blend mode. To counter this, I duplicated one of the base layers and masked that back in to give the ground a clearer image. The blended version is the one at the top of the post.

Night Launches

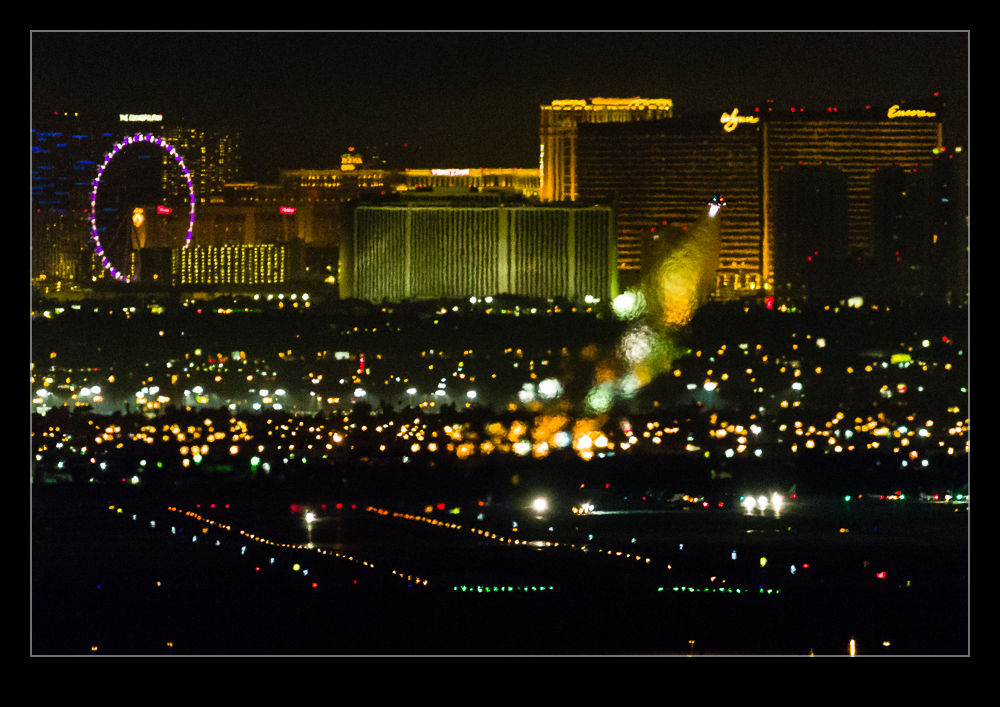
wpid13242-C59F8185.jpgWhen the daylight flying activities are over, there is still the night and Red Flag has a night mission that is flown on most days. Therefore, after dinner, you can head up to a spot north of the speedway where there is a great view over the base with Las Vegas in the background. It is dark up there so there are not many good chances for shooting the jets but you can sometimes get some shots of stuff flying over if it lights itself up.

wpid13240-C59F7969.jpgHowever, you can get some shots of the base with the launching jets showing up either from their afterburners or from the heat distortion they leave behind.

wpid13238-C59F7906.jpgThe other thing is to run a time lapse and see the jets moving around on the base and then streaking off into the sky. I ran a couple of them over two nights. Below is the result of one of them. Two things to note. First, the launch was very spread out. The main jet launch was actually quite late and I was tired and cold so cut short the sequence while they were still heading out. The second is that a weird optical effect shows up in the video. It is a movement of the image a bit like heat haze. However, since the shots are taken over such a long period of time, you would think that would not be an issue. Something is going on though so if anyone has any suggestions, feel free to comment with your thoughts.

The Spot Healing Brush

I recently put together a post on an old event that I had shot in my film days. It was the demonstration of the BAe 146 at London City Airport and the post is here. When I got the negatives out and scanned them, they were not in good condition. Despite washing the negatives, they still had a lot of scratches and blemishes on them. In order to prepare them for the post, I spent a great deal of time cleaning up the shots.

The tool I used was the Spot Healing Brush in Photoshop. I had used it occasionally in the past but never had I spent so much time using it in one session. It turns out I was not well aware of its functionality and I learned a little about it as I went. I had clicked on the tool and gone to work on it. The brush works by healing whatever you click on. You can click on a spot or draw across a section and it will then heal. However, it defaulted to certain settings which I wish I had known to change. It started out with Proximity as the setting. This makes it sensitive to picking up colors and patterns from things nearby.

At some point, I thought to change it to Content Aware at which point it became so much more helpful. In proximity mode, I found that I could heal many blemishes but I ended up with patterns in uniform color areas that looked very conspicuous. With content aware it came up with a far smoother solution which made for a cleaner result. Skies were the real issue for this and the change worked well.

Also, when working across edges, I found the tool was fine if I went perpendicularly across the boundary. Trying to work along an edge was tricky but if I went straight across the line, the algorithms were clever enough to know to leave the edge intact and just take out the blemish. It is a very cool tool and one I now have a better idea of how to use when required.
Another go at the 777-300ER wheels

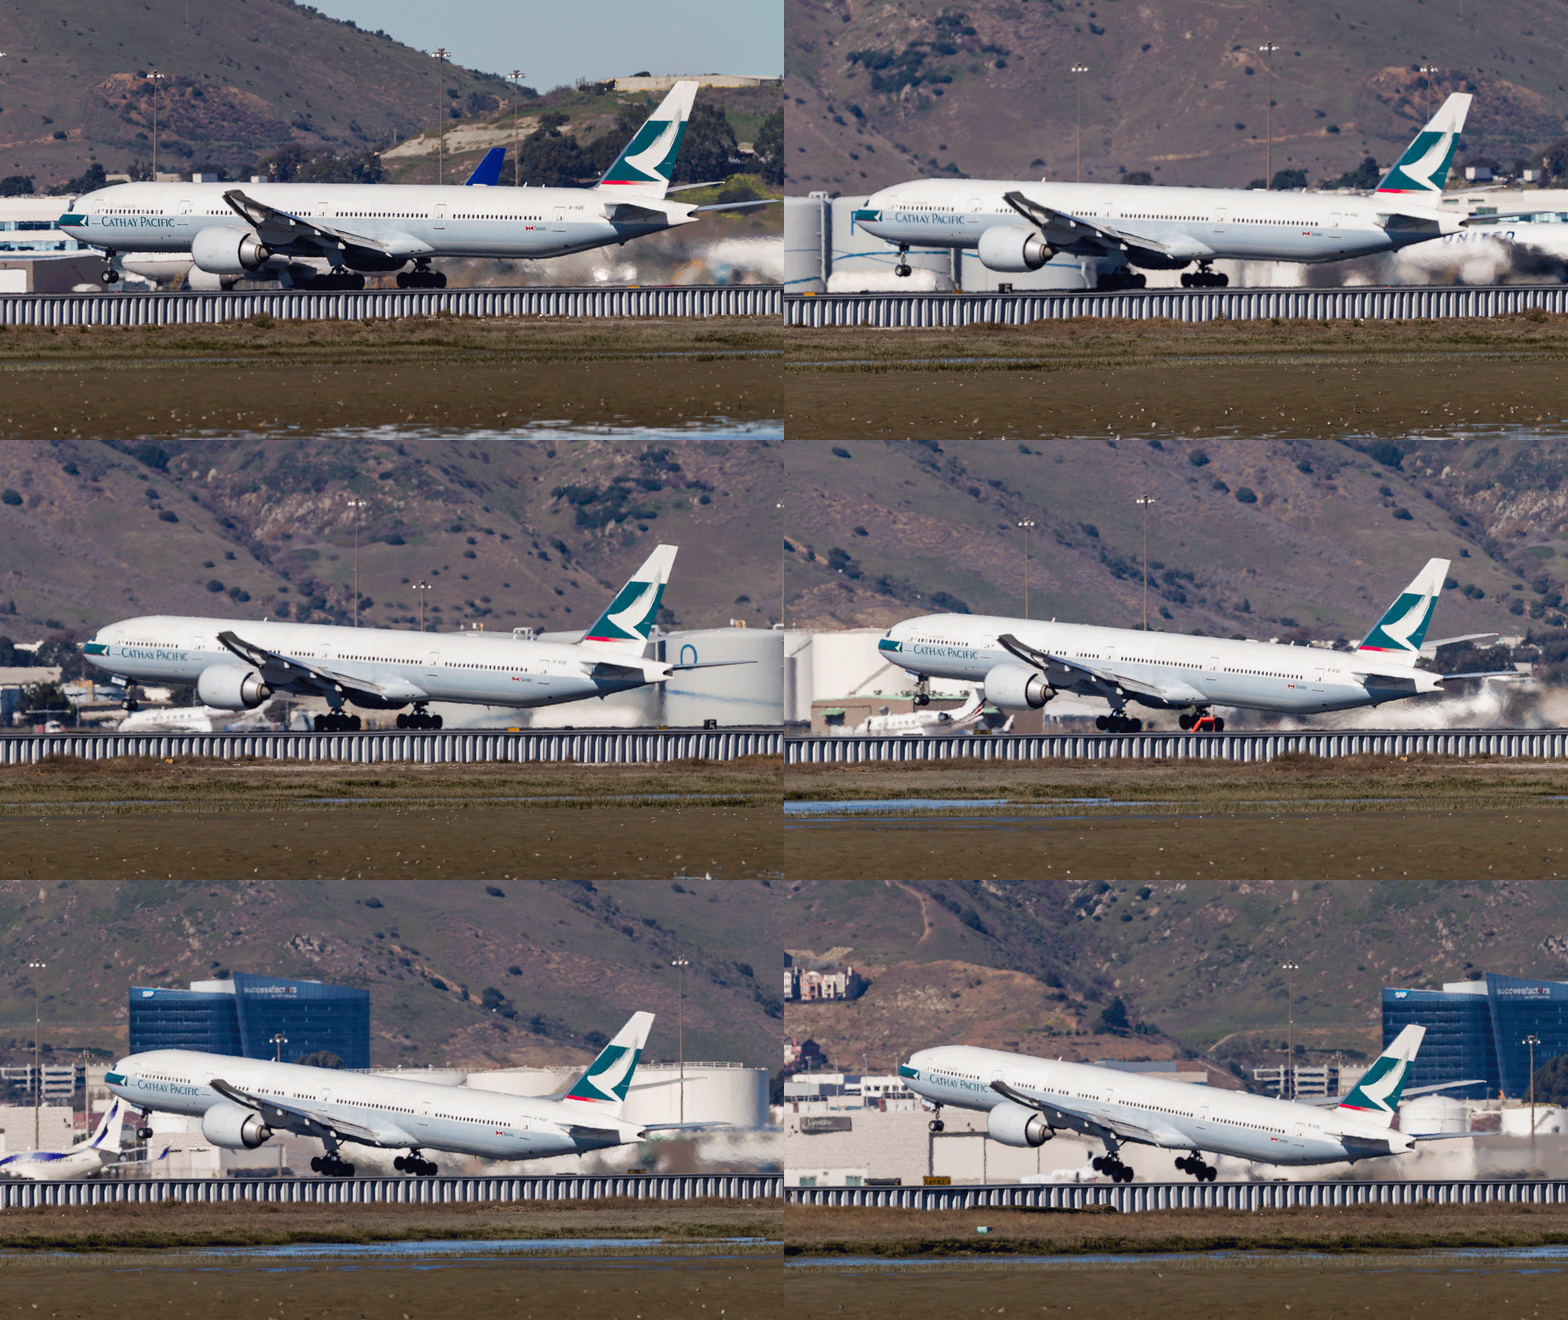
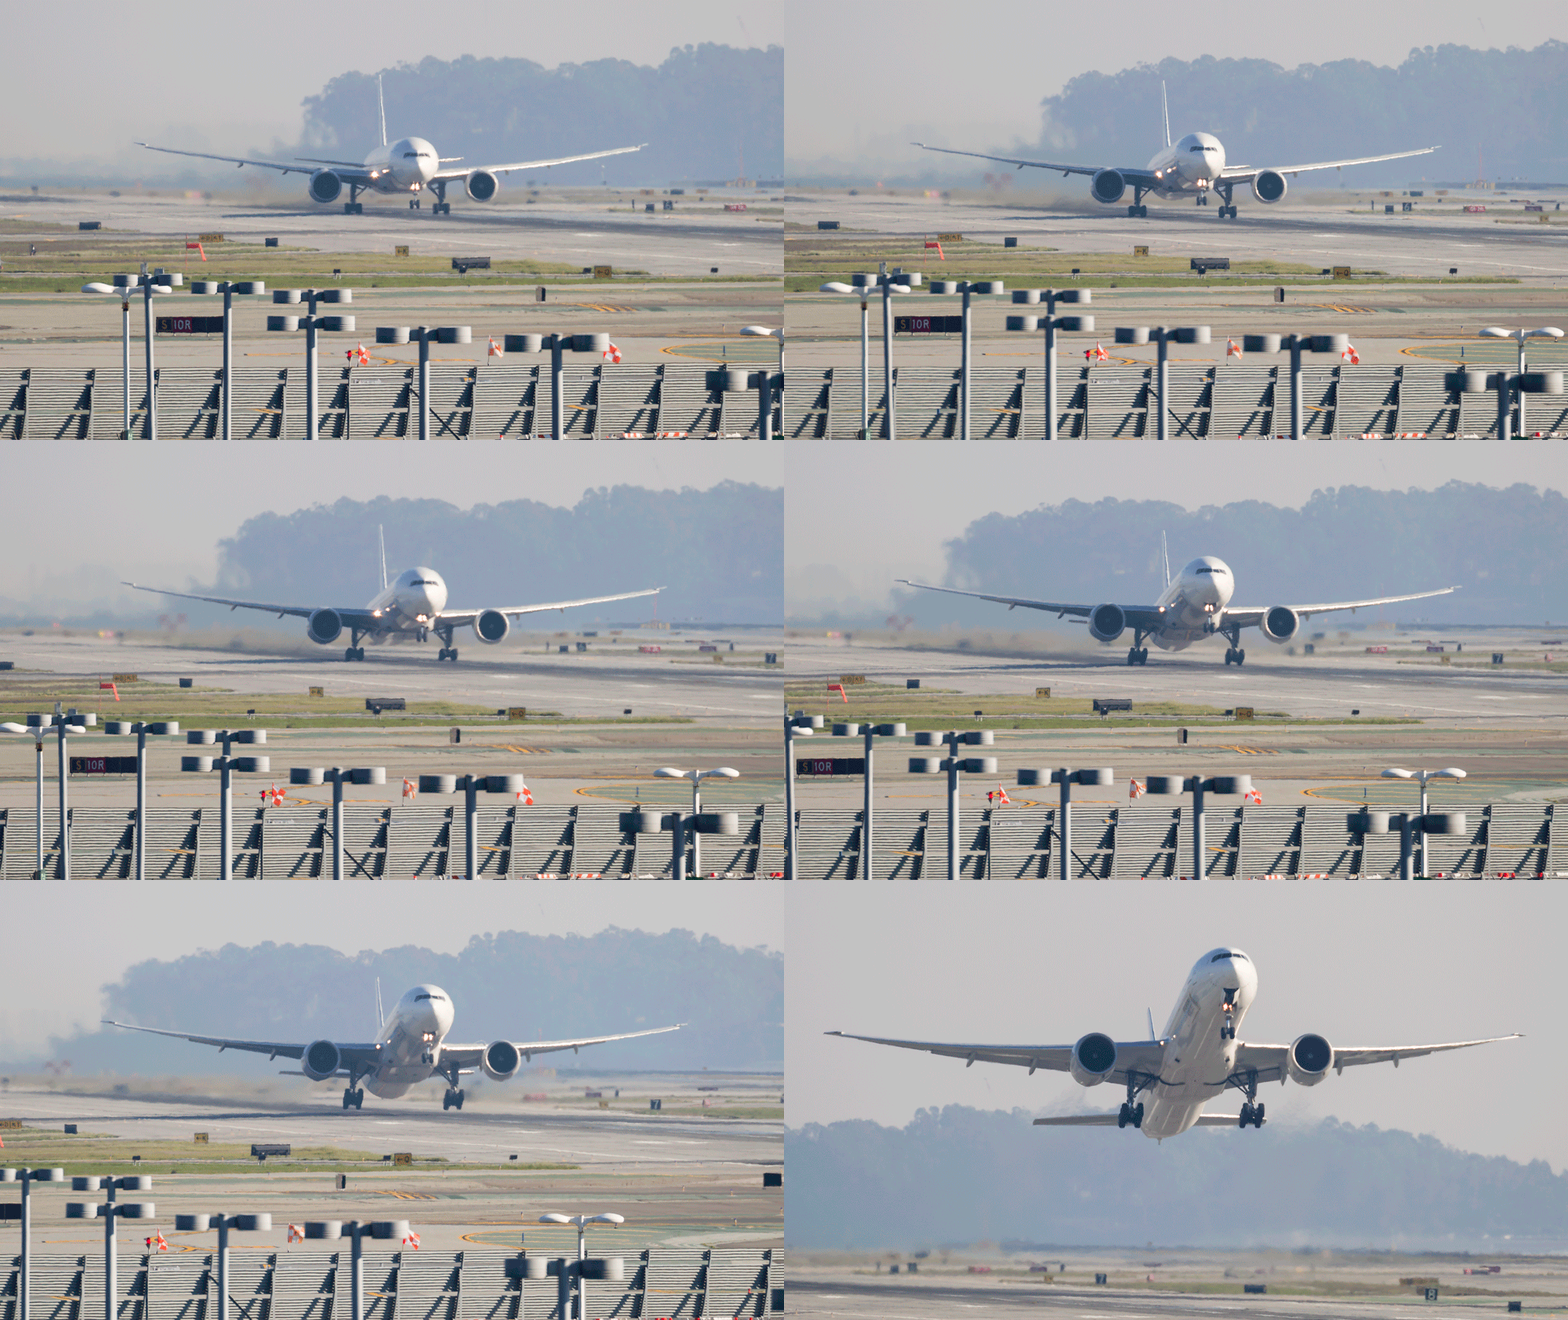
I have been trying to get evidence of a feature of the Boeing 777-300ER for many years. I previously posted on my efforts to get shots that showed the effect where the main gear bogie is locked to allow the aircraft to get a higher rotation angle at take-off. I have since had another go at this. Taking pictures during the winter has helped since the heat haze is a lot less obvious. Even so, the aircraft are usually quite a distance away. This time I managed to get a sequence that seems to show the effect quite well.

AU0E9767-EditI also had a go at doing the same thing from head on.  Not quite as clear cut but you can see some of what is happening.

AU0E5006-Edit

HDR 32 Bit and Lightroom

This post is a plea for help. Anyone who is a regular user of Lightroom and Photoshop may be in a position to educate me a little. I use Photoshop to process my HDR shots. I start out in Lightroom, select the shots and use the Edit Photo>HDR Pro method to open them up in Photoshop. I then use the 32 bit version of the HDR Pro processor to create the file. I then take the Edit Using Adobe Camera Raw option for opening the file to undertake the final mapping. This works pretty well and I can usually get something I am happy with.

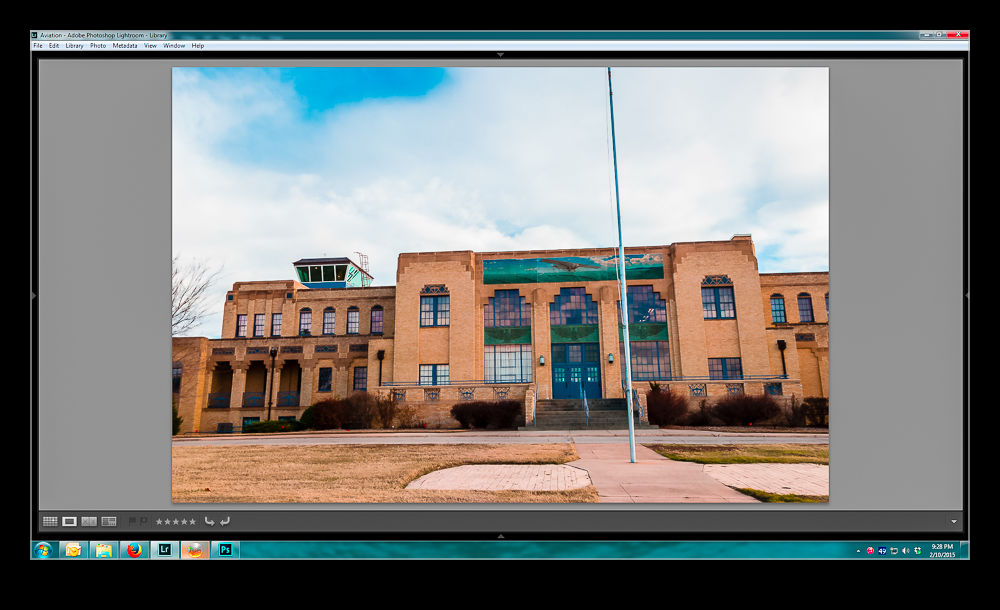
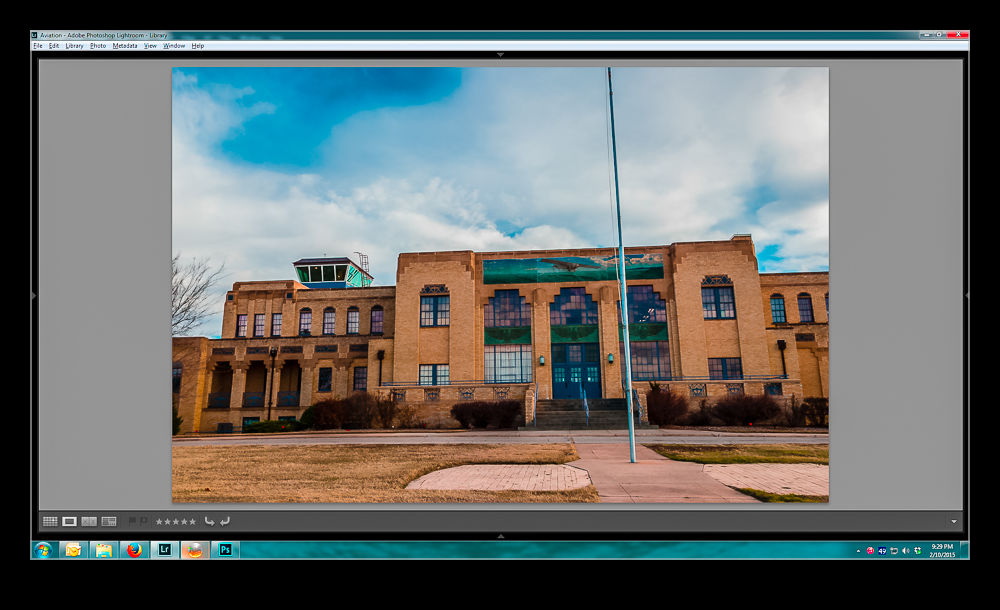
I then close the file and save it which automatically reimports the finished file back into Lightroom. This is when things go wrong. The view of the file in Lightroom doesn’t appear to make use of any of the edits I had done in ACR. The highlights are too bright and the shadows too dark. I can then use the Lightroom Develop settings to get something close to what I want but surely that should not be necessary. I might make further tweaks but shouldn’t it look the same when I close out of Photoshop.

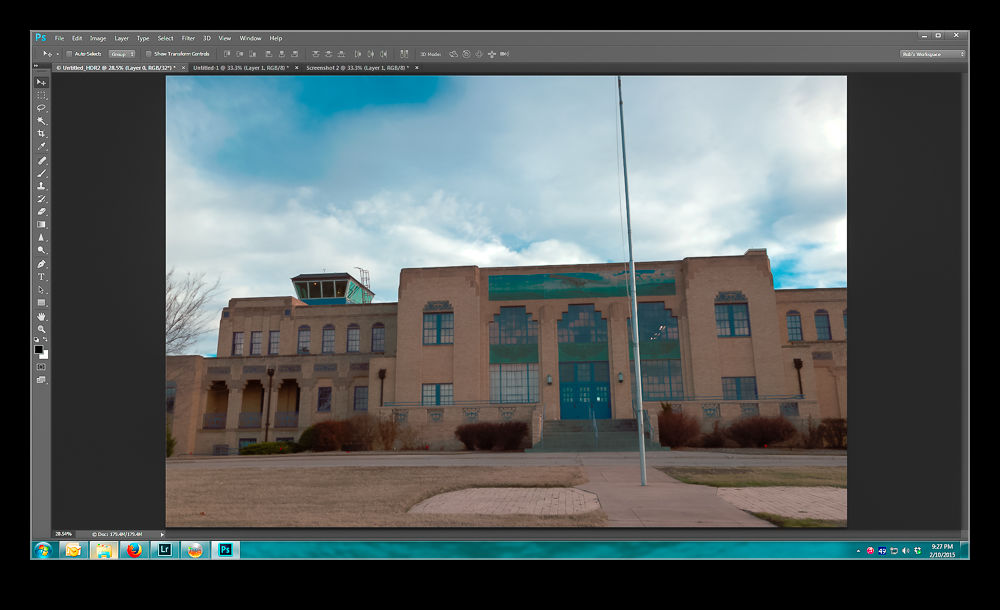
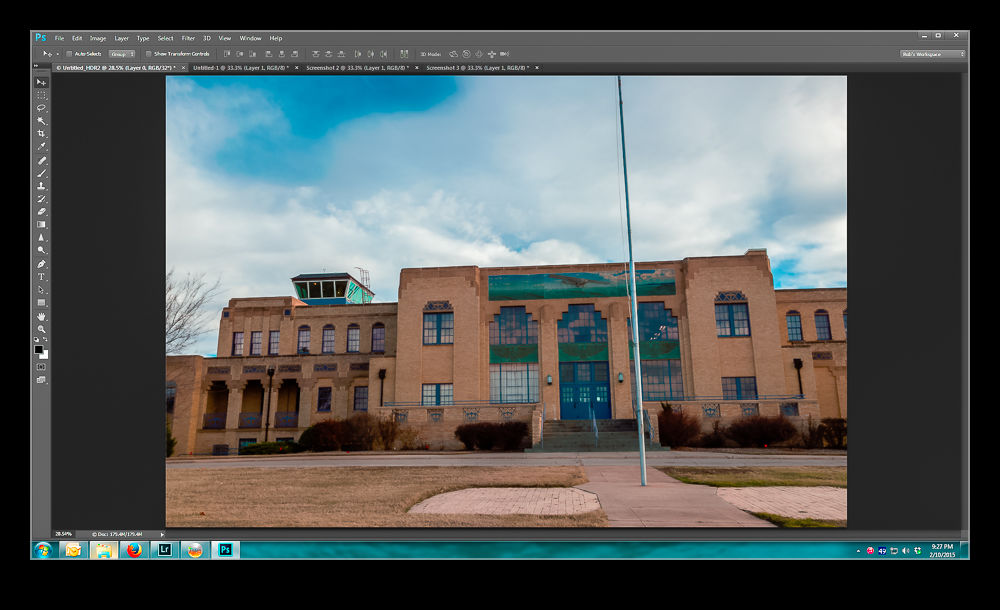
Below is a sequence of screen captures to show you the unprocessed shot in ACR, the finished version, what it looks like in Lightroom and then what I can tweak it to. Any suggestions are gratefully received.  (Note, I didn’t make this exactly match the two edited versions.  It is aimed to illustrate the disconnect and the recovery process.)

Original HDR merge pre tone mapping

wpid12810-Screenshot-3.jpg

HDR with ACR tone mapping appliedwpid12808-Screenshot-4.jpg

How the saved image appears when imported to Lightroomwpid12806-Screenshot-5.jpg

Using Lightroom to get back to something like I had in Photoshopwpid12804-Screenshot-6.jpg

Stead Field National Guard

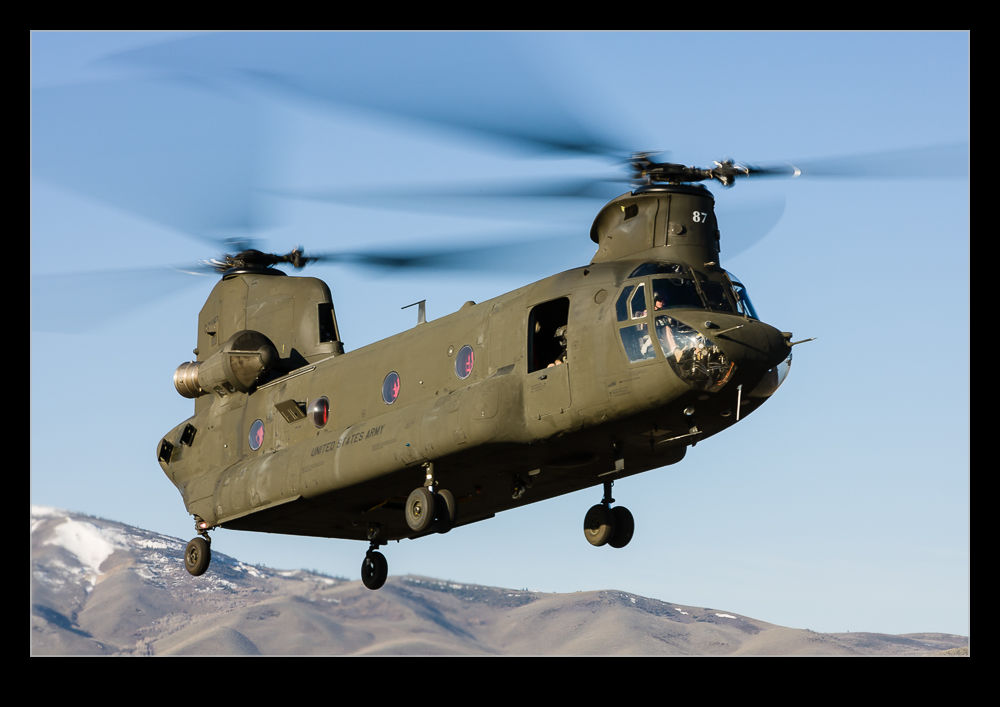
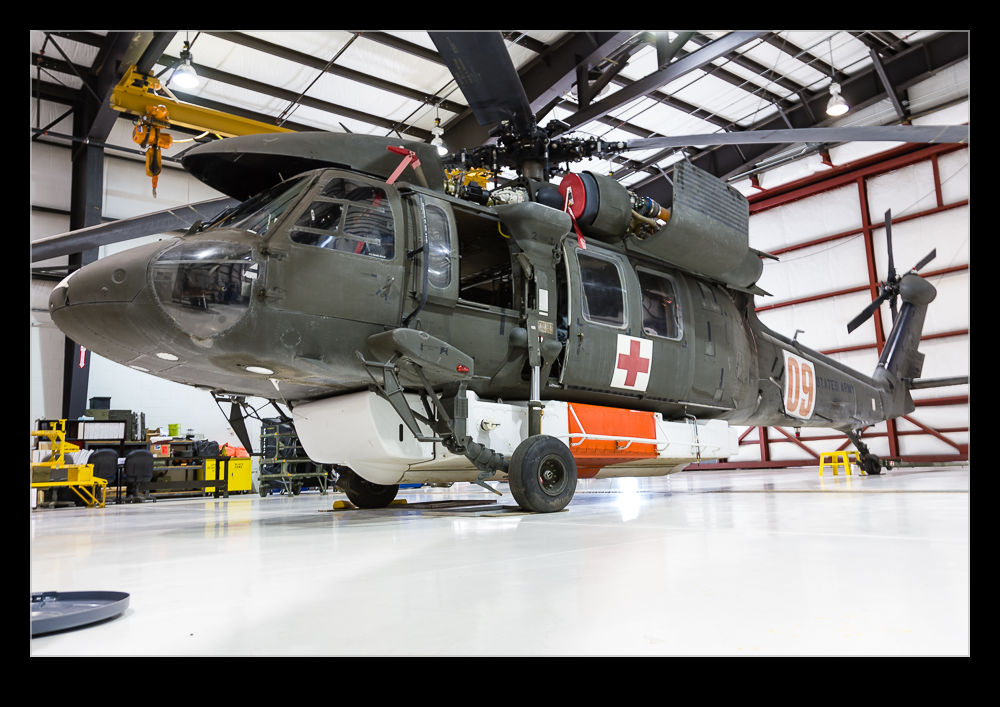
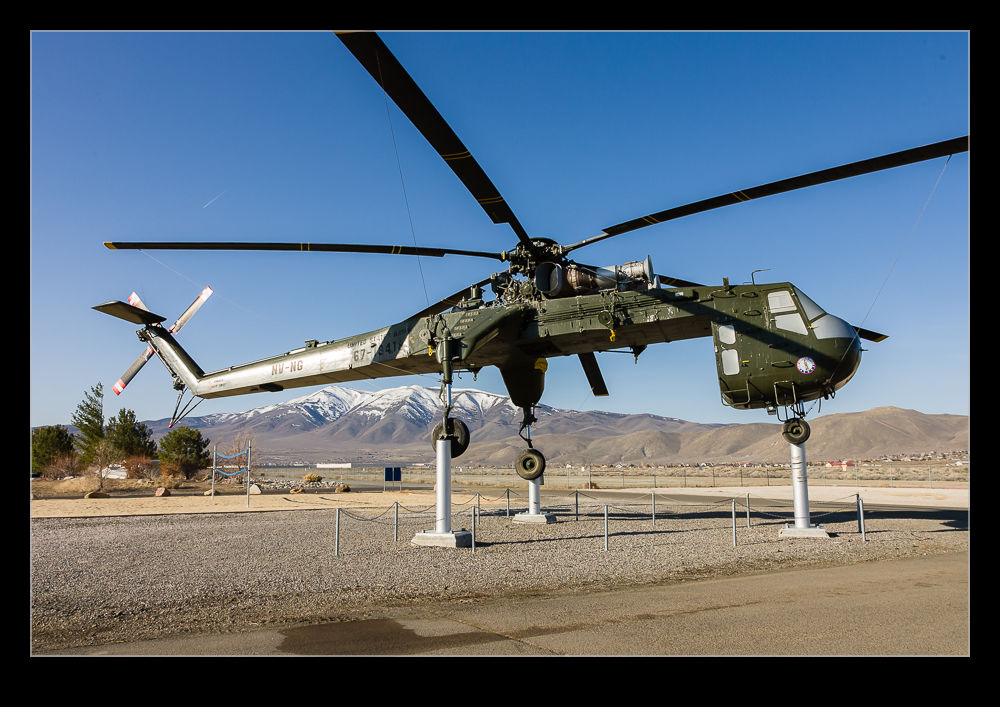
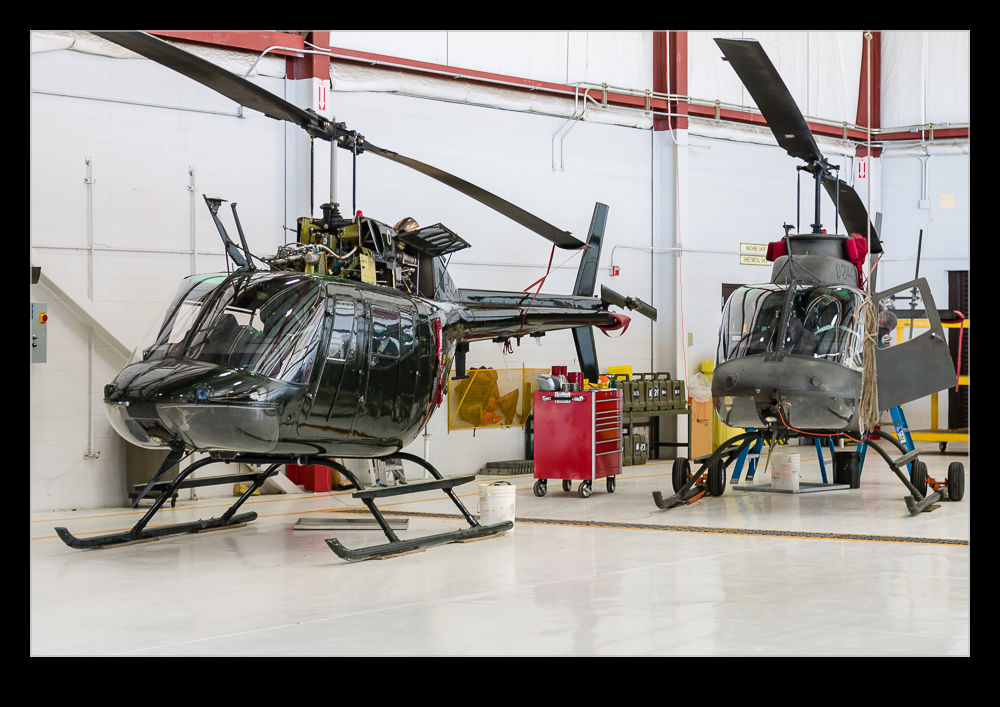
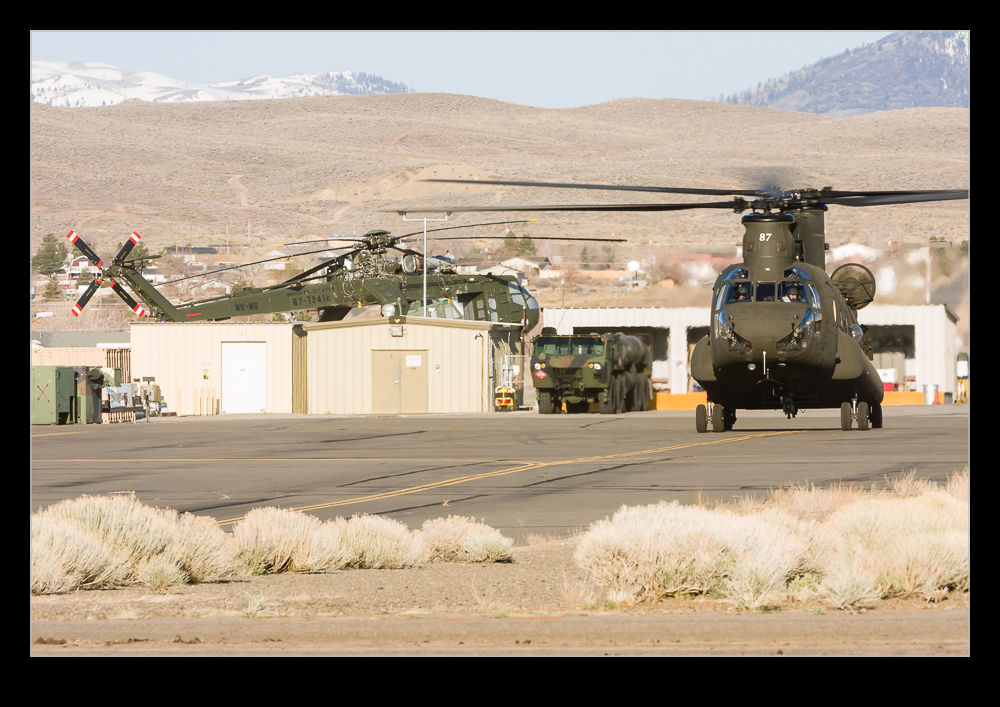
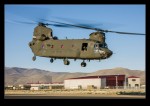
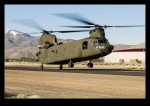
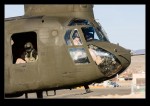
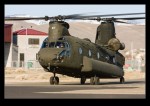
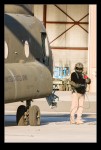
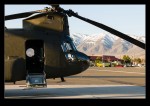
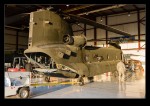
wpid12623-QB5Y7489.jpgQuite a few years ago, I was on a visit to NAS Fallon with my friend Richard. (You can check out his work at http://www.aviationimaging.com/ and I recommend you do.) Another buddy, Paul, was also along and the day after we were at Fallon, Paul had arranged a visit to the National Guard facility at Stead Field, north of Reno. (Paul’s work can be found at http://skippyscage.com/) This base operated a variety of helicopters including Chinooks, Black Hawks and Kiowas. It was also once the home of CH-54 Tarhes. It was in looking for pictures of the CH-54 that is preserved there that I came across the rest of the shots from that day.

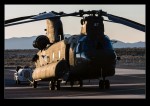
wpid12635-QB5Y7598.jpgI took one Chinook shot that morning that I have used a number of times but the rest of them had kind of been forgotten. We had a great time wandering through the hangars seeing what was ready for use or undergoing maintenance. The high point of the day was that a Chinook was launching and we were allowed out onto the ramp outside the fence to be in place when the Chinook taxied out and took off.

wpid12637-QB5Y7610.jpgAs it happened, the Chinook pulled up into the hover and stayed there for quite some time. Since I had time, I progressively lowered my shutter speed to try and get more rotor blur on the famously slow turning Chinook rotor. I had just got as low as I could go when he suddenly transitioned to forward flight. I was at totally the wrong shutter speed and ended up with some parallax issues as he flew by but it was all good.

wpid12629-QB5Y7543.jpgThe Chinook obviously features here a bit but I wanted to share some of the other helicopters that were there that day. It was fun to see some shots that I had forgotten about long ago.

wpid12615-IMG_1548.jpg

HDR Pro Comparison

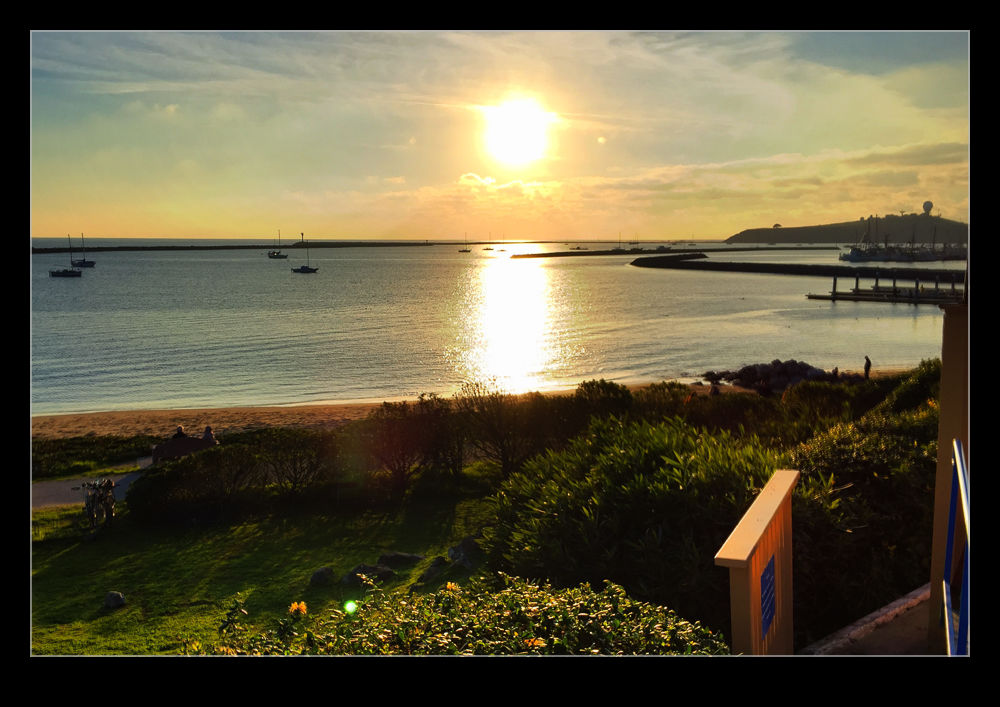
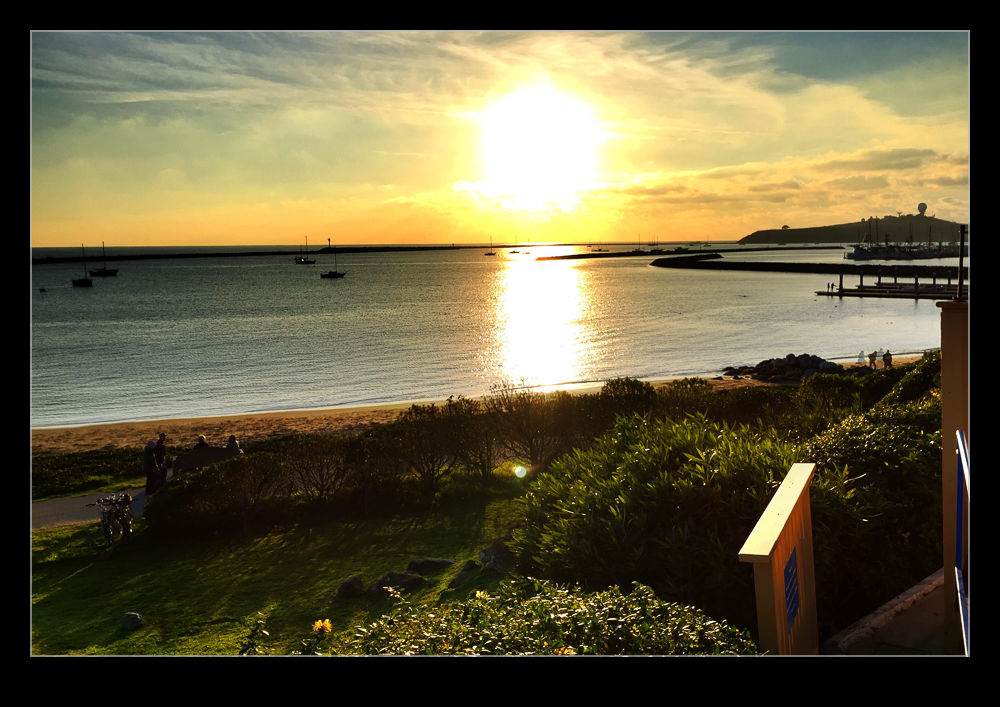
wpid12423-IMG_2448.jpgThe iPhone has an HDR function available in the camera’s software. However, it hasn’t impressed me in the past. My friend Hayman introduced me to an app called HDR Pro and I have used that as my default iPhone HDR app since. Recently, they introduced an updated version of the app called HDR Pro X. I decided to give it a go. I wanted to see what the images it produced were like, how the new controls worked and also to make a comparison with the output from HDR Pro.

wpid12425-IMG_2449.jpgThe top shot is from the new app.  The second one is the previous version.  The added control certainly seems to be beneficial and the blowing out of the higlihgts is far better controlled.  I am generally happy with the new version.  The controls could be more user friendly.  When you use Lightroom/Camera Raw all the time, anything less seems clunky!  See what you think of the results.

Golden Gate Sunset Time Lapse

After my buddy John had headed back into San Francisco, I had the choice to go home or to head back to the Marin Headlands to see whether I could get some shots across the Golden Gate to the city. The sunset was not too far off although the cloud levels looked like they might take away the best light. However, I figured the transition might make it worth a time lapse attempt.

I had come prepared with both a tripod and an intervalometer. As it turned out, I thought I had got this wrong when the intervalometer had dead batteries. However, I did have a backup plan with the Triggertrap iPhone app. (It turned out later that I had brought spare batteries with me for the intervalometer so I actually had more redundancy than I realized. However, I did manage to harm things a bit by nudging the tripod a couple of times when shooting so it didn’t all go well.

Even so, I did get a good set of shots to process. I was more conscious this time of having some spare footage before and after the sequence to make sure it didn’t have a sudden ending or one that cut off some aspect of motion. This ended up being the tour boats. They come out to the bridge and turn around. They provide some good motion in the sequence but also need to be complete or the eye is too aware of their sudden demise. Consequently, after shooting the sequence I wanted, I had to keep it running for a while in order to avoid the boat suddenly vanishing.

All of this was then processed in Lightroom and LRTimelapse, a program I have posted about before here.

Mt Tam in the Clouds

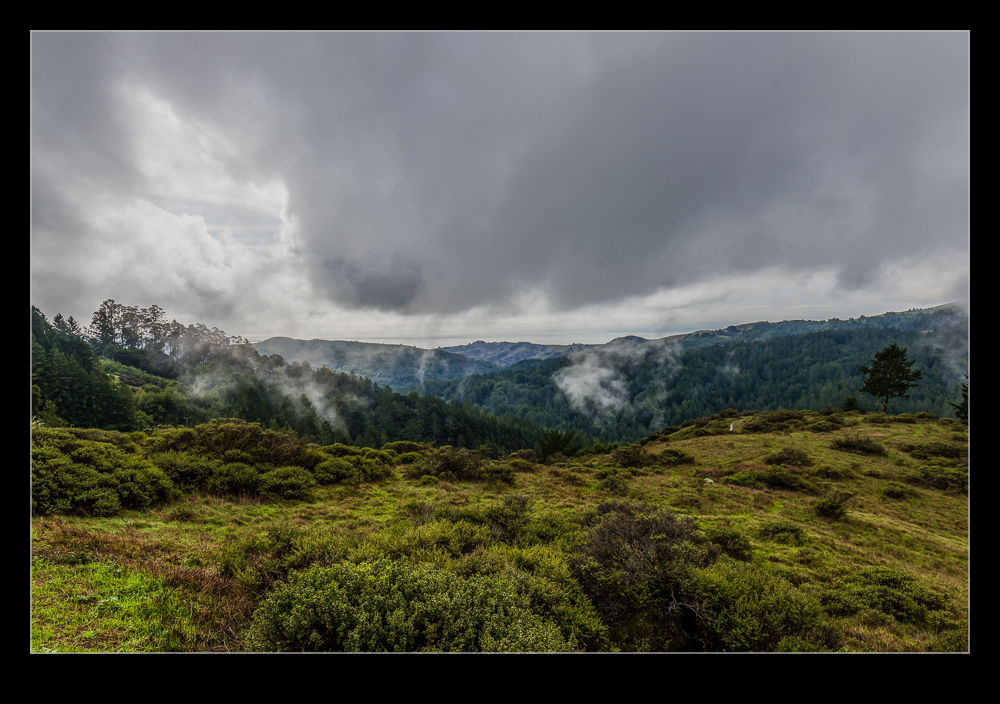
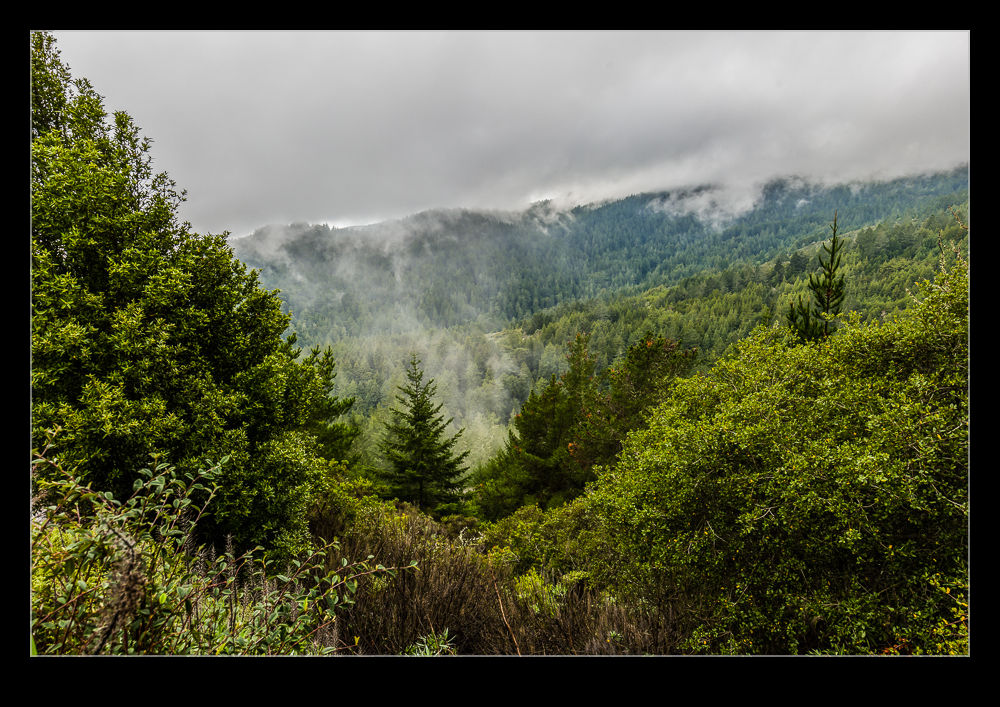
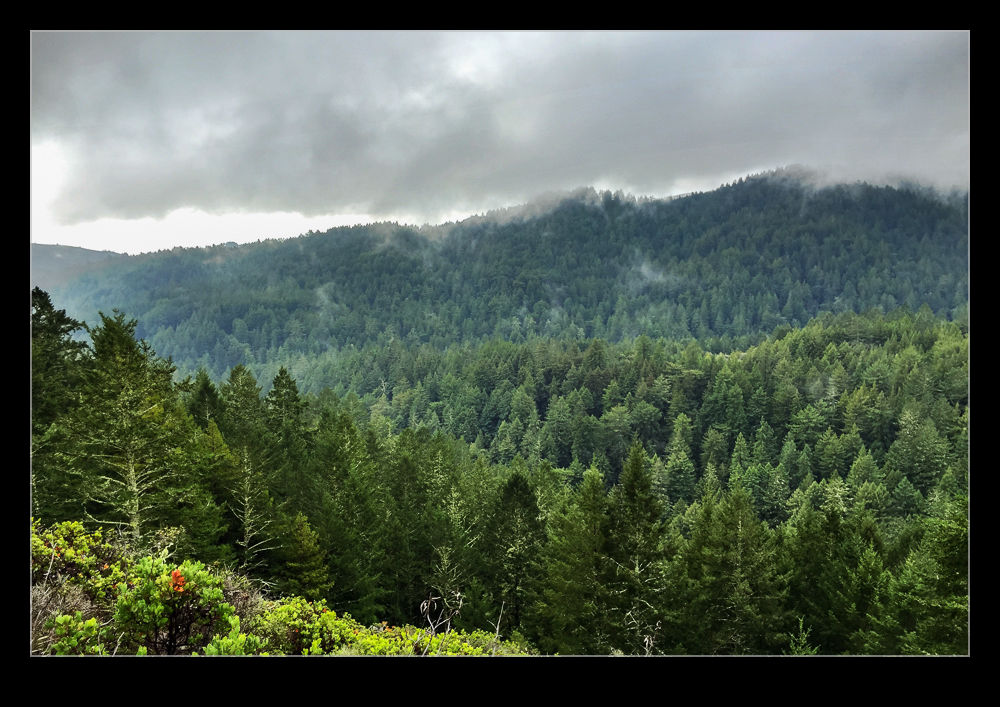
wpid12411-AU0E3541-Edit.jpgMy friend John from Chicago was out in San Francisco for the weekend and we arranged to get together for a walk up in the hills of Marin County. We headed to Mt Tamalpais to walk the trails there. The weather was not ideal with rain and low cloud when we set off but, as we got closer, the rain eased up, even if the cloud didn’t. Even so, it meant we were going to be okay to walk. What I hadn’t counted on was that I was going to warm up a lot as we walked and the uphill element of the second half of the walk was going to mean I was a touch overdressed! I was dry though.

wpid12405-AU0E3518-Edit.jpgI left the main camera in the car rather than lug it all around. However, I did have my phone and it was good for some shots. Also, I have been playing around with Photo Sphere from Google recently. I got a sphere while down in the woods. You can see it here. https://plus.google.com/u/0/104745382077938728957/photos/photo/6089868108315918482?pid=6089868108315918482&oid=104745382077938728957

wpid12403-IMG_2375.jpgWhen we got back to the car, we drove along the ridge above the valley where Muir Woods is located. The clouds were beginning to break up a little and the combination of the light and the clouds still on the hills looked great. I struggle to take what I see in those situations and turn it into a photograph but hopefully this gives you some idea of what was there. The dynamic range is one thing to deal with in processing but the feel is something harder to translate.