This one is for those of you that update your computers to add new capabilities and one day find you have created a monster. I bought my computer with two hard drives installed. I added other drives and ended up with seven of them in there. It occurred to me that I probably wasn’t making the best use of the storage I had and I decided to make two changes. The first was to replace the drive the OS was installed on and the second was to rationalize the drives for storage.
The original OS drive had been an SSD which was barely able to hold the OS and some of the user data. however, at some point, something became corrupted and a new install was required. Unfortunately, the install process which is supposed to allow a reformat of the drive as you go, somehow wouldn’t do it. Since I needed it for work, I swapped it out with a spare normal drive I had. This worked but took some speed out of the system. Fixing this was the first goal.
SSD drive prices have fallen a lot so I actually bought a new SSD drive which allowed me to keep more on it without worrying about space. This was the first part of the upgrade. A couple of minor problems troubleshot and I was up and running. The second thing I had to do was something I had prepared for ahead of time. Reallocating all of my storage requirements.
Originally, I had a bunch of drives that had become part of the system over the years. Some were in their third machine! They were not the biggest drives around so I had a lot of space taken up with relatively limited storage capacity. I worked out the requirements for all of my different data types – photos, documents, videos, Lightroom catalogs etc. I then decided how I wanted them split up, what growth I needed and what drive sizes would suffice. I was actually able to make use of drives that I already had – there were a bunch of reasonably large spares that came from updating my NAS a while back. That also meant I had some large drives to act as intermediaries while I moved everything around.
I will have to update one of the drives in due course but it will suffice for a while. My culling of old images will also buy me some time there! Ultimately I got everything migrated across to its new home, the Lightroom catalogs updated to find everything again and I now have two less drives in the box and still plenty of capacity. A bit of a pain to do but worth it I think. Let’s hope everything behaves for a while and no further rebuilds are required!
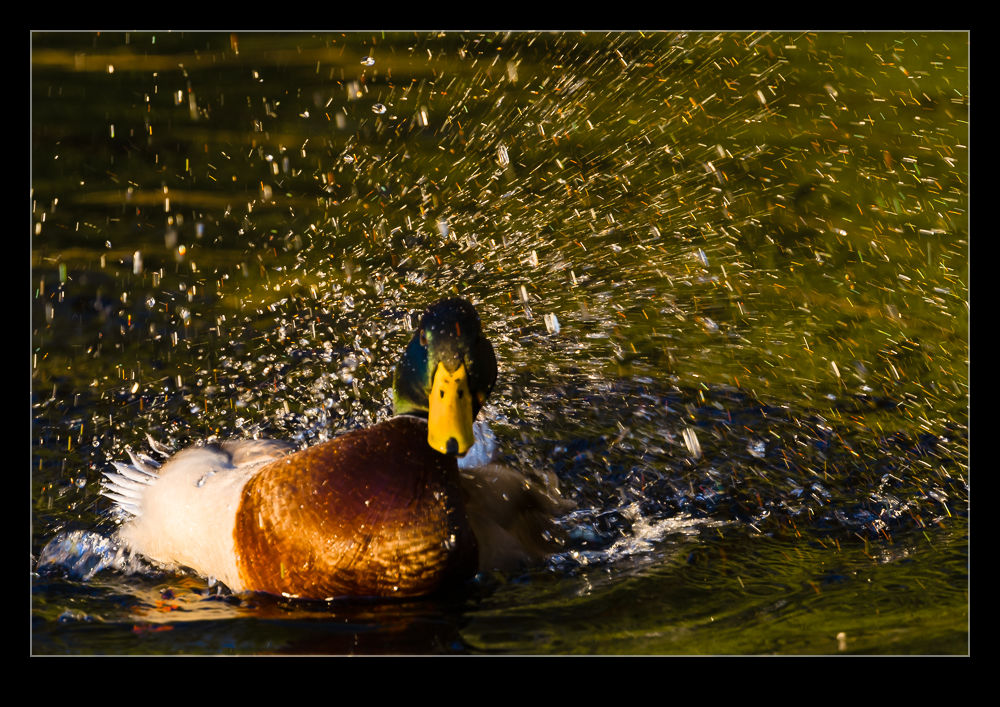 Walking back in to Log Boom Park from the pier, you get to the shoreline which is a popular spot for the ducks. They clearly like the shallow water and the multiple spots where they can come out of the water to rest. As I was approaching, they seemed to be in agreement that it was bath time. Every duck was taking a turn at washing their plumage.
 I figured I would take a chance on the shots. Slow shutter speeds were worth a go. The problem with this is that the ducks are moving a lot so the chances of getting a sharp head/eye are a bit limited. However, if that does work out, the flapping of the wings should look more interesting than trying to freeze the action. Making use of the high shutter rate on the camera is a good way of improving the likelihood of some success and, I was okay with getting a few that worked out.
