Lightroom CC comes with a number of new features. High on the list is the new panorama feature. Previously, if you wanted to stitch a panorama, you would select the shots in Lightroom, make sure you had them synced up for any exposure edits and white balance corrections and then send them to Photoshop. Photoshop had a Photomerge function that you could use or you could open them as layers in a document and carry the merge out yourself with a bit more control. This was the approach I used and I wrote about the technique here a while back.
The new Photomerge in Lightroom CC is designed to do without Photoshop. It takes your original files and then makes a new DNG file which is the stitched panorama but, as a RAW format, it still allows you to edit the image using the normal editing tools. I had to give this a go so, how well does it work?
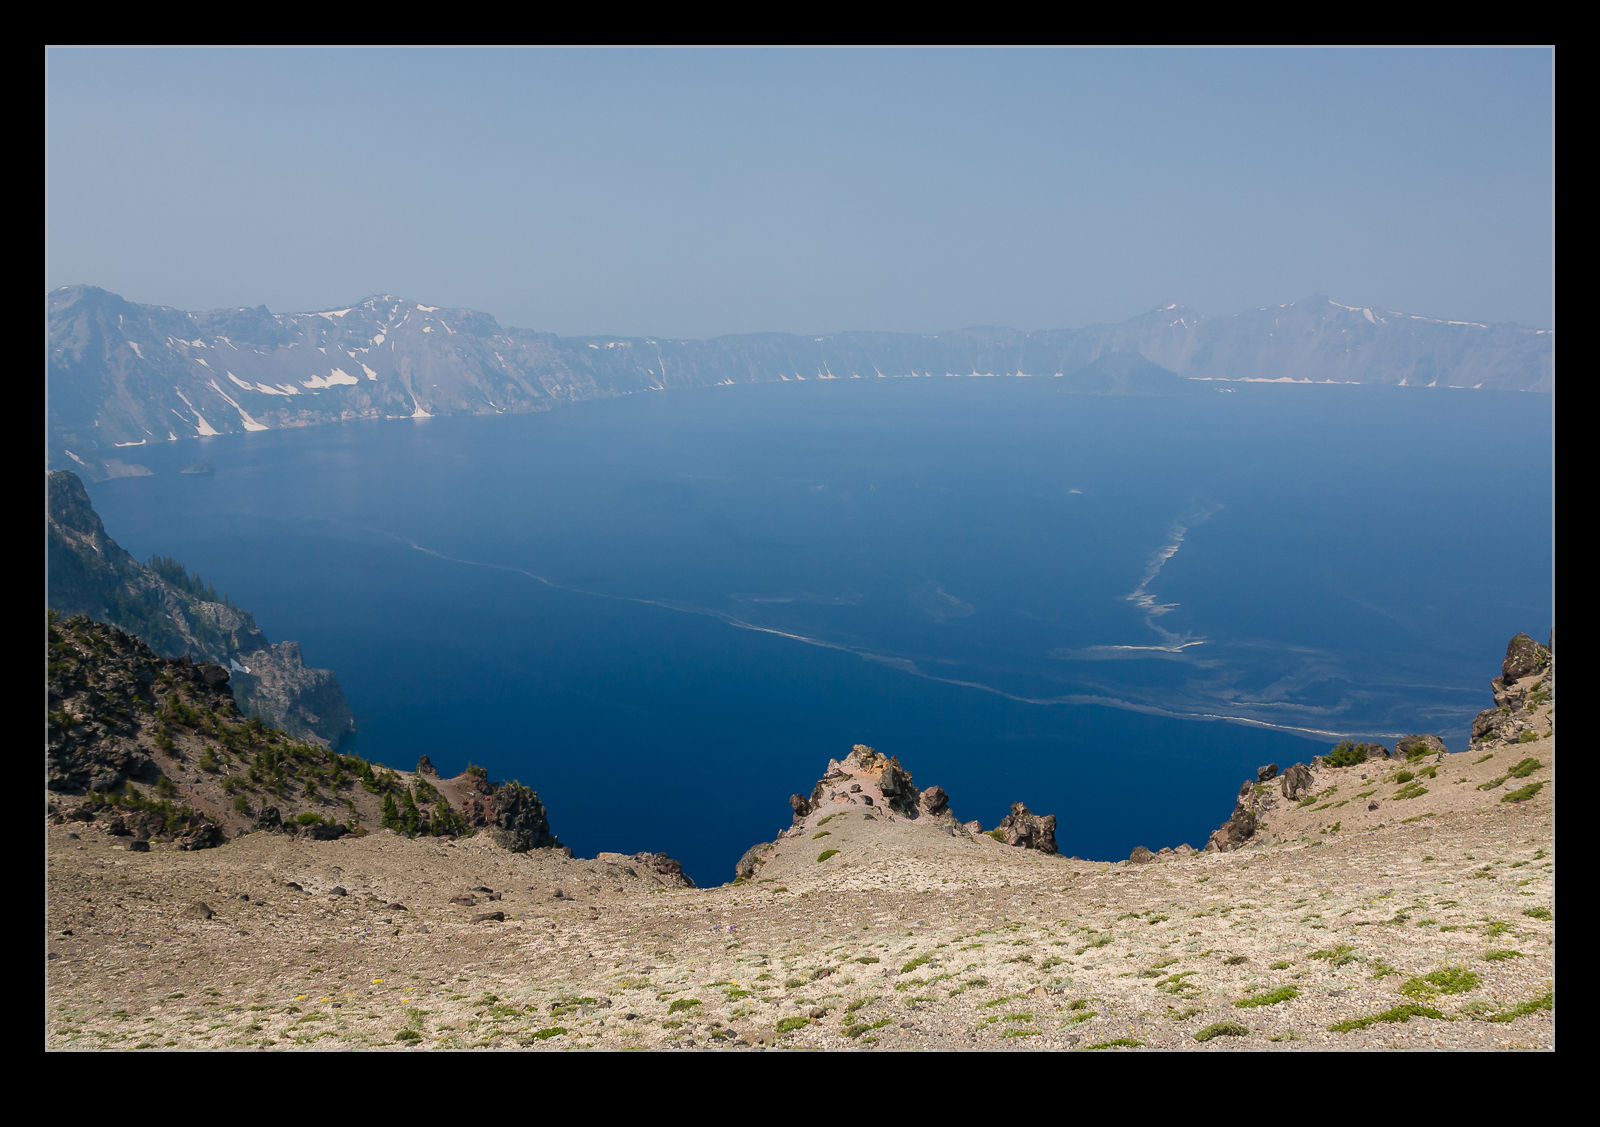
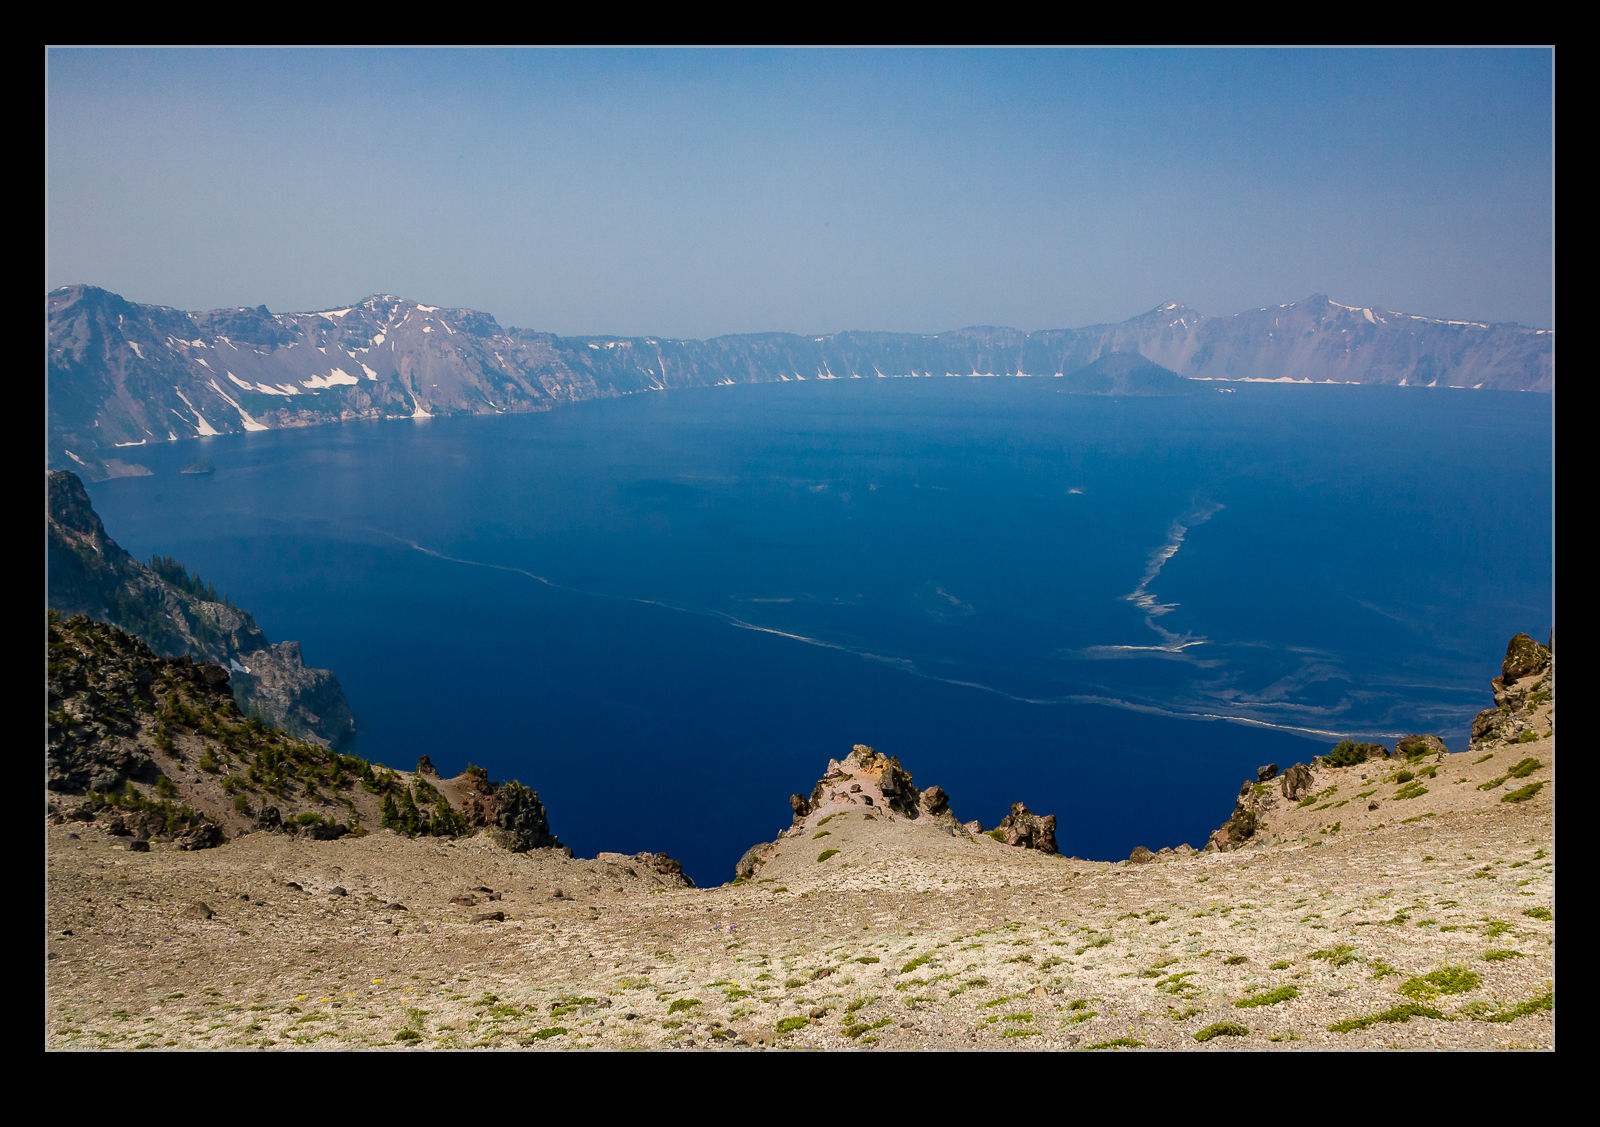
The answer is a mixed one. In many cases, it works just fine. It stitches together the shot nicely and you can go on your way. While the initial preview process takes up a little time, the processing of the final stitch is done in the background so you can get on with something else – something I find very handy. However, it does have some shortcomings.
First, it doesn’t always find the way to stitch the shots. I have had a couple of times when it couldn’t work out the alignment. When I tried the same shots in Photoshop, they worked just fine. Not sure why these didn’t work but the algorithms must have some limitations. Next, it doesn’t always deal well with curvy edges. I have had a couple of stitches that I tried where the aircraft fuselage, although a smooth curve, ended up with some kinks at the area where the stitch took place. Photoshop never caused me trouble with these either. Big panos also seem to make it unhappy with some very odd alignments being chosen (after a long time processing) so they may have to stay in Photoshop for now.
The last problem is cropping. You have the option to have the whole stitch or to have it crop in automatically (or you could crop manually afterwards). Cropping pulls you in to the shot more aggressively to get rid of any blank pixels. You can fix this by shooting a lot wider to have more to work with. However, having been used to being able to fill odd little gaps using Content-Aware Fill in Photoshop, not being able to do so in Lightroom is a limitation. I can, of course, open the file in Photoshop and do just that. However, if I do so, I might as well use Photoshop to do the merge in the first place.
Overall, it is pretty good. I suspect there will be some tweaks behind the scenes as CC gets updated progressively so I might not even know that Adobe have fixed some of the issues. The Fill issue will be more obvious though. I shall probably keep using it unless I feel the Photoshop is merited and it is a good addition but I hope they take it further so I don’t have to consider Photoshop in the future. We shall see because the new update of Photoshop is out and includes Content Aware Fill of the gaps in panos which might be enough to sway me back.
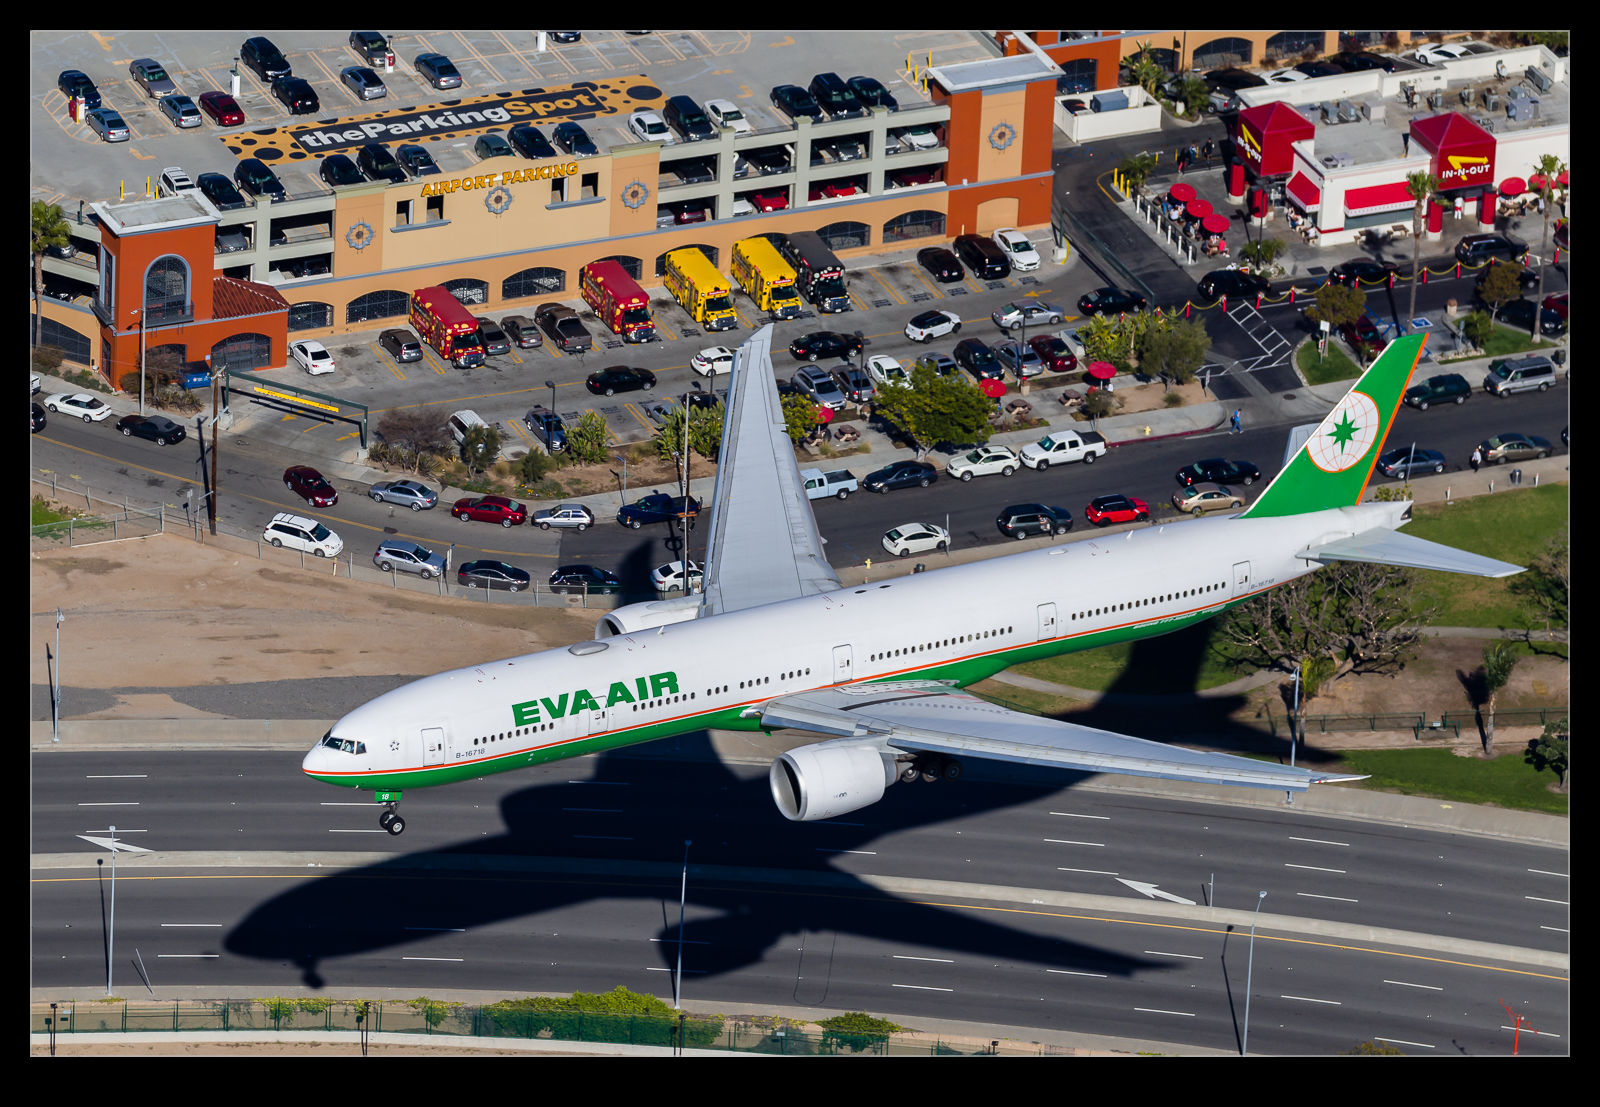 Shooting with a long focal length lens has the effect of compressing the image to make elements appear a lot closer together than they really are. When shooting from the helicopter over LAX I was using a 100-400mm lens. The aircraft themselves were quite low to the ground, particularly those on short final to land. They weren’t a long way off the ground but the lens in use had the effect of making things look a lot closer than they really were. Some of the shots I got of the aircraft over parking lots or near the In’n’Out really make it look as if the jets were barely airborne. I like the extra drama this adds to the shots.
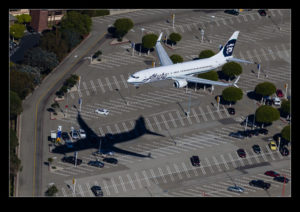
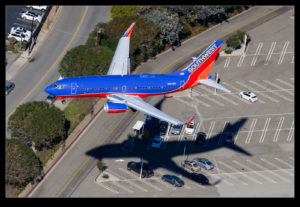
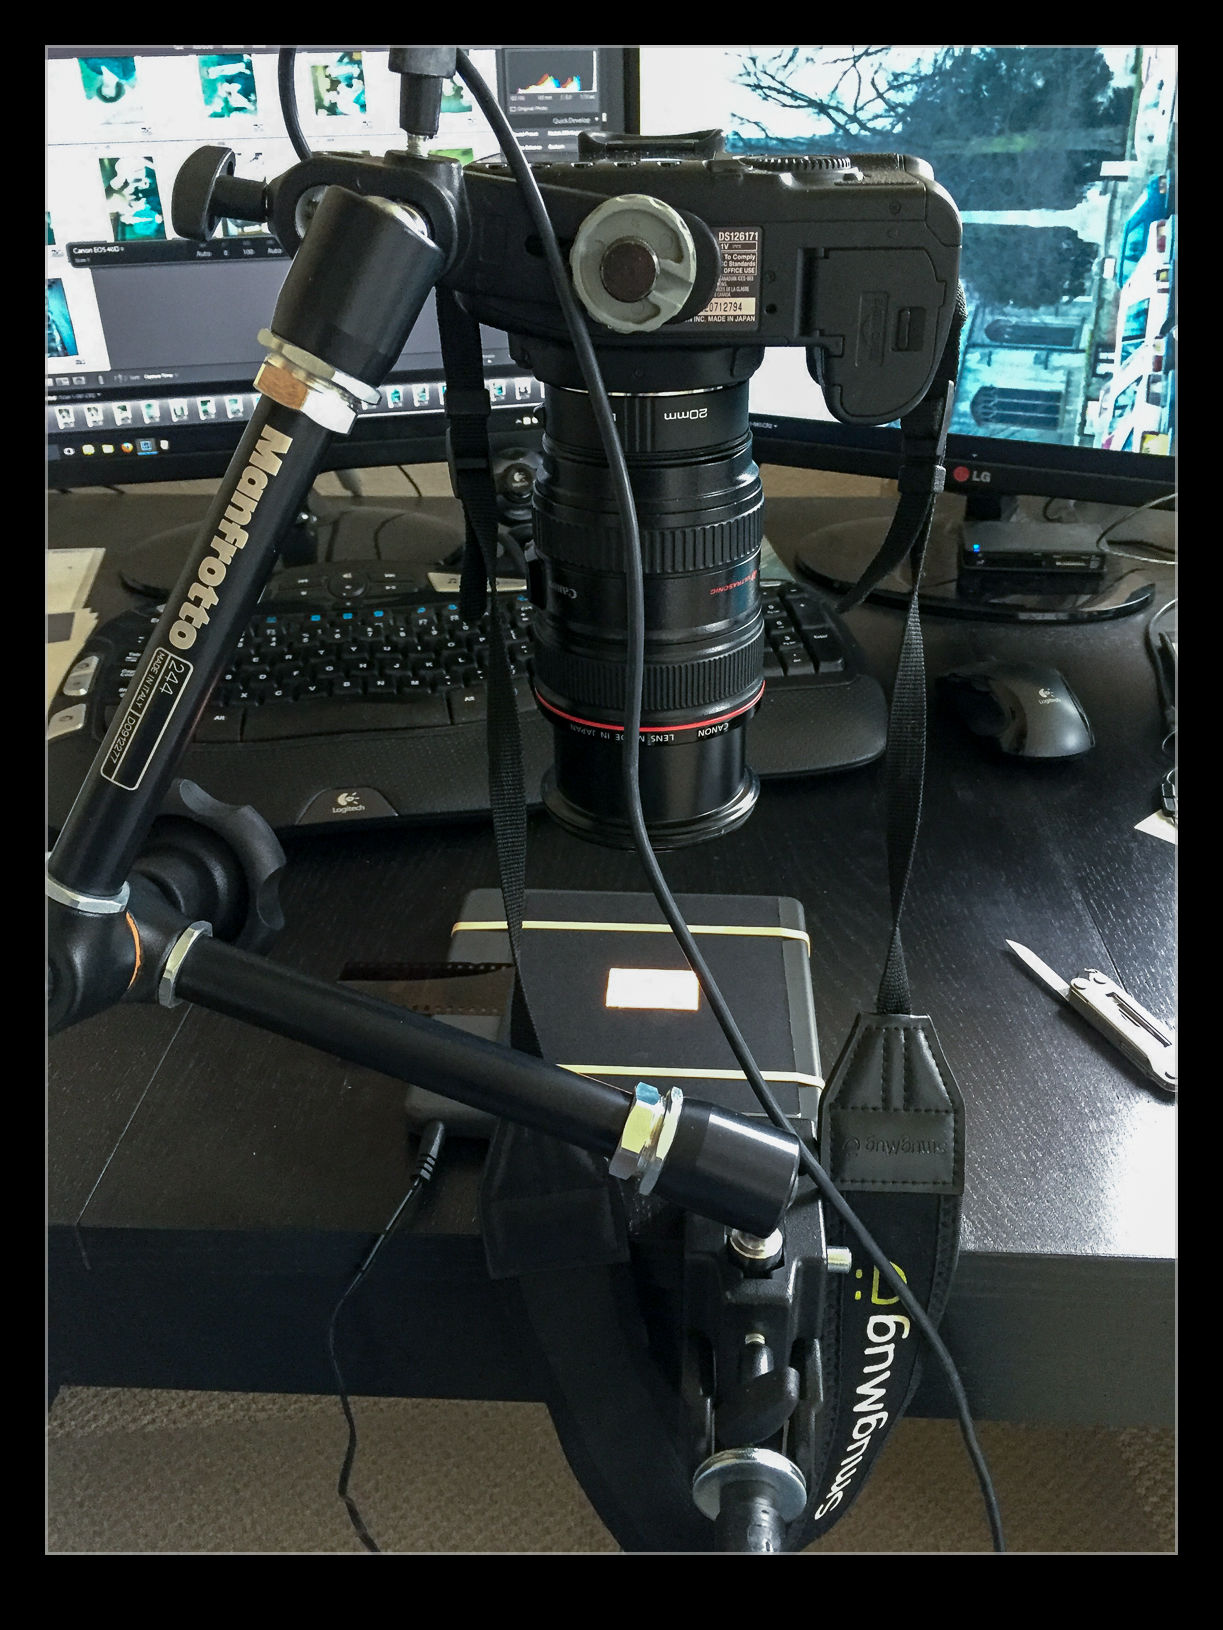
 I am in the process of experimenting with a new approach to scanning old photographs. For many years I have been using a Minolta Scan Dual III scanner. It can accept strips of negatives or slides and does a reasonable job of scanning them in. It is a bit labor intensive and is certainly not fast. Moreover, the scanner is not terribly reliable and it will often hang mid scan requiring me to restart it and close down the application before restarting that too. Since it takes a long time, I often get it running and go and do something else so I might miss the problem.
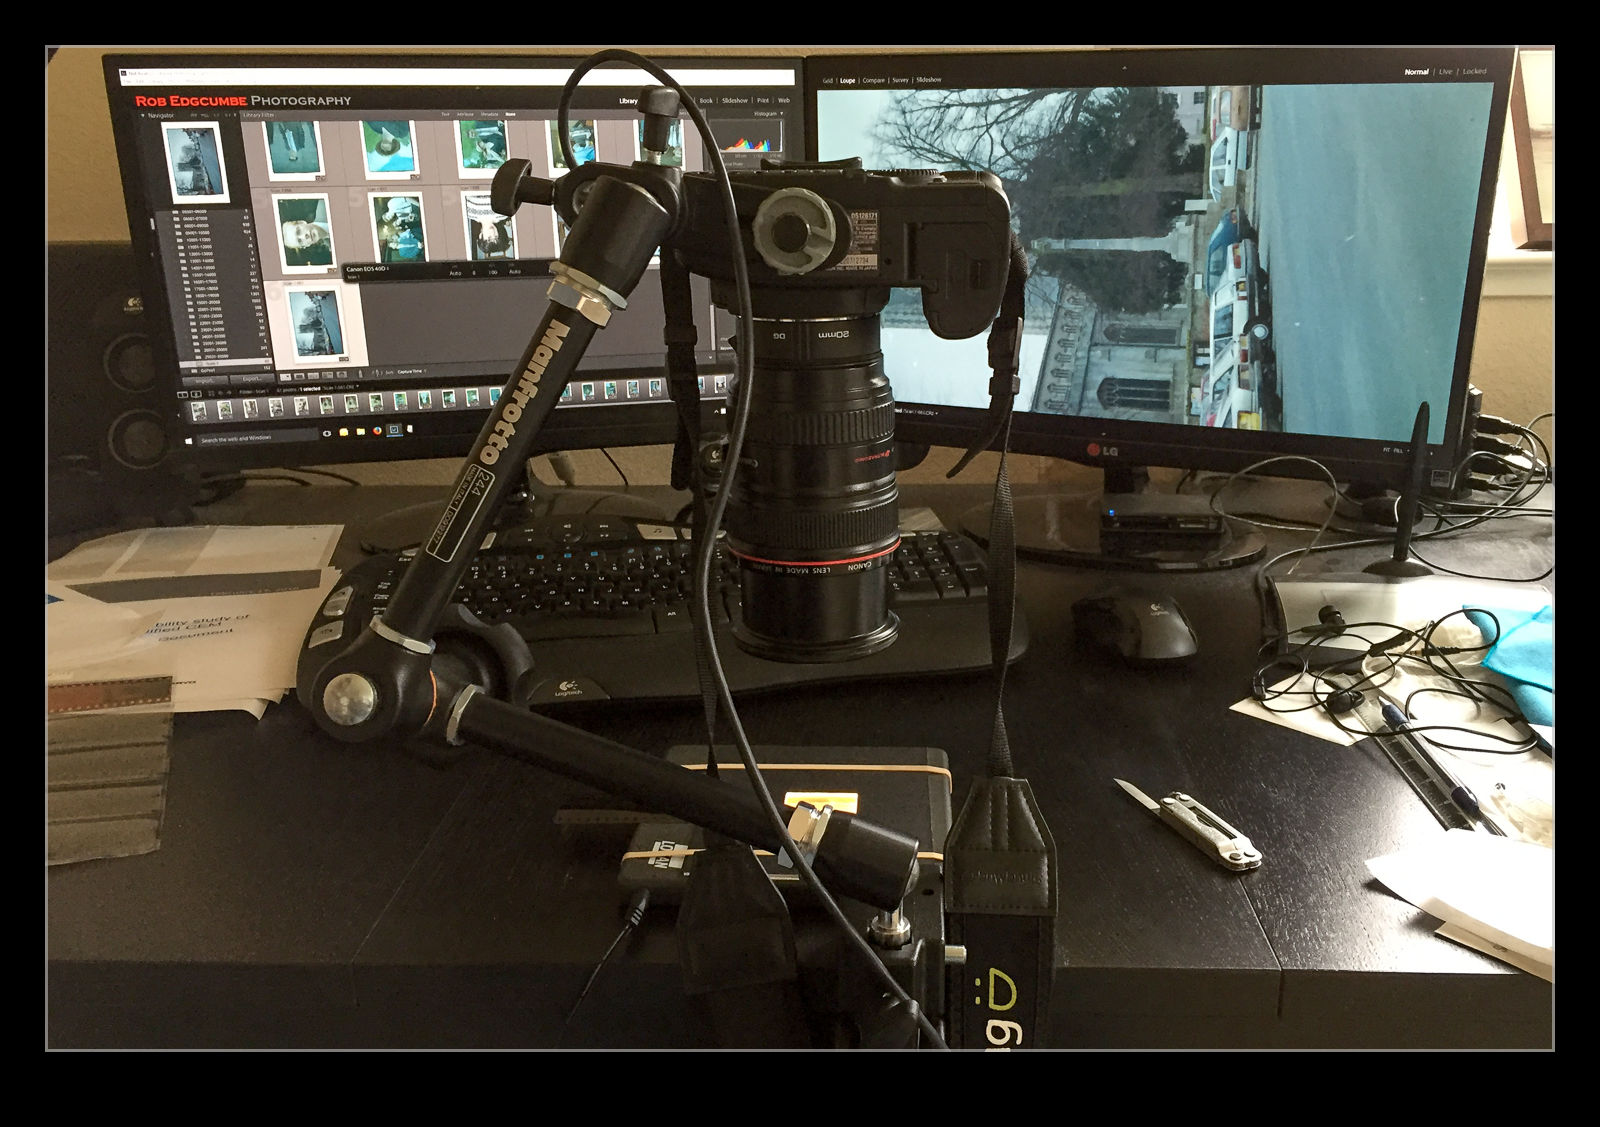
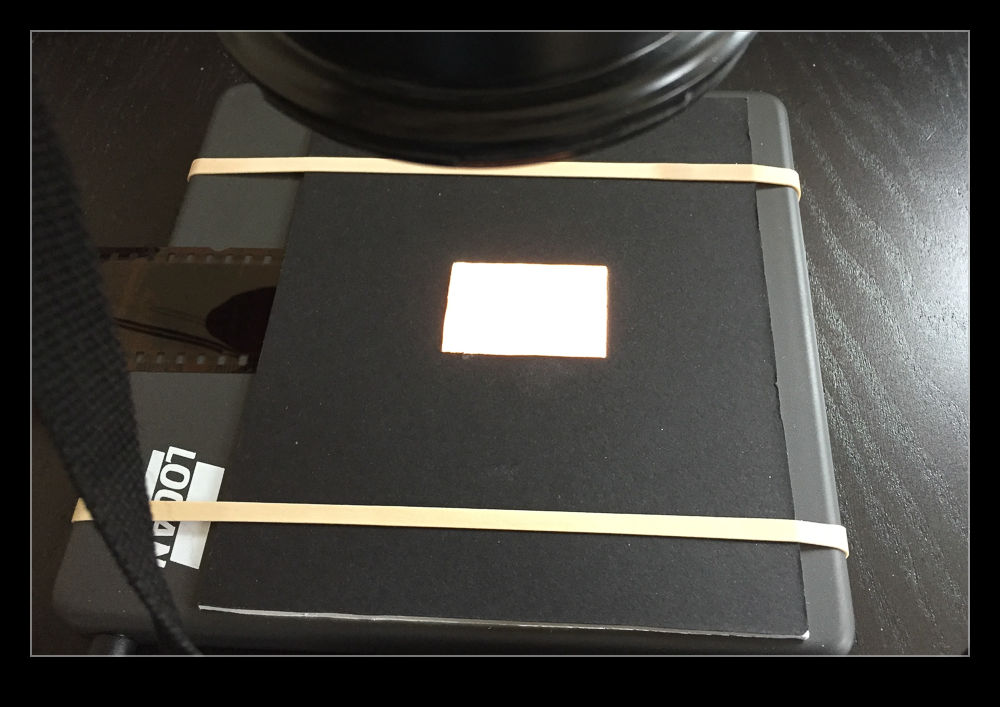 I am taking the images at my desk so I am able to tether the camera to the computer and use Lightroom to capture the images directly. This has actually provided me with an opportunity to drag out one of my older bodies that doesn’t get used anymore. My old 40D has been sitting on a shelf for a long time but it has come back into use for this project. It has more than enough resolution for this task. (Unfortunately, the batteries are now rather old and don’t hold a charge well so I am going to get an AC adapter from Amazon for ten dollars which should free me to scan as much as I want.)
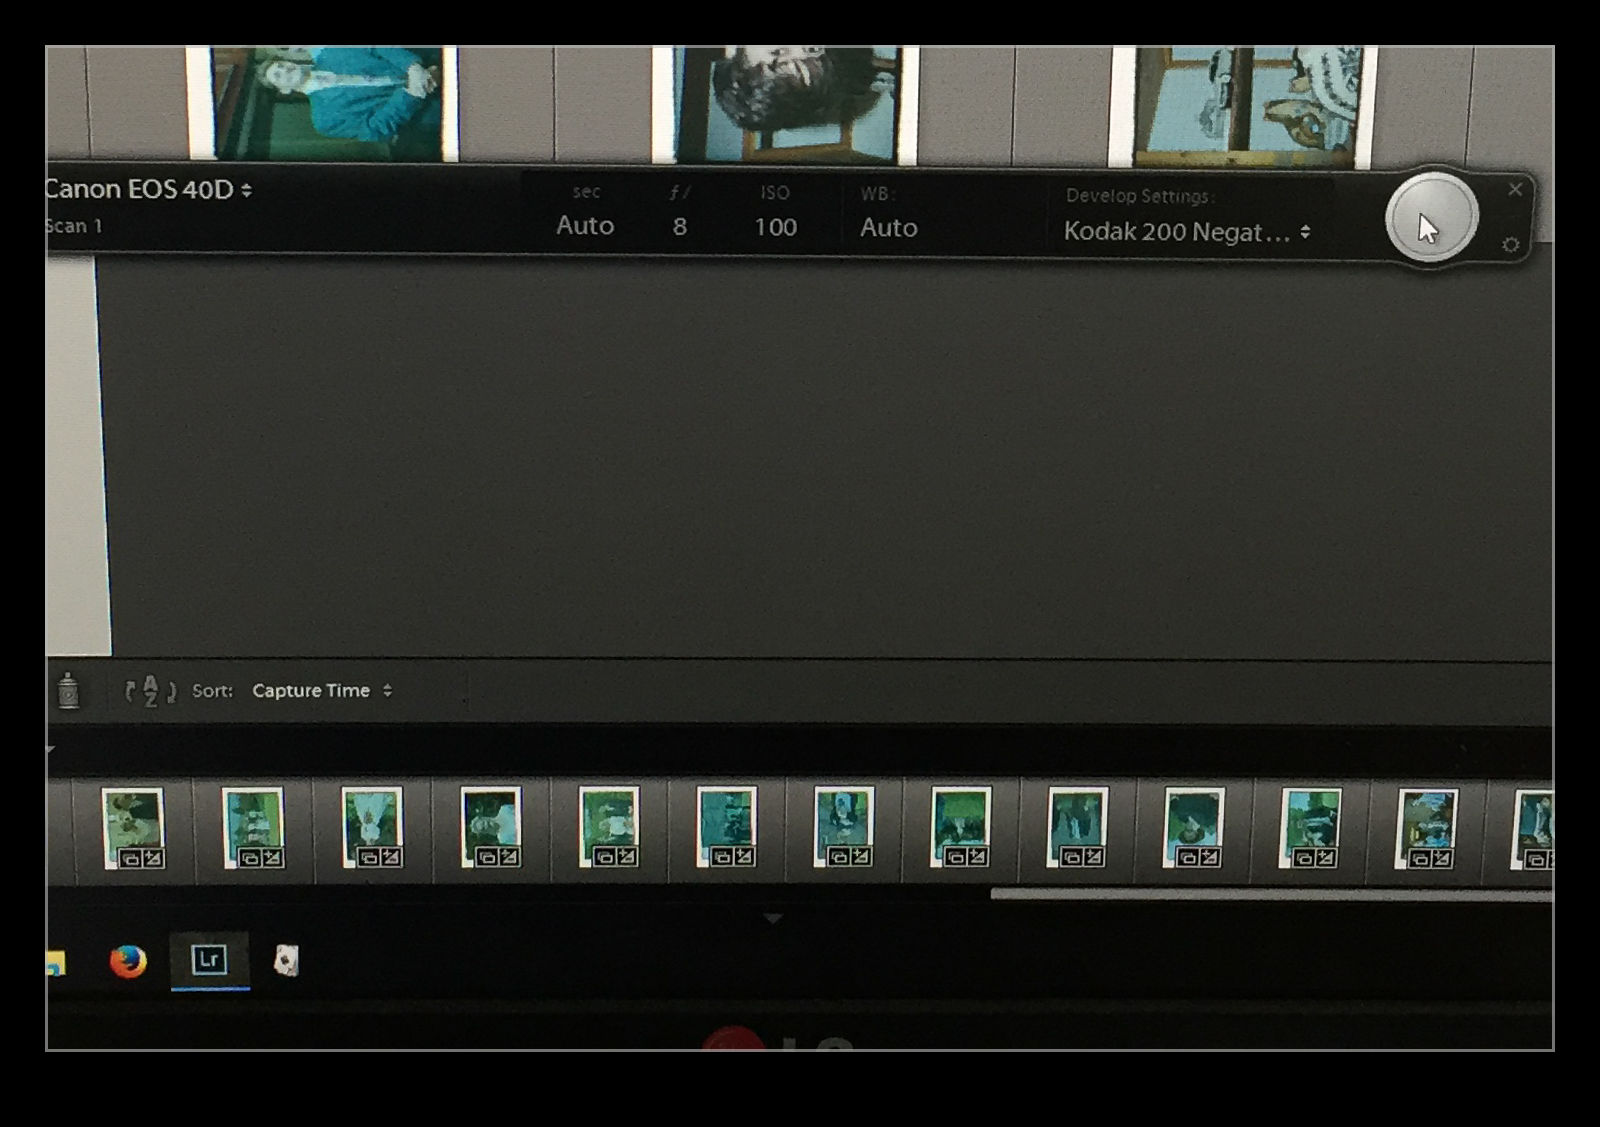 The image is now recognizable but not there yet. Now I have to do some manual manipulation to tidy it up. The sliders have to be used carefully in this case because they are now working in reverse as a result of the tone curve that I applied. This requires some thought. Exposure is still exposure but is reversed. Usually shots look a bit washed out so, what would normally by the Blacks slider is now the Whites. Shadows are handled with the Highlights and vice versa. It takes a bit of getting used to but it is not too hard after some practice. I tried using Auto Tone but it did not do a great job. I imagine the algorithms were not designed for operating in reverse!