Category Archives: photo

Crescent Moon

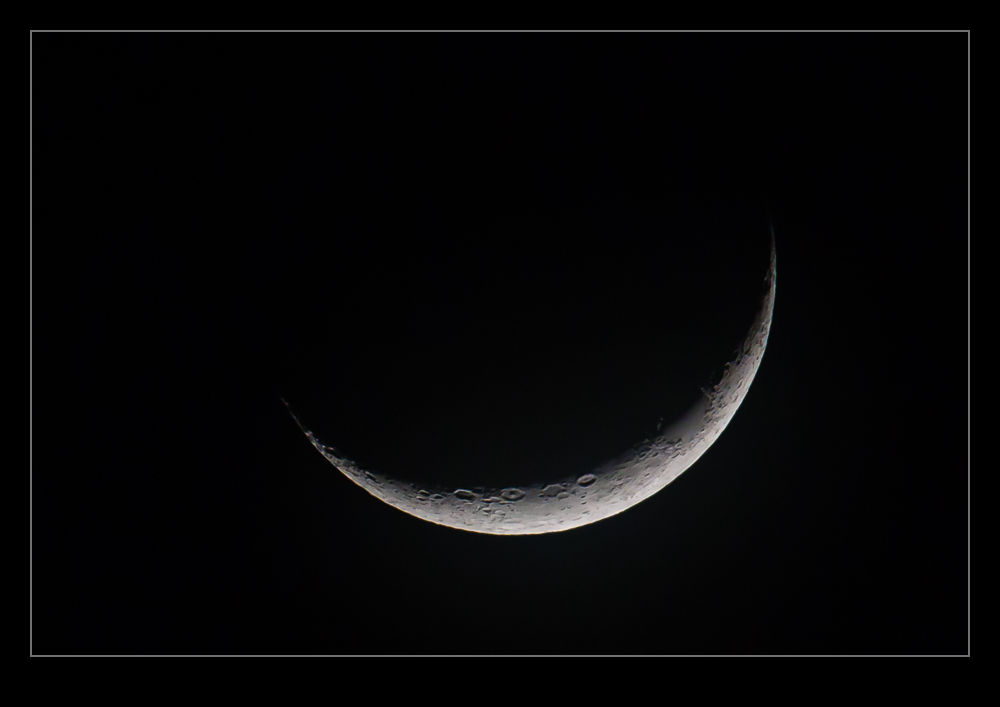
wpid8837-C59F5048.jpgYou see the moon more when you commute.  Each morning and evening you make the trip to and from work and spend some time outside.  Therefore, while your window on the outside world is relatively restricted, you are forced outside at given times and therefore see what is around you.  Since the moon rises and falls at slightly different times each day, you will cross paths with it reasonably frequently.  When I worked from home, the chance of looking outside at the right time was less so I didn’t pay the moon as much attention.

I get to see it setting while the morning sun is coming up on the hills (I will have to try and shoot that at some point) as well as seeing the different phases.  One evening I was on my way home when I saw the thinnest sliver of moon.  I could actually see the rest of it although it was very dark.  Unfortunately, cameras are not able to handle such a range of light so a shot of the illuminated side means the rest is black.  I didn’t bother with trying HDR, not least because the moon moves pretty quickly and long exposures end up very blurred.  I made do with the simple shot.  It made me happy.
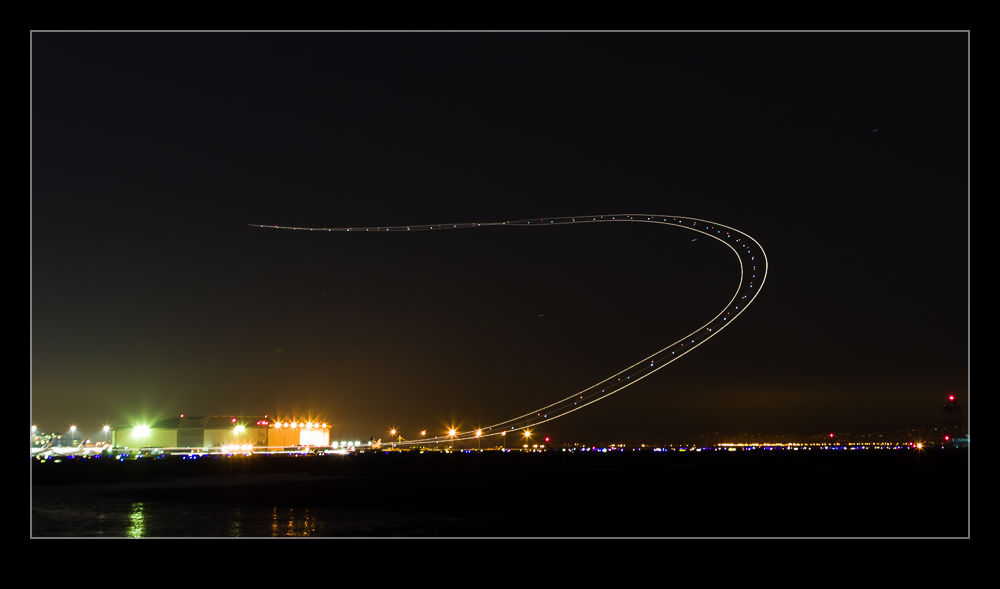
Night Shoot at SFO

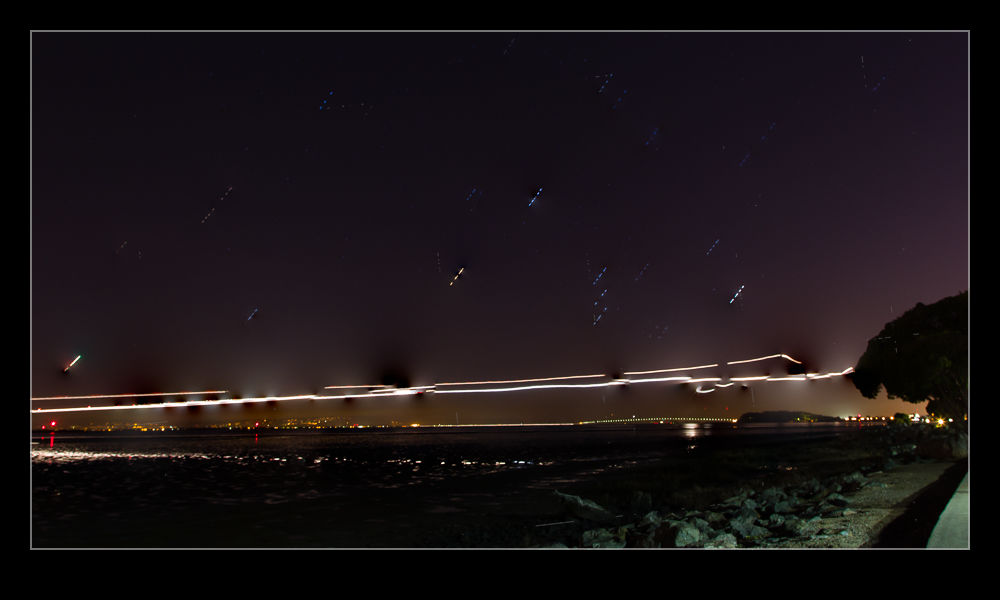
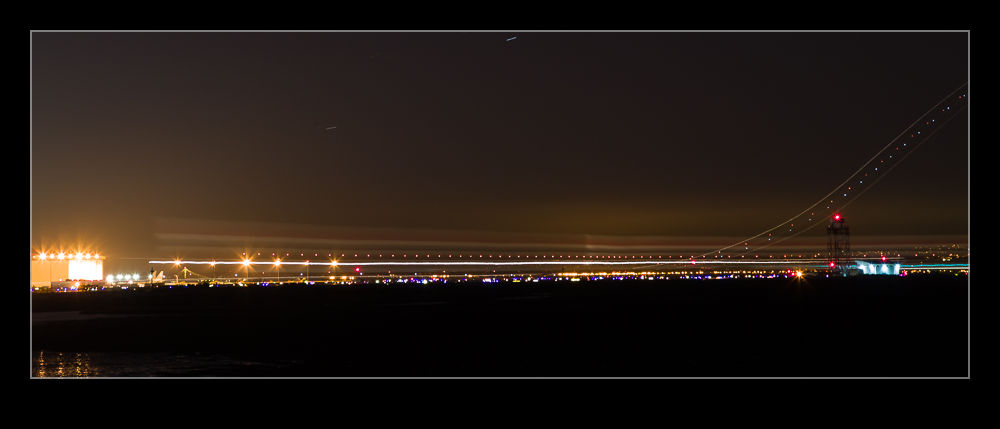
wpid8773-AU0E0813.jpgOne idea that Paul had was for us to have a go at shooting some light trails at SFO after it got dark.  This sounded like a good plan.  Unfortunately, we didn’t have any tripods or cable releases with us.  No matter.  Target was around the corner so we popped in there and bought a couple of $15 specials.  Hmm, these were quality items indeed.  Given how much a good tripod costs, can you imagine what a $15 tripod is like?

wpid8769-C59F4390-Edit.jpgHowever, we made the best of it.  Getting perfect alignment was tricky so some post processing cropping to level stuff up would be required.  The camera wobbled a lot on the tripod when touched so I chose to trigger it with the shutter button on a 2 second delay.  This allowed some wobbling to stop and, on a long exposure, any lingering wobble would be lost.
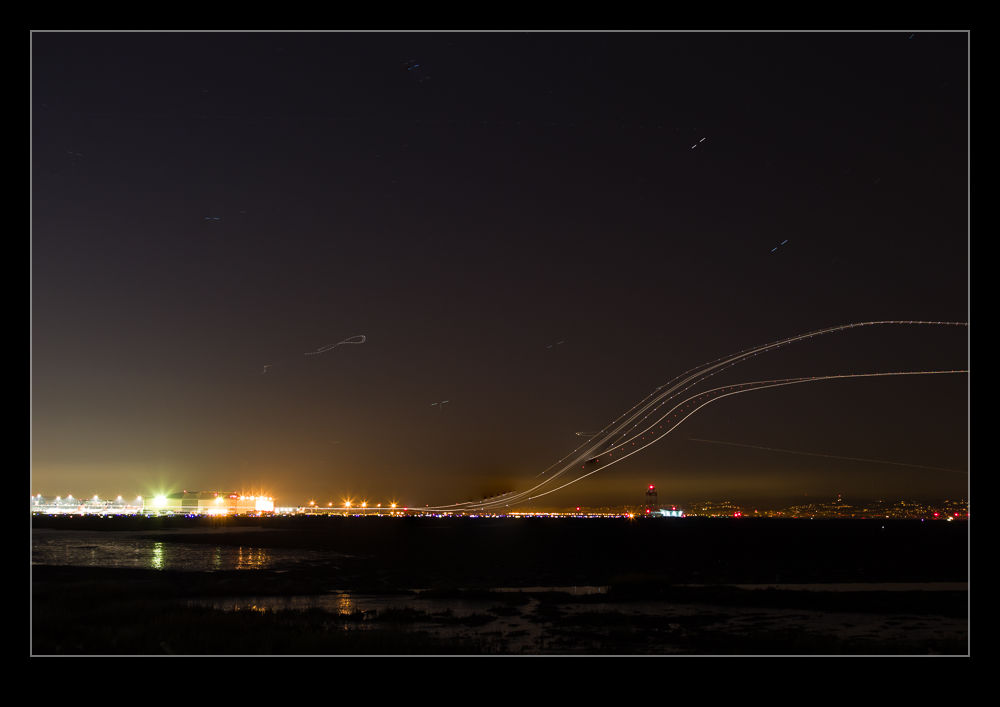
wpid8777-AU0E0811.jpgWe got some stuff but it wasn’t brilliant.  However, a short while later, I had to go to SFO to pick up some family members arriving on an evening flight so I decided to go a little earlier and try again, this time with some more appropriate kit in the form of a decent tripod and a cable release.  This time, I was able to control things a bit better and get a few shots of interest.  There wasn’t a huge amount of traffic so I didn’t get too many trails but I did get a slowly taxiing British Airways 747 which left an interesting smear across the frame.

wpid8771-AU0E0793-Edit.jpgThe alignment with the moving planes is not fantastic from where I was but it was okay.  Coyote Point looks like it might be better but I think it closes at sunset so I’m not sure whether that will be possible or not.  We shall see.

Bay Birds

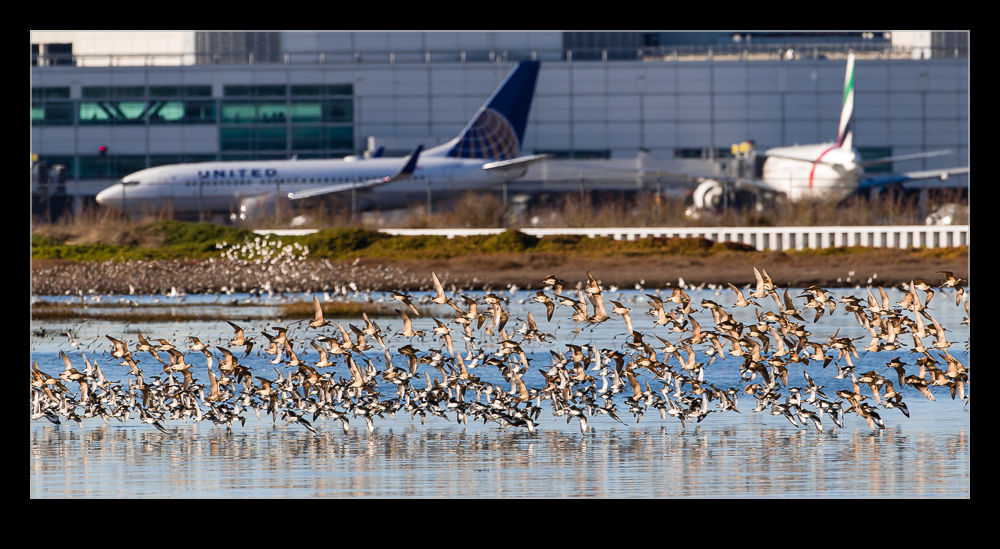
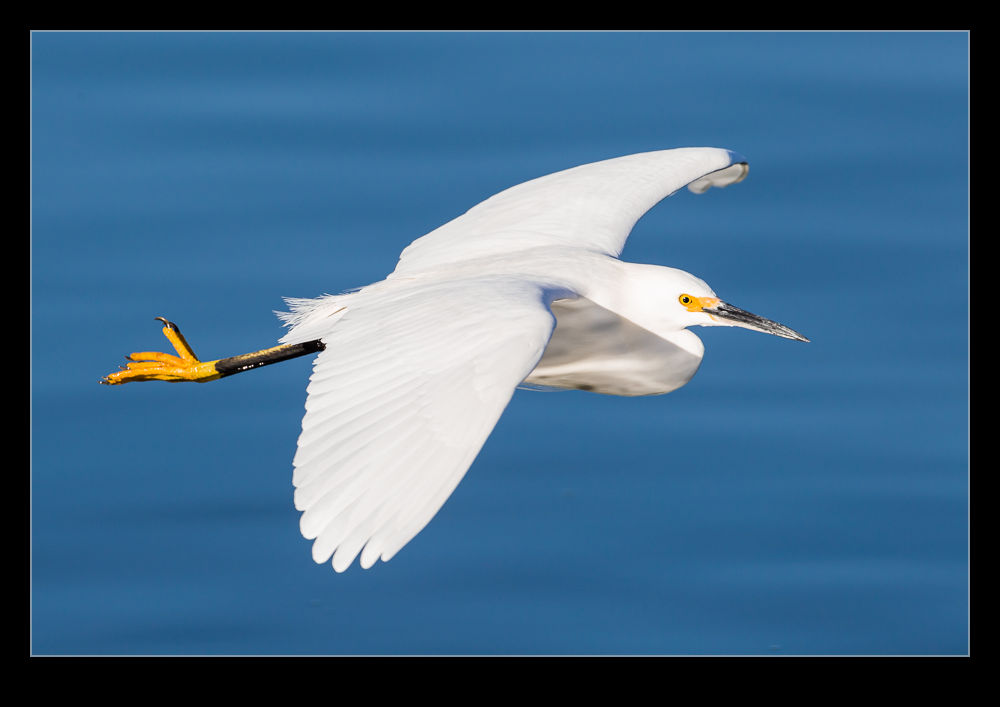
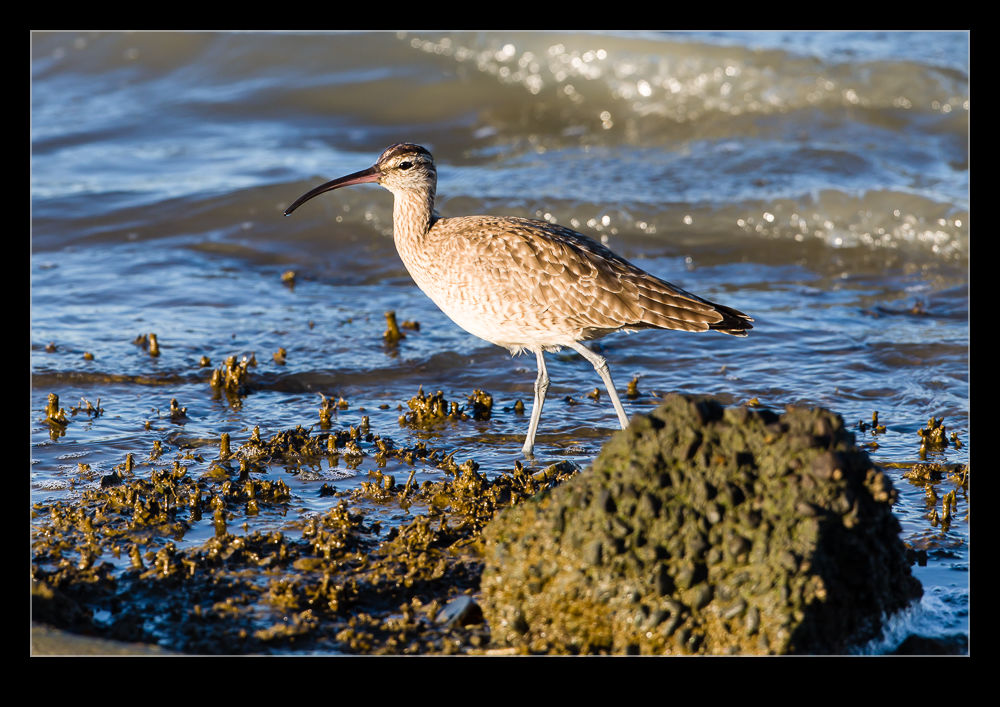
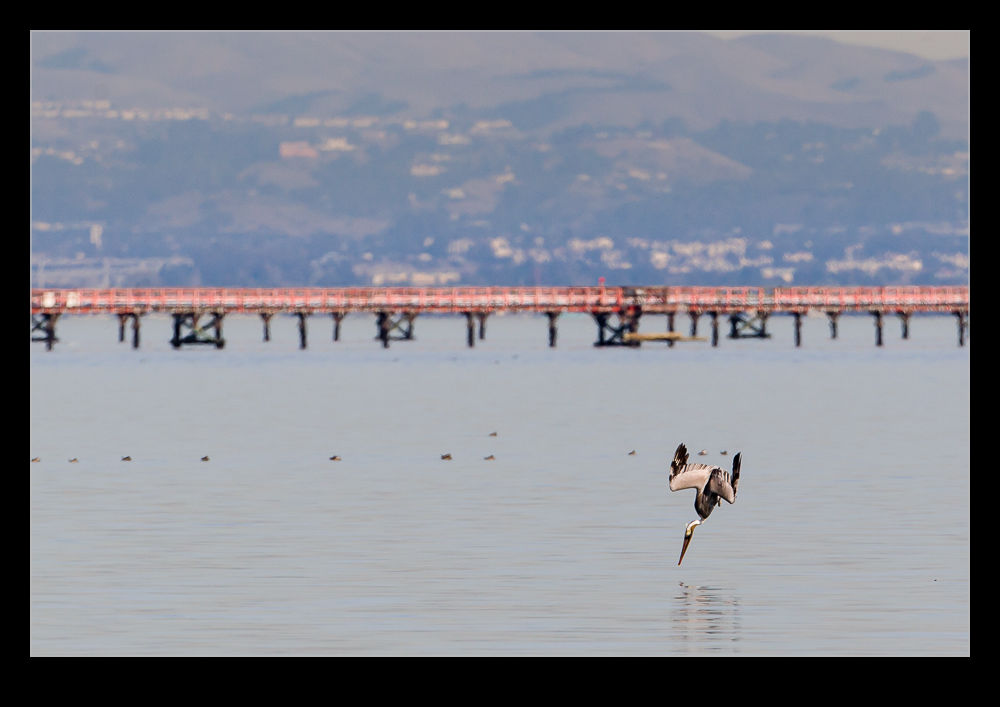
wpid8643-C59F3742.jpgMy recent trips to SFO have also allowed for the occasional bird to be photographed.  The bay is very popular with bird life so, in the times between interesting aircraft movements, you can get a few extra shots.  A lot of the birds are wading types wandering along the shore looking for life in the mud.  You also get some egrets and obviously plenty of gulls.  Some ducks life around the area and they can be seen diving for stuff on the bottom of the bay.  A few pelicans will sometimes show up and dive for fish a little off shore.

wpid8645-C59F3791.jpg

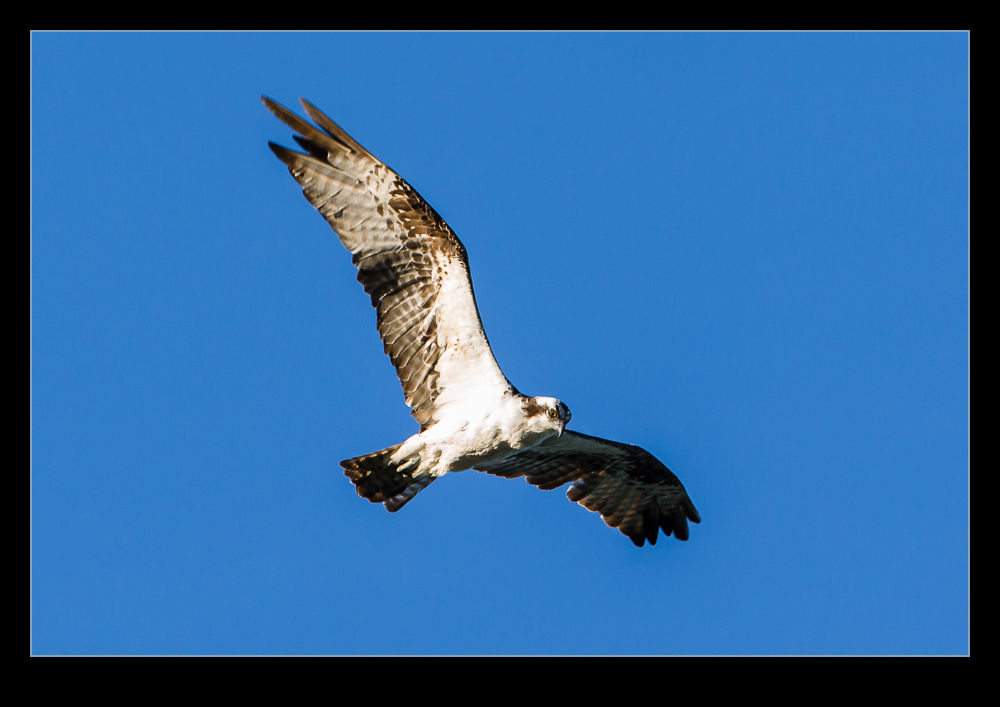
wpid8651-C59F4135.jpgThis time I even got lucky with an osprey flying overhead.  I haven’t seen one here before so was quite surprised.  I grabbed a few shots as it passed overhead and then it was gone.  Meanwhile, it was fun to watch some of the larger flocks flying together.  The way in which they move seemingly as one is really cool and, with the low sun angle, their changes of direction made them appear to flash as their undersides suddenly caught the light.

wpid8641-C59F3574.jpg

wpid8649-C59F3897.jpg

Another SFO Day Out

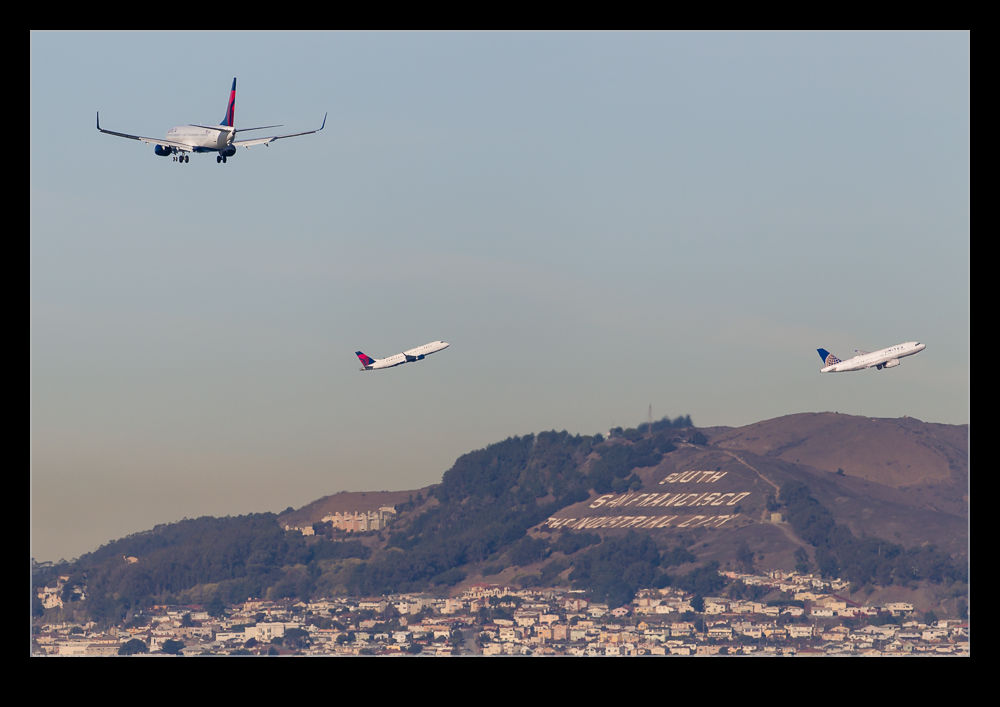
wpid8705-C59F3185.jpgMy friend Paul was in the area for work and we had a day to go out and shoot some aviation.  We had a couple of options that we considered and one that we tried but that was not looking too productive so we ended up having a trip to SFO.  With plenty of time to play with, we shot from a couple of locations.  We started out at Coyote Point which is great early in the day when the light is good and also provides good light looking down the approach towards the runways.

wpid8685-C59F2343.jpgLater we moved across to the bayshore area near the airport where you can get better views of the traffic on the airfield including the landings.  The problem here can be that the distance, even on a coolish winter day, can result in some heat haze issues.  These can be exacerbated by aircraft holding for departure when their exhaust plumes are in front of what you want to shoot.

wpid8697-C59F2713.jpgThere were a few things that we wanted to catch and then plenty of time between to take it easy, go and get something to eat or just chat about what we had been up to.  The Air New Zealand 747 is now a rare beast so catching that was worthwhile.  Cathay are also bringing theirs in which I can’t imagine will be the case for too much longer.  We had hoped for the KLM MD-11 which is a rarer beast yet but, unfortunately, it alternates between an MD-11 and an A330 and that day was the A330 day.

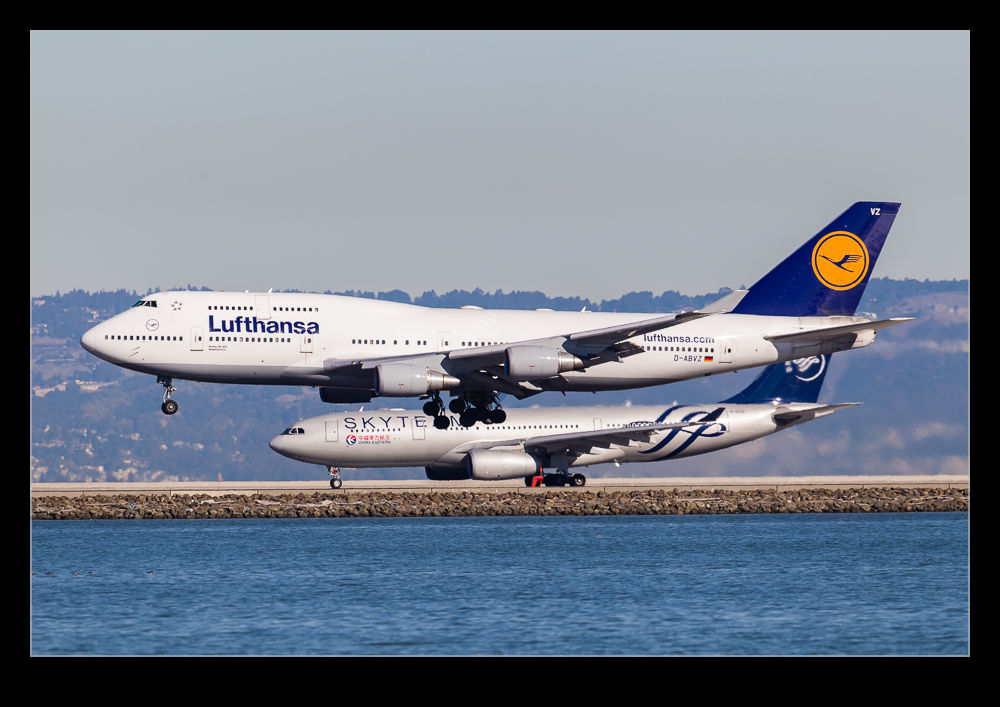
wpid8719-C59F3869.jpgThe other thing to try and get at SFO is the parallel approaches.  The two closely spaced runways can be used simultaneously and you can have two large aircraft coming down the approach in formation.  Usually there is a bit of an offset but every once in a while, they are right alongside each other.  Trying to get this is one of the goals.  There were a few when I got them further out which made them appear closer than they were.  Sadly, one approach was the Emirates 777 with a Gulfstream right next to it.  I didn’t realize in time and was shooting with too long a lens.  The 777 is fine but the Gulfstream was cut off so I blew it.  At least Paul got the shot so we do have a record.

Playing with Blending Layers

I have been making some shots with multiple exposures to overlay.  This is something I have posted about before and the shots here are similar to those from before.  However, this post is less about the shots and more about the post processing I used.  Previously I opened up all of the shots as layers in a single file and then auto-aligned them.  Once done, I then used the Auto Blend functionality to show each shot o the aircraft in place.

This was a lot quicker than my previous approach and was something I picked up from posts on photographing star trails.  However, recently, I have not been as happy with the results as I should have been.  Some of the planes, particularly those near to the edges, had some odd artifacts appearing.  Also, if there were any overlaps, the blending masks could give some weird effects.  Therefore, I have taken a different approach for a while.  This is slower, I admit, but I think it gives a better result.

Once the alignment of the images is done, I hide them all except the bottom layer by Alt clicking on the eye beside the last layer.  Then I add the next layer up back in but mask it out completely.  A white brush on the mask then allows me to paint back in the new aircraft positions.  This is a bit laborious but it does allow you to decide exactly what you want in and what you don’t.  if one file is not helpful to the composition, you can easily ignore it.

If the layers are not all exactly aligned from shooting on a tripod, you will also get gaps at the edges on different layers.  You can also fill these in by brushing in the layers that provide the right coverage and get a complete image.  Once you are happy, flatten the whole thing and you are done.

Monterey Bay Aquarium

wpid8817-C59F4976.jpgMy nephew was interested in a visit to the aquarium at Monterey while they were staying so he and I decided to head down there for a day.  I last went over ten years ago so did not remember a great deal about it.  I also didn’t know whether a lot had changed in that time anyway so not remembering was not a major problem!

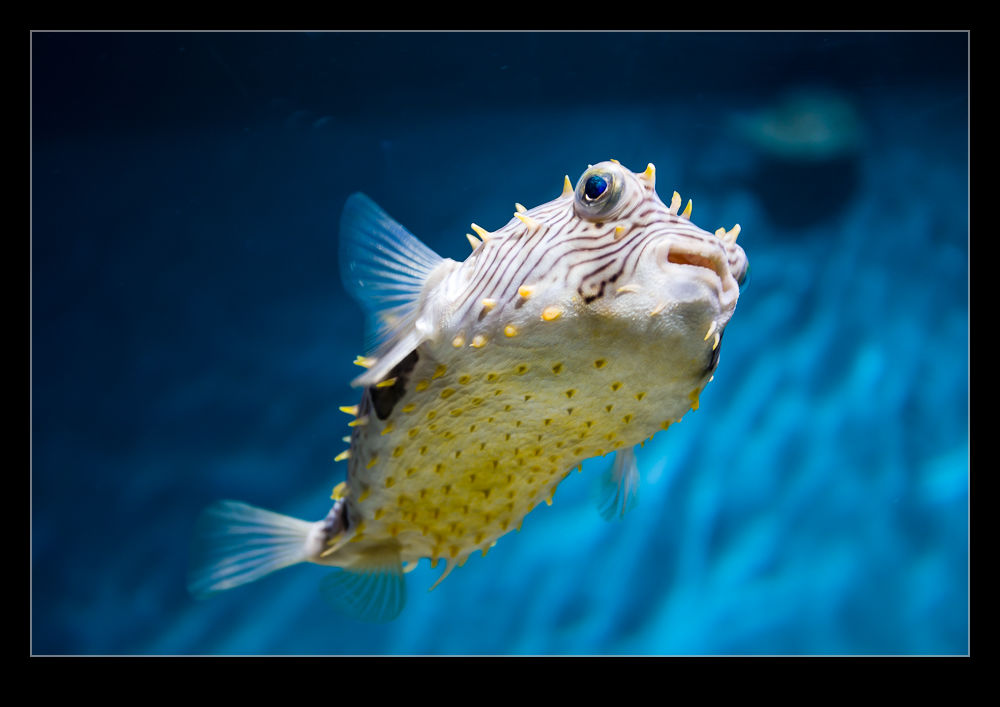
wpid8797-C59F4791.jpgFirst things first.  This place is great.  We spent plenty of time there and could probably have spent more but we were thinking about some food before heading home.  The collection is very interesting and really nicely laid out.  Not only does it cover the wildlife of the Monterey Bay well, it also has some very nice terraces outside so you can go and see some of the real thing while you are there.

wpid8789-C59F4702.jpgThere are two huge tanks cover deep water and the kelp beds of the bay.  These can be viewed from upper and lower levels and there is so much going on, it is easy to just stand and stare for long periods of time.

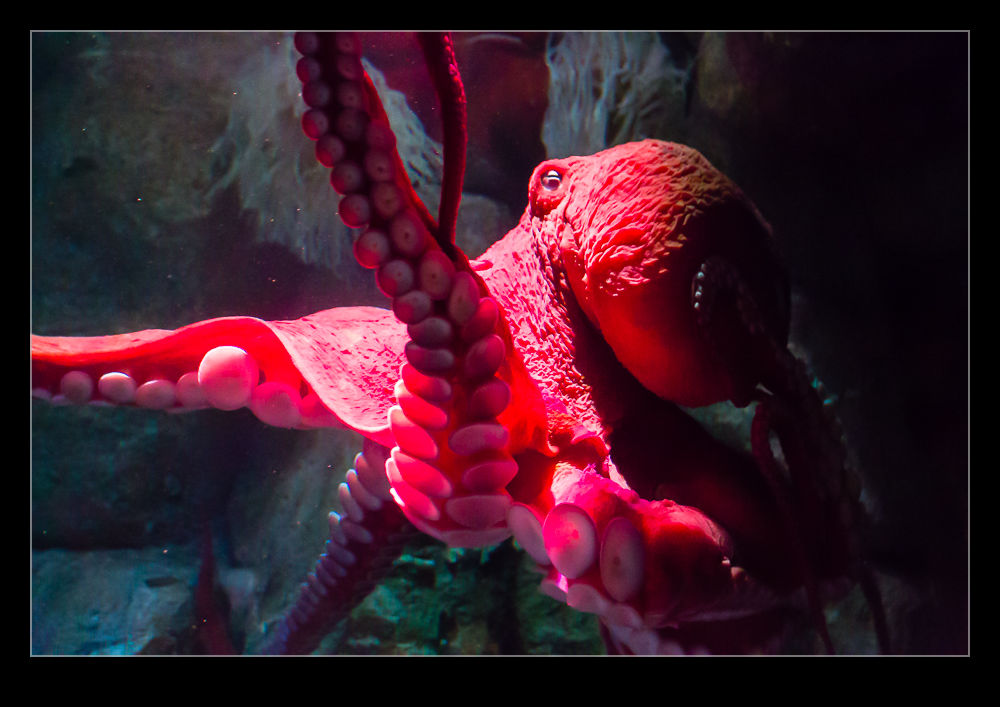
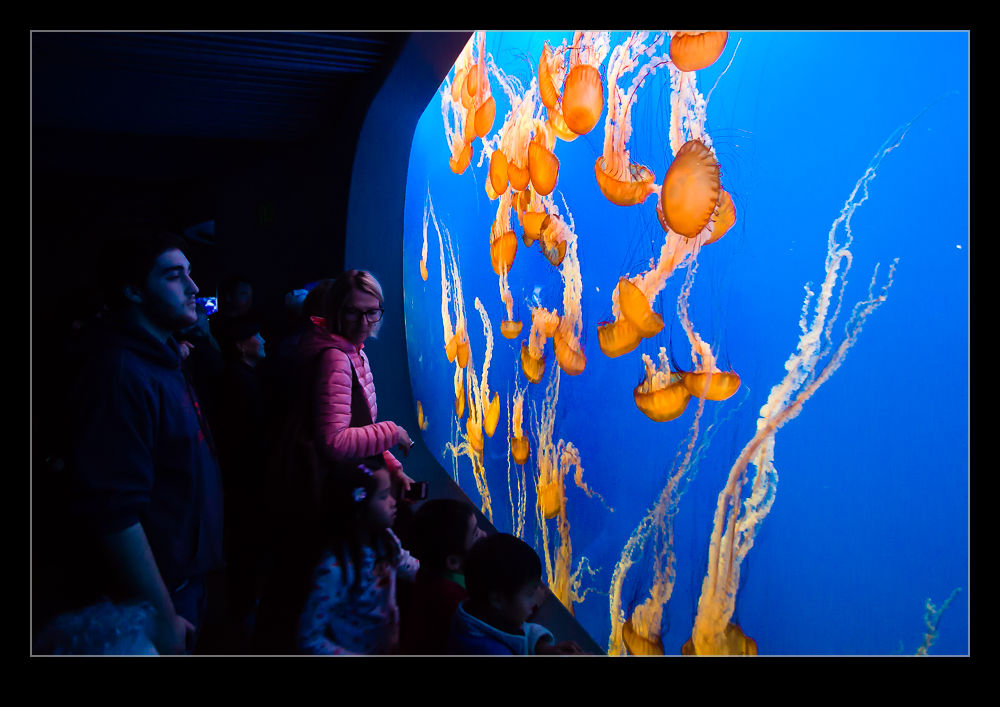
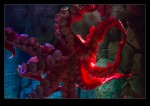
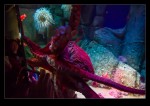
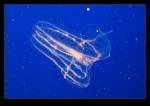
wpid8811-C59F4911.jpgThere is a great jellyfish exhibit.  Nancy and I saw a similar exhibit at the Shedd Aquarium a while back as I reported here but this is a permanent feature and it is well worth a visit.  There are other attractions that get a lot of visitors including the octopus exhibit.  While we were there, this fella was very active.  He (or she, I can’t tell which) would retreat into a dark corner for a while and then suddenly make a trip across the tank covering the glass with tentacles as he went.  This was amazing to watch.  Why he did it so often I don’t know.  Maybe they do something to prod him into action every once in a while.  (It was also quite fun to hear people berating those people using flash on their cameras which seemed to be happening every couple of minutes.  Signs are hard to read I guess.)

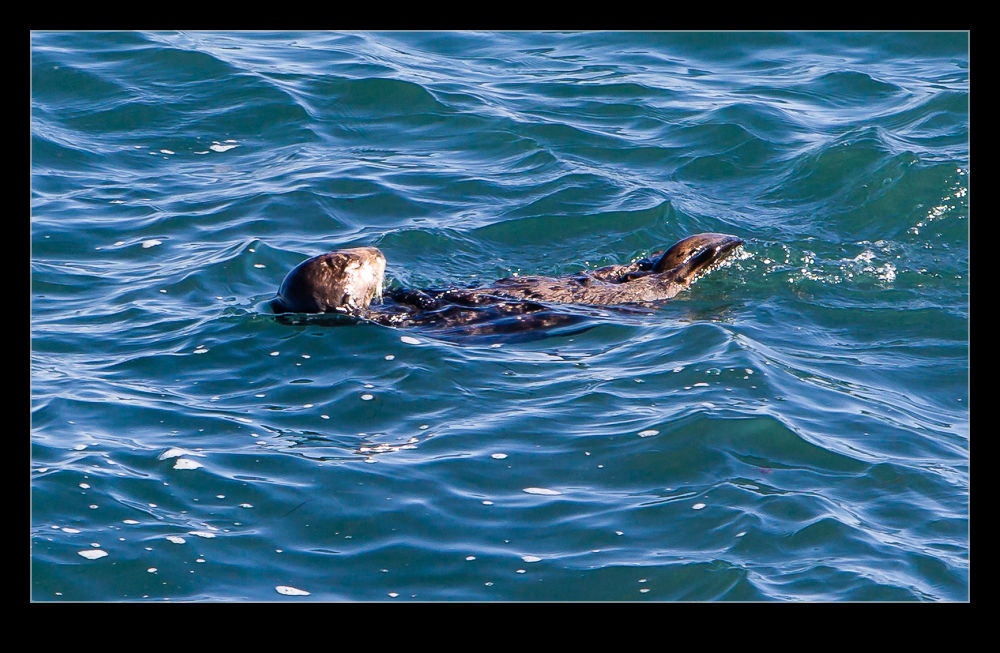
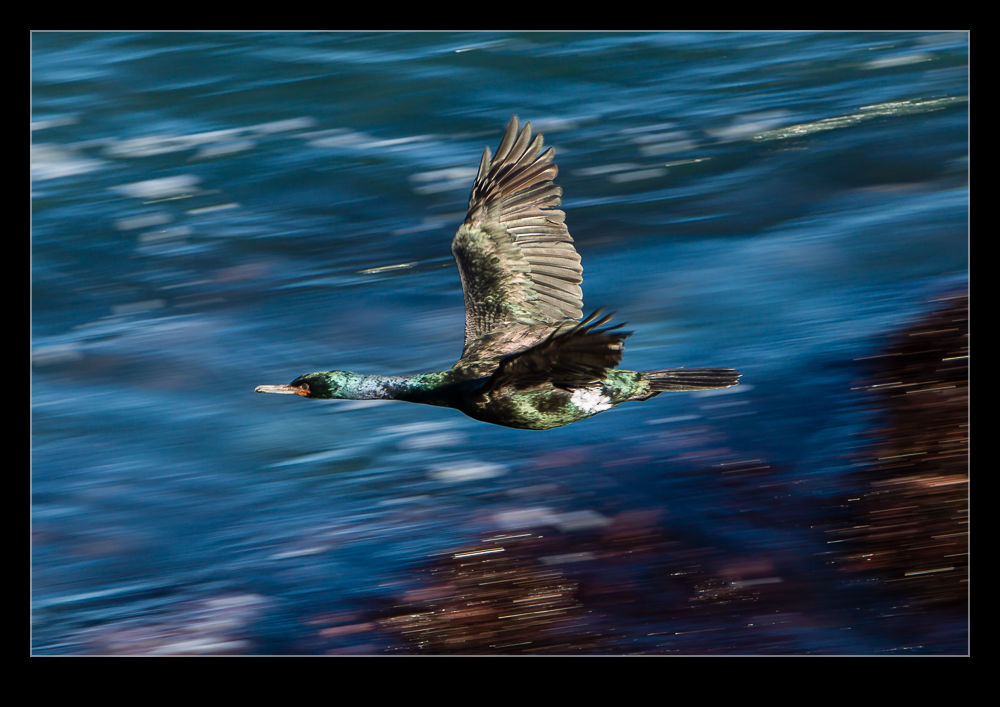
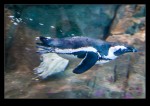
wpid8787-C59F4687.jpgWe spent some time outside watching the wildlife.  We had brought binoculars but there were some healthy telescopes available to use to.  Sam quickly spotted the spray from a grey whale out in the bay and there were plenty of sea lions and sea otters to see although usually a bit far out.  The bird life was teeming closer in.

I will be back before too long.  I suspect any other visitors will want to check it out too but I can handle repeat visits I think.

Fort Point

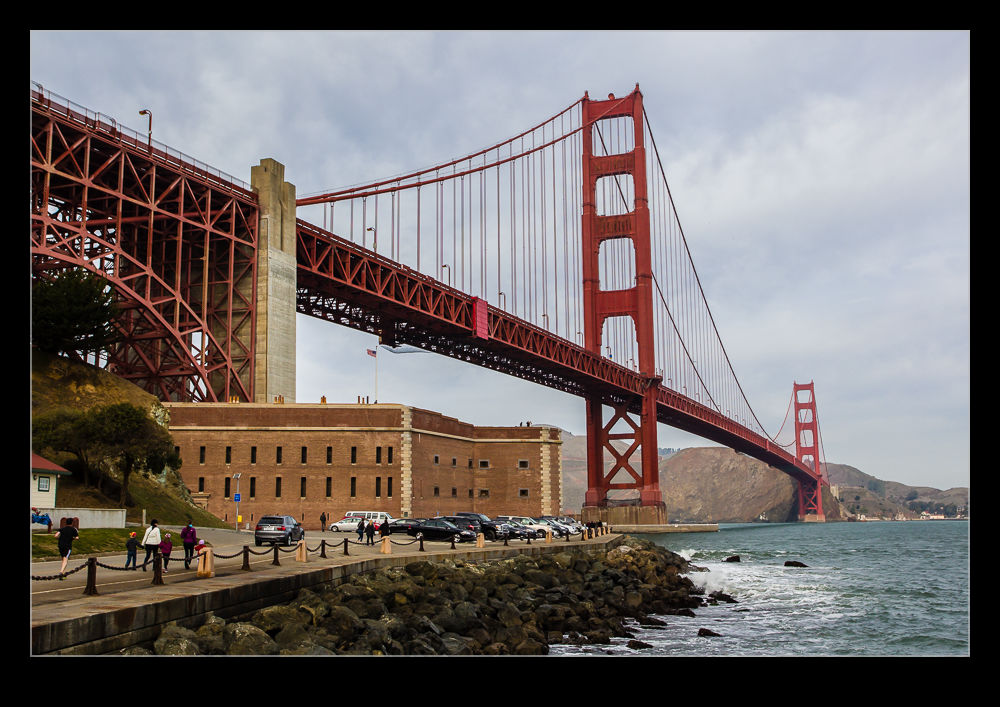
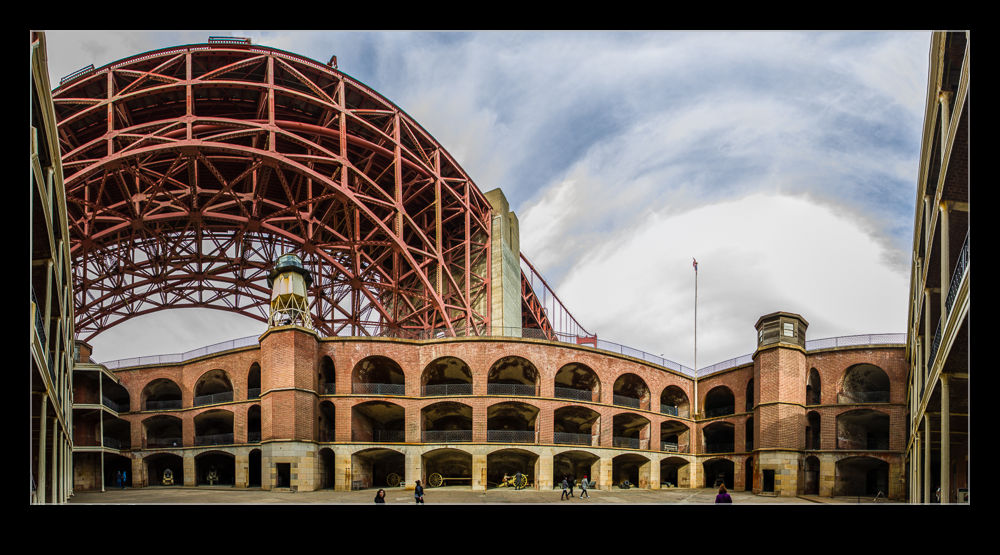
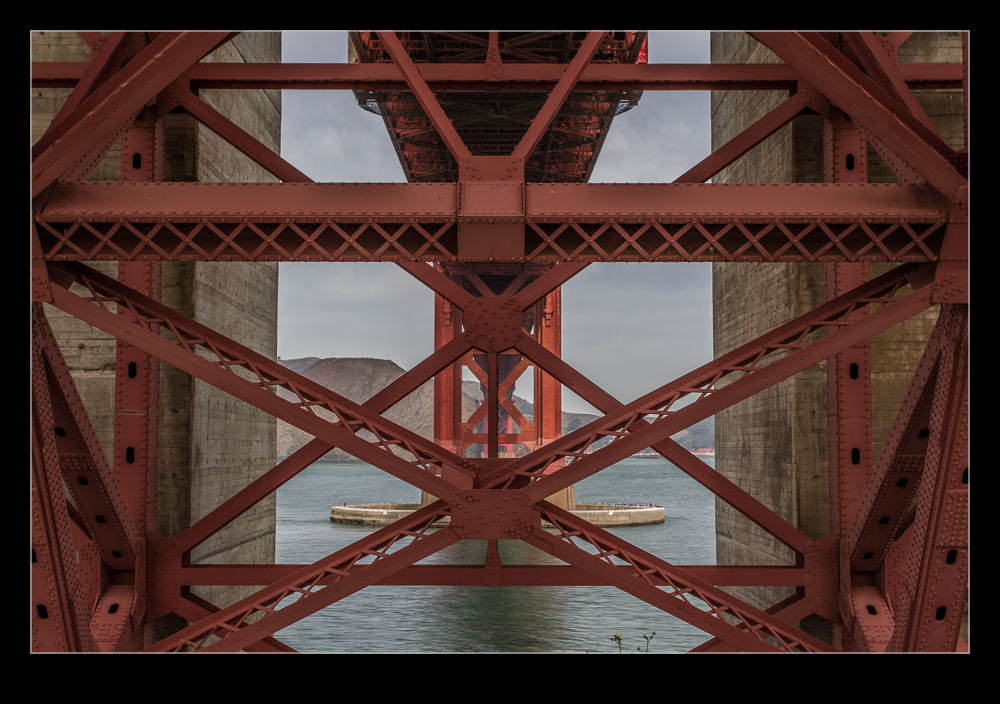
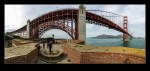
wpid8626-C59F4428.jpgA great place in San Francisco to take people but one that seemingly is ignored by many tourists is Fort Point.  Located at the mouth of Golden Gate, it is a fort designed to protect the bay entrance.  Now it is right underneath one end of the Golden Gate Bridge so it provides a very different vantage point for bridge viewing.

wpid8638-C59F4531.jpgI forget how interesting a place it can be.  We took our visitors there so that they could get the unusual view of the bridge but we ended up spending a lot more time there since the place is very interesting in itself.  Why do I not remember that?

wpid8628-C59F4438.jpgThe fort structure is very cool and it has a number of exhibits including old cannons, rooms configured as they were when it was in use and displays on the building of the bridge above it.  The upper levels provide a great view of the entrance to the bay as well as the bridge and he bay itself.  Being so close to the bridge gives you a chance to play with some angles that provide a more distorted view of things which can be quite fun.

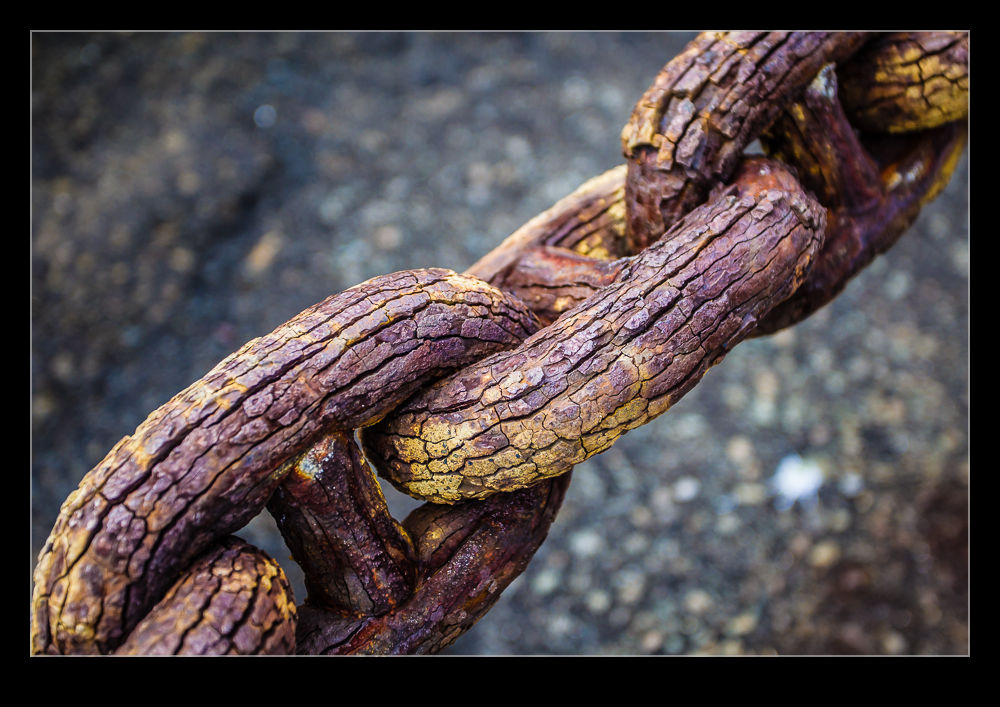
wpid8634-C59F4500-Edit.jpgAlso, you are under some of the ironwork which has great colors and textures.  A little HDR can help here to cover the well shaded structures as well as the views beyond that are in full light.  Whether you want to see the context or go a little abstract, you can find something to play with.  Meanwhile, some panorama options are there to be played with given the shape of the fort and the bridge beyond.

Changing My Approach to Panoramas

Ever since Adobe got their act together with the Photomerge function in Photoshop, it has been my default for creating panoramas.  Previous versions were a little unreliable but they cracked it a few versions back and I have not changed my approach since.  However, a recent bit of YouTube exploring has changed that again.  Russell Brown had a series of videos on making panoramas from aerial shots and, while I was watching them because they were aerials, the stuff he came up with on stitching panos was actually more useful to me.

Instead of using Photomerge, he uses the same functionality of Photoshop but in individual steps.  The technique involves opening all of the shots as layers in a single file (something you can do straight from Lightroom which maintains the re-import linkage that I like about Photomerge).  Then you select all layers and use Edit>Auto Align Layers.  This gives you the same options as Photomerge.  Apparently, according to Russell, if you have a series of shots where you have rotated position but are looking horizontally, Spherical works best.  If you are looking up or down, use Circular.

The result can be quite distorted if you use Circular but it will all get better soon.  If you aren’t happy, you can undo the step which is a lot easier than starting from scratch which is what you would have to do in Photomerge.  Once the alignment is done, Edit>Auto Blend Layers while take care of the rest of the stitching and blend everything together nicely.  It defaults to a Panorama blending option.

With the blend done, flatten the layers and open Filters>Adaptive Wide Angle.  This will default to a panorama setting and, if you have the distorted output from the Circular settings, now you will suddenly see everything come back to what it should be.  You can tweak this filter to get verticals and horizontals aligned as you wish and then you end up with a good pano output.  Some cropping and filling of blank areas with Content-Aware fill and the job is done.  I shall be taking this approach for all my panos from now on.  If you don’t use this approach already, you might want to give it a try.

Also, you can go to the original source on this and check out Russell’s videos on YouTube.

Muir Woods

wpid8615-C59F4580-Edit.jpgHaving visitors is always a good excuse to go to places that you haven’ been to for a while.  Muir Woods National Monument was one such destination.  If only we had known just how many other people had the same idea, we might have aimed to get there a lot earlier in the day.  As it was, we got there a bit alter in the afternoon.  A short while later and it might have been a lot easier to park.  Of course, late in the day in winter means fading light and being in a heavily wooded area means even less light!

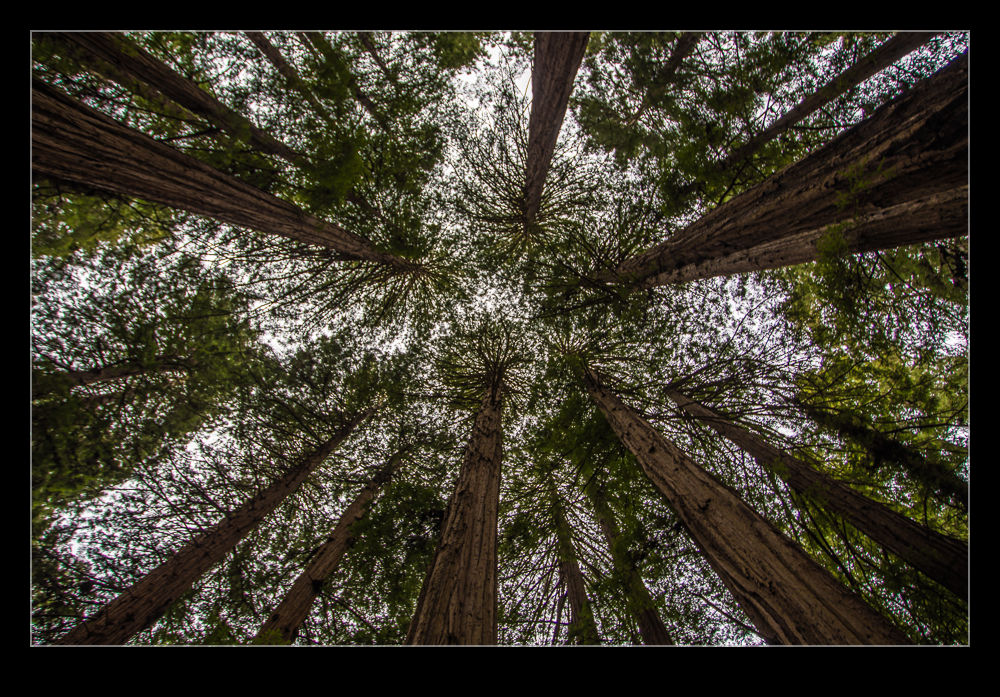
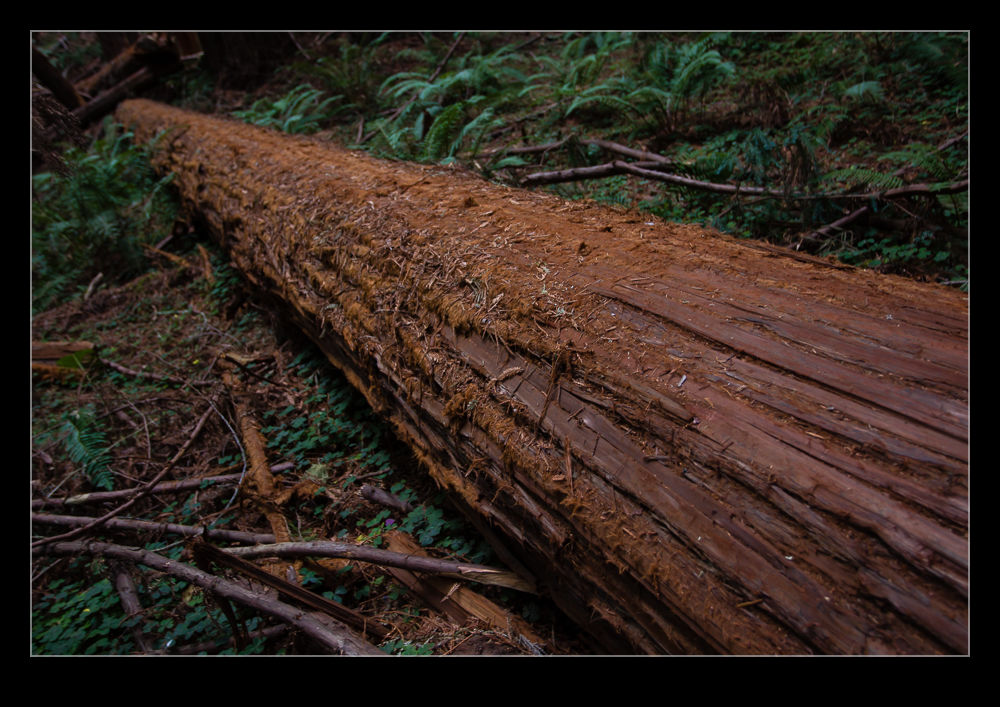
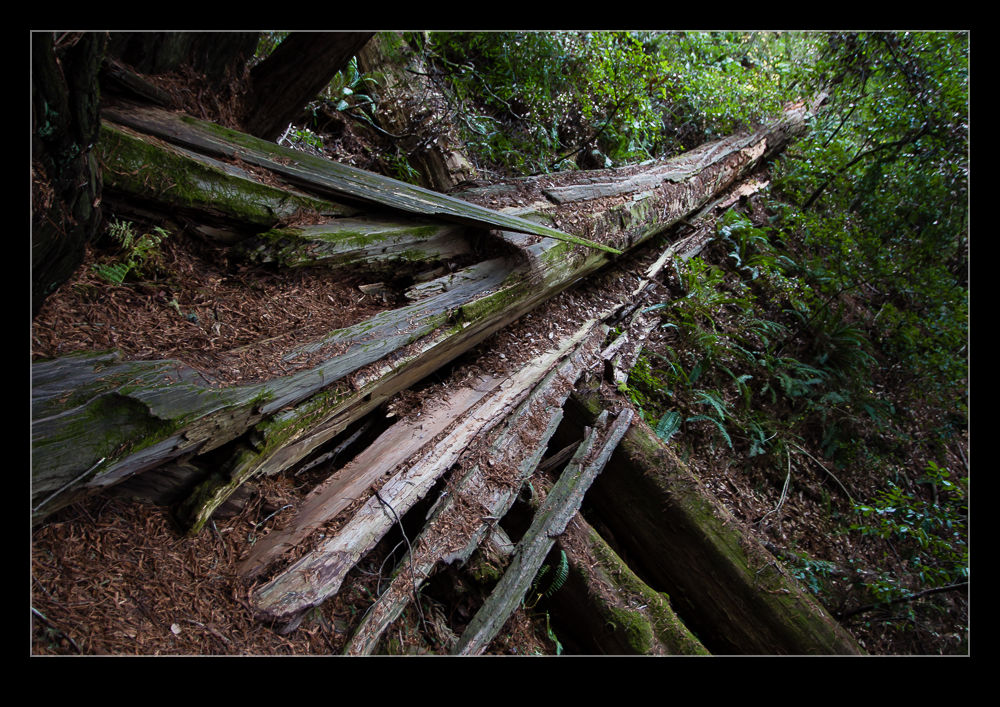
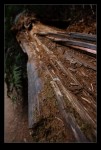
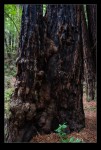
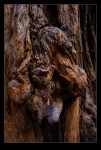
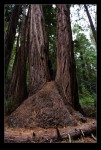
wpid8621-C59F4617.jpgMuir Woods is a great place to wander.  Having a lot of other visitors means it is a little less tranquil.  My previous visits have obviously been off peak and usually involved colder and damper weather.  This time it was dry and warm(ish).  The trees are majestic and often interestingly shaped.  However, being so close to such large trees as coastal redwoods does make it hard to get the images that you have in your mind.

wpid8611-C59F4570.jpgThe light is tricky and the angles wide.  Some playing with HDR and panoramas certainly helped out.  Sometimes it was just fun to look straight up.  The shapes there are exactly as you imagine them.  The dynamic range is so large that even HDR doesn’t always cover it (at least the way I was bracketing the shots) but it still worked out okay.

Oakland Architecture

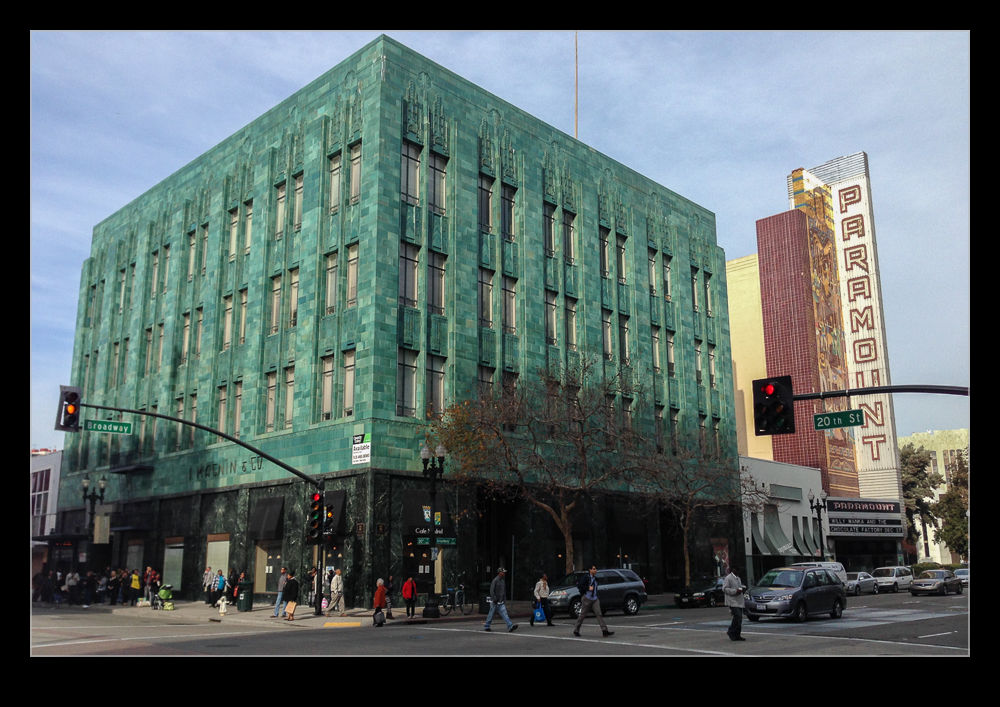
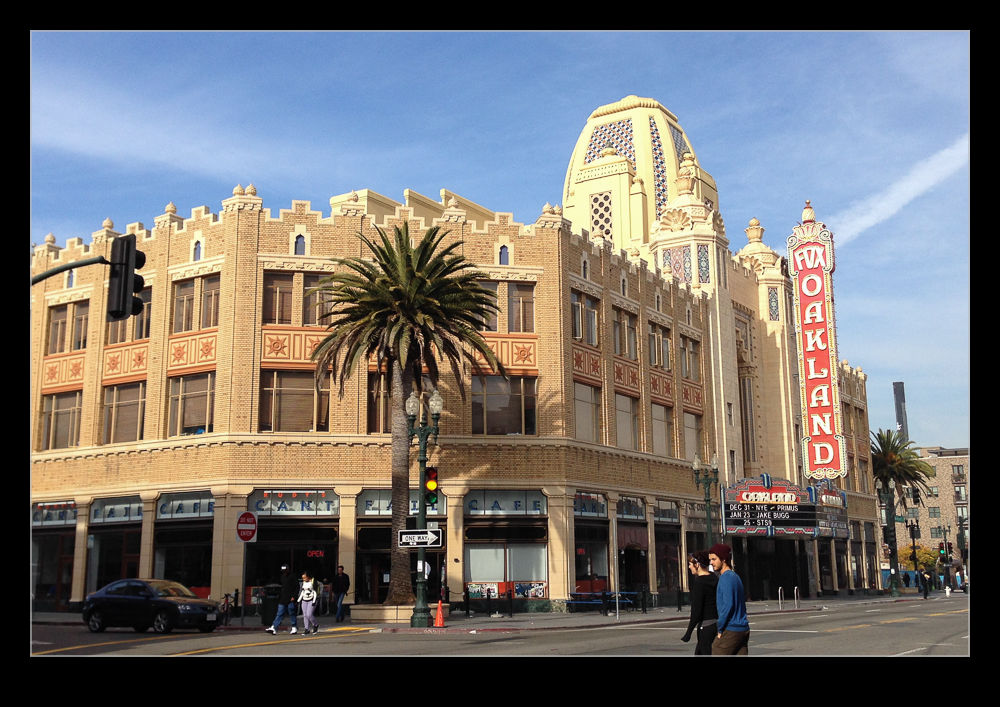
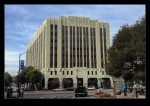
wpid8674-IMG_1763.jpgThis is a piece that will probably lead to me having another go at something.  In this case, these pictures were all taken with my phone.  It was an opportunistic thing but I shall make the effort to go back with some more camera options at some point before too long.  Oakland is one of those cities that has been around for quite a while so it has some interesting architecture mixed in amongst the more boring city center buildings.  A short walk from the office at lunchtime takes you passed a few of them.

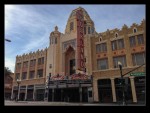
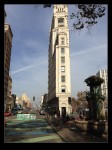
wpid8680-IMG_1766.jpgThere is a great art deco feel about some of the buildings.  The intricacy of the carvings and the colors of the stone make for some great looking places.  Also, a couple of the theaters are really old school and they just look great.  Very close to the office is a split where Broadway and Telegraph go their separate ways.  The difference in angle is not substantial and you can be a few blocks further up and they really haven’t diverged much.  Consequently, Oakland has its own version of the building fitting in to a tiny plot.  New York may be famous for this but I think Oakland’s version is even more extreme.  See what you think.  Now to come back with more time and better lens options…