Tag Archives: camera

Making Use of the Camera’s Features

One of the things that I was glad to get when I last changed camera bodies was the ability to have exposure compensation while shooting in manual mode.  You might wonder why this is a useful thing to have but I was shooting a couple of time recently when it was useful.  Sadly, the first time I didn’t think to use it.  The second I did though.  This is the result of shooting in dark conditions when the light levels are changing quite a bit.

The problem in the first case was that I was shooting in aperture priority mode.  The light was low, so I went to auto ISO to allow it to adjust.  The camera looks to get a shutter speed that is related to the focal length of the lens you are using.  I was shooting a landing aircraft and, when I was out at the full length of the zoom, it kept shutter reasonably high.  However, as the plane got closer and I zoomed out, the camera dropped the shutter speed down which meant the panning resulted in a lower keeper rate.  I should have foreseen this and I was annoyed with myself.

The next time, I thought through the issue a bit better.  A gray sky meant that I needed to have some positive exposure compensation.  I went to manual mode, set the shutter speed and aperture that I wanted but included the exposure compensation.  Then I set auto ISO.  Now I had the ISO adjusting to get the combination I wanted while including exposure comp.  On my old bodies, this was not possible.  The result was the exposure I wanted with ISO adjusting throughout the sequence.  When conditions are not great and changing quickly, this is an approach I can highly recommend.

It is Dark at Nellis During the Night Launch

On previous trips to Red Flag I have taken pictures of the departing B-1Bs as they fly overhead.  The burners are really impressive and definitely worth getting a shot of from below.  However, having done this a few times, I wanted to try something different.  The fighter get out of burner very quickly after they get airborne.  They are in mil power for ages before they get to you on the centerline.  I wanted to see what you could get from the side a lot closer in so Paul agreed to try something different.

We ended up shooting a lot of side on stuff of departures for the night launch.  Unfortunately, we didn’t appreciate just how dark it is at Nellis at night.  We had a good moon so we were hopeful that there might be some residual light.  It turns out that this is not the case.  Even close in, the fighters are out of burner.  The tankers and the E-7 went out and I got some shots but they were a struggle, event making use of the best high ISO capabilities of the cameras.  The B-1s did show up okay but I still didn’t do as well as I thought I should have.

I learned a bit about the performance of the cameras.  I was shooting at super high ISO settings with the camera wide open.  However, as I review the shots, I realize the camera was behaving in a way that I had not anticipated.  I was shooting in aperture priority with some negative exposure compensation dialed in.  As I look through the shots I see that the camera would start out with a dark shot, gradually boost the exposure and then go dark again.  I would review the shots and see one that was looking good but know that the next would be dark.

When shooting in such limited light, the shutter speeds are very low and the number of lost shots is high.  Therefore, you can’t afford to have the exposure be bad.  I don’t know how many shots I lost since they may not have been sharp anyway but I cut down on my opportunities.  In future, I need to have all of the exposures be acceptable in order to maximize my opportunities.  Therefore, I think I shall have to go fully manual on everything for these shots.  Set ISO up high and then go to manual aperture and shutter speed.  I will still lose a lot of shots but at least I can focus on dealing with my handholding technique rather than worrying about how the camera is metering a dark night.  It’s not too reasonable to expect the camera to get that right every time.  It is a pretty extreme case!

Creating Lens Profiles for Adobe Software

UPDATE:  It turns out, the upload process for the profile sends to an address that doesn’t work.  While I try to fix this, if you want the profiles to use, you can download them by clicking here.

Within Adobe processing software, there is lens correction functionality built in to the Lightroom Develop module (or Adobe Camera Raw in Photoshop) that compensates for distortion and vignetting in the lens the image was taken with.  Adobe has created a large number of lens profiles but they never created one for the Canon 500mm in its initial version.  Adobe also has an online tool for sharing profiles but this does not include one for this lens either.  The 600mm had a profile and it was supposedly close so I had been using that for a while.  Recently, though, I was shooting with the 1.4x teleconverter fitted and this introduced some new effects which required some manual tweaking to offset.

I still wasn’t happy with the result so I decided it was time to bite the bullet and create some profiles from scratch.  Adobe has a tool for creating a lens profile.  It involves printing out some grid targets which you then shoot a number of times to cover the whole of the frame.  It then calculates the profile.  I was shooting at both 500mm and 700mm so I needed a few targets.  To make a complete profile it is a good idea to shoot at a variety of focusing distances and with a range of apertures.  The tool comes with many targets.  Some I could print at home but some of the larger ones I got printed at FedEx and mounted on foam core to make them more rigid.  Then it was time to shoot a bunch of very boring shots.

The software is not the most intuitive I have ever worked with but it eventually was clear what I had to do.  (Why do some manual writers seem like they have never used the process they are writing about?)  I found out how to run the analysis for different charts and distances separately and append the data to the profile as I go.  I did need to quit the program periodically because it would run out of memory which seems like an odd bug these days.  After much processing and some dropped frames as a result of poor shooting on my part (even on the tripod I got some blur occasionally with very slow shutter speeds) it got a profile out.  The proof of the pudding is in the eating of course (that is what the actual phrase is for those of you that never get past the pudding part) so I tried the profile out on some recent shots.  It works!  I was rather delighted.  I may shoot a few more samples in good conditions to finish things off but this was a rather happy outcome.  Once I have tweaked the profiles sufficiently, I shall upload them to Adobe and anyone can use them.

Shooting RAW on the Phone

The update to iOS 10 brought with it the possibility to shoot in RAW on the iPhone.  For some reason Apple didn’t bother to incorporate this feature in the base phone app but they did make it available to other camera app developers.  Camera+ is one that I use a bit so I figured I would start shooting in RAW via that.  Obviously RAW means larger files but, since I download my files to the desktop frequently and tend to clear out the phone, this wasn’t a concern.

First thing I found out was that other apps could see the shots.  I had taken a few shots and wanted to upload to Facebook and it turned out there wasn’t a problem doing so.  However, the main benefit was anticipated to post processing back on the desktop.  With the SLR shots (is there any point to saying DSLR these days?), it is possible to recover a lot from the highlights and shadows.  Would the same be possible with the phone?  Sort of.  You can get a bit more in these areas than would be the case with the JPEG when things are quickly lost.  However, the sensor data is still not anywhere close to being as adaptable as it is for an SLR.  You get more flexibility to pull the sky back but it is still pretty limited.

Is it worth using?  Definitely.  While it might not be the post processing experience you will be used to with SLR files, it is certainly better than the JPEGs provide.  The increase in file size is hardly an issue these days so I will using it from now on.  The camera app doesn’t have the pan and time lapse stuff so easily to hand so the phone’s base app will still get used but, aside from that, it will be my choice.  My main gripe now is that they have a random file naming protocol that is a little difficult to get used to.  Small problems, eh?

Polarizer Comparison

When I changed bodies, I had to update some of my accessories too.  My old filter system was fine on a cropped body but with full frame, the filter holder encroached on the corners for the wide angle lenses.  I took the opportunity to change my polarizer set up.  I used to use a polarizer on my Cokin holder.  This was a bit inconvenient when I was using lens hoods.  Instead, I decided to get a screw in polarizer.  Since most of my lenses have the same filter size, this gives me more flexibility.

B11I7923.jpg B11I7922.jpgI took the polarizer with me on vacation.  One place where I made good use of it was in the rain forest.  While it was pretty dark in the heavy forest cover, there was moisture everywhere and this meant a lot of reflections and glare.  Consequently, I went with the polarizer most of the time.  While I was there, though, I decided to do some experimentation by repeating some shots without the polarizer to see how much of a difference it made.  You can see the with and without shots here and judge for yourself what a difference it makes.

Camera Profiling

AE7I0561-2.jpg AE7I0561.jpgFor all of my previous cameras I have created profiles.  When I got the new cameras I decided not to bother and to go with the profiles that are built in to Camera Raw/Lightroom.  This was working okay for a while but there were some shots where I felt like the adjustments were having slightly odd effects.  It was almost like the files had less adjustability than my old Mark IV files.  This didn’t seem likely.  I figured I would have a go at creating profiles and see whether that made any difference.

AE7I0336.jpg AE7I0336-2.jpgThe profiles are relatively easy to create.  I have a color card that has twelve different color squares.  You take a shot of it in RAW mode.  Then comes the slightly annoying step.  You have to cover it to a DNG file.  Not sure why, since this is all Adobe software, they can’t combine the steps but never mind.  Then you open the profiling software.  Pull up the DNG file, align the four color dots with the corner color squares and let it do its thing.  Choose a name and the profile is saved on your computer where the Adobe software can see it.

AE7I0439-2.jpg AE7I0439.jpgIt does make a difference.  The thing I found most interesting was that the profiles for the two cameras were quite different.  It shows up most in the blues for my bodies which, given I shoot aircraft a lot, is no small deal.  The shots here are versions of the same images with the default profiles and the new profiles for comparison.  Everything else is the same so the difference is purely profile related.

AE7I0619-2.jpg AE7I0619.jpg

1DX Mk II First Impressions

After a little bit of time shooting with the 1DX MkII, I have started to build my impressions of how it is working for me.  This is definitely only a first impressions review since there will be a lot of time before I have got totally used to it and have worked out the details of its functionality.  For reference, I have previously been shooting with the 1D MkIV so things have moved on a lot from that.

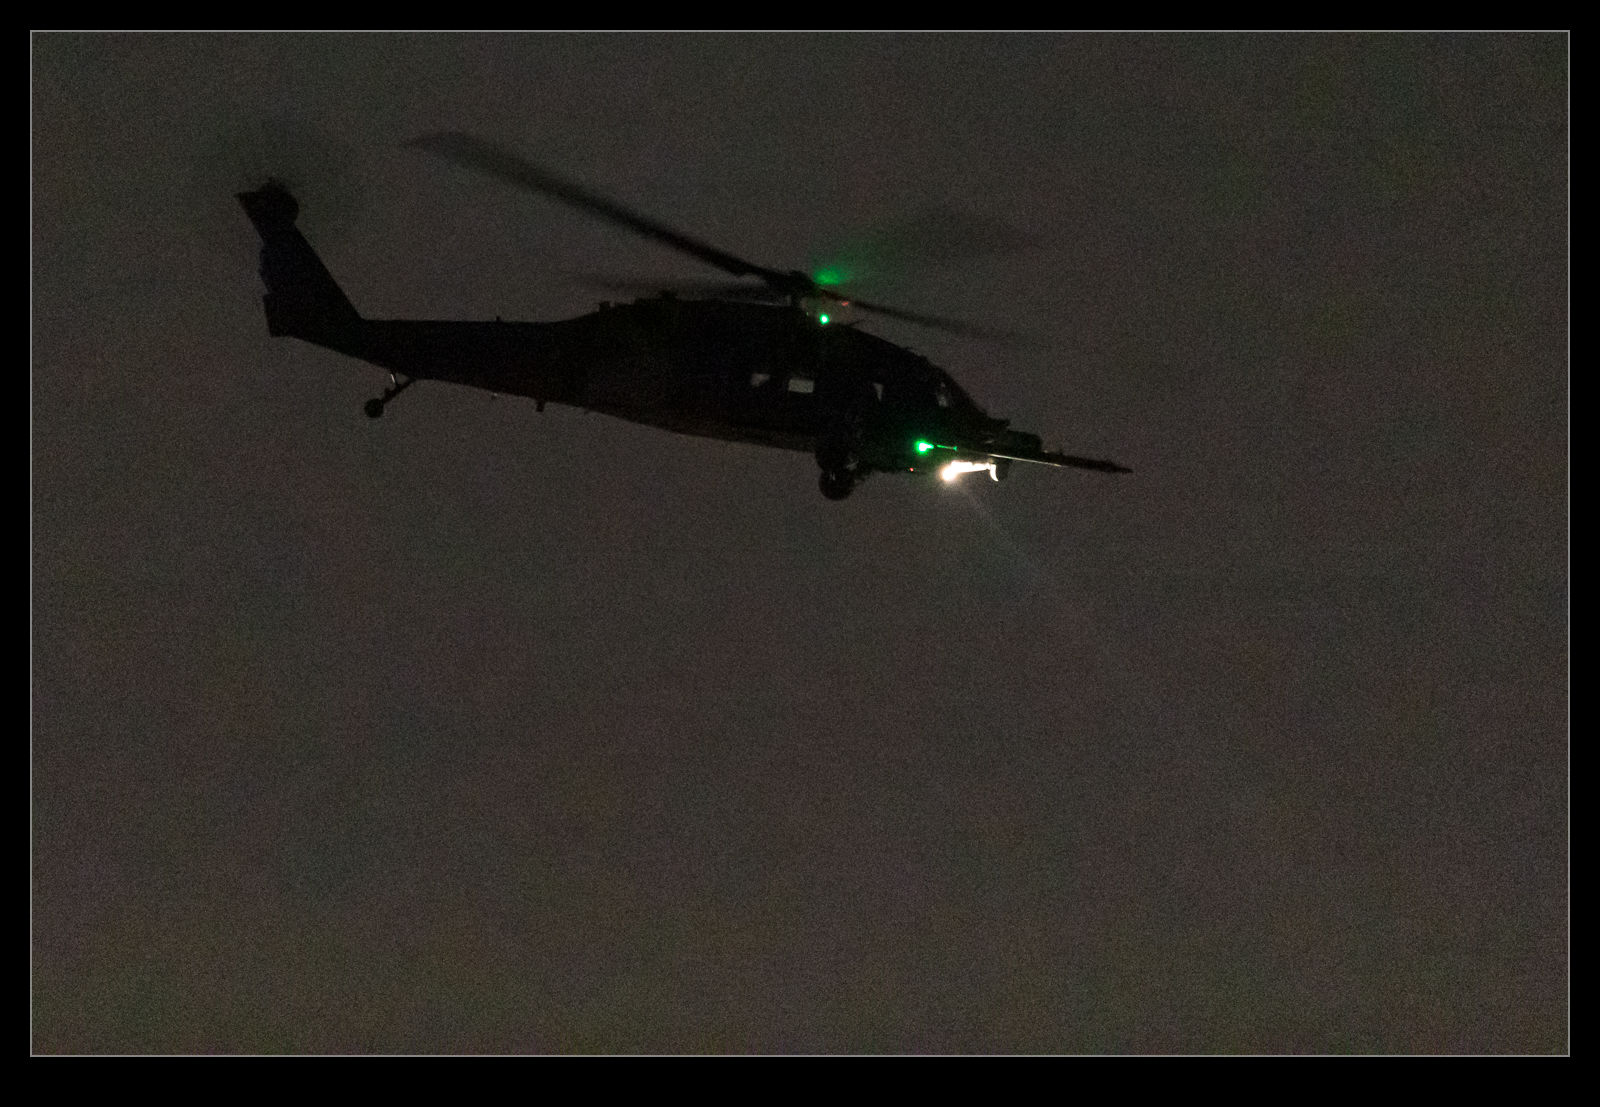
Focus is a good place to start.  I didn’t have a particular problem with the MkIV but this one does seem to be a bit snappier when it comes to focus.  I was recently shooting some subjects which had a lot of scope for the focus to get confused.  However, it seemed to be reliably on target – certainly far more than I used to experience.  There are a multitude of focus points and combinations.  I haven’t even started to get into them yet.  I tend to have simple requirements of the focus points, generally based around the center point but I will be trying more in due course.

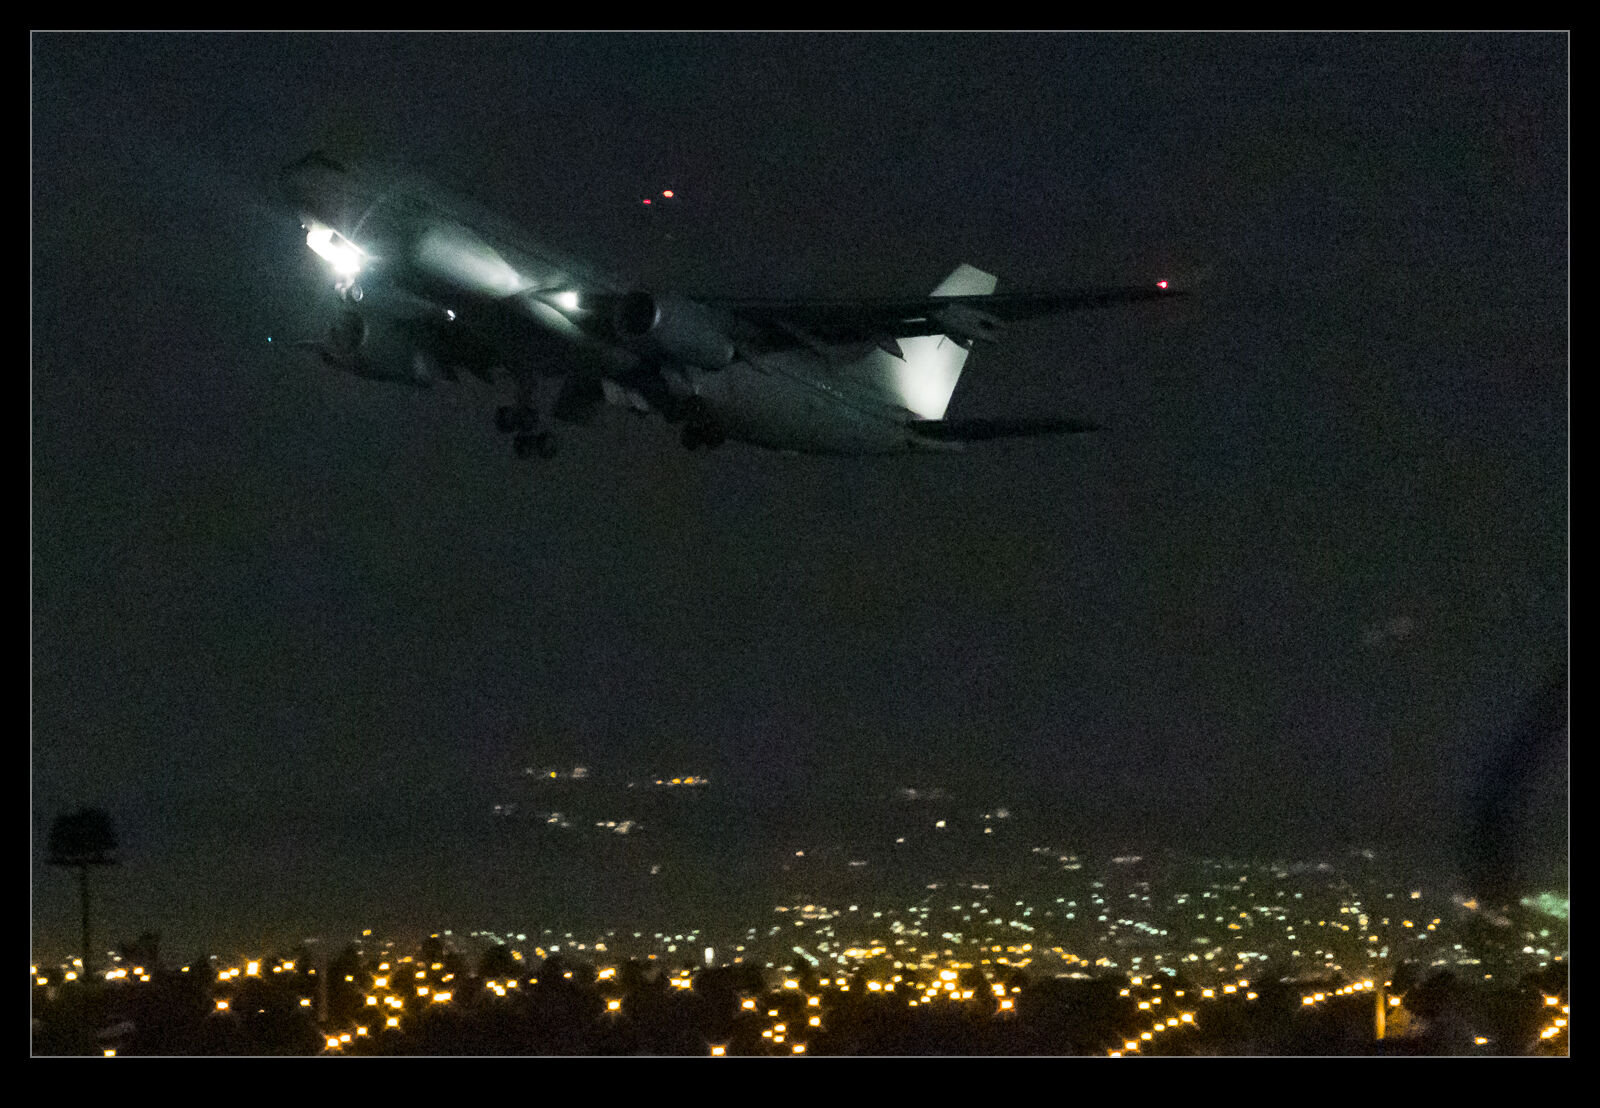
Exposure has thrown up a couple of things of note so far.  First is the amount of light you get with a full frame sensor.  I have read a few things about the way camera manufacturers reference ISO and aperture combinations with crop bodies but I hadn’t had a chance to explore this.  Using the same ISO and aperture as I used to, I am getting shutter speeds noticeably higher than before.  I will now revisit what my settings are since I don’t need speeds that high.  The other change is in the handling of backlight.  I had got a good grip on what exposure compensation I needed for various sky conditions with the previous body.  Starting with those resulted in overexposure.  I find the body is better able to get it right itself so I have been tweaking the exposure comp down.

Video capabilities have been significantly expanded but I have yet to get too far into them.  I started out with the default HD settings but I have changed to a larger file size format to get more latitude for editing.  Having not done any detailed editing yet, I have not found out how much of a difference this makes.  I have not played with 4K at all yet.  The big thing in video is the dual pixel autofocus.  Previously I had to fix focus before the shot started and any zooming would tend to move things out of focus.  Now I can select by touch what I want to track and the camera seems to do a nice job of keeping that sharp during motion, panning or zooming.  This is a nice addition to have when dealing with motion relatively close in.

The setup of the control buttons is an evolution of what I know.  There are some additional buttons to work with and they are configurable.  I haven’t tried reassigning anything yet since I want to find out what I need most often before I do so.  They have made a switch in the stills to video control with that now having its own control.  I am still getting used to it compared to the way I did it on the MkIV but I firmly believe the new configuration will be a big improvement.  I just need to retrain myself to use it without thinking.

Preset configurations are a great addition.  I moaned about this to a Canon rep many years ago.  The 40D had preset configurations you could program and switch between quickly.  When shooting props and jets, this is a nice thing to be able to do very quickly.  Everything about the setup is programmed so it is a powerful addition.  Finally I have it on a better body.  There are three presets.  I have one for jets, one for props and the third I have configured so I can give the camera to someone else to shoot without having to explain back button focus and center points.  It is in a more user friendly configuration to hand off.  I shall see whether that gets much use or not.

The card configuration is now CFast in one slot and Compact Flash in the other.  The camera came with a 64Gb CFast card and I have put existing 64Gb CF in the other slot.  So far I have not had to use the CF so I haven’t noticed the write speed.  Buffer is huge so I doubt this will be an issue.  The CFast is working fine.  It does seem to download very quickly via the USB3 card reader that was also included.  The card does also get noticeably warm when working a lot.  No specific upside or downside so far.  The CFast is required for 4K at 60fps but otherwise CF will work fine.

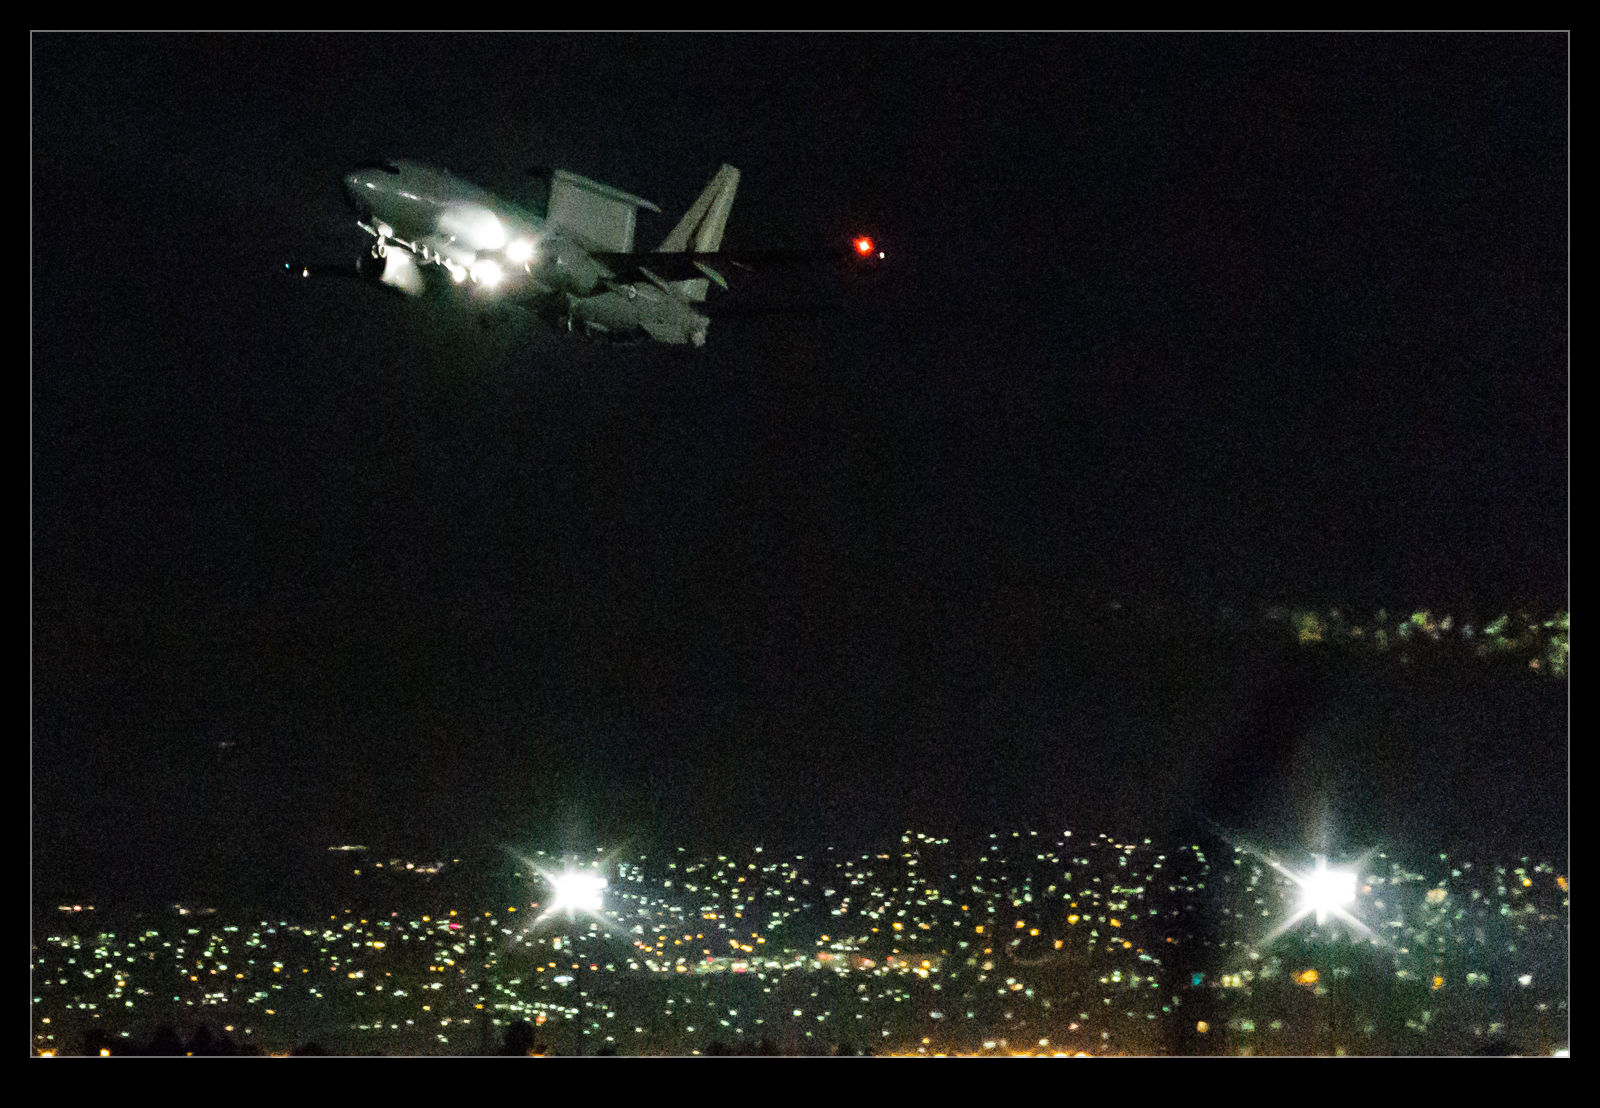
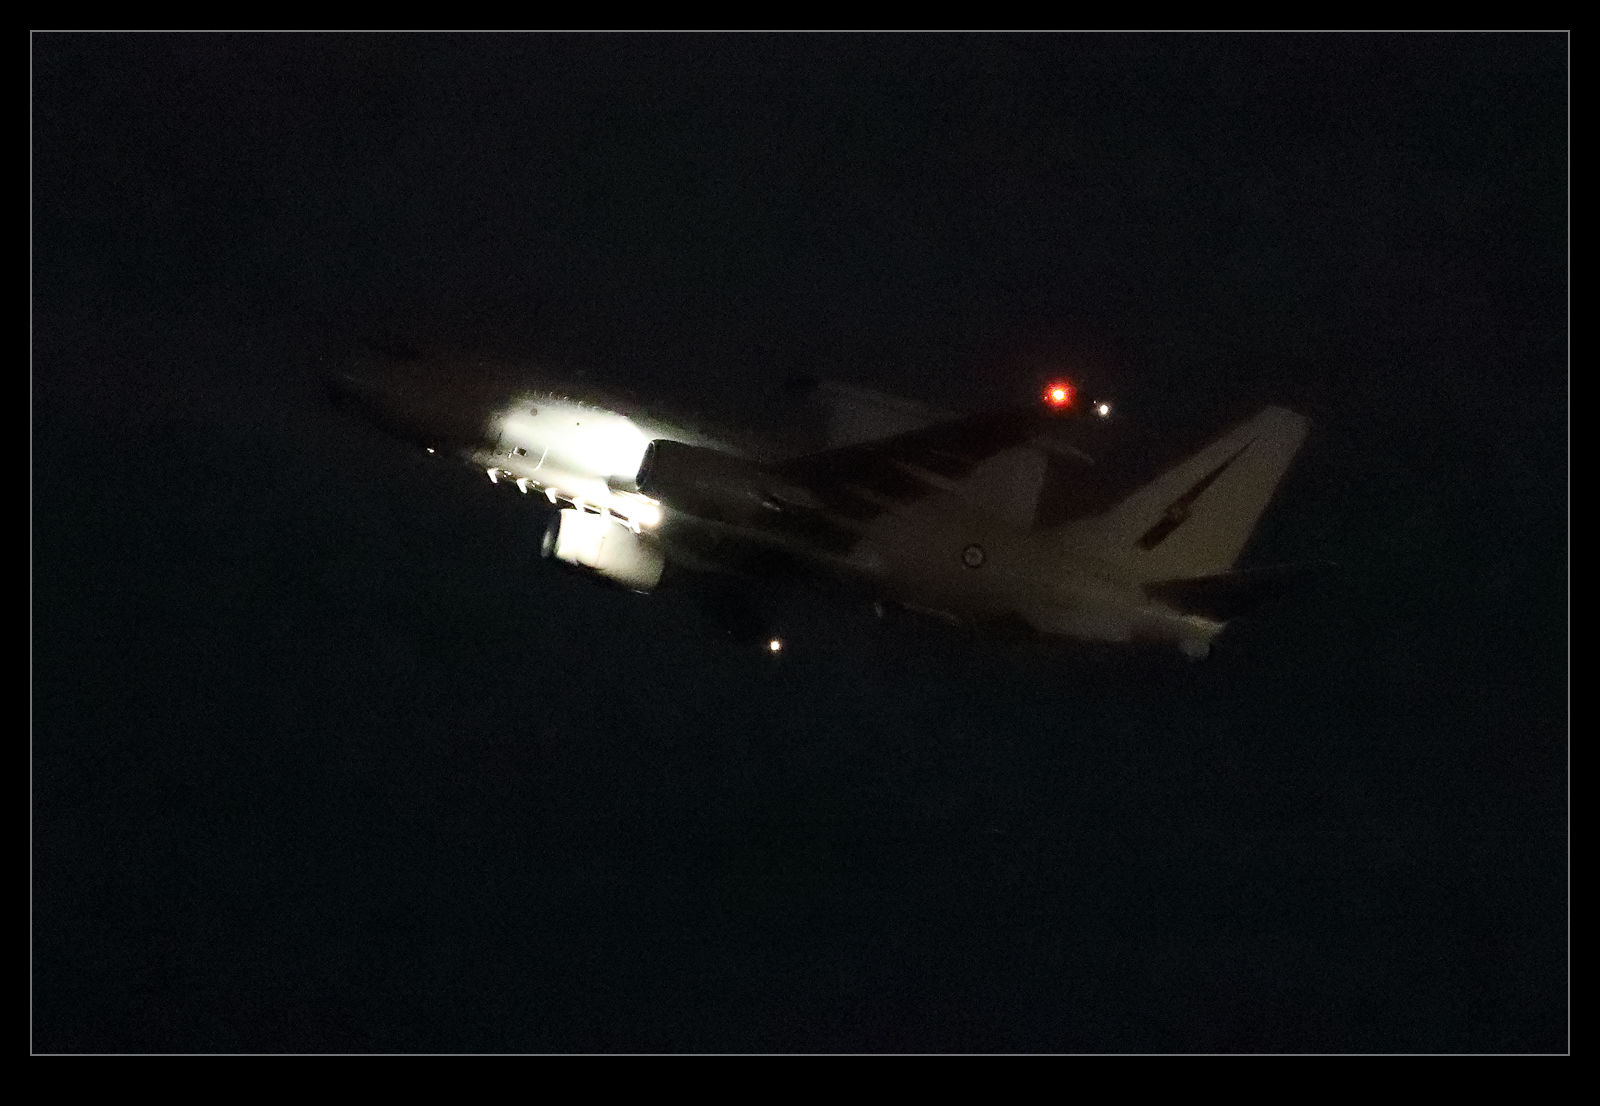
Now for one of the big surprises.  Canon has upped the frame rate to 14fps.  It was 12fps on the 1DX and 10fps on my old MkIV.  I did not think that this would be a big deal.  A small increase?  I was wrong.  This thing flies along.  A quick squeeze of the shutter and suddenly I have three shots.  It buzzes rather than has the sound of individual actuations.  This means a slight variation of shooting technique for me.  I used to shoot short bursts for each view.  I could then pick my favorite of the burst during post processing.  I can still do this but now it is a shorter hold of the button to get the same effect.

A small addition I like is the built in GPS.  I have been using an app on my phone to create a gpx file tracklog during photo shoots.  I can then import this in Lightroom and it matches with the shot times to tag the images.  With a built in GPS, the shots are automatically tagged.  This will help when flying which often meant I couldn’t get the tracklog to work in the old process.  As a aside, the GPS allows the camera time to automatically update so no need to plug them in periodically to get the time synced up.

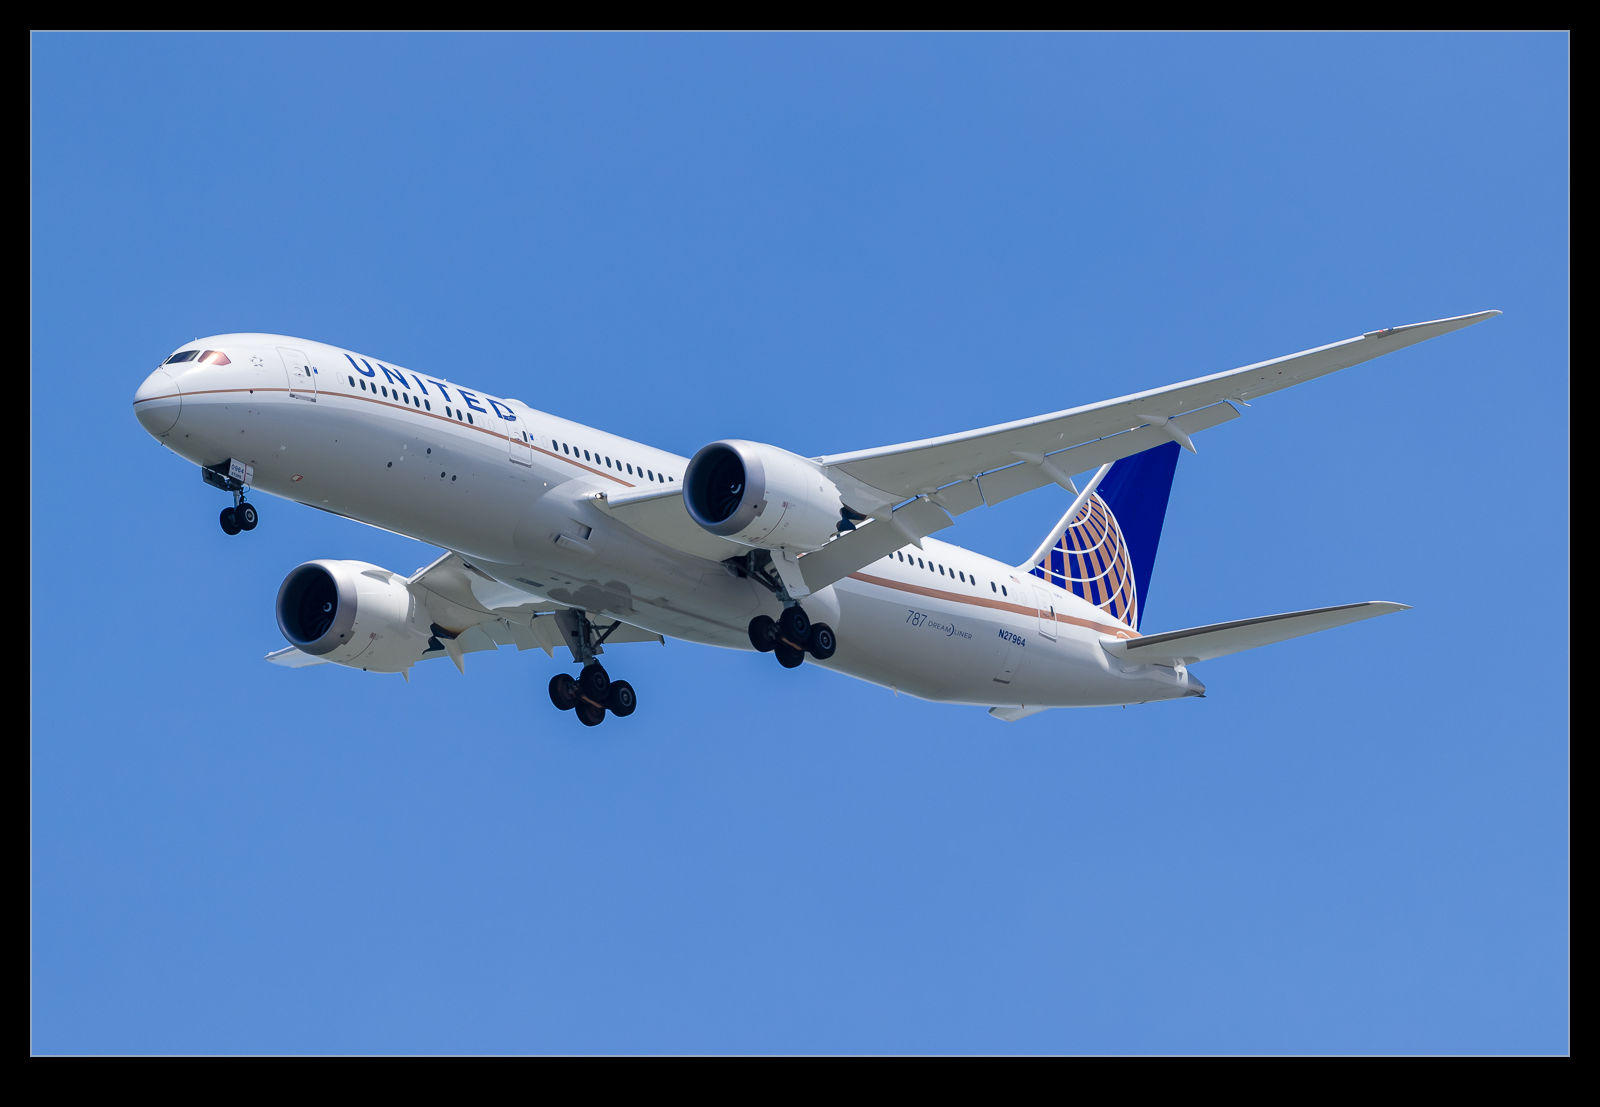
I can’t overlook the fact that the 1DX MkII is a full frame camera.  I was a little concerned about losing the crop factor I had on the MkIV.  Shooting aircraft sometimes makes the extra reach of the crop factor helpful.  The pixel density is a little below what it was before so I don’t have the virtual crop to play with.  However, so far I am finding that I am just shooting like normal based on what I see in the viewfinder.  We shall see if I notice the difference as I get to do a variety of shoots.

File size is a step up as a result of the higher pixel count.  This is resulting in a bit more effort for the computer when it is rendering the shots.  I can see a noticeable difference in the speed with which the 1:1 renderings get completed.  This is not yet causing a problem but I shall see whether a bottleneck develops.  I will also see how this impacts my backups.  I previously used to back up files in blocks of 1,000 per Blu-ray disc.  If there were no video or large edit files, the disc would have spare capacity.  Currently, it looks like I might still be able to do the same thing but with less margin.  Another thing to watch as experience is gained.

Battery life is officially down on the previous camera.  The increased processing power requires more juice from the batteries.  I have been on a couple of big shoots on consecutive days with many thousands of shots over the days without having gone through one battery.  If there is a reduction, it is certainly not causing me any operational concerns.

That summarizes everything I have identified so far.  I have a long way to go in learning to make good use of the camera but I have to say I am very happy with it so far.  It is a great piece of kit.  I have much to still try.  I have not even got in to the high ISO capabilities at this point.  This is something I want to play with before too long.  Longer days will make that a bit trickier but the opportunity will present itself.  When I do, anticipate a post on that too!  Overall, I love it.  Anyone want to buy a MkIV?

Think Tank Shapeshifter Review

Camera bags. Hmm… How many of them are there and how many can I own? Will I ever find the perfect bag? Of course not. However, in recent years I have come a bit closer. I have owned a variety of camera bags and actually still own all of them since I never get rid of any of them. My first Think Tank bag was the start of things getting a little bit better. They do make some really good bags that seem to have been well thought out. It also helps that I have become better focused on what I actually want from any particular bag. No bag does all things so I have systems that are suited to certain roles.

One thing I have been troubled by for a while is taking a camera with me on work trips. When I am traveling light for the work trip, carrying some camera gear with me is a bit problematic. I have recently been carrying a body and lens or two packed in my roll-aboard bag but this is hardly ideal. My work backpack was too small to stuff camera gear in along with the computer and other bits. Then, as if by magic, I get an email from Think Tank. They are offering a free trial of the Shape Shifter. This is a backpack that expands. It has a pocket for laptops and can hold bodies and lenses individually along with having plenty of pockets for other bits. This looks like the sort of thing that could go under an airplane seat leaving the space up top for the regular roll-aboard. It would also make the camera available while in the seat if anything looks interesting out of the window.

The trial is a month and, if you don’t like it, you just have to ship it back. I decided to give it a go and with a trip imminent, the timing seemed perfect. I am now back from the trip and I can confirm it did exactly what was required. Not only was it ideal for the travel but it also allowed me to carry the camera gear to the meetings so I could head off shooting after work without having to go back to the hotel. (It is also nice to not have to leave the gear in the hotel room.) When fully loaded, it is pretty heavy. I didn’t fill it up so with all sections full and a larger laptop – it can take a 17” one if you like carrying heavy laptops around – it would weigh a ton. However, it does the job perfectly. I guess it isn’t going back at the end of the month. One more bag for the collection!

Filming helicopter

wpid6825-AU0E2910.jpgSomething I haven’t seen for a while is any filming activity around the city.  We have two big movies being shot in Chicago this summer but I don’t think I have seen anything of them at work yet (unless this is it).  When the filming is underway, you often get a helicopter shooting film from the air.  A turret on the nose holds the camera and the mount is operated by someone inside the helicopter while the pilot positions for the shots that are required.

wpid6823-AU0E2834.jpgI heard a Eurocopter Astar (Squirrel for non-US readers) flying around (not unusual since the local TV stations use them predominantly) but noticed it was a different aircraft with a more prominent mount.  I have seen this Astar doing filming work in the past but not for a while.  The sun was getting low but I decided to try and grab some shots as it came around.

wpid6827-AU0E2935.jpgOf course, just as I did this, it made a couple more passes and then left.  However, it did return later.  By now the light was getting very low.  I suspect the shots he was getting of the city looked great but it was getting tricky to get anything good of him.  However, it is always fun to try.

wpid6829-AU0E2964.jpg

How Many Megapixels?

How many is too many?  I really don’t know.  I refer to the number of pixels that can be squeezed onto the sensor for a digital camera and what is desirable or not.  Over the years the camera manufacturers have steadily increased the number of pixels on their sensors and come up with ever greater resolutions as a result.  This has been both beneficial and problematic.  What I am not sure about is whether I am missing the point with all of this.

My first DSLR was a Canon EOS 10D.  It was a 6.3Mp camera – something that would now be considered unacceptable on a cell phone.  It was a great camera, even if it did have a number of limitations that would be considered unheard of today.  However, for its day it was very good.  I had full page images printed in magazines from it with absolutely no problem.

As the megapixel wars got going, I was adopting larger and larger file sizes by default.  I would tell anyone who asked that megapixels were not the most important thing when buying a camera and there were plenty of other issues to consider.  I certainly don’t mind having a more dense file when I need to crop in to a shot but the impact on memory cards, the need for ever larger hard drives and the upgrades to computers to process the larger files were downsides that I didn’t appreciate.

For a while it seemed like the pixel count had leveled off a bit and the focus was on gaining better noise performance at high ISO settings.  This seemed like a very worthwhile approach for me.  However, big sensors are now back in play with the Nikon D800 leading the way and Canon talking about some large sensor cameras to come.  (I think it is worth noting that, since the pixel count is a function of the square of the linear resolution, these larger counts do not translate in to a huge improvement in linear resolution.  Yes, you do get more detail but it isn’t quite as mind-blowing as some will suggest.)

Am I a dope for not welcoming this?  Am I taking a Luddite approach in sounding happy with what I had and not appreciating the advances?  Do I just accept that all of my gear has to be upgraded periodically to stay in line with the latest thing whether it is camera file sizes, the processing requirements of new generation software or the interface needs of the latest devices.  I’m sure there are some benefits to having such dense files but I am not sure that they matter for what I do.

As for the uses for large file sizes, there is always much discussion about printing big or using for billboards.  Only a photo nerd looks at a picture from six inches and billboard resolutions are actually quite poor.  I wonder what a good resolution level really is.  Anyone care to suggest the perfect compromise?