One gift I got for my birthday was an intervalometer. I have been interested in time lapse photography for years but never got around to trying it out properly. The intervalometer I got was a third party device which is a fraction of the price of the official Canon version! A couple of posts ago I included some time lapse video in Chicago. Here are a few more videos that I have put together in the recent months.
Category Archives: technique
Bean in the rain
After the trip to the Cultural Center from my previous post, I headed across to the Bean to try some other ideas. I was interested to use the intervalometer to do some more experiments with time lapse photography. Ever since I have got it, I have been experimenting with different ways of compressing events in time. To date I had focused on larger scenes transitioning over periods of an hour or more. This time I was looking at getting a short result that portrayed the movement of people around a busy scene like the Bean.
What I hadn’t planned on was the rain. The day had been looking pretty unpleasant for quite a while but, since I was more interested in the movement of the people rather than a picturesque shot of the landmark, I wasn’t too bothered. Besides, this was an experiment so, if I screwed a few things up and learned my lesson, I would be better prepared when a better day came along. However, the rain that started around the time I arrived was a little more persistent than I had expected.
In such circumstances, where does everyone go to shelter? Under the Bean of course. I quickly joined them when I realized the rain was getting heavy. As I sheltered under there, it was obvious that this might be an chance anyway. I thought everyone would just stand under there so nothing would work from a motion perspective but I was wrong. Despite the lack of anything to do for a while, people were constantly on the move. I stuck the camera low to the ground under the surface of the sculpture and left it to do its thing for a while.
As the rain eased off, I headed outside to try and different look at people passing by. I even decided to see what a slow moving person in front of a busy scene might look like. I’m not obvious and it isn’t great but when you find a way to have fun in the rain, you do.
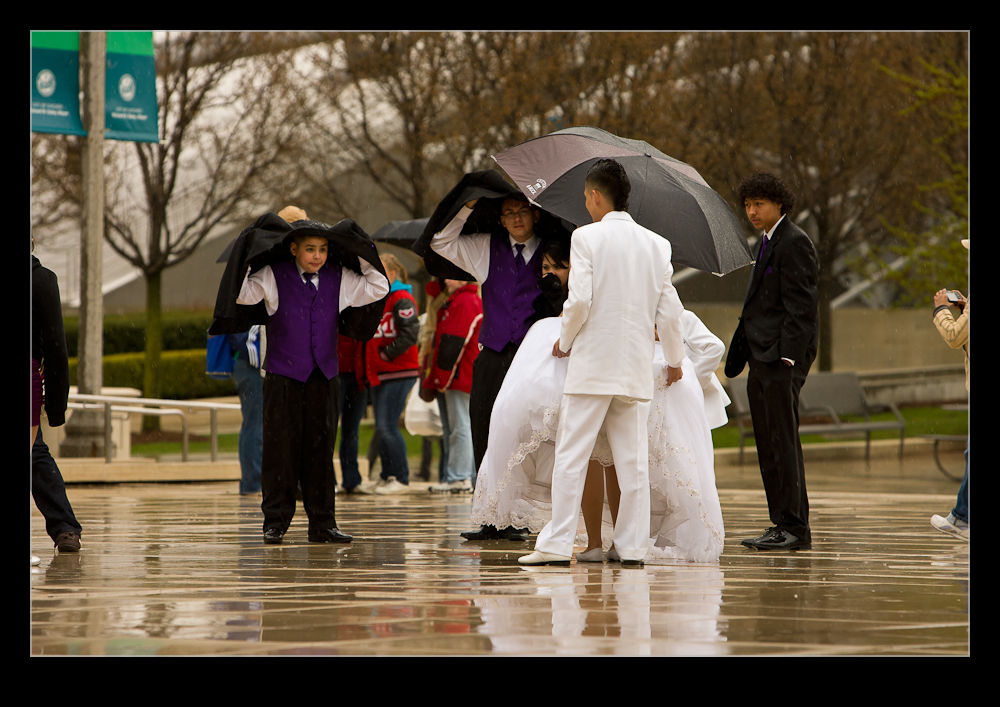
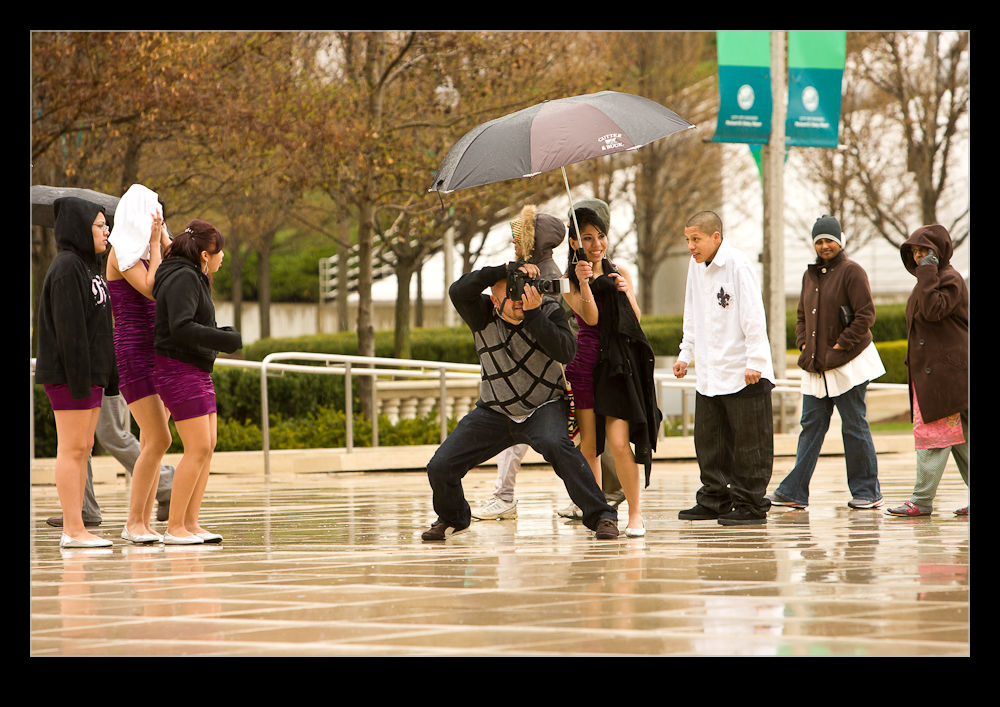
While the time lapse was underway, I noticed another group had arrived. At this time of year it is no surprise to see wedding parties arrive to get some pictures in
Millennium Park. When it is pouring with rain, it’s not what they were hoping for but I guess you can’t come back another day when you only have one wedding day! I felt bad for the people as they struggled to get their shots as the rain fell but the photographer was a determined guy and they were going to get it done. I do hope they look good when they see them.
Cultural Center Part 2
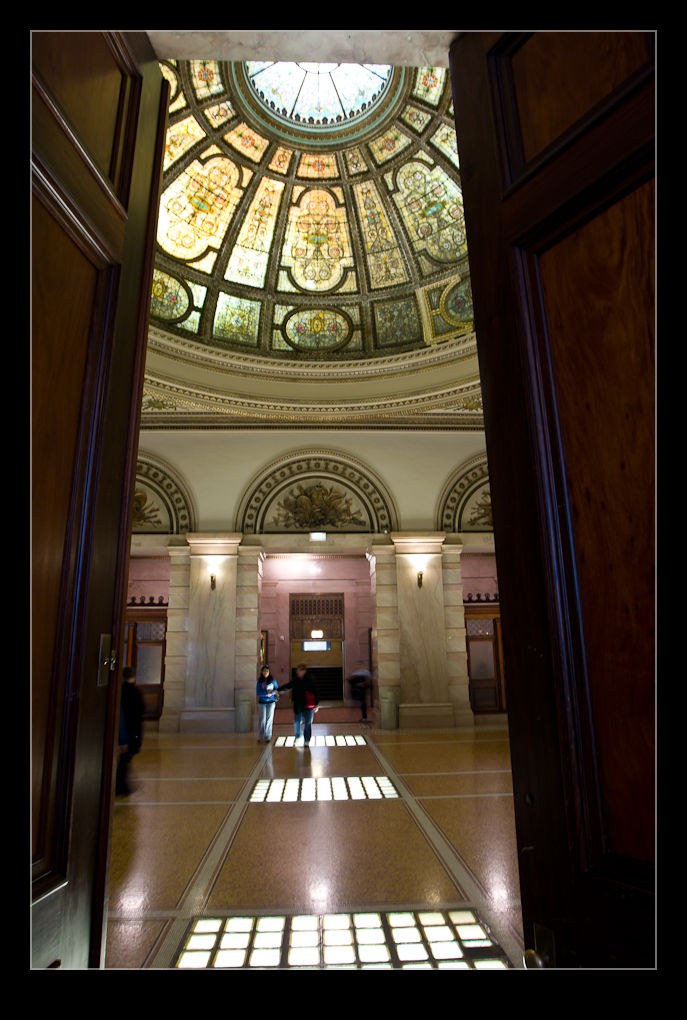
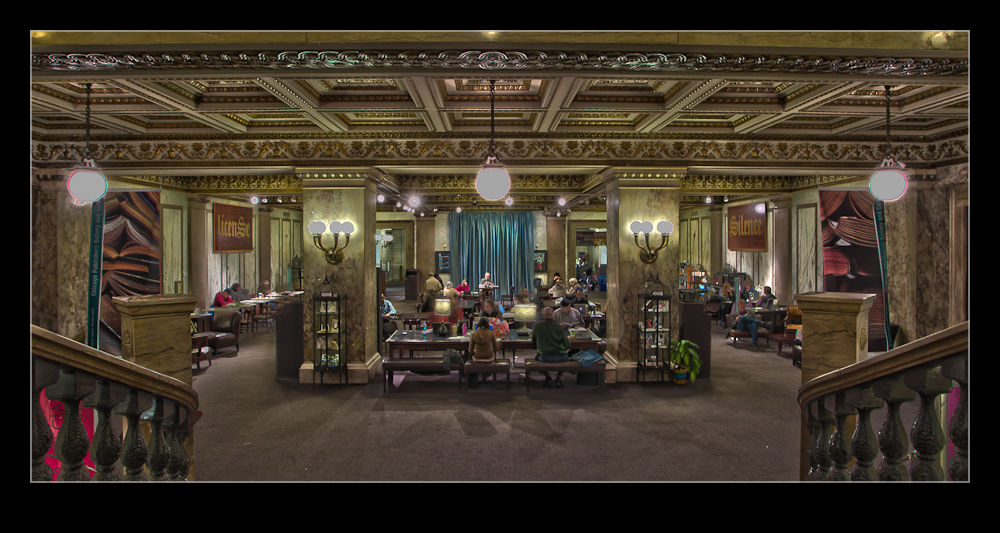
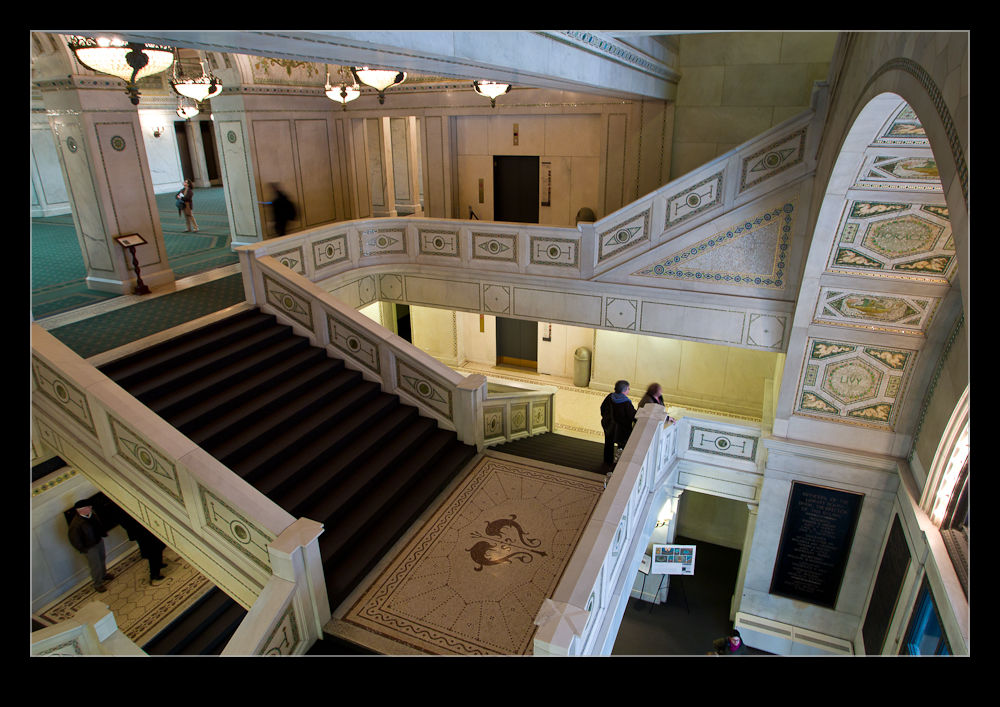
After the visit of Bonnie, Gary and Julie the other week, I was determined to head back to the Cultural Center and have a bit more of a plan this time. Following on from my wanderings along the river to watch the bridges opening, I headed across to the Cultural Center to take another look at what I could get.
This time I had two advantages. First, having been there before, I had a better idea what I was looking at. Second, during our previous visit, a private event had been taking place in one of the halls under the glass domes so we could only see it obliquely. This time, no events were taking place and I had
freedom to wander where I wanted. This proved even better because I hadn’t realized that there was another room further on that also was fascinating to see.
What I hadn’t brought with me was a proper tripod. I had a couple of supports that I had brought (including a Gorillapod) but they were only useful in certain situations. Therefore, I had to practice my best hand holding at low shutter speeds for some of the shots. All good practice! For a lot of the locations, this wasn’t a problem. However, in the open rooms, ramping up the ISO was necessary although balancing the shutter speed against the noise levels was a trade off that had to be made.
The interior has a lot of interesting places to shoot. Some of them offer clear opportunities and this time I came equipped with a wider lens to accommodate the width of shot available. Some of the other areas have great detail and interesting features but I have yet to find a good way to represent that in the shots. At least that leaves me with more reasons to go back for another try.
There is a wide range of light within some of the rooms and trying to represent that tends to lead me to some HDR work. I tried out a bunch of shots with HDR and when I got home, experimented with different ways of processing the HDR. Some of these are aimed at a realistic interpretation and some are more dramatic. The patterns and colors can make the dramatic finishes look very interesting but too much of the same thing gets boring fast so I am still playing with other finishes. For those HDR experts out there, let me know if you have some good ideas.
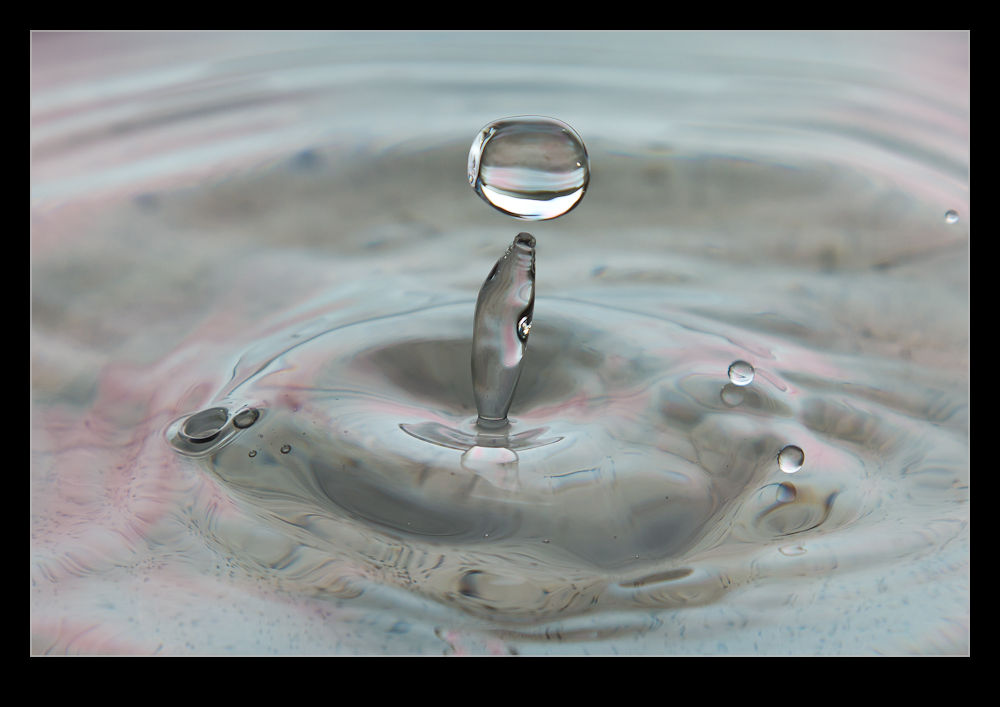
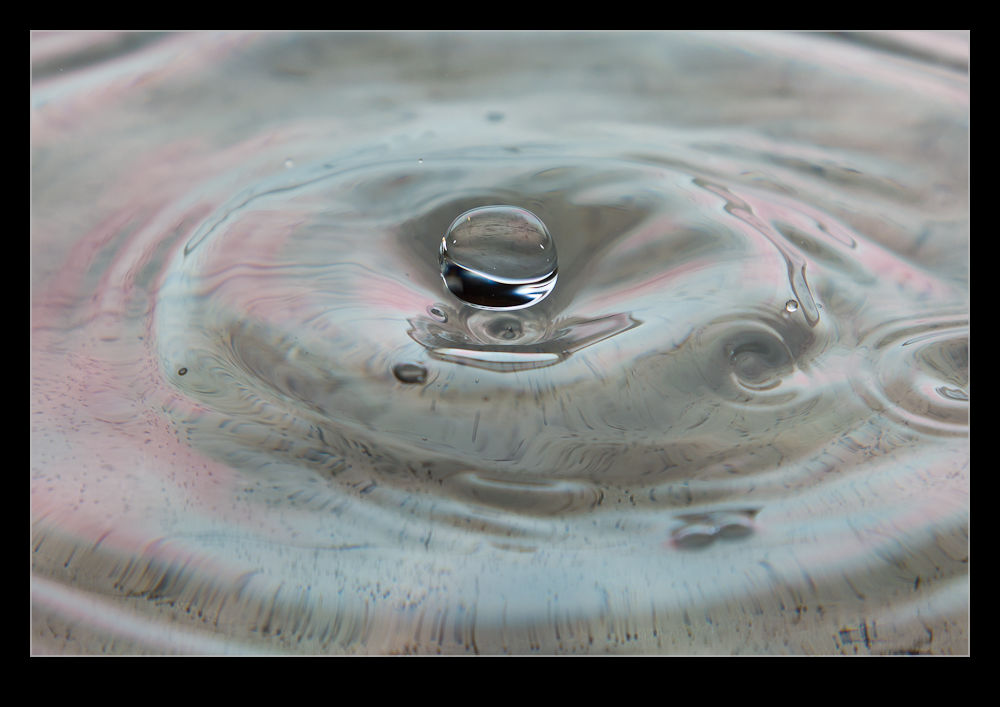
What a drip!
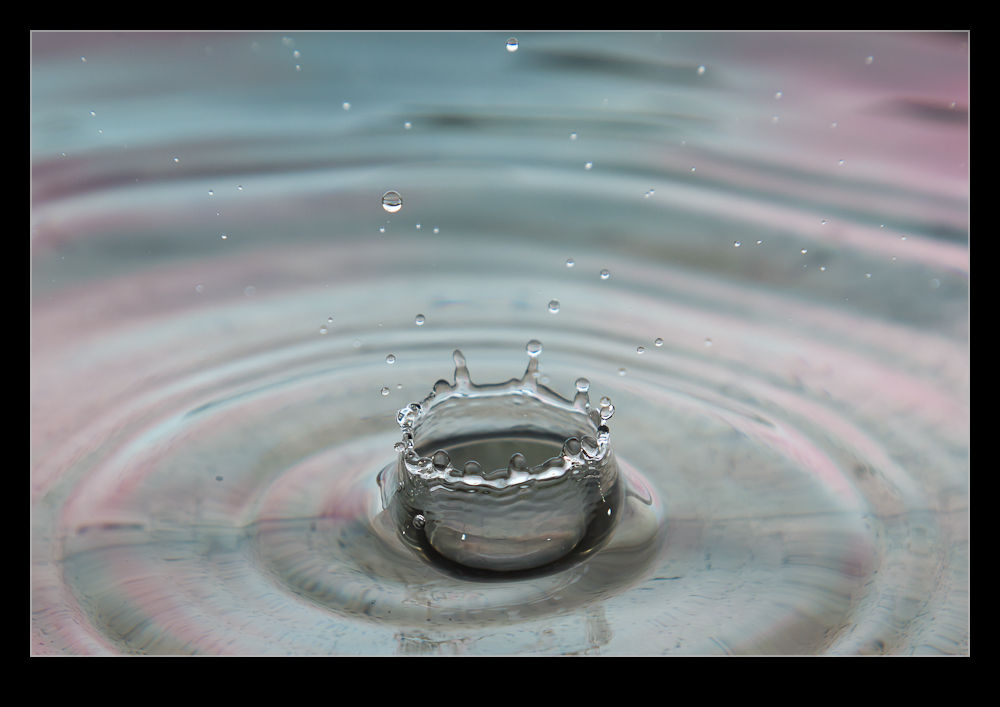
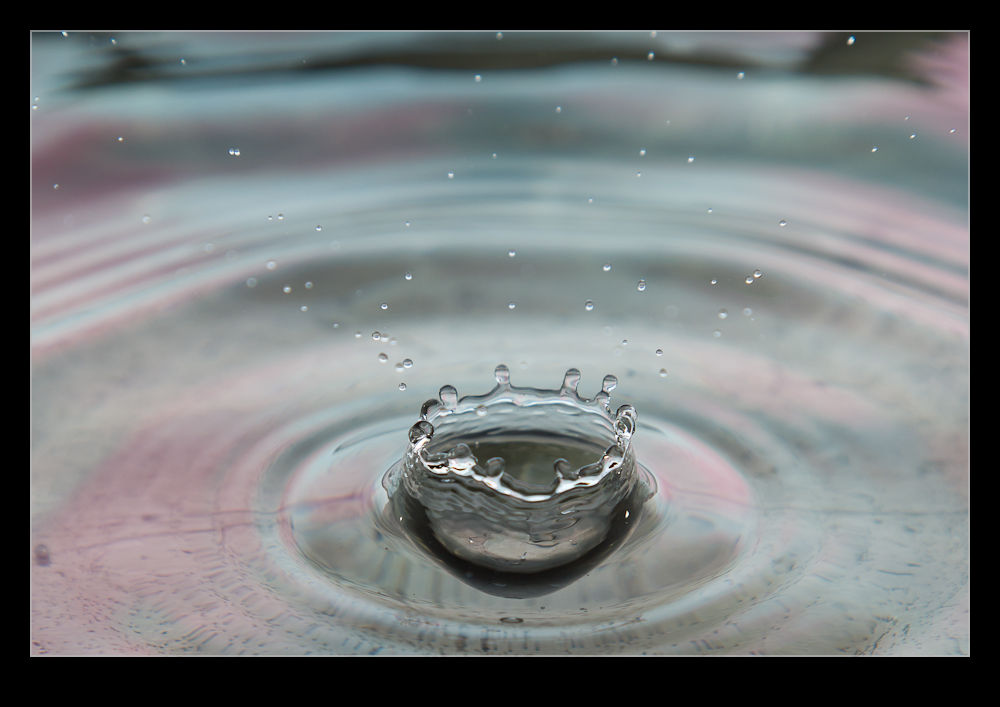
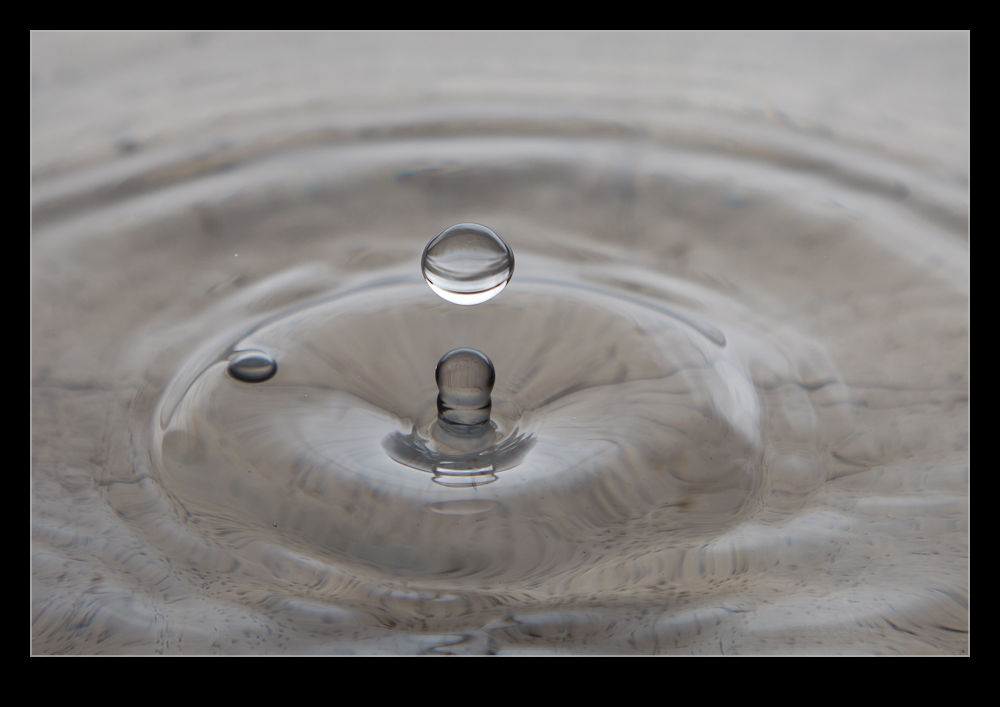
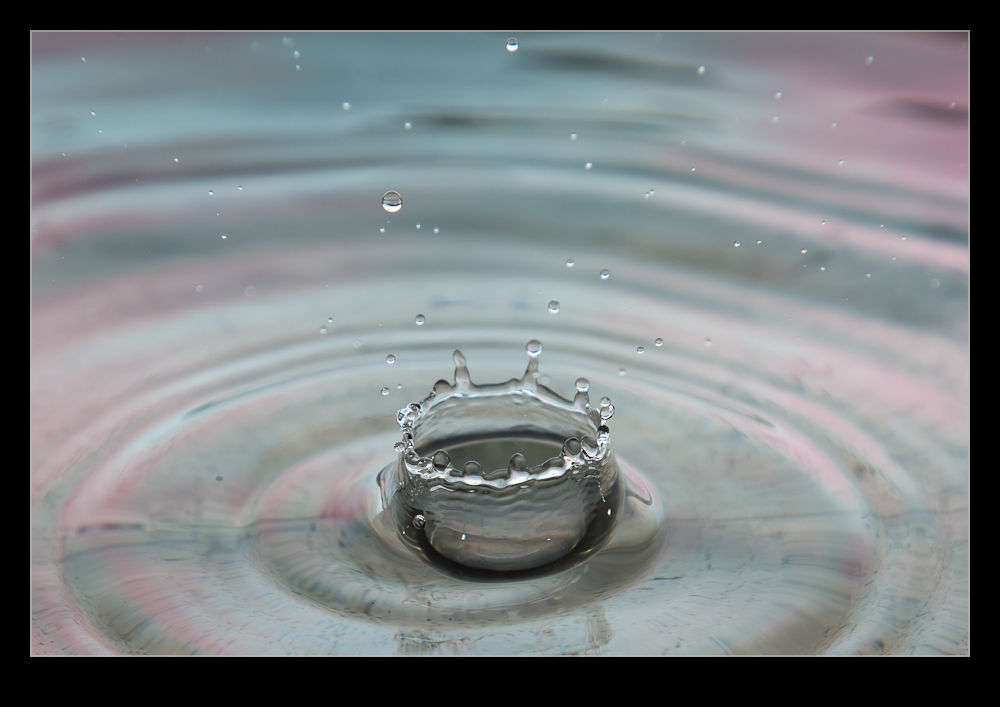
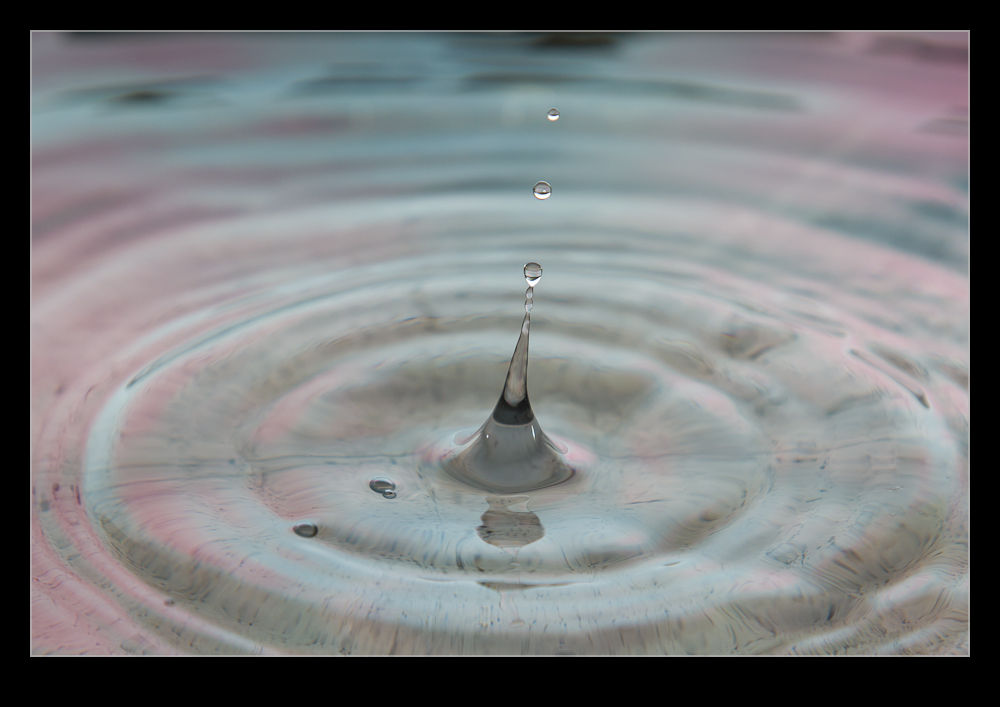
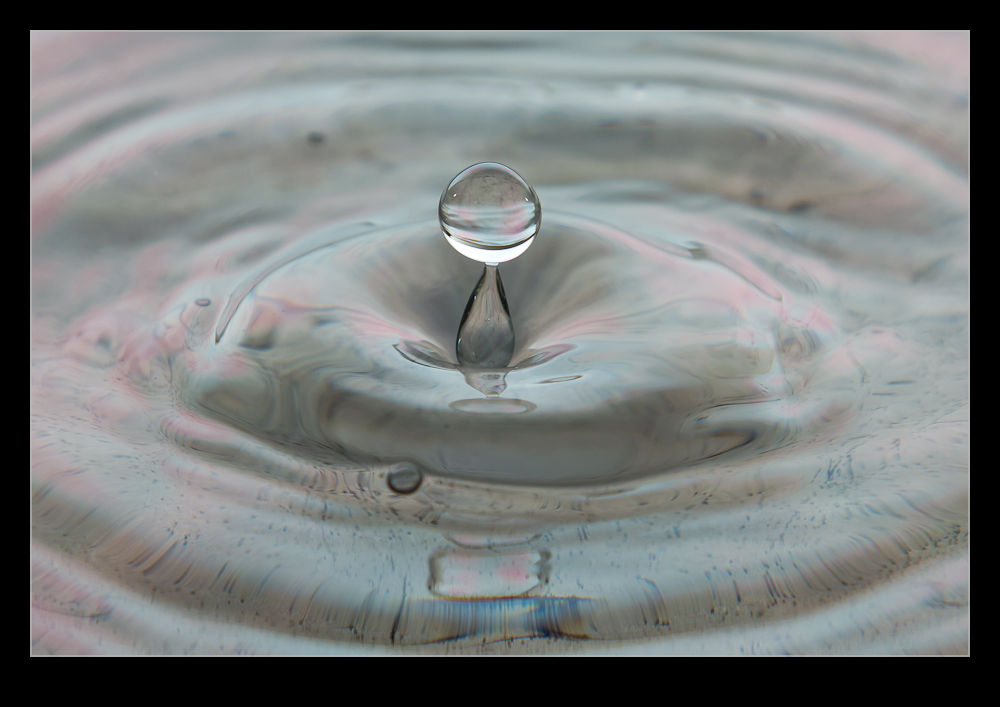
A couple of years ago I had a go at shooting water droplets splashing around. It was something I had been meaning to do for a long time so I tried setting up an arrangement to make it work. It was a bit of an effort but I got some results with it although, I have to admit I was probably a little disappointed with the outcome. Given how much of a pain it had been to set up, I was not hurrying to have another go.
Time ticks by and recently I was looking at the Facebook page of Gerry Holtz, a friend in LA, and he had been doing the whole water droplet thing as well. Needless to say, he had done a far better job of it than I had. The images were very cool and he had made some good use of color as well as alternative arrangements into which the water was dropping. Very impressive stuff.
Seeing this made me want to have another go and I was mulling doing just that when I saw a link to a video online with a guy called Gavin Hoey in the UK demonstrating his setup for shooting water droplets. Uncanny coincidence, don’t you think. I watched his video which can be seen here and realized I had been making it all far more complicated than absolutely necessary. So, I have inspiration by seeing someone do a good job and method from someone who knew how to make it a lot easier so what is stopping me from having another go? Nothing!
So, this time I am feeling a little better about the results. Some focus issues still to be resolved on some of them (and water doesn’t always splash in exactly the same place each time so guess what the focus will be on the most interesting shots!) but still, not too bad. Certainly enough to encourage me to think about doing it again soon.
Here is a gallery to show you the results.
When Does Noise Matter?
I will freely admit I am as much of a gearhead as the next photographer. New toys always catch my attention and then it is a matter of time before the battle is won between my sensible side or my not very sensible side as to whether I am going to get something. The price of said item may well have an influence on which side wins that battle.
One thing that is a popular discussion for the pixel peepers is noise. Having started off with a Canon EOS10D when I first went digital and worked through a number of bodies since – none of which have left my ownership I must confess – I have seen some steady improvement in noise reduction capabilities although not always with as much benefit to the final image as I might have liked but I digress.
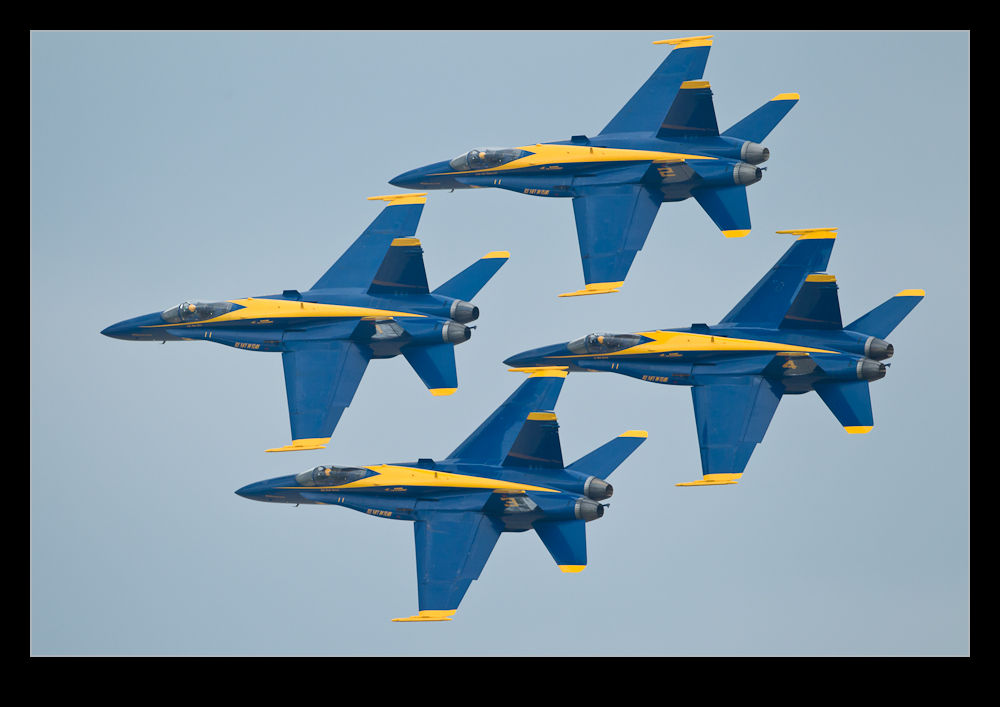
A while back I was shooting at the Oceana air show with two of my buddies, Ben and Simon. We had trekked down from DC for the show and were greeted by less than ideal weather. The cloud base was solid and low and a bunch of displays didn’t take place. Some did though and we still had a good day. Given the heavy cloud, though, we were struggling for light. I was shooting mainly with the MkIIN and was up at ISO 800 for a lot of the time.
The MkIIN is well into the noisy range at 800 and I knew that was the case but there was little option. A while after this show, Lightroom 3 came out and it had a lot of noise reduction built in that wasn’t in the previous version. I took a look at some of the Oceana shots to see how much better they might look. There was a noticeable improvement and I was happy.
Why am I discussing this now, over a year later? I was mulling over this topic for some reason, probably related to another acquisition decision, and I wondered how the printed version was affected by this noise. There are plenty of things that I fret over in an image when looking at it on screen, usually zoomed in far too close, that really don’t become apparent at all when printing. Is noise one of those things that looks better on paper?
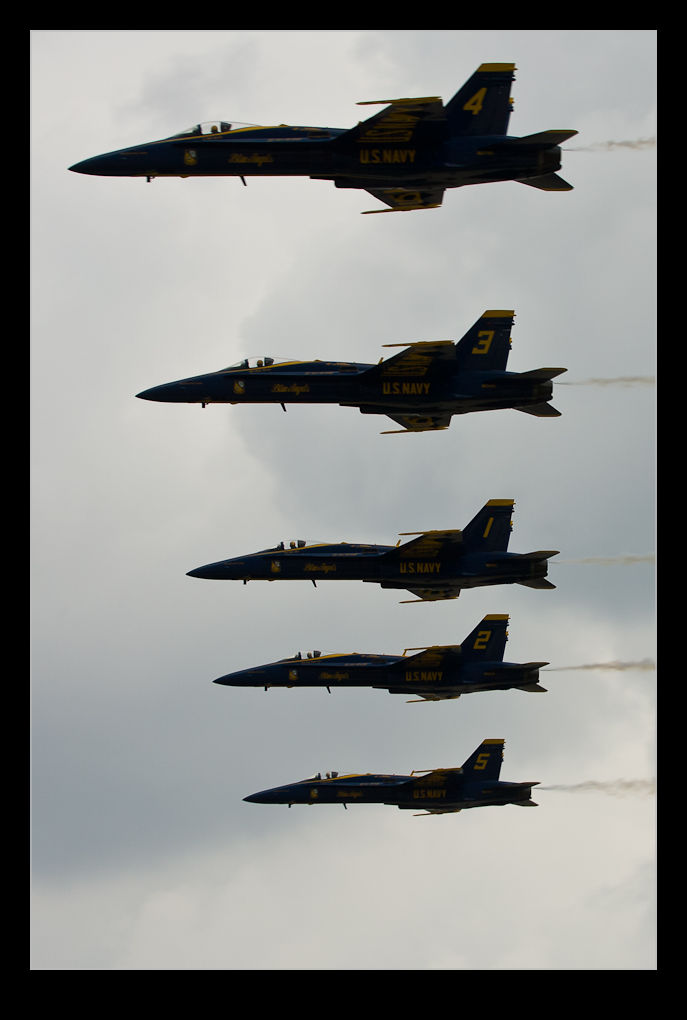
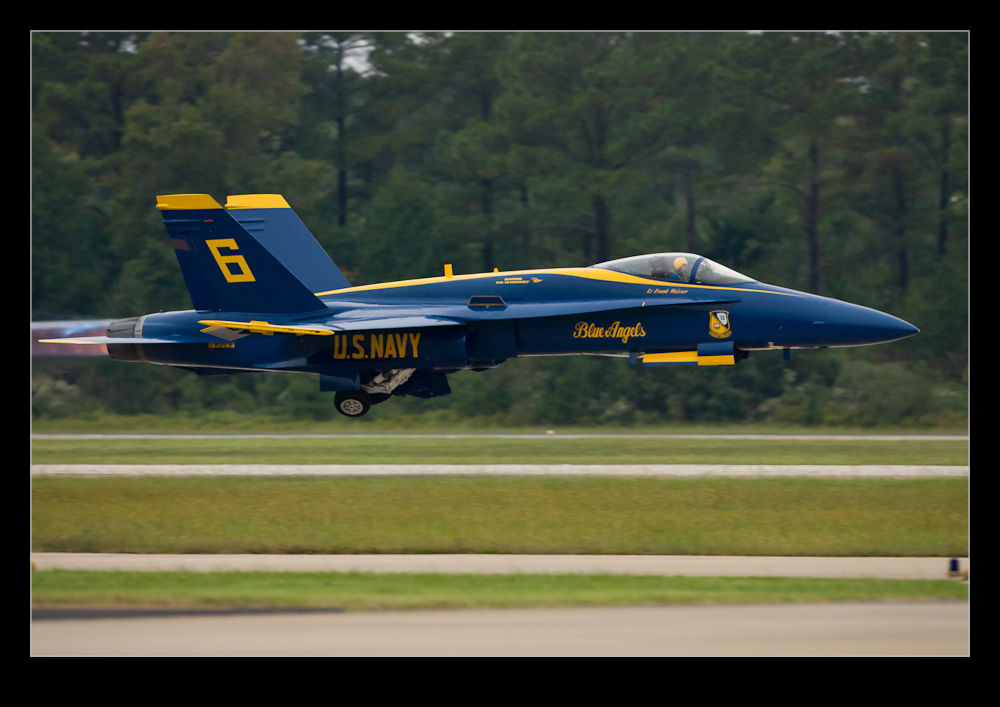
I picked one of the shots from that day to experiment with. The shot in question is this one of one of the Blue Angels taking off. Since there was the treeline behind, the gray sky was not an issue and the burner plumes show up nicely given how dark it is so I like the shot. Now to check it out on a print.
One of the nice features of Lightroom is the ability to mess with the print layouts. I made a couple of virtual copies of the image and one one of them did my best to optimize the noise reduction and on the other switched it off for the most part. On screen, it did not look great. I then set up a page in the print module with two cells right next to each other and put the left side of one image in the left cell and the right side of the other in the right cell. It looks like a full aircraft if I get the positioning just right.
First I printed it on an 8.5×11 sheet. If I look closely, I can see the divide. It actually shows more in the background than on the aircraft. It is visible but it isn’t as noticeable as you might expect. This had got my interest! What about the size of the print. I repeated the layout on some Super B (13×19) paper of the same type and printed it again.
As you might expect, this time is is a little more noticeable – hey, it’s twice the size! However, even now, while it isn’t great, it really isn’t that bad. We are talking about turning the NR almost off.
So, what do I conclude from this? Well, technology is going to always get better, both in camera and on the computer processing it and I am still going to be a sucker for a new piece of kit. However, while there is a noticeable noise difference on screen, the print is really a lot more forgiving. Maybe I should relax about it a lot more and just enjoy the shooting, even when the light is limited.