The movement of the bridge in to its new location finally went ahead after a lot of waiting on my part. While I was shooting stills, I did set up a second camera to get a time lapse of the move. Below you can see things a lot faster than they were at the time.
Tag Archives: lapse
And the First Piece is Away!
As I mentioned before, the first piece was free. I hadn’t planned for a time lapse. I had no idea I was going to time my visit for when this happened, nor that it was going to happen so soon. However, I was there with the camera on a tripod so I manually shot a sequence and cut it together. It is short but you get the idea. I left town shortly after this so missed the new section being put in place. I shall hope to be around when the second span is worked on.
Boat Time Lapse
I mentioned previously that I was out shooting the bridges opening for the returning boats. What I didn’t mention then was that I was primarily looking to shoot a time lapse piece. With the movement of the bridges and the boats progressing along the river, I thought that this might make for an interesting time lapse. It wouldn’t be a lengthy piece but it might be a useful addition to the library for a larger piece about Chicago if I were to do it at some point in the future.
The schedule of the lifts of the bridges is always a bit flexible. How quickly the openings take place, how fast the boats are getting through, how many of them there are and how quickly the crews can move from bridge to bridge. Coming this way, though, they are only at the third bridge so they are usually quite predictable.
I got myself in position, had the camera set up on a mount and the remote timer configured for what I was looking for. I saw the previous bridge open and close so knew it wouldn’t be too long. Sure enough, a short while later, the bells started to ring for the bridge closing. I started my sequence of shots so I would have a run in along with the actual movement of the bridge. Then I waited – and waited – and waited. There were some unfortunate sounds coming from the bridge but nothing was moving. After a while, the bells stopped and people started to cross again.
A crew got to work on the lower level trying to fix whatever was not playing ball. The bridge had opened the previous Wednesday so it wasn’t lack of use that was the issue. My decision was how long would I wait before giving up and going home – an easier option than for the boat crews that were stuck between Columbus and Michigan! Finally they fixed it and the bells started again. I got the sequence restarted and everything then happened as planned. It is a short clip but below is the resulting sequence. Now to find something in which to use it.
Final Overnight Time Lapse
I mentioned before that I had tried to do an overnight time lapse video. In that post I detailed all of the ways I had screwed up the process. Rather than sulk, I did take all of those lessons to heart and went back for a second attempt. This time, I was a lot more successful. I hadn’t got around to figuring out how to make the tethering work properly but the alternative was acceptable and I had learned the rest of my lessons.
One minor hurdle still existed. Our windows are not at their cleanest at this time of year and shooting through the glass is the only option. We are due to have the cleaners take care of them shortly (although that will probably only guarantee some rain immediately afterwards). In low light and with a wide enough aperture, the dirt smudges are not too much of a problem. I have to make sure the shoot doesn’t include any time with direct light on the window which would make the muck flare up in the shots.
The other minor issue is a function of the double glazing. More intense light can show up the effect of the light bouncing between the glass panes. At night this isn’t a hassle except with the moon which is so bright. For some reason I should be able to figure out but can’t, the center of the window almost totally removes this effect and it gets worse towards the edges. However, the moon is so bright in the scenes it blows out and, since the whole thing animates to a video, the loss of shape in the shots becomes less apparent as the moon zips across the sky.
With all of that said, here is the video itself. It seems to have worked out well. Sadly, the messed up effort seemed to have got some more interesting light sequences from the windows of the building but you can’t have it all. Enjoy!
What a Balls Ups
I have previously played around with time lapse videos made with an SLR, a timer release and some software linked to Lightroom to create the finished video. I decided to go a little longer with one and make a video throughout the night, starting before sunset and finishing off once the sun had come back up again. This did not prove to be as simple as I had hoped!
It should be pointed out that most of these problems are entirely of my doing. First of all, I did a calculation of how many shots I thought would be necessary to complete the clip. This was more than would fit on one of my compact flash cards. No problem, the camera has a second slot. It turns out that, unlike the MkIV which will switch to the second card when the first is full if you so desire, the MkIIN won’t do that. Okay, not problem. I shall tether it to Lightroom and download direct to the laptop.
This didn’t work. I believe this was also my fault as the MkIIN has a firewire connection as well as the USB and the USB tethering showed up on the computer but didn’t actually do anything. Okay, I can fix this. I shall let it run for a long time and change the card shortly before going to bed and the new card should work through the rest of the night. A fully charged battery and off we went to dinner.
Upon my return, I find that the camera is not shooting any more. Foolishly, while I worked out that a 16Gb card would be fine, I didn’t remove the 8Gb card that was in there so the card was full. I swapped the card with another one quickly and set it off. A while later I come back to check on it and nothing is happening. The new card is full. I hadn’t formatted it first. What a fool. I also have a flat battery. This is not going to be good. Fortunately, the MkIIN came with the DC adapter as standard (unlike the MkIV – how tight are you Canon?) so I swapped that in, put in a fresh card and formatted it. Then I went to bed.
This finally worked. The remaining shots worked fine. The result wasn’t too bad but, since it had some obvious jumps in it – the moon was traversing the scene when the gaps occur – it wasn’t usable. However, it did teach me a bunch of thing that I now need to deal with for the second attempt. let’s see if I can balls that up as well!
Model Day in 15 Seconds
 You might be a bit bored with me playing with time lapse video. If so, look away now! Here comes another one. We had guest visiting for the New Year and one of the things we took them to see was the scale model of the city. The Chicago Architecture Foundation has a shop on Michigan Avenue and the building in which the shop is located has a large atrium. In this atrium is a model of the city.
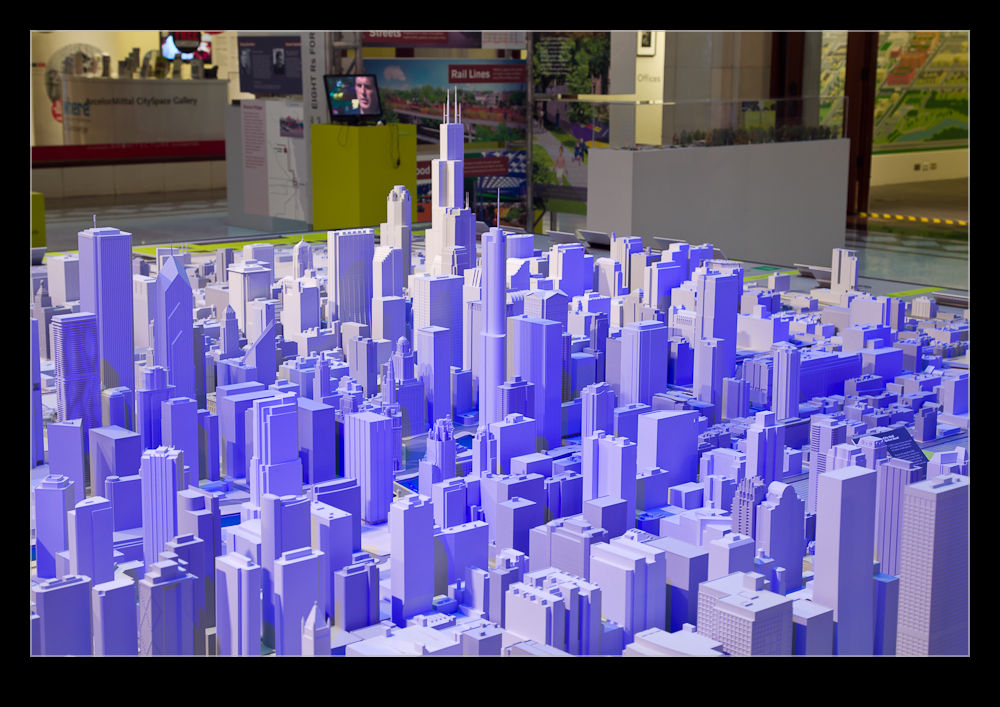 All of the buildings in the Loop and some of the surrounding areas have been accurately recreated using stereolithography. This is a technique using resin and lasers that builds solid objects one minute slice at a time creating a solid object of great complexity. If you are interested in the technique, head over to YouTube and search for the term and you will come across a number of videos showing it in action.
 The model is set up in the atrium with custom lighting. Apparently, the lighting is designed to recreate the pattern of the sun from sunrise to sunset over a 15 minute period. I had been to the model a number of times and had shot details of it before. This time, I decided I wanted to get a time lapse of the light progressing across the model to see how it came out. Since I had the plan ready in advance, as soon as we got to the place, I set up the camera and then went back down to join the rest of the crew. There is enough in the model to keep people interested for 15-20 minutes so I wasn’t going to delay everyone. It did mean, however, that I had to carry a bunch of stuff around with me for the rest of our walk!
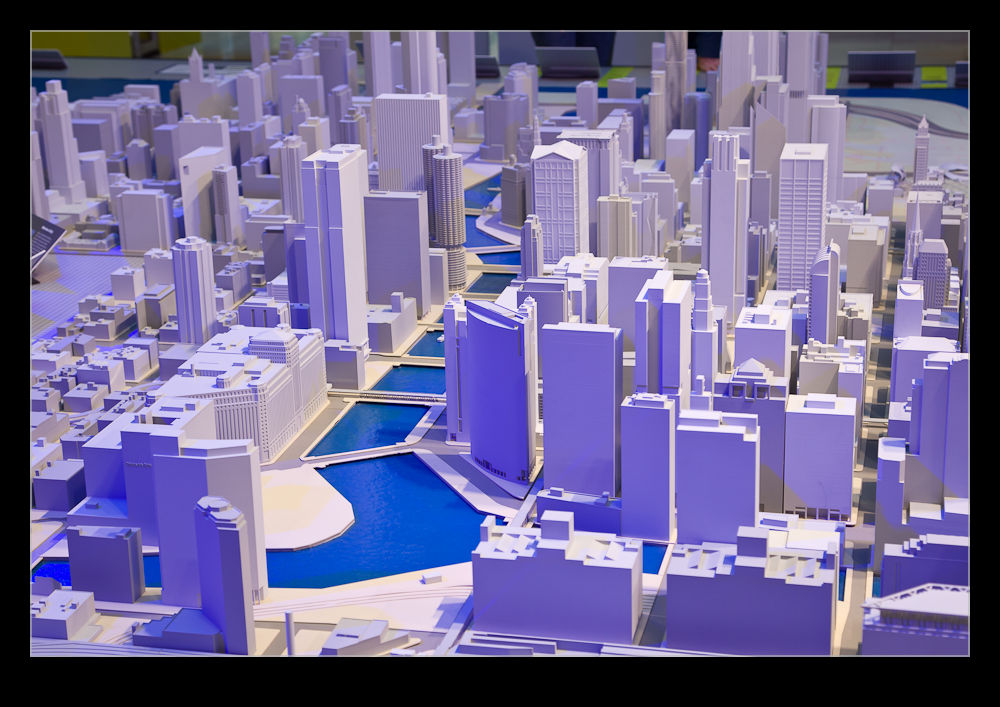 Enough of the back story. Here is the video that resulted. To be honest, I don’t think the lighting effects are as obvious as I had hoped that they would be. However, you do get to see some of the movement of the light.
More Time Lapse Sunset
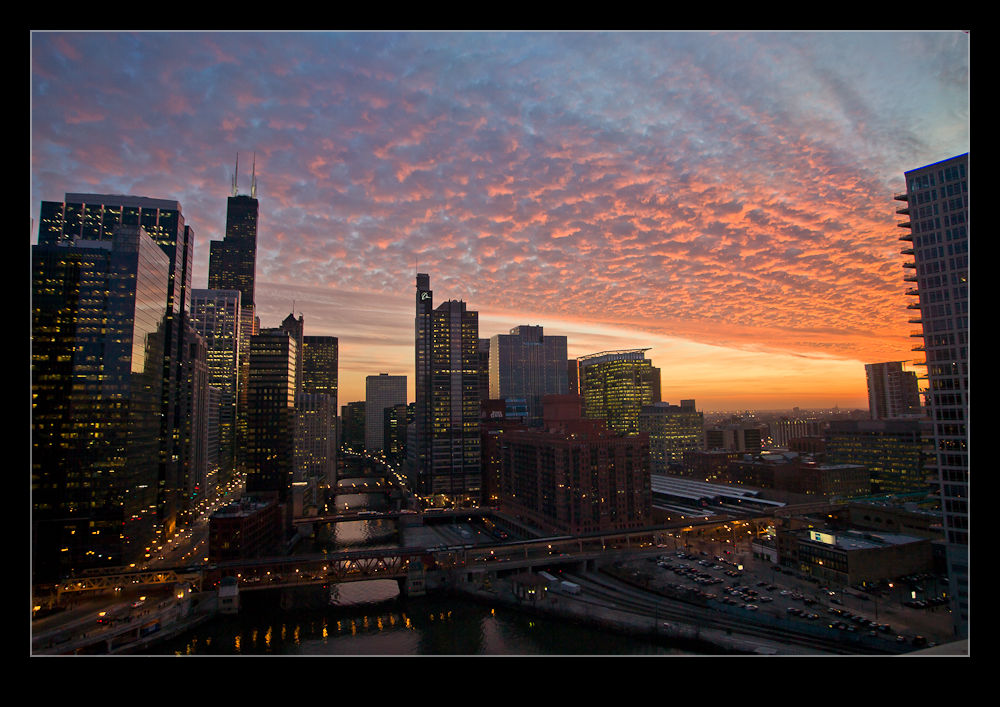 I had a plan to meet up with my friend Joel to catch up recently. We were looking for a place to meet and went with the Holiday Inn by the Merchandize Mart. It has a bar that is a comfortable place to talk and has the added benefit of a great view over the city. I wasn’t there to shoot anything but, knowing the view was good, I took along some gear just in case.
Joel and I chatted for ages and didn’t get around to taking pictures for a while. As the sun was setting, the sky was getting very interesting and I finally had to apologize and grab the camera. I got a few shots and then set it up by the window next to me to shoot a time lapse.
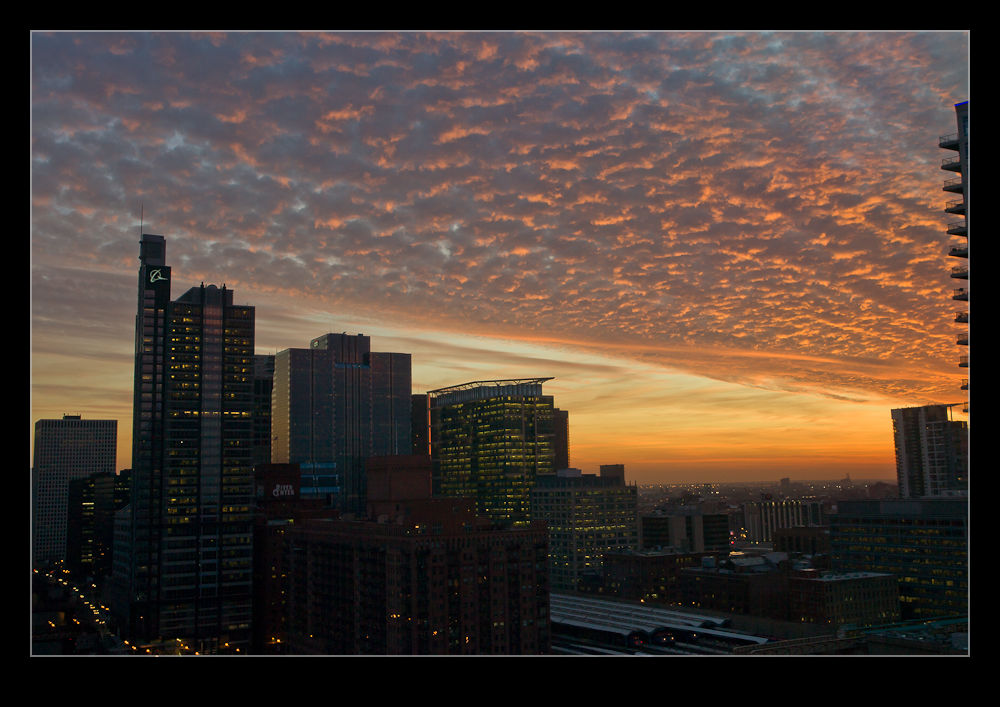 This required no input from me so we could continue to talk without interruption but it should provide something interesting to check out later. However, I hadn’t planned as well as I hoped. As the light dropped, the shutter speeds were getting perilously close to the delay between each shot as I had set the ISO a little lower than I thought. Changing it is not a problem but I was using a lighter tripod which was not as well locked off as I thought. I managed to move the head a little. I corrected but knew the alignment would be off a bit.
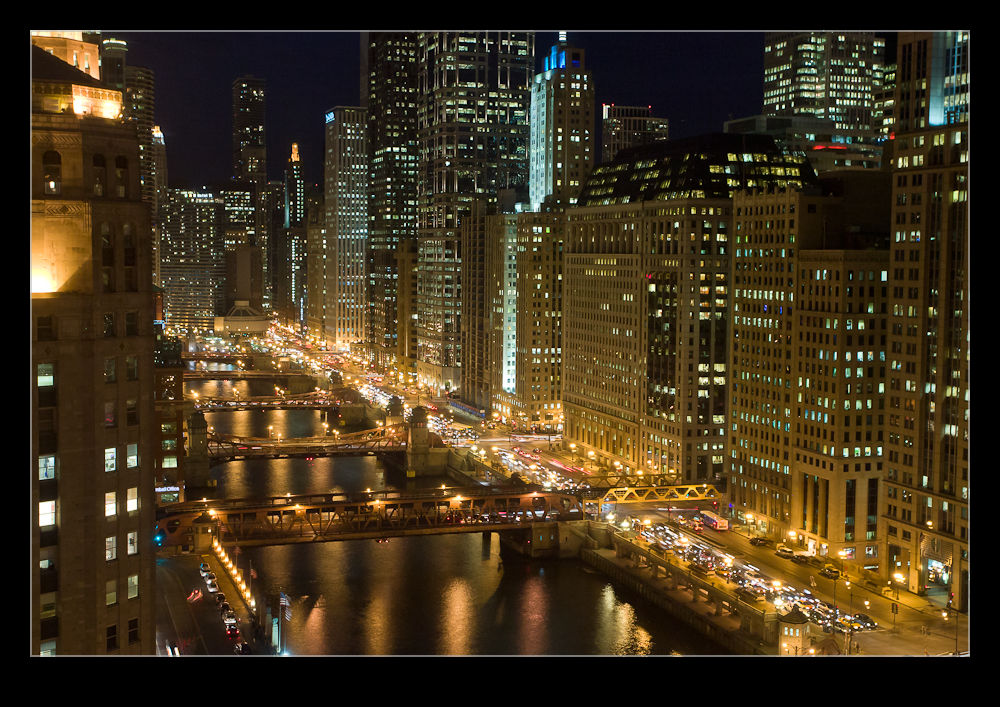 Fortunately, while I couldn’t completely remove the effect, when I processed the time lapse using Lightroom and LRTimelapse, I was able to find the frames where the jump takes place, set them as keyframes, adjust the cropping of the second of those two frames to almost perfectly align and the resulting video is a lot better than it would have been.
Thanks Joel for a fun time. It was good to catch up and I appreciate the stuff you gave me. Here is the video that resulted!
More Time Lapse Fun
I have been messing around with time lapses for a while as regular readers will know. One of the things that I had been thinking about was getting a panning effect in a time lapse. I was chatting with Ken Sklute at ISAP and he told me that, rather than bothering with expensive motorized panning heads, it was simpler to use the full image size that a DSLR offers and let the video software undertake the panning for you by cropping in on the shots.
I am not a big video guy and have Pinnacle Studio as my package. It is fine for the basic stuff but doesn’t have the most impressive features. When I goggled this topic, I came up with After Effects techniques for doing what I wanted. I tried the free trial but struggle to come to terms with what was required, despite the detailed tutorial. Guess that says something about me as a self teaching student.
Then I got lucky, My friend Jo Hunter over at futurshox posted some video from Oshkosh of time lapses doing exactly what I wanted. I dropped her a message and she came straight back with the solution. The program is called LRTimelapse and it is a standalone program that makes Lightroom develop settings that you can then combine with a video output setting to make the final product. It is developed by a guy called Gunther Wegner and you can find the whole thing at his website. It is donationware and I have made one because it works and has solved a problem that had been troubling me for a while.
I need to get better at the effect but for the time being, here is a sample of the effect. For comparison, first I have the original time lapse and second I have the panning version. No change in the content but certainly a more interesting thing to watch I think.
Time Lapse Fun
One gift I got for my birthday was an intervalometer. I have been interested in time lapse photography for years but never got around to trying it out properly. The intervalometer I got was a third party device which is a fraction of the price of the official Canon version! A couple of posts ago I included some time lapse video in Chicago. Here are a few more videos that I have put together in the recent months.
Bean in the rain
After the trip to the Cultural Center from my previous post, I headed across to the Bean to try some other ideas. I was interested to use the intervalometer to do some more experiments with time lapse photography. Ever since I have got it, I have been experimenting with different ways of compressing events in time. To date I had focused on larger scenes transitioning over periods of an hour or more. This time I was looking at getting a short result that portrayed the movement of people around a busy scene like the Bean.
What I hadn’t planned on was the rain. The day had been looking pretty unpleasant for quite a while but, since I was more interested in the movement of the people rather than a picturesque shot of the landmark, I wasn’t too bothered. Besides, this was an experiment so, if I screwed a few things up and learned my lesson, I would be better prepared when a better day came along. However, the rain that started around the time I arrived was a little more persistent than I had expected.
In such circumstances, where does everyone go to shelter? Under the Bean of course. I quickly joined them when I realized the rain was getting heavy. As I sheltered under there, it was obvious that this might be an chance anyway. I thought everyone would just stand under there so nothing would work from a motion perspective but I was wrong. Despite the lack of anything to do for a while, people were constantly on the move. I stuck the camera low to the ground under the surface of the sculpture and left it to do its thing for a while.
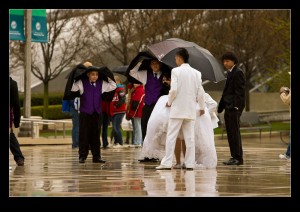 As the rain eased off, I headed outside to try and different look at people passing by. I even decided to see what a slow moving person in front of a busy scene might look like. I’m not obvious and it isn’t great but when you find a way to have fun in the rain, you do.
While the time lapse was underway, I noticed another group had arrived. At this time of year it is no surprise to see wedding parties arrive to get some pictures in 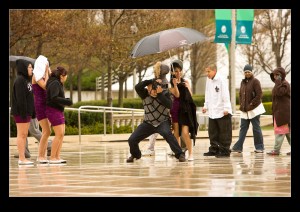 Millennium Park. When it is pouring with rain, it’s not what they were hoping for but I guess you can’t come back another day when you only have one wedding day! I felt bad for the people as they struggled to get their shots as the rain fell but the photographer was a determined guy and they were going to get it done. I do hope they look good when they see them.