Category Archives: technique

Painting with a Flashlight

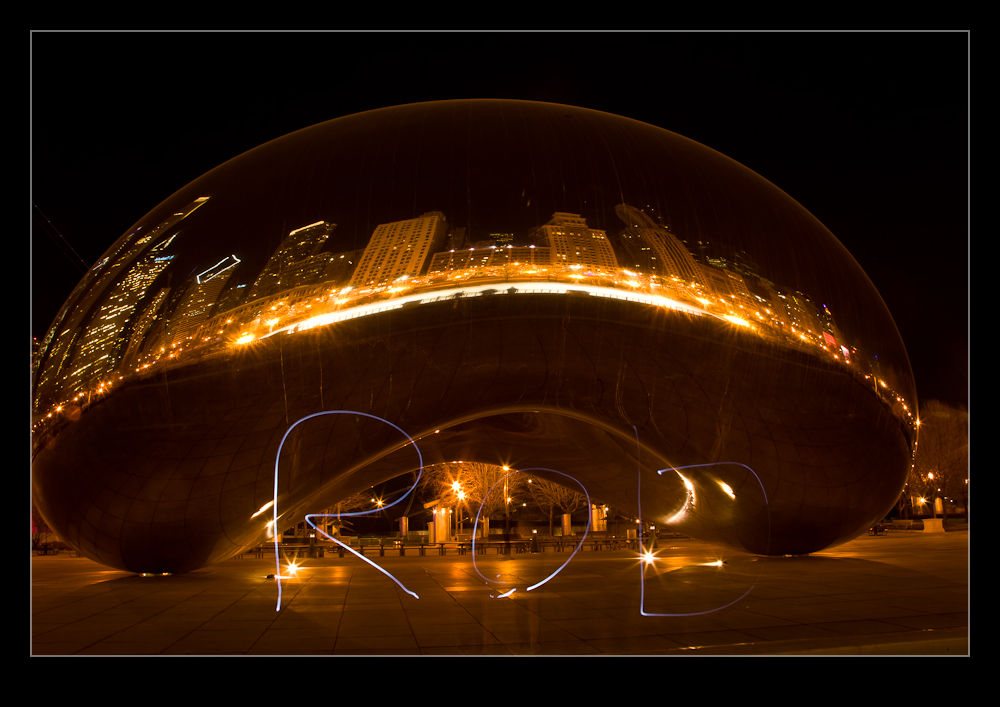
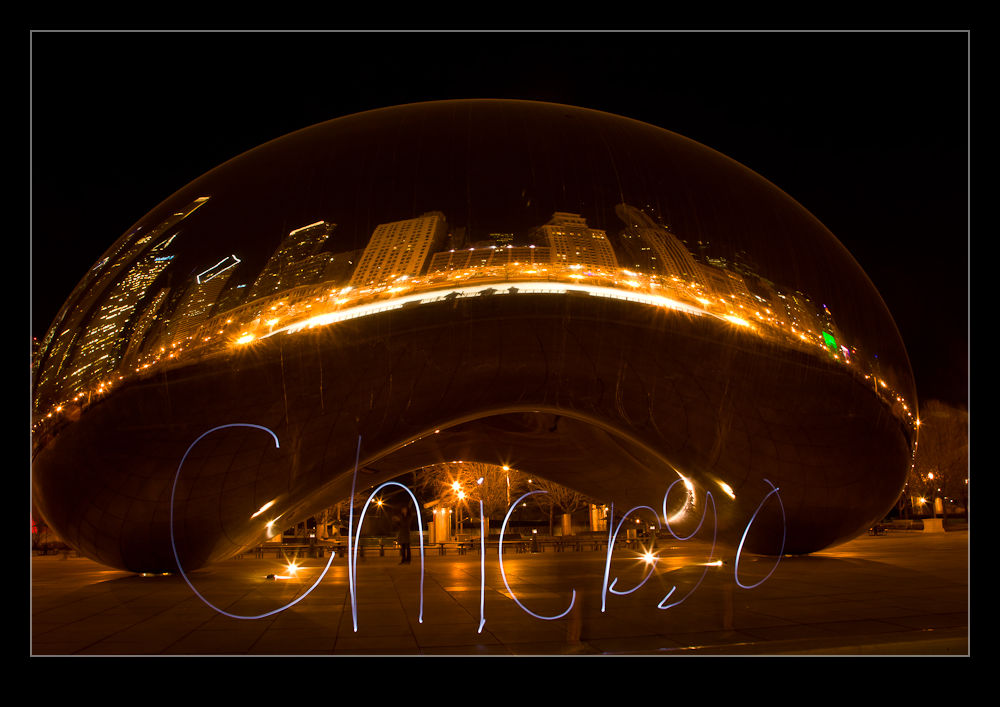
Following on from my previous post, a group of us found ourselves at the Bean at night and with a flashlight in my bag we started playing around.  One fo the guys had brought his son along and we gave him the flashlight to illuminate his face from below.  Then we started trying other things with the flashlight.  Initially we tried playing it on other surfaces to paint on them but this was not very effective with the ambient light.  Then it was time to try writing with it.

I started with my name as you will see above.  Rob is pretty easy to do when you are writing backwards.  Shielding the light with my hand between strokes of the letters worked pretty well.  However, as the words got longer, it became harder to keep visualized on what the letters should look like from this side.

I got the hang of it – after screwing a few up but hey, it’s digital – and managed to get a couple of different captions.  They looked okay on the back of the camera but they look better on the computer screen.  We also did one that was a message to our missing comrade but that one was not on my camera so you will have to search Facebook to find where someone else posted it!

Night Wanderings with Friends

As I mentioned in a previous post, sometimes it is useful to have someone come to the city to encourage me to get out and about.  A few friends had been to Chicago in a previous week to do some shooting but I had been tied up when they arrived.  They were planning some evening shooting and I had been out all day and had plans for the evening so missed it.  I was a bit disappointed but there you go.


Consequently, I was pleased to see that a few of them were planning to come back a few days later for another session.  This time I was free so agreed to meet up.  Some of the group that were coming I knew and others I hadn’t met before.  I headed out to the Adler Planetarium – our meeting spot – and started taking some shots.  A few guys were already there taking their own shots so I wandered over to find out if they were some of the people I hadn’t met before.

While it was true I hadn’t met them before, they were not part of our group.  However, in common with many photographers, they were a friendly bunch a we chatted for a while.  They had come to town from Texas and were looking to get as many things in to their trip so I suggested a few spots that they might like to try.

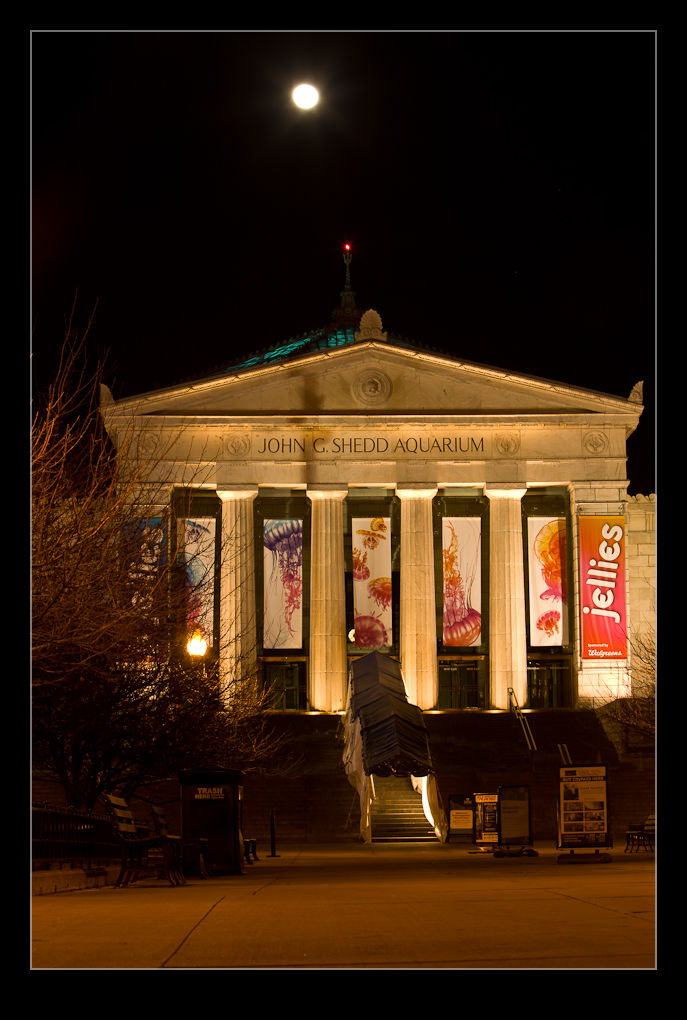
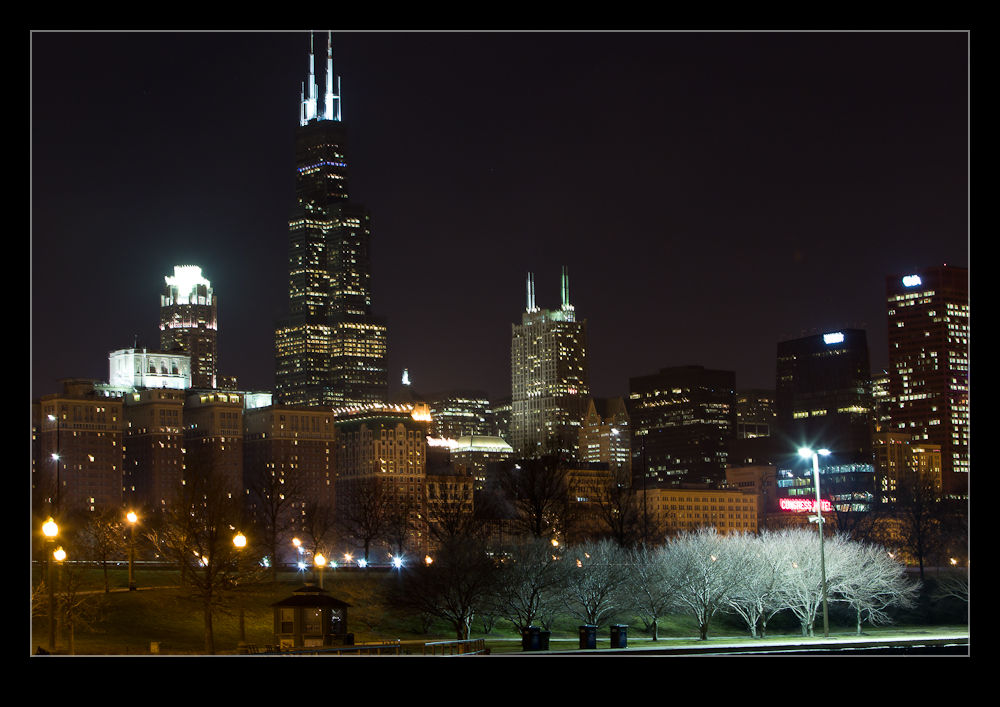
After a while the rest of the guys did show up – well, all but one who had wandered off on his own – and we started taking some pictures.  The skyline was lovely as usual and we took some shots around the Shedd Aquarium and the Field Museum.  Then we headed across to Millennium Park.  I’m becoming a regular.

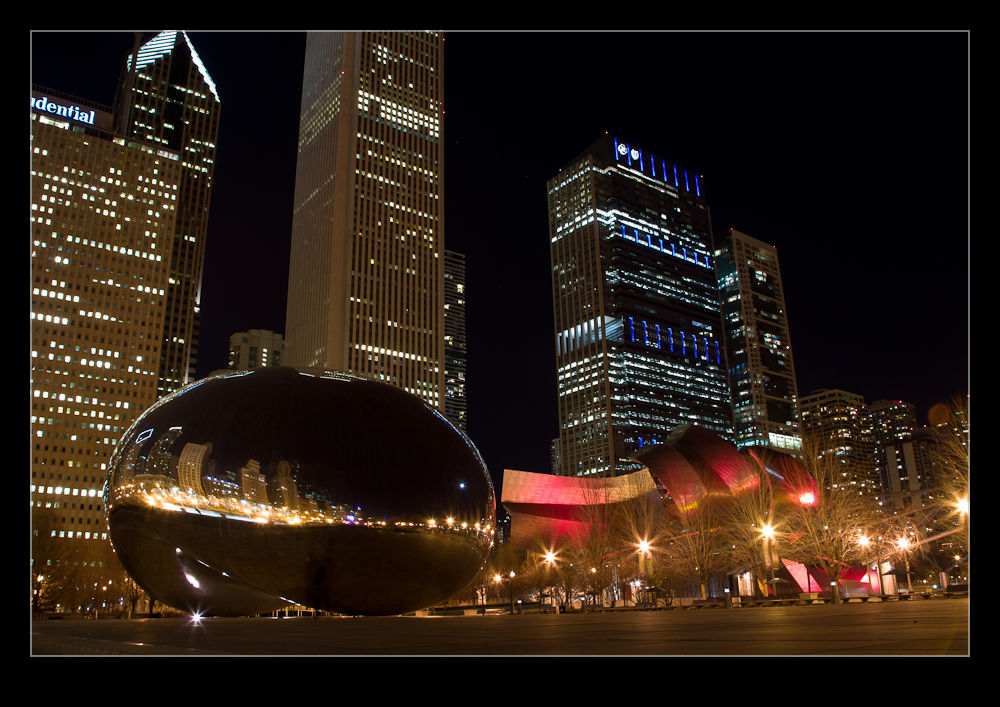
Shooting around the Bean at night is good since the long exposures you need tend to make any of the other visitors disappear.  You get a cleaner shot if you plan it right.  We got a bunch of shots and then we started playing around with a flashlight.  More of that to come!

Model Day in 15 Seconds

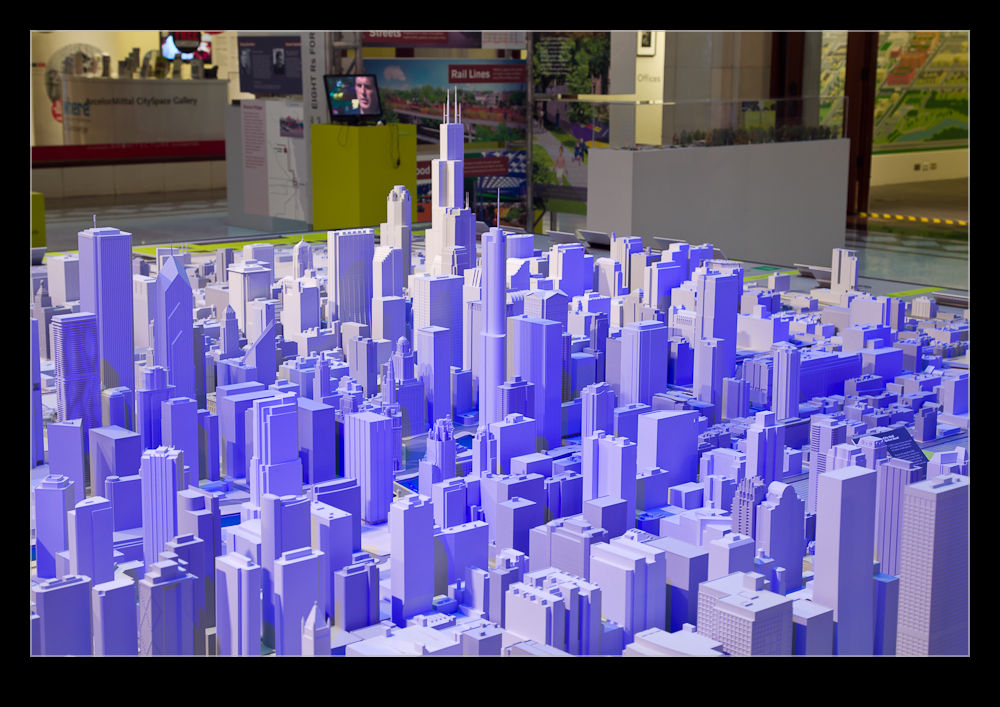
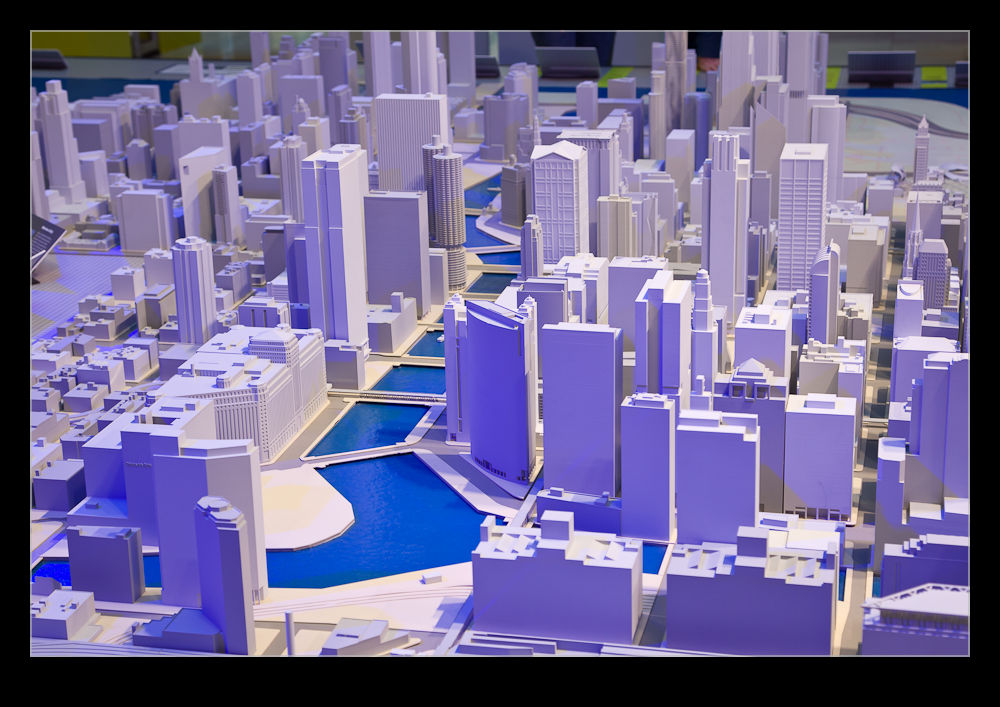
You might be a bit bored with me playing with time lapse video.  If so, look away now!  Here comes another one.  We had guest visiting for the New Year and one of the things we took them to see was the scale model of the city.  The Chicago Architecture Foundation has a shop on Michigan Avenue and the building in which the shop is located has a large atrium.  In this atrium is a model of the city.

All of the buildings in the Loop and some of the surrounding areas have been accurately recreated using stereolithography.  This is a technique using resin and lasers that builds solid objects one minute slice at a time creating a solid object of great complexity.  If you are interested in the technique, head over to YouTube and search for the term and you will come across a number of videos showing it in action.

The model is set up in the atrium with custom lighting.  Apparently, the lighting is designed to recreate the pattern of the sun from sunrise to sunset over a 15 minute period.  I had been to the model a number of times and had shot details of it before.  This time, I decided I wanted to get a time lapse of the light progressing across the model to see how it came out.  Since I had the plan ready in advance, as soon as we got to the place, I set up the camera and then went back down to join the rest of the crew.  There is enough in the model to keep people interested for 15-20 minutes so I wasn’t going to delay everyone.  It did mean, however, that I had to carry a bunch of stuff around with me for the rest of our walk!

Enough of the back story.  Here is the video that resulted.  To be honest, I don’t think the lighting effects are as obvious as I had hoped that they would be.  However, you do get to see some of the movement of the light.

More Time Lapse Sunset

I had a plan to meet up with my friend Joel to catch up recently.  We were looking for a place to meet and went with the Holiday Inn by the Merchandize Mart.  It has a bar that is a comfortable place to talk and has the added benefit of a great view over the city.  I wasn’t there to shoot anything but, knowing the view was good, I took along some gear just in case.

Joel and I chatted for ages and didn’t get around to taking pictures for a while.  As the sun was setting, the sky was getting very interesting and I finally had to apologize and grab the camera.  I got a few shots and then set it up by the window next to me to shoot a time lapse.

This required no input from me so we could continue to talk without interruption but it should provide something interesting to check out later.  However, I hadn’t planned as well as I hoped.  As the light dropped, the shutter speeds were getting perilously close to the delay between each shot as I had set the ISO a little lower than I thought.  Changing it is not a problem but I was using a lighter tripod which was not as well locked off as I thought.  I managed to move the head a little.  I corrected but knew the alignment would be off a bit.

Fortunately, while I couldn’t completely remove the effect, when I processed the time lapse using Lightroom and LRTimelapse, I was able to find the frames where the jump takes place, set them as keyframes, adjust the cropping of the second of those two frames to almost perfectly align and the resulting video is a lot better than it would have been.

Thanks Joel for a fun time.  It was good to catch up and I appreciate the stuff you gave me.  Here is the video that resulted!

Dust Spotting – It’s Over There!

A slight change in direction today.  I am going to talk about a post processing tip that I recently read in the NAPP magazine, Photoshop User.  It was a tip about how to manage dust in images.  This may be something that everyone knows about in which case I apologize for being late to the game.

Dust is a familiar problem to a lot of photographers.  It isn’t familiar to a lot more but it should be given the number of shots you can see that have dust spots all over them.  Cameras have got better in recent years with the addition of dust cleaning functions that shake the dust off.  However, not all cameras have them and they don’t always work perfectly.

When shooting aircraft against a blue sky, dust spots can be particularly conspicuous.  If the area with the spot already has a lot of detail in it, the chances are you won’t notice it – particularly if the aperture is reasonably wide.  In that case, you don’t really have a problem.  The difficulty with dust spots is that you can get to a point where you cease to be able to see them.

Lightroom has a nice feature to assist in dust spotting.  If you zoom in to 1:1 view in the Develop module and press Page Up or Page Down, you can look at the whole image to use your spot removal tool.  As it moves down to the bottom of the image, another press of the button will move you across and back to the top so you cover the whole image without having to think about it.  In the past, I have used this technique combined with really ramping up the Blacks slider to make the dust show up.  Even then, the results are not always perfect.

The tip from the magazine was the creation of two Tone Curves to help show up the dust.  I will describe the creation of the curves at the bottom since it is a bit long-winded and many may not be interested.  The two curves when applied to the image create a very freaky effect.  You could actually think of it as a creative finish itself but I will leave you to decide on that one.  You can save the curves as a preset and use them whenever you need them.  (I assume you can do this too in Camera Raw if you are using Photoshop since ACR and Lightroom use the same processing.)

The colors will be really messed up but the effect will make the dust spots really jump out of the image.  You might wonder why there are two curves but, interestingly enough, some spots will show up clearly with one curve but barely at all with the other.  I tend to apply one curve and run across the image, then apply the other curve and run back the way I came.  It really doesn’t take very long to do.

One thing to bear in mind with this.  The technique finds dust spots you had no idea were there.  You will start to think that your sensor is filthy.  Yes, it is – BUT – most of this stuff is totally invisible.  Don’t get paranoid.  You can get messed up with this.  I had some shots of a vintage prop aircraft and the slow shutter speeds had resulted in small apertures and more conspicuous dust.  I ended up with so many spot removal edits that the image rendering took a lot longer than normal.  I suspect I had gone overboard with those shots.

Do you have to do this with all shots?  Nah.  However, if you are planning on doing something significant with the shots and you are concerned to keep dust spots out of the image, this could be a good way for you to find the dust more quickly and get back to what you really want to be doing rather than hunting for dust which, I suspect, is not most people’s favorite task.

Creating the Curve:

The curves are reversed versions of each other.  One of them starts at 0,0 and the other starts at 0,100.  Create a point at each 10% across the x-axis with each point alternating between 0 and 100.  You then have a very aggressive looking sine curve (or cosine curve for the alternate I guess).

Airliners versus Jetphotos

I bounce backwards and forwards about whether I am interested in the two most prevalent of the online aircraft photograph databases, Airliners.Net and Jetphotos.Net.  I have pictures on both services and they have (very) occasionally brought some useful contacts my way.  Getting images on to their databases can be a frustrating process if you let it since they have very specific requirements about what they accept and what they want.

They own their websites and they can have what they want on there.  If I don’t like it, I am sure they won’t be losing sleep and recognizing this a while back made my life a lot less stressful!  Indeed, I stopped uploading to Airliners.Net and focused on Jetphotos for a while.  They became similar in their issues over time and I stopped bothering altogether.  It hadn’t done much for me so I didn’t see the need.

Every once in a while, I thought it might be useful to have something further there based on the occasional contacts I got.  Therefore, I would get back into the idea of creating edits of my images for the websites.  However, I now make the edits, submit the shots and, if they are accepted, fine.  If not, fine a well.  I am not chasing database statistics with these people.

I have recently come across a few shots of mine that I thought might be good for the sites so made the edits and uploaded to each site.  This was one of those moments when I wanted to compare them in their acceptance policy.  They have a desire for a high level of sharpening but don’t like things to be over-sharpened.  They also can have different views as to what over-processing is – something I like since they often reject for that when I have done very little processing at all!

I have now got the results back and it continues to amuse.  Both sites have accepted some and rejected others.  The fun comes from the fact that they have taken very different approaches to their analysis.  Airliners have rejected some things that were accepted by Jetphotos.  Similarly Jetphotos have rejected some that Airliners accepted.  Rejections were often for similar reasons but for different images.  Is there any rhyme or reason?  I don’t know.  I used to appeal shots that I thought they had been incorrect on.  Now I don’t bother.  Will this ever change?  Probably not.  Will I change my approach?  Probably not.  Does it matter?  Probably not.  The most important thing is to not get stressed about this stuff I guess.

El Centro Video

We were kindly hosted by the team at NAF El Centro for a photocall.  I will post later with some of the shots from the visit to the base itself.  However, one of the things I wanted to do this time that I learned following my previous visit to El Centro was to shoot more video.

I was still going be predominantly shooting stills but the motion and proximity of the aircraft is hard to appreciate sometimes from a still image (a failing of mine as a photographer of course).  Video gives you more of a  sense of the activity.  Therefore, I took a GoPro with me to the day and mounted it on top of my camera on the hot shoe.

This had the advantage of allowing me to shoot video at the same time as stills.  It did have a couple of disadvantages.  One is that the sound of the shutter clicking is picked up by the camera on the soundtrack.  When the jets are close it isn’t too bad but when they are further away, it becomes more intrusive.  Second, the GoPro is fixed at quite a wide angle so it makes everything look a little further away than it is.  However, this is an add-on to my normal shooting so both compromises are worthwhile.

I did shoot a small bit of video with one of the SLRs and it probably won’t be hard to spot which bit of film that is when you watch.  I didn’t bother with any music since I think the sound of the jets does a pretty good job.  Here is the result.

Gerry Holtz Exhibition

I was recently in Los Angeles and, while there, took the opportunity to catch up with Gerry Holtz.  Gerry is a great guy I met at the Kennedy Space Center when we were both there to witness the launch of the space shuttle Atlantis.  Gerry lives in LA where he runs his own business in the video editing and production business with much of his work being on your TV screens on a regular basis.

However, Gerry is also a photographer and a pretty good one at that!  One of the things that he has been working on in recent years is a form of panorama shooting that creates a 360 degree view in a single square format image.  Gerry has an exhibit running presently at a cafe in Hollywood.  If you are nearby, the details of the venue are below and, without jumping to the end of the story too quickly, I do recommend a visit.

Gerry makes use of some familiar software tools to create the panoramas but the important elements of his work are the ability to visualize how the components of the scene will appear in the finished image and the willingness to do more than just use the basic software tools.  He works on the details of the image – both the elements and their blending and the dynamic range that can be present in a shot covering such a wide area.  The result is a far more time consuming process to create the final image but a result that justifies the effort.

He also has put a lot of effort into the display of the images for this event.  A number of them have been mounted on rotating frames since the image can be viewed from many angles and the rotating frame makes this easier for the viewer to achieve.  A smart idea and one that works very well.

You might have noticed that I normally have a number of images in my posts but this time there are none.  Since this is Gerry’s work, I did not want to reproduce it here.  However, you can certainly take a look at what he does by visiting his Facebook page.  Go to www.facebook.com/gerradaholtzphotography to take a look at examples of Gerry’s work.  I think you will be both impressed and fascinated.  Some of the images can appear very abstract but then you can explore them further to see more of what is there.  Some will be of familiar locations and others you will not have seen before.

I would like to thanks Gerry for taking the time to show me around the exhibit and to wish him well with further displays of the work.  I understand he is considering a book of more of the images and think this would be a great idea.  The exhibit is at 6547 Santa Monica Boulevard, Los Angeles, CA 90038 .  If you are in the area, take a look!

Oh, to have been digital then…

When I am working on a project that relates to something older than 10 years ago, I have to dig into my film archives and see what I have shot in the days before digital came along.  Almost invariably, when I undertake such a task, I am struck by how things have changed when shooting digitally compared with film.

There are two main differences I notice between now and then.  First the number of shots and second the quality I can get from them.  I should, at this point, confess that I always shot negatives rather than transparencies (well, almost always) when I was a film shooter and they will be plenty of photographers who will consider never speaking to me again as a result.  However, while the reasons for that are in the distant past, I don’t know whether it would really change much at this point.

Numbers are easily explained.  When I shot film, every frame had a cost.  The film had to be bought and then it had to be processed.  It also then needed to be stored which I didn’t always do as well as I should.  Consequently, some images that should be available are in less than perfect condition.  That is my fault, of course, not that of the technology.  This cost meant that shots were taken sparingly.

When I went to airshows in the late 80s, I would probably shoot about six or seven rolls of the 36 exposure.  I used to think this was a lot and my none photographic friends used to think it was extravagant.  About 200 shots was a lot.  Compare that to a show today and I can safely say things have changed.  I would miss good shots because I was waiting for what I hoped was the slightly better one to come.  Now I shoot all of them and worry later.  A reduction in skill and technique?  Maybe or perhaps it is just making use of what is available to you.  Certainly, I can experiment with a number of different shot types now in a way I couldn’t before.  Slow shutter speeds are a particular example.

I still have to store them of course but storage is cheap and digital files don’t degrade – you can lose them completely of course but backups are straightforward which they certainly weren’t for film!

Quality is another issue.  RAW converters continue to improve and you can extract some good detail from the shadow and highlight areas if you are not too reckless.  The film is set at development and then you have to work with it.  Again, a skill that can be controlled but going back is a lot more difficult.  I don’t have access to the best of film scanners but getting a crop out of an old neg is a bit hit or miss.  Compare that with a crop of a digital file and I think the benefits to me are obvious.

I look at shots of long gone airframes from events in my past.  First, I wish I could have them as digital files from a camera rather than a scanner.  However, I am more shocked when I see something rare and look at the next few frames to see what I shot and see a totally different subject.  How could I have been so blase?  I guess this is a lesson to learn now.  We might be bored with what we see a lot of now but, one day, these things will be history too so we had better make the best of what we have now and learn from our/my mistakes of the past.

Something Fishy

Let’s get the statements of the obvious out of the way first.  Yes, I am a bit of a “gear head”.  I am quite partial to stuff!  Does this mean that I sometimes get things that I don’t necessarily “need”?  Yes, of course.  Having got past that, let’s move on.

One thing I have been pondering for a while on the lens front was a fish-eye.  Not something that is needed on a regular basis but something that has its moments.  Canon had a couple of fishes that I was looking at.  They had the 8mm fish and the 15mm fish, both of which had things that interested me.  Which one was better for me?  My two main bodies are 1.3 crops but I do have a couple of APS-C sensor cameras which have the 1.6 crop.  All of this impacts the effect.  Besides, when buying lenses, who knows whether I will have a full frame camera at some point.

The result of all of these variables was that I never bought a fish-eye at all.  I just pondered what I should do at length and did nothing in the mean time.  Imagine, then, my delight when Canon announced the introduction of the 8-15mm fish-eye zoom.  Have they been bugging my thoughts to find out what I want?  I guess so.  That reminds me, I must start thinking more about other things I want them to develop!

Of course, the announcement of a new lens does not mean the availability of a new lens.  Recently, it seems the announcement can be far ahead of the delivery.  Obviously the issues in Japan resulting from the earthquake and tsunami have had a major impact but I suspect there is more to it than that.  Anyway, the thing is finally in the wild.  My friend Jim Koepnick was the first person I saw to have one.  They would appear in stores and be gone almost as fast.  No biggie since it wasn’t like I had been struggling without it.  Once they were regularly in store I placed my order.

I have to say, I love the thing.  It feels great in the hand and, despite what I have heard from some reviews, I have had no issues with the lens cap.  It is also a chance for me to start learning what can be done with such a lens.  There are the obvious effects you can get and the access to a lot of width in tight spaces.  However, it can also create interesting effects by changing the angle at which you hold it.

I went out in the city to give some time to experimentation.  I ended up in Millennium Park which is a slightly odd place to play with a fish since many of the features already have a slightly “fishy” look to them anyway.  Of course, that does sometimes allow the subject to be more tolerant of some distorting effects.  It was a fun place to shoot since it is always busy and getting close and using the fish provides some options as well as making surrounding people disappear into the background quite quickly.

I also played around with a couple of effects.  There is a metal frame across the lawn at the Pritzker Pavilion.  By tilting the camera down, I could really emphasise the curvature but by tilting it up, the frame became almost totally flat.  Something to remember.  I also played around with slightly rotating the camera.  This made the edge of the frame level and the receding horizon appears to turn up dramatically.  Not something to overdo but still a concept to remember for the future.

I am certainly happy that I have added the fish to the arsenal.  Now I have to make sure I make good use of it without slipping over the edge into using it when I shouldn’t.  Hopefully my friends will warn me if that is the case.  That, and I have to remember to keep myself out of my own shots!