Category Archives: technique

Blur That Prop!

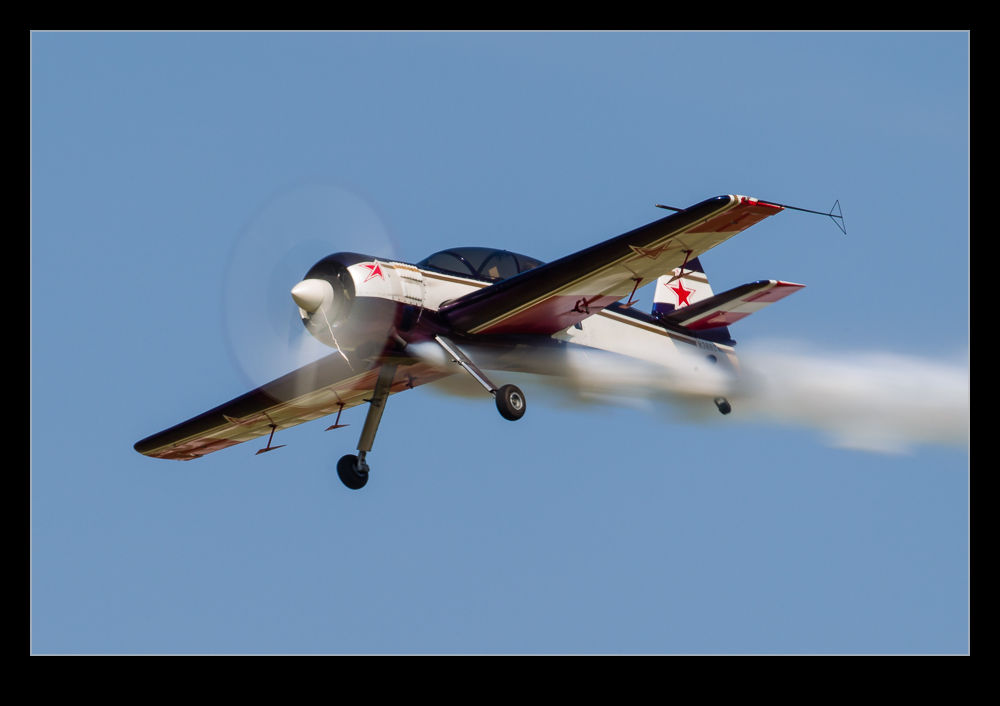
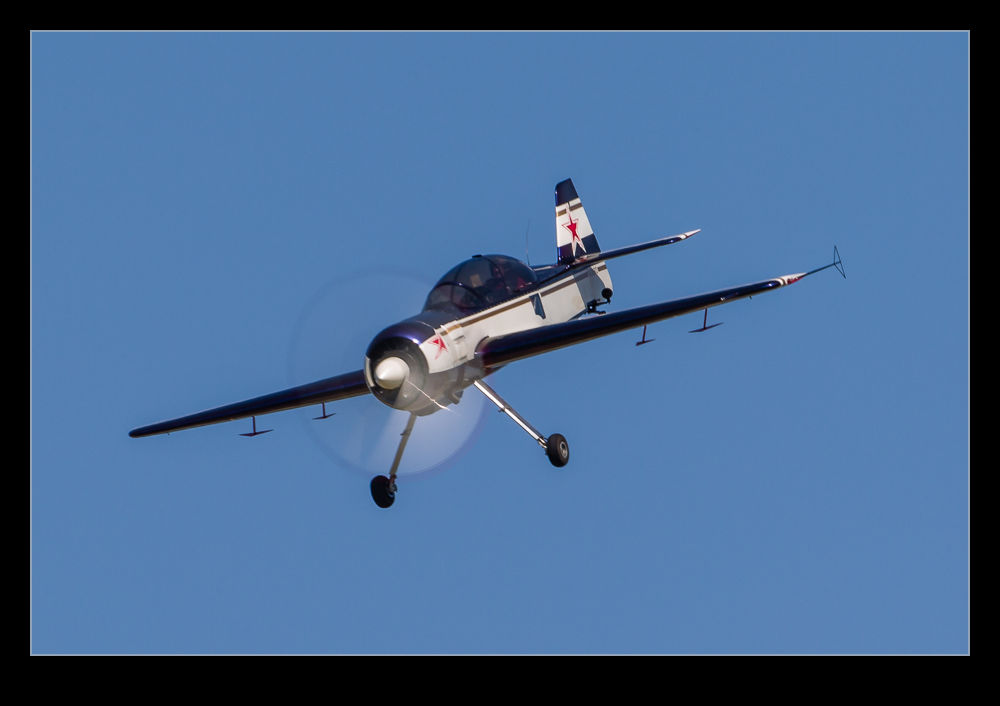
wpid7596-C59F7698.jpgAsk any aviation photographer about camera settings and they will quickly turn to shutter speed for prop aircraft.  The goal is a nicely blurred prop and no frozen blades.  This requires a slow shutter speed and this can have downsides.  If you are using a long lens, getting a sharp shot of a moving target with a low shutter speed can be tricky.  A bit of spray and pray with the shutter button can be required.  Interestingly, if you are closer to the aircraft and using a shorter focal length, things are not necessarily better.  When you are close in, the different parts of the airframe are actually moving at different speeds and angular rates to you so one part might be sharp when another isn’t.  Sometimes this looks okay but often it just looks crap.

I have become less focused on gaining the great blur for ground shots.  Air to air it is something a lot more worthwhile since the other plane is not moving relative to you – well, hopefully not that much.  Therefore, you can experiment going slower with hopefully some good results.  Similarly, when I am shooting helicopters close in and hovering, I will give it a go too.

wpid7594-C59F7690.jpgRecently, I was at the Waukegan show and I decided that, since what I was shooting was not something that I had to get (either I would have other chances or I wasn’t so bothered anyway), I would play with some really low speeds.  I ended up shooting at 1/80th of a second which, on a 500mm lens is a stretch.  Needless to say, you are not going to see the failures.  When I have played like this before, I have had times when not one of the shots was of any use.  However, this time I did get a few lucky results – yes, they were luck.  You can have great panning technique (which is not always true for me) but the math is not in your favor when doing this.  Therefore, I shall be happy with the results this time around.  I won’t be doing this all of the time but playing around is an important thing to do when you have the chance.  Just don’t do it when you really want to have a shot you can keep.

Updates to the Workflow

A while back I wrote a piece about how I manage my workflow when bringing in new pictures from a shoot.  If you are so inclined, you can read the original post here.  I thought it might be appropriate to bring the topic up to date since I have tweaked the workflow a bit since then.  As I mentioned before, this is not all original thinking from me.  I have picked up suggestions from a number of places and then adapted them to my own needs.  If they are useful to you, that is great.  All of this is based on using Lightroom as an image management tool.

The basic process involves creating a series of Smart Collections for a given shoot.  I have adapted these collections a little and have a basic set, not all of which are required for every shoot.  However, what I have done is exported these collections to a folder on my computer so I can re-import them for each shoot and tweak them rather than start from scratch each time.  For example, they all have the keywords section blank so that I can paste in the required keywords for the shoot easily.

I will initially create a Collection Set for the topic and, if this is an event that occurs more than once, a Collection Set within that for the specific date.  Then, within that, I shall import the Smart Collections from my templates.  In the first instance, these will have lots of files in them since the criteria have not been narrowed down but I shall then edit each one to have the appropriate keywords and, if required, the specific dates.  Date Taken is the criterion I will use then, either with a specific date or a range.   Of course, this does require me to have put the appropriate keywords on all of the images first including whether they are HDR, panorama or time lapse images.

The following are the smart collections and a description of what they contain.  To avoid repetition, it can be assumed that they will all fit the keyword and date range criteria.

  • Not Rejects – All images that have not been rejected, are not marked as HDR or panoramas and are not video clips
  • Picks – All images that have been marked as a Pick and are not video clips
  • HDR Originals – All marked as HDR that are RAW files
  • HDR Edits – All marked as HDR that are not RAW files
  • Pano Originals – All marked as panoramas that are RAW files
  • Pano Edits – All marked as panoramas that are not RAW files
  • Time lapse – All marked as Time Lapse (Duh!)
  • Not Geotagged – All files that do not have GPS coordinates associated with them
  • Videos – All video files not marked as rejects
  • Rejects – All files marked as rejects (again, duh!)

The reasons for some of these are obvious but others are less so.  The not rejects file specifically excludes any shots I have marked as HDR or panorama since, when running through the edits, it is easy to see a shot that makes up one of those processes and think it is boring and delete it.  Keeping them separate from the start is important.  I keep the originals and the edits apart since, when I come back to them later, it is a lot simpler to look through the finished versions without having to find them amongst the originals.  Previously, they ended up in the same smart collection and, after getting bored trying to find the finished one, it occurred to me that they could be kept apart easily.

I now try to geotag all of my images.  Having the folder that shows that they haven’t been done reminds me to do this if I have not done it straightaway.  I have found that Lightroom has a bug (I have found more than one!) that, when you have imported a bunch of stuff, if you go to the map page, it gets a little lost and keeps the map view looking like the grid view.  You can get back out without any problem but have to restart to get back to map view.  If you go to map view before doing all of the importing, it seems fine then.  However, this folder makes sure I don’t forget to do it at some point.

With all of this set up, it is then easy enough to get into the process I have outlined before.  I go to the Not Rejects folder and render 1:1 previews of all of the files.  This can take a while so I will often start it off and then go and do something else for a while.  I can then come back and run through the images.  I will have a full screen version on one screen and the zoomed 1:1 image on the other.  This allows me to easily see which shots are not sharp or have an obvious flaw like a pole through the foreground or someone’s head in the way.  A quick “X” and that shot disappears from the smart collection and I am on to the next.  If it is okay, right arrow and I am moving on.  This kills a lot of shots quite quickly.

Then it is a simple case of looking at the shots in Grid view, usually quite large, to see the ones that are duplicate or just plain crap.  I can select which to get rid of and “X” again has them consigned to the trash.  Once all of this is done, I will run a BluRay backup of all of the shots including the XMP files after which I shall delete all rejects.  Hopefully that leaves me with a lot less shots to play with.  I can then pick the ones I think are the best and mark them as Picks.  It then leaves me with a smaller smart collection which I can go in and pay some attention to making more detailed edits.

This process continues to evolve.  Maybe I shall write another update in a couple of years.  In the meantime, I hope it might be helpful to someone for me to have shared it.  Happy shooting!

Passing Airliners

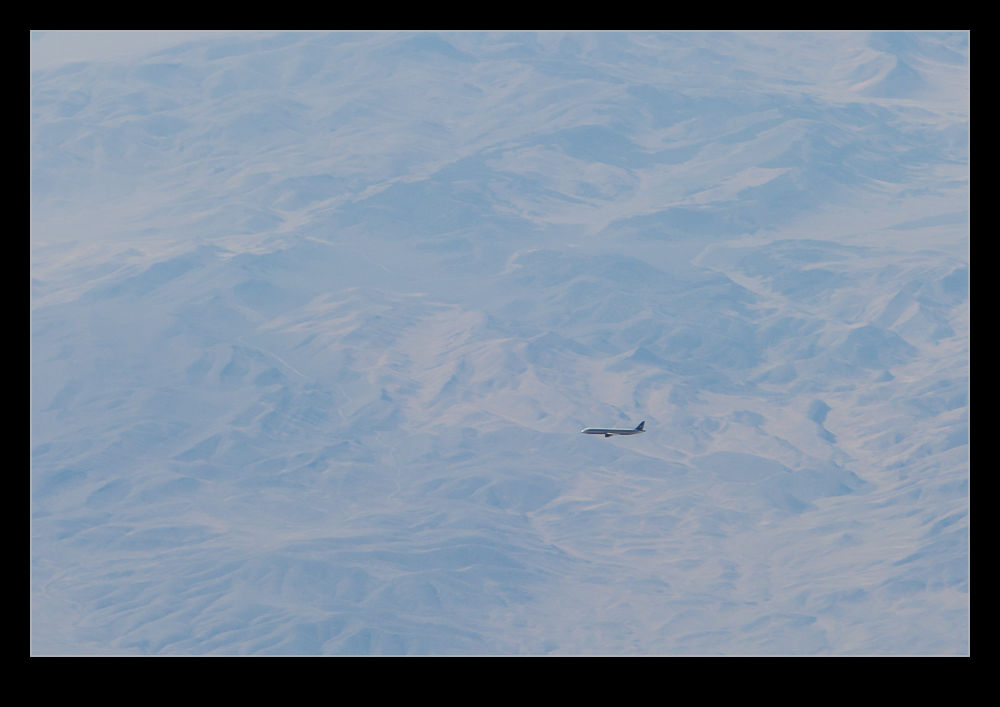
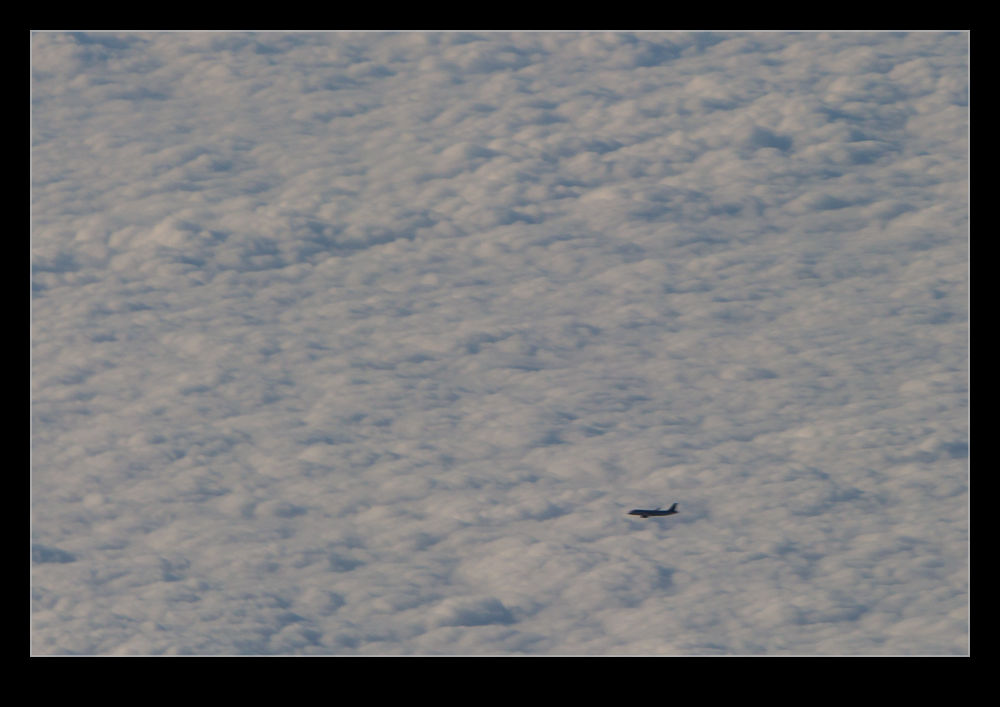
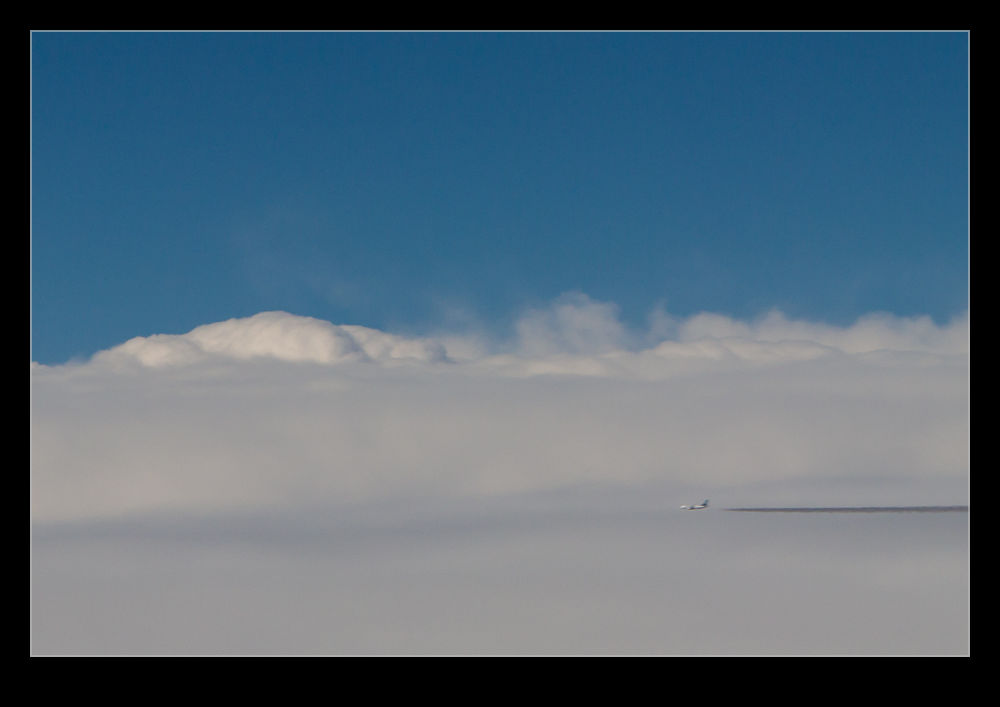
wpid7447-AU0E0226.jpgMore on the looking out of the window of airliners theme today.  This time the subject is other airliners.  If you don’t stare out of the window much, you might not be aware just how much other traffic is out there.  Actually, there is quite a lot.  At various times you might see other jets passing in the opposite direction, pacing you at a distance and crossing your path.  Sometimes they seem very close.  With some of the apps that are available now, if you have wifi on-board, you can even be prepared for some of them showing up.

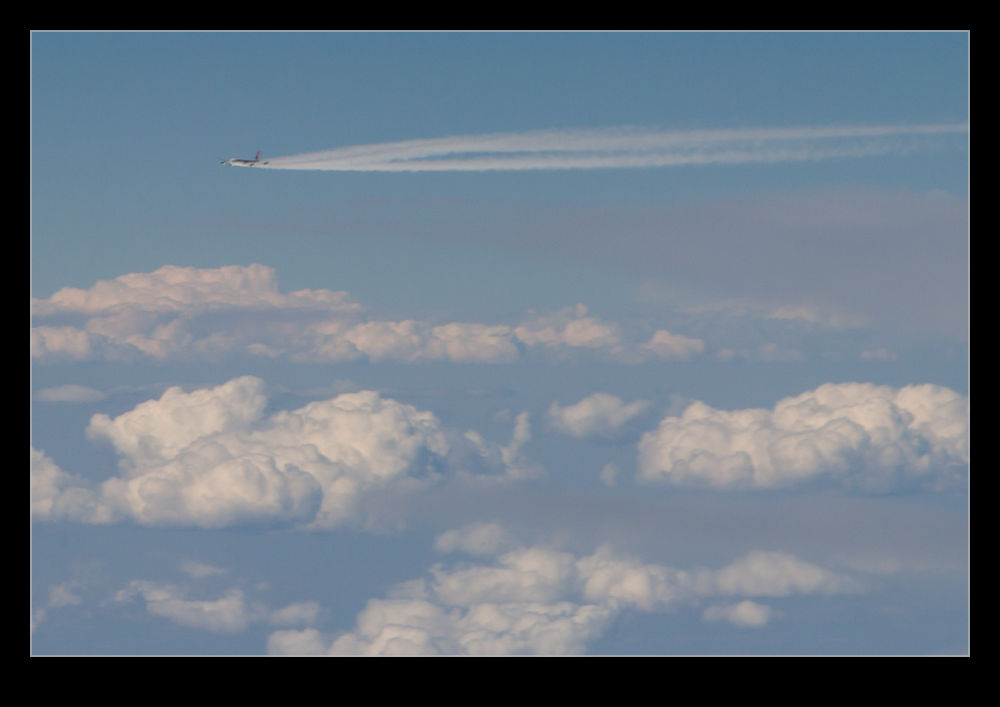
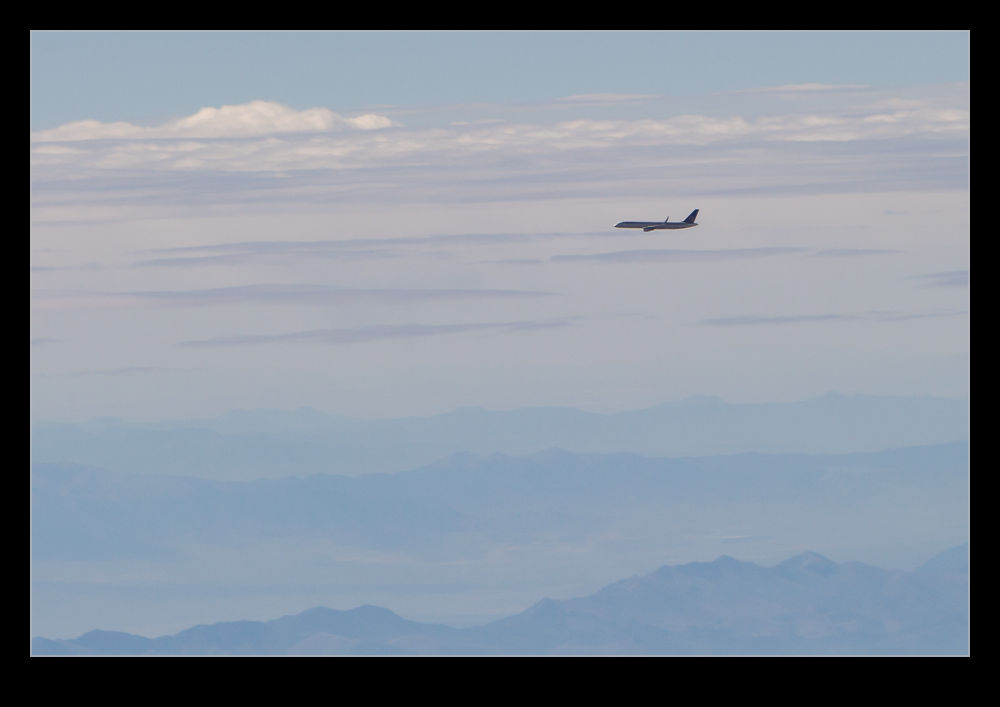
wpid7445-AU0E9875.jpgHere I shall highlight a quality warning.  The attached shots are not great.  They illustrate a point but nothing more.  There have been quite a few occasions when we passed very close to another aircraft.  However, those were not times I had a camera handy.  even if I had, the chances of getting a good shot are not great.  Even when you are close, you are really not that close.  It just seems a lot closer than normal – which it is.  However, you are still well separated.  Therefore, to get a shot, you need a medium length lens at least.

wpid7443-AU0E9863.jpgSadly, aircraft windows are not designed for optical perfection.  Moreover, since they are pressurized and scratches are a source of fatigue which you certainly do not want, the manufacturers put a nice perspex sheet between you and the window.  They certainly are not optically perfect.  Now you are shooting with quite a long lens through two layers of less than perfect material.  This is not a good recipe for quality shots.  There we go.  I have made plenty of excuses.

wpid7455-AU0E0314.jpgYou are now going to get a small aircraft if you are lucky and a small blur if you are not.  If it is pulling a contrail, you might do better since they can make some nice shapes.  However, chances are you won’t get much at all.

wpid7449-AU0E0251.jpg

Trump Tower Construction Time Lapse

Every once in a while, I think about something that I was working on before I started blogging and wonder whether it would make a good post or not.  Where we live in Chicago, we are very close to the Trump International Hotel and Tower.  When we first moved here, it was the Chicago Sun-Times building.  They demolished that and built the tower on the same site.

During the construction, I took a lot of pictures, first of the demolition and then the new construction.  Building the tower would have made a good blog on its own if I had been blogging then.  However, can’t turn back time!  One thing I tried to do was take pictures from the same position on a regular basis to maybe make a time lapse.  These pictures have languished for a long time.  However, since Photoshop is now a lot more useful for making video, I brought all of the files in as layers to make a video.  Since the position moved each time I took a picture despite my best efforts, Photoshop allowed me to align the layers and get tings (almost) back in register.  Then some transitions and some music and we have a video.  Hope you like it.

Web video sizing

I have been getting more and more interested in video work in the last couple of years.  Shooting video at the same time as stills is a regular feature of any shoot I am now on.  I am even getting better at planning my shot requirements for the video in order to have some hope of putting together a relatively coherent piece later.  The recent ISAP symposium had some good information on that.  However, that is not the point of today’s piece.  Instead, I am thinking about video size.

I have a YouTube channel on which I upload my content.  As s shameless plus, if you want to check it out, go to http://www.youtube.com/user/EdgcumbePhoto and you can see the videos I have previously uploaded.  Subscribe if you want and it will let you know about all of the exciting new videos I upload!  Okay, we return from that commercial break and resume normal programming.  I shoot everything in HD and edit the footage for 1080p output.  This can result in some quite large files.  YouTube allows you to upload full 1080p so that is what I have been doing.

Unfortunately, our current internet connection is not helpful here.  While we have pretty decent download speeds, the upload speeds are very slow.  DSL was not designed for upload and consequently, the upload speeds have not kept pace with the download speeds and the needs of users generating more and more content.  A recent video I made was about eight minutes long.  The 1080p version of this was nearly 2Gb.  Uploading this took over a day!!!

Now, when I watch videos on YouTube, what resolution do I watch them at?  I certainly like HD footage but I only ever use 720p.  This is a combination of avoiding bandwidth issues as well as the size of my monitors.  There really is no need to be any larger.  I wonder whether this is normal.  I started looking at what is available on other videos I was watching and quite a few only go to 720p.  I thought a quick experiment was in order.  The eight minute video I mentioned before can easily be regenerated at 720p so I did that.  The file size came out to just over 300Mb.  That is a pretty dramatic reduction in file size and upload time.

I think I have been wasting time and bandwidth creating files too large for anyone to need.  I am going to stick with 720p for a while and see how things work out.  We might have access to a different net connection before too long and I might check out upload speeds then but, for now, this seems to be a far more sensible approach.

Photoshop CC Shake Reduction

While a lot of people have been quite vexed by the introduction of a subscription based approach to the Adobe software suite including Photoshop, I decided to get over it and upgrade to Photoshop CC.  One of the features introduced in CC is Shake Reduction.  This is an effort at dealing with motion blur in images.  It isn’t going to rescue a crappy shot but it is potentially able to to take an almost good shot and rescue it.  I decided to experiment with it on an image I recently took.

wpid7287-C59F2218-Edit-2.jpgThe image above is a combination of the original image without sharpening and the filtered version.  (It is recommended that you turn off sharpening before running the filter or it will make things break up more.)  The effect actually seems to be quite useful.  I should note that I tried it on several shots and they didn’t all respond as well to the filter.  However, it did make quite a good upgrade to this image.  I shall potentially use this again if there is an image I really like that is not quite as sharp as I would like.  Another tool to potentially use but not one I think I can rely on.

Boy, Those Trains Can Move!

A recent art fair was taking place in Chicago and we wandered over to see what was on display.  I like these events because they always have an interesting mix of stuff.  A few exhibitors have truly excellent work.  A large number have stuff that is okay but not special.   Then there are a few that are truly appaling.  Some of these can be quite creepy and that is half the fun!

All of this is a distraction from the real point of this post.  While we were at this event, I looked back towards the loop and realized that this street rose up and provided a great view straight down the elevated tracks of the L as they come through the loop.  This looked like a spot I should probably come back to at a later stage.  This I have now done.

The view along the tracks is best accentuated by a long lens.  Since it is a street on a sunny day (I went in the morning at a time when the sun was supposed to be almost directly down the street since the high buildings around tend to shade everything), heat haze can be a bit of a problem.  A winter visit would be good if that opportunity should ever present itself.  Instead I shot a little video but also decided on another time lapse.

Luck was on my side this time.  When we were at ISAP, there was a lot of discussion on video techniques.  One thing that was mentioned was how much lead in and lead out footage should be shot to provide an editor with something to play with later.  When shooting time lapse, that lead in time is long and you don’t know when the trains are going to come along.  I just decided to start shooting while there was nothing there and see how things played out.

As it happened, I had a lot of time with nothing to make the lead in footage and then a bunch of trains showed up.  They ran through for a while and then nothing for quite a while to provide the lead out.  No planning on my part but it worked out perfectly.  This is one of those clips that I am keeping for a larger project I might finally do about Chicago (probably long after we are gone!) and it will probably only be a very small part of the larger piece but here you can see all of it in one go.

Skies With Menace

This time of year can get a bit stormy.  We had some interesting skies rolling across the city with cloud layers heading in different directions at different heights.  I thought a time lapse might be good for this so had a go at a couple.  The sky didn’t turn into anything too dramatic in the end but it is still fun to watch the way the levels were moving.  Here is a clip of what there was.

It’s ISAP Time Again

wpid4590-C59F3417.jpgOnce again the annual symposium of ISAP, the International Society of Aviation Photographers is back around. This year it is being held up in Seattle. It is always a good chance to meet up with old friends and spend a few days discussing planes and taking pictures of them. I am looking forward to seeing how it all plays out this year. Hopefully, it will be a great event. We shall see.

No doubt, there will be some pictures from this event that make their way onto the blog. Stay tuned to see what shows up here in the coming weeks! As to the reason for the A-10 picture above, it has nothing to do with ISAP. It’s just a picture of a plane that I like!

Cool Kit If You Are a Video Person

I shall start by pointing you at a blog that is far better written and far more informative than this one. Not a huge challenge of course. However, the author of this blog is a fantastic photographer and now also a director – Vincent Laforet. Vincent’s blog can be found at blog.vincentlaforet.com and he posts quite frequently on the subject of film making, techniques and equipment. Vincent started out as a photographer and a very good one at that. He has won a Pulitzer Prize and is a Canon Explorer of Light. I first saw him at an ISAP event where he talked about his aerial photography as well as a very moving description of his experiences after Hurricane Katrina.

His life changed dramatically when Canon released the 5D Mk II. Vincent had early access to the camera and made a short called Reverie to demonstrate the video capabilities. This short went viral and suddenly making motion pictures with SLRs was a big deal. Now he has moved geographically and professionally and works in the film business. (As an aside, if you ever get the chance to hear him speak, do go as he has some fascinating experiences to share and may well move you in the process.)

Recently, on his blog, Vincent talked of some new device that he considered a game-changer that he would be announcing. The anticipation got quite a few people interested and, when the announcement came, it did not disappoint. The device is called the MOVI (there is a cool stylized way in which MOVI is written that this blog is not going to do justice to I’m afraid) and it is made by Freefly. It is a stabilized mount that is handheld and provides the ability to get smooth shots with a single hand allowing some very creative approaches to moving the camera.

I am not much of a video guy. However, when I had my first SLR with video capability, I started experimenting with shooting video and this has progressively become more important on the projects I am working on. Video provides a very different way of presenting some subjects and it complements the stills well. My video shooting and editing skills might not complement my stills quite as well but we have to keep learning.

Since I am not investing in a significant amount of video equipment but, instead, I shoot video as part of my stills efforts, I have to be limited in how adventurous I can be. Steady handheld shots without a rig are a challenge but can be achieved. Moving is out of the question without making the viewer feel very uneasy. I recently shot some cockpit video from a jump seat during the takeoff roll and during refueling and the vibration made the majority of the footage unusable. A few small excerpts showed the experience but not long enough to make people uncomfortable.

Getting a stable platform in difficult situations is a great step forward. The MOVI is a very cool piece of gear. It is not cheap but, compared to other pieces of equipment, I think it is very affordable. More importantly, it is the start of something new. People will take this concept and run with it and we are likely to end up with many types and levels of complexity of stabilization that will suit different pockets. This could mean something that works for me. This is why I am so excited. The MOVI is great and I would love one. I don’t have the justification for one for my projects but I feel confident I will see something come from this that will make my work easier in due course.