I have previously written about some time-lapse software that I use based on a recommendation from my friend Jo Hunter. I used this software for a while before the creator, Gunther Wegner, updated it to a new version and deactivated the version I had. I was a bit miffed by this but I was able to continue using the export settings from his application within Lightroom but with me having to manually manage the file cropping. All transition and smoothing capability was lost but I could still make a basic time-lapse.
Sadly, the latest versions of Lightroom have done away with that as well and now I couldn’t even render the video. Therefore, I decided to take a look at the latest version of his software. It is now on version 3 so I have skipped a version en route to this place. I had shot a few sequences recently and wanted to be able to manage them properly so decided to come back and have another go with his application.
There have been some improvements in tidying up the software so the workflow is a bit better. There is still a certain amount of effort as you switch back and forth with Lightroom. You have to put all of the images into a single folder while working on them. This means a modification to my storage strategy but it isn’t difficult to manage in Lightroom and, when you are done, you can revert the images to their original locations and still render the video output. It might be nicer if he gave you a more flexible approach to selecting files but this is not a hardship.
It has changed a little from what I am used to since now it starts out analyzing the files before you have created keyframes. Once this is done, you save the xmp files out and reload them in Lightroom. Define your keyframes and make any edits to them that you want and save xmp again. Back to LRTimelpase to load the changes and now it does its smoothing very quickly. Save xmp again and back to Lightroom and now there is an Export setting along with all of the other export options. No going to the Slideshow module any more.
The results are pretty good. The new export functionality actually generates a sequence of still images which it stores. You then head back into LRTimelapse where you have a series of options for rendering a video sequence from those stills. You can have it automatically delete the stills when it is done or keep them and render again using different output options. This is pretty flexible although it means you have to pay attention to what you have used so you don’t end up with a ton of stored intermediate images. The video output looks good. I am not using the product commercially so do not have the full commercial license. That will allow output in 4K formats. I only wanted 1080p HD format for my purposes. It is a little interesting that 4K is automatically assumed to be commercial use. With people able to record 4K on GoPros these days and 4K TVs showing up, I suspect this is going to be a more mainstream format before too long. Maybe it will be in the personal use license of future versions of LRTimelapse. We shall see.
Was it worth the upgrade? Yes. Not least because I wanted to have the capability back that I had lost when Lightroom changed its output but, even so, I have found the new version to be quite a bit more friendly to work with. I think it will encourage me to work on a few more projects.
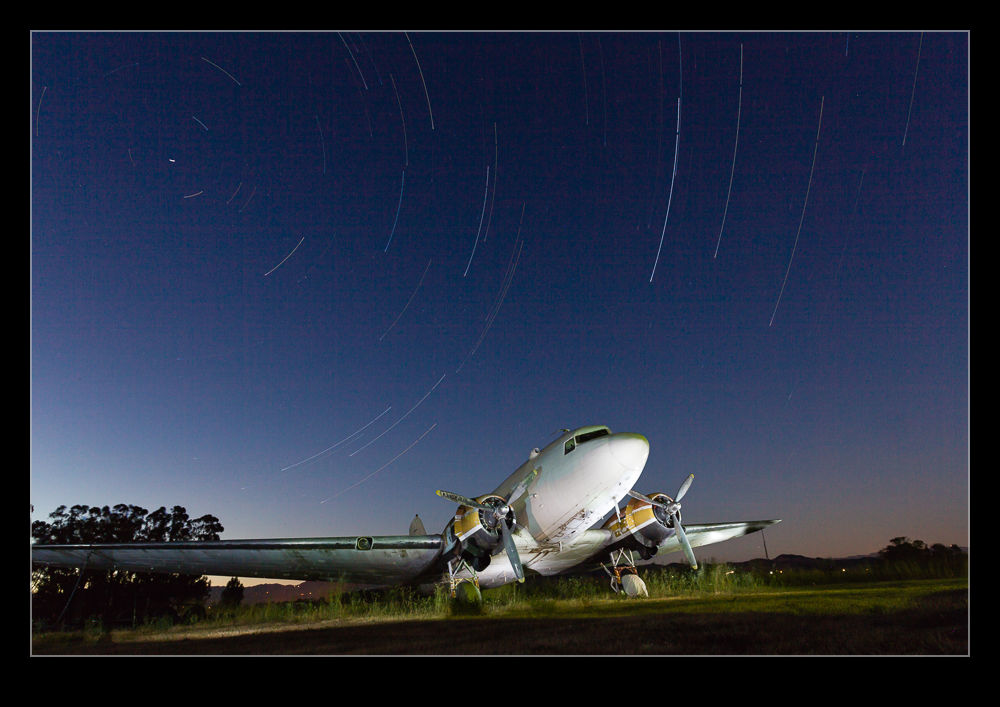
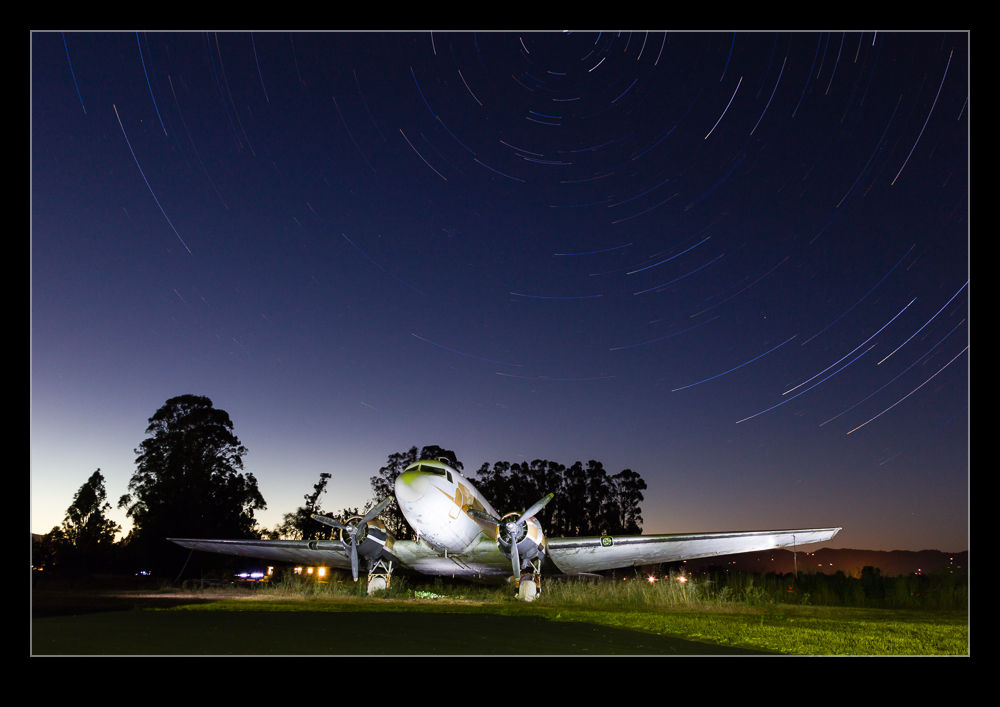
 My buddy Paul was in town and we had a day of shooting and exploring planned. However, we wanted to have a go at star trails in the evening as well. Consequently, we set up at Schellville as the sun went down to shoot the trails around the Douglas DST parked on the field. I set up two cameras at different angles and with different lenses to try and maximize what I got. The sun was still going down when I started so the exposure was varying a bit more than I was prepared for but a little tweaking in post got things back together. We also did some light painting on the airframe in a couple of frames to make the scene pop a bit more.
 The biggest thing I learned during this was to start when it is darker and to take mosquito protection. I got badly bitten during the early part of the shoot and the bites reacted quite severely! Also, doing this in the winter so you don’t have to wait so late for it to get dark might also be a good plan. However, it went reasonably well and I have a few things I will know to do differently next time. I might also try a trail on one camera and a time lapse on the other.