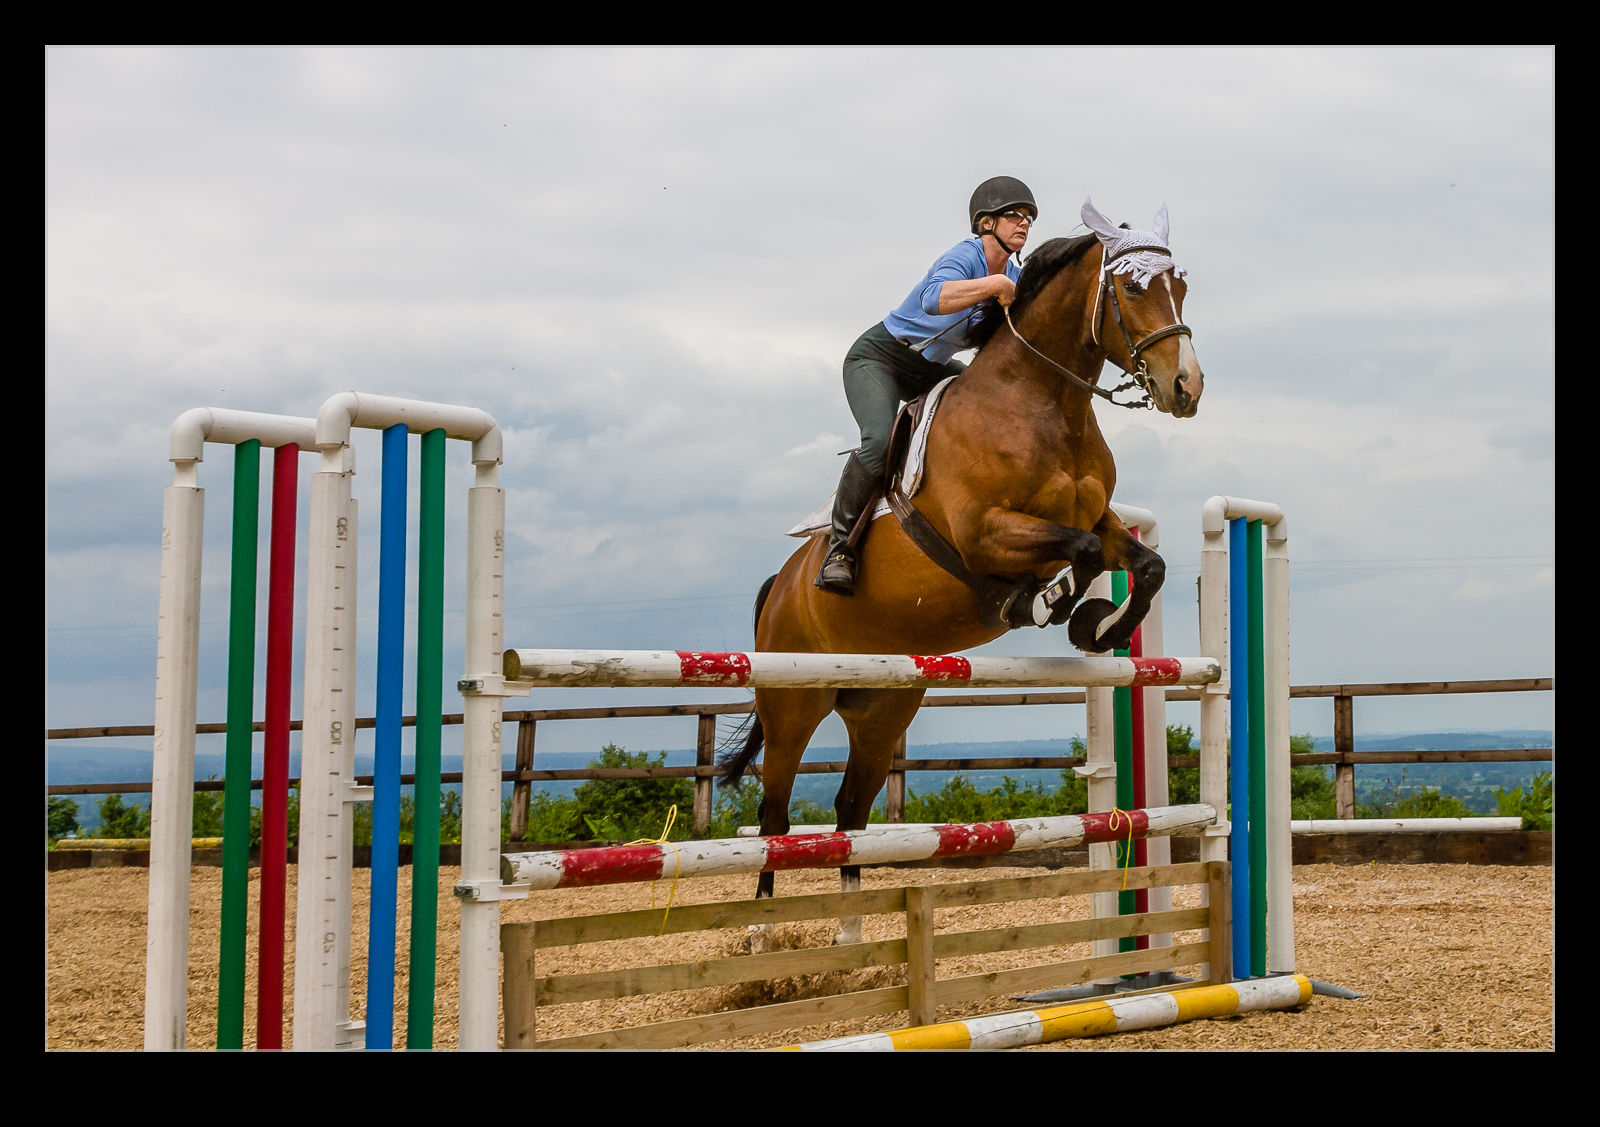
 I’m not sure what is was that prompted this but something made me think about shooting action sports and I remembered a time I was visiting my friends Jon and Charlie in the UK. Charlie has always been an active horsewoman and has raised many horses, some of which she has jumped competitively. They have a jumping area in one of the fields of their farm and she was interested in getting some photos of her jumping this horse. (Something makes me think this was Grace but I am probably mistaken.)
 I was keen to give it a go and was also interested in what angles would be most interesting/dramatic. Of course, they couldn’t just keep jumping all the time to allow me to try different things so we had to give some ideas a go and move on. I would like to have had some remotes with me to have set the camera up in some dramatic spots. Maybe I can come back guys and have another go sometime?
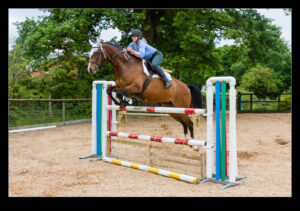
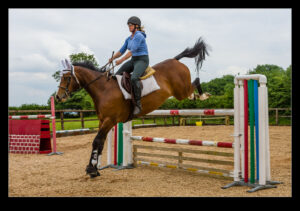
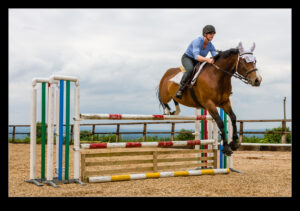
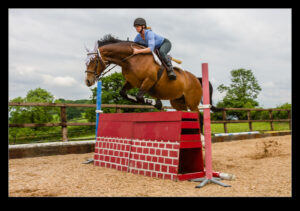
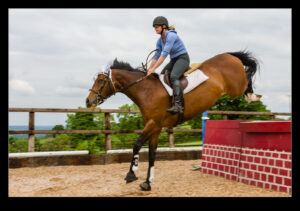
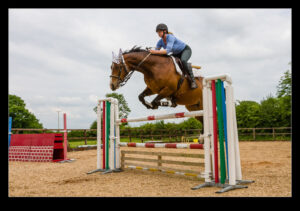
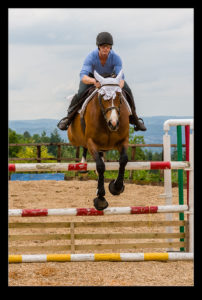
 An interesting part of this was seeing what things are of interest for different people. The shots Charlie liked the best were the ones as the horse is coming down to the ground again. Apparently that works well for her and is popular with other horse people. For me it made for an awkward looking shot. (Maybe it is good for evaluating technique?). I liked the ones when the horse is just coming up over the fence as it looks more dynamic and elegant. It’s strange how different things make a shot good for different people.