A while back I wrote a piece about how I manage my workflow when bringing in new pictures from a shoot. If you are so inclined, you can read the original post here. I thought it might be appropriate to bring the topic up to date since I have tweaked the workflow a bit since then. As I mentioned before, this is not all original thinking from me. I have picked up suggestions from a number of places and then adapted them to my own needs. If they are useful to you, that is great. All of this is based on using Lightroom as an image management tool.
The basic process involves creating a series of Smart Collections for a given shoot. I have adapted these collections a little and have a basic set, not all of which are required for every shoot. However, what I have done is exported these collections to a folder on my computer so I can re-import them for each shoot and tweak them rather than start from scratch each time. For example, they all have the keywords section blank so that I can paste in the required keywords for the shoot easily.
I will initially create a Collection Set for the topic and, if this is an event that occurs more than once, a Collection Set within that for the specific date. Then, within that, I shall import the Smart Collections from my templates. In the first instance, these will have lots of files in them since the criteria have not been narrowed down but I shall then edit each one to have the appropriate keywords and, if required, the specific dates. Date Taken is the criterion I will use then, either with a specific date or a range. Of course, this does require me to have put the appropriate keywords on all of the images first including whether they are HDR, panorama or time lapse images.
The following are the smart collections and a description of what they contain. To avoid repetition, it can be assumed that they will all fit the keyword and date range criteria.
- Not Rejects – All images that have not been rejected, are not marked as HDR or panoramas and are not video clips
- Picks – All images that have been marked as a Pick and are not video clips
- HDR Originals – All marked as HDR that are RAW files
- HDR Edits – All marked as HDR that are not RAW files
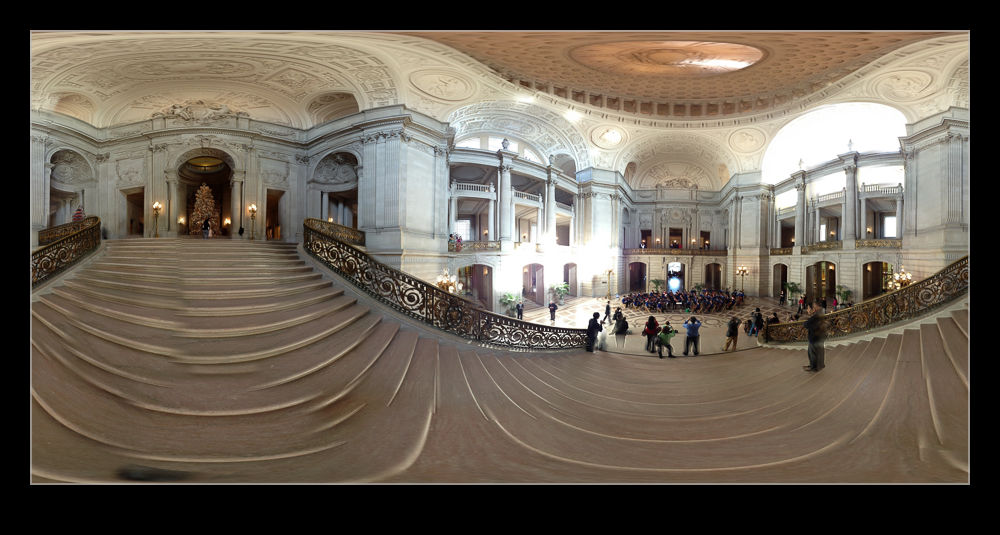
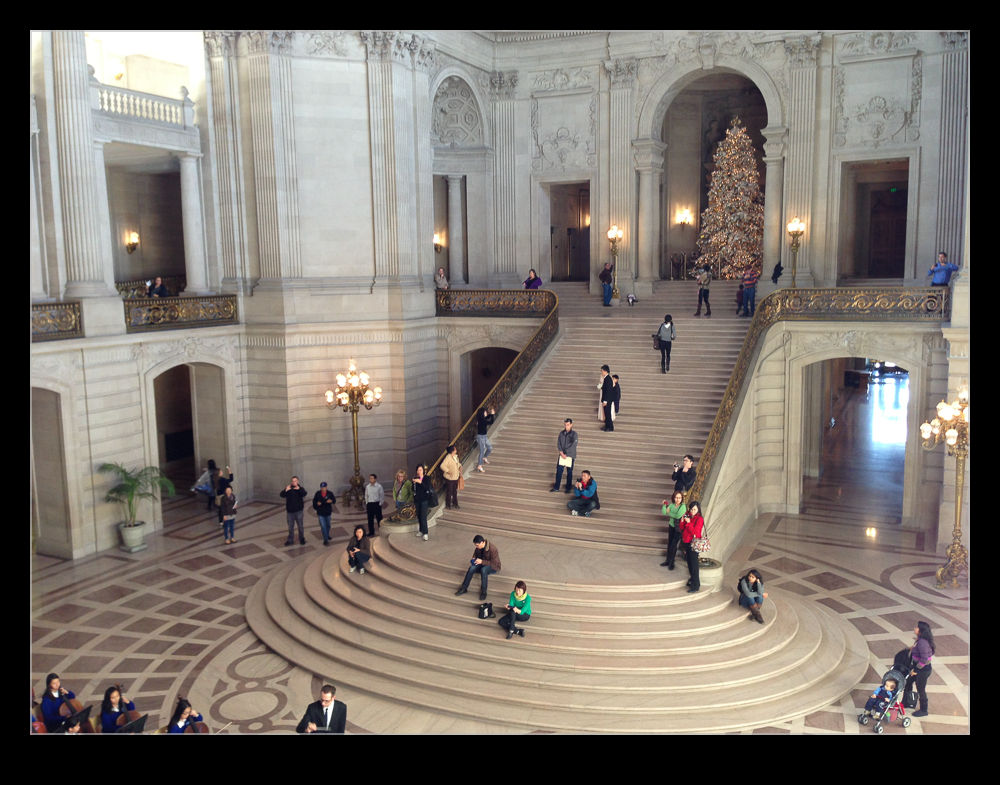
- Pano Originals – All marked as panoramas that are RAW files
- Pano Edits – All marked as panoramas that are not RAW files
- Time lapse – All marked as Time Lapse (Duh!)
- Not Geotagged – All files that do not have GPS coordinates associated with them
- Videos – All video files not marked as rejects
- Rejects – All files marked as rejects (again, duh!)
The reasons for some of these are obvious but others are less so. The not rejects file specifically excludes any shots I have marked as HDR or panorama since, when running through the edits, it is easy to see a shot that makes up one of those processes and think it is boring and delete it. Keeping them separate from the start is important. I keep the originals and the edits apart since, when I come back to them later, it is a lot simpler to look through the finished versions without having to find them amongst the originals. Previously, they ended up in the same smart collection and, after getting bored trying to find the finished one, it occurred to me that they could be kept apart easily.
I now try to geotag all of my images. Having the folder that shows that they haven’t been done reminds me to do this if I have not done it straightaway. I have found that Lightroom has a bug (I have found more than one!) that, when you have imported a bunch of stuff, if you go to the map page, it gets a little lost and keeps the map view looking like the grid view. You can get back out without any problem but have to restart to get back to map view. If you go to map view before doing all of the importing, it seems fine then. However, this folder makes sure I don’t forget to do it at some point.
With all of this set up, it is then easy enough to get into the process I have outlined before. I go to the Not Rejects folder and render 1:1 previews of all of the files. This can take a while so I will often start it off and then go and do something else for a while. I can then come back and run through the images. I will have a full screen version on one screen and the zoomed 1:1 image on the other. This allows me to easily see which shots are not sharp or have an obvious flaw like a pole through the foreground or someone’s head in the way. A quick “X” and that shot disappears from the smart collection and I am on to the next. If it is okay, right arrow and I am moving on. This kills a lot of shots quite quickly.
Then it is a simple case of looking at the shots in Grid view, usually quite large, to see the ones that are duplicate or just plain crap. I can select which to get rid of and “X” again has them consigned to the trash. Once all of this is done, I will run a BluRay backup of all of the shots including the XMP files after which I shall delete all rejects. Hopefully that leaves me with a lot less shots to play with. I can then pick the ones I think are the best and mark them as Picks. It then leaves me with a smaller smart collection which I can go in and pay some attention to making more detailed edits.
This process continues to evolve. Maybe I shall write another update in a couple of years. In the meantime, I hope it might be helpful to someone for me to have shared it. Happy shooting!