In this previous post, I noted that there was a problem with the way in which Lightroom identified the time of video files. I was having to manually adjust the capture time after importing them. When I contacted Adobe, they said it was a problem with Canon and vice versa. Not helpful. However, I notice that, with a recent update (I won’t say upgrade because some aspects of it seem to have really screwed up Lightroom performance), the video files now come in with the correct time associated. I only found this out because I was about to adjust them when I realized they were already correct. One little annoyance has now gone away. Hurrah!
Tag Archives: software
Creating Lens Profiles for Adobe Software
UPDATE: It turns out, the upload process for the profile sends to an address that doesn’t work. While I try to fix this, if you want the profiles to use, you can download them by clicking here.
Within Adobe processing software, there is lens correction functionality built in to the Lightroom Develop module (or Adobe Camera Raw in Photoshop) that compensates for distortion and vignetting in the lens the image was taken with. Adobe has created a large number of lens profiles but they never created one for the Canon 500mm in its initial version. Adobe also has an online tool for sharing profiles but this does not include one for this lens either. The 600mm had a profile and it was supposedly close so I had been using that for a while. Recently, though, I was shooting with the 1.4x teleconverter fitted and this introduced some new effects which required some manual tweaking to offset.
I still wasn’t happy with the result so I decided it was time to bite the bullet and create some profiles from scratch. Adobe has a tool for creating a lens profile. It involves printing out some grid targets which you then shoot a number of times to cover the whole of the frame. It then calculates the profile. I was shooting at both 500mm and 700mm so I needed a few targets. To make a complete profile it is a good idea to shoot at a variety of focusing distances and with a range of apertures. The tool comes with many targets. Some I could print at home but some of the larger ones I got printed at FedEx and mounted on foam core to make them more rigid. Then it was time to shoot a bunch of very boring shots.
The software is not the most intuitive I have ever worked with but it eventually was clear what I had to do. (Why do some manual writers seem like they have never used the process they are writing about?) I found out how to run the analysis for different charts and distances separately and append the data to the profile as I go. I did need to quit the program periodically because it would run out of memory which seems like an odd bug these days. After much processing and some dropped frames as a result of poor shooting on my part (even on the tripod I got some blur occasionally with very slow shutter speeds) it got a profile out. The proof of the pudding is in the eating of course (that is what the actual phrase is for those of you that never get past the pudding part) so I tried the profile out on some recent shots. It works! I was rather delighted. I may shoot a few more samples in good conditions to finish things off but this was a rather happy outcome. Once I have tweaked the profiles sufficiently, I shall upload them to Adobe and anyone can use them.
Trying to Remove the Traffic on the Bridge
The suspension bridge at Lions Gate in Stanley Park, Vancouver is a magnet for photographers. I was only passing through but, as we watched the traffic moving across the bridge, I was thinking about how to get a shot that didn’t have cars on it. The traffic was steady so there was not way I would get a clear moment. Indeed, while we were there, they changed the lights and reversed the center lane based on the traffic demand.
I didn’t have a tripod but I did decide to experiment with an alternative technique. This is best done using a tripod and a lot of exposures but I figured I would go with shots that were pretty closely aligned and about half a dozen shots. This didn’t work perfectly but it didn’t go too badly. When you get back to the computer, you open up Photoshop. Click on File and Statistics and a dialog opens up. Select all of the files and change the option at the top to Median and check Align Images. Then send it on its way.
 If the shots are good and there are enough, the algorithm will look at each shot and see the changing items – cars in this case – as the oddities. It will see what is consistent in each shot and get rid of the odd stuff. If you have it right, the cars will vanish. In this case, there were some overlaps and not enough shots but it still did a reasonable job.
Enfuse for HDR
I am a little late to discovering the Enfuse plugin for working with HDR images. I started out many years ago using Photomatix. At the time, it was the go to software for creating HDR images. Then Adobe got a lot better with their HDR software within Photoshop and I started to use that. Even more recently, Adobe built HDR processing in to Lightroom and I didn’t need to go to Photoshop at all. The HDR software worked reasonably well so I stuck with it. I sometimes felt that it didn’t do as good a job of using the full range of the exposures but it was okay.
I wasn’t entirely satisfied though so have kept an eye on other options. Someone mentioned Enfuse to me so I decided to give it a go. It is a plugin for Lightroom and, in the free download, you can try it out but with a limitation on the output image size of 500 pixels. Obviously this isn’t useful for anything other than testing but that is the point.
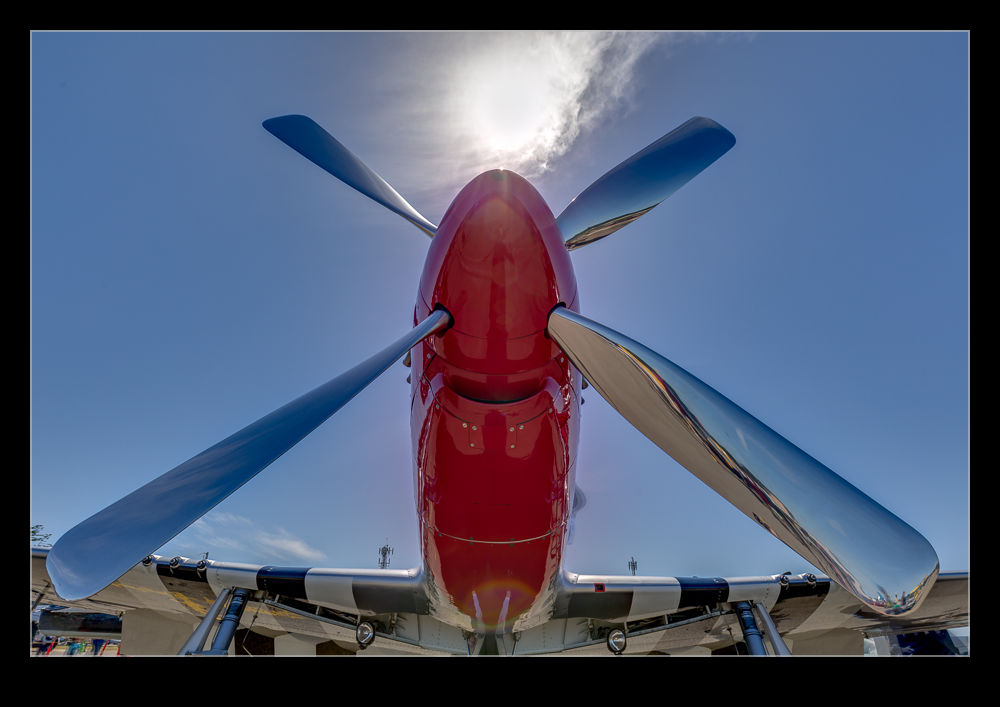
The first thing I tried it on was a shot I made at Half Moon Bay looking up at a P-51 Mustang prop and directly into the sun. This is certainly as much of a range of exposures as you are likely to get. The perfect thing for an HDR trial. The results in the small scale file seemed pretty impressive so I decided to buy the package. There is no fixed price. You make a donation via PayPal and get a registration code. I am impressed by the quality of some of the work people put out so I am happy to donate for what they do. With the software activated, I reran the P-51 shots. Below is the version I got from Lightroom’s own HDR and following it the version from Enfuse.
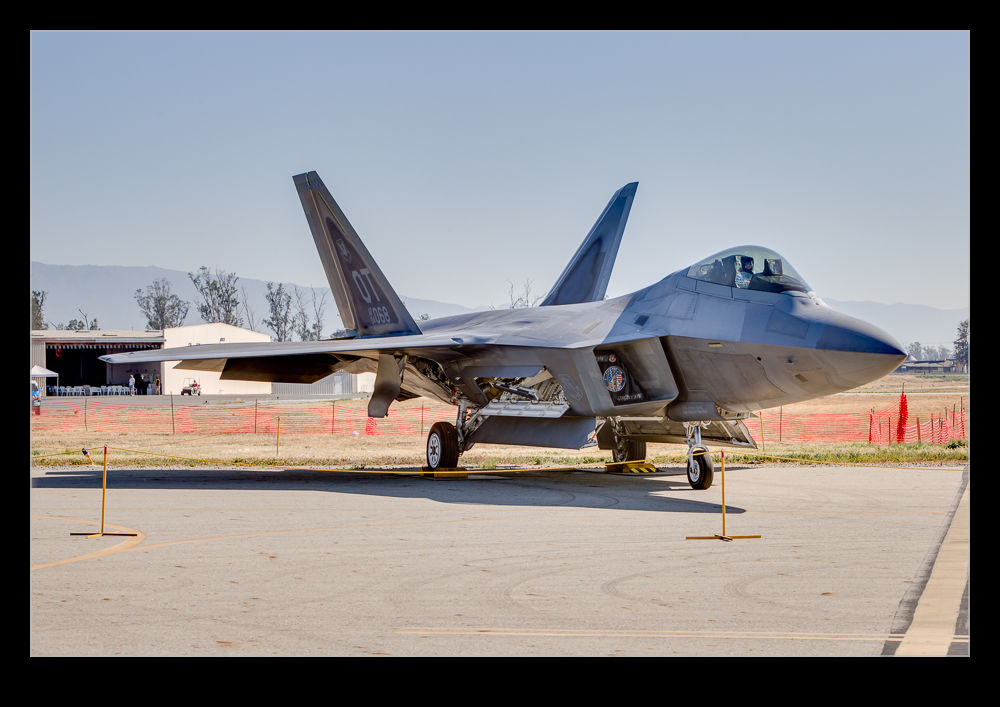
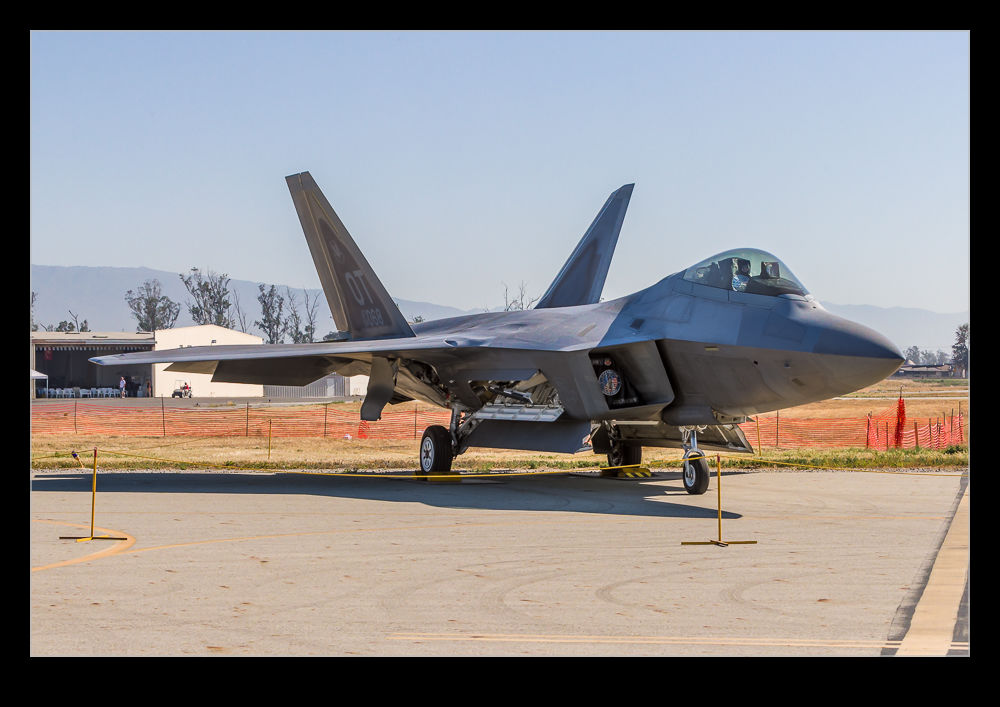
 I did have some issues initially. Lightroom was not reimporting the image after it was created. This turned out to be an issue with the way I named the file in the dialog and a tweak to that seemed to fix things. Strangely, it had been fine on the trial so I have no idea why it became an issue but it is done. I also played with a slightly less extreme case with an F-22 and, as above, the Lightroom version is first and the Enfuse version is second. I was really pleased with the result on this one with a very natural look to things. So far, I see Enfuse being a useful tool for my HDR going forward.
How Low Can You Go?
The high ISO capabilities of modern cameras are a constant source of discussion whenever a new camera comes out. It was quite funny to see everyone get so excited about the multi-million ISO range on the Nikon D5 when it was announced, only to see that the high ranges were nothing more than moose with a bit of an image overlaid on them. Not a big surprise but still funny to see how much everyone was going nuts about it before the reality set in.
Consequently, I was interested to see what the new bodies I bought were really capable of. I have already posted a little about some of the shots I took as the light faded at SFO. I was shooting with a tripod and a gimbal mount to make things easier but I was also working within the ISO range of the camera. I went with auto ISO and exposure compensation while shooting in aperture priory and wide open to get what I could. However, I really wanted to see what was possible so I changed to manual mode, exposure compensation and auto ISO to see what could be done. Auto ISO is not going to use the extended ranges of ISO.
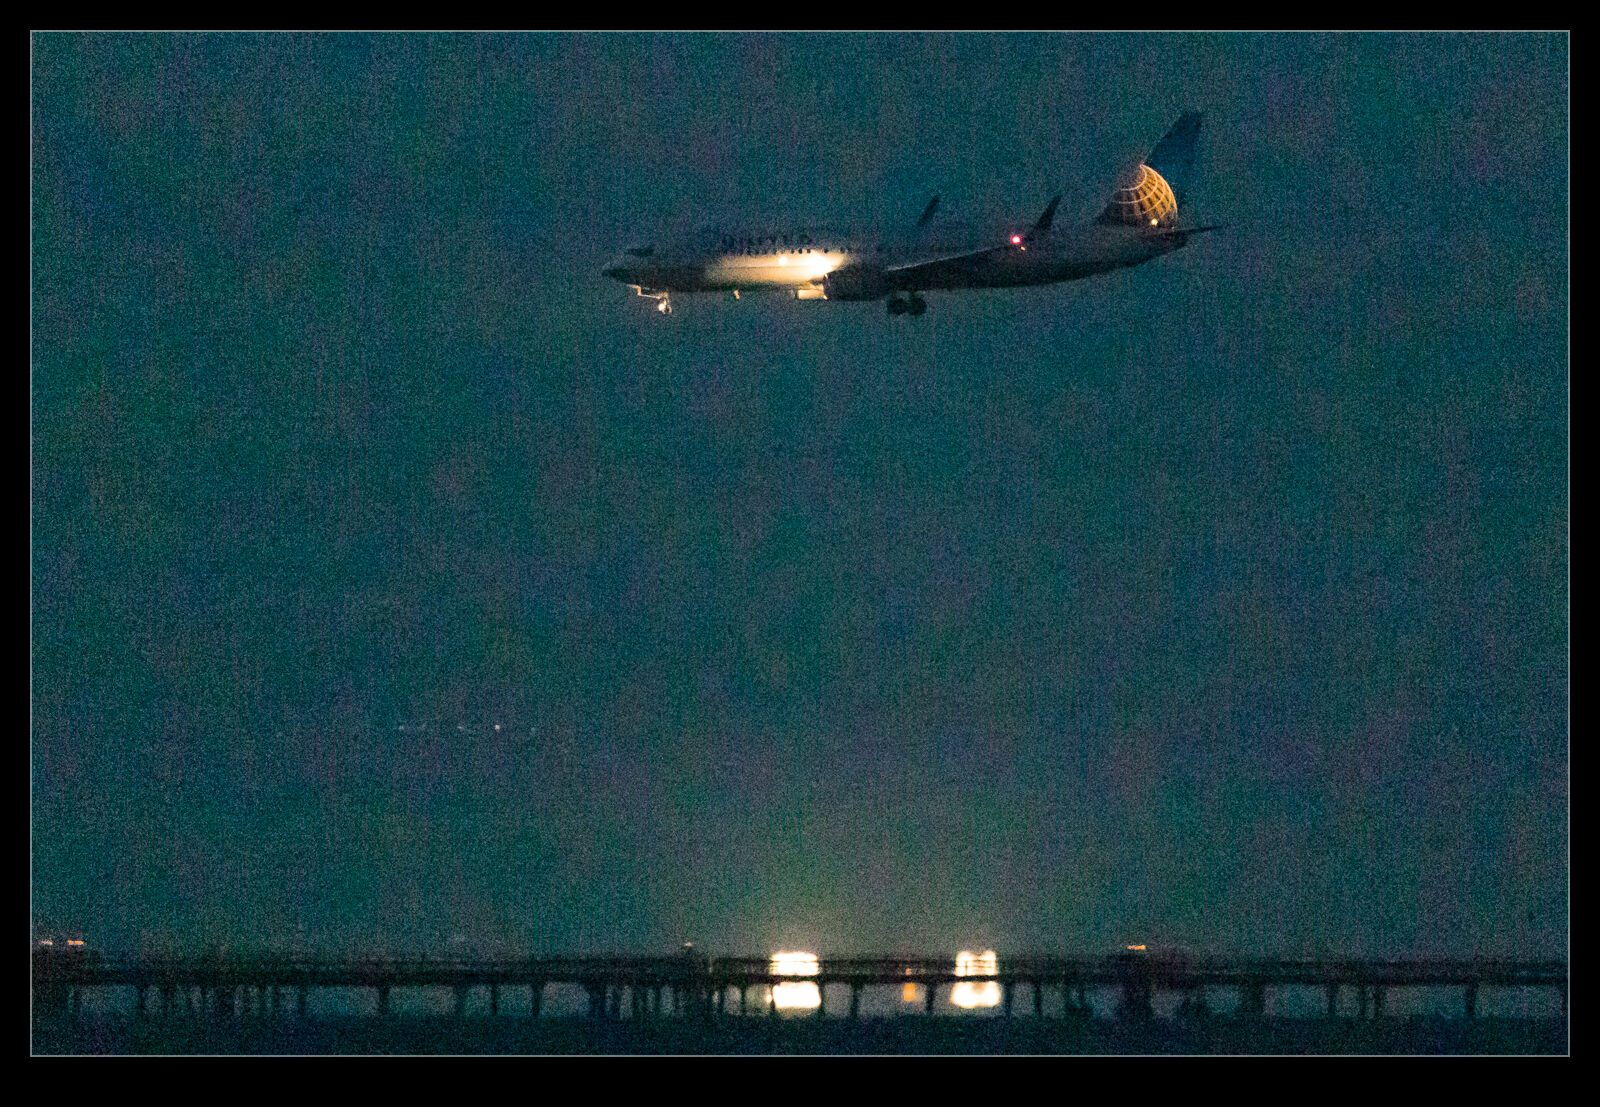
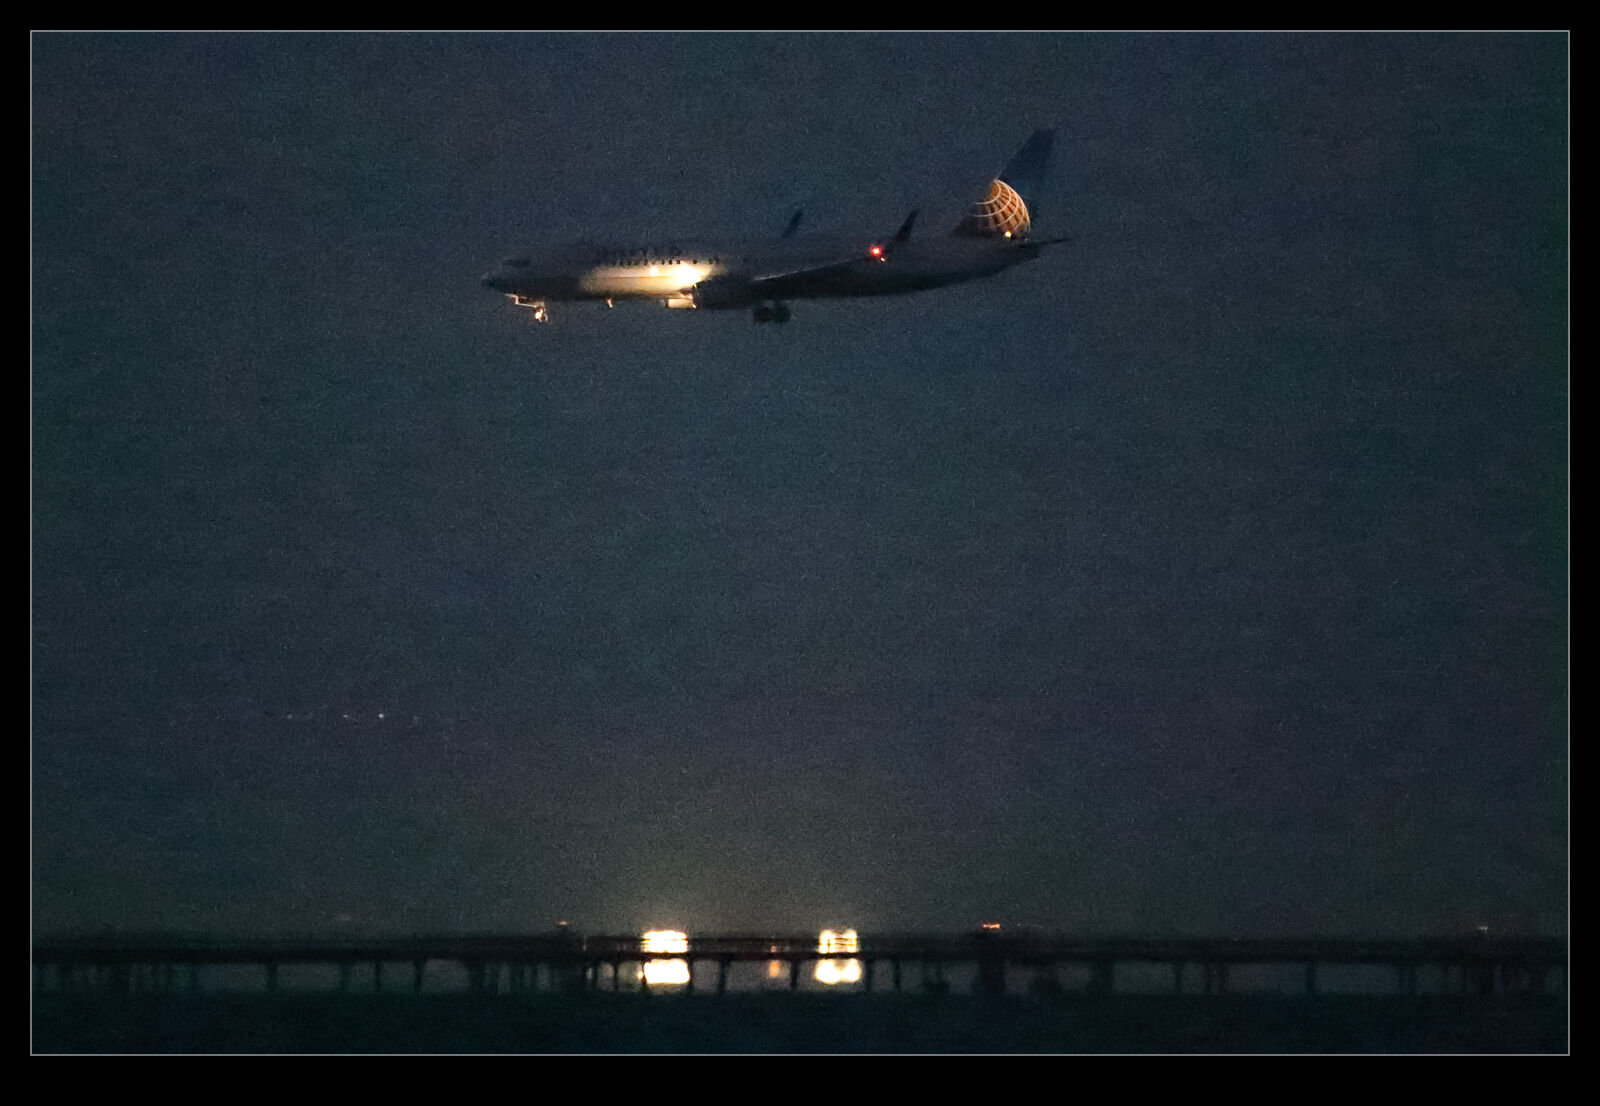 I don’t know about the Nikon cameras but the Canon cameras tend to have three extended range ISO settings at the high end. There is the highest ISO setting that it recognizes and then there are H1, H2 and H3. They don’t name them with the actual ISO settings but you know what they are based on what you see on the camera. The manufacturer does not label them as normal ISO settings because they do not stand behind them as a capability. There is a good reason for that. They are just like the highest Nikon settings. Useful if you have no option but not very good otherwise.
The same was true with my older bodies. They had a very high ISO range that was not great but it would do in a pinch. At the Albuquerque Balloon Fiesta I shot an Aero Commander in the pitch black that flew over and I saw stuff in the shot I couldn’t see with the naked eye. This is with a camera that is ancient by modern standards. I expected a bit more with the latest generation. Certainly, there is more to be achieved with what we have now. However, post processing becomes a part of the story.
My first experience with these shots was in Lightroom. The shots did not look good at all. However, there was a clue in all of this. The first view in Lightroom is based on the JPEG that is baked into the raw file. It looked okay until it was rendering by Adobe at which point it looked a lot worse. This piqued my interest. Sure enough, at the extended ISO ranges, the shots looked pretty awful. Lots of purple backgrounds. These were not going to be any good. However, the initial preview had looked good., is this a case of Lightroom not being able to render the shots well? I figured I should try going to the source.
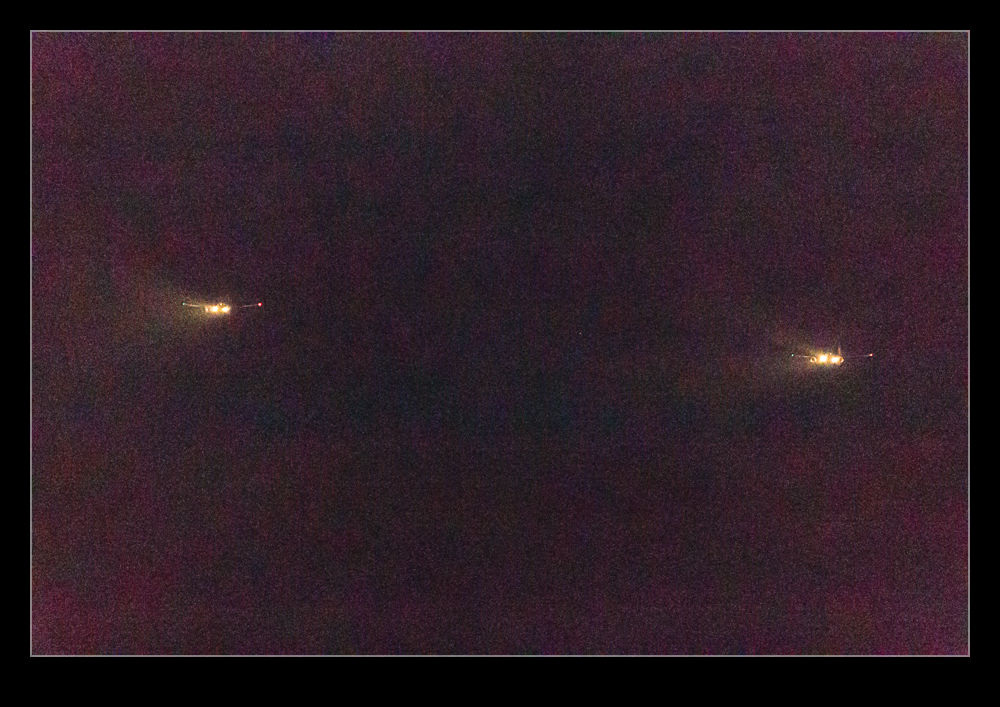
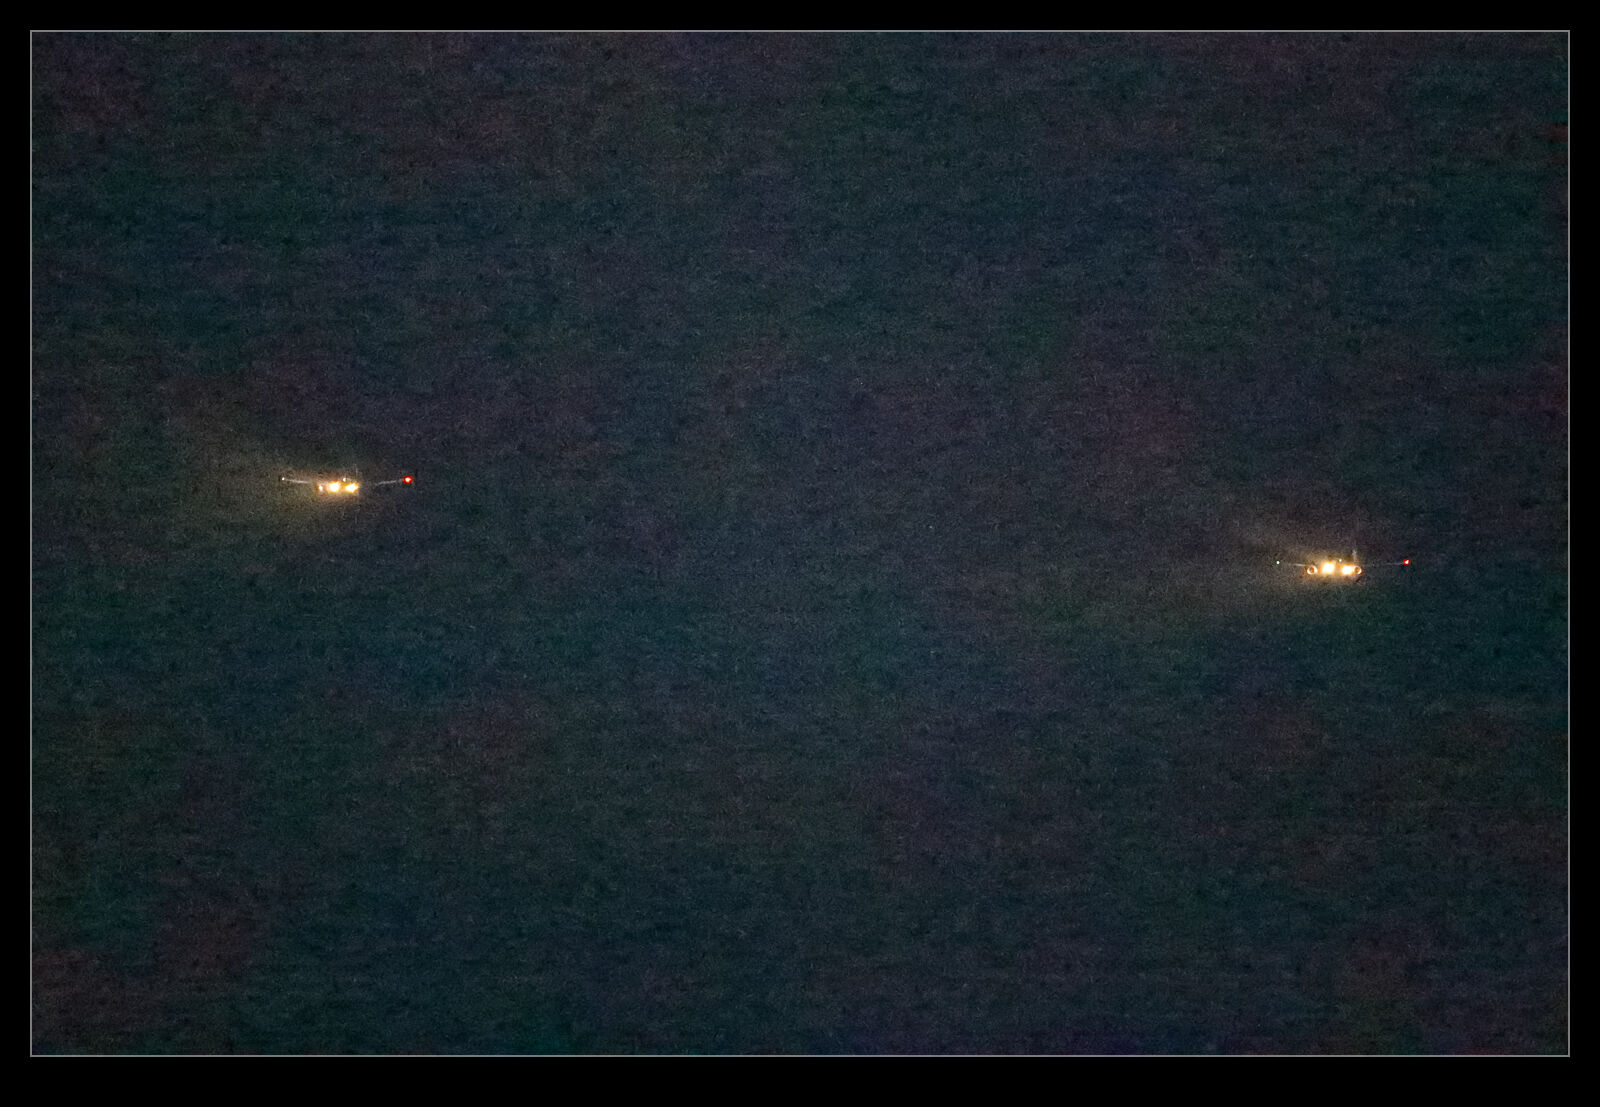 At various ISAP symposiums, the Canon guys have talked about how their software is the one that you should use since only Canon know how to decode their shots properly. They have the recipe for the secret sauce. Since Digital Photo Professional (DPP), Canon’s own software for decoding raw files, is so terrible to use, I never bother with it. The raw processing in Lightroom (and ACR since they are the same) is so much easier to use normally and works really well. DPP is just awful in comparison. However, we are now dealing with the extremes of capabilities of the camera. The embedded previews seemed better so maybe it is possible that DPP will be able to do a better job.
You can now be the judge. Here are some pairs of shots. They are the same shot in each case. The first is processed in Adobe Lightroom and the second is processed in DPP. I think it is clear that DPP is better able to work with the raw files when it comes to extreme ISO settings. The shots certainly have a more normal look to them. The Lightroom shots look really messed up by comparison. It doesn’t mean I will be using the extended ISO ranges on a regular basis. Jumping to DPP for processing is not helpful on a regular basis. However, if the need arises, I know that I can push the camera a lot further and use DPP to get something that is okay if not great. This could be handy at some point.
Camera Profiling

 For all of my previous cameras I have created profiles. When I got the new cameras I decided not to bother and to go with the profiles that are built in to Camera Raw/Lightroom. This was working okay for a while but there were some shots where I felt like the adjustments were having slightly odd effects. It was almost like the files had less adjustability than my old Mark IV files. This didn’t seem likely. I figured I would have a go at creating profiles and see whether that made any difference.
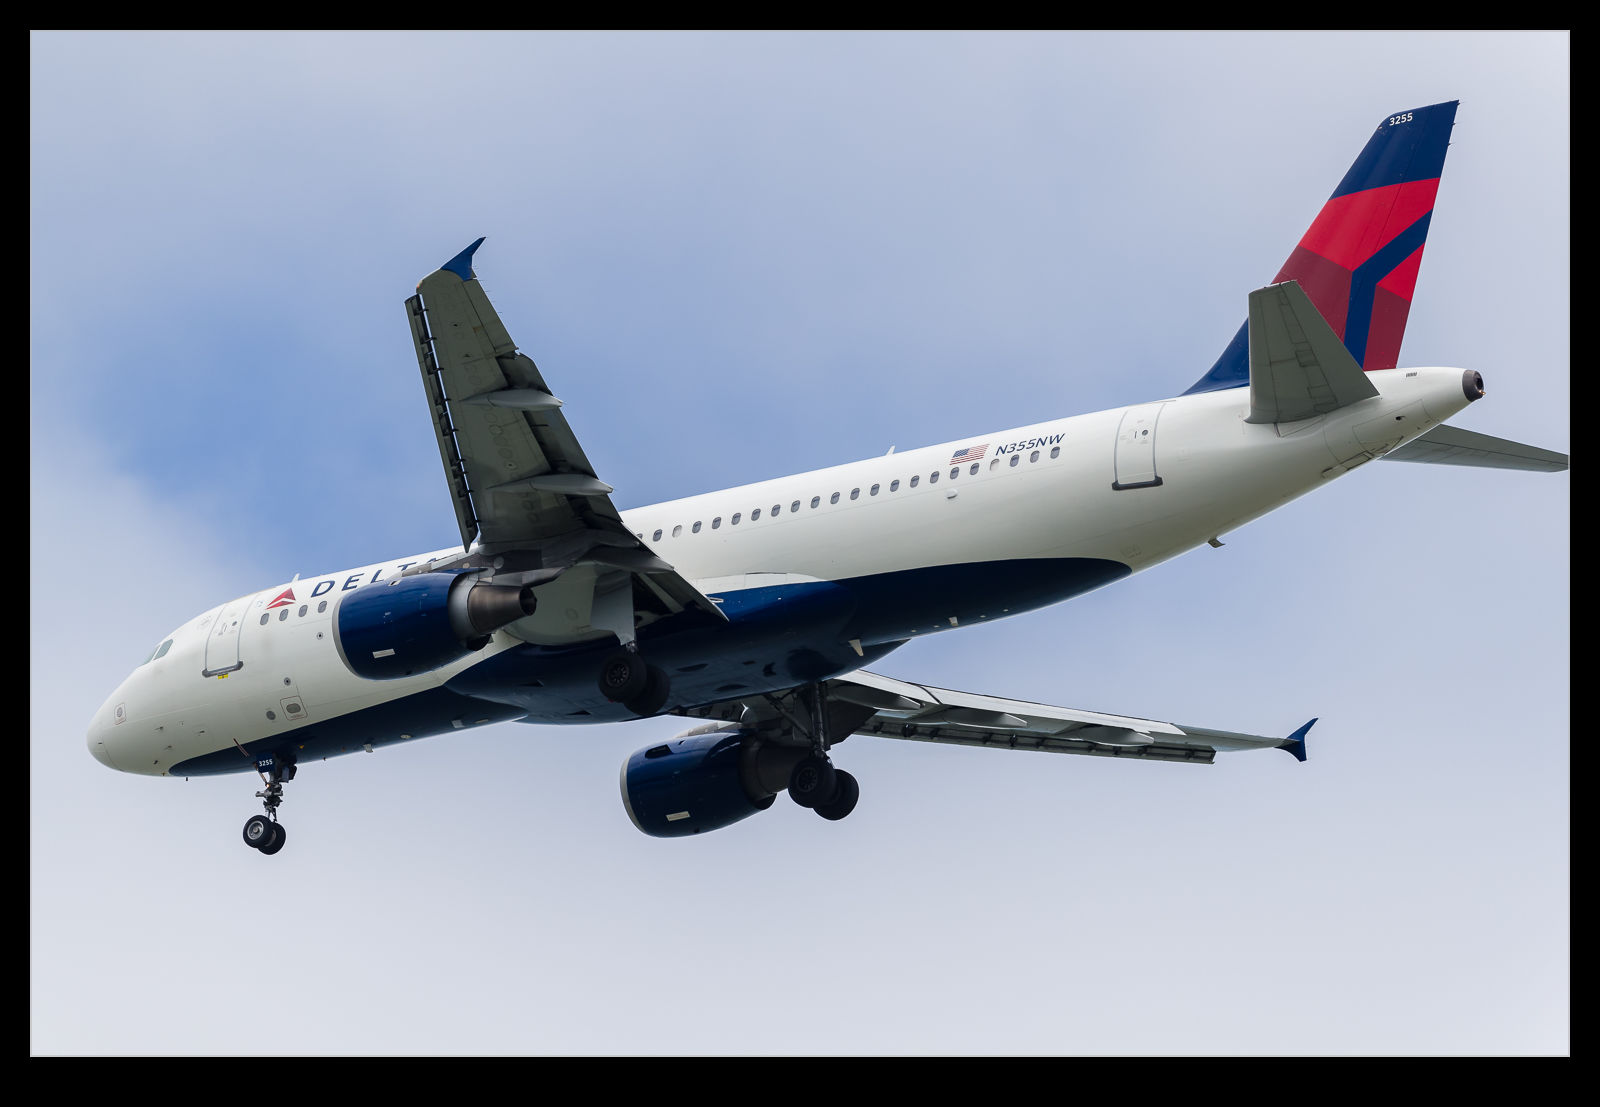
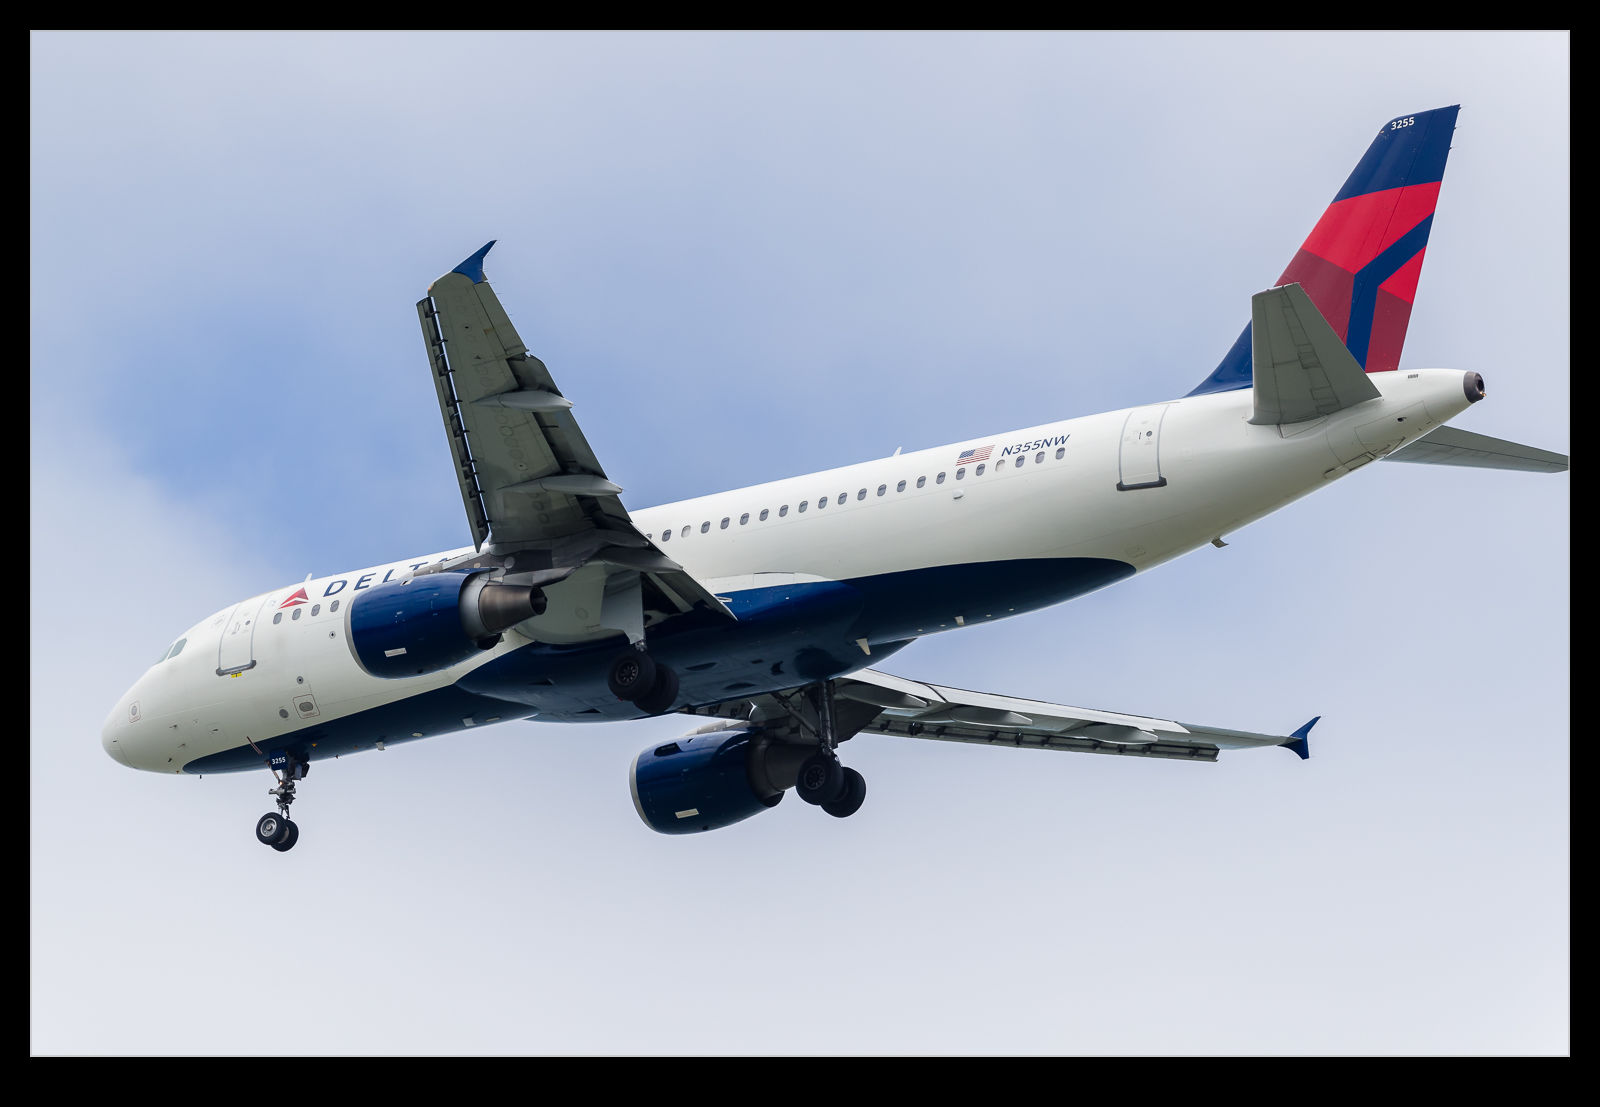 The profiles are relatively easy to create. I have a color card that has twelve different color squares. You take a shot of it in RAW mode. Then comes the slightly annoying step. You have to cover it to a DNG file. Not sure why, since this is all Adobe software, they can’t combine the steps but never mind. Then you open the profiling software. Pull up the DNG file, align the four color dots with the corner color squares and let it do its thing. Choose a name and the profile is saved on your computer where the Adobe software can see it.
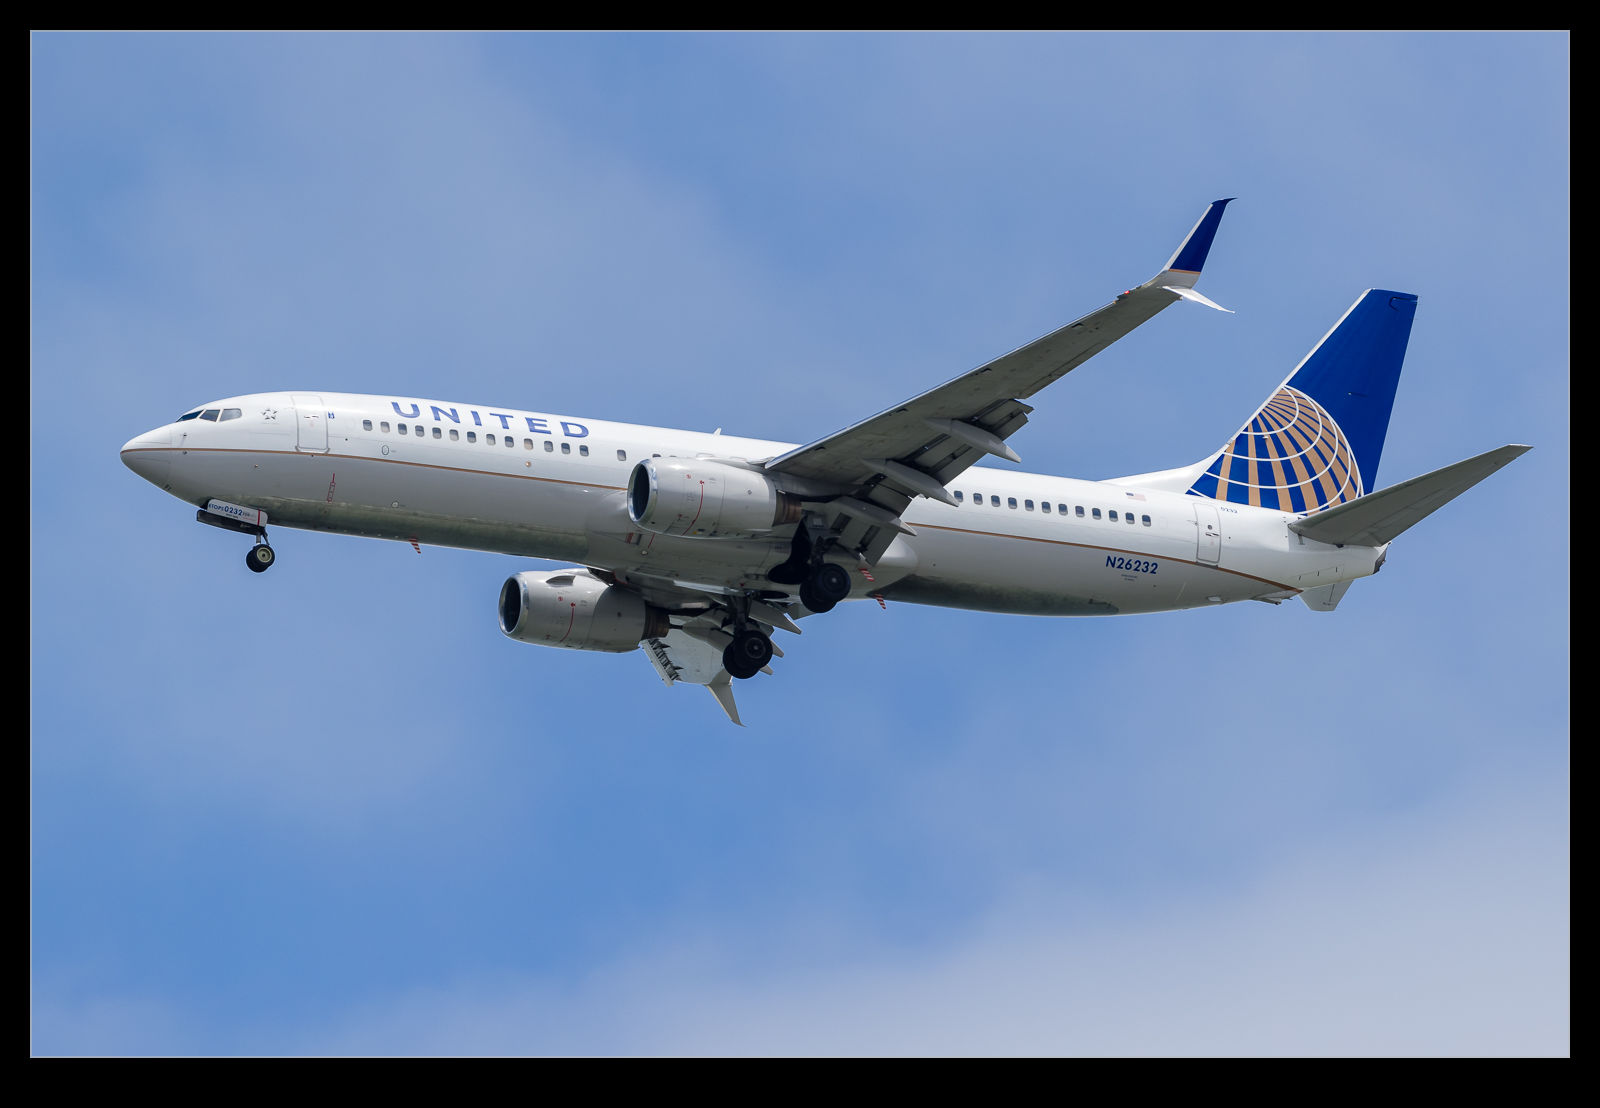
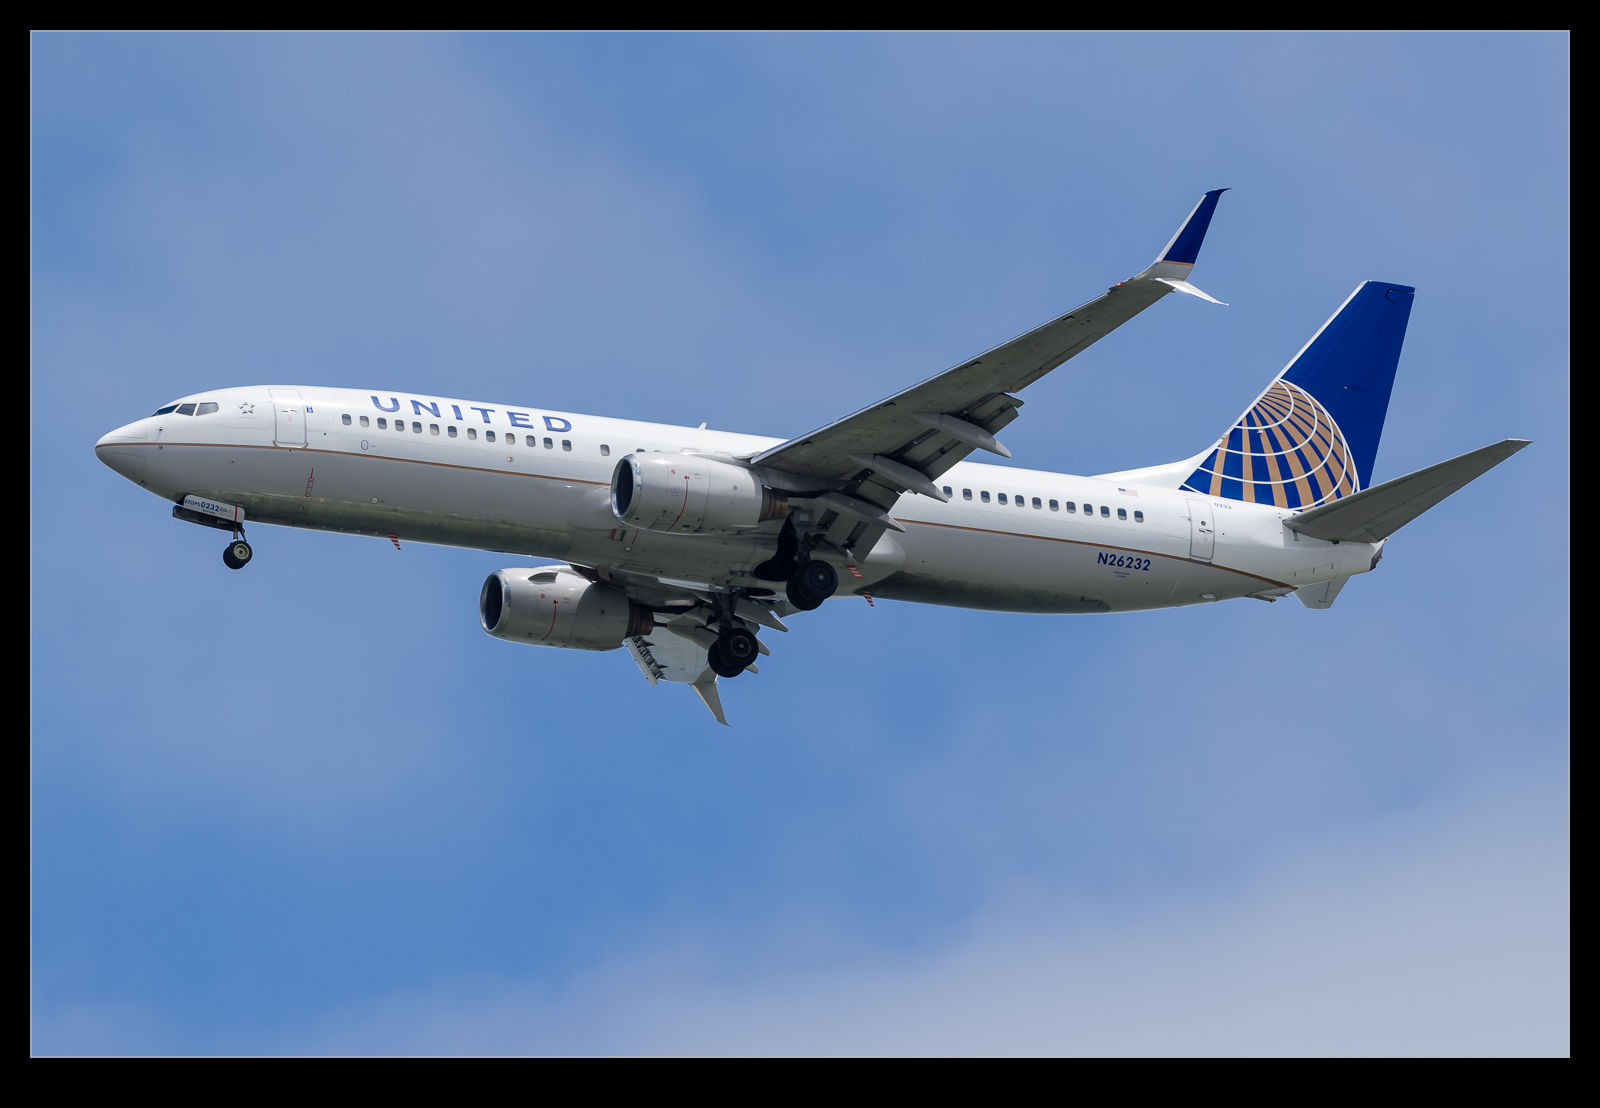 It does make a difference. The thing I found most interesting was that the profiles for the two cameras were quite different. It shows up most in the blues for my bodies which, given I shoot aircraft a lot, is no small deal. The shots here are versions of the same images with the default profiles and the new profiles for comparison. Everything else is the same so the difference is purely profile related.
Lightroom, Video and Capture Times
Getting the new camera has resulted in discovering a new quirk in the way that files are handled. I have been capturing video on the camera and, when it is imported to Lightroom, the video is showing a different capture time to the stills around it. The offset is eight hours which is the difference between the US West Coast and UTC. I was wondering whether this was an issue with Lightroom so checked in with some forums on that topic. I got feedback about the way that files record capture time for files and the suggestion that it was down to the way Canon write the capture time in a format different from that in the standards.
I then starting communicating with Canon and they said there was nothing wrong with their format and that the software I was using, i.e. Lightroom, was the one at fault. It seems everyone considers this someone else’s fault. Not much help to me of course. In the meantime, I have to remember to go to the edit capture time function in Lightroom when I import the files if there is any video included. I usually remember but not always. If anyone has a good suggestion, please let me know.
Blog Image Upload Using WP/LR Sync
Providing a review on something you haven’t had a lot of use of doesn’t seem like a good plan. This is something I have been using for a while and, now I have had a bit of time with it, I thought I would share what it is like. Uploading images to the blog is obviously a big part of the preparation of posts since, at the end of the day, this is primarily a photographic blog. When I first started out, I would create the images I wanted and then upload them manually. That was time consuming but was soon superseded by an alternative.
I started using the LR/Blog plugin to Lightroom. This would create a version of the file including any formatting, borders and conversion to the right color space and would then upload it to the blog. This worked okay for a long time but it had one significant limitation. If I tried to upload too many shots at once, it would fail and then lock me out of the blog for a while. I started searching for an alternative when my efforts to solve this problem went nowhere fast.
If you Google this topic, almost everything brings you to LR/Blog. However, recently I came across WP/LR Sync. It is a Lightroom plug in that makes use of the Publish services in Lightroom. Rather than uploading the images one time, you add the files to a collection that is then published to your blog. If you change the image, you can have the online version amended in sync with the original. If you go to http://apps.meow.fr/wplr-sync/ you can read more about it.
I decided to give this a go. However, in the guidance, Jordy provides a piece of information for people like me who have problems uploading lots of images. Apparently, my hosting service treats too many upload attempts in a short time as an attack and you get locked out. This was what was happening before. WP/LR Sync has a field that allows a small time delay between images which, if set just long enough, will prevent you getting treated as an attack. Something like this would also cure my LR/Blog issues I guess but that ship has sailed.
I am very happy with the new plug in. It works well and allows the same edits of the image before uploading as before. A benefit is that, if you drag images to the sync collection and they were already in there, you don’t end up with duplication on the blog. The one you previously uploaded is there. You just might have to scroll down a bit to try and find it. If you want to have a go with this add on to Lightroom, visit http://apps.meow.fr/wplr-sync/ and check it out.
Haze Filter
The Creative Cloud version of Lightroom drops new features in to the software when the updates are installed. This is a nice thing to have happen but, unless you are paying attention, you might not be aware of some of the new features. It took me a while after the last update to learn that a new filter had been added that was designed to take haze out of images. This is a great idea. I have experimented with trying to remove the effect of haze in shots before but, because the effect varies by distance, it can be quite tricky to get something that doesn’t look totally wrong.
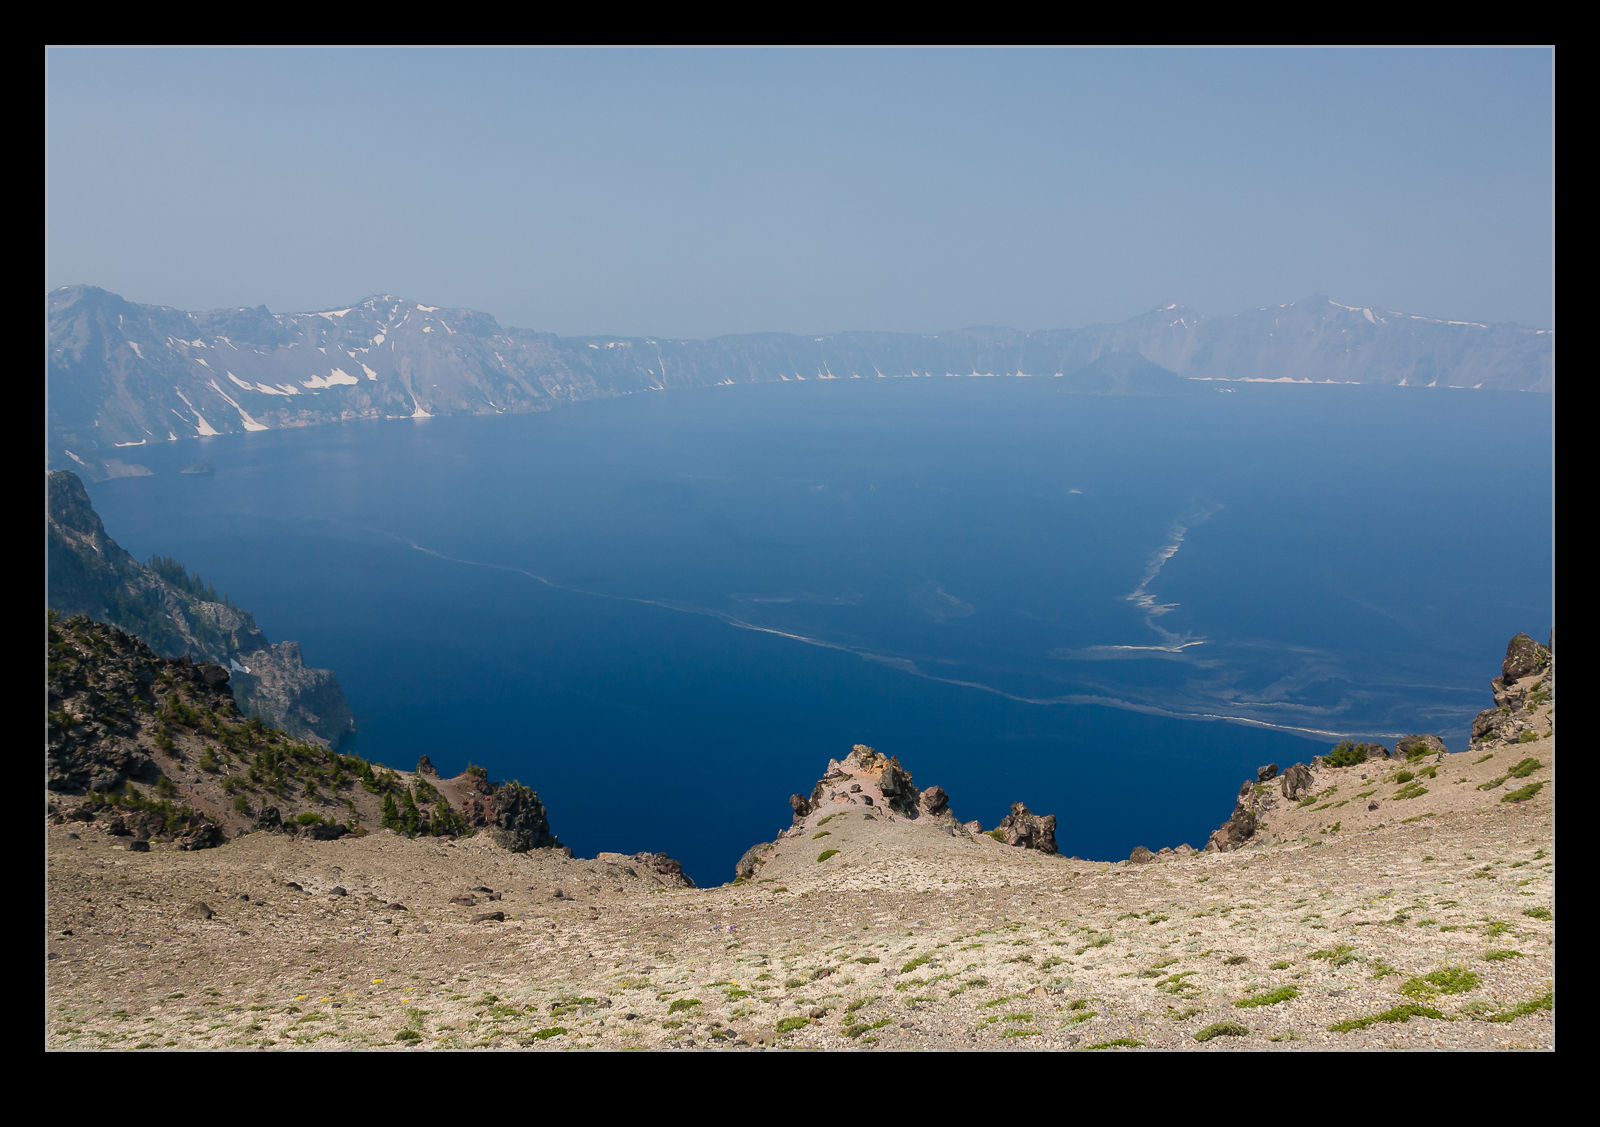
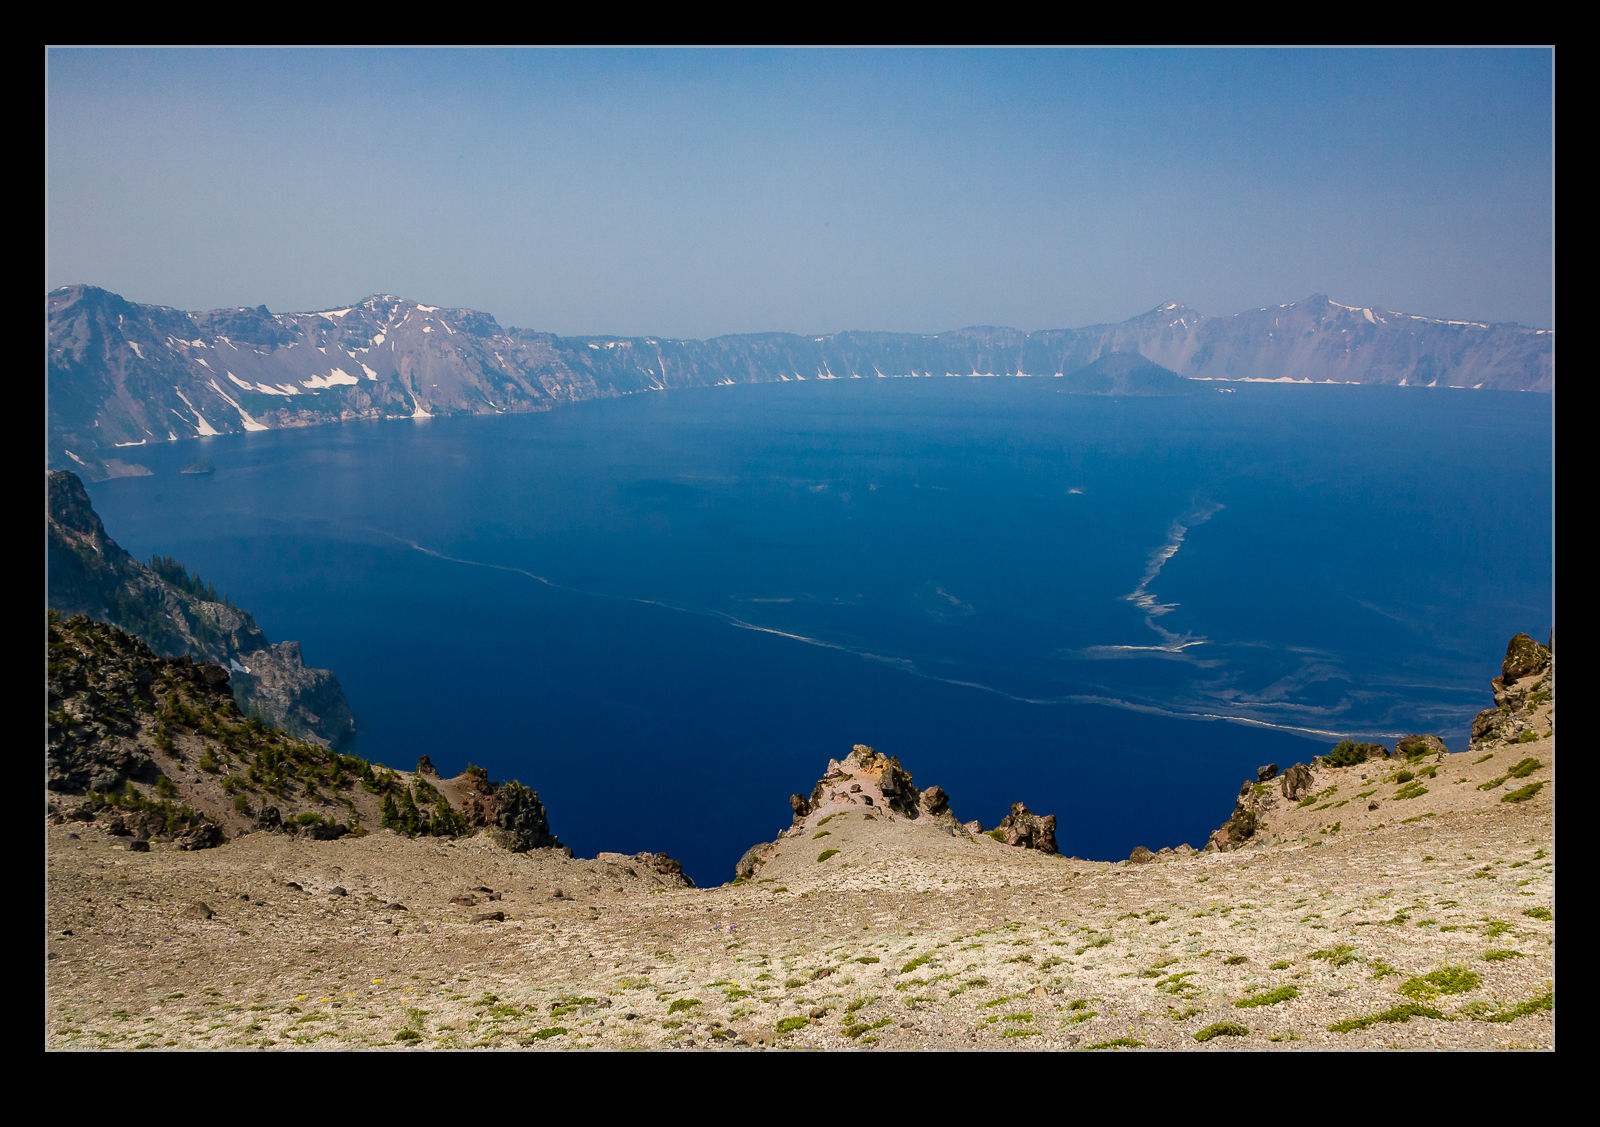 I have not played with the filter a lot but I did decide to try it out on a shot I took at Crater Lake a few years back. Wildfires had resulted in smoke in the air which meant the usual clear view across the lake was obscured. I thought I would see how the filter worked out. Above are the before and after shots. It is an improvement but obviously isn’t going to rescue a totally messed up shot. I did try a more aggressive setting but that looked wrong itself so this was the one I went with. We shall see if this has other uses for me over time.
Clever Feature of Lightroom CC
This one is something that I can attribute to the Kelby media juggernaut. I did not discover this myself but, if you are a user of Lightroom CC and use either the HDR or the panorama functions, this could be of interest. One of my issues with them was that they took a while to bring up a preview. Once you had got this, the processing would work in the background.
It turns out, if you don’t need to tweak the settings and are happy with what you used previously, you can hold Shift and Ctrl and press either M for panorama or H for HDR and it will launch right into processing the whole thing in the background. You can set multiple versions off if you wish and they will all get to work out of sight while you do something else. While my feelings on the outcome of the processing are not universally great and I covered this in some previous posts, it does a reasonable job most of the time and this is an even better feature that is well concealed!
