Category Archives: technique

Lightroom 4 Impressions

It is a little while now since I upgraded to Lightroom 4 from the previous version (I will let you fill in the name here!). There were a few aspects of the new version that made me want to upgrade and I had played with the public beta version when it first came out. Of course, having ongoing support and updates is always helpful so staying with the old version was never going to be likely and when they halved the price, no further thought was required.

Now I have been using it for a while, what do I think? Well, on the whole I am reasonably pleased with the changes. The new sliders in the Develop module seem to be an improvement on the previous develop version. I was pretty happy with the way it worked before so the changes had to sell themselves to me. They have modified the way I think about the development settings since I used to be able to use Exposure alone to bring back a sky and maintain the shadows. Now I have to consider the White and Highlight sliders a lot more. I am not convinced that Highlight does a lot. White seems to be far more effective in my new approach.  Similarly the shadows slider is now more important to me than the blacks which is a change.

Another issue is with converting previous develop settings. Since the change of sliders is significant, going to the new develop version tends to result in all sliders being reset to zero. This can turn a reasonable image into something far worse initially. Lightroom does not have a conversion algorithm to get you somewhere close. It is back to the beginning. Maybe this makes a lot more sense.

The Map capability is a big improvement for me. Canon cameras are not well designed for adding a geotagging capability so I have ignored it on the whole or experimented with Jeffrey Friedl’s plugin. This is a very user friendly method and I shall make use of it a lot more I think. I like the book creation capability but would welcome some other outlets getting in the game. I have used Blurb before and they are fine but I have liked Adoramapix and have contacted them to see if they will be making templates soon. Let’s hope so.

So, is there anything wrong? Oh yes! It is slow!! The Develop module is awful at the moment. I have a pretty capable system but the sliders we very slow to react. The real time view of what you are changing is not there yet. You pick a slider, hope that the mouse click has actually selected it and then move to where you think works and then wait to see what happens. Is this acceptable? Not at all. Am I annoyed? Yes I am. Is it the end of the world? Probably not. I seem to recall that Lightroom 3 had similar issues when it first came out and was slow. Adobe released some updates pretty quickly and it ended up being a great tool. I am not going to revert back and will manage the sluggishness until they come up with a fix. If they don’t, I may have to consider but I am not the only one having an issue so I suspect it will be dealt with in the coming weeks.  Turning off the second screen makes a substantial difference but is not very useful so hopefully that will be tweaked.  A release candidate for version 4.1 is out now so, while I won’t try it out, hopefully that means the formal release is pretty close.

One other thing I will tag on her and that is the arrival of the beta version of Photoshop CS6. When the beta was released, I was not sure I would bother to try it out just yet. Photoshop is still part of my workflow but, as Lightroom has become more capable, Photoshop has been used less often and for more specialized tasks. I could probably wait, or so I thought. However, I watched some of the demonstrations of new features online and liked some of what I saw, especially the video editing. Since I shoot mo video these days, having an alternative video editor rather than upgrading the package I have might be good. It does seem to have some good basic capabilities and that is all I do most of the time. What isn’t there at the moment is good bio integration with Lightroom. Version 4 has some video clip editing for end points. It would be good if you could send the video to Photoshop in the same way you can an image. Since it would then come back to the catalog when you had finished, it would help in managing everything. Now I finish an edit and I have to import it – if I remember. If they could allow you to take multiple clips and open them as layers (again like you can with images), that would be even better since that lines up with the way video editing is set up in Photoshop. I commented on this on the Lightroom blog but we shall see if they are already working on this.

In conclusion, I am pretty happy with the new Lightroom. With the price halved I am even happier not least because the Photoshop upgrade is obviously not far away. Now to see whether they can tweak it enough to fix the minor problems.
Changed Workflow

I have changed my approach to editing my pictures quite a bit recently.  This has served two purposes.  The first is to make better use of my storage requirements and the second is to focus more quickly on the better images.  Sadly, this has highlighted to me how I have actually missed out on some of my better work in days gone by.  Not a happy lesson to learn but a valuable one.

I never used to delete images since storage was not a problem.  I did occasionally find images that newer RAW processors could do something with.  However, to be honest that was a rare occasion and, even then, I wasn’t likely to have an outlet for that image.  However, by not getting rid of stuff, I really cluttered up what I had.  Moreover, I would scan through and find images I liked the look of and mark them as favorites.  When I would come back to them later, I would find they were a bit flawed – not sharp enough usually being the problem.  What was worse was that I would search based on ratings and so wouldn’t bring up the next shot which actually might have been almost identical but sharper!

Consequently, I had a workflow that hid the good shots and encouraged me to pick the wrong examples by mistake.  I have now changed all of this.  Part of this is driven by trying to keep storage requirements under control.  I have been shooting a lot of rotor-craft and getting good rotor blur requires low shutter speeds which often means shooting lots of frames to get a few sharp ones.  When you are being buffeted by the down-wash, no amount of good technique is going to be enough!  I do generally shoot more these days anyway so I have a lot to work through.

The first thing after downloading is to generate 100% previews of all images.  I can then set up Lightroom with one side as the full image and the other has the 100% view.  This way I can determine sharpness of the shot at the same time as seeing whether the overall image is okay, i.e. no poles across the shot or noses cut off!  I have copied a process I saw demonstrated online where I assign a job descriptor in Lightroom and then set up smart collections for that job of Picks, Not Rejects and Rejects.  I have also started separating out video clips to another smart collection.  By reviewing the Not Rejects folder, anything rejected gets automatically removed so it thins out as I go.

This certainly brings the numbers down but not always as dramatically as I would like.  I suppose I should be pleased that I am not shooting such a low percentage!  Once I have done this, I can now trust that the shots that are left are all considered usable.  Then I can go through again and weed out the obvious duplicates by picking the best of a given type.  This will really help to thin things out.  The other thing I will do (which I also tend to start as I get further through the first review) is culling those that are just not interesting.  I have come to the realization, far too late, that only the best shots are ever going to see a use somewhere (and most of them won’t either).  Therefore, a relatively uninteresting shot that is sharp and well composed might as well go in the trash unless it has something unique about it.  Most don’t!

This has resulted in me thinning down the shoot far more rapidly.  The review also includes marking as Picks those I particularly like.  Hopefully, this will make it a lot simpler to get to the good stuff in due course.  Now I am also gradually following the same process for the large selection of previous images.  Maybe I won’t have to upgrade my hard drives for quite a while with all of this space I am freeing up and the reduced rate at which I am filling space.

One footnote to all of this.  My NAS runs a backup of everything every night.  When images get deleted, they will be gone from the backup the following night.  However, before anything is deleted, it is all backed up to Blu Ray discs.  That way, nothing is truly gone forever.  However, it would require some serious effort to go back to those discs to find something that is deleted since they are gone from the Lightroom catalog.  However, they are easy to backup so why not?

Final Overnight Time Lapse

I mentioned before that I had tried to do an overnight time lapse video.  In that post I detailed all of the ways I had screwed up the process.  Rather than sulk, I did take all of those lessons to heart and went back for a second attempt.  This time, I was a lot more successful.  I hadn’t got around to figuring out how to make the tethering work properly but the alternative was acceptable and I had learned the rest of my lessons.

One minor hurdle still existed.  Our windows are not at their cleanest at this time of year and shooting through the glass is the only option.  We are due to have the cleaners take care of them shortly (although that will probably only guarantee some rain immediately afterwards).  In low light and with a wide enough aperture, the dirt smudges are not too much of a problem.  I have to make sure the shoot doesn’t include any time with direct light on the window which would make the muck flare up in the shots.

The other minor issue is a function of the double glazing.  More intense light can show up the effect of the light bouncing between the glass panes.  At night this isn’t a hassle except with the moon which is so bright.  For some reason I should be able to figure out but can’t, the center of the window almost totally removes this effect and it gets worse towards the edges.  However, the moon is so bright in the scenes it blows out and, since the whole thing animates to a video, the loss of shape in the shots becomes less apparent as the moon zips across the sky.

With all of that said, here is the video itself.  It seems to have worked out well.  Sadly, the messed up effort seemed to have got some more interesting light sequences from the windows of the building but you can’t have it all.  Enjoy!

What a Balls Ups

I have previously played around with time lapse videos made with an SLR, a timer release and some software linked to Lightroom to create the finished video.  I decided to go a little longer with one and make a video throughout the night, starting before sunset and finishing off once the sun had come back up again.  This did not prove to be as simple as I had hoped!

It should be pointed out that most of these problems are entirely of my doing.  First of all, I did a calculation of how many shots I thought would be necessary to complete the clip.  This was more than would fit on one of my compact flash cards.  No problem, the camera has a second slot.  It turns out that, unlike the MkIV which will switch to the second card when the first is full if you so desire, the MkIIN won’t do that.  Okay, not problem.  I shall tether it to Lightroom and download direct to the laptop.

This didn’t work.  I believe this was also my fault as the MkIIN has a firewire connection as well as the USB and the USB tethering showed up on the computer but didn’t actually do anything.  Okay, I can fix this.  I shall let it run for a long time and change the card shortly before going to bed and the new card should work through the rest of the night.  A fully charged battery and off we went to dinner.

Upon my return, I find that the camera is not shooting any more.  Foolishly, while I worked out that a 16Gb card would be fine, I didn’t remove the 8Gb card that was in there so the card was full.  I swapped the card with another one quickly and set it off.  A while later I come back to check on it and nothing is happening.  The new card is full.  I hadn’t formatted it first.  What a fool.  I also have a flat battery.  This is not going to be good.  Fortunately, the MkIIN came with the DC adapter as standard (unlike the MkIV – how tight are you Canon?) so I swapped that in, put in a fresh card and formatted it.  Then I went to bed.

This finally worked.  The remaining shots worked fine.  The result wasn’t too bad but, since it had some obvious jumps in it – the moon was traversing the scene when the gaps occur – it wasn’t usable.  However, it did teach me a bunch of thing that I now need to deal with for the second attempt.  let’s see if I can balls that up as well!

Thornton Quarry Video

The Thornton Quarry lift job with Midwest Helicopters was a full day job so it provided a bunch of opportunity to try different things.  This was true for the stills but it also allowed me to experiment with the video as well.  Since the aircraft was operating all day, I was able to get to multiple locations and see all aspects of the job as they happened.  Normally, this isn’t possible since a lift will only last about 30 minutes.  In that case, you have to pick the location that will get the shots you must have and accept that the alternative shots will not be made.

This time I was able to move around the whole site and capture as much as possible of what was going on.  Some of the clips looked really interesting and the time but they actually proved to be no use.  Some of the boring stuff as it appeared at the time actually ended up being really of use when it came to editing.

At this point, it is important for me to apologize to people like Gerry Holtz.  Gerry is an editor and he does this sort of thing for a living.  Anyone else who knows about editing professionally, you are all due my apologies and my respect.  I am trying a bit with video editing but what I have learned is that it is bloody difficult to do.

On this shoot, most of the video was captured using my SLR.  The rest of it was shot on a GoPro which is such a great little device to get something a little more unusual.  It was handheld (or mounted in the case of the GoPro).  No tripods or dollies and certainly nothing as impressive as a Kessler Crane!

I suspect that to be good at editing it is important to have had some education in the process.  I am doing it the guy way – try something and then try something else and see what happens.  Not even a manual to consult!  Consequently, I make some progress but probably my approach starts from the wrong place.  If I was going to do a lot more of this I would take the training aspect seriously.  However, for the time-being, this is a little side hobby so I will probably stick with what I am doing.

Part of the fun(?) of the edit process is taking all of the disparate elements of the footage and trying to combine them into a coherent timeline.  Part of the engineer in me thinks it should be delivered in the same order it happened.  This is rubbish of course.  The viewer has no concern of course.  As long as the result doesn’t obviously have terrible jumps or continuity issues, no-one is going to be any the wiser.

Also, how much do they need to see.  About eighty lifts were done during the day.  Does the video need to have eighty lifts?  NO!  In the end, I concluded that two lifts were enough to tell the story.  One wasn’t enough but it didn’t need more than two.  I cut the length down as I went but even then it was still quite a long piece.  A pro would probably have it down to a couple of minutes but then, as I mentioned, I am not a video pro.

One lesson I have learned as I have practiced this video stuff is how many of the tools the software has are no use at all.  There are a million transitions between scenes, all of which make it look like you are experimenting with the software but they are a distraction from viewing.  I have learned to use simple transitions that are short so they are not obvious to the viewer.  They just stop the jump being the item the viewer focuses on.

Anyway, the final part of this story is that I was very happy with the result for this video.  Unfortunately, it turns out the company that was doing part of the work is very sensitive about their equipment and doesn’t like the equipment being shown on the video so I have had to remove it from my YouTube channel.  Consequently, I can’t include it in this post.  Oh well…

Painting with a Flashlight

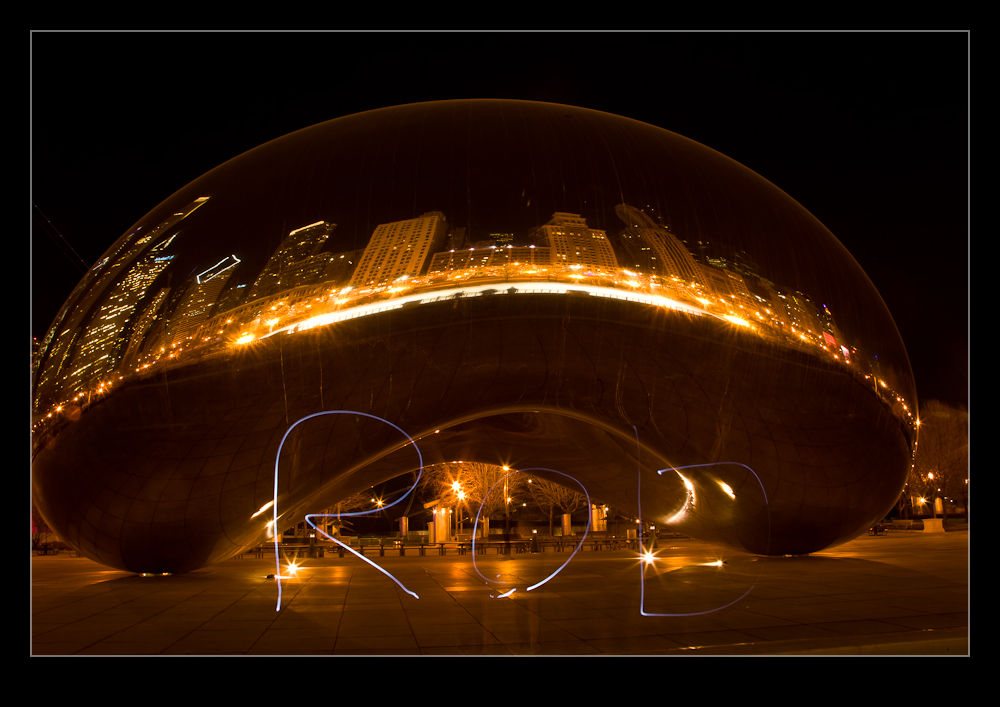
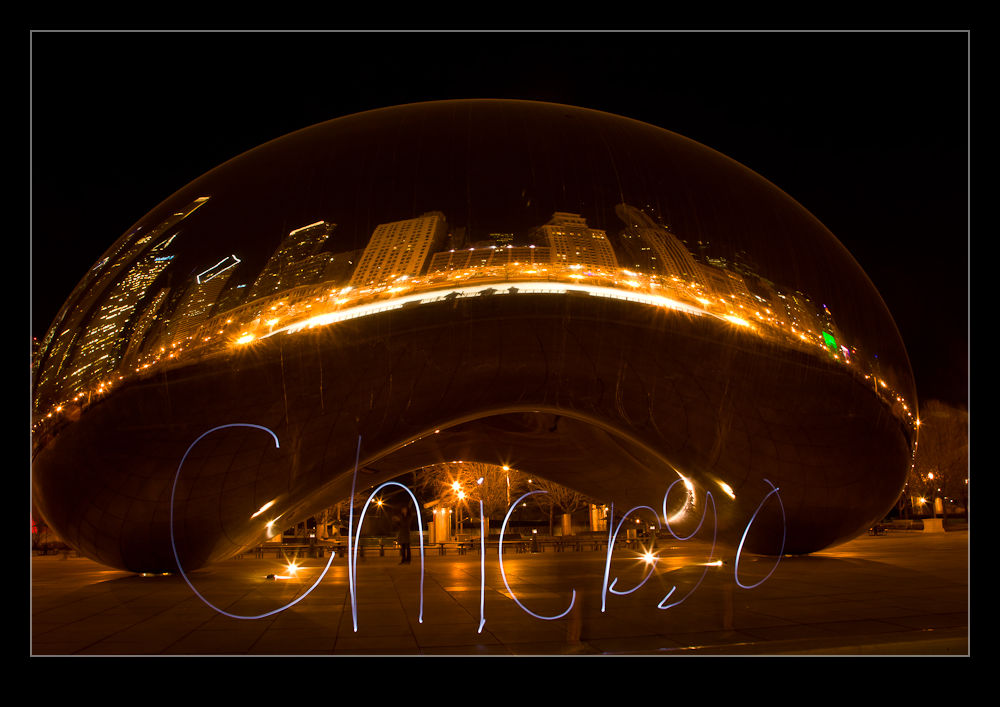
Following on from my previous post, a group of us found ourselves at the Bean at night and with a flashlight in my bag we started playing around.  One fo the guys had brought his son along and we gave him the flashlight to illuminate his face from below.  Then we started trying other things with the flashlight.  Initially we tried playing it on other surfaces to paint on them but this was not very effective with the ambient light.  Then it was time to try writing with it.

I started with my name as you will see above.  Rob is pretty easy to do when you are writing backwards.  Shielding the light with my hand between strokes of the letters worked pretty well.  However, as the words got longer, it became harder to keep visualized on what the letters should look like from this side.

I got the hang of it – after screwing a few up but hey, it’s digital – and managed to get a couple of different captions.  They looked okay on the back of the camera but they look better on the computer screen.  We also did one that was a message to our missing comrade but that one was not on my camera so you will have to search Facebook to find where someone else posted it!

Night Wanderings with Friends

As I mentioned in a previous post, sometimes it is useful to have someone come to the city to encourage me to get out and about.  A few friends had been to Chicago in a previous week to do some shooting but I had been tied up when they arrived.  They were planning some evening shooting and I had been out all day and had plans for the evening so missed it.  I was a bit disappointed but there you go.


Consequently, I was pleased to see that a few of them were planning to come back a few days later for another session.  This time I was free so agreed to meet up.  Some of the group that were coming I knew and others I hadn’t met before.  I headed out to the Adler Planetarium – our meeting spot – and started taking some shots.  A few guys were already there taking their own shots so I wandered over to find out if they were some of the people I hadn’t met before.

While it was true I hadn’t met them before, they were not part of our group.  However, in common with many photographers, they were a friendly bunch a we chatted for a while.  They had come to town from Texas and were looking to get as many things in to their trip so I suggested a few spots that they might like to try.

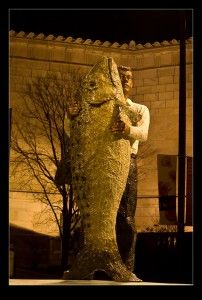
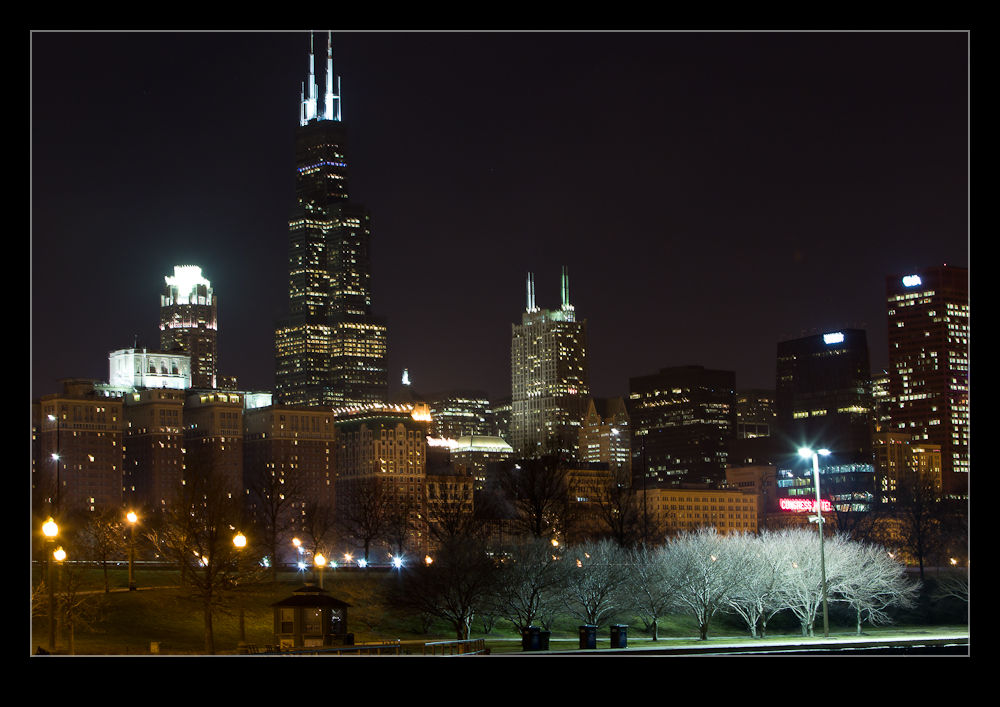
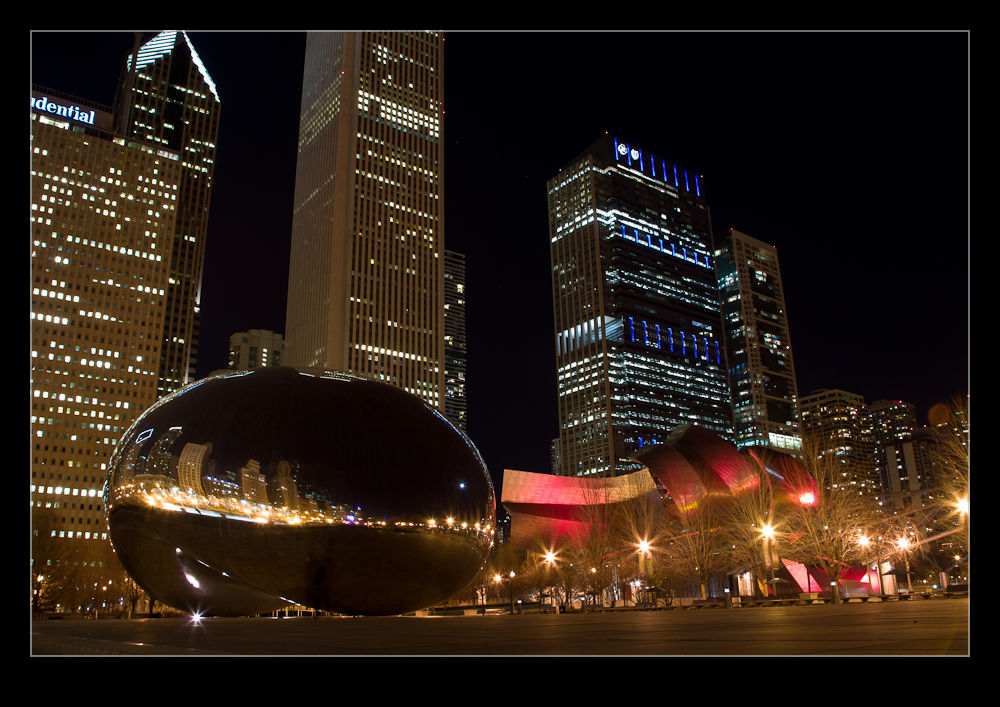
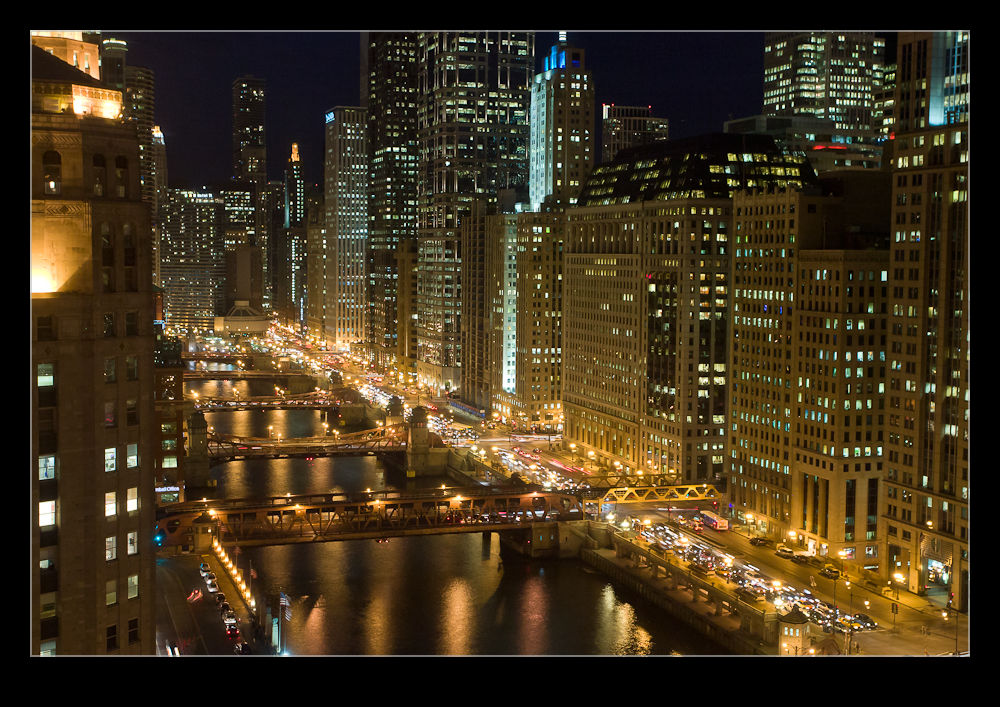
After a while the rest of the guys did show up – well, all but one who had wandered off on his own – and we started taking some pictures.  The skyline was lovely as usual and we took some shots around the Shedd Aquarium and the Field Museum.  Then we headed across to Millennium Park.  I’m becoming a regular.

Shooting around the Bean at night is good since the long exposures you need tend to make any of the other visitors disappear.  You get a cleaner shot if you plan it right.  We got a bunch of shots and then we started playing around with a flashlight.  More of that to come!

Model Day in 15 Seconds

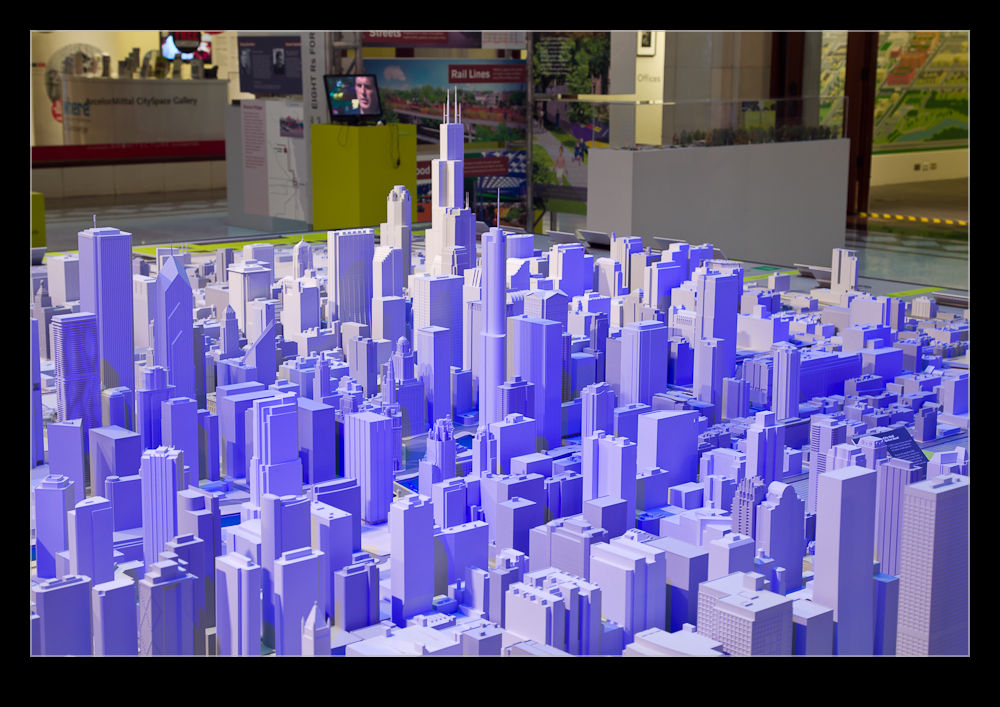
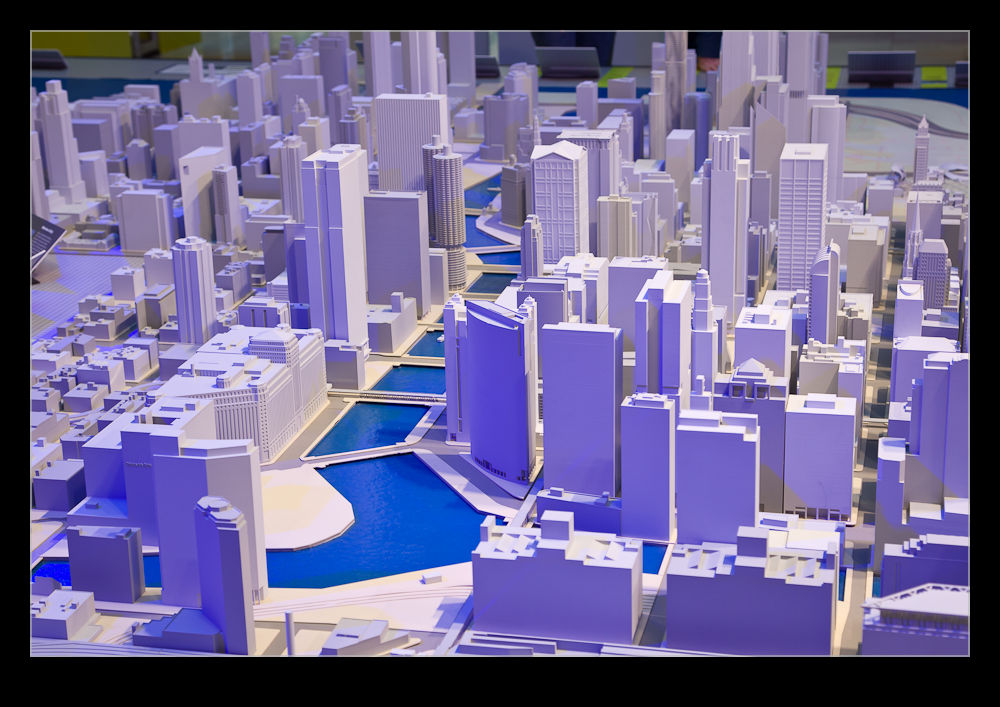
You might be a bit bored with me playing with time lapse video.  If so, look away now!  Here comes another one.  We had guest visiting for the New Year and one of the things we took them to see was the scale model of the city.  The Chicago Architecture Foundation has a shop on Michigan Avenue and the building in which the shop is located has a large atrium.  In this atrium is a model of the city.

All of the buildings in the Loop and some of the surrounding areas have been accurately recreated using stereolithography.  This is a technique using resin and lasers that builds solid objects one minute slice at a time creating a solid object of great complexity.  If you are interested in the technique, head over to YouTube and search for the term and you will come across a number of videos showing it in action.

The model is set up in the atrium with custom lighting.  Apparently, the lighting is designed to recreate the pattern of the sun from sunrise to sunset over a 15 minute period.  I had been to the model a number of times and had shot details of it before.  This time, I decided I wanted to get a time lapse of the light progressing across the model to see how it came out.  Since I had the plan ready in advance, as soon as we got to the place, I set up the camera and then went back down to join the rest of the crew.  There is enough in the model to keep people interested for 15-20 minutes so I wasn’t going to delay everyone.  It did mean, however, that I had to carry a bunch of stuff around with me for the rest of our walk!

Enough of the back story.  Here is the video that resulted.  To be honest, I don’t think the lighting effects are as obvious as I had hoped that they would be.  However, you do get to see some of the movement of the light.

More Time Lapse Sunset

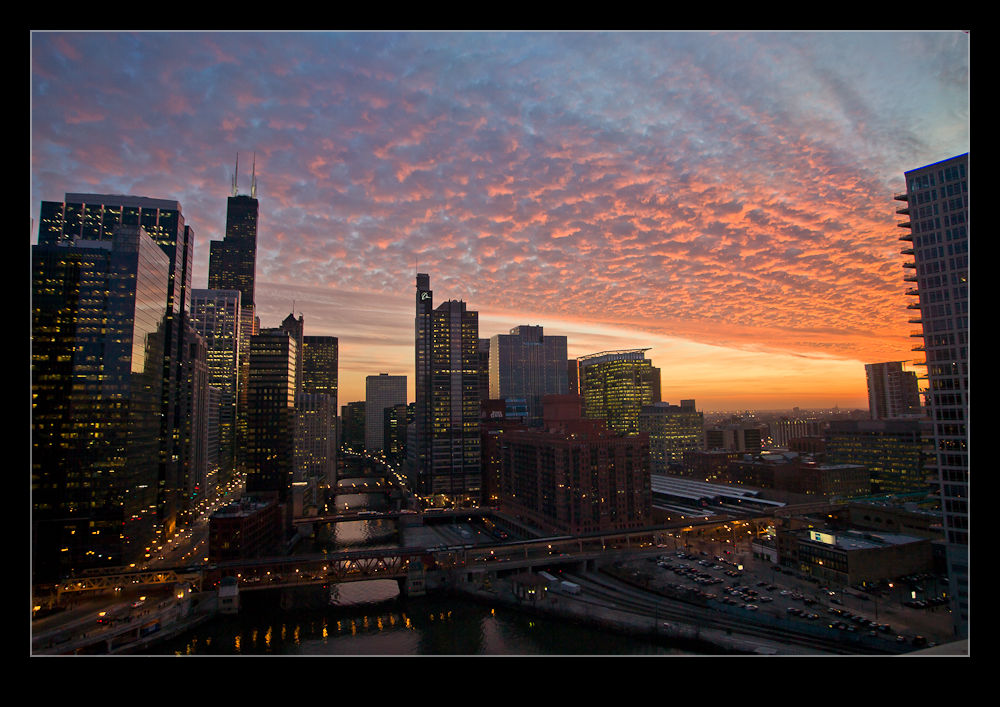
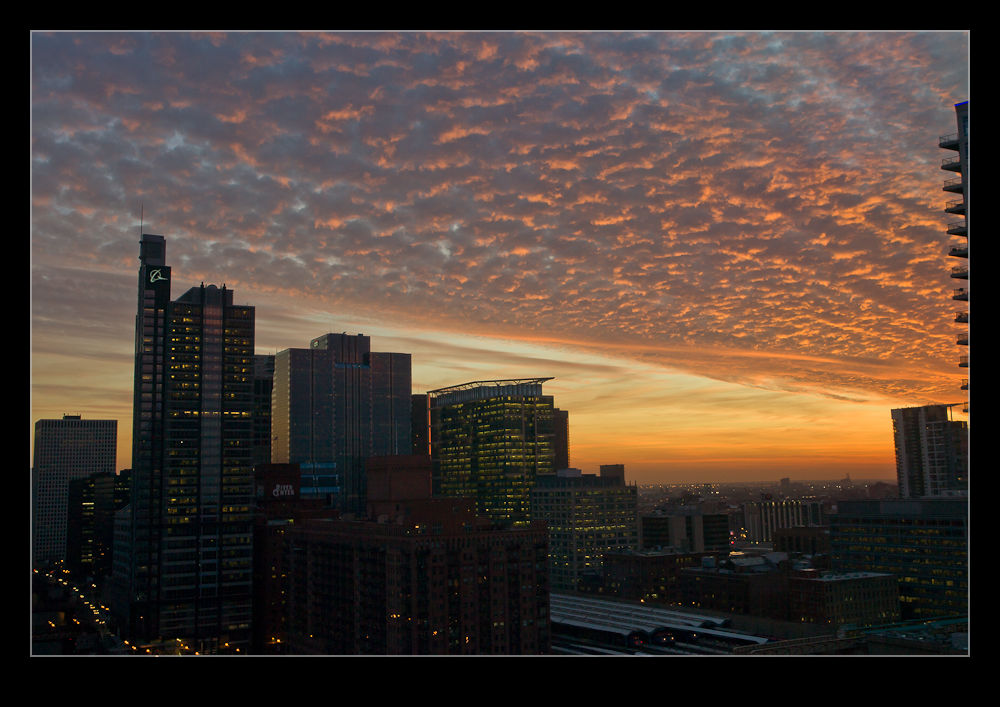
I had a plan to meet up with my friend Joel to catch up recently.  We were looking for a place to meet and went with the Holiday Inn by the Merchandize Mart.  It has a bar that is a comfortable place to talk and has the added benefit of a great view over the city.  I wasn’t there to shoot anything but, knowing the view was good, I took along some gear just in case.

Joel and I chatted for ages and didn’t get around to taking pictures for a while.  As the sun was setting, the sky was getting very interesting and I finally had to apologize and grab the camera.  I got a few shots and then set it up by the window next to me to shoot a time lapse.

This required no input from me so we could continue to talk without interruption but it should provide something interesting to check out later.  However, I hadn’t planned as well as I hoped.  As the light dropped, the shutter speeds were getting perilously close to the delay between each shot as I had set the ISO a little lower than I thought.  Changing it is not a problem but I was using a lighter tripod which was not as well locked off as I thought.  I managed to move the head a little.  I corrected but knew the alignment would be off a bit.

Fortunately, while I couldn’t completely remove the effect, when I processed the time lapse using Lightroom and LRTimelapse, I was able to find the frames where the jump takes place, set them as keyframes, adjust the cropping of the second of those two frames to almost perfectly align and the resulting video is a lot better than it would have been.

Thanks Joel for a fun time.  It was good to catch up and I appreciate the stuff you gave me.  Here is the video that resulted!

Dust Spotting – It’s Over There!

A slight change in direction today.  I am going to talk about a post processing tip that I recently read in the NAPP magazine, Photoshop User.  It was a tip about how to manage dust in images.  This may be something that everyone knows about in which case I apologize for being late to the game.

Dust is a familiar problem to a lot of photographers.  It isn’t familiar to a lot more but it should be given the number of shots you can see that have dust spots all over them.  Cameras have got better in recent years with the addition of dust cleaning functions that shake the dust off.  However, not all cameras have them and they don’t always work perfectly.

When shooting aircraft against a blue sky, dust spots can be particularly conspicuous.  If the area with the spot already has a lot of detail in it, the chances are you won’t notice it – particularly if the aperture is reasonably wide.  In that case, you don’t really have a problem.  The difficulty with dust spots is that you can get to a point where you cease to be able to see them.

Lightroom has a nice feature to assist in dust spotting.  If you zoom in to 1:1 view in the Develop module and press Page Up or Page Down, you can look at the whole image to use your spot removal tool.  As it moves down to the bottom of the image, another press of the button will move you across and back to the top so you cover the whole image without having to think about it.  In the past, I have used this technique combined with really ramping up the Blacks slider to make the dust show up.  Even then, the results are not always perfect.

The tip from the magazine was the creation of two Tone Curves to help show up the dust.  I will describe the creation of the curves at the bottom since it is a bit long-winded and many may not be interested.  The two curves when applied to the image create a very freaky effect.  You could actually think of it as a creative finish itself but I will leave you to decide on that one.  You can save the curves as a preset and use them whenever you need them.  (I assume you can do this too in Camera Raw if you are using Photoshop since ACR and Lightroom use the same processing.)

The colors will be really messed up but the effect will make the dust spots really jump out of the image.  You might wonder why there are two curves but, interestingly enough, some spots will show up clearly with one curve but barely at all with the other.  I tend to apply one curve and run across the image, then apply the other curve and run back the way I came.  It really doesn’t take very long to do.

One thing to bear in mind with this.  The technique finds dust spots you had no idea were there.  You will start to think that your sensor is filthy.  Yes, it is – BUT – most of this stuff is totally invisible.  Don’t get paranoid.  You can get messed up with this.  I had some shots of a vintage prop aircraft and the slow shutter speeds had resulted in small apertures and more conspicuous dust.  I ended up with so many spot removal edits that the image rendering took a lot longer than normal.  I suspect I had gone overboard with those shots.

Do you have to do this with all shots?  Nah.  However, if you are planning on doing something significant with the shots and you are concerned to keep dust spots out of the image, this could be a good way for you to find the dust more quickly and get back to what you really want to be doing rather than hunting for dust which, I suspect, is not most people’s favorite task.

Creating the Curve:

The curves are reversed versions of each other.  One of them starts at 0,0 and the other starts at 0,100.  Create a point at each 10% across the x-axis with each point alternating between 0 and 100.  You then have a very aggressive looking sine curve (or cosine curve for the alternate I guess).