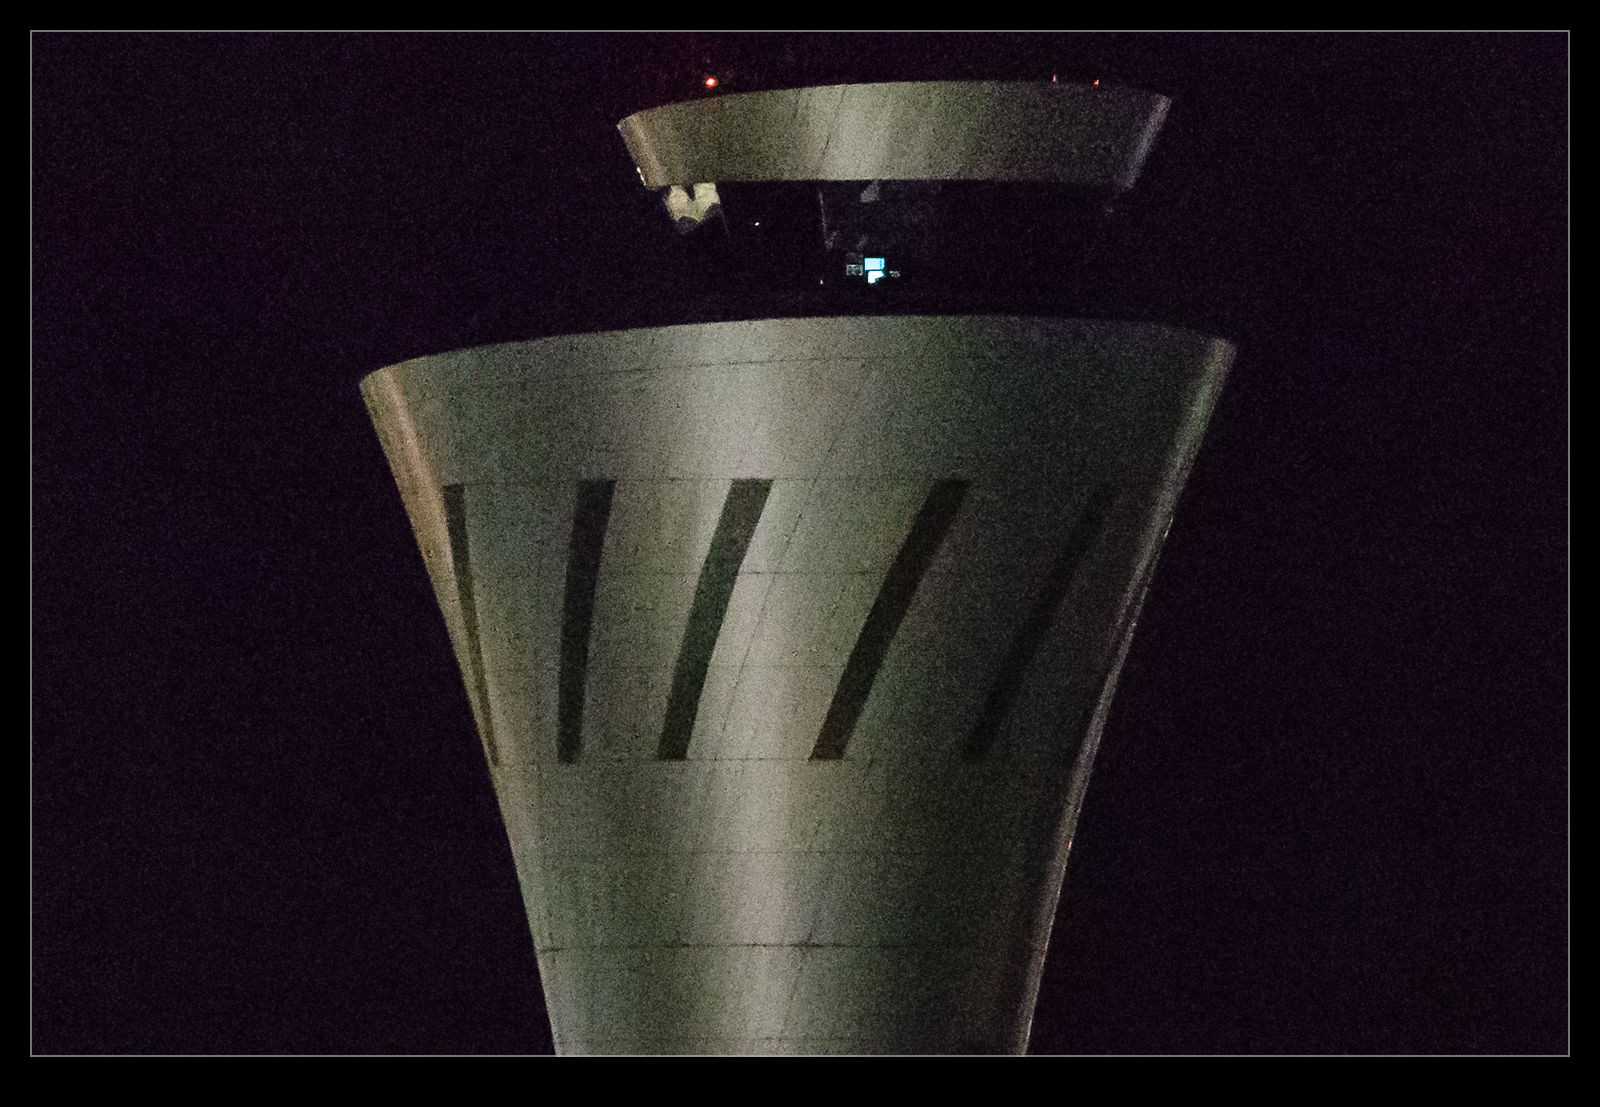
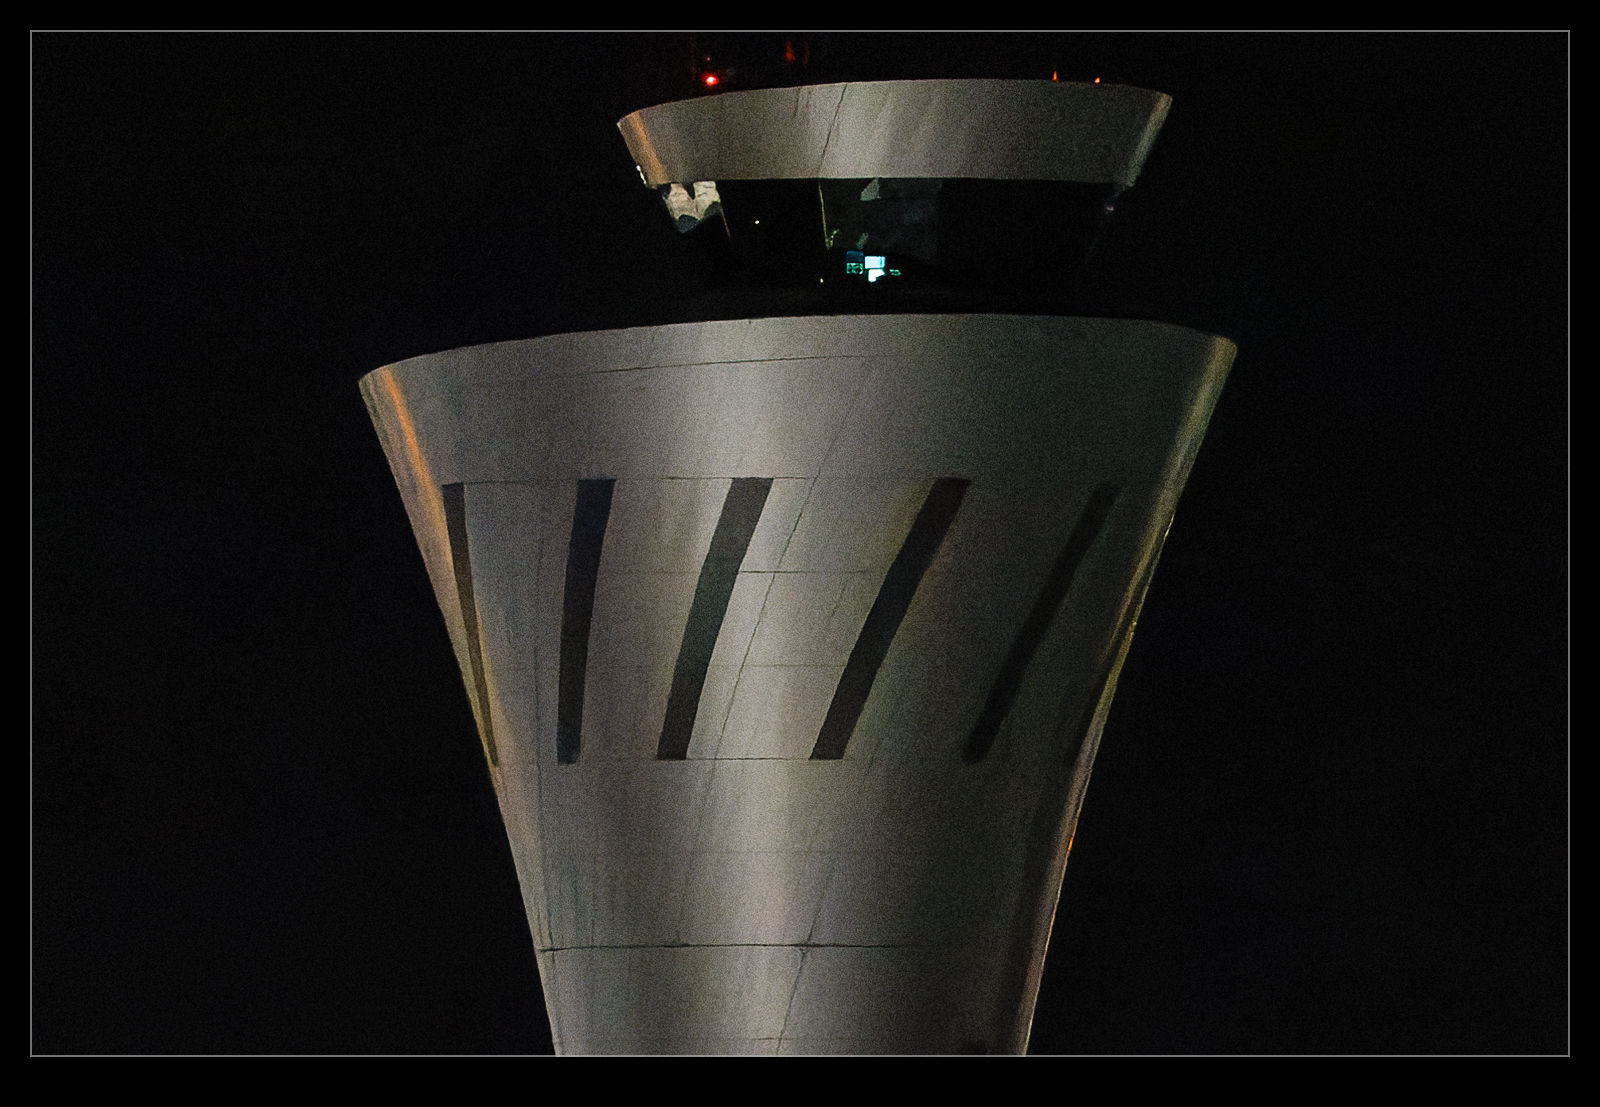
I had given the R3 a couple of trips out before I headed to Nellis. I had shot it at BFI and at Juanita Bay. However, my trip to Nellis was the first time it was going to really be given a serious blast with constant shooting and varying conditions. How would it perform and could it be the camera for me for the next few years?
First, I should point out that I have not yet had a proper investigation of the various functions of the camera and how to configure it. Consequently, I was not using it in the best way I could but was instead experimenting with it as I went. So, given that limitation (of me, not necessarily the camera), how did it go? Overall, things were very impressive. Let’s start with the simple things.
Battery life was really good. I shot a little late on the first night, all of the second day and the beginning of the third on one battery. I had spares with me but the battery life, while maybe not as long as for the 1DXII, was still very good. It is also a nice thing that I can recharge with a USB-C charger if I need to which means not taking the large battery charger with me.
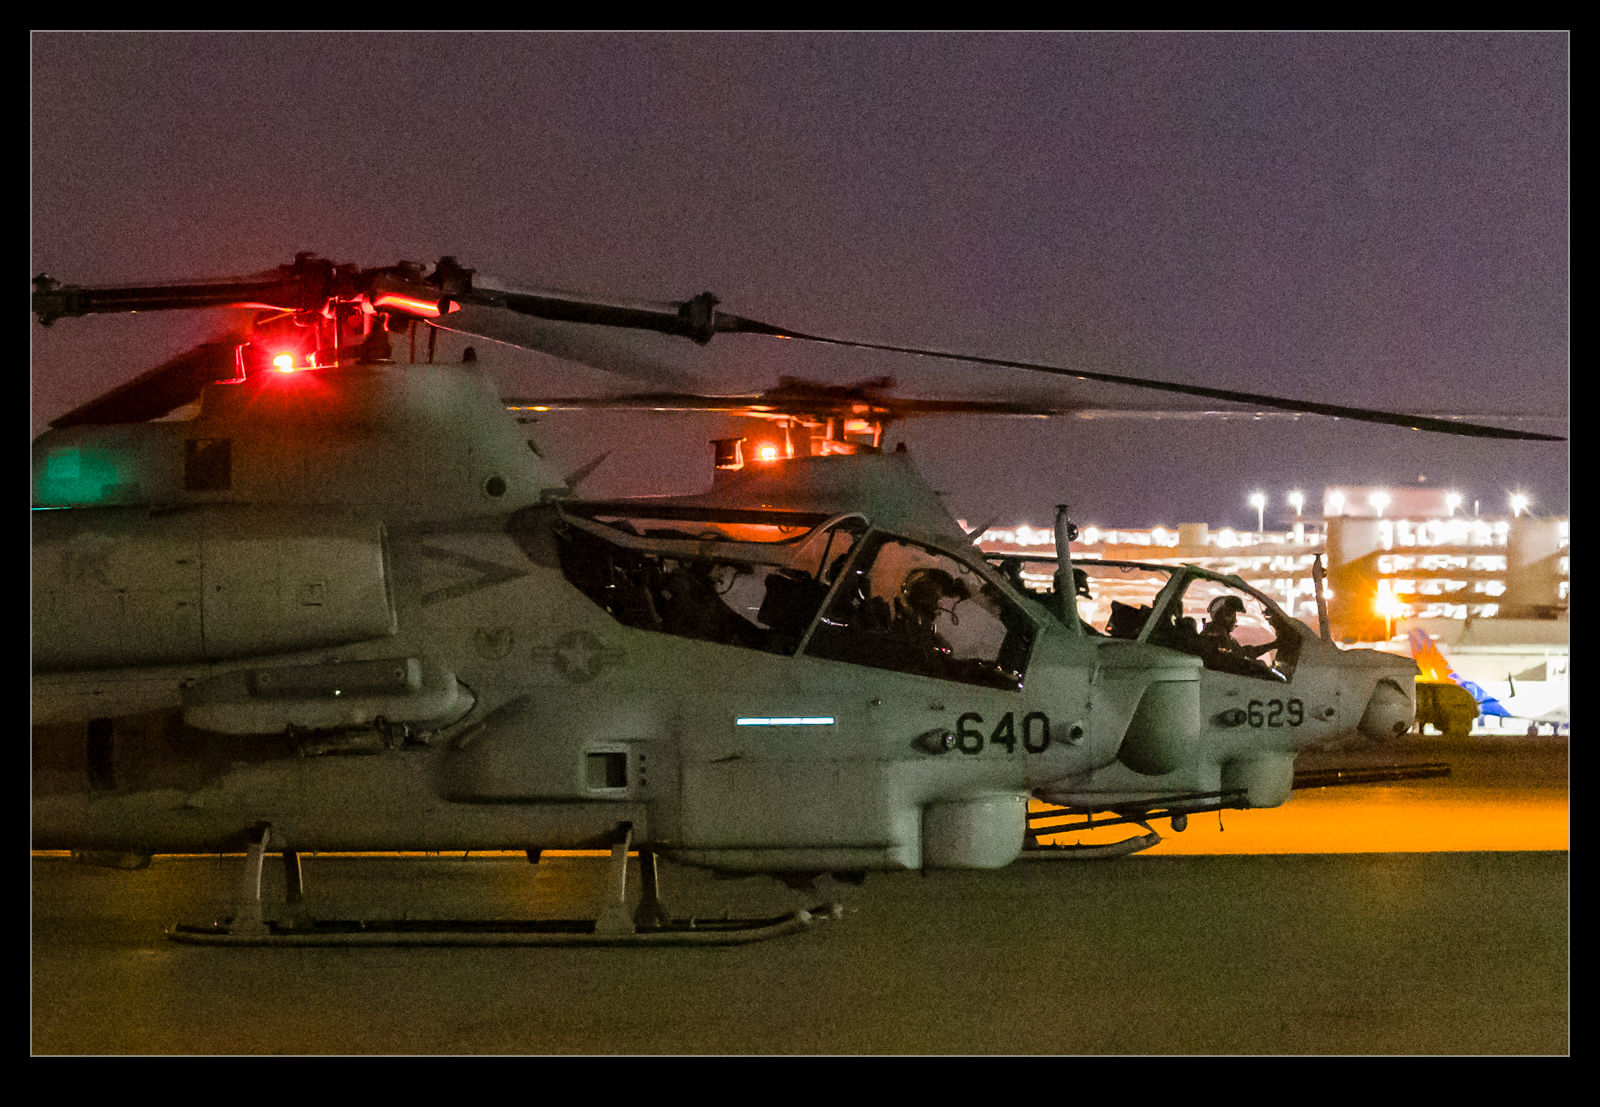
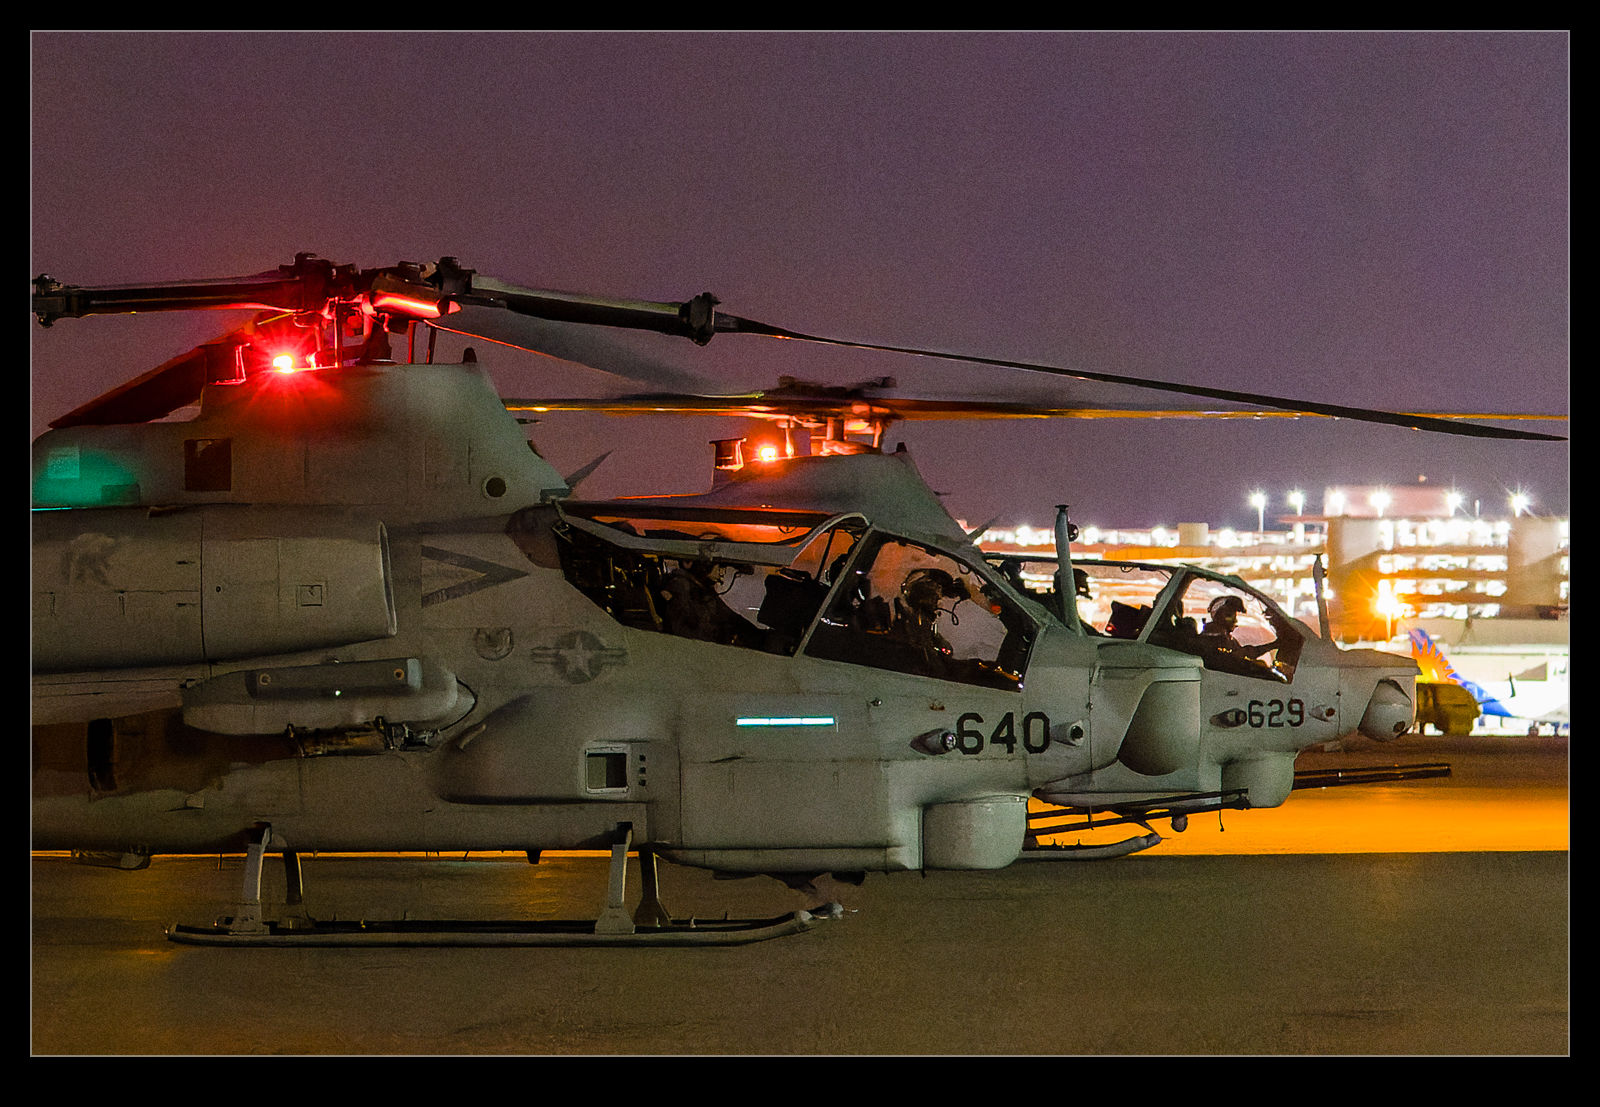
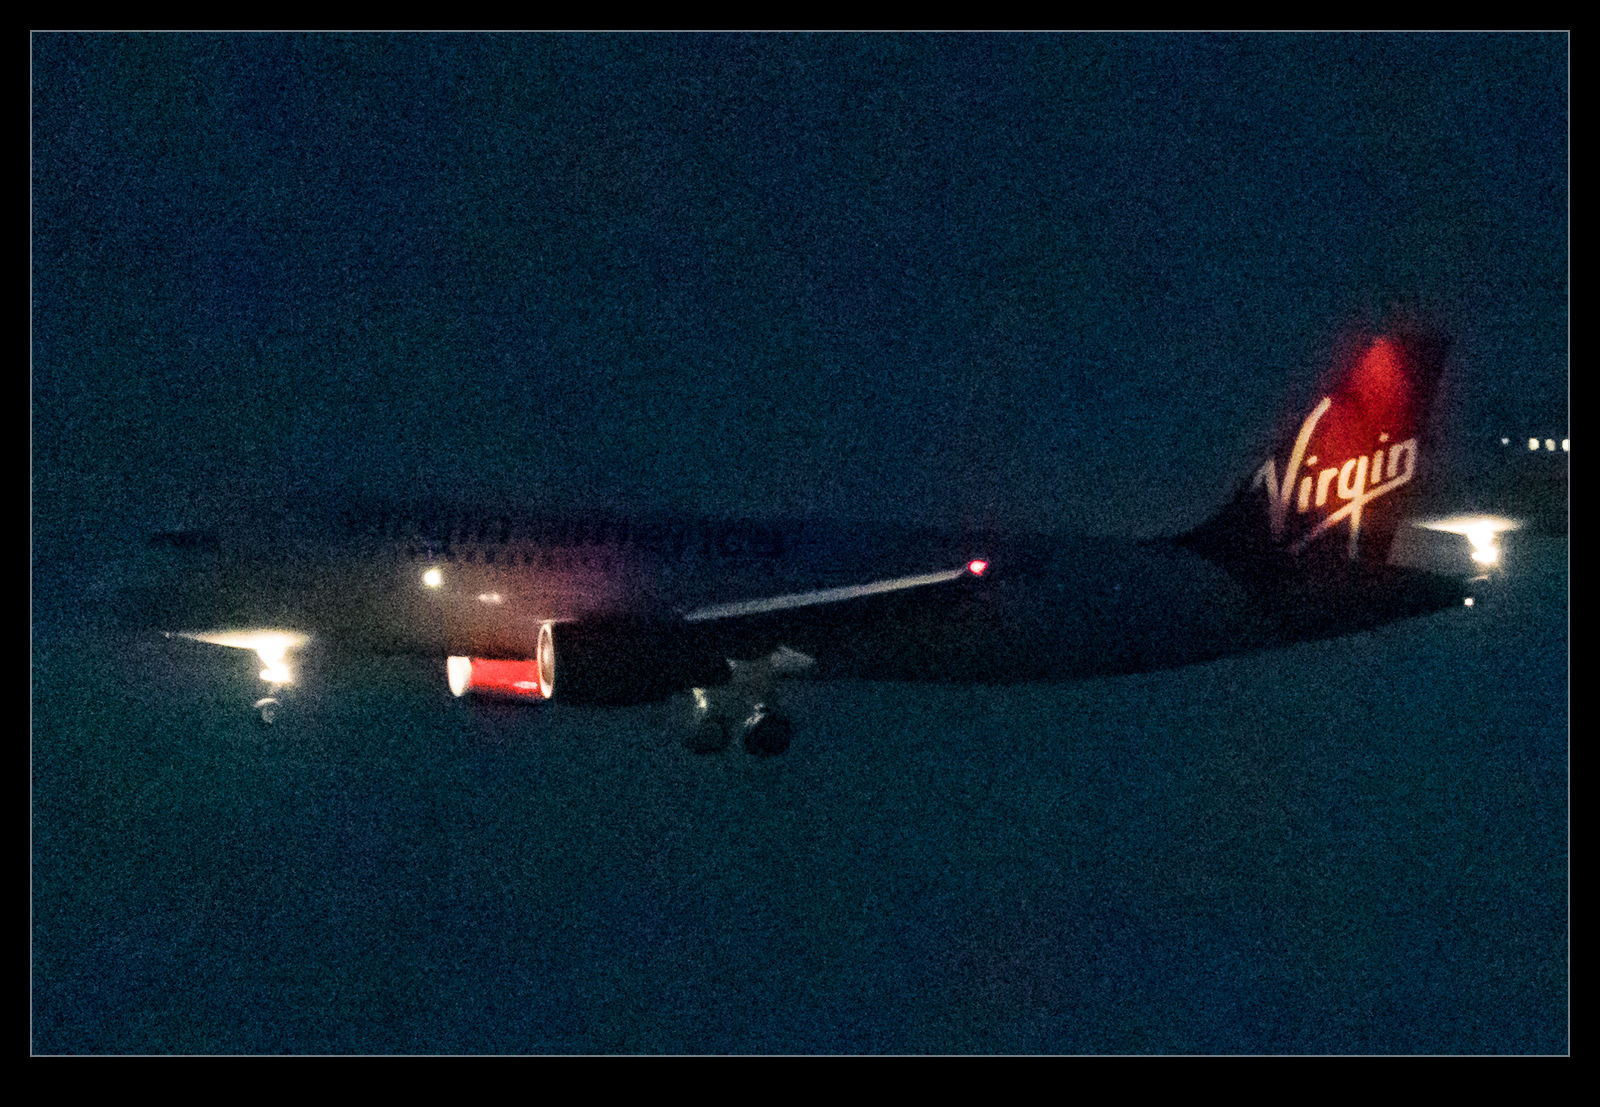
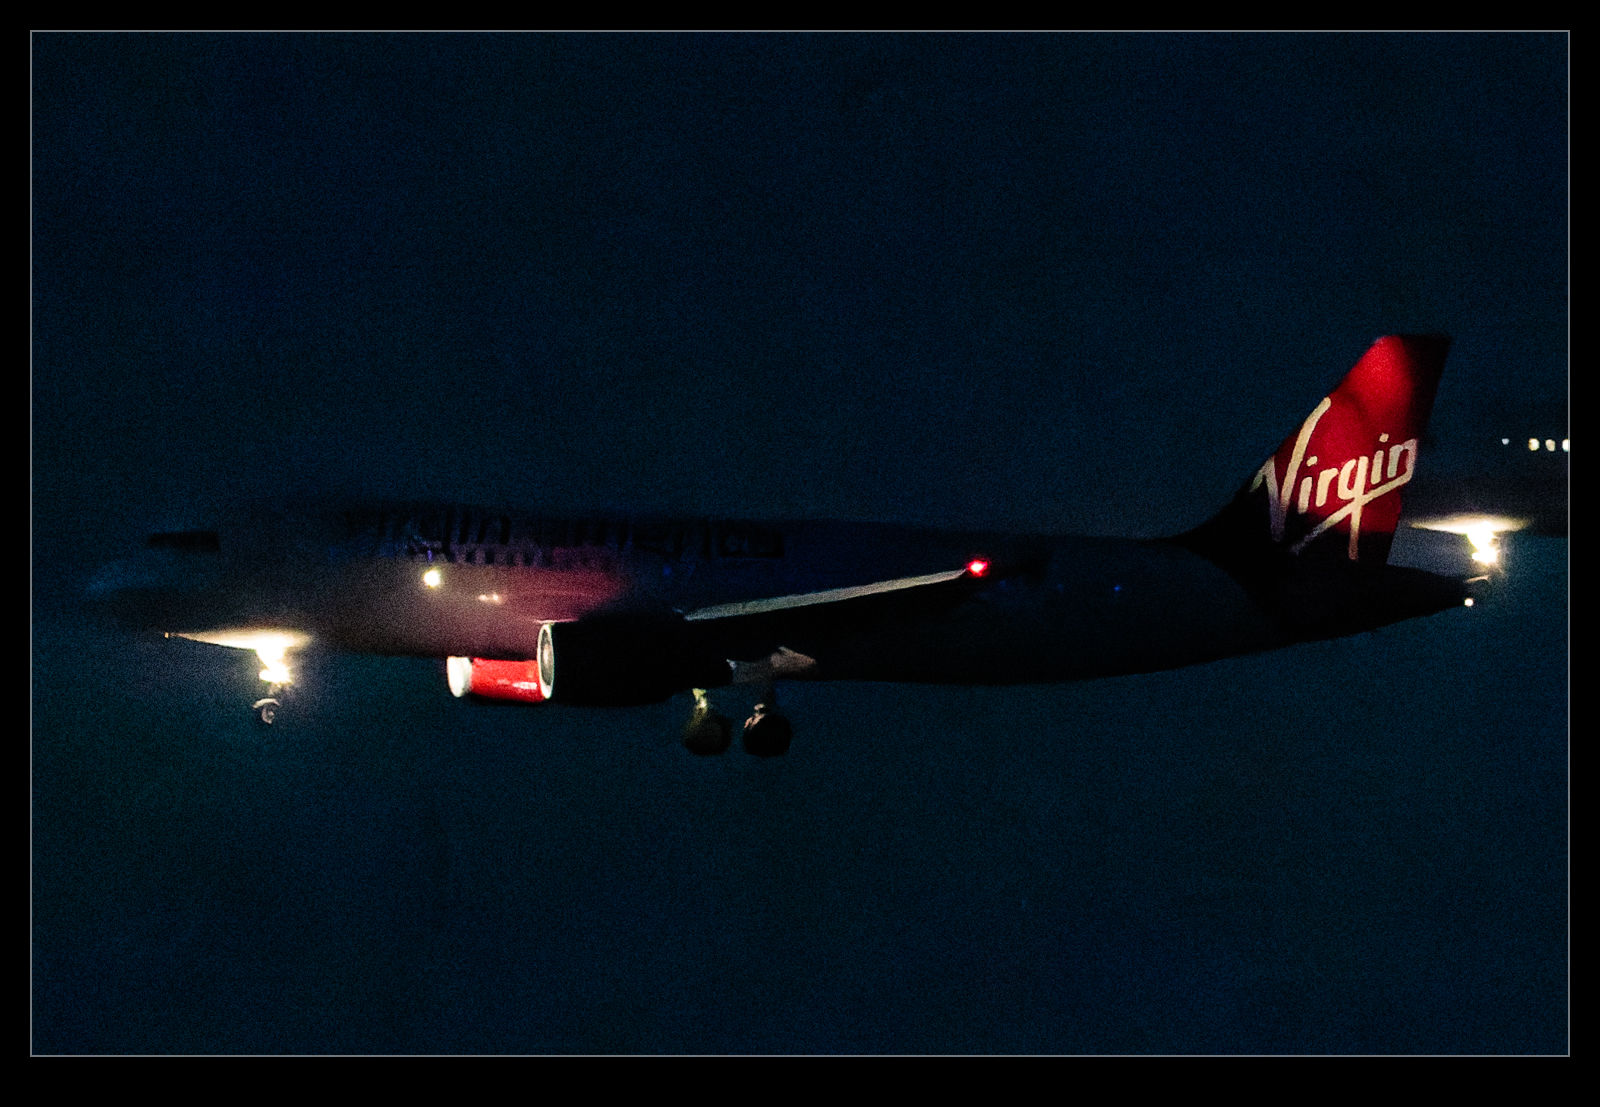
Autofocus was very impressive. When things are a long way off, it is still guessing at what to look at and that is something I need to investigate. However, it seemed to recognize planes very early on and then track them very effectively. The ability to let it track a target allowed me to worry about composition far more than I used to with center point focus. I could move planes to the edge of the frame to get a wingman in and still have focus working well.
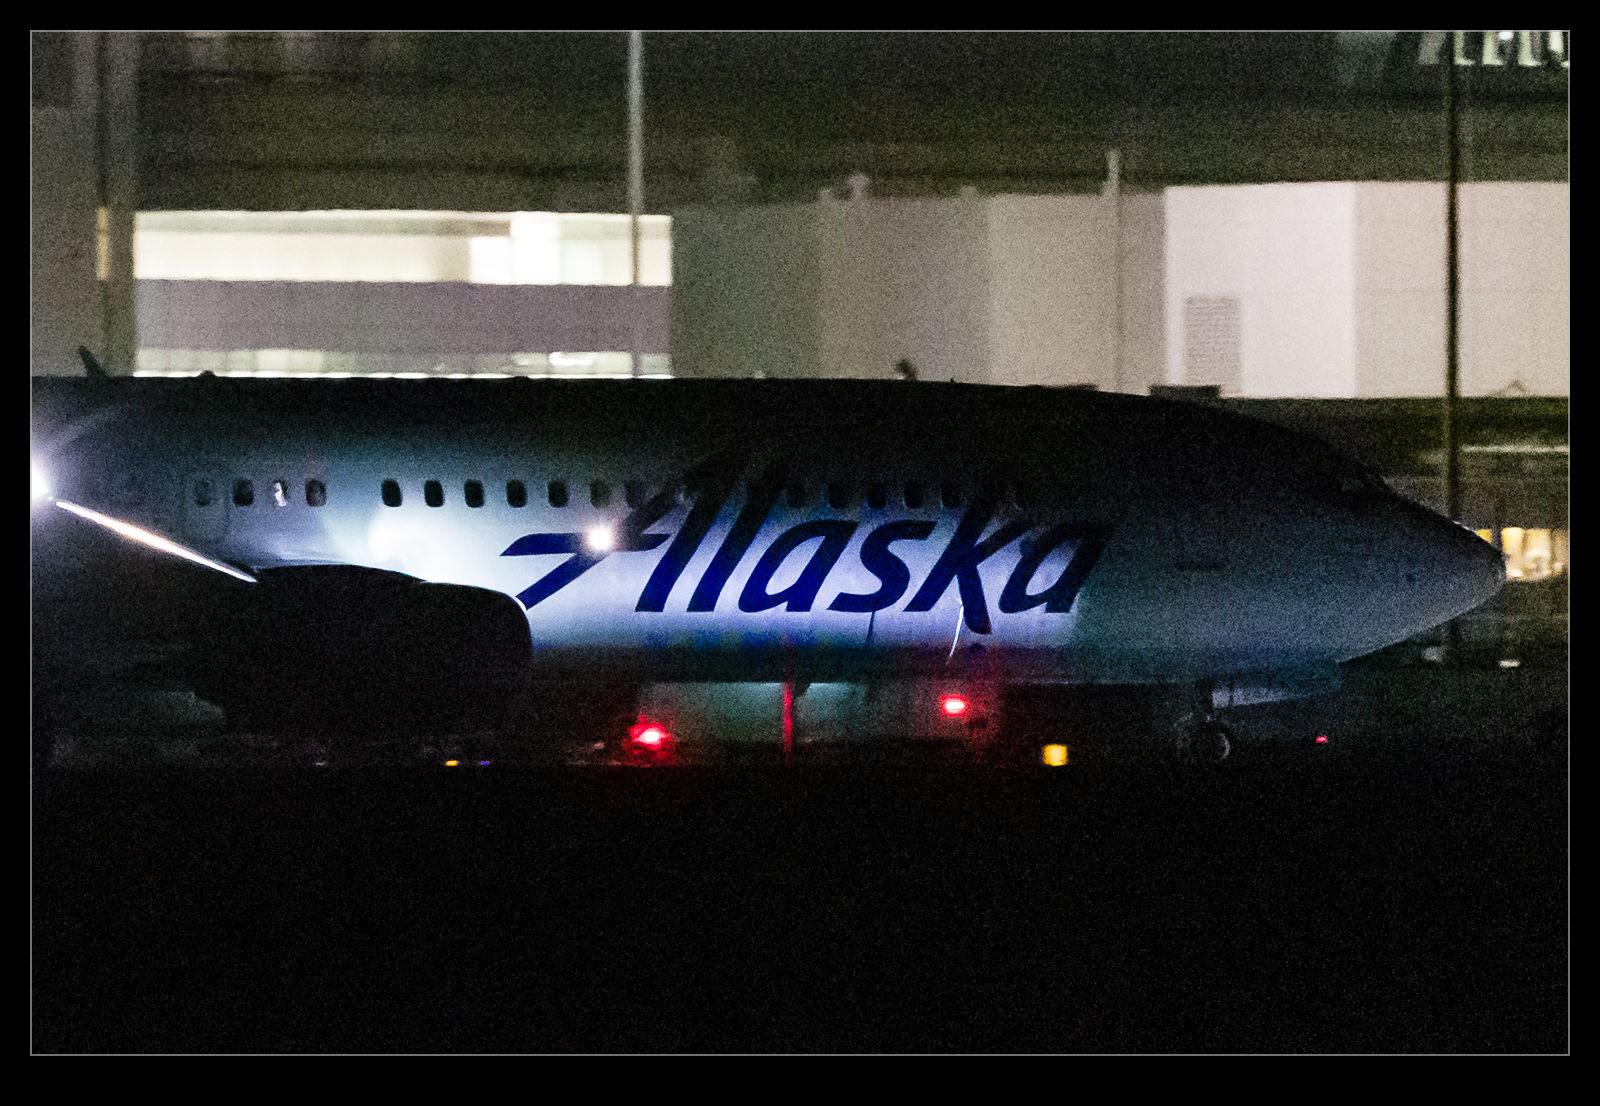
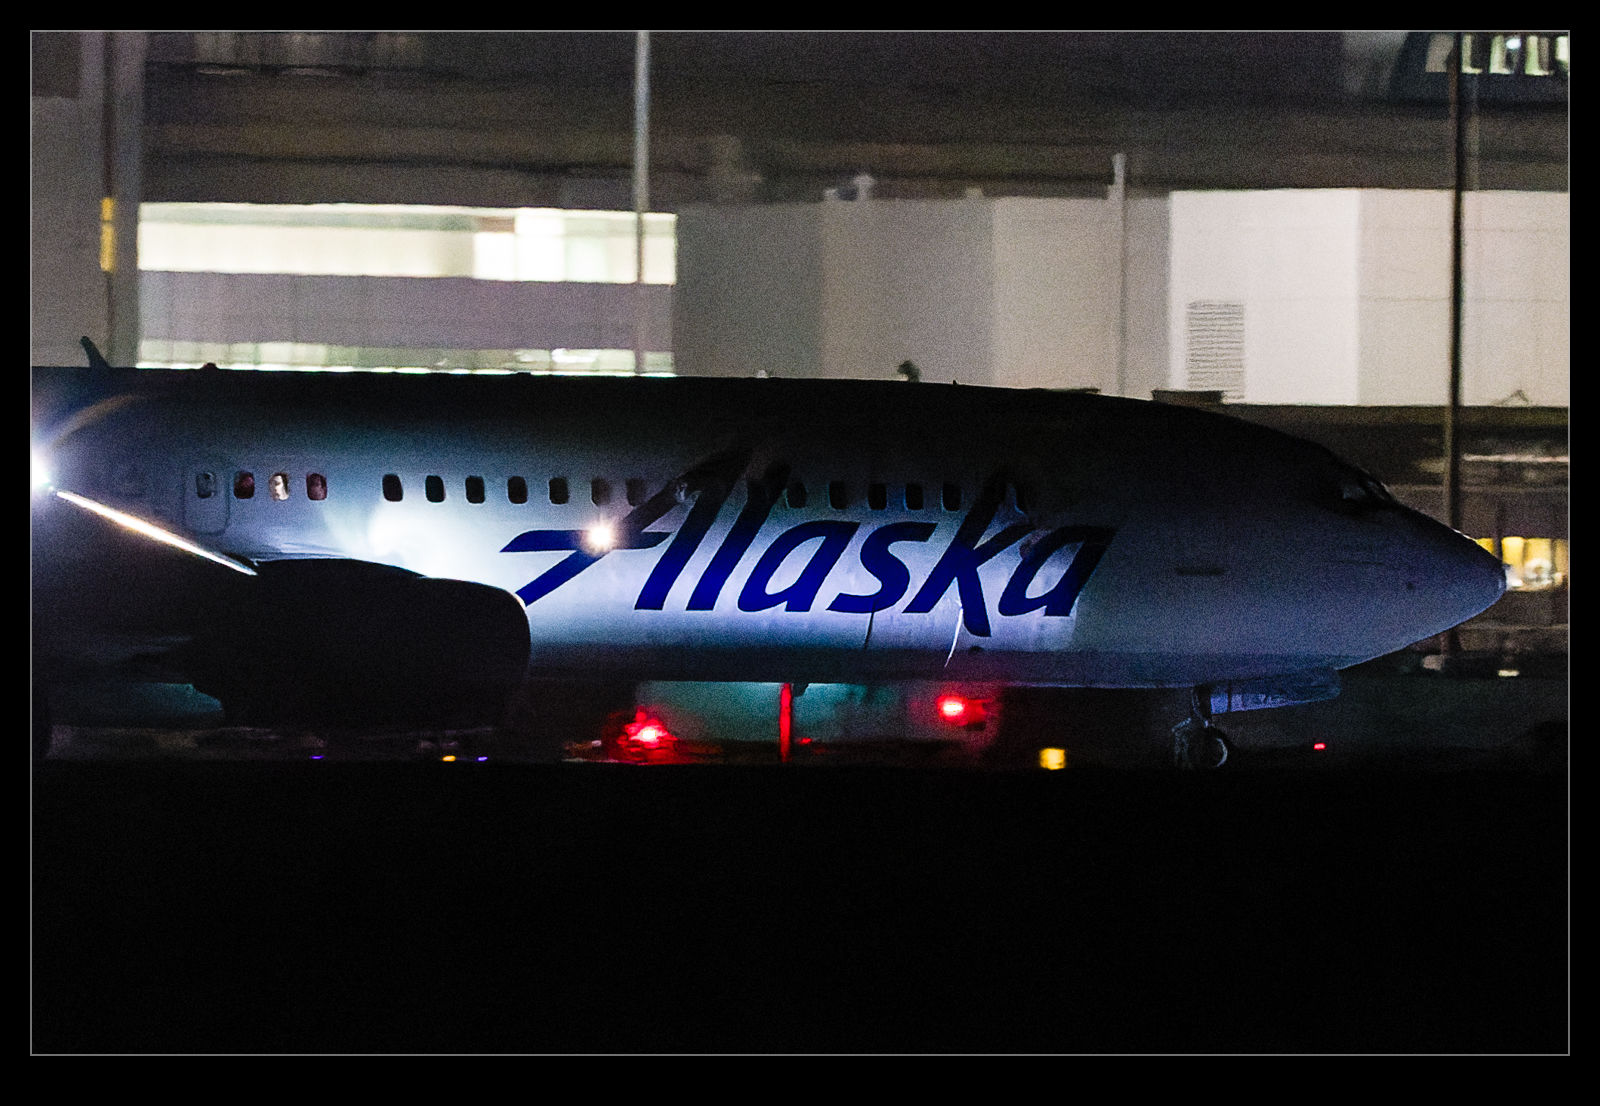
Exposure was okay. I have the viewfinder set up to give me the exposure simulation which is handy for understanding what the camera is seeing. This helped me out once when I have managed to change the ISO to 800 by accident. Not sure how I did that but I was able to notice it quickly. However, I am not so sure about how quickly it adjusts as conditions change. Moving from a cloudy background to blue sky provides a rapid change that the camera needs to accommodate and it sometimes seemed a little slow to work it out. When shooting raw, your have some latitude to adjust afterwards, of course.
Handling was good. It felt good in the hands and I am wondering whether I will miss the hand grip I have used in the past. The controls are good. The smart controller is neat but it does get adjusted a lot without realizing. I also am so used to using center focus that I sometimes assume that I have to keep the subject in the same space to keep it in focus, not realizing that I can re-center things with the camera following things. I did struggle to work out how to chance the card that I was using. I found a way but it was not as simple as for the 1DXII.
Image stabilization is something that is causing me a lot of trouble. It isn’t the performance of the stabilization. That is really impressive. What I am struggling with is that the stabilization switches on and then stays on. I can put the camera down for a while and I can still hear the IS motors in the lens whirring away. Eventually they switch off but this seems like it is really chewing battery life. I have tweaked a few things to reduce it but, on the 1DXII, the IS would switch off after about 20 seconds. Why it this happening? Again, this may be my failing but I would like to understand why it happens and try to switch it off.
Frame rate is very impressive. I rarely switched it up to the 30fps setting. 15fps was blasting through the cards at a prodigious rate as it was so no need to make things any worse. I have the audio shutter turned on so I have something to remind me when I am taking too many shots and to hopefully keep things under control. However, while the frame rate may notionally be similar to the 1DXII, it consistently hits it which does result in a lot more photos than I was used to. More culling to come I guess.
Having the ability to connect to my iPad and phone is a real benefit. I used to just have this with the M6 and I really liked that. Being able to connect to the R3 gives me a lot of flexibility. I was able to send a few shots to a friend while out in the field. I will use this sporadically but it is definitely a good capability to have.
Overall, it was a great experience. I had two bodies with me but I focused on shooting with the one R3 and the other body, a 1DXII, stayed in the bag almost all of the time. I had it ready in case but didn’t end up using it. At no point during the time there did I think about reverting. I do still have a few tweaks to work out with how to set the camera up but it was a very positive experience. I think that this camera might be the one for me.