Tag Archives: sensor

Sampling the Air in Detail

The time that the NASA DC-8 spent up in the Pacific Northwest was a ton of fun for the aviation enthusiasts.  Since I did get to shoot the jet a few times, I got some closer shots of the airframe to show the various sensors that cover the jet and are used for the sampling work that has been its specialization.  There are plenty of them on the top, sides and bottom of the airframe.  Here are some shots.  I wonder what will replace the jet and whether it will have a similar array of probes?

Was This Sensor Once Highly Classified?

The SR-71 Blackbird provided a reconnaissance platform that was unmatched.  It would have been pretty high in the sensitivity list when it came to its sensors and capabilities.  Now the jets are all retired.  The example that is in the Evergreen Aerospace Museum has one of the sensors extracted from the sensor bay and mounted on a stand in front of the aircraft.  I imagine there was a time when this was something that would not be available for me to look at but now, I guess, this is just another obsolete piece of tech.

Sabreliner Testbed

The Sabreliner is a neat little jet under normal circumstances, combining as it does the wing of the Sabre with a fuselage for passengers.  This example, that now lives in the Evergreen Aerospace Museum in McMinnville Oregon, is even better because it is a testbed.  The nose has a new radome grafted into place to allow the testing of different radar.  Meanwhile, pods can be mounted under the wings to test a variety of different sensors and electronics.  Some of these different configurations are displayed alongside the airframe.  Good to know that after years of specialized service, the aircraft will survive in the indoor comfort of the museum.

Talon Hate

B11I1989.jpgTalon Hate is a program that the Air Force is running involving an infrared sensor mounted in the front of a centerline fuel tank.  It is mounted on an F-15 from the operational test unit at Nellis AFB.  The first time I saw it, I was walking along the flight line at Nellis.  We were shooting with the California ANG unit that was the next space along the line.  As we walked past the Talon Hate jet, we were under strict instructions not to photograph it.  I was right there but nothing I could do.

B11I6120.jpgDuring my visit to Red Flag 16-4, the Talon Hate jet flew a couple of times.  It flew with a second F-15 each time and sometimes with other jets.  The pod is clearly visible on the jet but the other modifications are less conspicuous.  There is a satellite communications antenna mounted on the back on the jet.  When it turns for final, you can see the antenna mount.  I don’t know what the outcome of the program will be but it is cool to see the venerable F-15 still trying out new stuff.

B11I2277.jpg

How Many Megapixels?

How many is too many?  I really don’t know.  I refer to the number of pixels that can be squeezed onto the sensor for a digital camera and what is desirable or not.  Over the years the camera manufacturers have steadily increased the number of pixels on their sensors and come up with ever greater resolutions as a result.  This has been both beneficial and problematic.  What I am not sure about is whether I am missing the point with all of this.

My first DSLR was a Canon EOS 10D.  It was a 6.3Mp camera – something that would now be considered unacceptable on a cell phone.  It was a great camera, even if it did have a number of limitations that would be considered unheard of today.  However, for its day it was very good.  I had full page images printed in magazines from it with absolutely no problem.

As the megapixel wars got going, I was adopting larger and larger file sizes by default.  I would tell anyone who asked that megapixels were not the most important thing when buying a camera and there were plenty of other issues to consider.  I certainly don’t mind having a more dense file when I need to crop in to a shot but the impact on memory cards, the need for ever larger hard drives and the upgrades to computers to process the larger files were downsides that I didn’t appreciate.

For a while it seemed like the pixel count had leveled off a bit and the focus was on gaining better noise performance at high ISO settings.  This seemed like a very worthwhile approach for me.  However, big sensors are now back in play with the Nikon D800 leading the way and Canon talking about some large sensor cameras to come.  (I think it is worth noting that, since the pixel count is a function of the square of the linear resolution, these larger counts do not translate in to a huge improvement in linear resolution.  Yes, you do get more detail but it isn’t quite as mind-blowing as some will suggest.)

Am I a dope for not welcoming this?  Am I taking a Luddite approach in sounding happy with what I had and not appreciating the advances?  Do I just accept that all of my gear has to be upgraded periodically to stay in line with the latest thing whether it is camera file sizes, the processing requirements of new generation software or the interface needs of the latest devices.  I’m sure there are some benefits to having such dense files but I am not sure that they matter for what I do.

As for the uses for large file sizes, there is always much discussion about printing big or using for billboards.  Only a photo nerd looks at a picture from six inches and billboard resolutions are actually quite poor.  I wonder what a good resolution level really is.  Anyone care to suggest the perfect compromise?

Dust Spotting – It’s Over There!

A slight change in direction today.  I am going to talk about a post processing tip that I recently read in the NAPP magazine, Photoshop User.  It was a tip about how to manage dust in images.  This may be something that everyone knows about in which case I apologize for being late to the game.

Dust is a familiar problem to a lot of photographers.  It isn’t familiar to a lot more but it should be given the number of shots you can see that have dust spots all over them.  Cameras have got better in recent years with the addition of dust cleaning functions that shake the dust off.  However, not all cameras have them and they don’t always work perfectly.

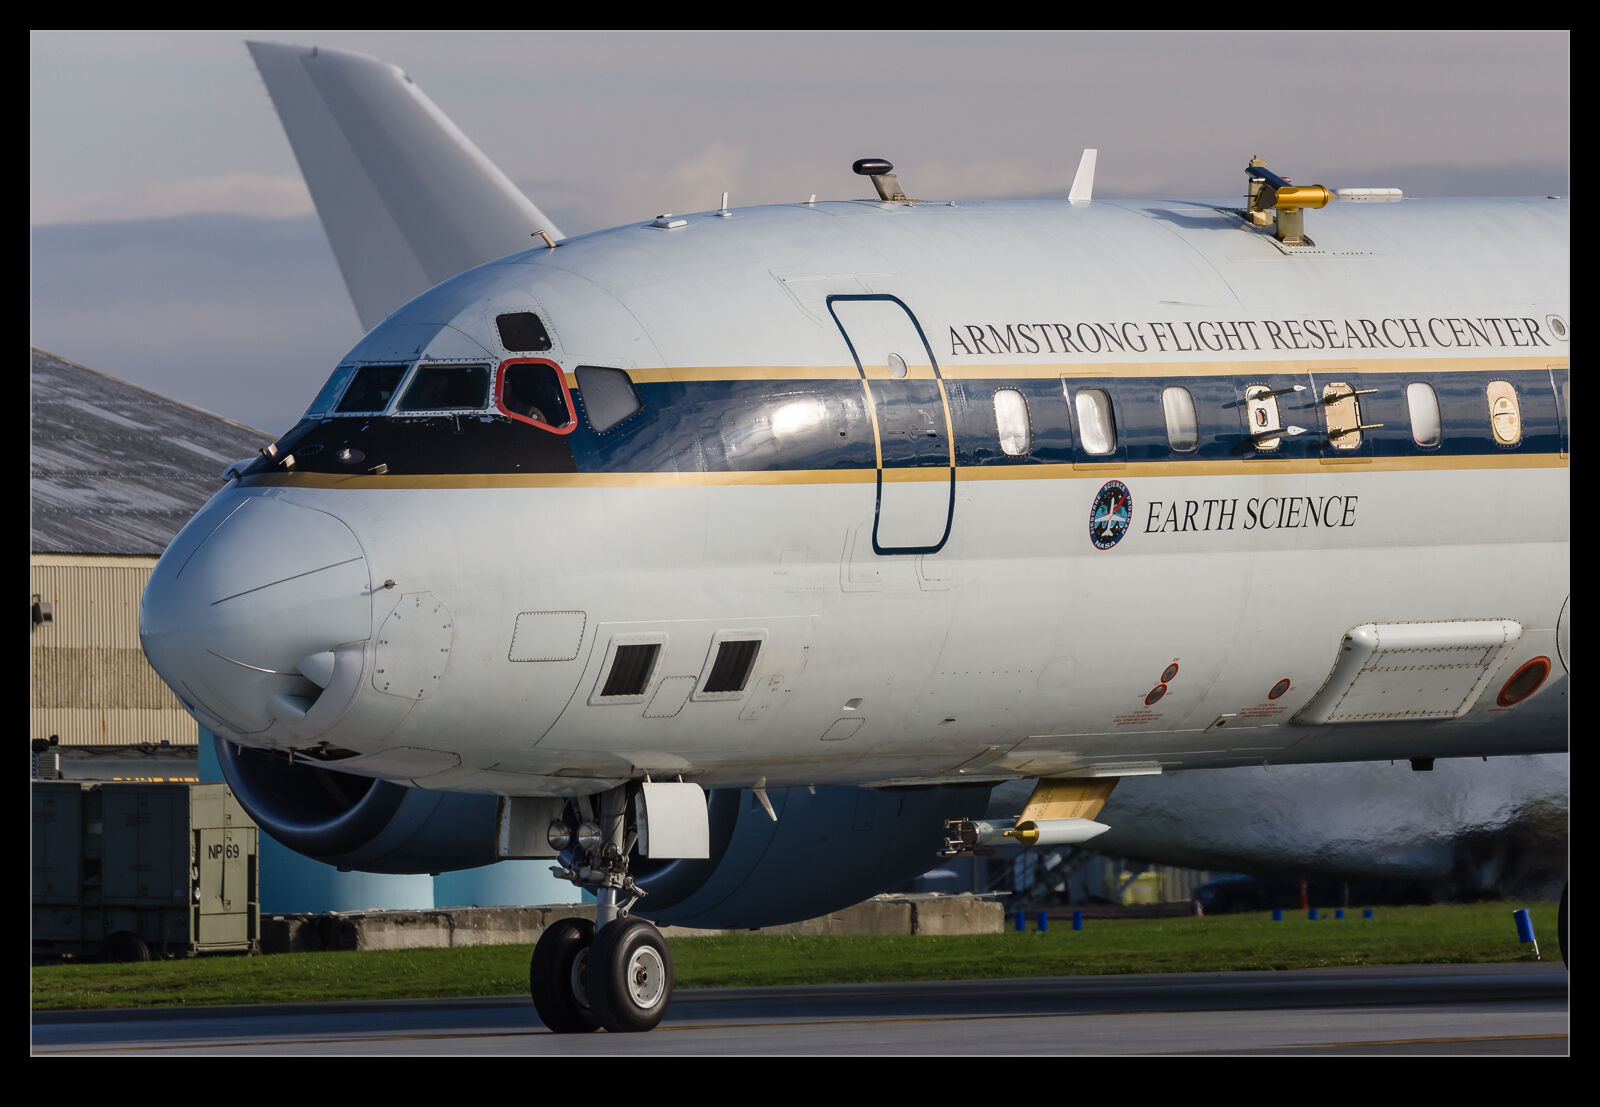
When shooting aircraft against a blue sky, dust spots can be particularly conspicuous.  If the area with the spot already has a lot of detail in it, the chances are you won’t notice it – particularly if the aperture is reasonably wide.  In that case, you don’t really have a problem.  The difficulty with dust spots is that you can get to a point where you cease to be able to see them.

Lightroom has a nice feature to assist in dust spotting.  If you zoom in to 1:1 view in the Develop module and press Page Up or Page Down, you can look at the whole image to use your spot removal tool.  As it moves down to the bottom of the image, another press of the button will move you across and back to the top so you cover the whole image without having to think about it.  In the past, I have used this technique combined with really ramping up the Blacks slider to make the dust show up.  Even then, the results are not always perfect.

The tip from the magazine was the creation of two Tone Curves to help show up the dust.  I will describe the creation of the curves at the bottom since it is a bit long-winded and many may not be interested.  The two curves when applied to the image create a very freaky effect.  You could actually think of it as a creative finish itself but I will leave you to decide on that one.  You can save the curves as a preset and use them whenever you need them.  (I assume you can do this too in Camera Raw if you are using Photoshop since ACR and Lightroom use the same processing.)

The colors will be really messed up but the effect will make the dust spots really jump out of the image.  You might wonder why there are two curves but, interestingly enough, some spots will show up clearly with one curve but barely at all with the other.  I tend to apply one curve and run across the image, then apply the other curve and run back the way I came.  It really doesn’t take very long to do.

One thing to bear in mind with this.  The technique finds dust spots you had no idea were there.  You will start to think that your sensor is filthy.  Yes, it is – BUT – most of this stuff is totally invisible.  Don’t get paranoid.  You can get messed up with this.  I had some shots of a vintage prop aircraft and the slow shutter speeds had resulted in small apertures and more conspicuous dust.  I ended up with so many spot removal edits that the image rendering took a lot longer than normal.  I suspect I had gone overboard with those shots.

Do you have to do this with all shots?  Nah.  However, if you are planning on doing something significant with the shots and you are concerned to keep dust spots out of the image, this could be a good way for you to find the dust more quickly and get back to what you really want to be doing rather than hunting for dust which, I suspect, is not most people’s favorite task.

Creating the Curve:

The curves are reversed versions of each other.  One of them starts at 0,0 and the other starts at 0,100.  Create a point at each 10% across the x-axis with each point alternating between 0 and 100.  You then have a very aggressive looking sine curve (or cosine curve for the alternate I guess).
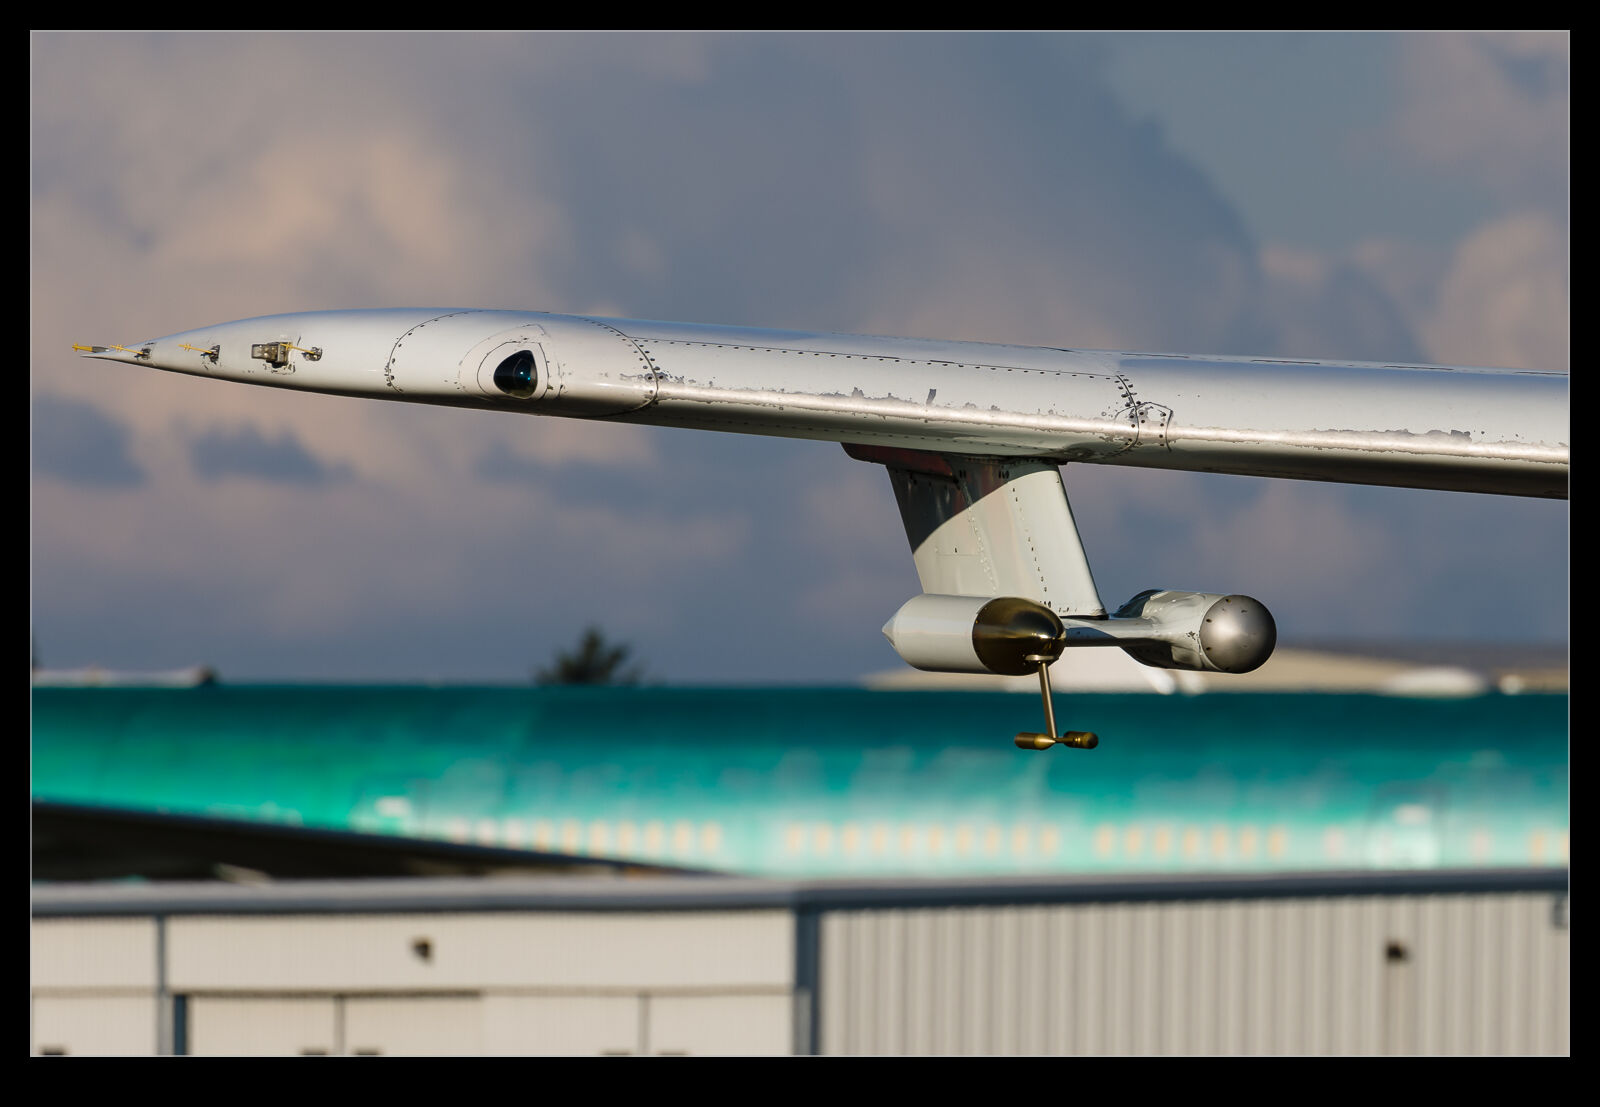