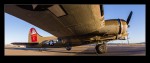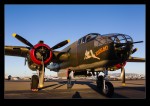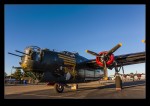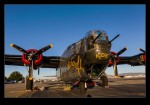
Category Archives: photo

Marin Civic Center

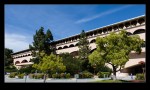
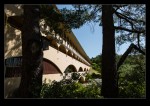
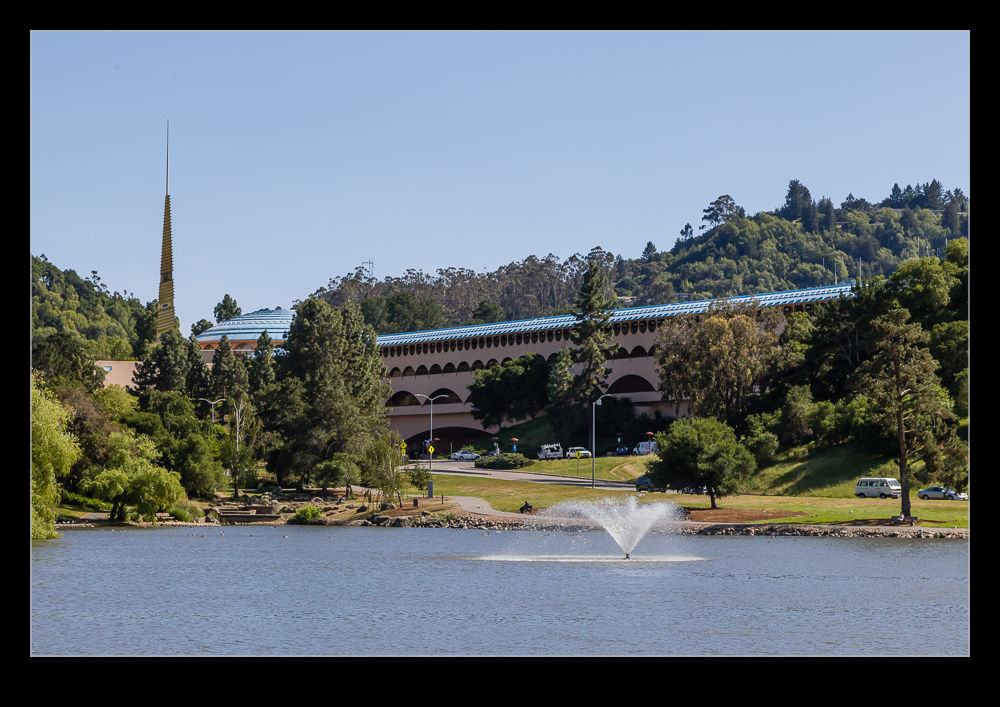
wpid10440-AU0E5163.jpgThis post comes as a single piece but it is a combination of different shoots. Marin County’s offices are located in San Rafael and are an impressive structure designed by the famed architect Frank Lloyd Wright. We saw plenty of his work in Chicago and my sister is a bit of a fan of his work. When she was visiting, I thought a trip across would be just what she wanted. We had actually been there once before on a trip we all made several years ago. On that day, it was raining heavily and I didn’t know exactly where we could go so this time we combined some research with a sunny day. It helped that it was a weekend so the parking lots were mostly empty.
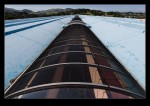
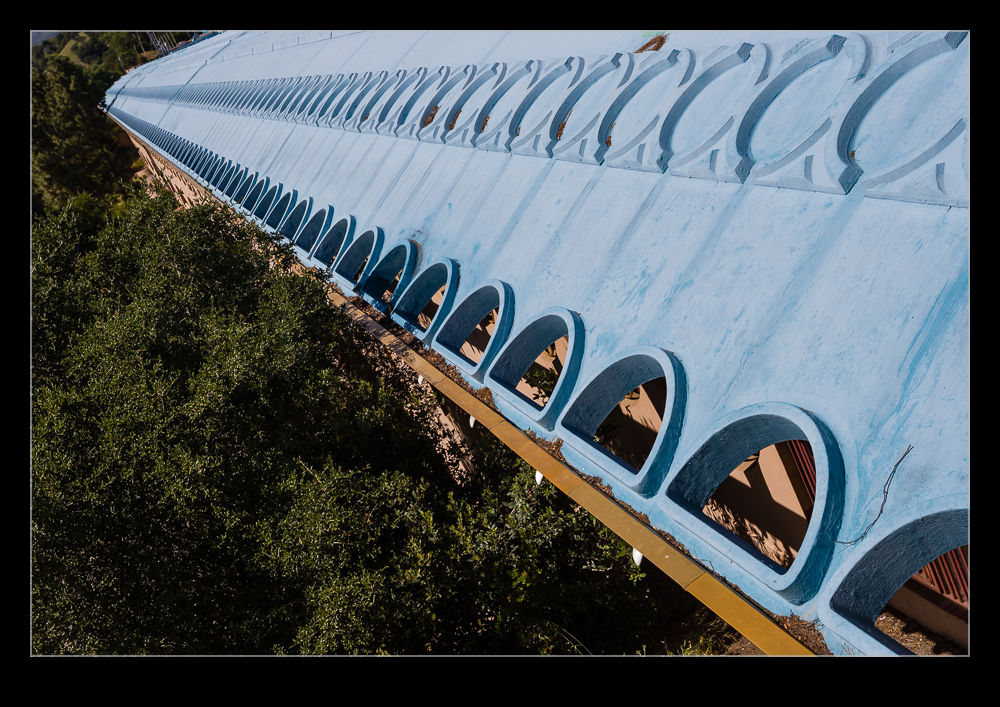
wpid10460-C59F1163.jpgFor those of you that have watched the Star Wars movies and more particularly this recent ones, the building may look rather familiar. George Lucas is a local resident and I think there is a fair chance that the building influenced him when creating Naboo. The building is a long structure in two parts with a domed area at the join with a gold colored spire. It is quite something. Photographing it is, however, rather tricky. There is not a good location to get the full effect in one shot since tree coverage tends to block the views of one part when the other is in shot. However, a good wander around will allow a number of cool views.
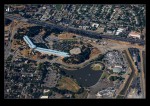
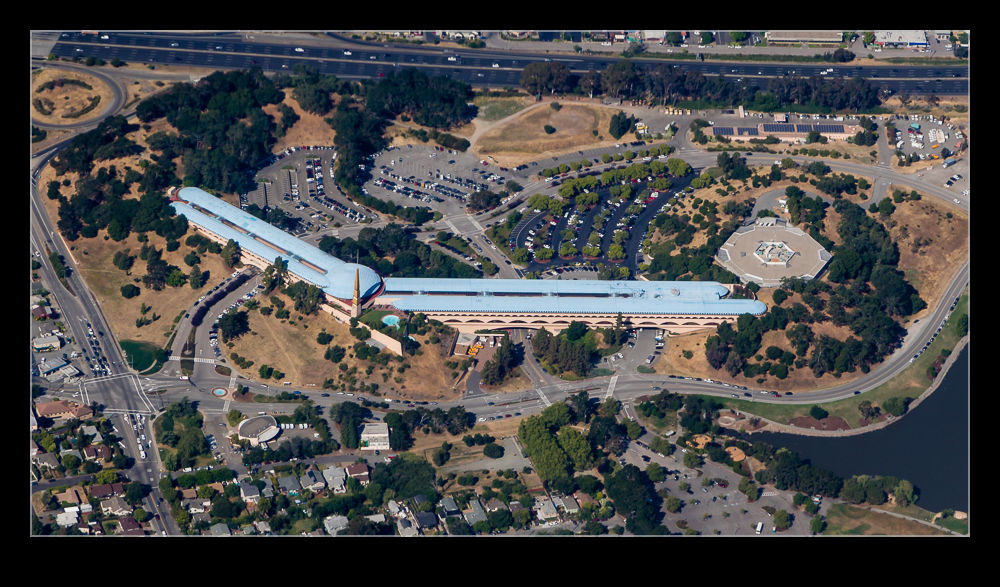
wpid10442-AU0E5229.jpgTo bring this up to date, I was on a flight back to Oakland recently that ended up coming down over this part of Marin County. Out of my window appeared the Civic Center. Shooting directly downwards through a plane window is usually not something that works well since distortion can be bad. However, on this occasion, I got lucky and so now I have some more shots that show the whole building from an angle most people don’t get at all!
Coast Guard Bell 47

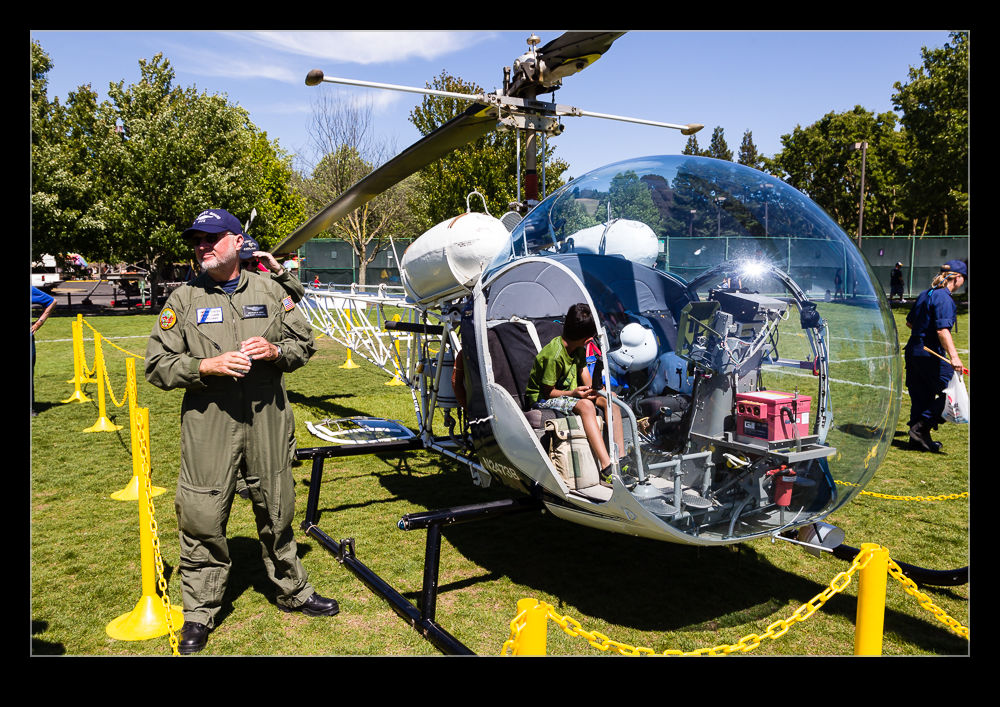
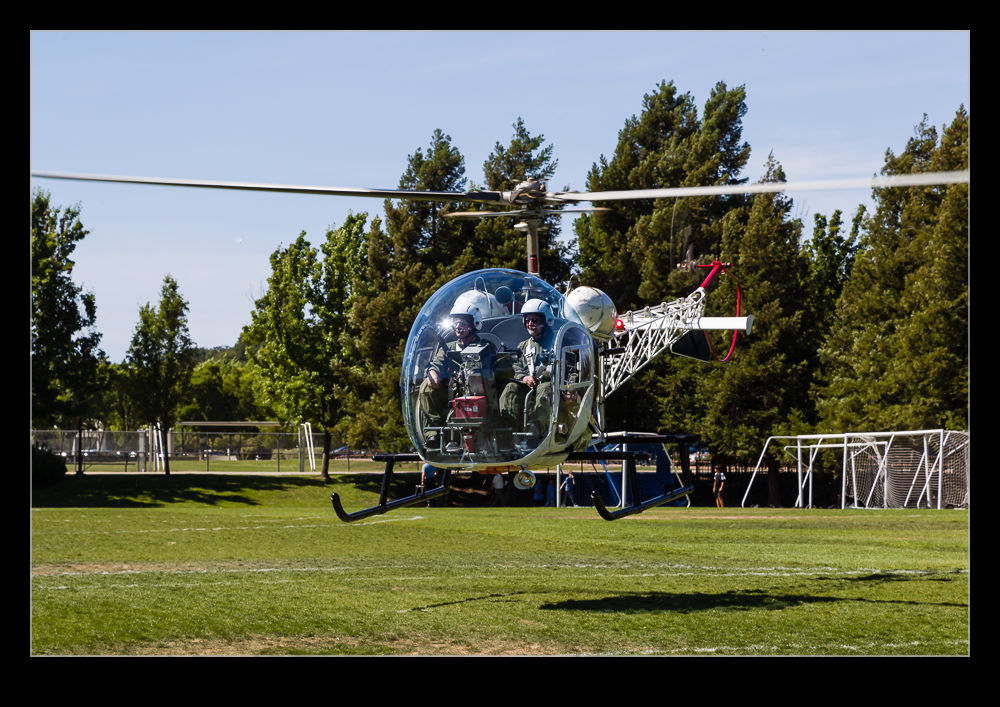
wpid10248-C59F7615.jpgI always seem to find something aviation related when I am out and about. San Ramon is the next town up from us and it was having its Art and Wind event. This combined a bunch of art stalls with some excellent kite flying displays and was an amusing play on the more common Art and Wine festivals that many towns around here have. As we wandered around, we came across a Bell 47 helicopter. They are not terribly rare but this one was a bit more interesting as it was in service with the Coast Guard Auxiliary.

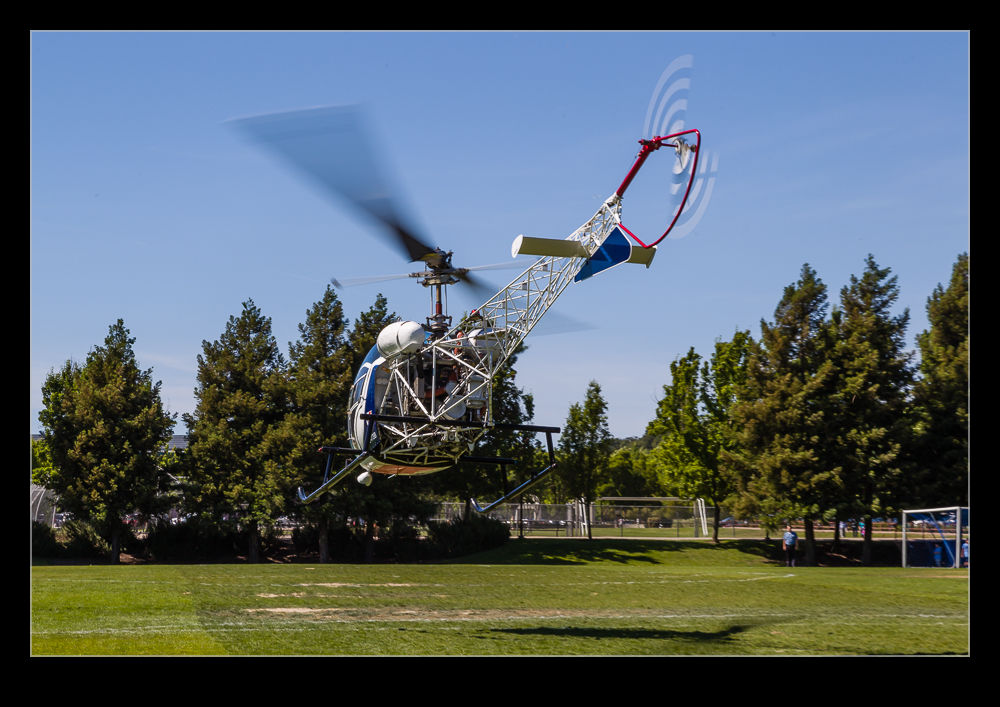
wpid10252-C59F7645.jpgI had no idea that Bell 47s were still in government service. The crew were standing by and talking to a selection of kids that came to have a look. Our timing couldn’t have been better because just after we arrived, they starting moving people away so that they could take off. It would have been rude to leave at this point so we sat down close by and watched them start up and depart the field after a brief moment turned towards us to say goodbye. Nice!
wpid10256-C59F7664.jpg

Collings Foundation

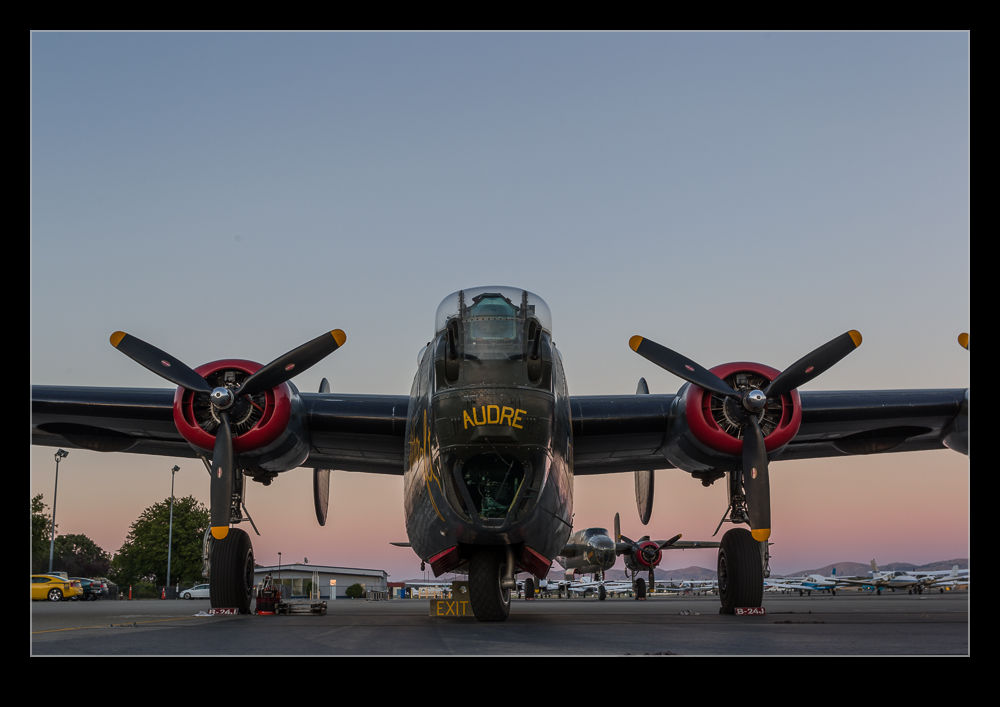
wpid10346-C59F8178-Edit.jpgThe Collins Foundation carry out a tour throughout the country with their vintage aircraft showing them off to many communities, sharing a message about what people did in the Second World War and providing an opportunity to ride in some historic machinery. I have seen them in the past while we lived in Chicago. Their tour this year brought them through the Bay Area with stops at Moffett Field and Livermore. Since the latter is close to home, I went along to see them.

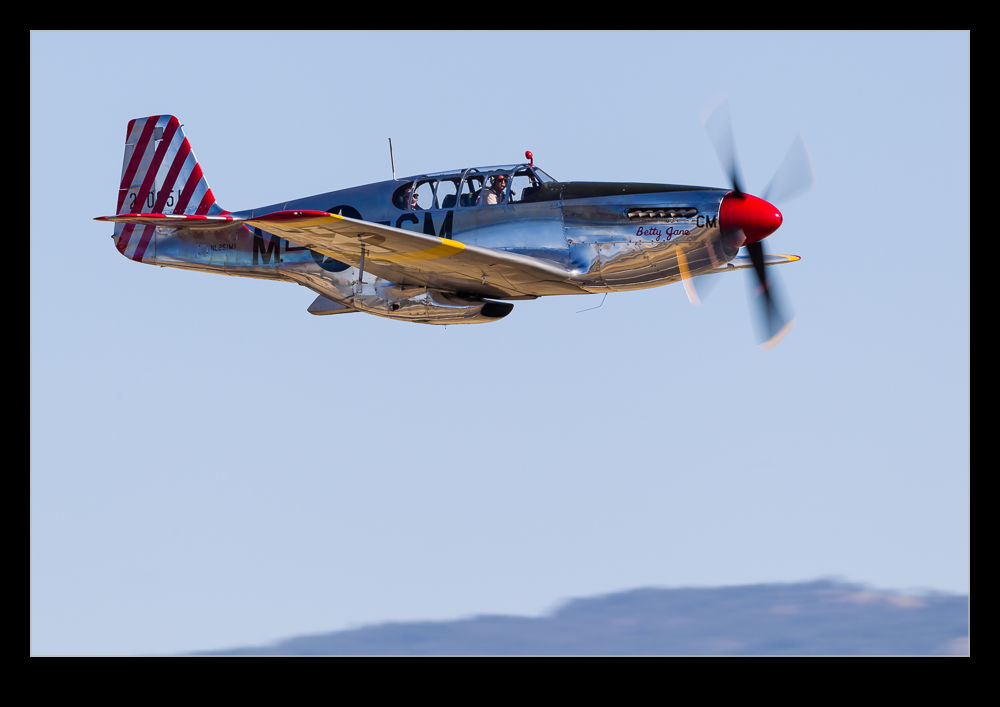
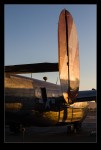
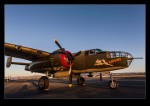
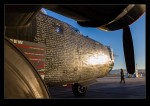
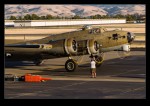
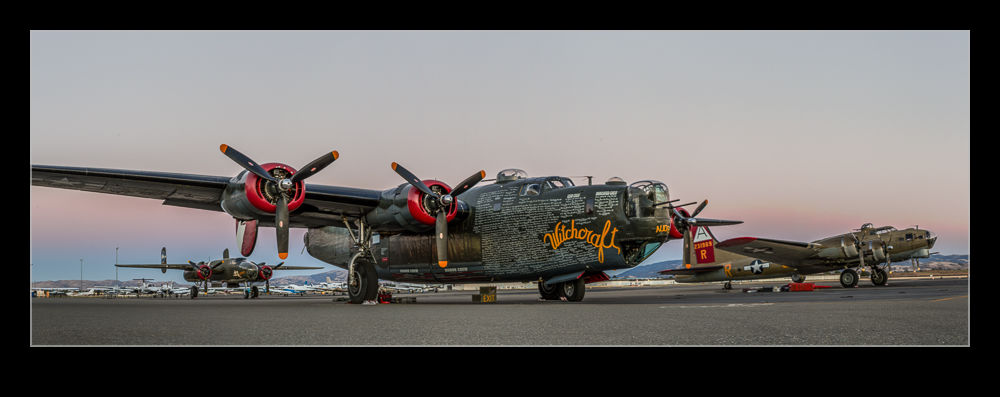
wpid10336-AU0E7769-Edit.jpgThe part of the collection that they bring on tour includes a Boeing B-17 Flying Fortress, a Consolidated B-24 Liberator and a North American P-51 Mustang. I headed over to Livermore ahead of their planned arrival time and plenty of people had already gathered to see them come in. We all waited for a while and then the B-17 appeared over the hills. It made its approach and landed a short while before the B-24 showed up and followed suit. The P-51 was last of the three making a nice pass before landing. What I hadn’t anticipated was a B-25 Mitchell was also following them in. A quick turnaround and the three main players were soon launching off for flights with expectant passengers.

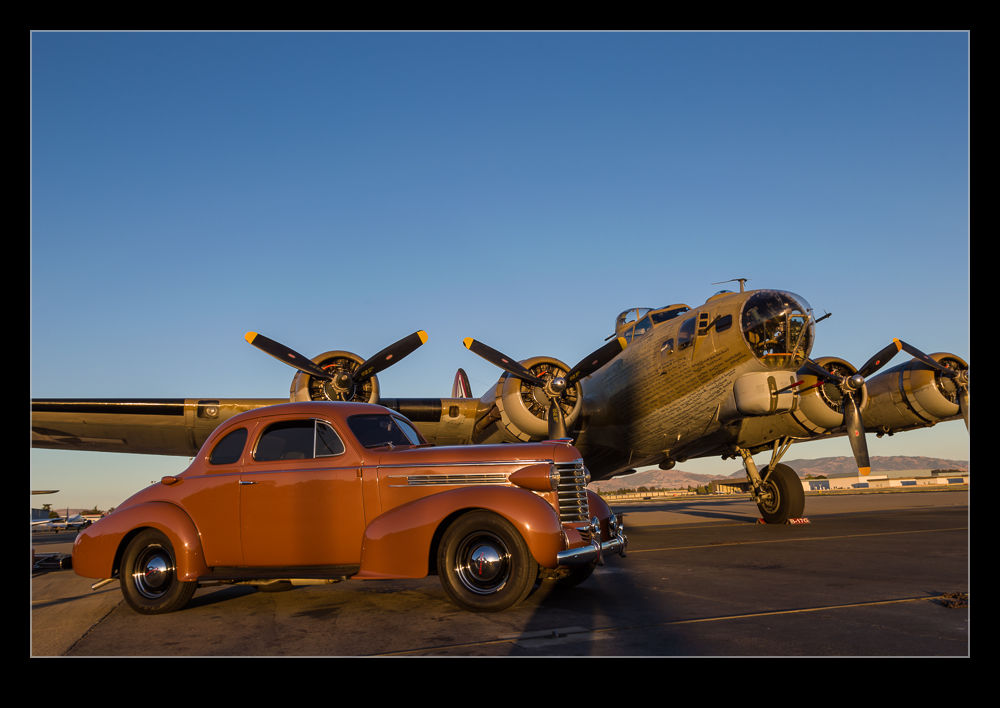
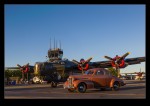
wpid10271-C59F7859.jpgAt this point I headed off as I had other things to do. Later in the day I came back and managed to catch an evening launch of the B-17. The following evening I had more free time so came back again. Another evening launch and recovery as the light got better and better. Then, as everyone packed up, the Collings team was kind enough to let me take some shots around the ramp. A local P-51 was parked up while the Collings P-51 had disappeared somewhere. As the sun set, I shot around the various aircraft and included a cracking 1937 Oldsmobile that one of the volunteers had brought along. With the light fading, the ramp lights came on which gave me a whole new bunch of opportunities to get some shots. I shot a lot until it was pretty late. At that point I headed home. The following day they also departed moving on to the next stop on their tour. If they come your way, make the effort to get out and see them. If you have the money, take a ride and support the continued operation of these great aircraft.

Think Tank Shapeshifter Review

Camera bags. Hmm… How many of them are there and how many can I own? Will I ever find the perfect bag? Of course not. However, in recent years I have come a bit closer. I have owned a variety of camera bags and actually still own all of them since I never get rid of any of them. My first Think Tank bag was the start of things getting a little bit better. They do make some really good bags that seem to have been well thought out. It also helps that I have become better focused on what I actually want from any particular bag. No bag does all things so I have systems that are suited to certain roles.

One thing I have been troubled by for a while is taking a camera with me on work trips. When I am traveling light for the work trip, carrying some camera gear with me is a bit problematic. I have recently been carrying a body and lens or two packed in my roll-aboard bag but this is hardly ideal. My work backpack was too small to stuff camera gear in along with the computer and other bits. Then, as if by magic, I get an email from Think Tank. They are offering a free trial of the Shape Shifter. This is a backpack that expands. It has a pocket for laptops and can hold bodies and lenses individually along with having plenty of pockets for other bits. This looks like the sort of thing that could go under an airplane seat leaving the space up top for the regular roll-aboard. It would also make the camera available while in the seat if anything looks interesting out of the window.

The trial is a month and, if you don’t like it, you just have to ship it back. I decided to give it a go and with a trip imminent, the timing seemed perfect. I am now back from the trip and I can confirm it did exactly what was required. Not only was it ideal for the travel but it also allowed me to carry the camera gear to the meetings so I could head off shooting after work without having to go back to the hotel. (It is also nice to not have to leave the gear in the hotel room.) When fully loaded, it is pretty heavy. I didn’t fill it up so with all sections full and a larger laptop – it can take a 17” one if you like carrying heavy laptops around – it would weigh a ton. However, it does the job perfectly. I guess it isn’t going back at the end of the month. One more bag for the collection!

Funky Cloud Processing

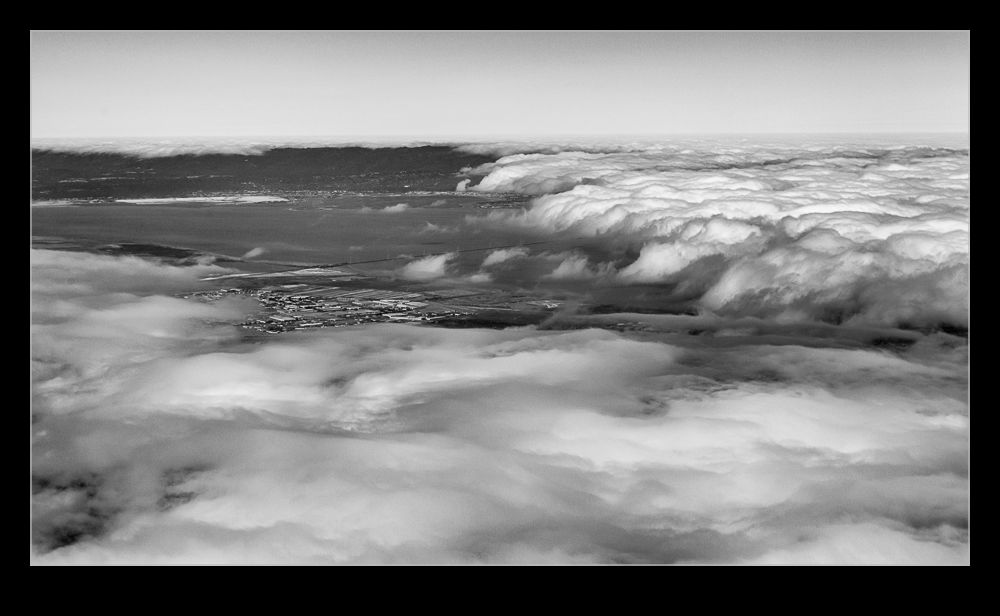
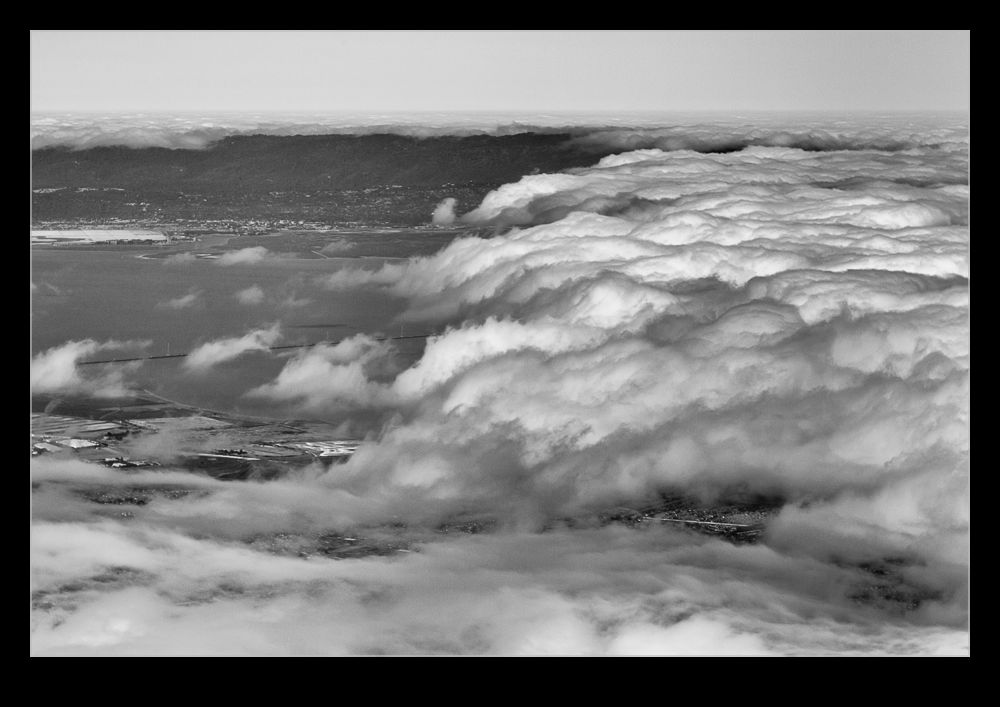
wpid10424-C59F1221-Edit.jpgPart of a run back into Oakland recently came across the bay but it was unfortunately covered in cloud. However, the cloud was sitting in very distinct locations with a clear edge as you headed down the bay and a similar edge near the shoreline on the Oakland side. Since we were not high above it, this looked pretty interesting. Even as I photographed it, I figured the shots would need something a bit different when I got around to processing them. Having a more contrasty look seemed the best bet and a black and white conversion also seemed likely. That is what I went with and I was quite pleased with how it turned out. See what you think.

wpid10422-C59F1217-Edit.jpg

SFO Night Approach Time Lapse

wpid10427-C59F8422-Edit.jpgMany moons ago (pun intended), my buddy Paul was visiting and we decided to have a go at night light trails at SFO. However, we had not come well equipped so headed to Best Buy to pick up cheap tripods. They were very cheap and performed as might be expected. However, with Paul coming back, we decided to have a second go at this and to prepare properly this time. We also scoped out some locations that might be suitable to get good angles on SFO.

Two things conspired against us this time. First, SFO is having runway upgrades installed so the pair of 28 runways are the only ones in use. This cuts down on the possible angles for a while. Second, the great weather forecast turned out to include some low cloud over the location we had scouted out. The aircraft rapidly disappeared from view as they climbed. (It later turned out that they were still in the clear but above the thin layer of cloud which we were under.)

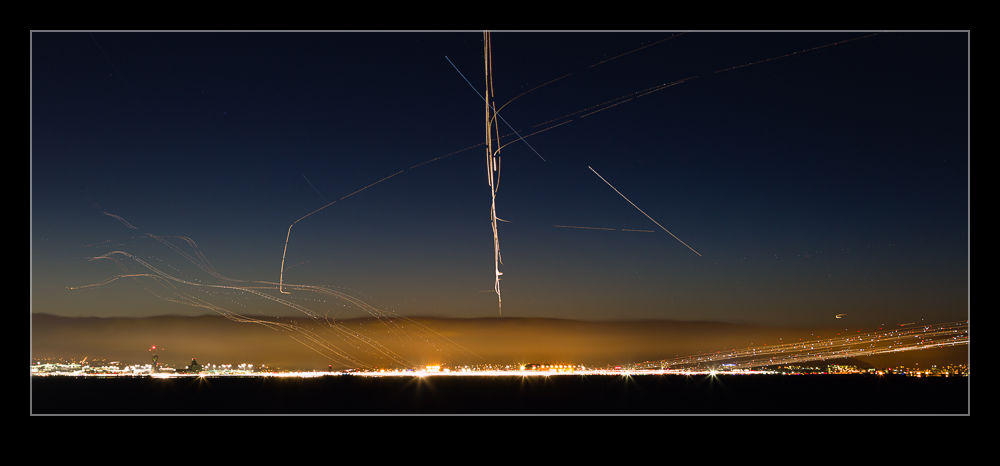
We went with a plan B and found a location along the lake-shore that would provide an alternative. It was not as good but it did work. I had actually brought a spare tripod in case Paul didn’t have his so I set up two cameras. One was running long exposures that I intended to blend together to get light trails. The other I point out onto the approach which was quite busy at that point and take a lot of shorter exposures for creating a time lapse. The blend is above and the time lapse video is below. Let’s hope for better weather next time. I shall also remember that warm weather does not include after sunset and bring something a bit ticker to wear!

Rainbow Phantom

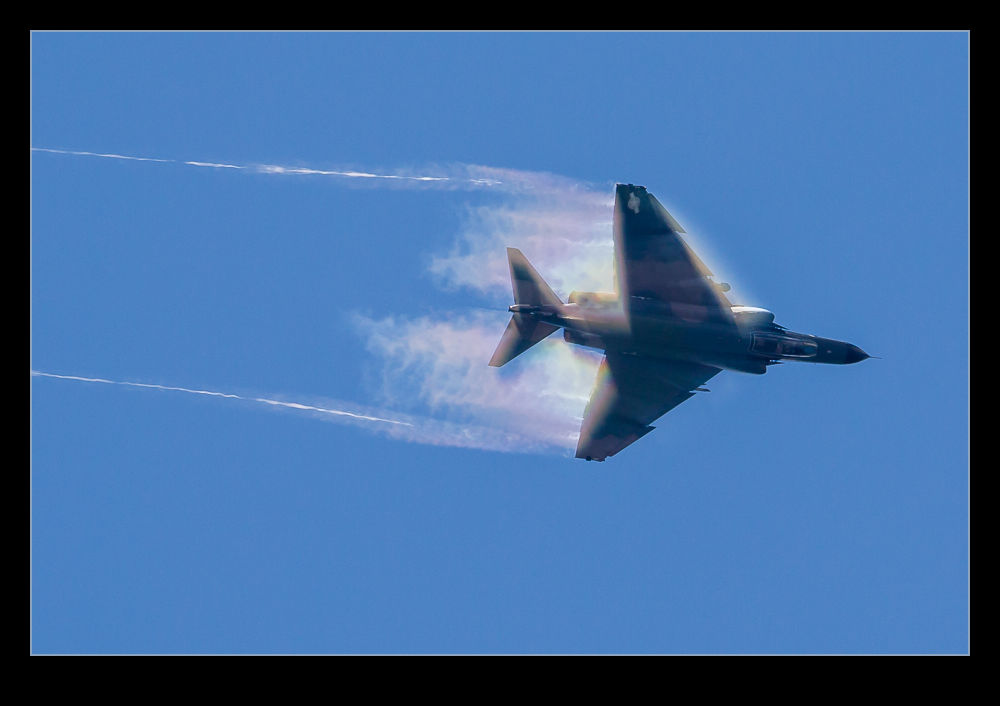
wpid9832-C59F9200.jpgIn going through my archive recently for a piece for Global Aviation Resource, I was searching through old shots of F-4 Phantoms.  I noticed one that I hadn’t recalled taking but that seemed pretty cool.  Occasionally jets pull ‘g’ when above you and the angle of the sun makes the vapor project a rainbow.  This was one of those moments.

Coyote

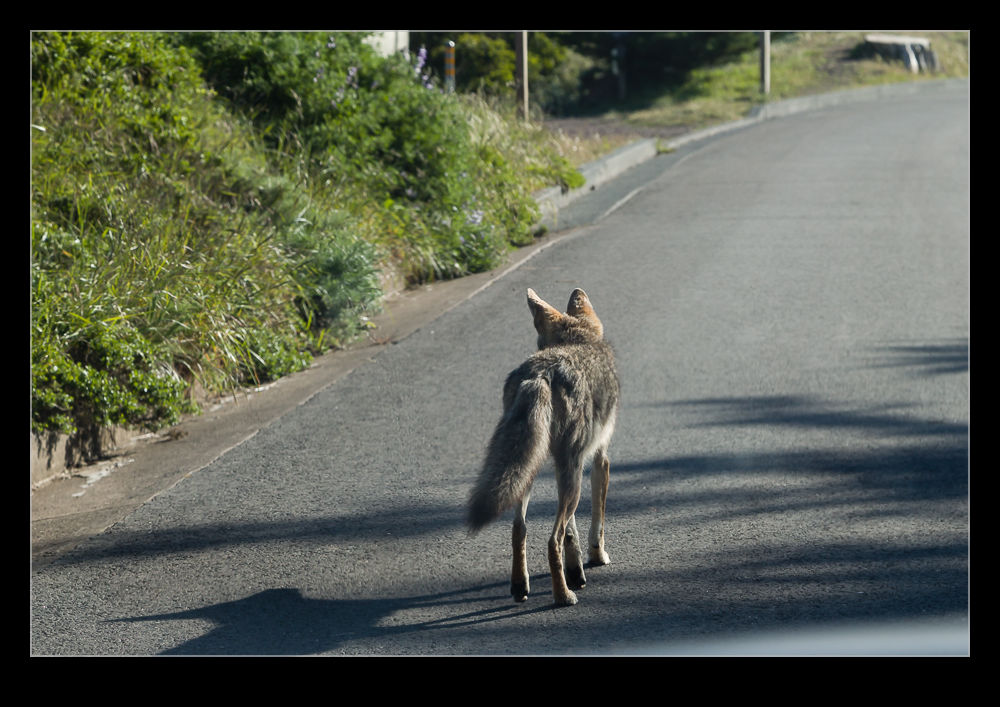
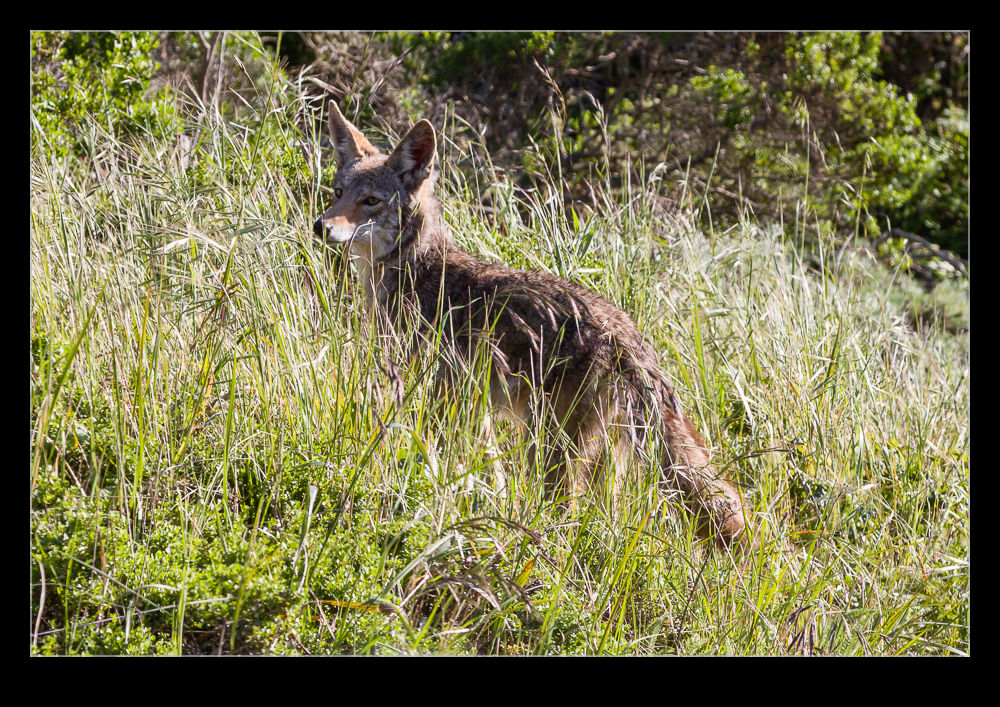
wpid9944-AU0E5316.jpgA drive along the Marin headlands was about to come to an end when we spotted something unexpected. I was about to turn off on the road back towards to freeway when we saw a coyote strolling along the side of the road. A quick reverse and turn onto the other piece of road and we followed him. Interestingly, he seemed totally uninterested in us. We followed him along the road and he went where he felt and did not seem to care about the car following him. Eventually, he hopped off the road and on to the grass. This gave me an opportunity to get alongside him and get some shots that weren’t through the windshield.

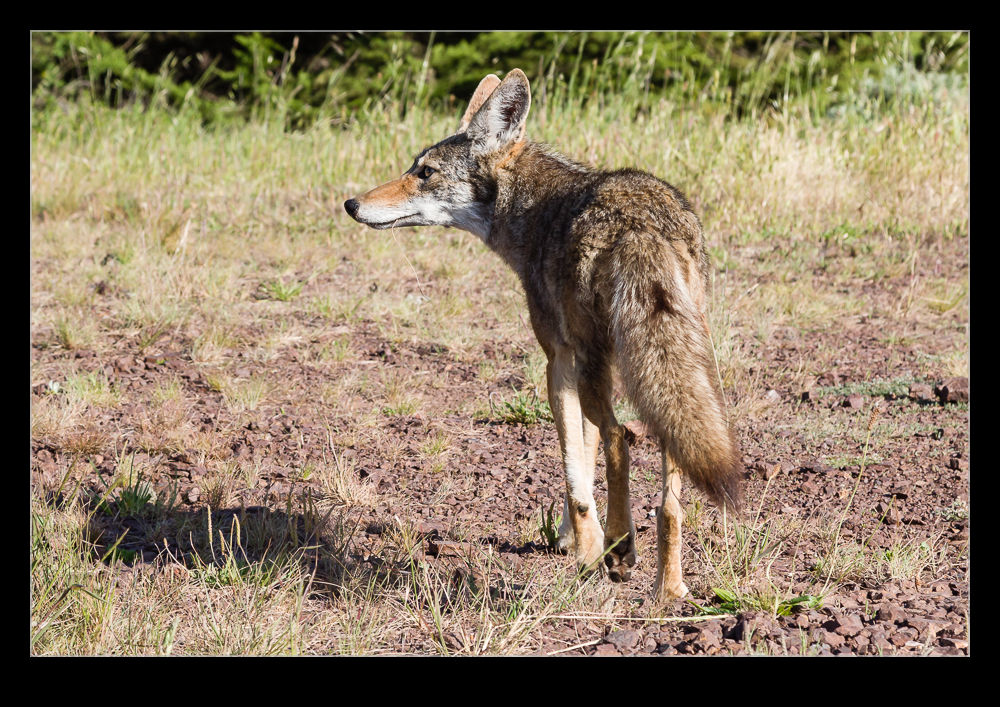
wpid9940-AU0E5297.jpgWe watched him for a while and a few cars came up behind us. At first, you could see that they wondered why we were stopped until they saw the coyote at which point they, too, stopped what they were doing and watched him. We stayed for a short while and then decided to leave the guy in peace. I suspect that didn’t really work out since it only gave the people behind us an opportunity to pull up closer. I guess we did them a favor instead.

wpid9938-AU0E5292.jpg wpid9942-AU0E5311.jpg

Painted Ladies in Alamo Square

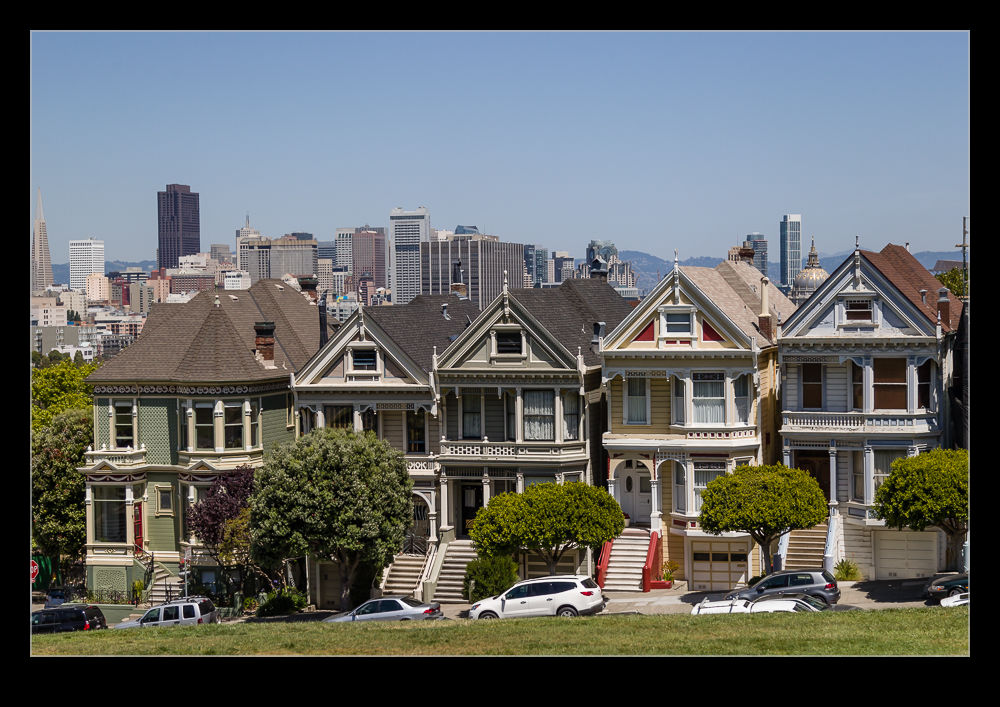
wpid9834-AU0E6912.jpgMy sister wanted to see one of the more famous images of San Francisco while she was here. While the term painted ladies refers to the buildings in the city that have bright paint schemes, it is often focused on Alamo Square. Here there is a line of houses that typify the style and have a backdrop of the city behind them. Alamo Square itself is a park and the area is a popular place on a sunny day irrespective of the famous vista on one side. (Indeed, some of the other buildings in the area are more interesting but they don’t have the same context.)

wpid9836-AU0E6919.jpgWe stopped off to take a look. The area is popular with tourists and there is an ongoing problem with tour buses blocking up the area despite the fact that they are banned from coming into the square. We didn’t have a problem finding somewhere to park though so went to hang out in the park for a while. The middle of the day is not the best time to visit if photography is your goal but in this case it wasn’t. Unfortunately, a couple of the buildings had scaffolding on them which took a bit away from the image. They were on one end so could be ignored if you tried but it was a bit of a shame. Sitting under the shade of a tree in the park on a sunny day looking across at that view is certainly not a bad way to pass a bit of time. A guy came and sat near us and got out his guitar. We wondered whether we would be impressed or distressed by his playing. As it was, he seemed to be playing silently to himself so it was neutral for us.

HDR Panoramas

wpid10158-C59F8190-Edit-Edit.jpgAnother one of my processing technique posts today. For those of you interested in pictures of places, today will probably be one you pass on. You have been warned. This is about my first venture into the realm of HDR panoramas. I know at least one of you who knows exactly how to do this sort of thing and does it on a regular basis. You also will probably skip the rest of the post. However, you have some specialized tools for doing the job and I am playing with Lightroom and Photoshop so here is how it goes.

My initial thought having taken the shots was which order to carry out the processing. HDR first or pano first. I concluded that it had to be pano first. All of the pano exposures were consistent and would stitch properly while I wasn’t convinced that each of the pano frames would be consistent if I had done the HDR blending first. However, this left me with a second concern. Would the pano merge produce images that would align for the HDR merge. I use the pano tools built into Photoshop and, while I select the algorithm it uses, I did not have confidence that it would produce an identical alignment for each set of exposures. However, this was the route I tried.

Stitching the panos was straightforward enough. I created each of them from Lightroom and ended up with five panos with differing exposures. At this point I could have taken them directly to HDR Pro within Photoshop but, since I wanted everything to end up in the Lightroom catalog, I decided to save the files and go to HDR Pro from there.

Here I encountered my first hiccup. As expected, the panos produced were not identical. There were very close but not identical. HDR Pro only works on files that are the same dimensions. I imagine some more specialized HDR applications might be able to handle this but I was stuck with Photoshop. Since the panos were thousands of pixels across and only a few pixels different, I opened them back up in Photoshop and changed the canvas size to be identical in each case. HDR Pro is able to manage alignment of slightly misaligned shots anyway so I wanted worried about the positioning. Also, with such small changes in dimensions, I didn’t fear that I would have distortion.

With this change made, Photoshop went to work and created the HDR file. Amazingly, it worked just fine. I didn’t have any problems with the files being distorted relative to each other and it did a great job of blending them. All that was left was to crop everything in to clear up the empty corners from the pano creation (I didn’t get rid of those in the first instance since I was trying to keep the pano files identical in size and alignment) and then a few tweaks back in Lightroom had the job finished. I was pretty pleased with how it worked and, with the experience of this time, should be able to turn them around quite quickly next time.