 We came upon a few filming crews while we were in the Maasai Mara. There were professional photographers but more of the video teams. National Geographic had a crew out working and there were others filming too. You would sometimes find vehicles that were scouting crews for the filming. The thing I found funny was that they often had signs saying that they were filming crews and not to follow them. I might never have paid attention to them until I knew that they were filming crews and might well have good intel about where animals were!
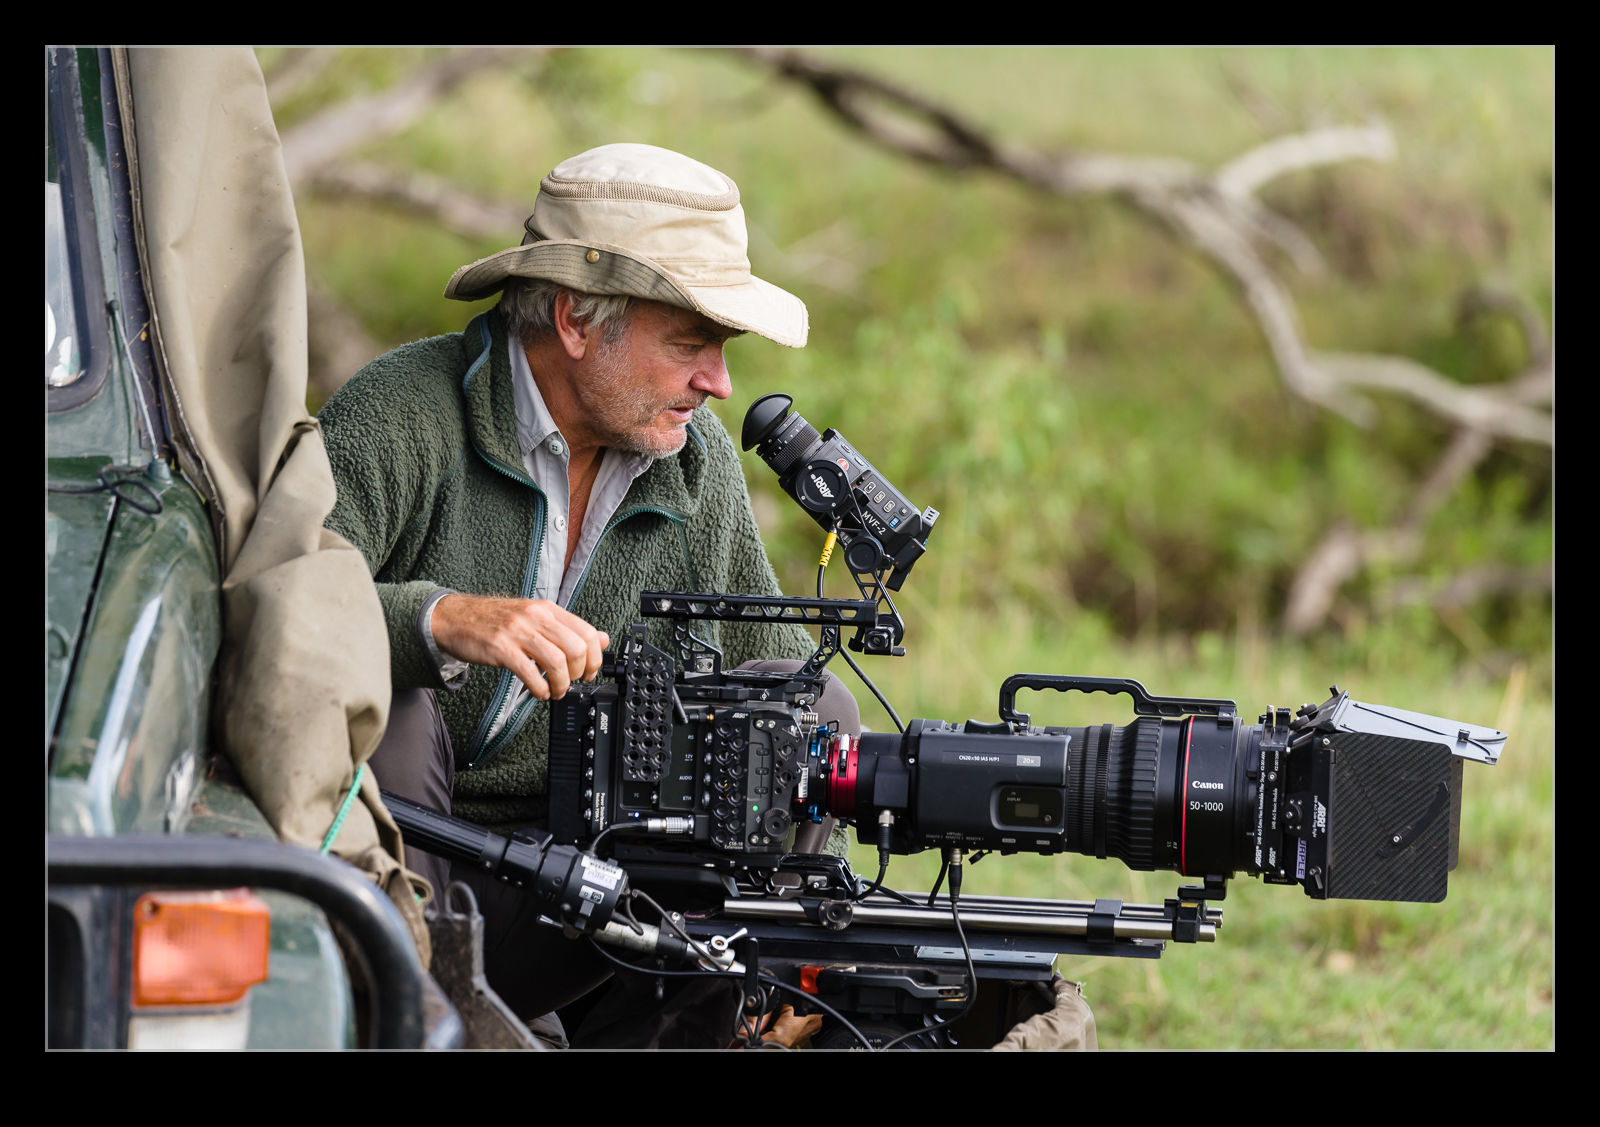
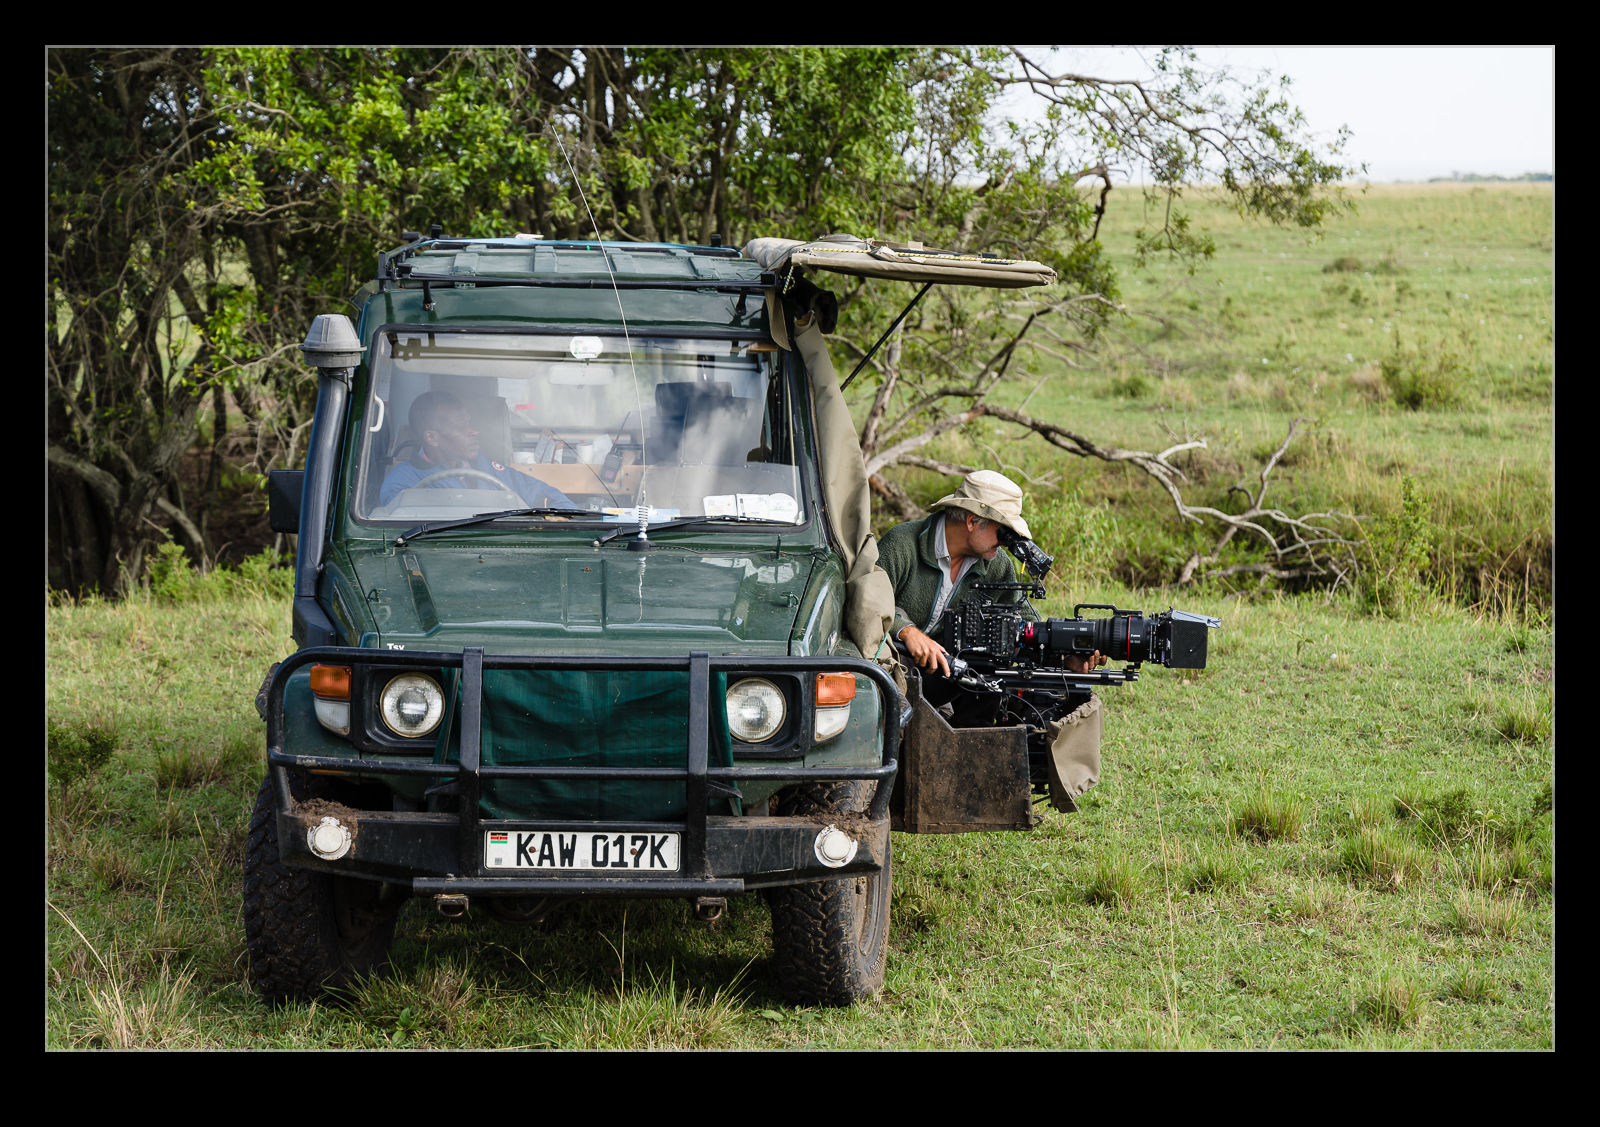
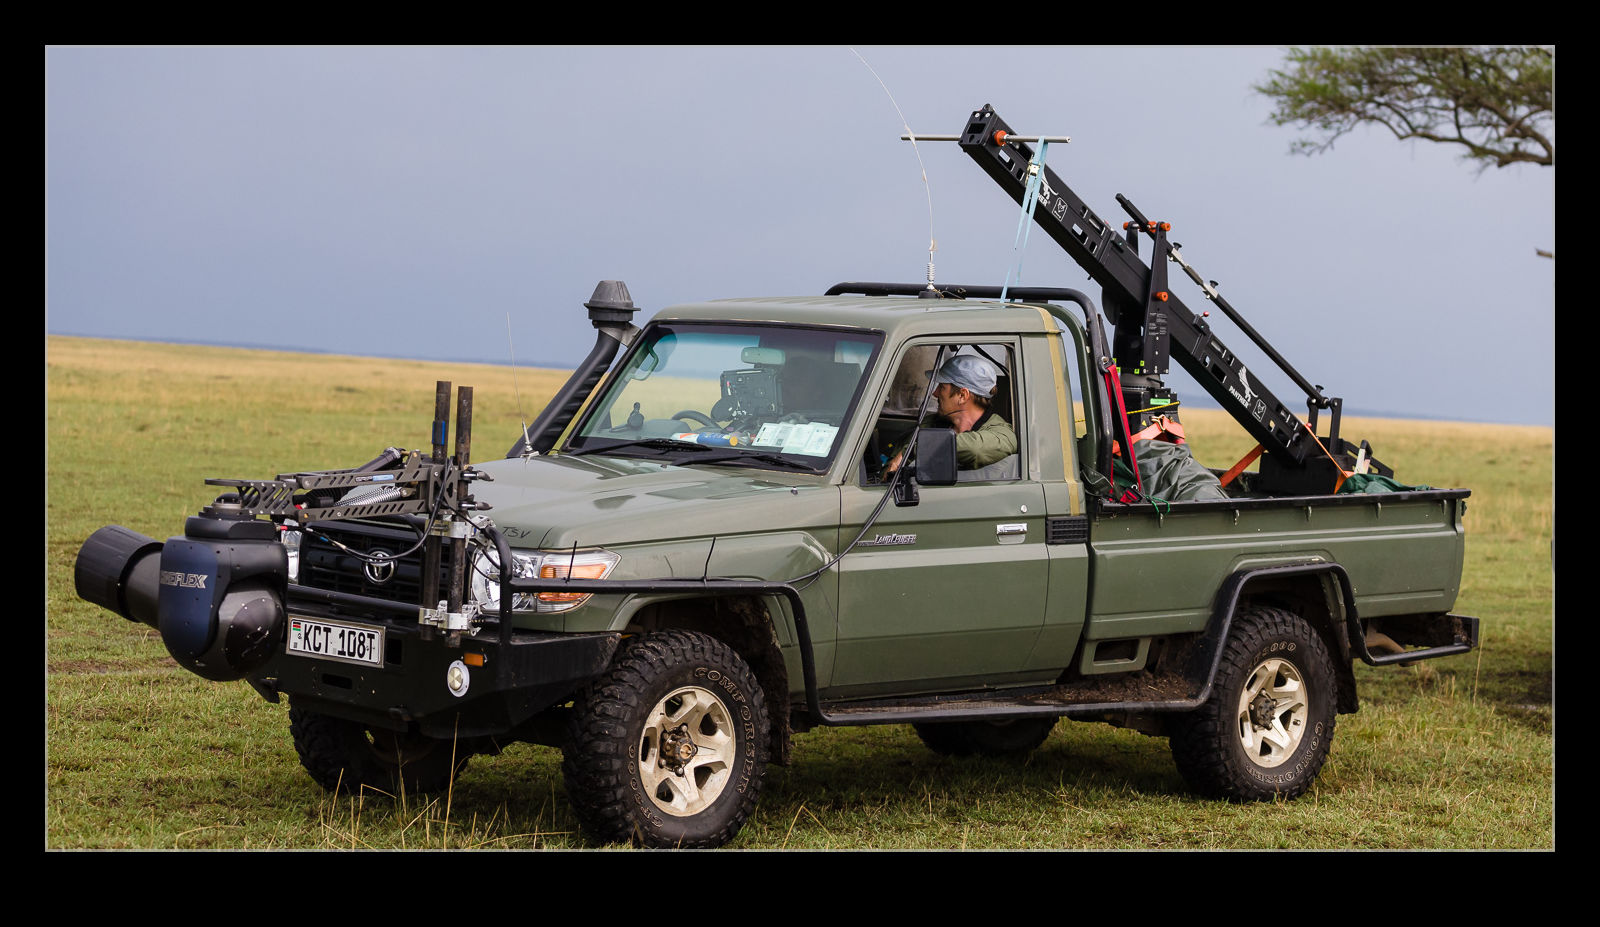 Modified vehicles which allow the camera operator to sit outside the vehicle and shoot looked like just the sort of thing I would like to have. They weren’t always in use, though. I did see one operator sitting inside the vehicle with his feet up while checking stuff on his phone. Looking at the very pricey lenses attached to the camera rigs was almost as fun as looking at the animals. Nat Geo also had a vehicle with a gimbal mount out on the front of the vehicle. It would have been fun to see that in use!
 One thing that occurred to me as I watched these teams at work was the volume of material that they would collect that would be culled down to make a TV show. Sure, this would be a vast amount of data to store and sort but how different this must be from the days of wet film. Those crews shooting things like the early Big Cat Diaries must have been carrying a ton of stock and then had to manage all of it through processing and cataloging. That must have been a very time consuming and expensive proposition.