I have mentioned in the past some of my interest in time lapse. I recently posted a sequence on here and a friend of mine asked me to put together a guide to how I had gone about doing it so here you go.
When putting together a time lapse, the first thing is trying to establish what will be special about what you are shooting a sequence of that will make a time lapse more interesting than any other form of presentation. Usually this involves something that changes slowly in real time but becomes more dynamic in a time lapse such as a sunset or storm cloud development. Alternatively, it is something where a lot happens over a long time that isn’t terribly dramatic on its own but, when speeded up, becomes far more impressive. This could be a sequence of activities with multiple people or launching airplanes as was the case for the one I recently made.
Once you have established what it is that makes it interesting, then you have to decide how best to portray that. Choosing your location and your angle of view are the next challenges. I was shooting departing and arriving aircraft at SFO so I needed an angle that gave me a good view of them and a field of view that allowed plenty of the movement to be seen without everything being too far away to be noticeable. In this case, shooting at night works well because the lights stand out far more making the aircraft more conspicuous than would be the case during the day.
Now it is time to get into the technical issues. How long a clip do I want to make? Shooting time lapses means getting a large number of still shots which will each be a single frame of video. Video frame rates vary but I used 30fps for the sequences I make. Therefore, 30 shots will give me a second of video. If I want a minute of video, I need to shoot 1,800 shots. That’s a lot of shots. Also, figure on shooting more before and after the main action since it is nice to have some spare video at each end to play with in future editing.
You know how many shots you need but how long in real time do you want to cover? Are you starting before sunset and finishing well after sunset? Do you have a peak period of activity that you want to cover? Now you can see how many shots you need over a given amount of time so you will work out how long the interval between each shot can be? The interval between shots is critical but you must also factor in how long a shutter speed you want. This is where shooting at night is a lot nicer because you can get nice long shutter speeds. These make for smoother looking videos because there is no jerkiness. Shooting on a sunny day with a very short shutter speed and a few second interval will result in a jerkier output. The “rule” is to have the exposure time at least half the interval. Doing that during the day may require some neutral density filters. At night it is a lot easier to manage.
Now to mount and control the camera. Obviously a tripod is a necessity to make a stable platform for the shots. A cable release is a must have and preferably one with a timer built in so you can program the intervals. However, if you are shooting at night, you can get away with putting the camera on burst mode with a shutter speed to match your interval and then lock the shutter release open. It will then just keep shooting. The other camera thing to consider is image stabilization if you have long shutter speeds. IS can wander around for long exposures making everything blurred. Keep it turned off. I would also switch autofocus off once you are happy everything is sharp to avoid the focus getting changed by the camera. If the conditions are changeable, you might go with something like aperture priority to accommodate changing exposures. At night, manual might be your best bet. Always keep an eye on how the exposures are doing if in a programmed mode to ensure you aren’t exceeding your interval with your shutter speed. There are complex bulb ramping tools available to use if you want to get advanced. I haven’t tried these since they haven’t been necessary for my purposes so I can’t give good advice. I do have the functionality in a cable release device that connects to my iPhone called Triggertrap but I haven’t ever pushed it to its limits.
One thing you will discover is that fixed apertures are not fixed. Cameras will go to a slightly different aperture for each shot which can result in slight variations in exposure. This “flicker” can be managed by clever manipulation of the lens position but I prefer to use software to fix it. The software will also help if you end up tweaking the camera settings during the capture sequence.
Last piece of equipment advice is bring a chair. Once everything is at work, you don’t have much to do. You can shoot with a second body of course or you can sit back and relax. If you have a buddy along, that is not a bad thing! I shoot all of my sequences in RAW format. For night shoots this gives you a lot of latitude for tweaking the exposures. It does use up a lot of memory but storage is cheap these days. With charged batteries and big cards, you are good to go.
Once the shoot is done, you get home with a ton of images that look remarkably similar. First I import them into Lightroom. I will keyword them in the same way as anything else from a shoot including adding a time lapse keyword. Then I will make sure all of the time lapse shots are in one subfolder before jumping over the LRTimelapse. I am not going to try and write a tutorial on using LRTimelapse. The website for the software has far better guides to how to use everything. However, I will focus on the key elements I go for.
The main one is the Deflicker process. This is a routine that analyses each shot and applies little tweaks to the exposure to avoid any visible flicker. You can draw out a box in the image preview to tell it where to analyze. This means you can pick an area that is constant in the image as a reference and avoid areas where there is a lot going on. If the image exposure is gradually changing, it won’t affect that. It will just take out the individual variance. You can see a trace of how the overall exposure tracks during the sequence.
The other element I sometimes use is panning. You can define keyframes in the sequence and jump back into Lightroom to crop each one as you wish. Back to LRTimelapse and it will calculate the individual crops for each frame to make a smooth pan between your chosen keyframes. Quite nice to provide a little variety if you wish. I always crop the images to a 16×9 format since that works nicely for HD output formats.
When all of your tweaks are fixed, you save the metadata files and go back to Lightroom to reload them. (There can be a bit of back and forth like this throughout the process.) In Lightroom, there is an export dialog from LRTimelapse which then renders out the individual files from each shot. These will then be taken by LRTimelapse and rendered as a video clip.
Sounds really simple that way and, to be honest, it is pretty straightforward. A little practice helps of course. When it works out, the result can be very satisfying. Of course, a lot of times, you see something that you really wish you had done differently. That is something you will have to put down to experience and try to remember next time you are out shooting.
One last thought – if you are shooting something that involves light trails at night, consider making each image a layer in Photoshop and blending them together as a stack to see what happens. It can work pretty nicely sometimes. However, you can end up with a pretty huge Photoshop file so your computer may groan while processing it. Happy shooting!
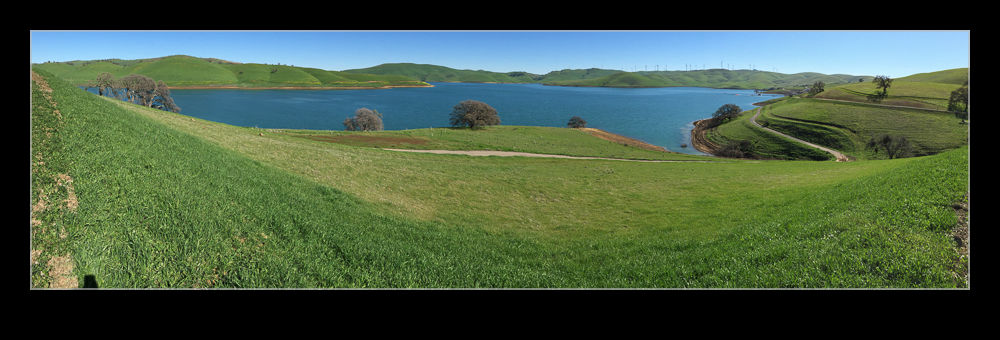 A short drive from Dublin can take you in to the hills and some pretty queit places. There is a reservoir that is just across the county line known as the Los Vaqueros Watershed. We thought it would be a good place for a hike while the temperatures are still cool. When things warm up, I suspect this will be a pretty hot part of the area. As it was, the temperatures were nice and the recent rains meant the hillsides were very green.
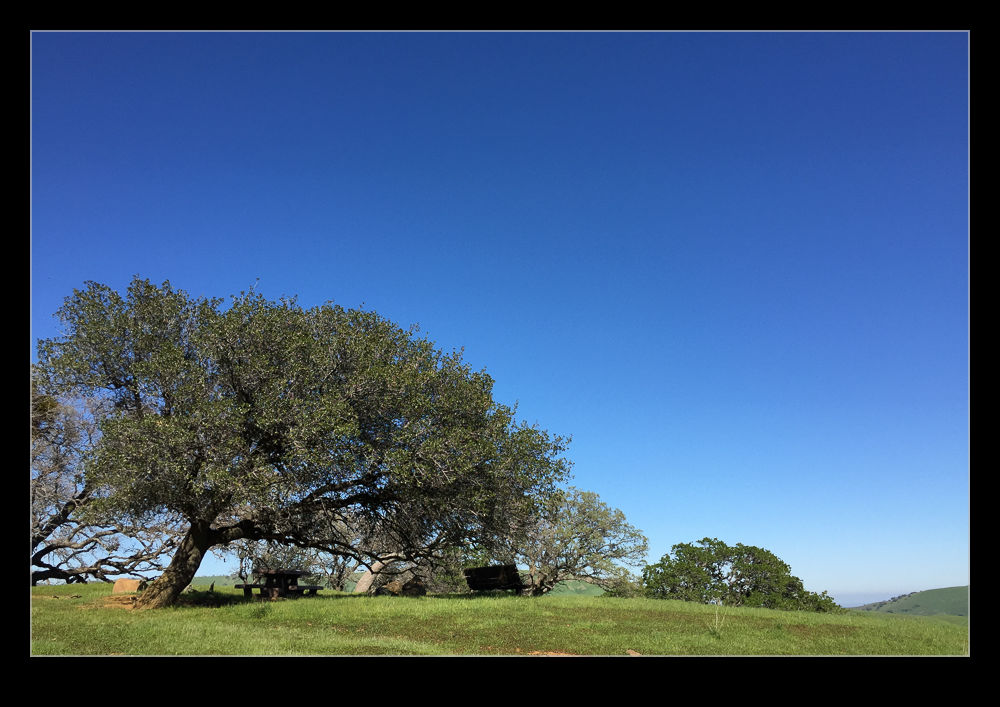 The purpose of the visit was to have a hike so I decided not to take my cameras with me. However, the phone is always with me so there is a camera if the view warrants it. The shots here are all from the camera. It was amazingly quiet while we were there. Plenty of people were fishing down at the water’s edge but on the trails we were almost alone for much of the time. As we were heading back to the car, a few more groups showed up but most of the time we were nowhere near anyone. The exception was a bobcat that appeared on the trail below us. Nancy spotted it about the time it spotted us. We stared at each other for a while before it got bored and wandered off. Needless to say, the wide angle lens on the phone was not up to getting a shot so you will have to take my word for it.

