Tag Archives: photoshop

Learning a Better Way to Blend in Photoshop

I occasionally use the Statistics function in Photoshop to blend multiple images in order to get rid of the distractions that I don’t want like people or vehicles.  Up until now, this has been a real pain to do.  I would identify the images in Lightroom but would have to open Photoshop, go into the Statistics function, use the browse function in there to select the images and then it would run everything in one go.  This was not a convenient way to go and the output image then needed to be manually added to Lightroom which is not handy.

It turns out that there is a better way.  This may have been in Photoshop all along and I never knew or it could have been a recent addition.  Either way, it is there and I shall now use it for future projects.  I have even created a Photoshop action to cover the process and assigned a function key so it will now do the heavy lifting without my intervention.  It all starts out in Lightroom.  Select all the images that will be used for the blend.  Then use Edit>Open As Layers and a new document will open in Photoshop with all shots as layers.

If everything has been shot on a tripod, things will be properly aligned by default but I often do these things on the spur of the moment so they are hand held.  Consequently, while my efforts to keep pointing in the same direction are not bad, the first task is to select all layers and Auto Align layers to tidy things up.  Next, go into the Layer tab and, under Smart Object, convert to a Smart Object.  This may take a little while.

Next step is to go back into Layers>Smart Objects>Stack Mode.  This brings up the same options as you get through the Statistics function.  Select Mean and send it on its way and you end up with a shot that, depending on the number of shots taken and the clear space in enough of them, results in a clear shot.  Usually I find that I haven’t got enough shots of the right type to get everything to disappear so some ghostly elements may remain but they are certainly less distracting than the figures in the original shots.  I have no idea what the other modes will achieve and the descriptions Adobe provides in their help files are so obscure as to be virtually useless. Instead I shall have to experiment with them to see what happens.  Thankfully, now I have this new method, I can undo the last step easily to try each option which would not have been possible using the Statistics dialog.  Another win!

Lightroom Issues Update

In quite a few previous posts, I have mentioned the troubles I have had with Lightroom recently.  This was all triggered by an update a while back and subsequent updates have not solved any issues.  The problems just continued and I was unable to get anything to address the sluggish behavior.  The program would respond better when I was working in the Develop module but it was very difficult in Library and when importing.

I recently had a bit more success.  I contacted someone who, while not working for Adobe, does have a business based around Lightroom and has good connections with the company.  I was able to send this individual a copy of my catalog.  They had a play with it and had similar issues with memory overuse so it wasn’t a hardware issue.  They were able to pass on the catalog to an Adobe engineer to investigate further.  I feared there was some corruption in the catalog and hoped they would find a solution.

It transpires that there is not any corruption.  Instead, it is in the nature of the catalogs that I have created that the problem lies.  A long time ago I posted about my approach to processing a shoot.  I would use a Collection Set for each shoot in which I would use smart collections to take shots with the right combination of keywords and dates.  They would split out rejects from non-rejects and put HDR, panorama shots and videos in separate smart collections.  This made processing the shoot more efficient.

As a result of this approach, I have, over the years, accumulated a large number of these collection sets with smart collections in them.  This is what is causing the trouble.  The program is getting bogged down with all of them.  This leaves two ways forward.  In the short term, I am going to go through these smart collections and turn them into simple collections.  Hopefully this will reduce the processing burden.  I don’t need the smart functionality any longer so I can just take the selected images and make simple collections out of them.

The longer term action is that Adobe is now aware of this issue.  Hopefully they can investigate a way to address this in a future update so that it isn’t constrained in the same way.  It happened suddenly so there was something in the coding that changed to cause the issue so maybe it can be similarly quickly fixed.  In the early days of Lightroom, it was limited in the number of images it could have before things got sluggish and that was resolved so hopefully this can be too.  We shall see.  If it is, you’re welcome!


A Further Trial in Focus Stacking

In a previous post I wrote about a focus stacking effort I made with images of a model aircraft at a show.  I had been meaning to have another go at this and do so in a more controlled environment.  I then ended up buying myself a macro lens for use in my negative scanning efforts and immediately started playing with it to shoot things close up – it’s a macro lens for goodness sake!

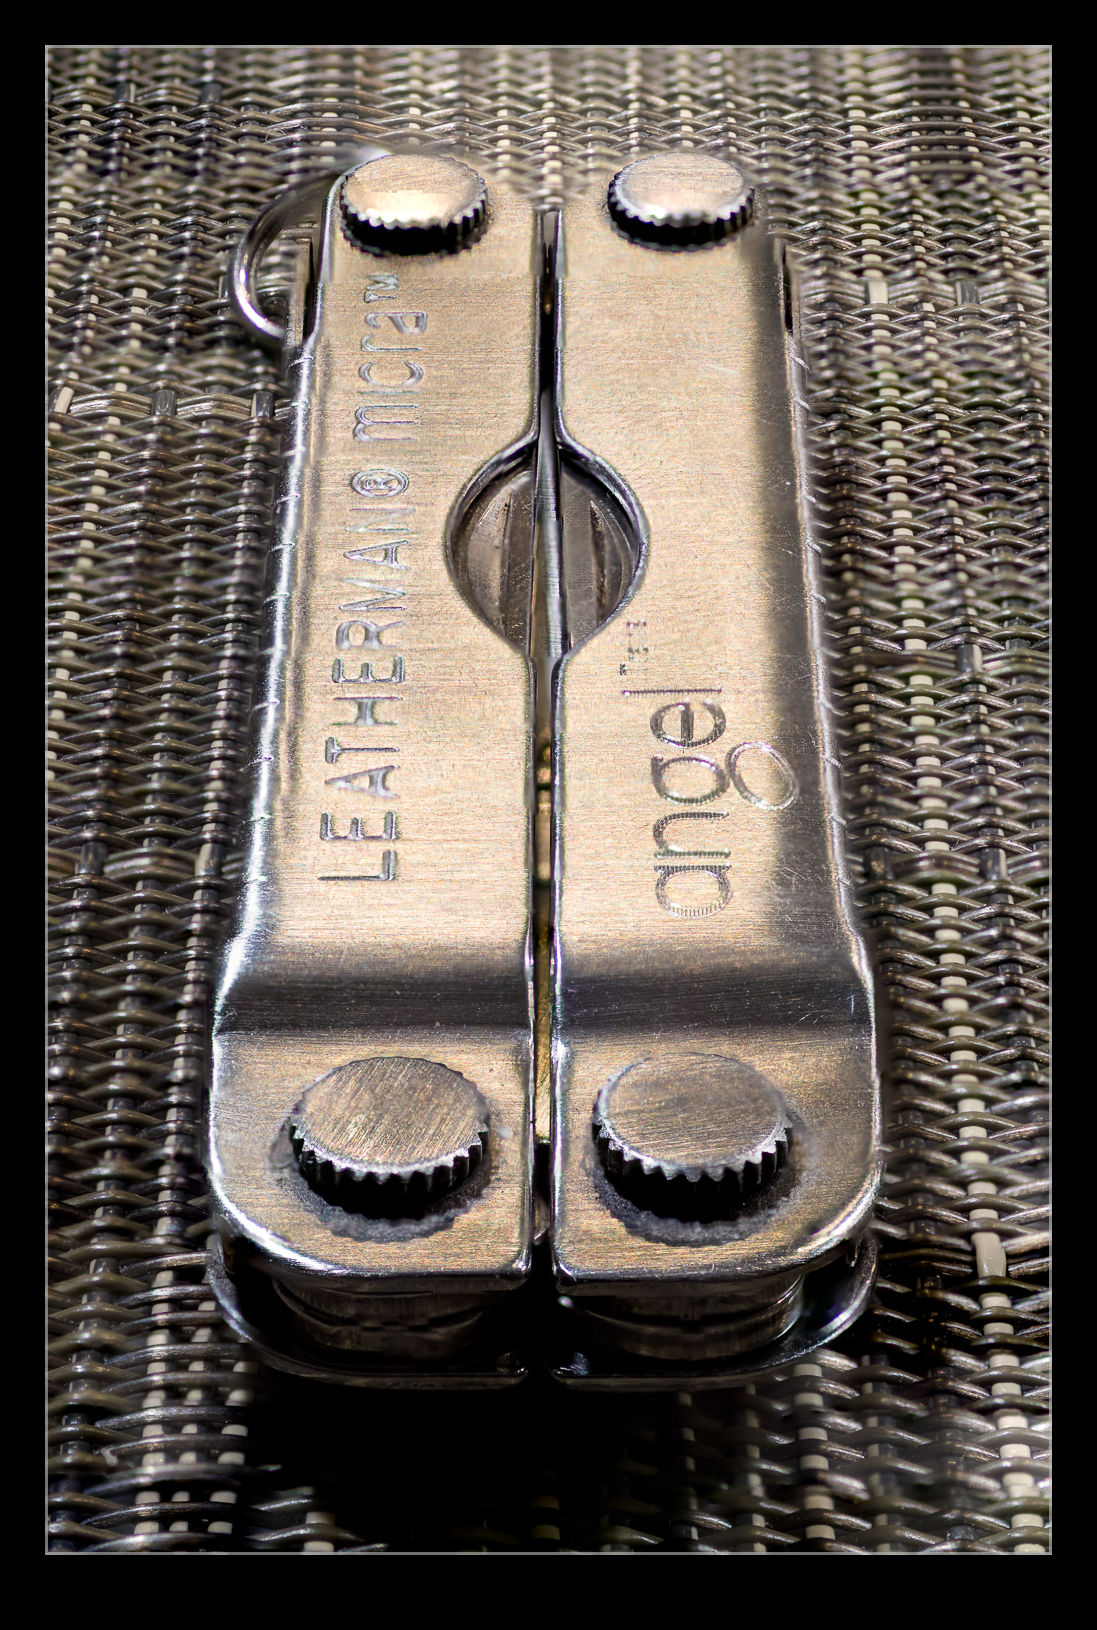
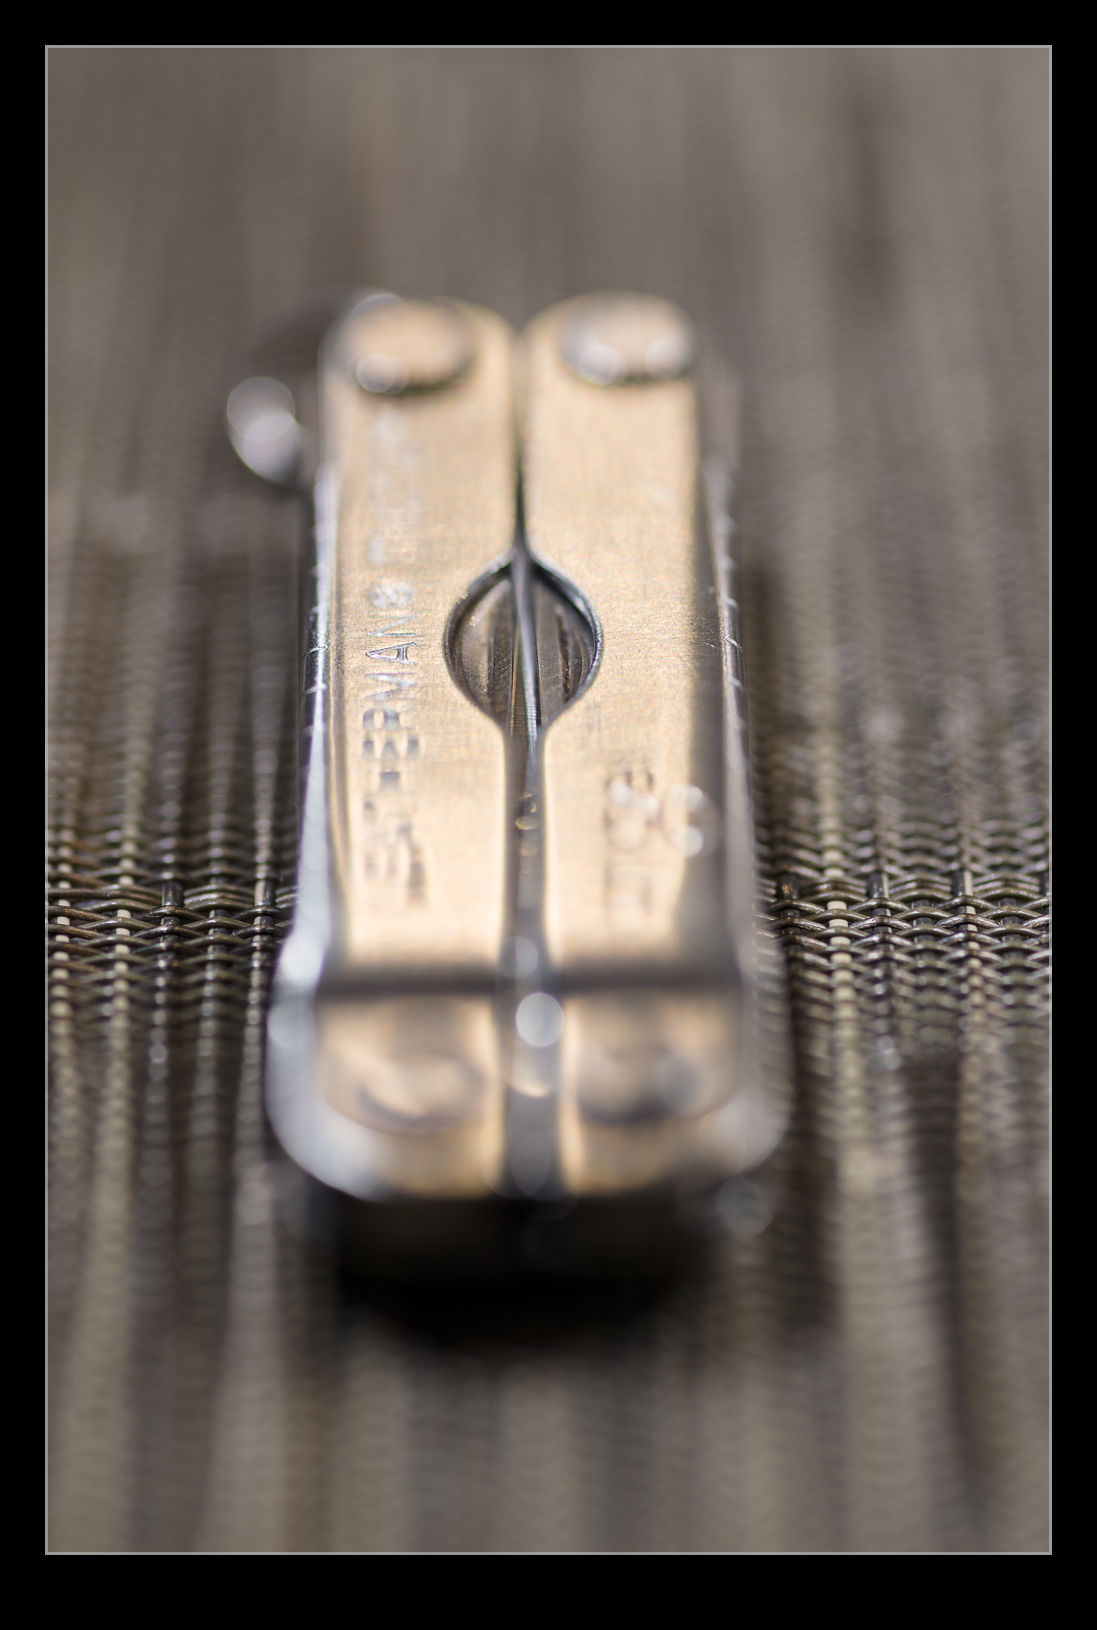
As an f/2.8 lens, when shooting macro shots, the depth of field is really shallow.  This got me thinking about trying another focus stack.  A small Leatherman seemed as good a target as anything.  I set up with manual focus, put the camera on a tripod, went to manual exposure and then shot a sequence with small changes to the position of focus for each shot.  Then it was off to Photoshop.

Photoshop did a pretty good job really.  The distortion of the areas out of focus means that the area that the subject covers can vary quite dramatically as the focus shifts backwards and forwards.  The algorithm did well getting things masked and blended.  The only bit it struggled with was at the very top where the knurled edge seemed to confuse it a bit.  The top shot is the finished effort while two others are included to show how much things are out of focus in the individual shots.

Blending to Remove Traffic

During a previous visit to Vancouver, I experimented to blending images of the same scene to remove objects I didn’t want included.  When photographing the bridge at Deception Pass, I decided to have another go at this.  The bridge was very interesting but I found the traffic on the bridge to be a distraction.  Looking at some of the shots afterwards, it wasn’t as bad as I thought at the time but, even so, I decided to try processing the shots.

This was the same approach as before.  Load all of the images into Photoshop using the Statistics function and use Median to average things out and hopefully remove the items that I didn’t want to appear.  It seemed to work pretty well.  The top shot has the output while the one below is one of the input shots cropped in along with the final result to show what was removed.

My First Attempt at Focus Stacking

I first read about focus stacking a long time ago and I have been meaning to try it for ages.  The premise is to take a series of shots with the focus set in different positions throughout the scene and then to use software to blend the images together to create on image with focus all the way through the shot.  This seemed like a simple thing to have a try with but I never got around to having a go.  Then I came across a situation that looked like it might be a good example to try.

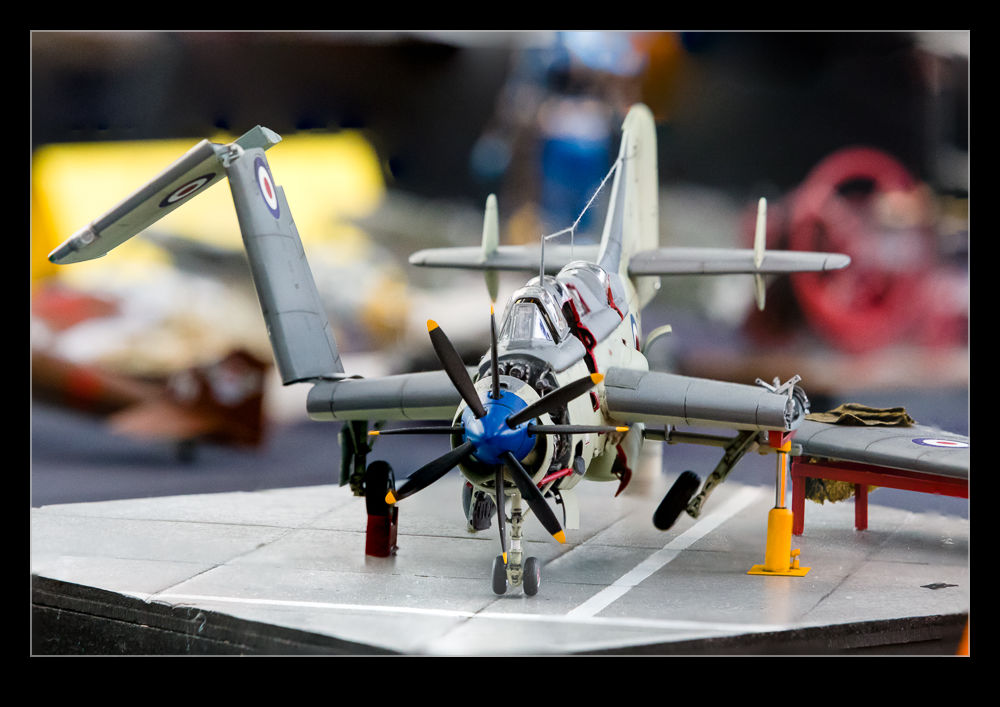
I was visiting a model show at the Museum of Flight.  I was taking a few photos of some of the more expertly crafted models on display.  I was shooting with a longer lens and using a relatively small aperture to try and minimize the shallow depth of field that you get when shooting small objects close up.  I decided to shoot a model of a Fairey Gannet and the shallow depth of field triggered something in the deep recesses of my brain about focus stacking.  Of course, I had not planned for this so no tripod and just an effort to get focus on different parts of the model without moving the camera too much.

I took the shots and got on with my visit.  When I got home, I almost forgot about the stacking experiment but, fortunately, I did remember.  I exported the images to Photoshop as layers of the same shot.  Then, since they were hand held, I did an Auto-Align action to get them in place.  After that, Auto-Blend was selected.  It seemed to realize that they were a blend stack rather than a panorama – quite clever – and the software quickly did its thing.  Despite not taking too many shots and do it all hand held, the result came out pretty well.  The top shot is the finished product while the lower two show the extremes of the focus range for the original shots.  If I had managed a shot focused right on the back of the fin, the result may have been a bit better still.

Lightroom Keyword Approach Update

I have been using Lightroom since the first version came out many moons ago.  For most of that time, I have been actively keywording my photos.  It is a bit time consuming, but it does provide for good searchability and it also is useful when providing images to stock agencies.  My initial keywording was a little light, but I have got a pretty good level of information in there now.  The only problem is that I have to try and remember all of the different words I use for given types.  I almost always forget something when doing this.

The solution to this is using a hierarchy system for the keywords.  Lightroom allow you to have these hierarchies in the keywords such that, if you add one word, a whole sequence of other words will automatically be added.  For example, if you want to add AH-64, it would also add Apache, military, helicopter, Boeing etc.  This does require you to set up all of the words properly of course.  I took a halfhearted go at this many years ago and it didn’t work out well.  Recently, I decided to have another go.

This time, I wanted to do things in a more organized way.  However, editing the words and the hierarchy structures in Lightroom seemed a bit slow going.  Then I realized you can export and import keywords.  I exported the words I currently have and it created a text file.  Where I had tried creating hierarchies before, these were shown as tabbed indents from the words above them.  Therefore, I figured I just had to create a text file in the same structure and then import it.

I spent a fair bit of time creating the file.  Setting up the structure I wanted required a bit of thought and I had to change things a few times as I realized certain groupings would work more efficiently.  I also changed a couple of times to have the one word that was likely to be used as I keyworded be the top of the hierarchy.  For example, I am going to add 787-8 reliably but not Dreamliner.  Therefore, if I have 787-8 at the top and Dreamliner below, it will get added without me thinking about it.  The same for F-22 versus Raptor.

By taking a couple of weeks to create the list, I got it pretty well laid out.  I remembered to add stuff as I went that I had initially forgotten so the final list was pretty comprehensive.  I will have still missed out on some stuff but it didn’t have to be everything.  All of the existing keywords are still going to be there, and I can add more stuff later if it seems valuable.  Finally, I imported the file to Lightroom and boom, all of the new structures were there.  Next time I add a bunch of stuff, we shall see whether it makes a significant different to the process.

One thing to note, if you have the keyword box set to Enter Keywords, this hierarchy approach doesn’t work. Much frustration ensued when I first found this. However, some good guidance was provided and by changing to Will Export, things work as intended. No idea why that is necessary but, now I know, things are okay. I am also going to progressively clean up the old keywords to get rid of the non-hierarchy ones to ease entry even further.

My Copy of Lightroom Got Sick

After a previous update to Lightroom (6.12), it became almost unusable.  Importing would take forever and, once the images were in, it would grind to a halt.  Keywording and editing became a nightmare.  I was struggling to work out what was wrong.  A check on performance showed the processor wasn’t busy but the RAM was maxed out.  I couldn’t understand why.  The first thing I do when Lightroom behaves strangely is to delete the Preferences file.  This file can get corrupted and mess with the performance badly.  Just delete it and restart and things are often fixed.  That didn’t work in this case.  When the new version of Lightroom was released, I hoped this would fix everything but sadly not.  (Meanwhile Photoshop itself is working just fine on this system.)

I had a long session with the Adobe tech support people which got me nowhere.  After telling me this was normal, they realized it was not when our screen sharing crapped out as a result of the machine slowing to a virtual standstill.  They tried a bunch of simple stuff and got no further than I had on my own.  They suggested a second session would be needed and then promptly sent me an email telling me that the issue had been successfully resolved.  Not sure how they concluded that.  Meanwhile, I wondered whether there was an issue with my Windows installation so decided to do a completely clean install.  This had some slight benefits but basically the problem still remained.

I have done a bunch of scanning of similar issues and I found out a technique the support team can use to tweak performance.  There is a config.lua file that can be created in the presets folder to influence the system.  I have added this file and it has certainly made a few things work better.  It has also slowed some things down as well which isn’t ideal.  This was not a solution though.  All it did was make the program slightly more usable.

Another session with Adobe ensued.  This time we got into the permissions for some of the folders that contained the catalogs.  Lots of time to reset these to give greater authority.  I was told this is sometimes an issue with large catalog files.  Lots of time later, I found that nothing had really changed.  The whole thing would still get bogged down very quickly.

Then I read about Lightroom 7.2.  This was a new update that was supposed to address a lot of performance issues.  It was supposed to make better use of multi-core processors as well as larger RAM configs.  I had seen a sequence of updates not improve things – my issues were clearly not the normal performance problems although I had previously experienced some of them too – but I was hoping that, if they had changed the architecture of the software, maybe whatever was causing my machine to have problems might have been tweaked/replaced.  If not, I was seriously considering the need to buy a new system since this was so horribly inefficient.

I waited for the release date to come around when I knew the update was on its way.  Then I got an update to the iPad version and it said the new version of Camera Raw was included.  This must mean it was close.  A day later, the update dropped.  I downloaded it immediately and opened up.  Hurrah!!!  Everything run fast, the RAM levels were moderate and stable, everything was happening as it should.  My system lives!  Let’s hope this isn’t a false dawn.

Stitching a Moving Ship

This is less of a technique post and more about the capabilities of modern software.  In a previous post I discussed a visit to Vancouver to meet up with family members that had come off a cruise ship.  We were down on the waterfront when the ship that they had come in on departed.  As it got further away, I shot a few frames with the longer lens to try and stitch together in a panorama.  The problem with this type of shot is that the ship is moving so the background is not consistent between the frames, even if you try and do them quickly.  However, I handed them over the Lightroom and it did its stitching thing and the attached shot resulted.  I think you would struggle to know that there was an issue based on the output.  Quite impressive software performance!

Adobe Fixed the Time Zone Issue for Video

In this previous post, I noted that there was a problem with the way in which Lightroom identified the time of video files.  I was having to manually adjust the capture time after importing them.  When I contacted Adobe, they said it was a problem with Canon and vice versa.  Not helpful.  However, I notice that, with a recent update (I won’t say upgrade because some aspects of it seem to have really screwed up Lightroom performance), the video files now come in with the correct time associated.  I only found this out because I was about to adjust them when I realized they were already correct.  One little annoyance has now gone away.  Hurrah!