Tag Archives: photo

Reno Air Races

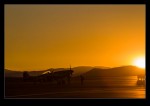
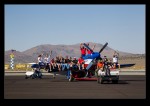
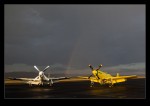
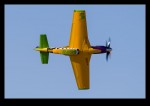
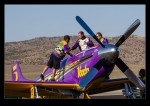
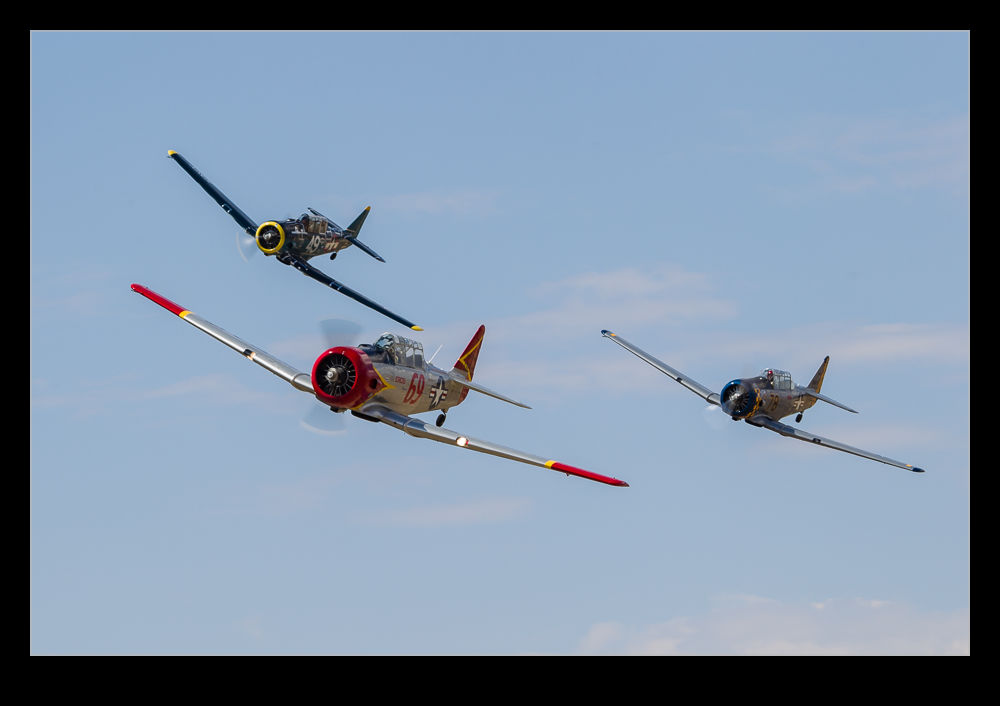
wpid8130-C59F4251.jpgThe National Championship Air Races recently took place at Reno NV.  This was my second year covering it and the 50th running of the races.  Before I go too much further, here is the link to the article I wrote for Global Aviation Resource so, if you want a rundown on how the event went, that is a good place to go.  It also has pictures but you don’t need to go there for them since I am about the share a bunch of them here too!
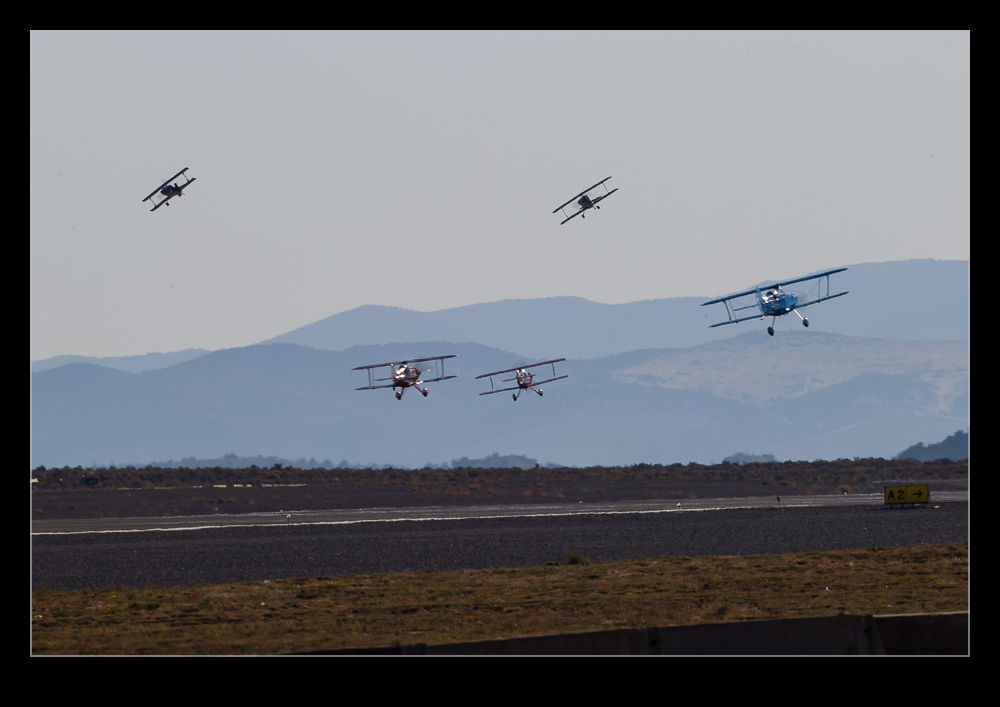
wpid8124-AU0E5304.jpgReno is a very interesting event to shoot.  The organizers go to a lot of effort to host the media representatives.  Given how many of us show up, this is no small feat.  They provide a center for us to base ourselves out of, breakfast and lunch each day (this year sponsored by Nikon), buses to take a selection of people out to the pylons each morning and afternoon, access to most places you could want to be and a team with golf carts who will run you to wherever you want to go (provided you can find them since they are kept busy!).
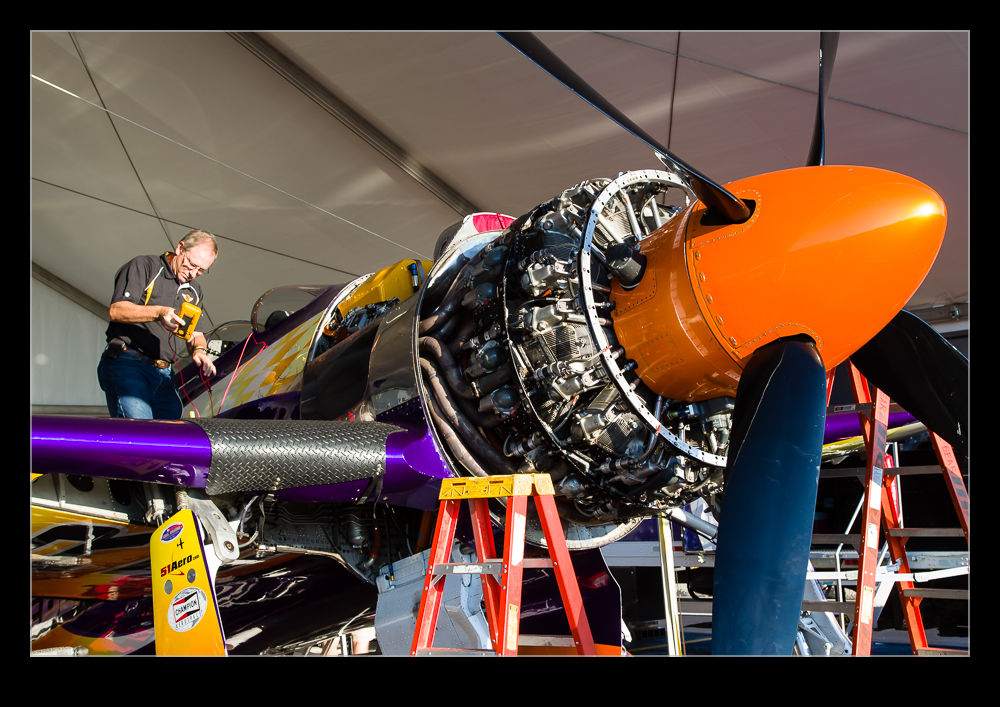
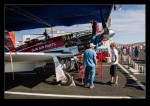
wpid8142-C59F5571.jpgThe parts of the show are very interesting in themselves.  Exploring the pits is a great thing to do.  The main pit area has the Unlimited racers and the T-6s.  The jets are at the far end of the field and always seem isolated to me.  However, more fun can be had walking through the hangars for the Sport, Bi-Plane and Formula One classes.  Here you will see small teams of people beavering away on their pride and joy.  With a lot less people coming through, you can get a lot more access to what they are doing.
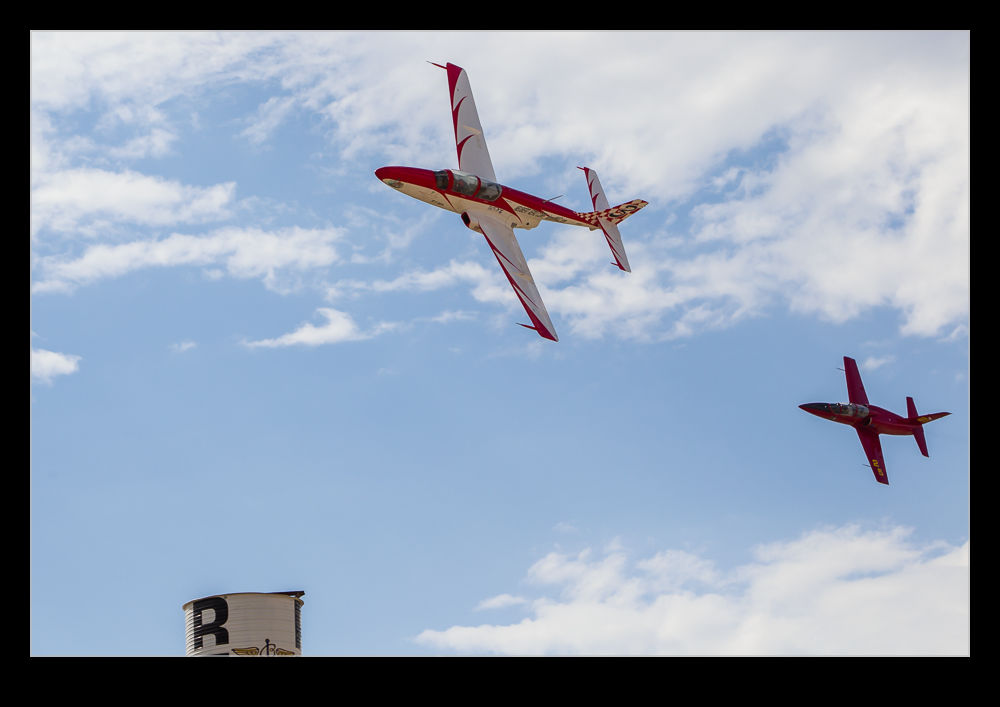
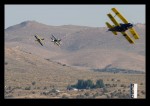
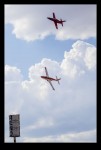
wpid8116-C59F3670.jpgWhen it comes down to it though, the racing is what it is all about.  Shooting from the pits and the stands is fine and it gives a certain perspective on the races but shooting from the pylons is something else.  Being right inside the turn as aircraft zip by at high speed and low altitude is really impressive.  Sometimes you want to just stand and watch rather than see it all through a viewfinder.  However, the races are not long and, if you have a variety of shots that you are looking for, you have to get them quickly.
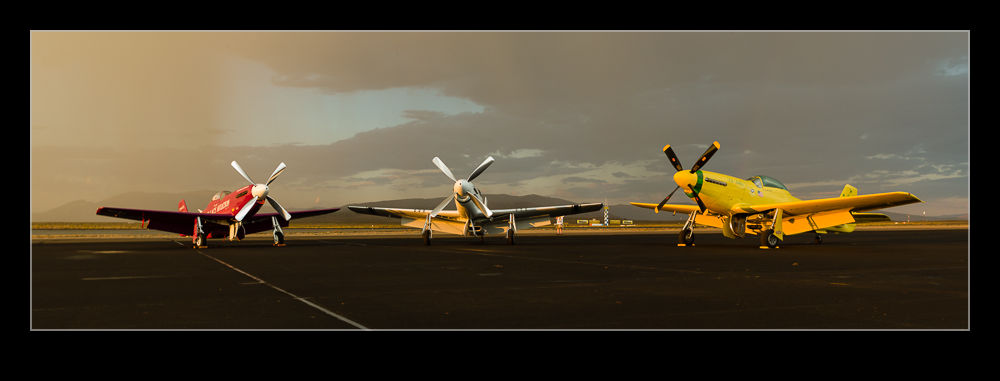
wpid8140-C59F5525-Edit.jpgMoreover, sometimes you need to get in the groove.  The slower types are easier to calibrate yourself for but the jets and the Unlimiteds are really motoring and you don’t have much time to get in practice.  You may want shots of everything but there are certain planes that you know are going to be required for coverage and whether you get them looking good, in good light and sharp in the brief windows available is a combination of practice and luck – plenty of the latter in my case!
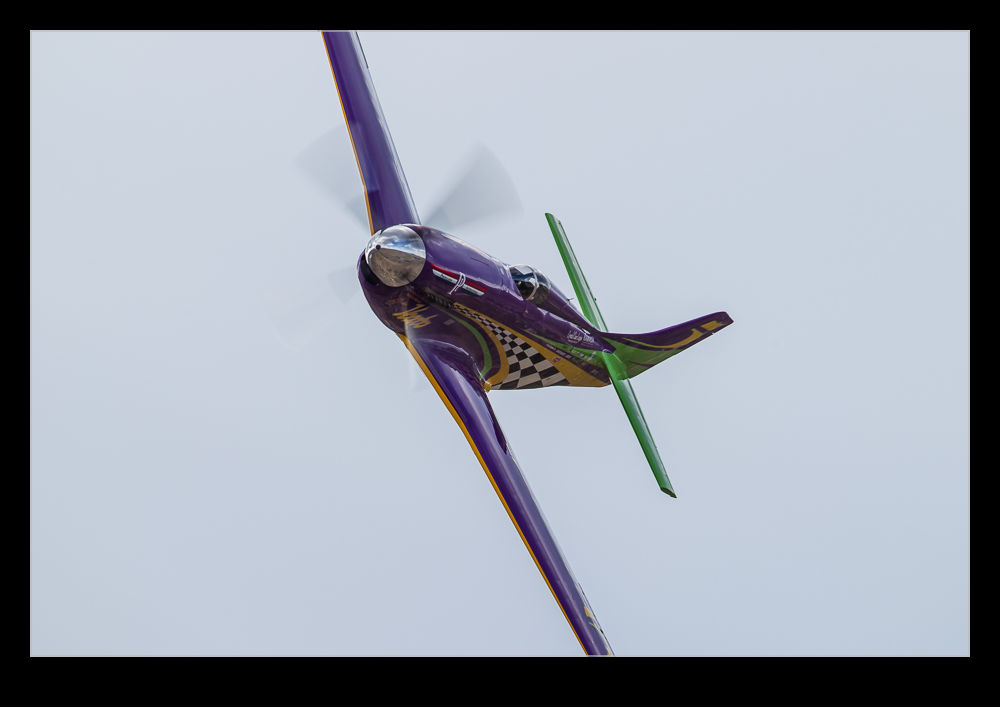
wpid8136-AU0E6689.jpgIt is a fun event to be at and one that will leave you pretty exhausted.  Getting there early for the sunrise lighting and being around to get whatever opens up at the end of the day followed by downloading everything and cataloging it before cleaning your gear up – that dust gets everywhere – charging anything that needs charging and also remembering to eat and suddenly the sleep feels awfully short.  It’s only a few days though.  Is there somewhere else you would rather be?
Kankakee Powerboat Nationals

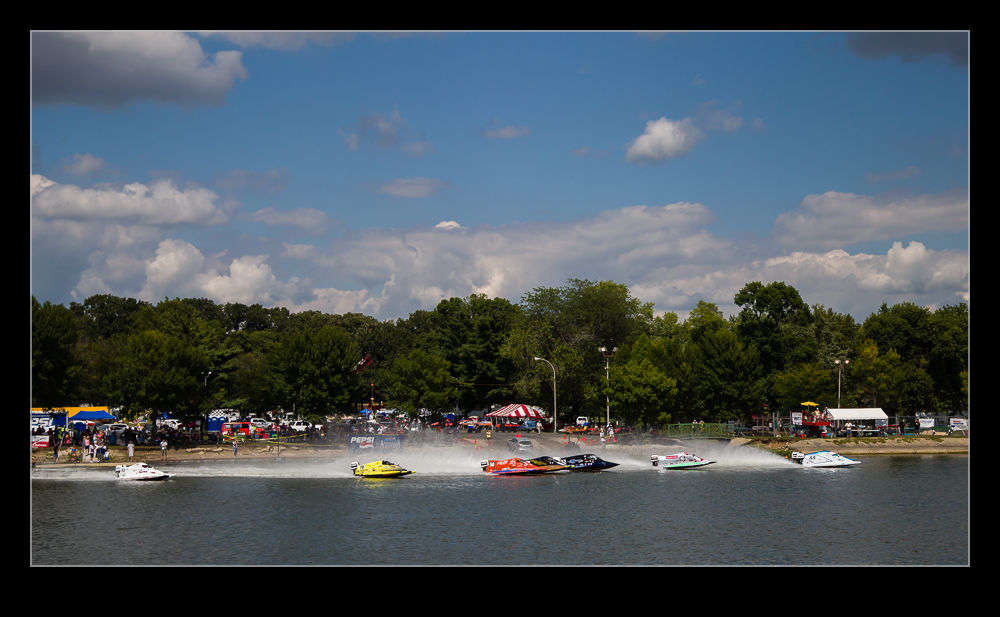
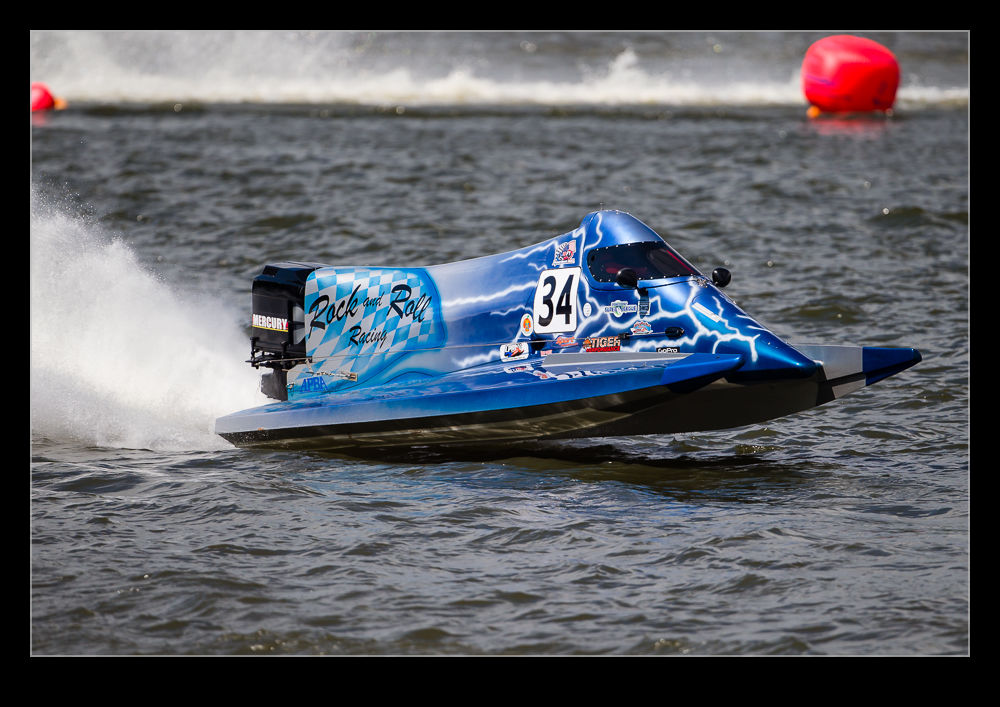
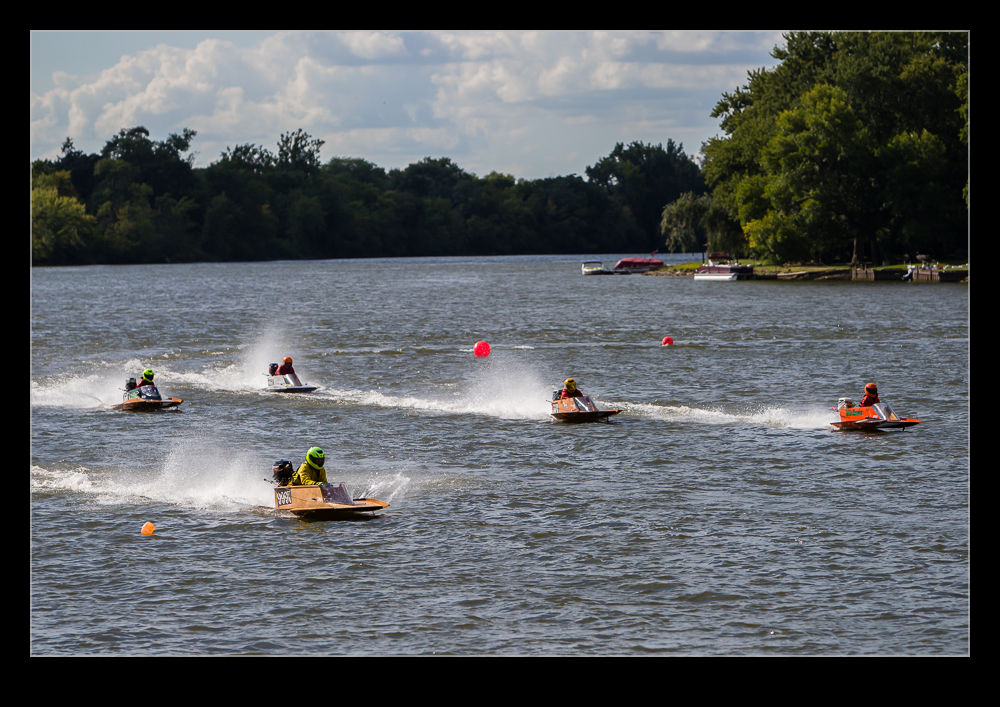
wpid8181-AU0E6147.jpgMy friend Joel has introduced me to many things that are fun to shoot.  One of them is powerboat racing and the Nationals at Kankakee are particularly good fun to watch.  Taking place on the Kankakee River, it is a great location for spectators since you can be on either side of the river and still be close to the action.  With the boats screaming up and down the river, they are close to you a lot of the time and you feel really involved with the action.

wpid8173-C59F8549.jpgThere are a variety of classes of boat taking part.  The engines in use also determine the class so the same boat can race in different classes with different engines bolted on the back.  Straight line speed of the boats is impressive but I find the cornering to be even better.  They hit the corners at speed and then just turn.  They seem to cut into the water and turn in no distance at all.  They throw up some spray and then blast down the next straight.

wpid8183-AU0E6595.jpgThe races are fast and furious and the action means that you can be shooting almost constantly.  In fact, that was exactly what I was doing.  So many shots.  After a couple of races, I realized I needed to pace myself or I would end up running out of cards before the day was out.  Even so, I still ended up with an awful lot of shots to go through.  Combined with a bunch of other events shortly afterwards, it meant it took me quite a while to get through the whole shoot.  However, I have managed to narrow it down a bit and these shots are hopefully a good summary of the day.

Up Close and Personal with an Enstrom

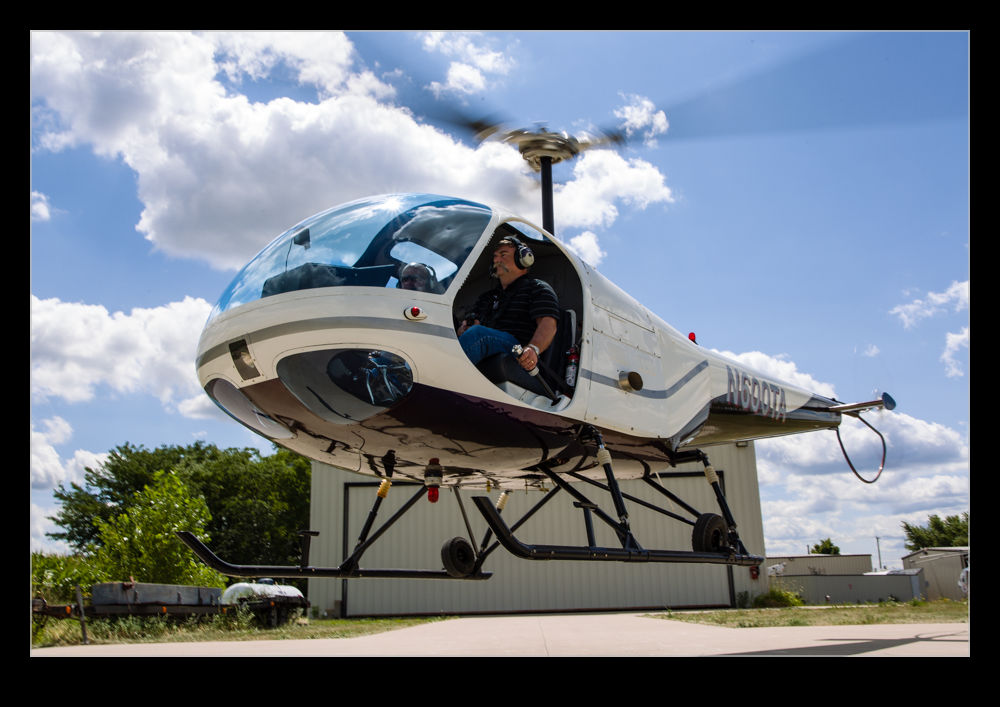
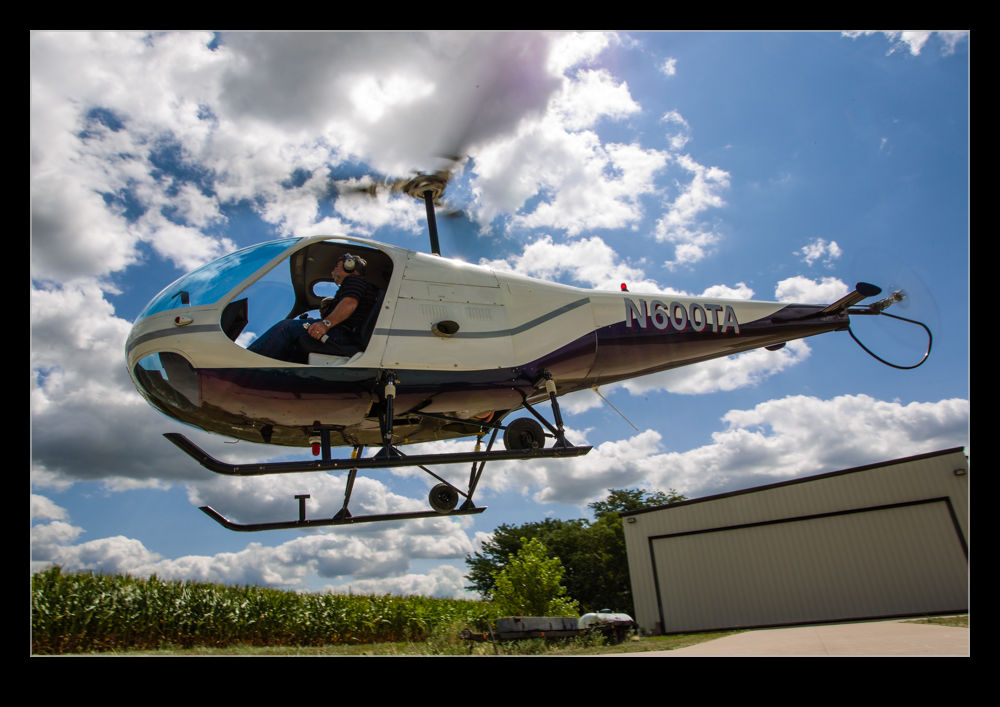
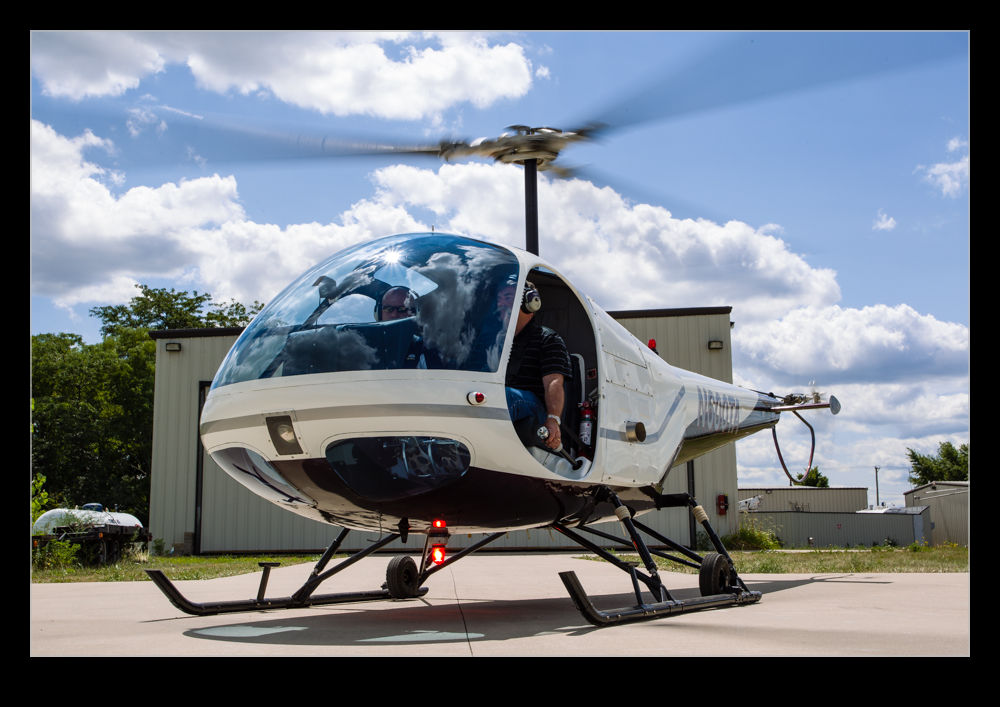
wpid7632-C59F4039.jpgI was visiting a helicopter operator as part of an article that I am working on at the moment.  Unconnected with the subject I was covering are some other operations that they undertake including some flying training activities.  One of the customers was converting onto the Enstrom while I was there so I took the time to get some shots.

wpid7634-C59F4070.jpgThe Enstrom is a cute looking machine to my eye.  The shape of the fuselage is emphasized by getting as close as you can to it.  The best place to be was low and just off the pad.  I was in a safe spot where I was and I knew the capabilities of those in control so was happy to get the shot.  The hardest thing about shooting here is that the downwash is strong so holding steady is tricky.

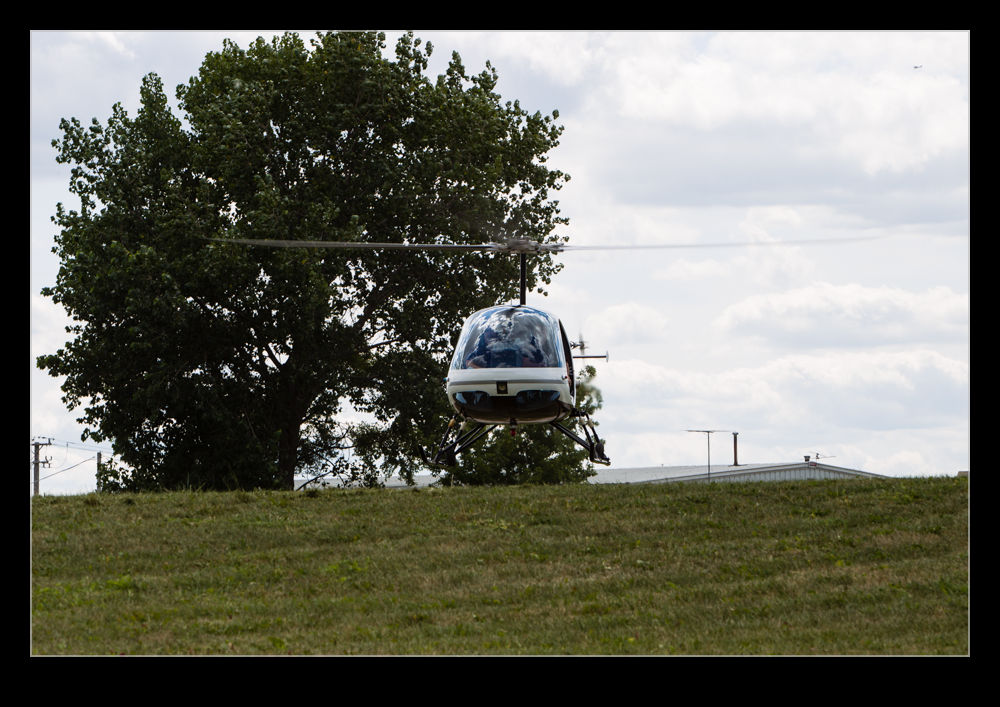
wpid7636-AU0E0517.jpgWhen the sortie was over, they came back and taxied low across the site so I managed to grab a few more shots.  What better way to spend time on a lovely sunny day?

wpid7630-C59F4021.jpg

Lightning

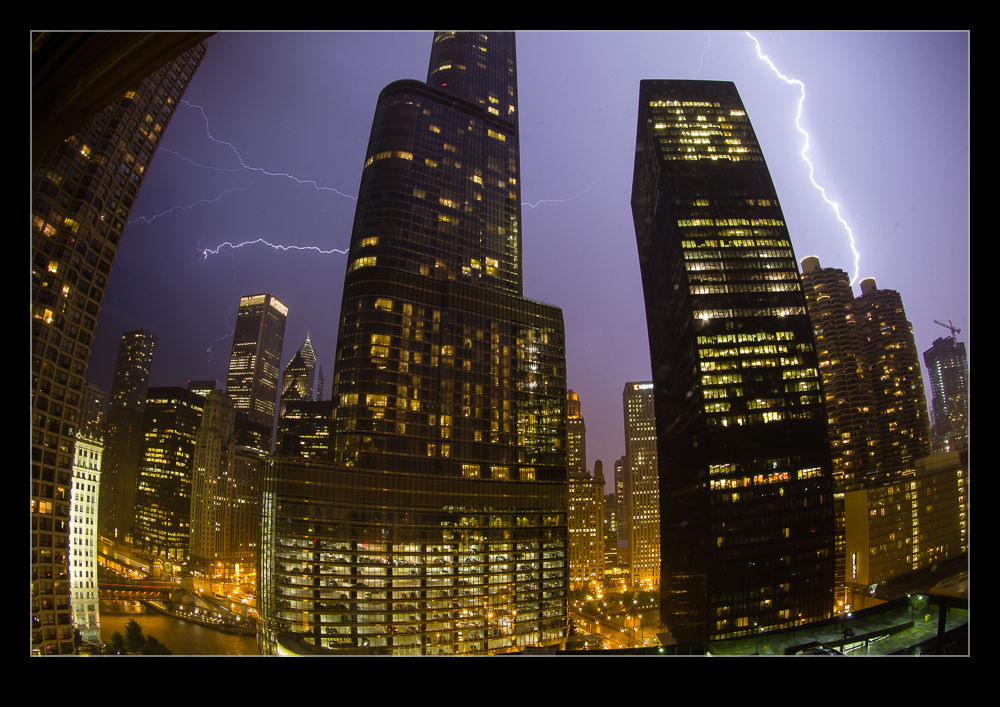
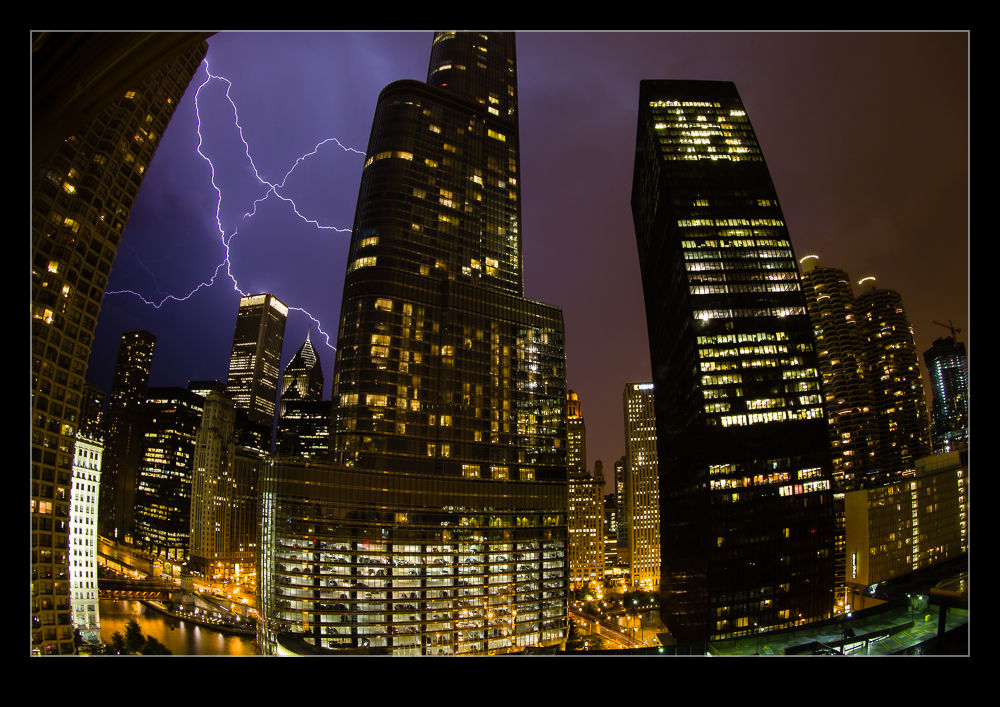
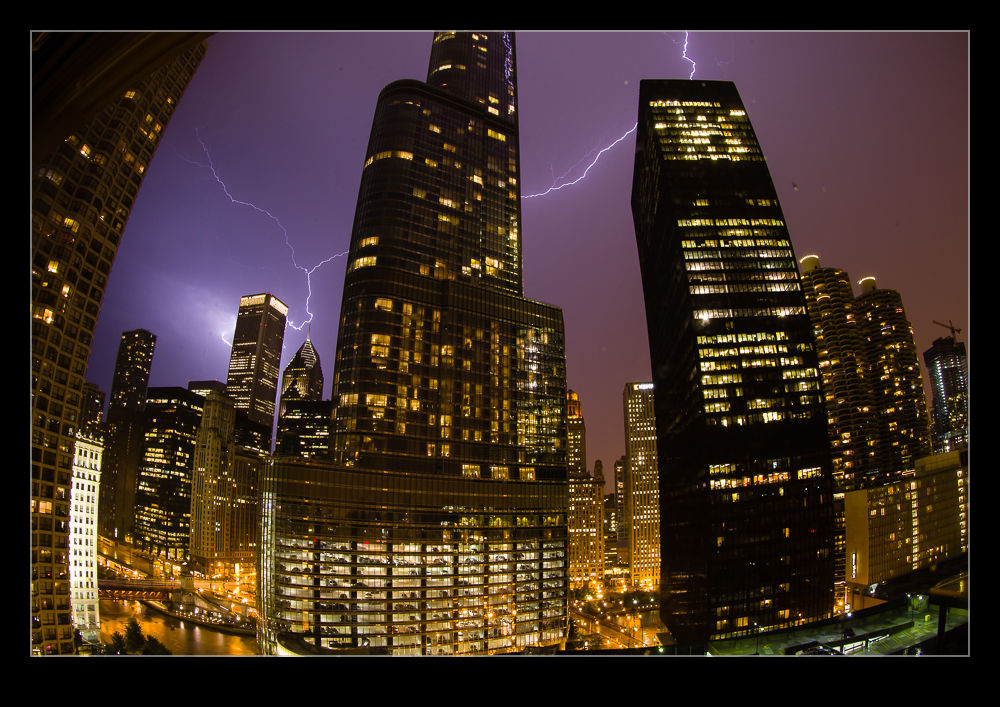
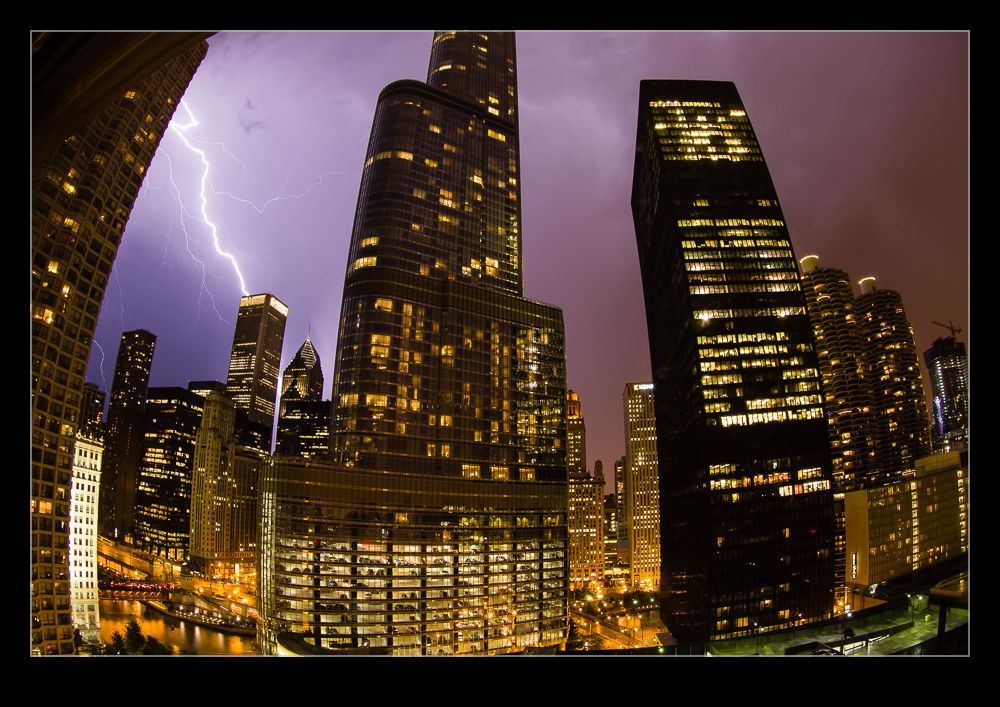
wpid7684-C59F6538.jpgWhen we first moved to Chicago, we had a lot of storms that came through the city which resulted in some great lightning displays.  For some reason, the number of great storms we had in the city decreased in recent years.  You could watch them come through on the weather radar but they tended to go either north or south of downtown.  However, recently we got a bit lucky.

wpid7688-C59F6706.jpgA storm came through that lasted a long time and produced a steady stream of lightning.  At first, I thought it was going to finish quickly and, by the time I could get my camera set up, it would all be over.  However, as we sat and watched, the storm continued to be a steady stream of big lightning bolts all around us.

wpid7692-C59F6909.jpgFinally, I decided it was too good to miss so I went and grabbed the camera, the tripod and the intervalometer.  I set the rig up in one room to take a steady stream of shots and then retreated to the other room.  In days gone by I have had the camera with the cable release and spent my time pressing the release as soon as the previous shot finished.  Now I set up the exposure and set the intervalometer for one second more than the exposure.  There is still a small window when the lightning might strike without the shutter open but it covers almost everything.  Plus, I don’t have to do anything.

wpid7682-C59F6503.jpgThen it is just a question of downloading the shots when the storm is over and running through to see what lightning I caught.  Fortunately, there was a lot of lightning but not much rain so the lightning did not flare out the moisture in the air and I didn’t get rain drops on the window to ruin things.  The result?  A bunch of interesting looking lightning shots.  I was happy…

wpid7690-C59F6723.jpg

Blur That Prop!

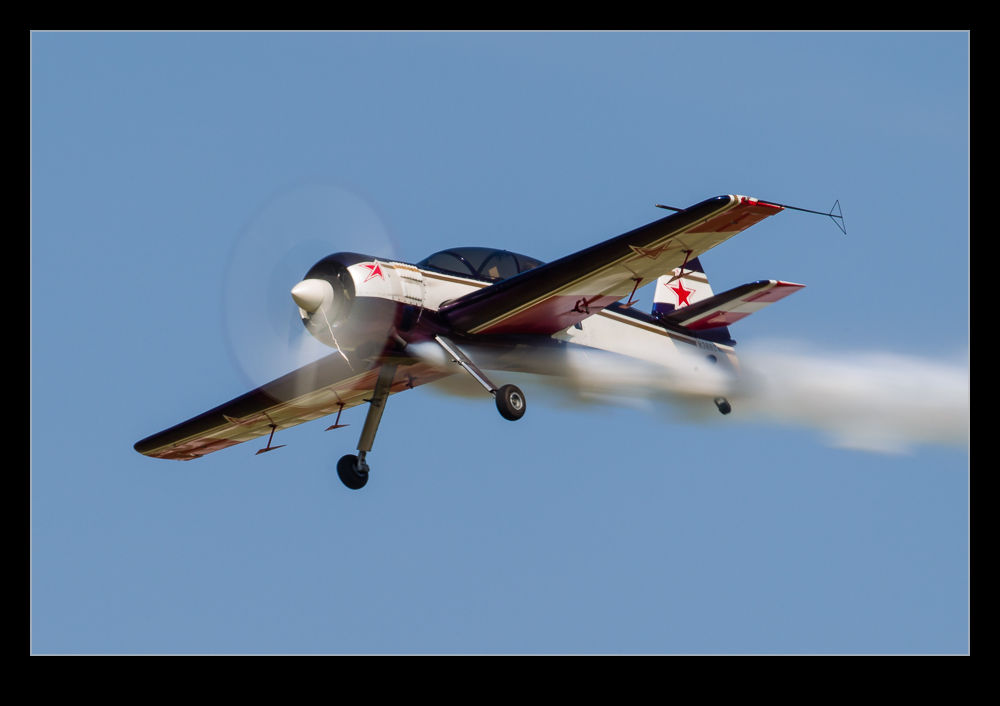
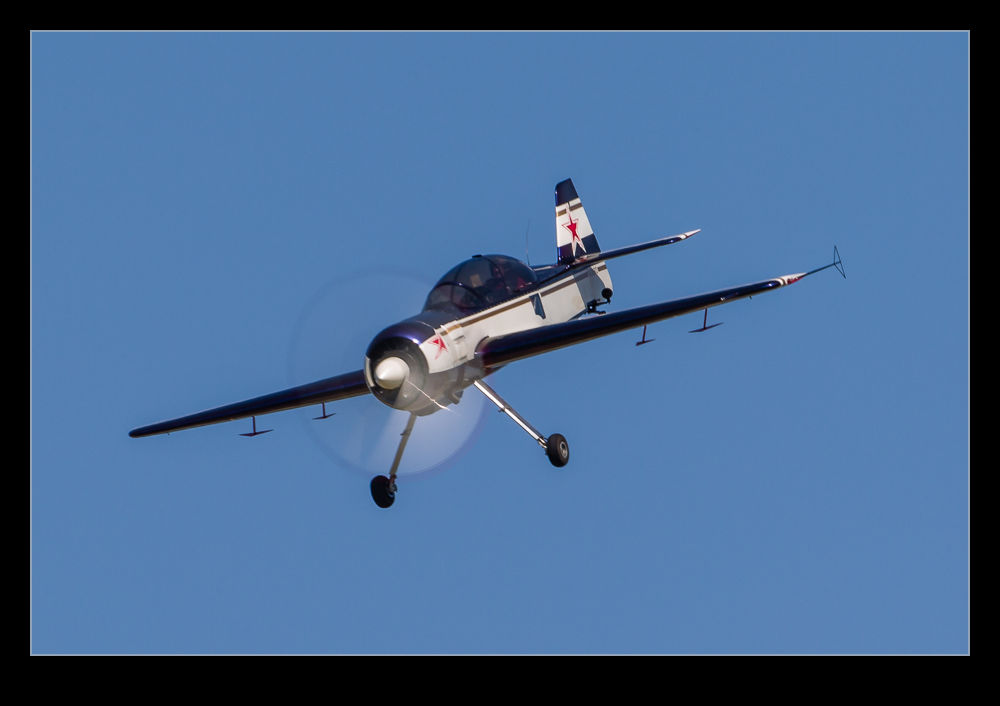
wpid7596-C59F7698.jpgAsk any aviation photographer about camera settings and they will quickly turn to shutter speed for prop aircraft.  The goal is a nicely blurred prop and no frozen blades.  This requires a slow shutter speed and this can have downsides.  If you are using a long lens, getting a sharp shot of a moving target with a low shutter speed can be tricky.  A bit of spray and pray with the shutter button can be required.  Interestingly, if you are closer to the aircraft and using a shorter focal length, things are not necessarily better.  When you are close in, the different parts of the airframe are actually moving at different speeds and angular rates to you so one part might be sharp when another isn’t.  Sometimes this looks okay but often it just looks crap.

I have become less focused on gaining the great blur for ground shots.  Air to air it is something a lot more worthwhile since the other plane is not moving relative to you – well, hopefully not that much.  Therefore, you can experiment going slower with hopefully some good results.  Similarly, when I am shooting helicopters close in and hovering, I will give it a go too.

wpid7594-C59F7690.jpgRecently, I was at the Waukegan show and I decided that, since what I was shooting was not something that I had to get (either I would have other chances or I wasn’t so bothered anyway), I would play with some really low speeds.  I ended up shooting at 1/80th of a second which, on a 500mm lens is a stretch.  Needless to say, you are not going to see the failures.  When I have played like this before, I have had times when not one of the shots was of any use.  However, this time I did get a few lucky results – yes, they were luck.  You can have great panning technique (which is not always true for me) but the math is not in your favor when doing this.  Therefore, I shall be happy with the results this time around.  I won’t be doing this all of the time but playing around is an important thing to do when you have the chance.  Just don’t do it when you really want to have a shot you can keep.

Some Older Skydiving

wpid7625-C59F5898.jpgAnother trip back in time today.  I seem to be coming across older shots when looking for something else and they trigger the idea that they would have been blog posts had I been writing a blog at that time.  Today, it is a bit of skydiving.  The Clow Cavalcade of Planes is a great event held by a local airfield southwest of Chicago.  I wrote a piece about this year’s Cavalcade previously and you can find that here if you want to check back.

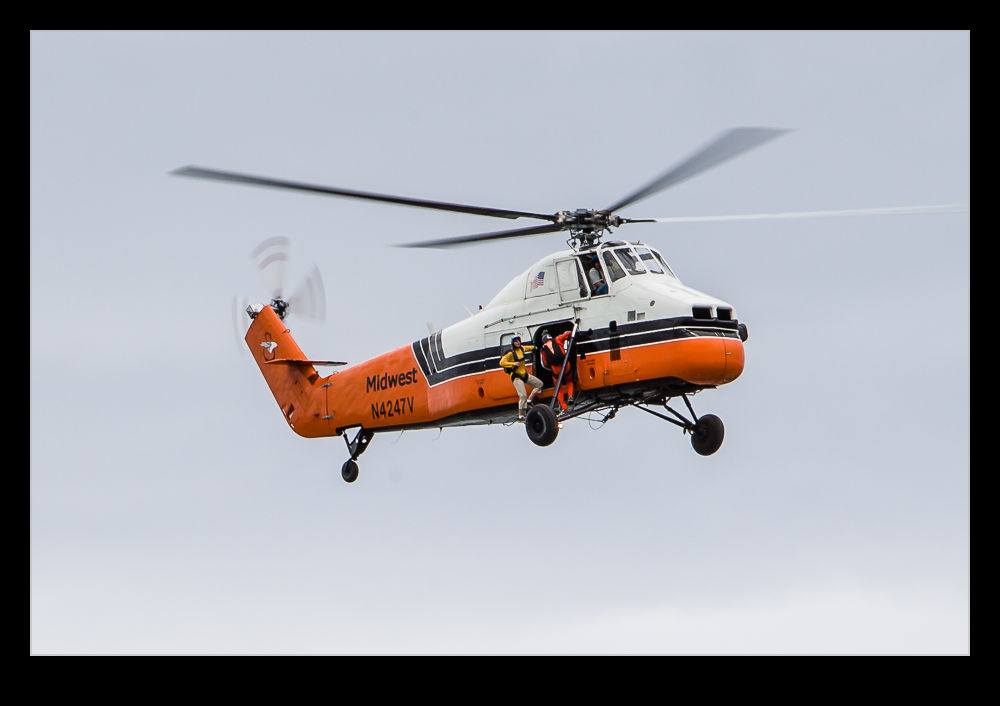
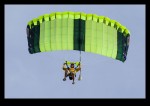
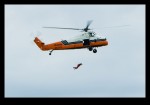
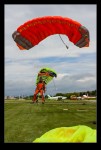
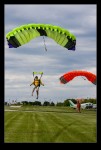
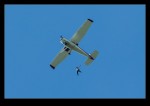
wpid7616-C59F5834.jpgA couple of years ago, I was at the event and spent a bunch of time with the team that carry out skydiving demonstrations during the show.  Clow is under the airspace leading into Midway and O’Hare so there is a limit of about 3,500’ on how high they can jump from but that is enough to get quickly under the canopy.  When the weather cooperates (which it didn’t this year), they jump multiple times during the day.  I got shots of them prepping their parachutes, under canopy and coming in to land.  I also got to go up on a couple of the jumps.  The first was a bit of an unusual one.  They were jumping from Midwest Helicopters’ S-58T.  I was in their normal jump ship, the Cessna 182.  The helicopter had a far higher rate of climb than us so, while we were airborne ahead of them, it climbed up passed us and we had to catch up.  Then we orbited them as they jumped.  Quite an unusual thing to see.

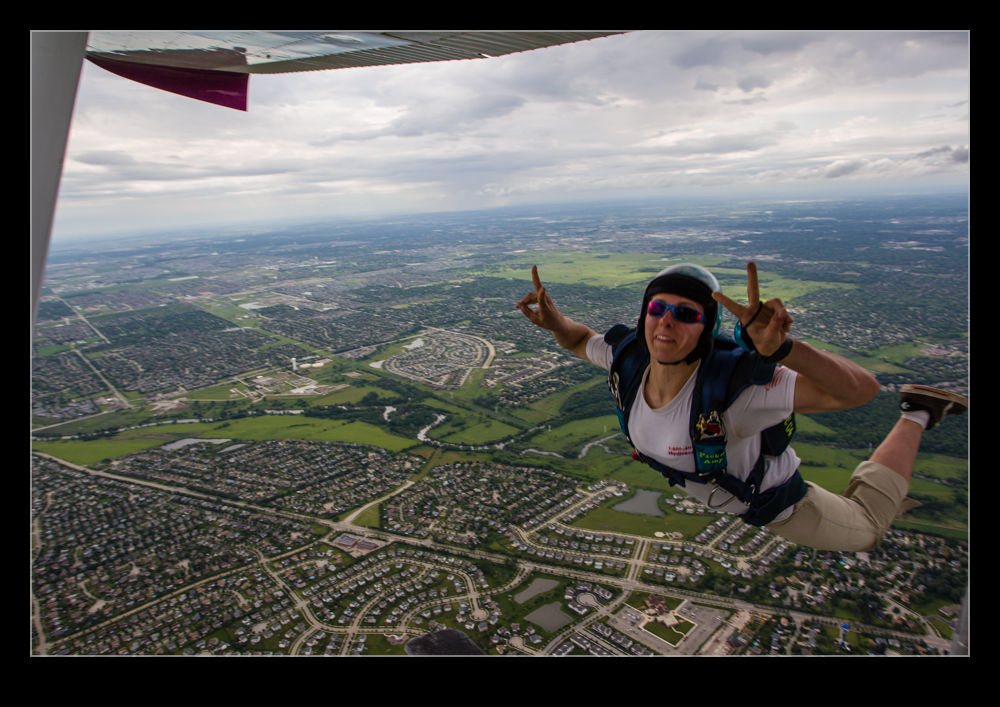
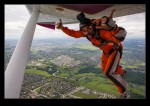
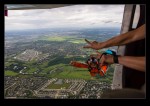
wpid7602-C59F5035.jpgI also rode up in the 182 when they were jumping from it.  There was only one seat in the plan and that was occupied by the pilot.  I sat on the floor with my back to the instrument panel with the straps across my legs and they sat in the back.  Plenty of time for group shots as we climbed and then time to open the door.  It was hinged at the top and the airflow held it open.  When you are sitting on the floor and that door opens right next to you for the first time, it is an interesting experience seeing nothing between you and the ground.  Funny how quickly you adapt though.

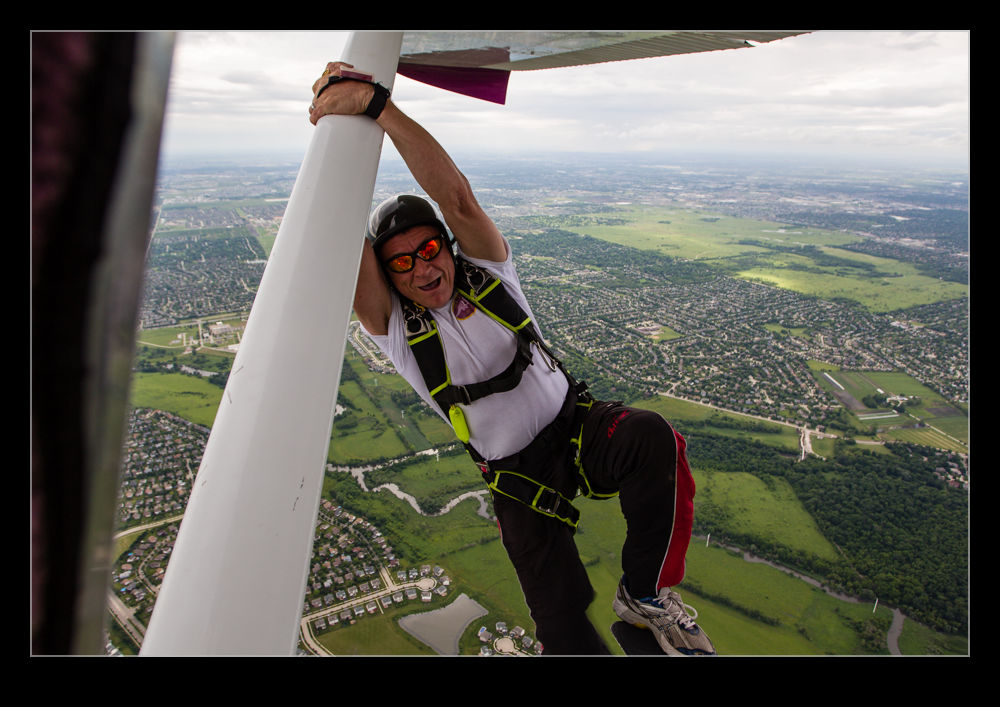
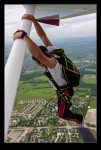
wpid7618-C59F5876.jpgThen they took it in turns to jump.  There was a step on the gear leg they could rest on and the wing strut was also something to hang from.  A lot of good poses before letting go.  Then we side-slipped to let the door close, latched it shut and descended as fast as we could.  It was a fun shoot and something I would like to do again sometime.  We shall see if the opportunity presents itself again.

Updates to the Workflow

A while back I wrote a piece about how I manage my workflow when bringing in new pictures from a shoot.  If you are so inclined, you can read the original post here.  I thought it might be appropriate to bring the topic up to date since I have tweaked the workflow a bit since then.  As I mentioned before, this is not all original thinking from me.  I have picked up suggestions from a number of places and then adapted them to my own needs.  If they are useful to you, that is great.  All of this is based on using Lightroom as an image management tool.

The basic process involves creating a series of Smart Collections for a given shoot.  I have adapted these collections a little and have a basic set, not all of which are required for every shoot.  However, what I have done is exported these collections to a folder on my computer so I can re-import them for each shoot and tweak them rather than start from scratch each time.  For example, they all have the keywords section blank so that I can paste in the required keywords for the shoot easily.

I will initially create a Collection Set for the topic and, if this is an event that occurs more than once, a Collection Set within that for the specific date.  Then, within that, I shall import the Smart Collections from my templates.  In the first instance, these will have lots of files in them since the criteria have not been narrowed down but I shall then edit each one to have the appropriate keywords and, if required, the specific dates.  Date Taken is the criterion I will use then, either with a specific date or a range.   Of course, this does require me to have put the appropriate keywords on all of the images first including whether they are HDR, panorama or time lapse images.

The following are the smart collections and a description of what they contain.  To avoid repetition, it can be assumed that they will all fit the keyword and date range criteria.

  • Not Rejects – All images that have not been rejected, are not marked as HDR or panoramas and are not video clips
  • Picks – All images that have been marked as a Pick and are not video clips
  • HDR Originals – All marked as HDR that are RAW files
  • HDR Edits – All marked as HDR that are not RAW files
  • Pano Originals – All marked as panoramas that are RAW files
  • Pano Edits – All marked as panoramas that are not RAW files
  • Time lapse – All marked as Time Lapse (Duh!)
  • Not Geotagged – All files that do not have GPS coordinates associated with them
  • Videos – All video files not marked as rejects
  • Rejects – All files marked as rejects (again, duh!)

The reasons for some of these are obvious but others are less so.  The not rejects file specifically excludes any shots I have marked as HDR or panorama since, when running through the edits, it is easy to see a shot that makes up one of those processes and think it is boring and delete it.  Keeping them separate from the start is important.  I keep the originals and the edits apart since, when I come back to them later, it is a lot simpler to look through the finished versions without having to find them amongst the originals.  Previously, they ended up in the same smart collection and, after getting bored trying to find the finished one, it occurred to me that they could be kept apart easily.

I now try to geotag all of my images.  Having the folder that shows that they haven’t been done reminds me to do this if I have not done it straightaway.  I have found that Lightroom has a bug (I have found more than one!) that, when you have imported a bunch of stuff, if you go to the map page, it gets a little lost and keeps the map view looking like the grid view.  You can get back out without any problem but have to restart to get back to map view.  If you go to map view before doing all of the importing, it seems fine then.  However, this folder makes sure I don’t forget to do it at some point.

With all of this set up, it is then easy enough to get into the process I have outlined before.  I go to the Not Rejects folder and render 1:1 previews of all of the files.  This can take a while so I will often start it off and then go and do something else for a while.  I can then come back and run through the images.  I will have a full screen version on one screen and the zoomed 1:1 image on the other.  This allows me to easily see which shots are not sharp or have an obvious flaw like a pole through the foreground or someone’s head in the way.  A quick “X” and that shot disappears from the smart collection and I am on to the next.  If it is okay, right arrow and I am moving on.  This kills a lot of shots quite quickly.

Then it is a simple case of looking at the shots in Grid view, usually quite large, to see the ones that are duplicate or just plain crap.  I can select which to get rid of and “X” again has them consigned to the trash.  Once all of this is done, I will run a BluRay backup of all of the shots including the XMP files after which I shall delete all rejects.  Hopefully that leaves me with a lot less shots to play with.  I can then pick the ones I think are the best and mark them as Picks.  It then leaves me with a smaller smart collection which I can go in and pay some attention to making more detailed edits.

This process continues to evolve.  Maybe I shall write another update in a couple of years.  In the meantime, I hope it might be helpful to someone for me to have shared it.  Happy shooting!

Team SHAR

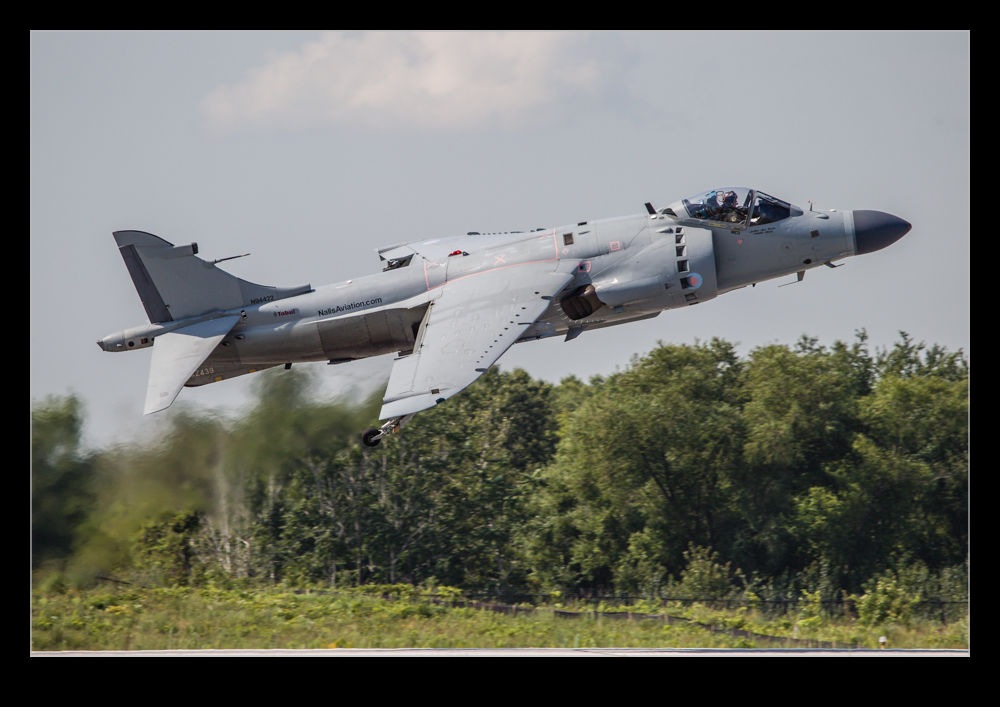
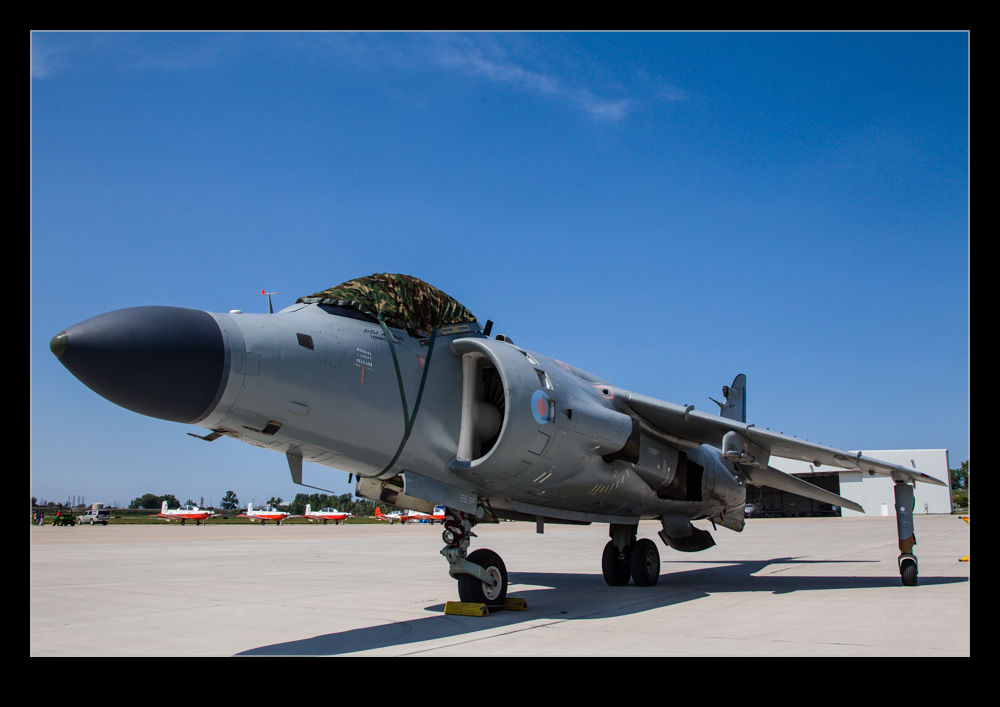
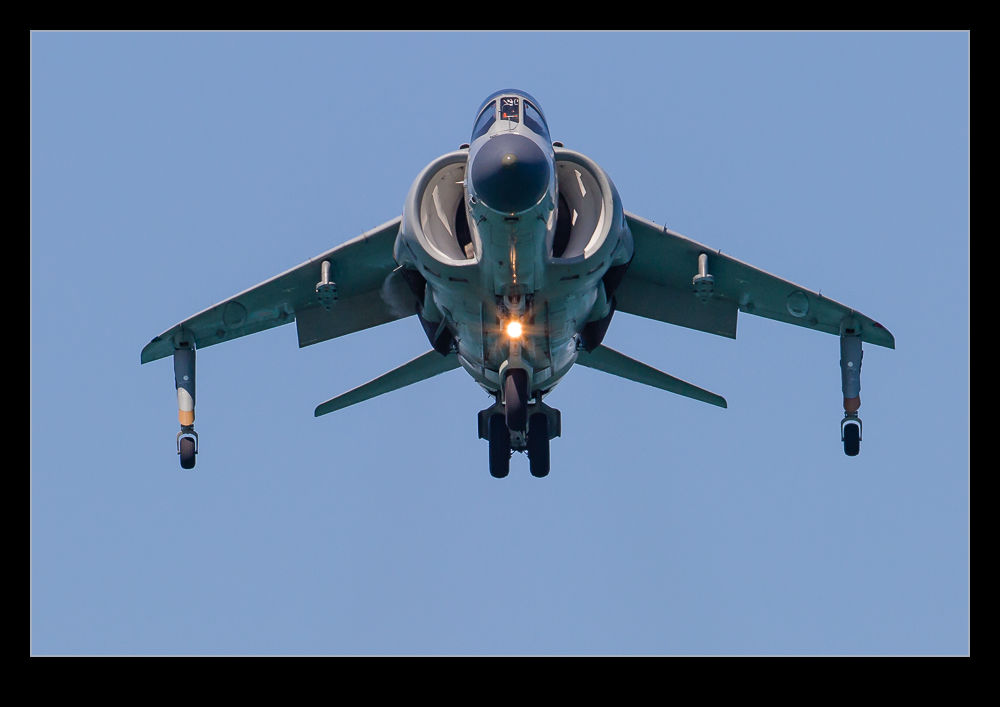
wpid7576-AU0E2766.jpgI have spent time with Art Nalls and his Team SHAR at various events over the years but it had been a while since we had last crossed paths.  Therefore, it was good to see Art and the guys again at Gary for the Chicago Air and Water Show.  This year has been a busy year for the team.  Not only have they got themselves well established on the show circuit but the lack of military participation has meant a relatively modern fast jet is in high demand to fill the gap left by the normal front line fighters.  Add to that, the difference that a Harrier brings and you can see why their calendar has been filling up.

wpid7580-C59F4939.jpgI caught up with Art early in the day and ended up running some errands with him for a while.  However, I didn’t want to miss other acts on the ground so left them for a while to do some other stuff.  I did get back later in the day and chatted to the guys for a while and watched the launch and recovery.  With the jet on the ground, I also took the time to get some shots of it while no one was working on it.  On the final day of the show, I did head back to the beach to try and catch it in action too.

wpid7592-AU0E3939.jpgIt was, as always, great to hang out with the team.  They did a great job and closed out the show nicely.  I hope it isn’t as long before I next see them!

Passing Airliners

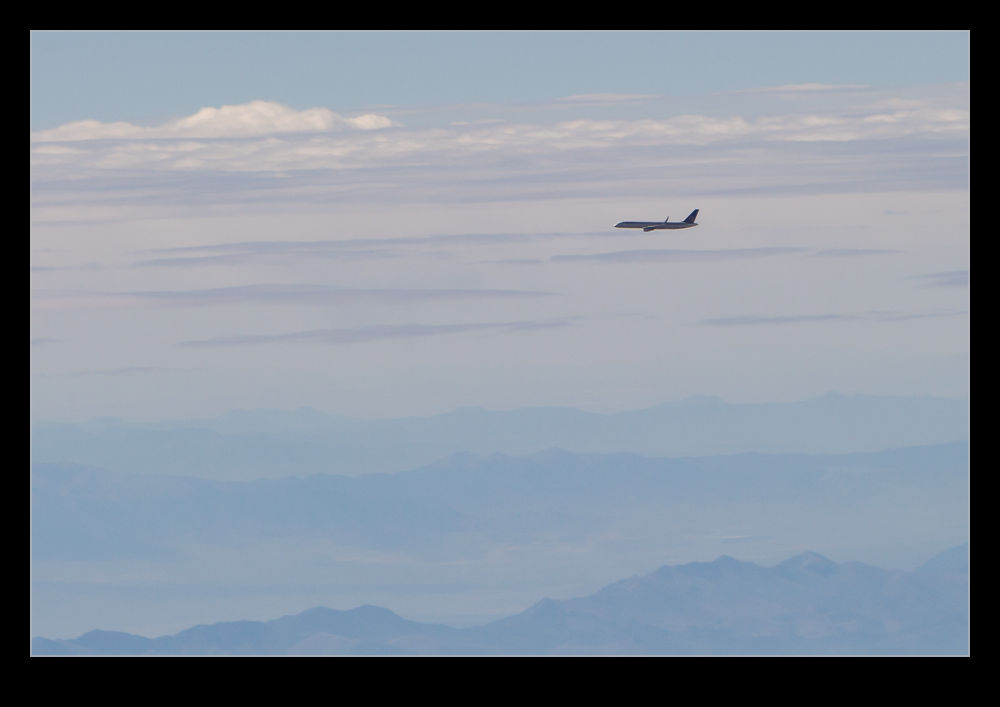
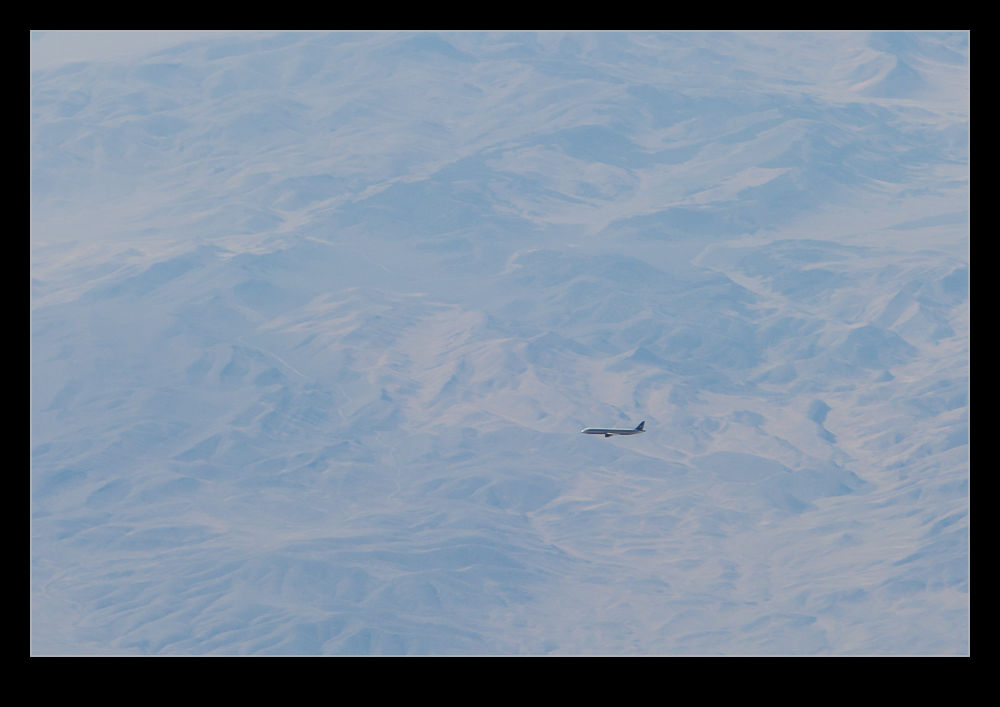
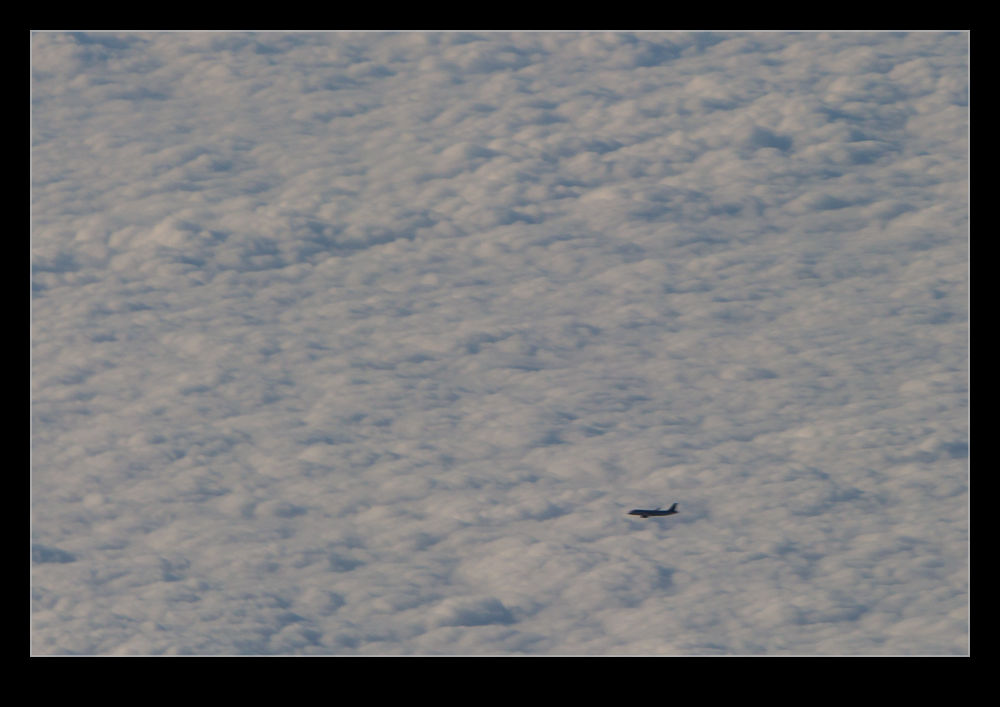
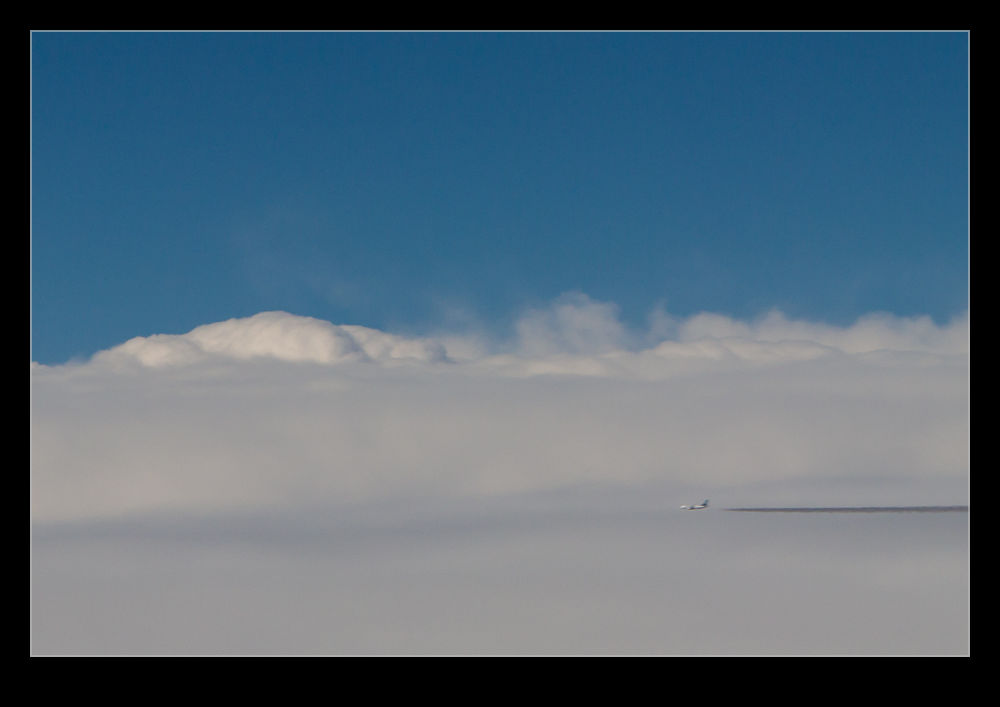
wpid7447-AU0E0226.jpgMore on the looking out of the window of airliners theme today.  This time the subject is other airliners.  If you don’t stare out of the window much, you might not be aware just how much other traffic is out there.  Actually, there is quite a lot.  At various times you might see other jets passing in the opposite direction, pacing you at a distance and crossing your path.  Sometimes they seem very close.  With some of the apps that are available now, if you have wifi on-board, you can even be prepared for some of them showing up.

wpid7445-AU0E9875.jpgHere I shall highlight a quality warning.  The attached shots are not great.  They illustrate a point but nothing more.  There have been quite a few occasions when we passed very close to another aircraft.  However, those were not times I had a camera handy.  even if I had, the chances of getting a good shot are not great.  Even when you are close, you are really not that close.  It just seems a lot closer than normal – which it is.  However, you are still well separated.  Therefore, to get a shot, you need a medium length lens at least.

wpid7443-AU0E9863.jpgSadly, aircraft windows are not designed for optical perfection.  Moreover, since they are pressurized and scratches are a source of fatigue which you certainly do not want, the manufacturers put a nice perspex sheet between you and the window.  They certainly are not optically perfect.  Now you are shooting with quite a long lens through two layers of less than perfect material.  This is not a good recipe for quality shots.  There we go.  I have made plenty of excuses.

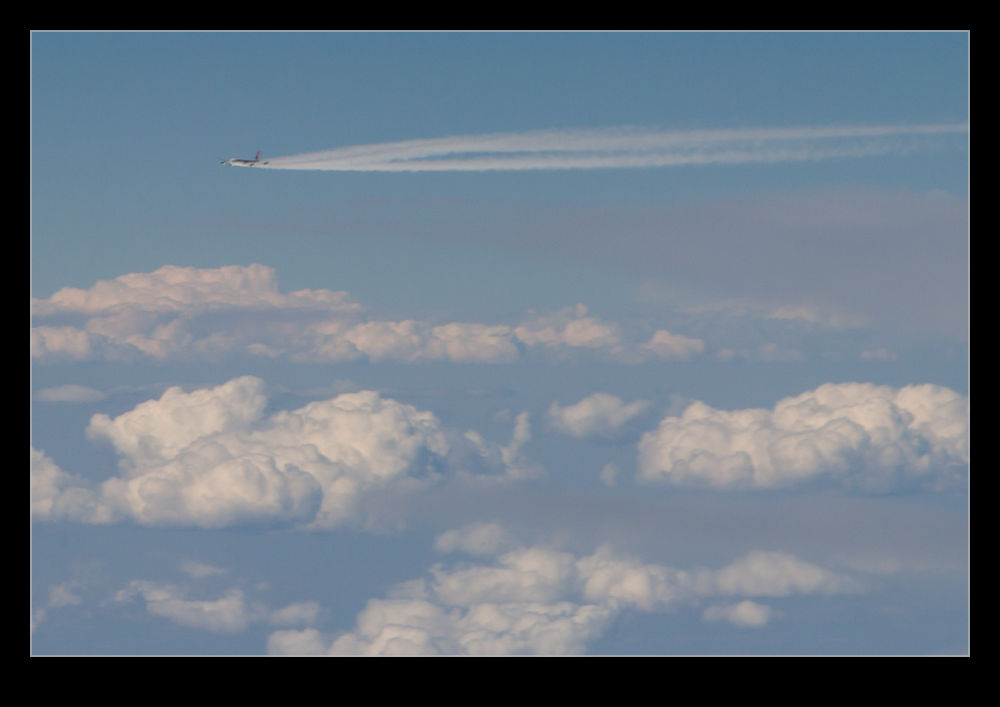
wpid7455-AU0E0314.jpgYou are now going to get a small aircraft if you are lucky and a small blur if you are not.  If it is pulling a contrail, you might do better since they can make some nice shapes.  However, chances are you won’t get much at all.

wpid7449-AU0E0251.jpg

Clouds From Above

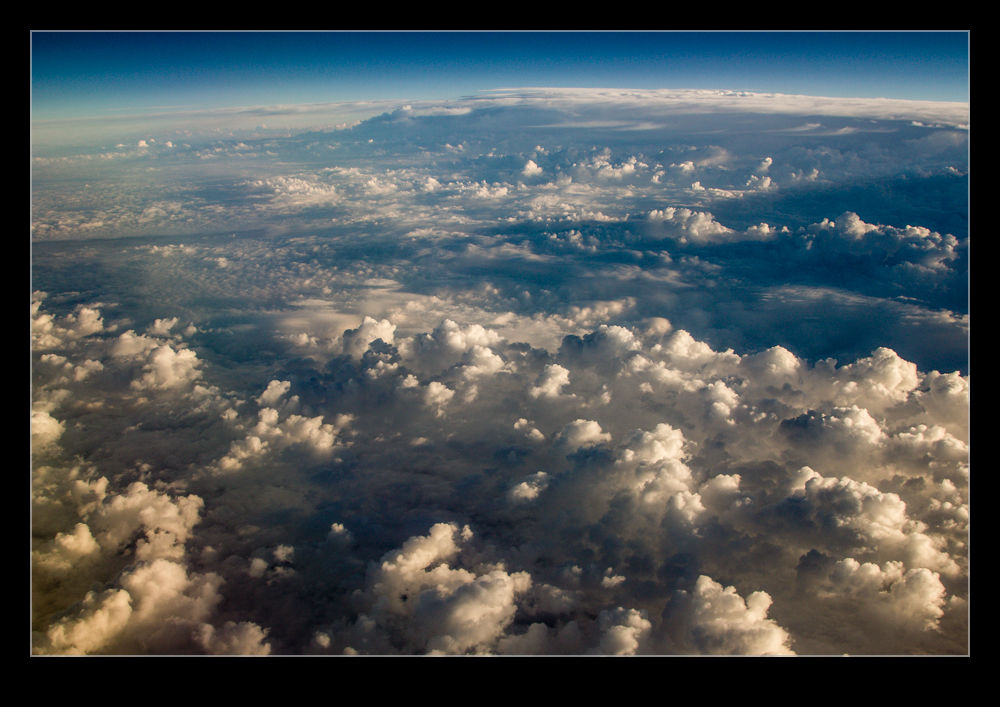
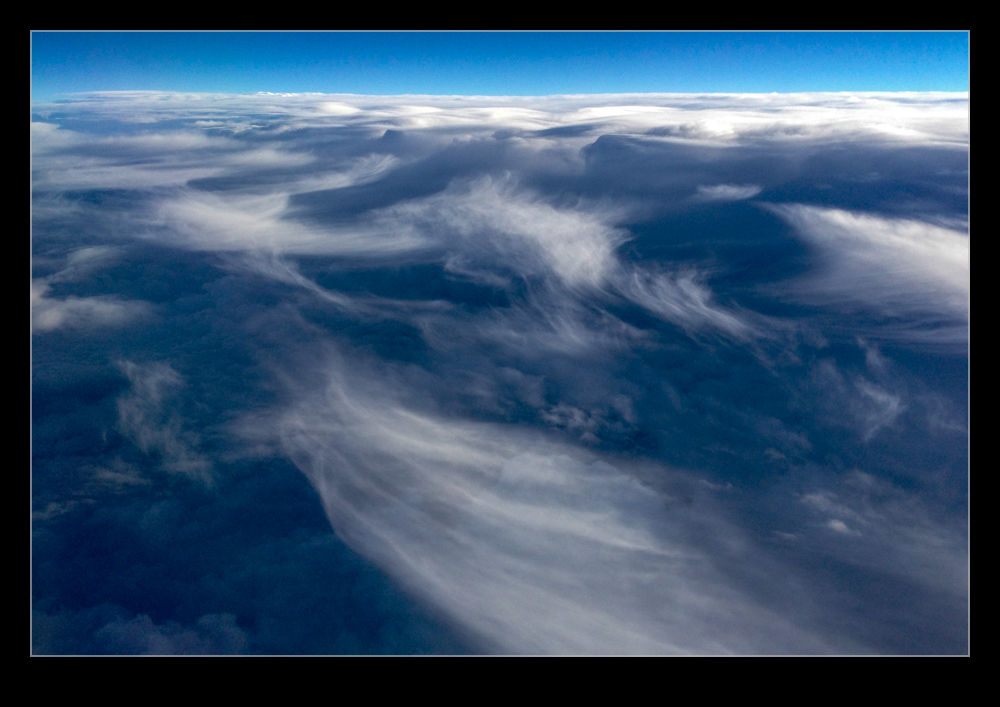
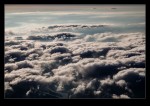
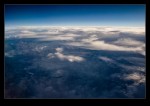
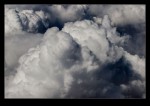
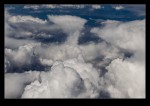
wpid7461-AU0E9856.jpgMy frequent flights mean I get to spend some time looking down.  Often when flying across the country, the skies are remarkably clear.  There may be a lot of haze obscuring a clear view to the distance but the amount of cloud is usually not much.  Then, when there is some, it tends to be thick cloud cover below.  No real shape and texture.  Consequently, when I see some cool looking clouds, I get a bit more excited.

wpid7457-IMG_1666.jpgThese are a few of the clouds that I have recently had a chance to shoot as we passed by.  If you are not a cloud person, they are very dull.  If you are, you can spend ages looking at the different shapes and shadows.  I hope you are a cloud person.  If not, maybe my next post will be more up your street.