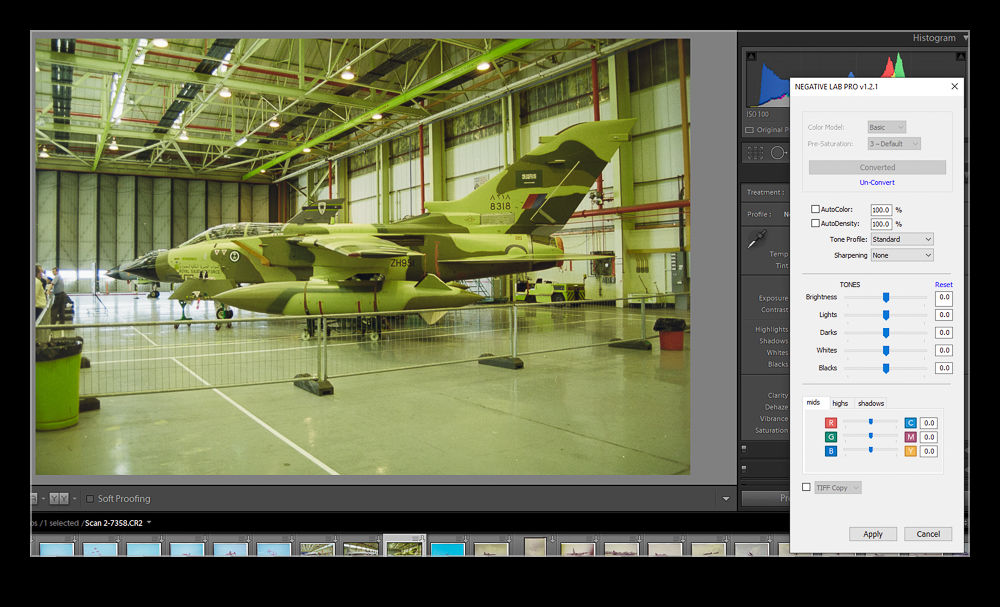
A while back, I bought the Lightroom plugin, Negative Lab Pro. This is a plugin that converts digital images of negatives to a positive image. I wrote about it in this post. A short time ago, the developer brought out a version 2.0 upgrade to the plugin. It turns out, the upgrade was free for those of us that had bought the original plugin. I installed the upgrade to see how things have been improved.
Initially, I was very disappointed. The conversion process after the update seemed to be awful. Things looked dark and blotchy and efforts to unconvert and reconvert the images didn’t help. I was perplexed by this since a number of users had already exclaimed how happy they were with the update. If in doubt, follow the old approach of closing stuff and restarting it. I closed Lightroom and reopened it and whatever was wrong before was now fixed. The conversion worked very well. The controls have been expanded to give you a bit more to play with. The main benefit I am seeing so far is in the color balancing. Shots seem to have a more natural look to them without me having to work too hard on the color in the first place. Shots like those with a lot of sky and an odd colored aircraft will still test the algorithm a lot but otherwise it seems to have a good handle on things. It is also now able to handle frame edges without getting confused. You can tell it how much of the edge to ignore which is a useful feature although I have got into the habit of cropping carefully already.
All in all, the upgrade seems to be a good one. Since it hasn’t cost me anything, that is a nice thing to have. It is also good to know that the developer is continuing to work on the product which holds out the hope of further upgrades to come. I continue to recommend this to anyone that has been scanning their old negatives with a digital camera.


 I am in the process of experimenting with a new approach to scanning old photographs. For many years I have been using a Minolta Scan Dual III scanner. It can accept strips of negatives or slides and does a reasonable job of scanning them in. It is a bit labor intensive and is certainly not fast. Moreover, the scanner is not terribly reliable and it will often hang mid scan requiring me to restart it and close down the application before restarting that too. Since it takes a long time, I often get it running and go and do something else so I might miss the problem.
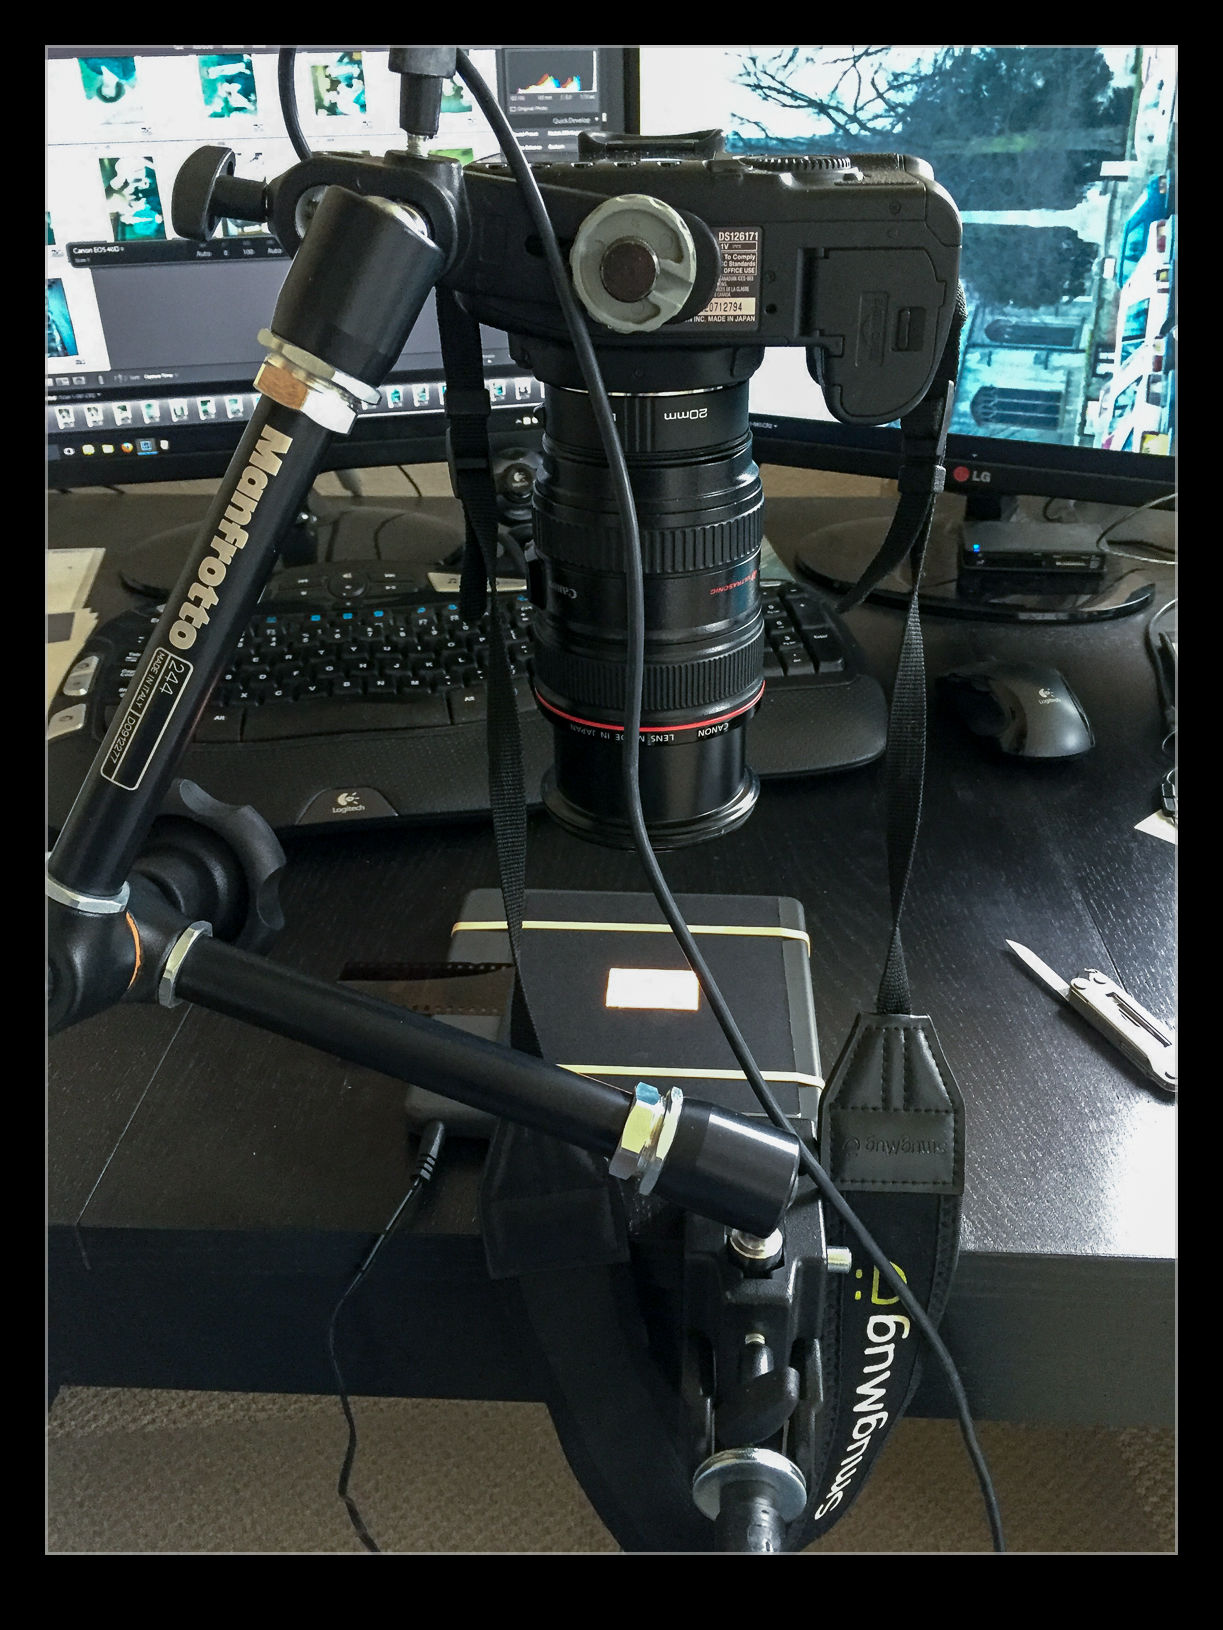
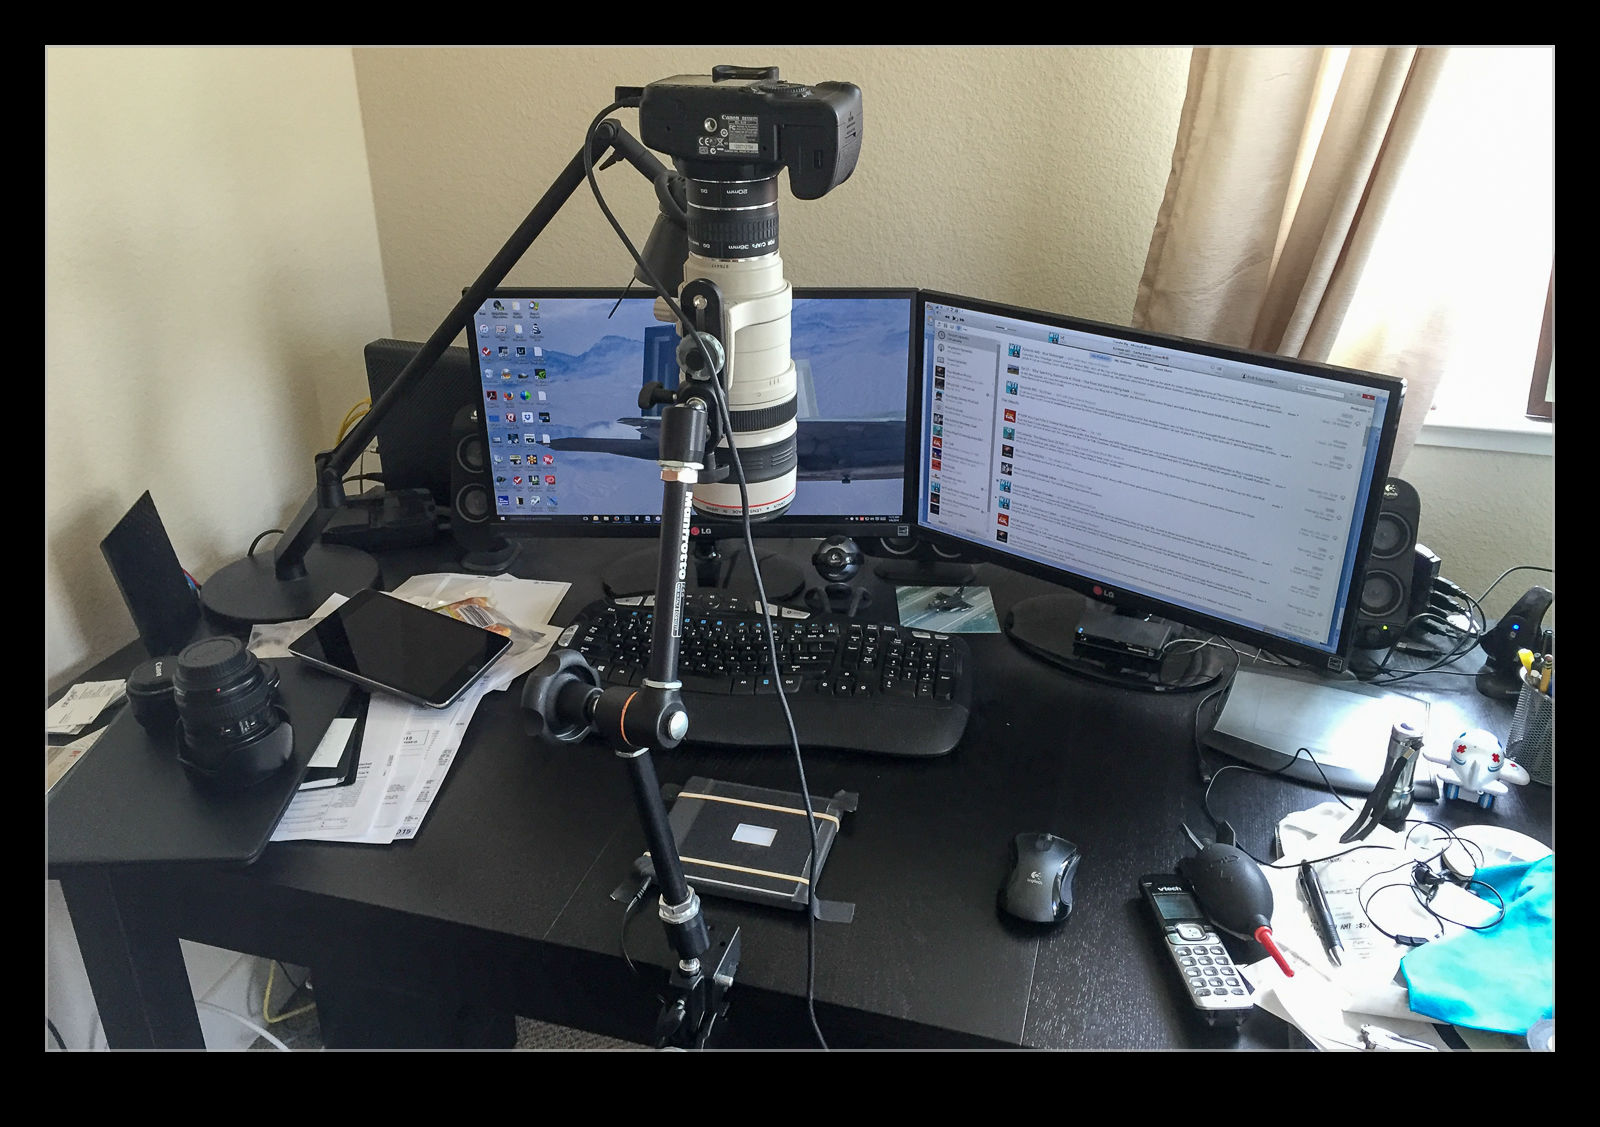
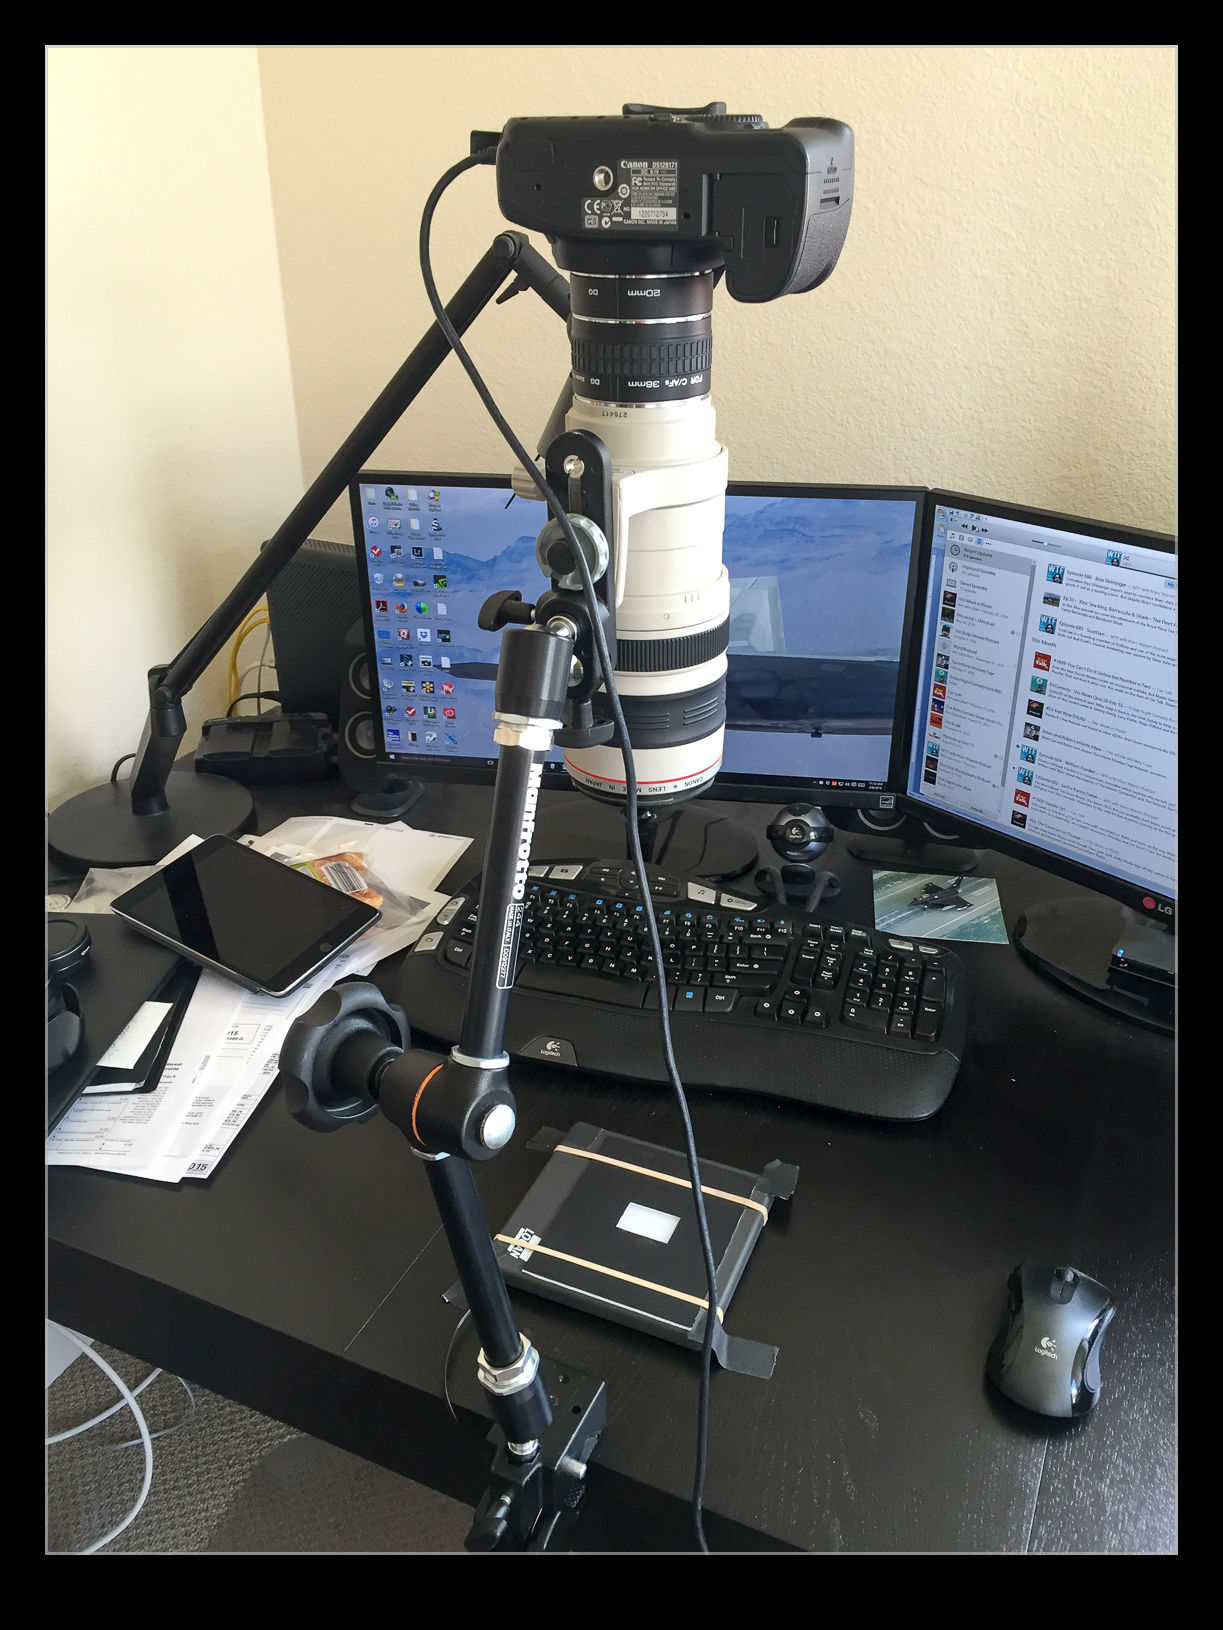
 I am taking the images at my desk so I am able to tether the camera to the computer and use Lightroom to capture the images directly. This has actually provided me with an opportunity to drag out one of my older bodies that doesn’t get used anymore. My old 40D has been sitting on a shelf for a long time but it has come back into use for this project. It has more than enough resolution for this task. (Unfortunately, the batteries are now rather old and don’t hold a charge well so I am going to get an AC adapter from Amazon for ten dollars which should free me to scan as much as I want.)
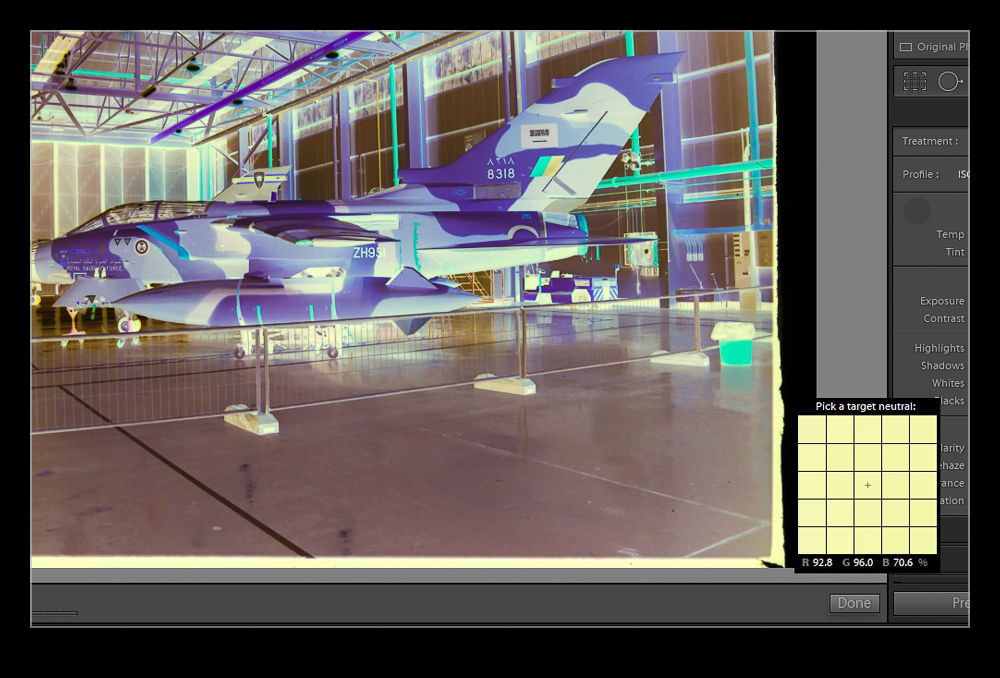
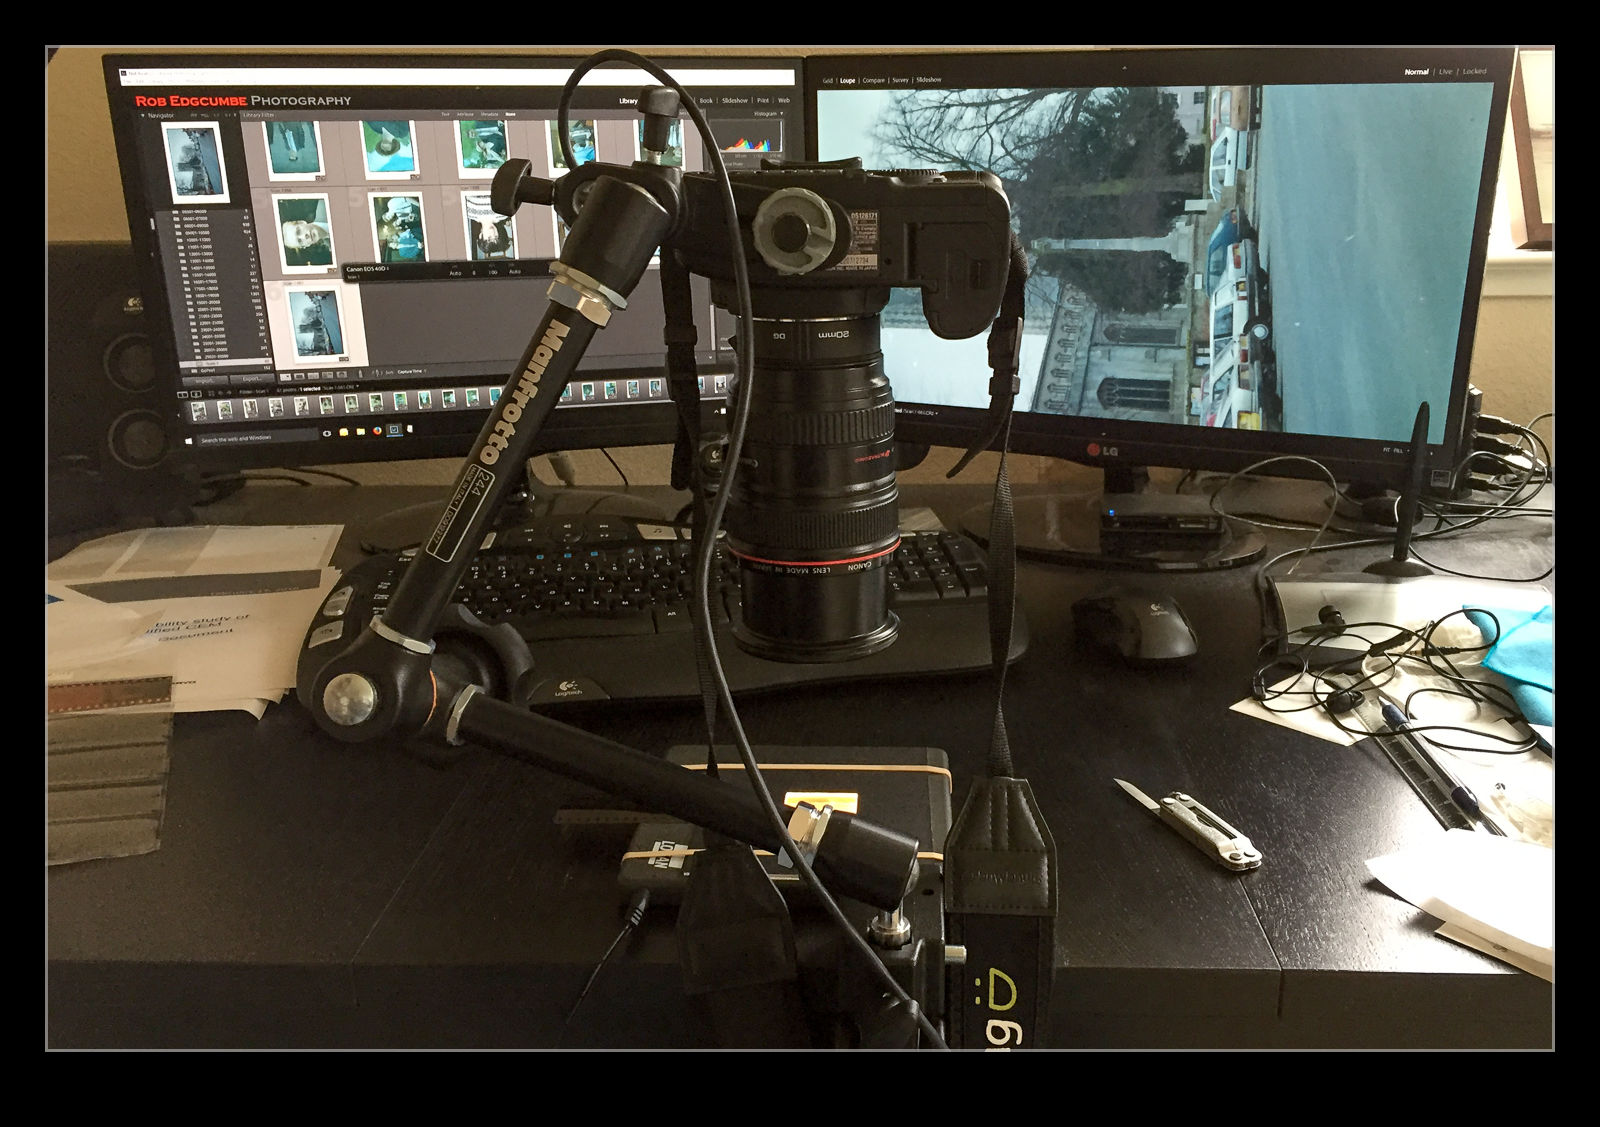
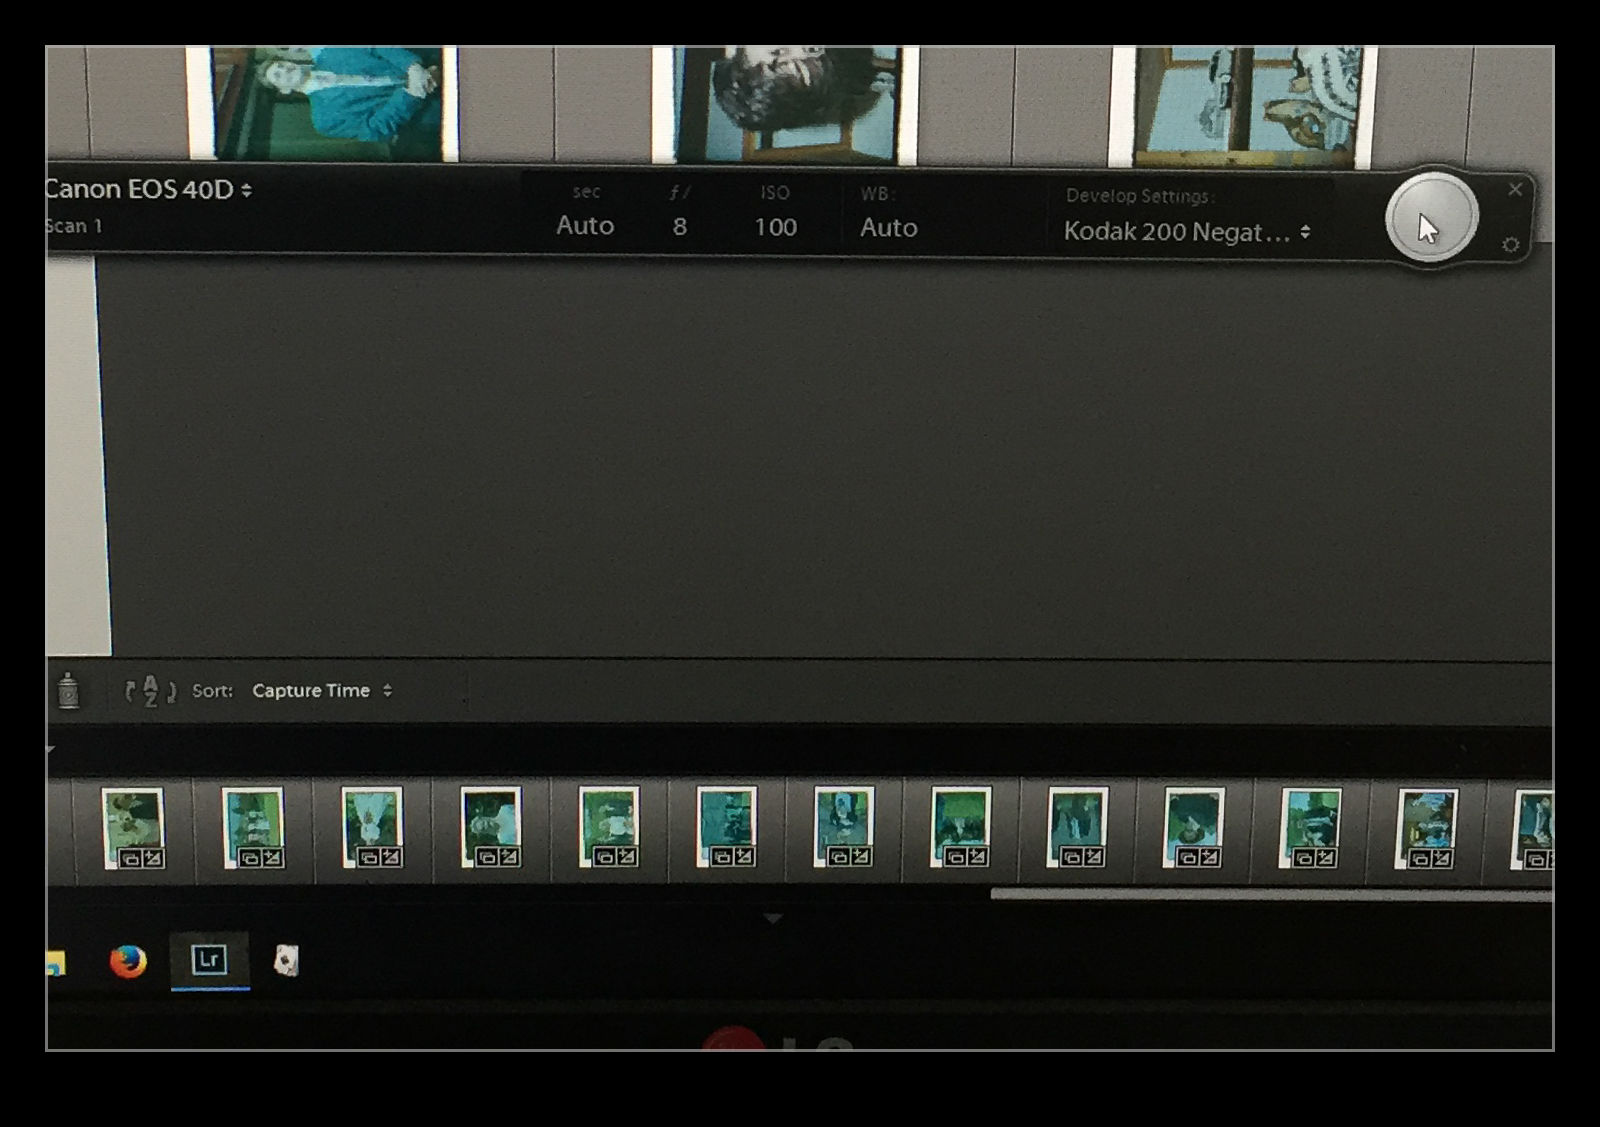 The image is now recognizable but not there yet. Now I have to do some manual manipulation to tidy it up. The sliders have to be used carefully in this case because they are now working in reverse as a result of the tone curve that I applied. This requires some thought. Exposure is still exposure but is reversed. Usually shots look a bit washed out so, what would normally by the Blacks slider is now the Whites. Shadows are handled with the Highlights and vice versa. It takes a bit of getting used to but it is not too hard after some practice. I tried using Auto Tone but it did not do a great job. I imagine the algorithms were not designed for operating in reverse!