In this previous post, I noted that there was a problem with the way in which Lightroom identified the time of video files. I was having to manually adjust the capture time after importing them. When I contacted Adobe, they said it was a problem with Canon and vice versa. Not helpful. However, I notice that, with a recent update (I won’t say upgrade because some aspects of it seem to have really screwed up Lightroom performance), the video files now come in with the correct time associated. I only found this out because I was about to adjust them when I realized they were already correct. One little annoyance has now gone away. Hurrah!
Tag Archives: Canon
How Low Can You Go?
The high ISO capabilities of modern cameras are a constant source of discussion whenever a new camera comes out. It was quite funny to see everyone get so excited about the multi-million ISO range on the Nikon D5 when it was announced, only to see that the high ranges were nothing more than moose with a bit of an image overlaid on them. Not a big surprise but still funny to see how much everyone was going nuts about it before the reality set in.
Consequently, I was interested to see what the new bodies I bought were really capable of. I have already posted a little about some of the shots I took as the light faded at SFO. I was shooting with a tripod and a gimbal mount to make things easier but I was also working within the ISO range of the camera. I went with auto ISO and exposure compensation while shooting in aperture priory and wide open to get what I could. However, I really wanted to see what was possible so I changed to manual mode, exposure compensation and auto ISO to see what could be done. Auto ISO is not going to use the extended ranges of ISO.
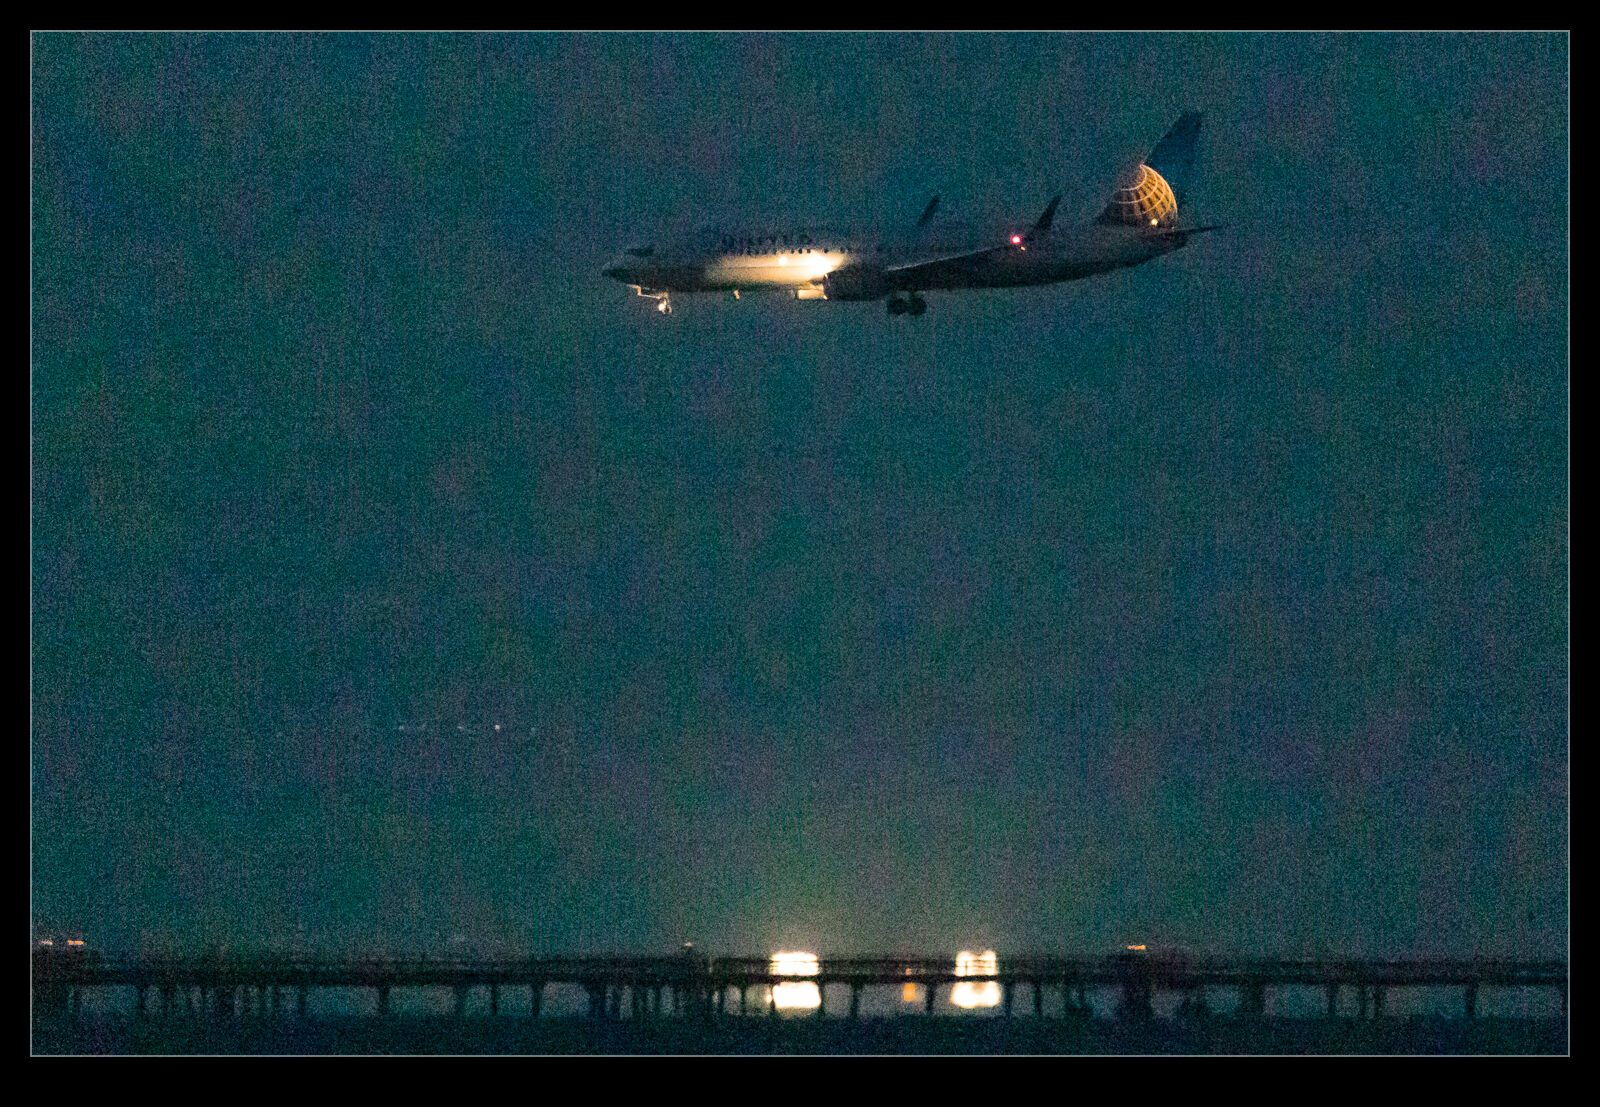
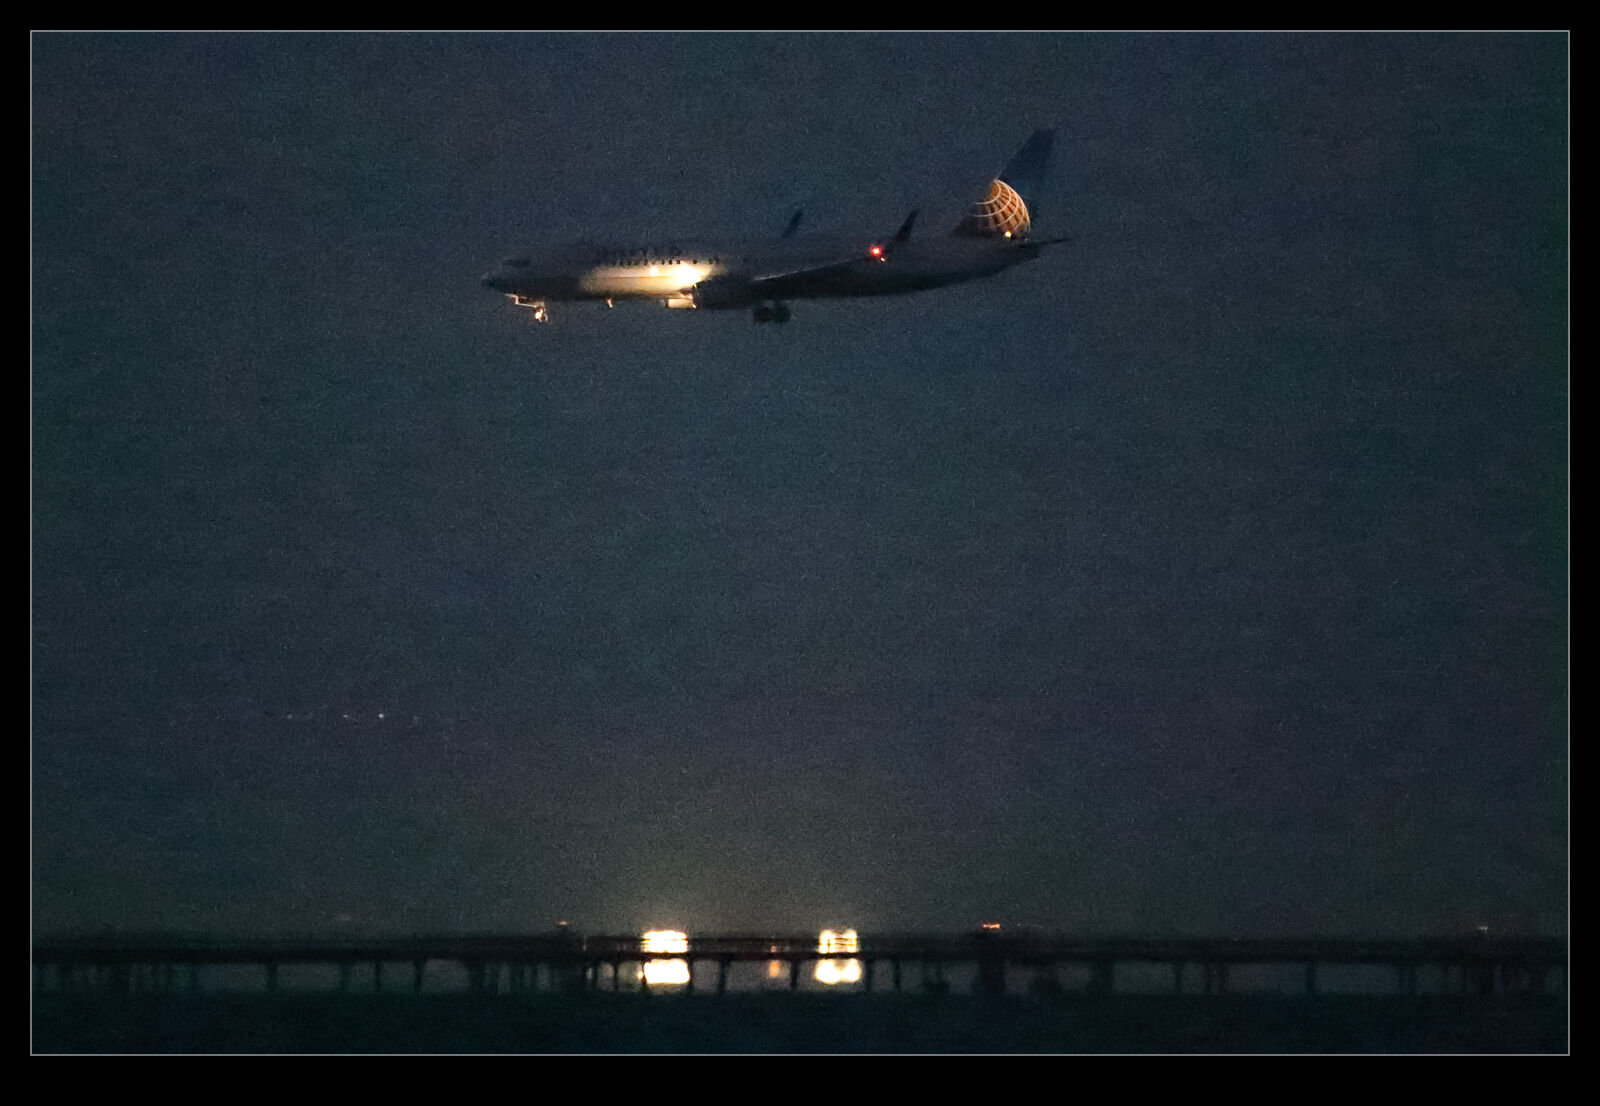 I don’t know about the Nikon cameras but the Canon cameras tend to have three extended range ISO settings at the high end. There is the highest ISO setting that it recognizes and then there are H1, H2 and H3. They don’t name them with the actual ISO settings but you know what they are based on what you see on the camera. The manufacturer does not label them as normal ISO settings because they do not stand behind them as a capability. There is a good reason for that. They are just like the highest Nikon settings. Useful if you have no option but not very good otherwise.
The same was true with my older bodies. They had a very high ISO range that was not great but it would do in a pinch. At the Albuquerque Balloon Fiesta I shot an Aero Commander in the pitch black that flew over and I saw stuff in the shot I couldn’t see with the naked eye. This is with a camera that is ancient by modern standards. I expected a bit more with the latest generation. Certainly, there is more to be achieved with what we have now. However, post processing becomes a part of the story.
My first experience with these shots was in Lightroom. The shots did not look good at all. However, there was a clue in all of this. The first view in Lightroom is based on the JPEG that is baked into the raw file. It looked okay until it was rendering by Adobe at which point it looked a lot worse. This piqued my interest. Sure enough, at the extended ISO ranges, the shots looked pretty awful. Lots of purple backgrounds. These were not going to be any good. However, the initial preview had looked good., is this a case of Lightroom not being able to render the shots well? I figured I should try going to the source.
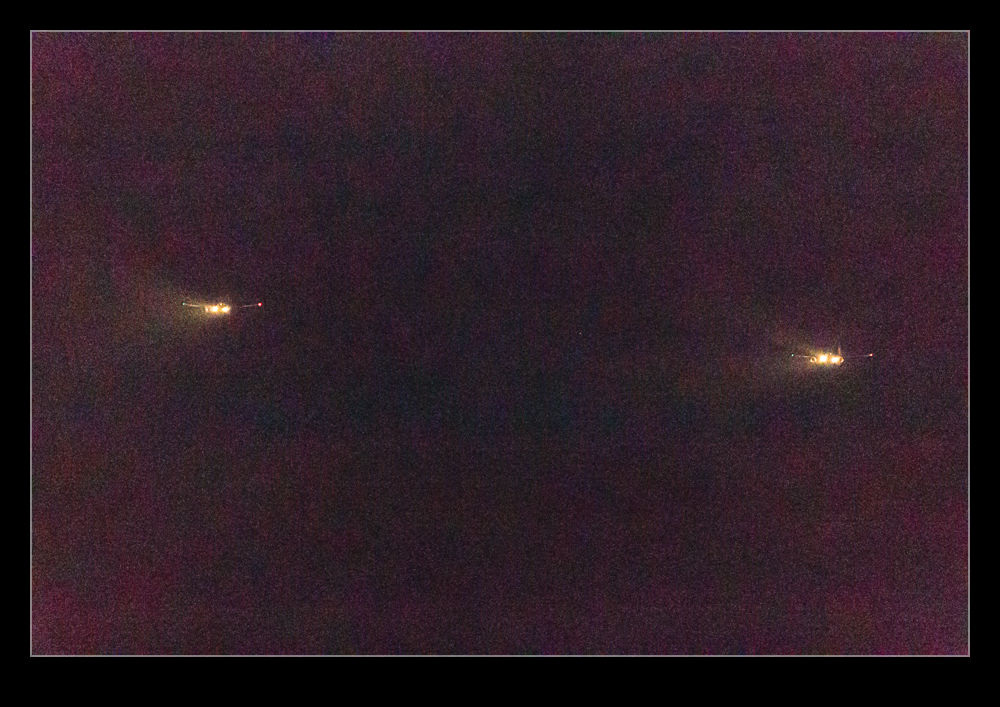
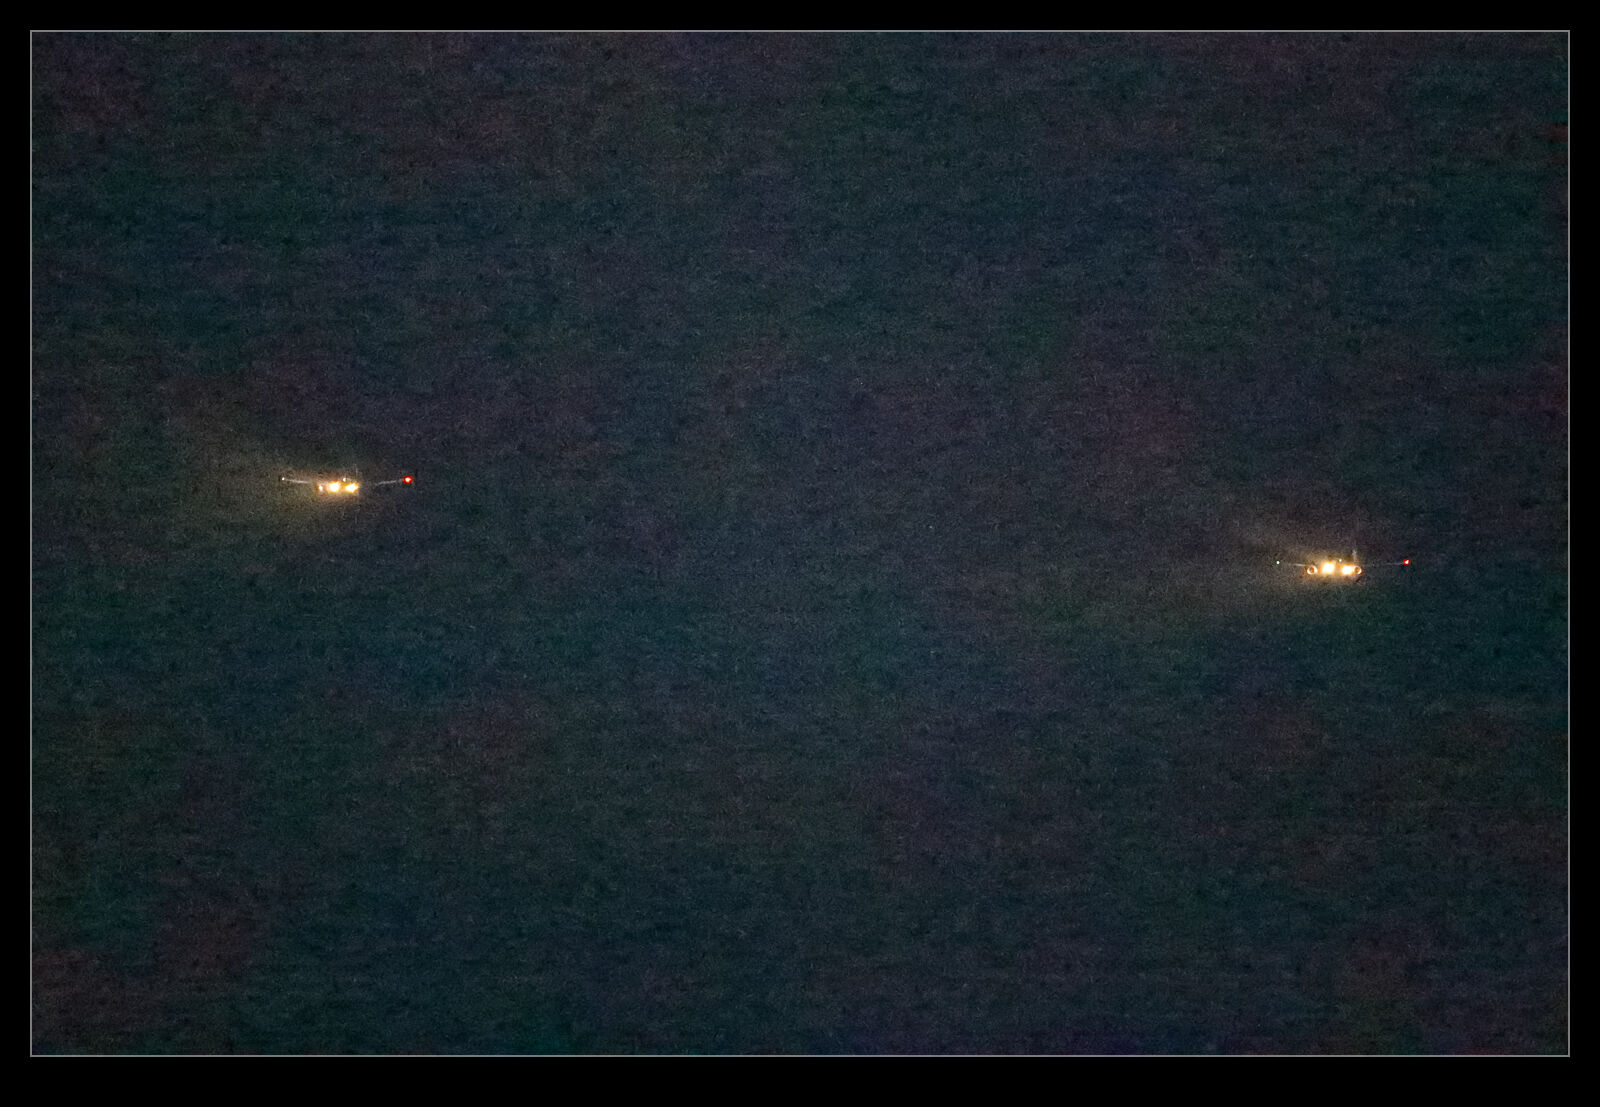 At various ISAP symposiums, the Canon guys have talked about how their software is the one that you should use since only Canon know how to decode their shots properly. They have the recipe for the secret sauce. Since Digital Photo Professional (DPP), Canon’s own software for decoding raw files, is so terrible to use, I never bother with it. The raw processing in Lightroom (and ACR since they are the same) is so much easier to use normally and works really well. DPP is just awful in comparison. However, we are now dealing with the extremes of capabilities of the camera. The embedded previews seemed better so maybe it is possible that DPP will be able to do a better job.
You can now be the judge. Here are some pairs of shots. They are the same shot in each case. The first is processed in Adobe Lightroom and the second is processed in DPP. I think it is clear that DPP is better able to work with the raw files when it comes to extreme ISO settings. The shots certainly have a more normal look to them. The Lightroom shots look really messed up by comparison. It doesn’t mean I will be using the extended ISO ranges on a regular basis. Jumping to DPP for processing is not helpful on a regular basis. However, if the need arises, I know that I can push the camera a lot further and use DPP to get something that is okay if not great. This could be handy at some point.
Lightroom, Video and Capture Times
Getting the new camera has resulted in discovering a new quirk in the way that files are handled. I have been capturing video on the camera and, when it is imported to Lightroom, the video is showing a different capture time to the stills around it. The offset is eight hours which is the difference between the US West Coast and UTC. I was wondering whether this was an issue with Lightroom so checked in with some forums on that topic. I got feedback about the way that files record capture time for files and the suggestion that it was down to the way Canon write the capture time in a format different from that in the standards.
I then starting communicating with Canon and they said there was nothing wrong with their format and that the software I was using, i.e. Lightroom, was the one at fault. It seems everyone considers this someone else’s fault. Not much help to me of course. In the meantime, I have to remember to go to the edit capture time function in Lightroom when I import the files if there is any video included. I usually remember but not always. If anyone has a good suggestion, please let me know.
1DX Mk II First Impressions
After a little bit of time shooting with the 1DX MkII, I have started to build my impressions of how it is working for me. This is definitely only a first impressions review since there will be a lot of time before I have got totally used to it and have worked out the details of its functionality. For reference, I have previously been shooting with the 1D MkIV so things have moved on a lot from that.
Focus is a good place to start. I didn’t have a particular problem with the MkIV but this one does seem to be a bit snappier when it comes to focus. I was recently shooting some subjects which had a lot of scope for the focus to get confused. However, it seemed to be reliably on target – certainly far more than I used to experience. There are a multitude of focus points and combinations. I haven’t even started to get into them yet. I tend to have simple requirements of the focus points, generally based around the center point but I will be trying more in due course.
Exposure has thrown up a couple of things of note so far. First is the amount of light you get with a full frame sensor. I have read a few things about the way camera manufacturers reference ISO and aperture combinations with crop bodies but I hadn’t had a chance to explore this. Using the same ISO and aperture as I used to, I am getting shutter speeds noticeably higher than before. I will now revisit what my settings are since I don’t need speeds that high. The other change is in the handling of backlight. I had got a good grip on what exposure compensation I needed for various sky conditions with the previous body. Starting with those resulted in overexposure. I find the body is better able to get it right itself so I have been tweaking the exposure comp down.
Video capabilities have been significantly expanded but I have yet to get too far into them. I started out with the default HD settings but I have changed to a larger file size format to get more latitude for editing. Having not done any detailed editing yet, I have not found out how much of a difference this makes. I have not played with 4K at all yet. The big thing in video is the dual pixel autofocus. Previously I had to fix focus before the shot started and any zooming would tend to move things out of focus. Now I can select by touch what I want to track and the camera seems to do a nice job of keeping that sharp during motion, panning or zooming. This is a nice addition to have when dealing with motion relatively close in.
The setup of the control buttons is an evolution of what I know. There are some additional buttons to work with and they are configurable. I haven’t tried reassigning anything yet since I want to find out what I need most often before I do so. They have made a switch in the stills to video control with that now having its own control. I am still getting used to it compared to the way I did it on the MkIV but I firmly believe the new configuration will be a big improvement. I just need to retrain myself to use it without thinking.
Preset configurations are a great addition. I moaned about this to a Canon rep many years ago. The 40D had preset configurations you could program and switch between quickly. When shooting props and jets, this is a nice thing to be able to do very quickly. Everything about the setup is programmed so it is a powerful addition. Finally I have it on a better body. There are three presets. I have one for jets, one for props and the third I have configured so I can give the camera to someone else to shoot without having to explain back button focus and center points. It is in a more user friendly configuration to hand off. I shall see whether that gets much use or not.
The card configuration is now CFast in one slot and Compact Flash in the other. The camera came with a 64Gb CFast card and I have put existing 64Gb CF in the other slot. So far I have not had to use the CF so I haven’t noticed the write speed. Buffer is huge so I doubt this will be an issue. The CFast is working fine. It does seem to download very quickly via the USB3 card reader that was also included. The card does also get noticeably warm when working a lot. No specific upside or downside so far. The CFast is required for 4K at 60fps but otherwise CF will work fine.
Now for one of the big surprises. Canon has upped the frame rate to 14fps. It was 12fps on the 1DX and 10fps on my old MkIV. I did not think that this would be a big deal. A small increase? I was wrong. This thing flies along. A quick squeeze of the shutter and suddenly I have three shots. It buzzes rather than has the sound of individual actuations. This means a slight variation of shooting technique for me. I used to shoot short bursts for each view. I could then pick my favorite of the burst during post processing. I can still do this but now it is a shorter hold of the button to get the same effect.
A small addition I like is the built in GPS. I have been using an app on my phone to create a gpx file tracklog during photo shoots. I can then import this in Lightroom and it matches with the shot times to tag the images. With a built in GPS, the shots are automatically tagged. This will help when flying which often meant I couldn’t get the tracklog to work in the old process. As a aside, the GPS allows the camera time to automatically update so no need to plug them in periodically to get the time synced up.
I can’t overlook the fact that the 1DX MkII is a full frame camera. I was a little concerned about losing the crop factor I had on the MkIV. Shooting aircraft sometimes makes the extra reach of the crop factor helpful. The pixel density is a little below what it was before so I don’t have the virtual crop to play with. However, so far I am finding that I am just shooting like normal based on what I see in the viewfinder. We shall see if I notice the difference as I get to do a variety of shoots.
File size is a step up as a result of the higher pixel count. This is resulting in a bit more effort for the computer when it is rendering the shots. I can see a noticeable difference in the speed with which the 1:1 renderings get completed. This is not yet causing a problem but I shall see whether a bottleneck develops. I will also see how this impacts my backups. I previously used to back up files in blocks of 1,000 per Blu-ray disc. If there were no video or large edit files, the disc would have spare capacity. Currently, it looks like I might still be able to do the same thing but with less margin. Another thing to watch as experience is gained.
Battery life is officially down on the previous camera. The increased processing power requires more juice from the batteries. I have been on a couple of big shoots on consecutive days with many thousands of shots over the days without having gone through one battery. If there is a reduction, it is certainly not causing me any operational concerns.
That summarizes everything I have identified so far. I have a long way to go in learning to make good use of the camera but I have to say I am very happy with it so far. It is a great piece of kit. I have much to still try. I have not even got in to the high ISO capabilities at this point. This is something I want to play with before too long. Longer days will make that a bit trickier but the opportunity will present itself. When I do, anticipate a post on that too! Overall, I love it. Anyone want to buy a MkIV?
How Things Move On
 I am sure that there are countless examples around of how things progress leaving something that we used to think was impressive looking horribly dated. This is not something unique, then, but it did amuse me. While going through some old camera bits to find an old connector, I came across this compact flash card. My first digital camera was a Canon EOS10D and it actually came with a card included. This was it. 32Mb of awesomeness.
Even then that wasn’t enough and I immediately got a couple of 256Mb cards. However, given that I tend to have 64Gb cards in the camera these days – 2000 times the capacity – is a sign of how things change rapidly.
Update on the Negative Scanning
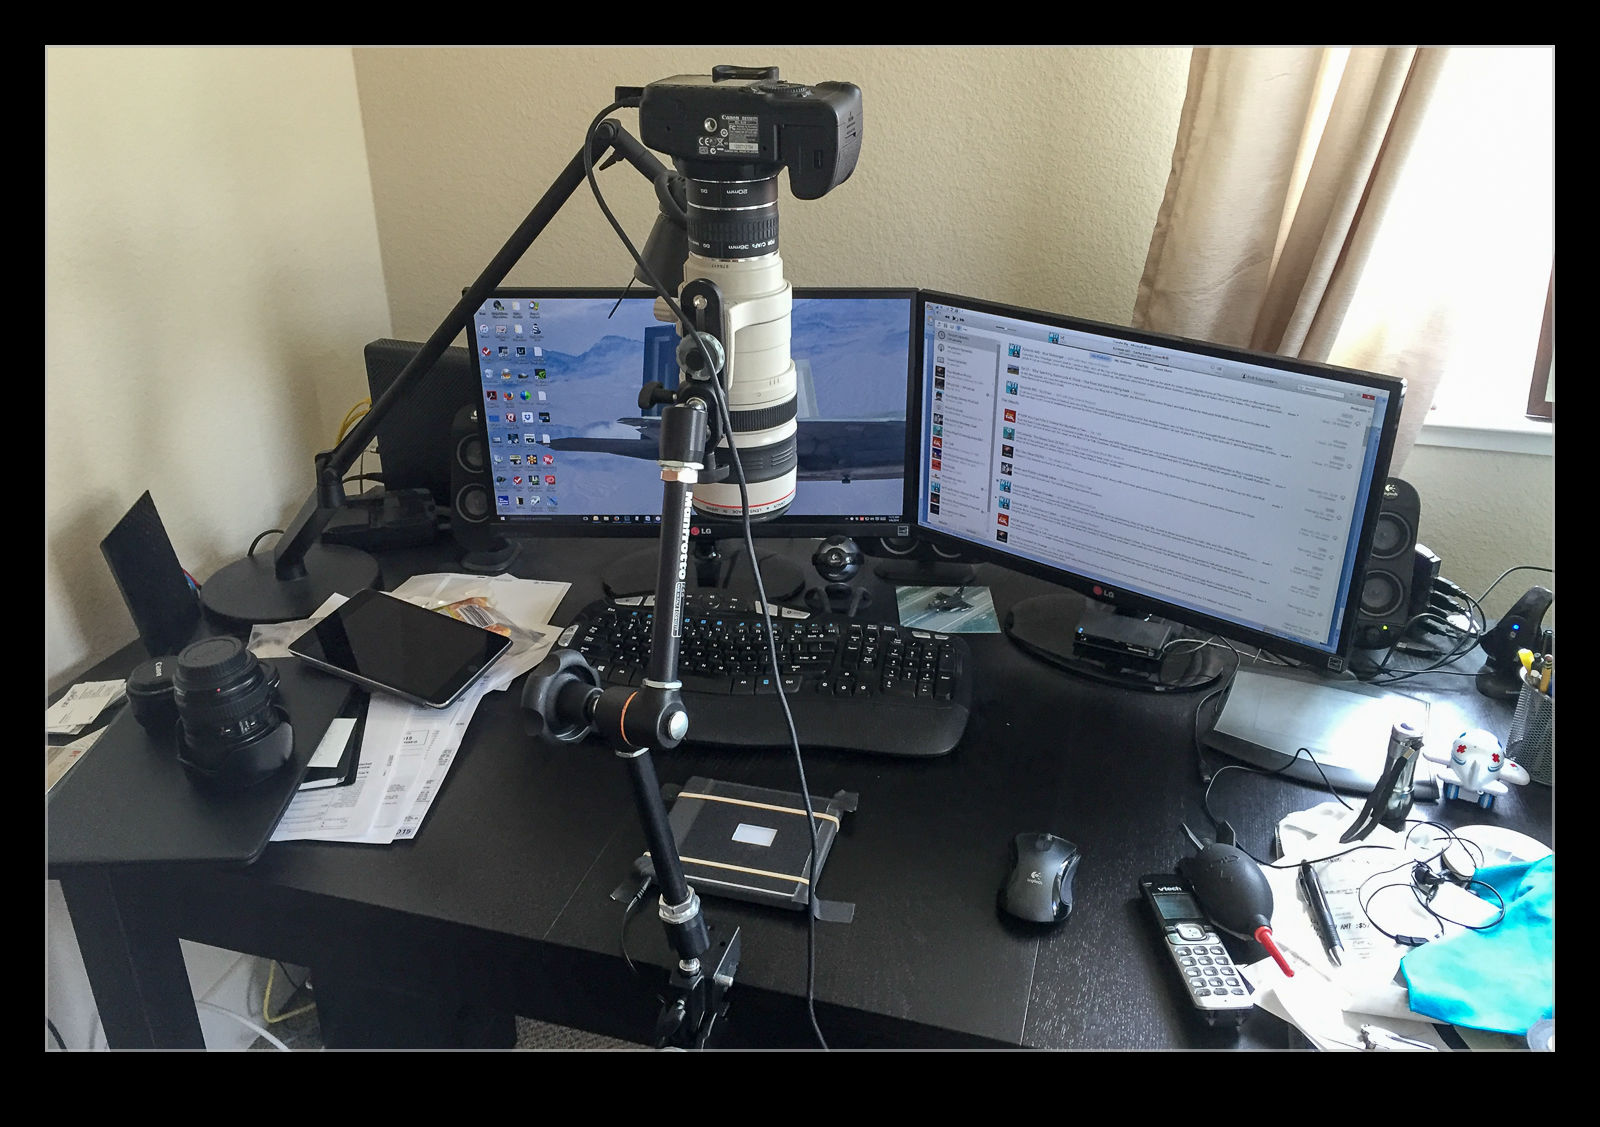 I wrote about the set up I had created for scanning negatives using a digital camera a while back. Since writing that, I have been working on a lot more scans and have gained some additional experience. This has resulted in a few changes to the configuration so I thought I would share those too. Overall I am very happy with the results I am getting as a result of the updates. Things could be better but that would involve considerably more expense and the need just isn’t there.
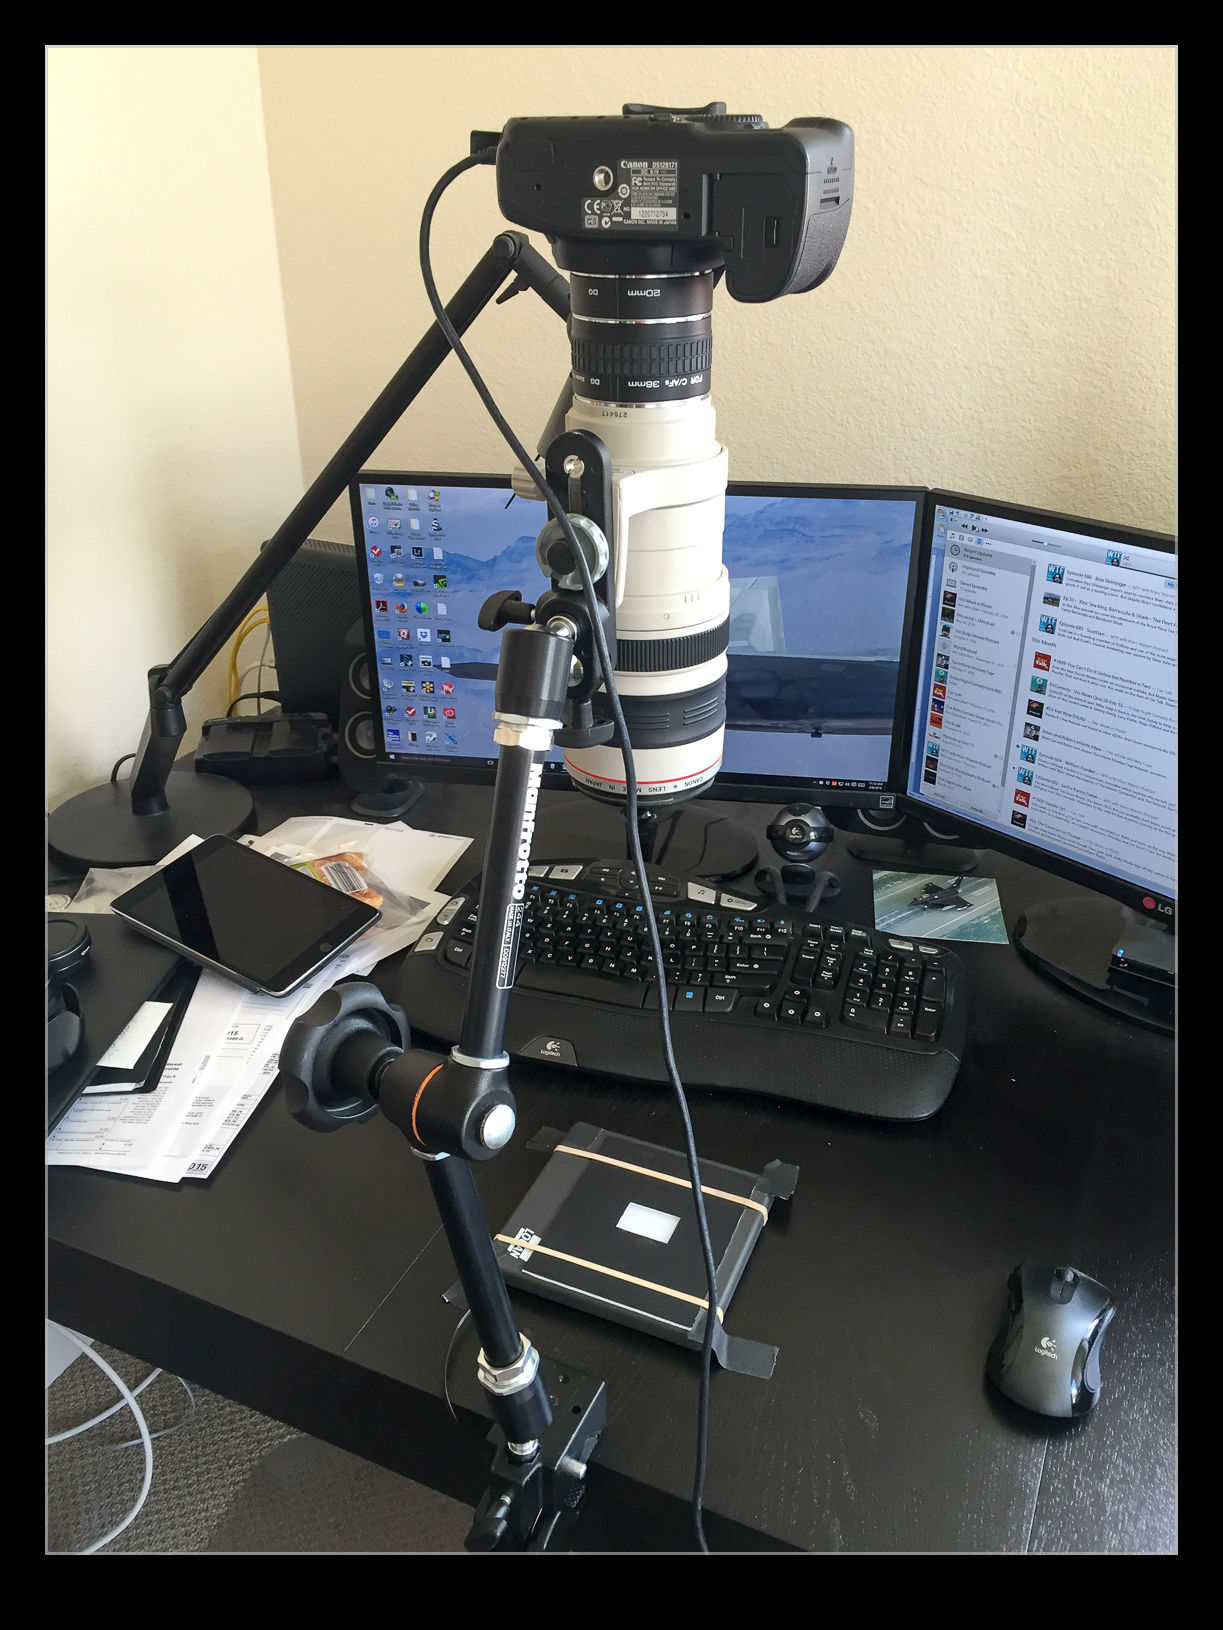
The first change I made was to use a different lens. I had been using the 24-105. It was pretty close to the film plane and was sensitive to getting the alignment spot on. I had a few times when focus was not consistent across the shot. I thought it might be better to try a longer lens further away and this proved to be a big help. I have my old 100-400 still so I hooked that up. It makes for a slightly higher position but I can use the zoom quite well although it needs more of the extension tubes to focus properly. It does result in good focus although I tend to focus manually as the autofocus does not seem happy in this setup.
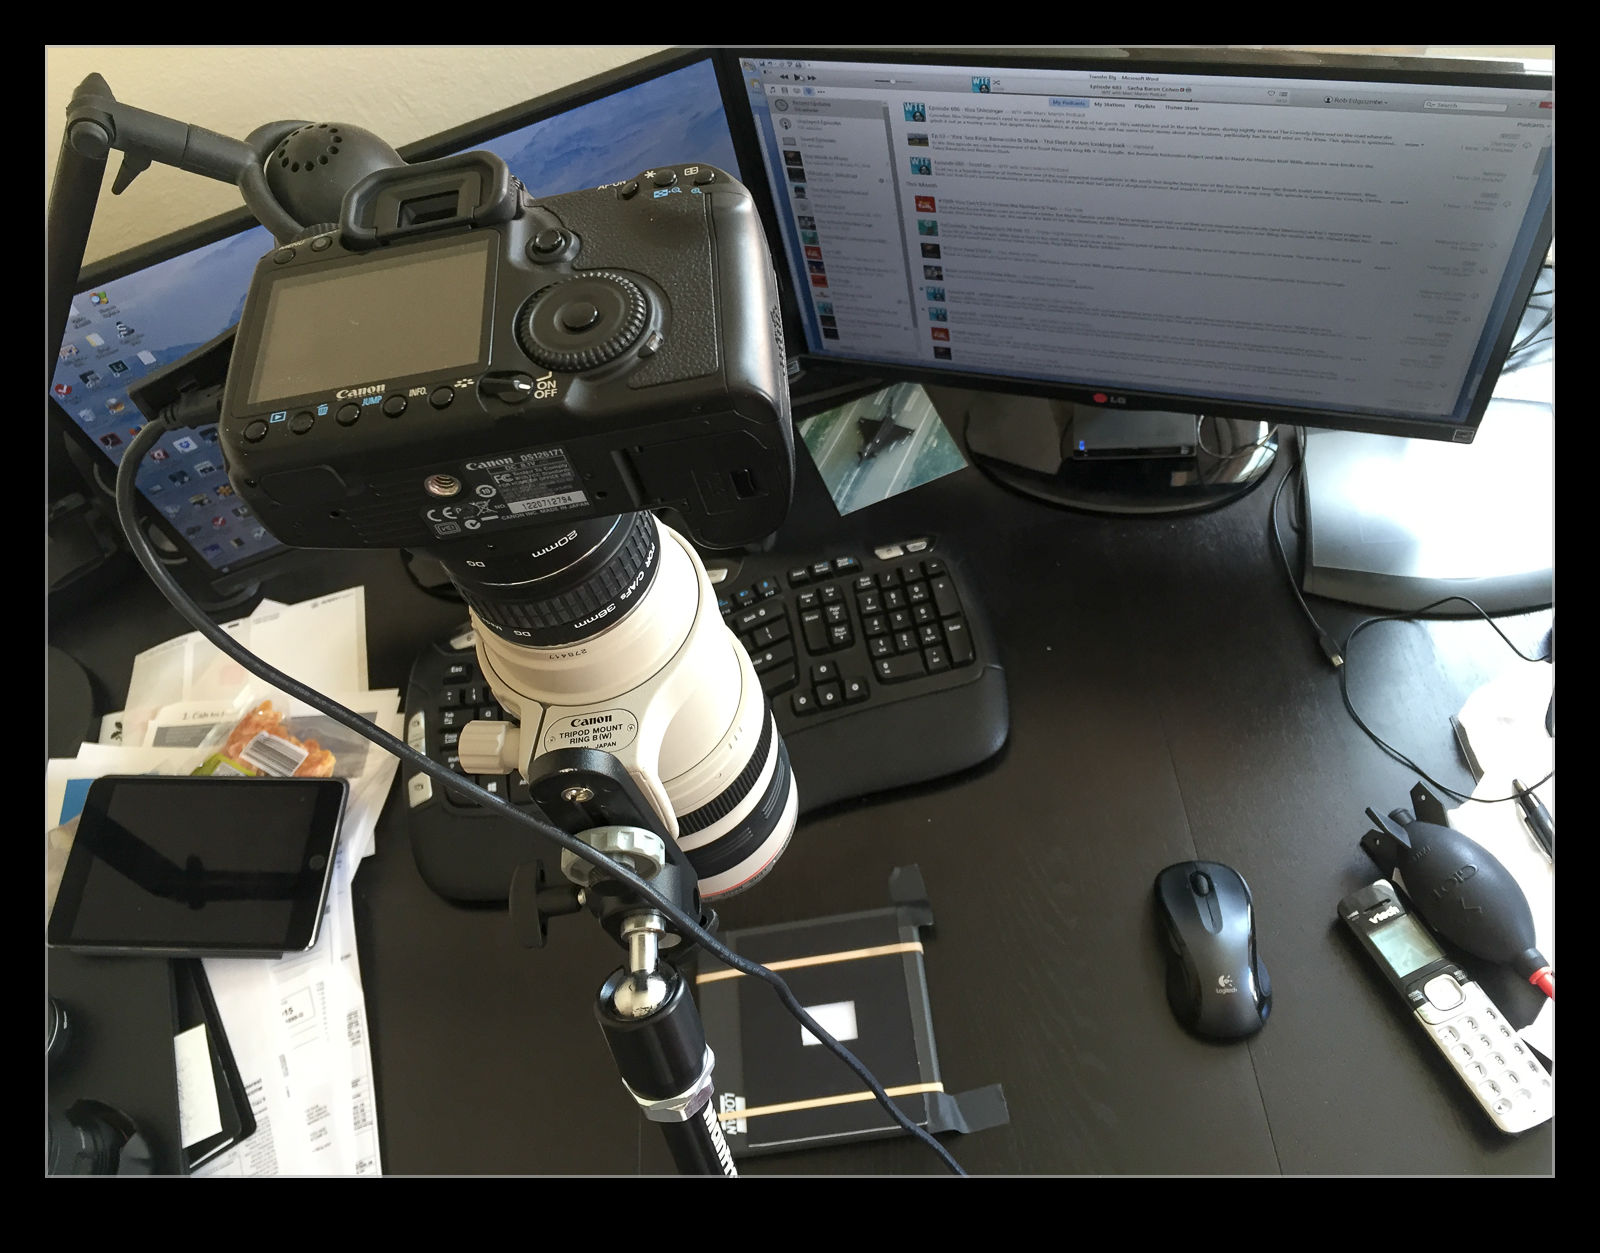 I was using Liveview quite a bit and I discovered that the old batteries I have were not lasting long at all. Rather than buy new batteries, I went to Amazon and picked up an AC adaptor that replaces the battery for about $15. Now I can scan as long as I like without having to have batteries charging in the background.
I also have modified slightly the light pad. I found I was moving it around a lot more than I realized as I moved the negatives and swapped strips. A little gaffer tape now holds it pretty much in place. This means I can have the lens zoomed more closely to the full frame of the film which allows for a higher resolution scan.
With everything tethered in to Lightroom, the import process is pretty smooth. The preset I use is okay but I am regularly tweaking for the white balance and exposure. This is not too big of a deal. I find I can get better detail out of the shots than was possible with the scanner and using the raw convertor gives me plenty to work with. They are still limited by the quality of the original shots of course!
Overall I am very pleased. I can scan a lot of stuff very quickly compared to the old way and now I am happy to scan a whole shoot without worrying about whether any of them could be ignored. It is quicker to scan them and then discard them afterwards. I am scanning stuff that I have been thinking about for a long time and rescanning shots that had been done before but really were not great. Of course, now I have even more stuff to do in whatever spare time there is so maybe this wasn’t such a good idea after all!
Yet More on the 100-400
Here is the latest update on the 100-400 saga. As reported here, I got the 100-400 back from Canon and they had indeed found something wrong with it. This was, as I noted then, a relief as I wasn’t imagining things or just not being able to use it properly (although that is still a real issue with my photography as a whole!). However, until I had been able to get out and about and given the lens some significant use, I didn’t know whether I would really see the difference.
Now the jury is in. I went out over the weekend and shot a lot of stuff in some nice conditions. Over the last couple of days I have been going through the images from the shoot. Let’s just say I have a very big grin on my face. The problem I was seeing before is gone and now I am seeing some really nice image quality all across the frame when shooting wide open. This is great news. After having the lens for a year and feeling less than happy, it is like I have got something new to use. I am a happy camper! Expect some of the shots from this shoot to make their way on to here over the coming weeks.
Update on the 100-400
Nearly a year ago I got the new model of the Canon 100-400 EF lens. I had it on back order when it first came out and it arrived just before Christmas so became an impromptu gift to me! Almost everything about the lens I liked. However, if you read my initial thoughts on the lens which I covered here, you will have seen I had a concern about softness in one part of the image. I have used the lens extensively since then and, while I have not always had an issue, I have continued to be concerned about the output in one area – particularly when compared the the excellent sharpness the rest of the image was displaying.
I sent the lens to Canon earlier this year for a service. I explained my concerns and they took a look and told me it was functioning properly and returned it. I took it on another shoot and got more shots which did not look right. This time I emailed CPS and provided them with some sample shots. They suggested it didn’t look right and told me to send the lens back in with a description of everything to date along with more sample images on a card.
I now have the lens on its way back to me. Here is what they found.
Your product has been examined and it was found that the optical assembly was broken causing the auto focus to operate improperly from time to time. The 6th group lens and 2nd group lens were replaced. Product functions were confirmed.
It is nice to know that I wasn’t imagining things but a little disappointing it took this long to get to the bottom of things. Of course, I could have done some of this sooner if I had been more certain of the problem. In future, I will be a bit more willing to trust my instincts. Now to get the repaired lens in my hands and test it!
Canon 100-400 Review
One of the longest running sagas in the world of camera equipment watchers was the replacement of the venerable 100-400 zoom lens. I have had the old version for about ten years and it has been a useful workhorse for me. However, it was becoming a little unreliable in recent years. A trip to Canon came back with a clean bill of health but I still found it a little trickier to get good results with. I had totally given up on the image stabilization as I found it often made things go strangely, particularly in the view finder.
Consequently, I have been keeping an eye out for when the new lens was due to come out. I planned to replace mine when the new one showed itself. As it was, I had been waiting of quite a while. Then, at the end of 2014, the new lens was released. There was not a glut of them available (and at the time of writing they are still pretty hard to come by) but I placed an early order and a couple of days before Christmas, it showed up on the doorstep.
First impressions had to wait as it was taken away to become a gift. However, once I did get it in my hands, I was quite impressed. For those that aren’t following these things (and if you are interested, you probably are following them), Canon have changed from the push-pull style of zoom to a ring operated zoom. This is like most other zoom lenses and it seems to work well. However, they have made the zoom ring the outer ring which is the opposite of my 70-200 so makes for a little adjustment. It does mean that the focus ring is where your hand might be when bracing the camera for steadiness. However, this has not been an issue for me yet.
I took the old and the new lenses out for a shoot to see how they compared. I shot with each in turn as well as doing some comparison shots to see how much they varied. It was interesting that, when I imported the images into Lightroom, I went through them to cull the poor shots and found the rejection rate would go up and down. This was when switching from one to the other. The newer lens seems to have a higher rate of keeping focus for moving subjects (surfers in this case). The bodies were the same so the lenses were the only variable.
I quickly adjusted to the new lens and find it easy to work with. It certainly feels solid and there isn’t the play I found with the old version. The image stabilization is a major improvement. It is great for static subjects with a major improvement in steadiness. It has three modes – static targets, panning targets and a third mode that only starts the stabilization when you fire the shutter. I have played with that but have not found it to be so reliable. I suspect it is a lack of understanding on my part. However, I think Mode 2 for panning will be where mine stays.
Aside from focus, how is the image quality? Pretty impressive. In the comparison shots things were a little sharper all over but more so at the edges. I will have a word of warning here though. I have had a series of shots where one side was noticeably blurred. What I have not been able to break down is whether that is a focus plane issue, a haze issue or a problem with the lens. I have tried a number of test shots to try and get to the bottom of this but everything seems to be solid. There is possibly an issue around the 300mm mark in some one test I ran which does coincide with what I have experienced in the field but it is far less than I had seen before. However, I have had plenty of good shots so I suspect the issue is not with the lens but with what I was shooting.
The new lens hood is one that leaves me with mixed feelings. Overall, it is good. The newer lens hoods on Canon lenses now include a button to lock it in place which stops them dropping off at odd moments. This one also includes a small “window” in the side of the hood to allow you to adjust polarizers without taking the hood off. This is a nice enough idea but the sliding panel over this window, while having a detent, is easily disturbed and I frequently find it is open. Not a huge problem but a bit of a compromise in the design.
My remaining issue is not with the lens but with Lightroom. Adobe have not created a lens profile yet (or rather not released one) which I suspect means it will be in the new version of Lightroom which is supposedly imminent. I have shot a lot of stuff wide open with the lens and there is some vignetting which is not a big problem but having a well worked out correction profile will be very helpful.
Overall, I am very happy with the lens. It seems to perform very well. Once I have convinced myself the minor problems I have seen are down to me rather than the lens, I shall relax into this being a regular part of my kit. It doesn’t have the low light capability of the 70-200 but it might find itself being used more for shoots when that lens was previously in the bag. We shall see.
