Category Archives: equipment

Sound for the Videos

While I have experimented with video a fair bit over time, one thing I haven’t done is put together a video with a presenter in it.  My mum was recently staying and she had an idea for something she wanted to do that involved her doing a presentation on video that could be shared at a later date.  My own experience and some information I had seen online made me think that the key to getting a good result was not going to be the video but was instead the sound.  The microphone on the camera is of okay quality but it picks up the sound of everything around it.  The voice is isolated and any video online that does not take a careful approach to audio is very obvious and sounds decidedly amateurish.

The ideal solution would be to have lav mikes, the small mike you see attached to the clothing of TV presenters.  These are actually pretty accessible and cheap but I didn’t have the time to sort something out.  However, a surprisingly good alternative was readily to hand.  I have an app on my phone for sound recording which I use when interviewing people for articles.  Instead of using the plugin microphone, I used the headphone/microphone cable.  By running it inside the clothing and just leaving the microphone up near my mum’s throat, we were able to make a very good sound recording.  The closeness of the mike to her mouth meant the sound was very localized and clear so the background noise was lost.  The room we used did not have bad echoes either so the audio ended up being pretty clear.

Then it was just a case of having a conspicuous clap on the audio track and the video file to allow me to synch the sound and audio together and we were off to the races.  I shot everything with two cameras – one head on and one from the side – with the idea of cutting between them.  However, when I did the first edit, the side camera didn’t seem to fit with the style of presenting to camera.  I imagine it works better for an interview style piece.  I reverted to the head on shot with some images cut in periodically to illustrate the piece.  Overall, it worked pretty well.  We did a number of takes and mum got progressively more relaxed in each one.  I had thought I might cut the best bits together but the final take was really good so I didn’t need to do so.  I hope her audience likes the result.

Polarizer Comparison

When I changed bodies, I had to update some of my accessories too.  My old filter system was fine on a cropped body but with full frame, the filter holder encroached on the corners for the wide angle lenses.  I took the opportunity to change my polarizer set up.  I used to use a polarizer on my Cokin holder.  This was a bit inconvenient when I was using lens hoods.  Instead, I decided to get a screw in polarizer.  Since most of my lenses have the same filter size, this gives me more flexibility.

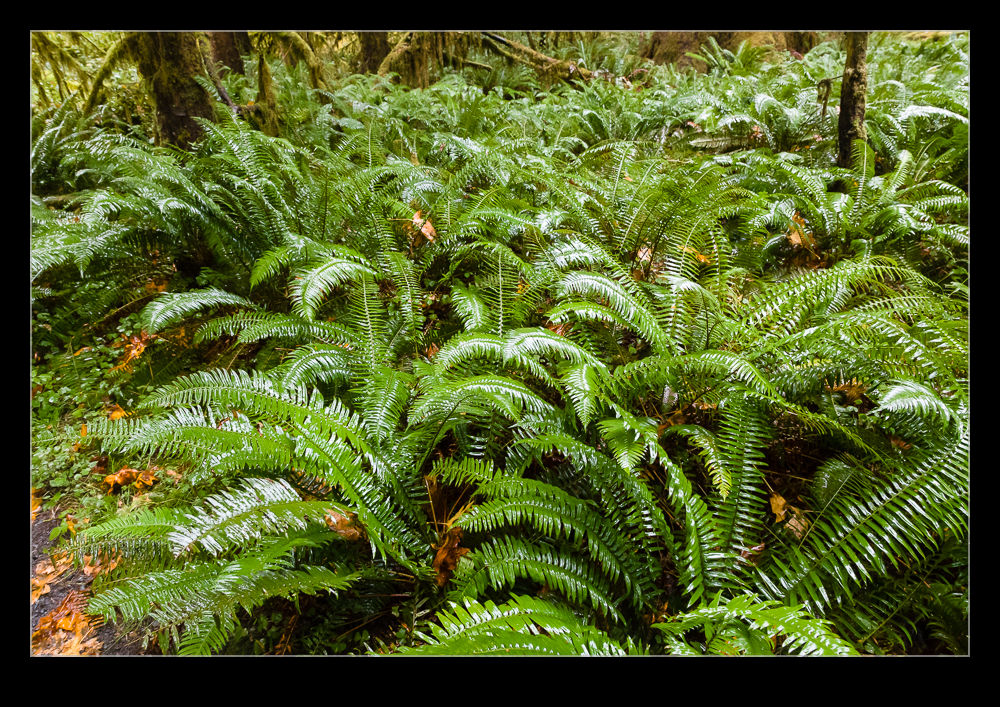
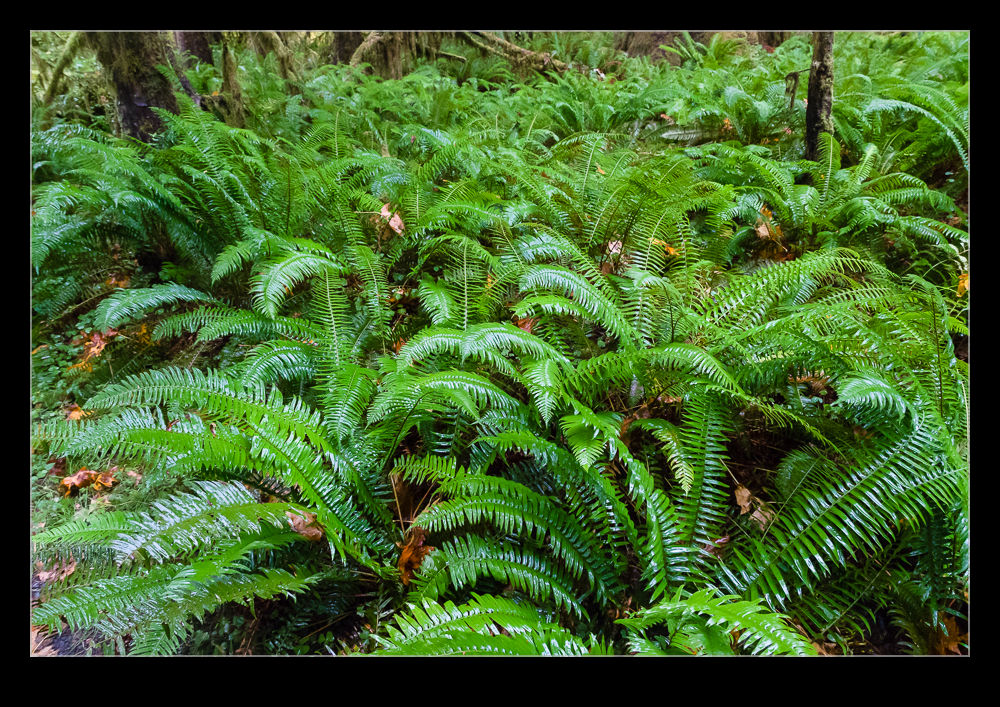
B11I7923.jpg B11I7922.jpgI took the polarizer with me on vacation.  One place where I made good use of it was in the rain forest.  While it was pretty dark in the heavy forest cover, there was moisture everywhere and this meant a lot of reflections and glare.  Consequently, I went with the polarizer most of the time.  While I was there, though, I decided to do some experimentation by repeating some shots without the polarizer to see how much of a difference it made.  You can see the with and without shots here and judge for yourself what a difference it makes.

Enfuse for HDR

I am a little late to discovering the Enfuse plugin for working with HDR images.  I started out many years ago using Photomatix.  At the time, it was the go to software for creating HDR images.  Then Adobe got a lot better with their HDR software within Photoshop and I started to use that.  Even more recently, Adobe built HDR processing in to Lightroom and I didn’t need to go to Photoshop at all.  The HDR software worked reasonably well so I stuck with it.  I sometimes felt that it didn’t do as good a job of using the full range of the exposures but it was okay.

I wasn’t entirely satisfied though so have kept an eye on other options.  Someone mentioned Enfuse to me so I decided to give it a go.  It is a plugin for Lightroom and, in the free download, you can try it out but with a limitation on the output image size of 500 pixels.  Obviously this isn’t useful for anything other than testing but that is the point.

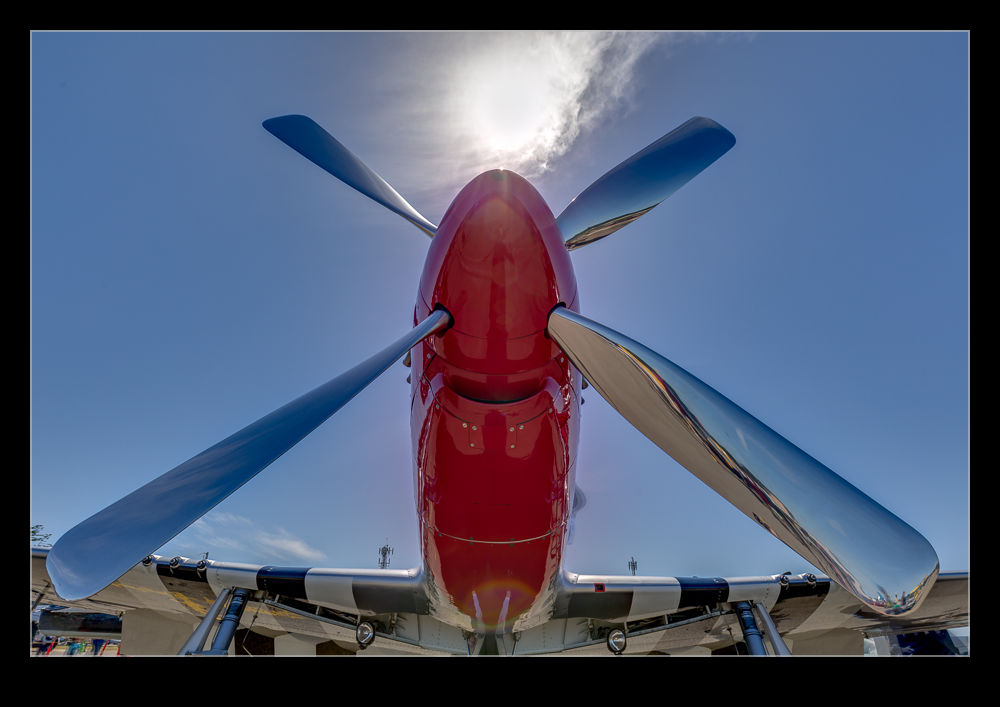
The first thing I tried it on was a shot I made at Half Moon Bay looking up at a P-51 Mustang prop and directly into the sun.  This is certainly as much of a range of exposures as you are likely to get.  The perfect thing for an HDR trial.  The results in the small scale file seemed pretty impressive so I decided to buy the package.  There is no fixed price.  You make a donation via PayPal and get a registration code.  I am impressed by the quality of some of the work people put out so I am happy to donate for what they do.  With the software activated, I reran the P-51 shots.  Below is the version I got from Lightroom’s own HDR and following it the version from Enfuse.

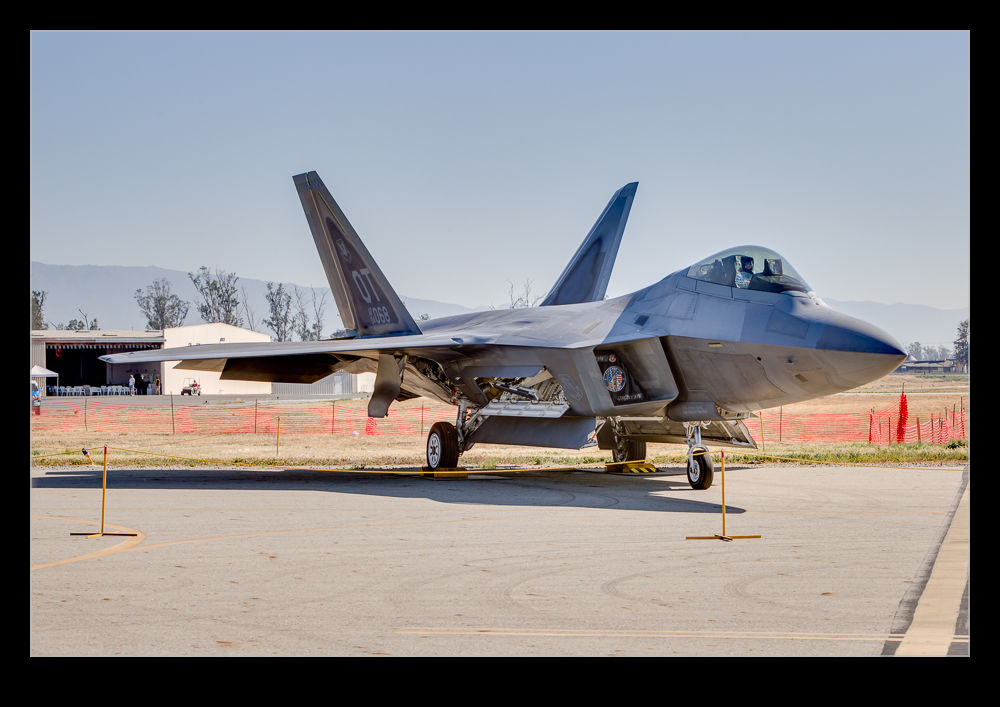
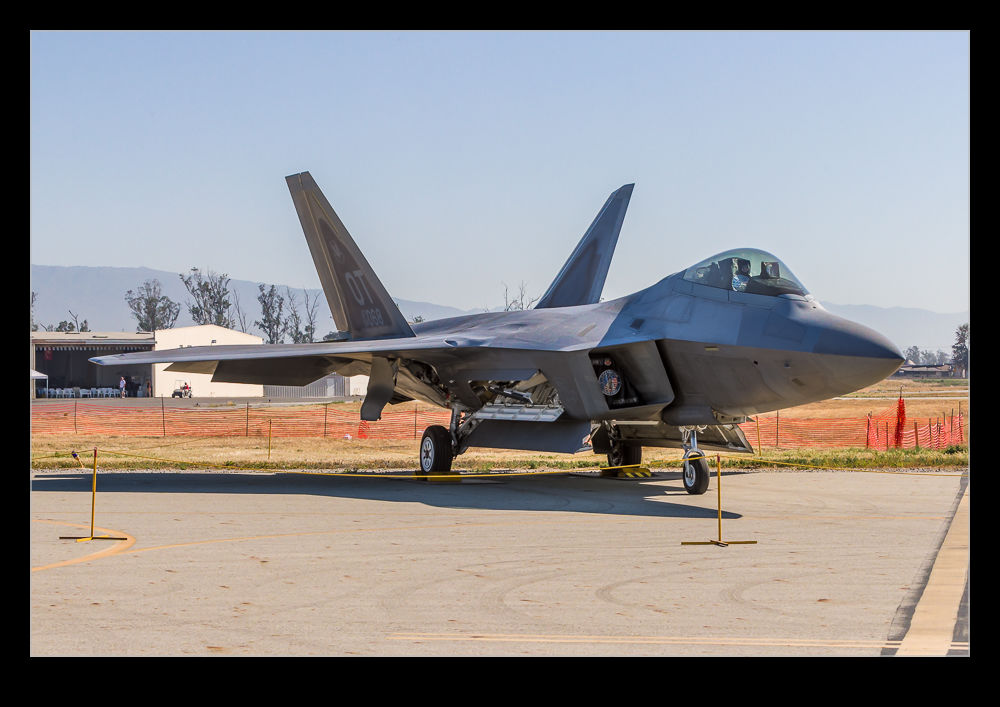
C59F8003enfuseHDR.jpg C59F8003-HDR.jpgI did have some issues initially.  Lightroom was not reimporting the image after it was created.  This turned out to be an issue with the way I named the file in the dialog and a tweak to that seemed to fix things.  Strangely, it had been fine on the trial so I have no idea why it became an issue but it is done.  I also played with a slightly less extreme case with an F-22 and, as above, the Lightroom version is first and the Enfuse version is second.  I was really pleased with the result on this one with a very natural look to things.  So far, I see Enfuse being a useful tool for my HDR going forward.

AU0E0447enfuseHDR.jpg AU0E0447-HDR.jpg

How Low Can You Go?

The high ISO capabilities of modern cameras are a constant source of discussion whenever a new camera comes out.  It was quite funny to see everyone get so excited about the multi-million ISO range on the Nikon D5 when it was announced, only to see that the high ranges were nothing more than moose with a bit of an image overlaid on them.  Not a big surprise but still funny to see how much everyone was going nuts about it before the reality set in.

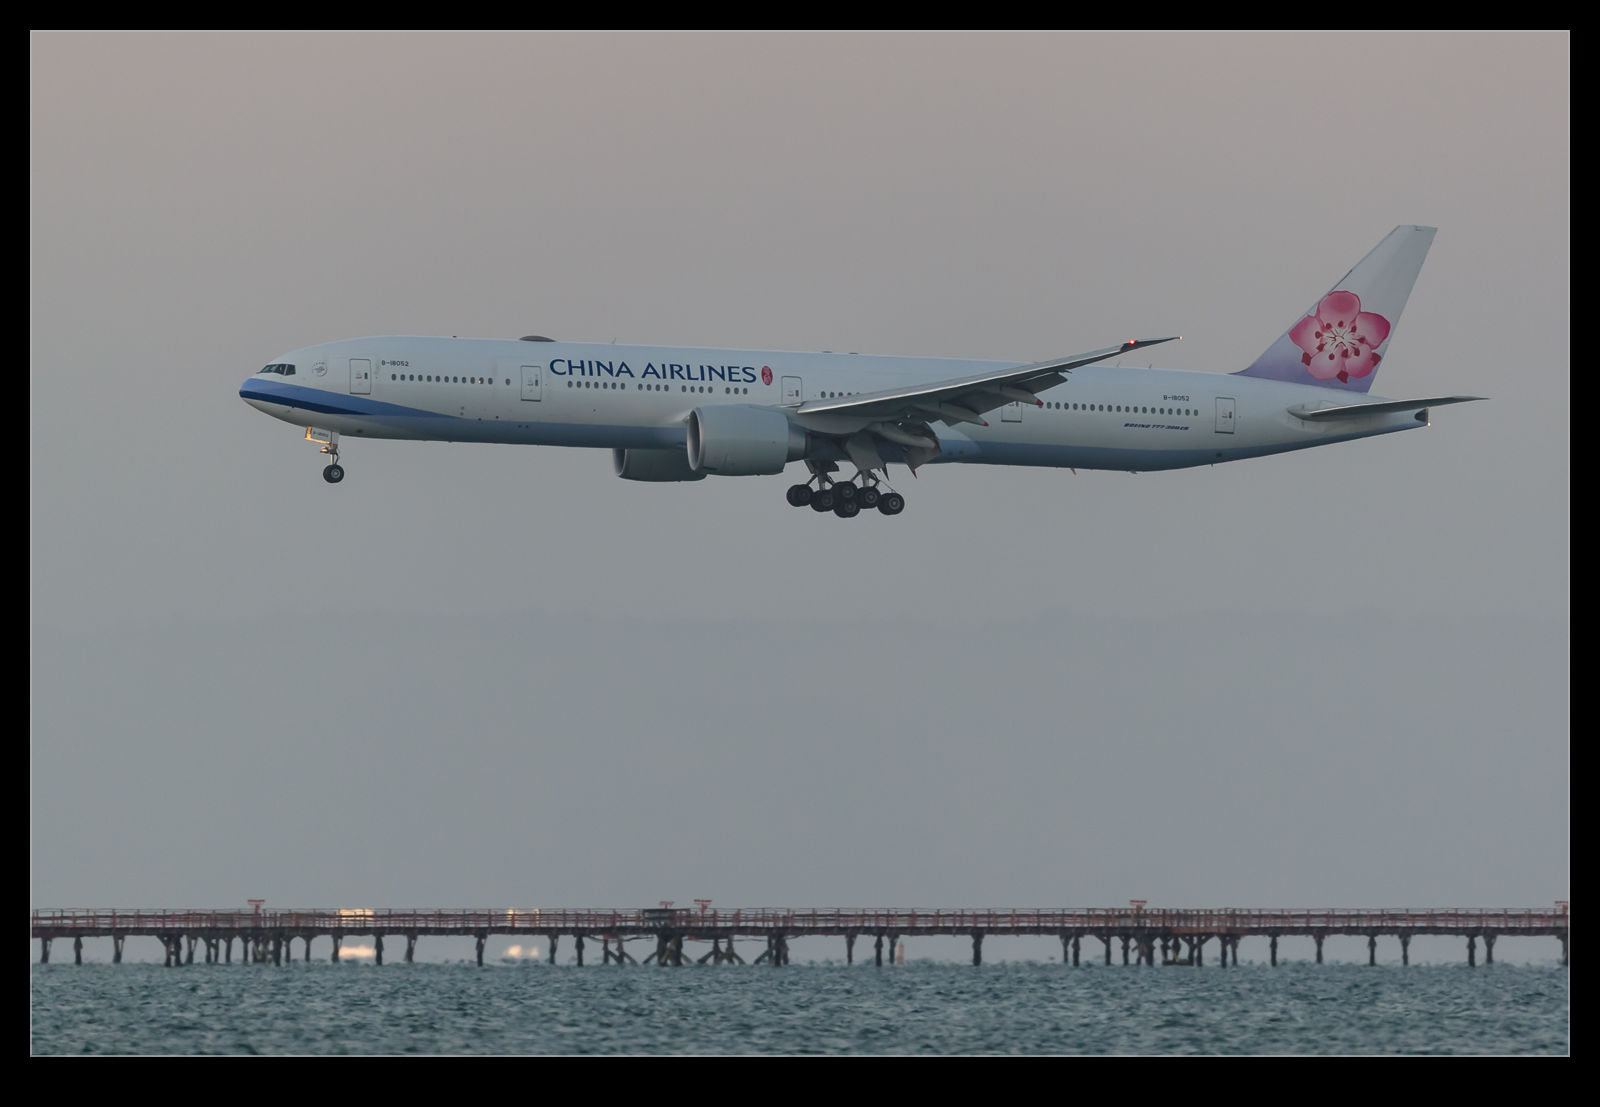
Consequently, I was interested to see what the new bodies I bought were really capable of.  I have already posted a little about some of the shots I took as the light faded at SFO.  I was shooting with a tripod and a gimbal mount to make things easier but I was also working within the ISO range of the camera.  I went with auto ISO and exposure compensation while shooting in aperture priory and wide open to get what I could.  However, I really wanted to see what was possible so I changed to manual mode, exposure compensation and auto ISO to see what could be done.  Auto ISO is not going to use the extended ranges of ISO.

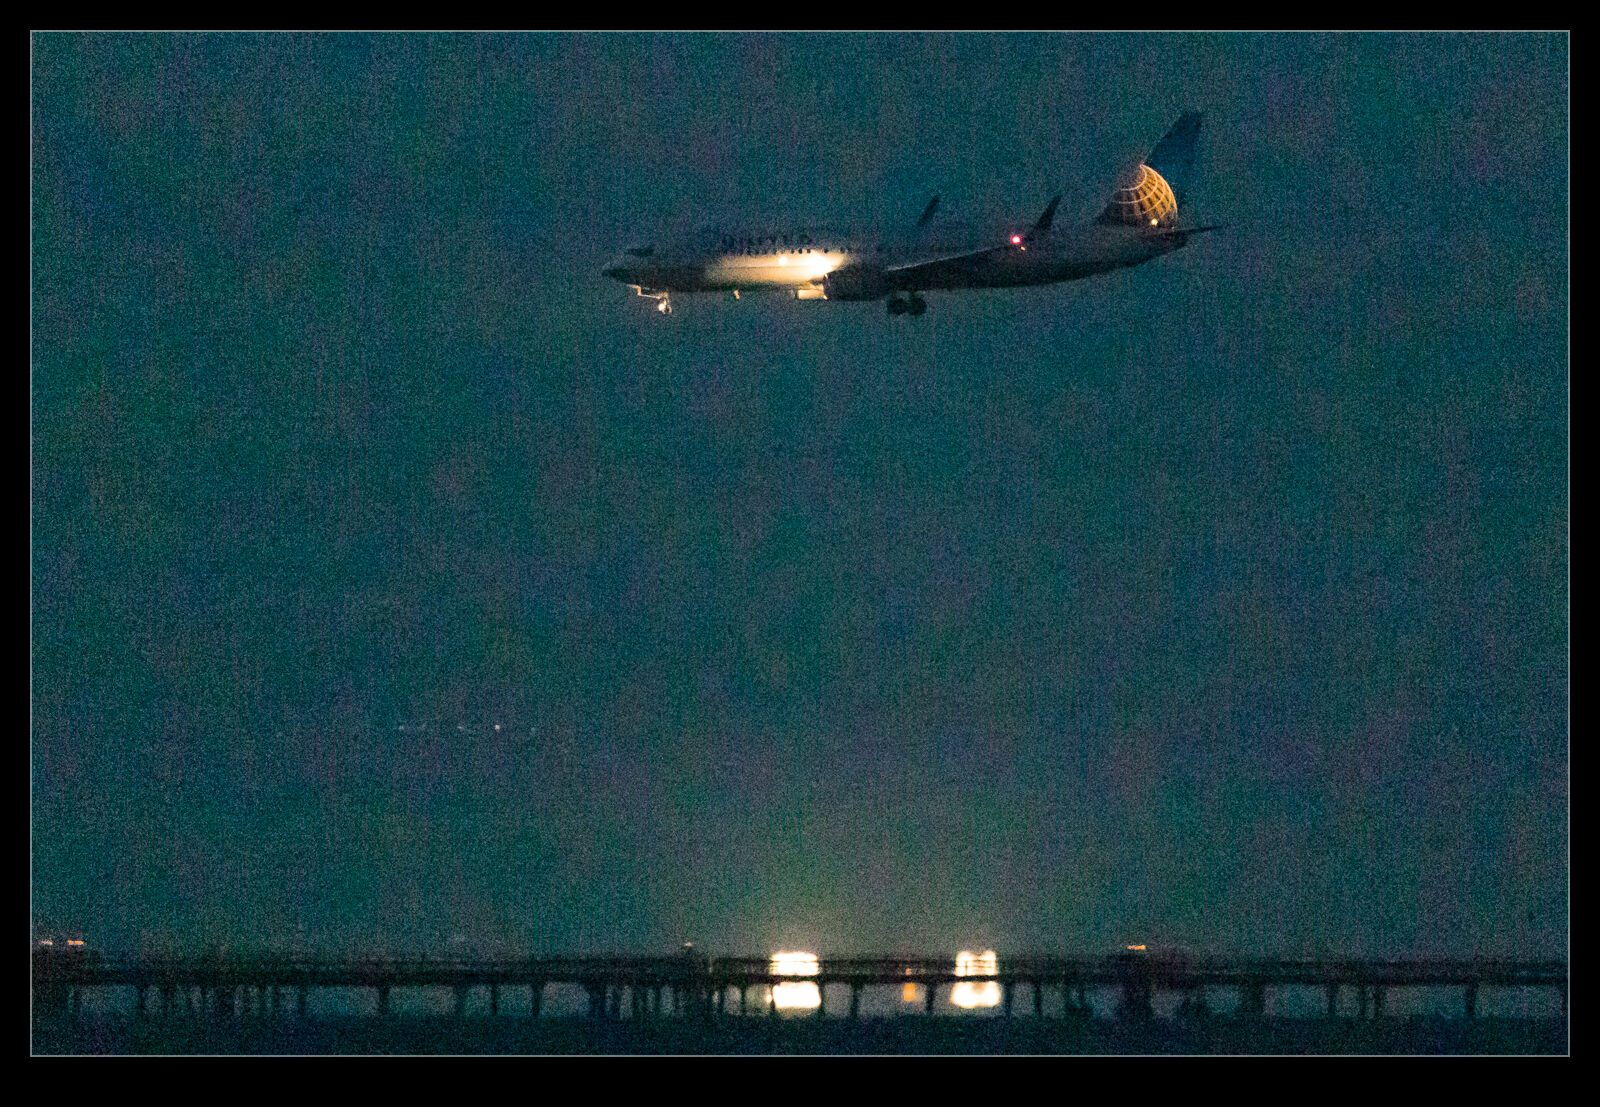
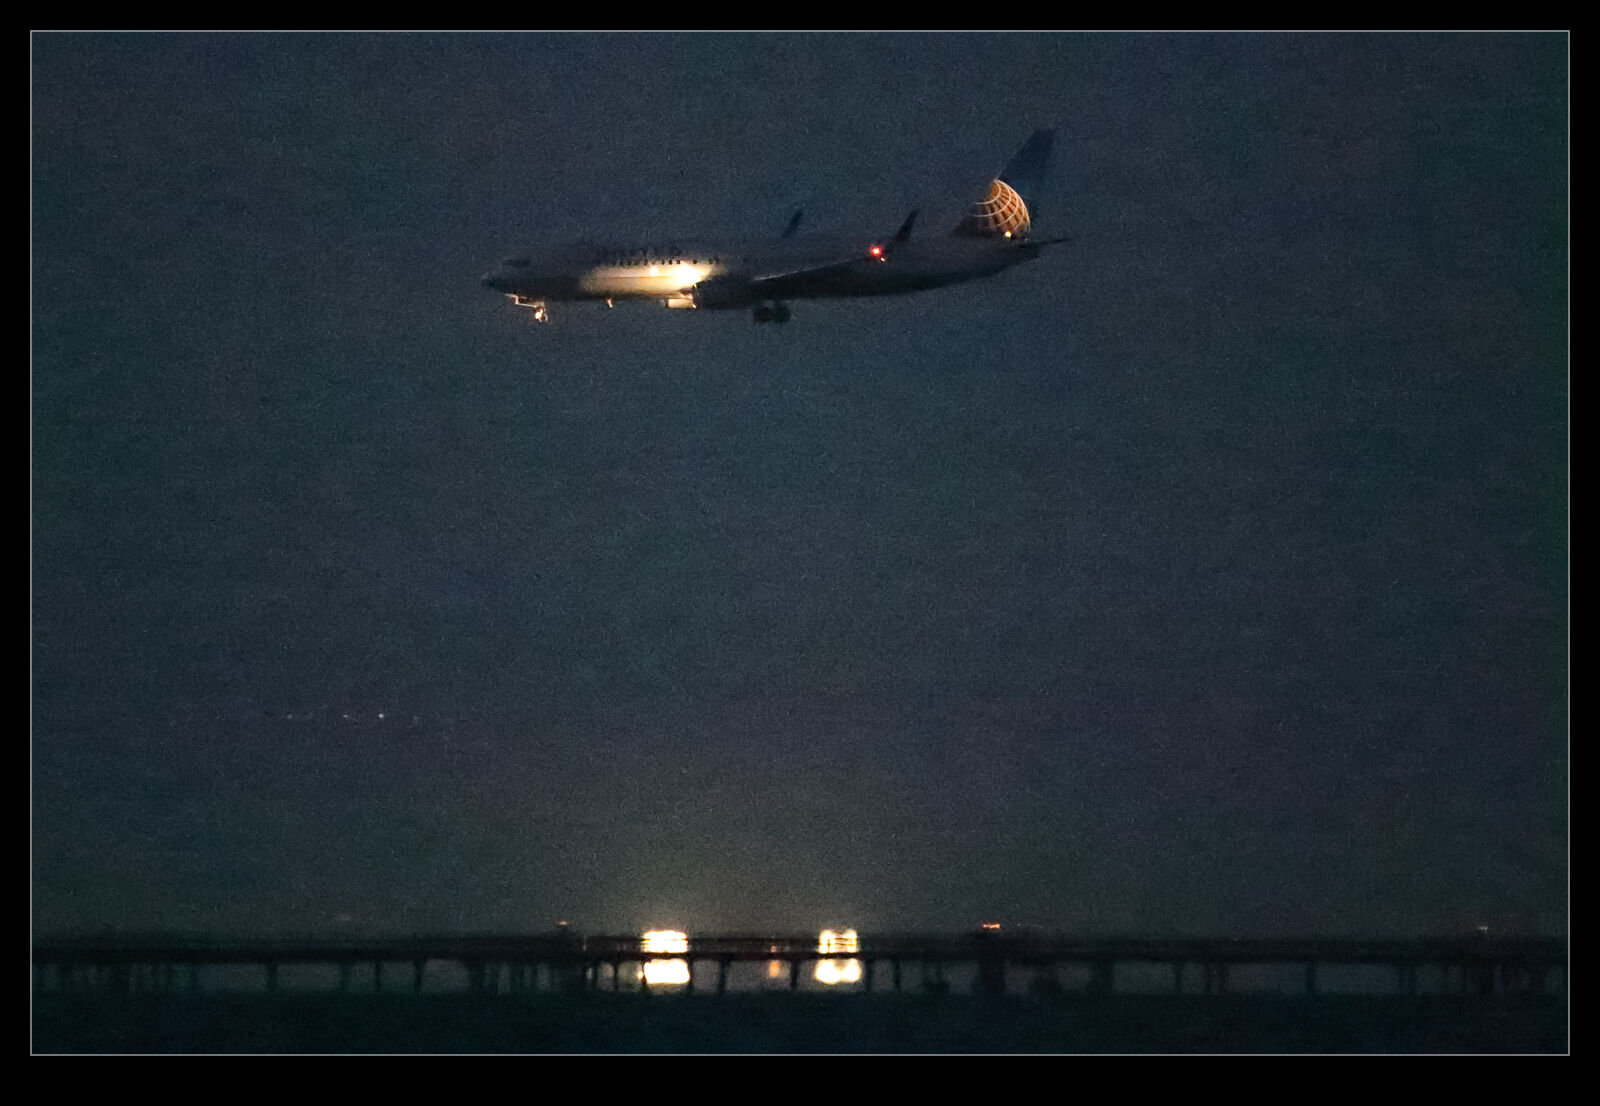
AE7I2701.jpgAE7I2701jpeg.jpgI don’t know about the Nikon cameras but the Canon cameras tend to have three extended range ISO settings at the high end.  There is the highest ISO setting that it recognizes and then there are H1, H2 and H3.  They don’t name them with the actual ISO settings but you know what they are based on what you see on the camera.  The manufacturer does not label them as normal ISO settings because they do not stand behind them as a capability.  There is a good reason for that.  They are just like the highest Nikon settings.  Useful if you have no option but not very good otherwise.

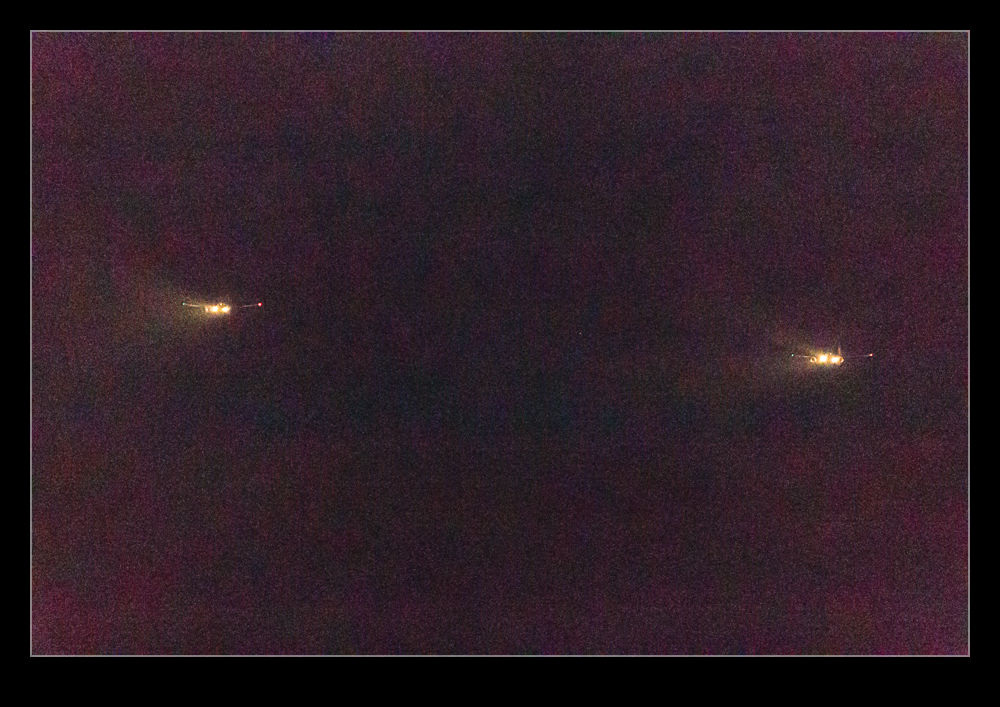
The same was true with my older bodies.  They had a very high ISO range that was not great but it would do in a pinch.  At the Albuquerque Balloon Fiesta I shot an Aero Commander in the pitch black that flew over and I saw stuff in the shot I couldn’t see with the naked eye.  This is with a camera that is ancient by modern standards.  I expected a bit more with the latest generation.  Certainly, there is more to be achieved with what we have now. However, post processing becomes a part of the story.

My first experience with these shots was in Lightroom.  The shots did not look good at all.  However, there was a clue in all of this.  The first view in Lightroom is based on the JPEG that is baked into the raw file.  It looked okay until it was rendering by Adobe at which point it looked a lot worse.  This piqued my interest.  Sure enough, at the extended ISO ranges, the shots looked pretty awful.  Lots of purple backgrounds.  These were not going to be any good.  However, the initial preview had looked good., is this a case of Lightroom not being able to render the shots well?  I figured I should try going to the source.

AE7I2747.jpgAE7I2747jpeg.jpgAt various ISAP symposiums, the Canon guys have talked about how their software is the one that you should use since only Canon know how to decode their shots properly.  They have the recipe for the secret sauce.  Since Digital Photo Professional (DPP), Canon’s own software for decoding raw files, is so terrible to use, I never bother with it.  The raw processing in Lightroom (and ACR since they are the same) is so much easier to use normally and works really well. DPP is just awful in comparison.  However, we are now dealing with the extremes of capabilities of the camera.  The embedded previews seemed better so maybe it is possible that DPP will be able to do a better job.

You can now be the judge.  Here are some pairs of shots.  They are the same shot in each case.  The first is processed in Adobe Lightroom and the second is processed in DPP.  I think it is clear that DPP is better able to work with the raw files when it comes to extreme ISO settings.  The shots certainly have a more normal look to them.  The Lightroom shots look really messed up by comparison.  It doesn’t mean I will be using the extended ISO ranges on a regular basis.  Jumping to DPP for processing is not helpful on a regular basis.  However, if the need arises, I know that I can push the camera a lot further and use DPP to get something that is okay if not great.  This could be handy at some point.

After Dark! Testing the Low Light

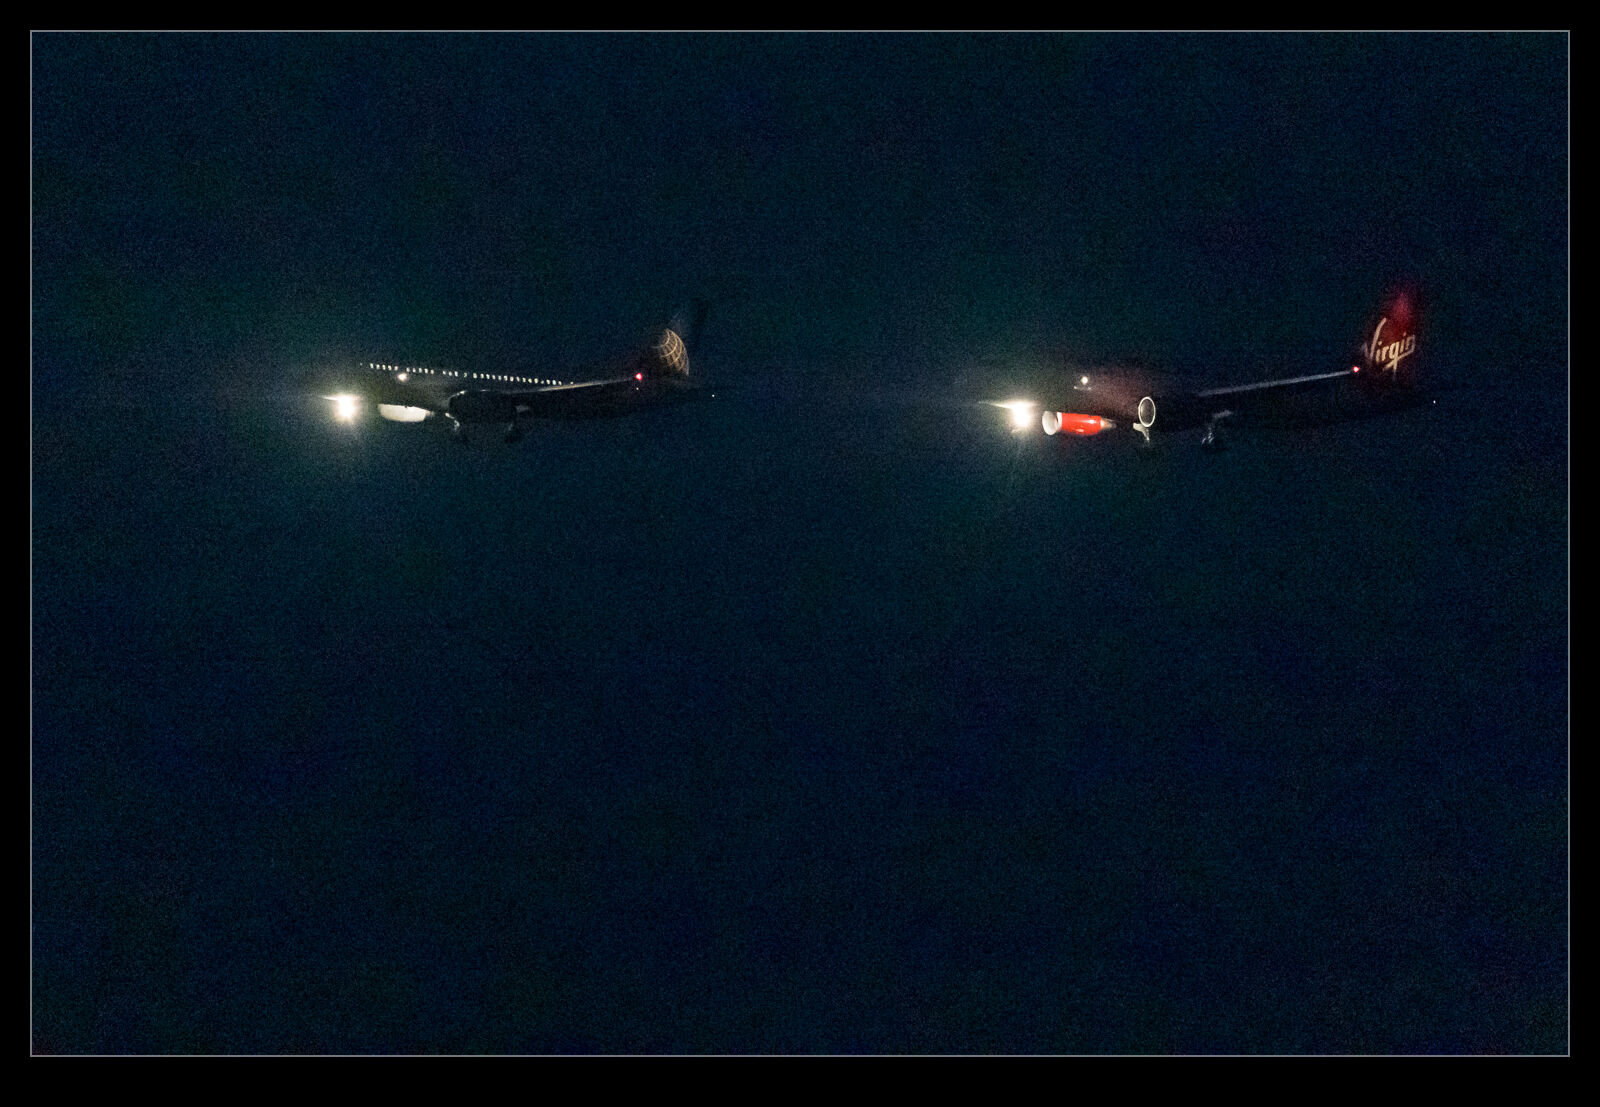
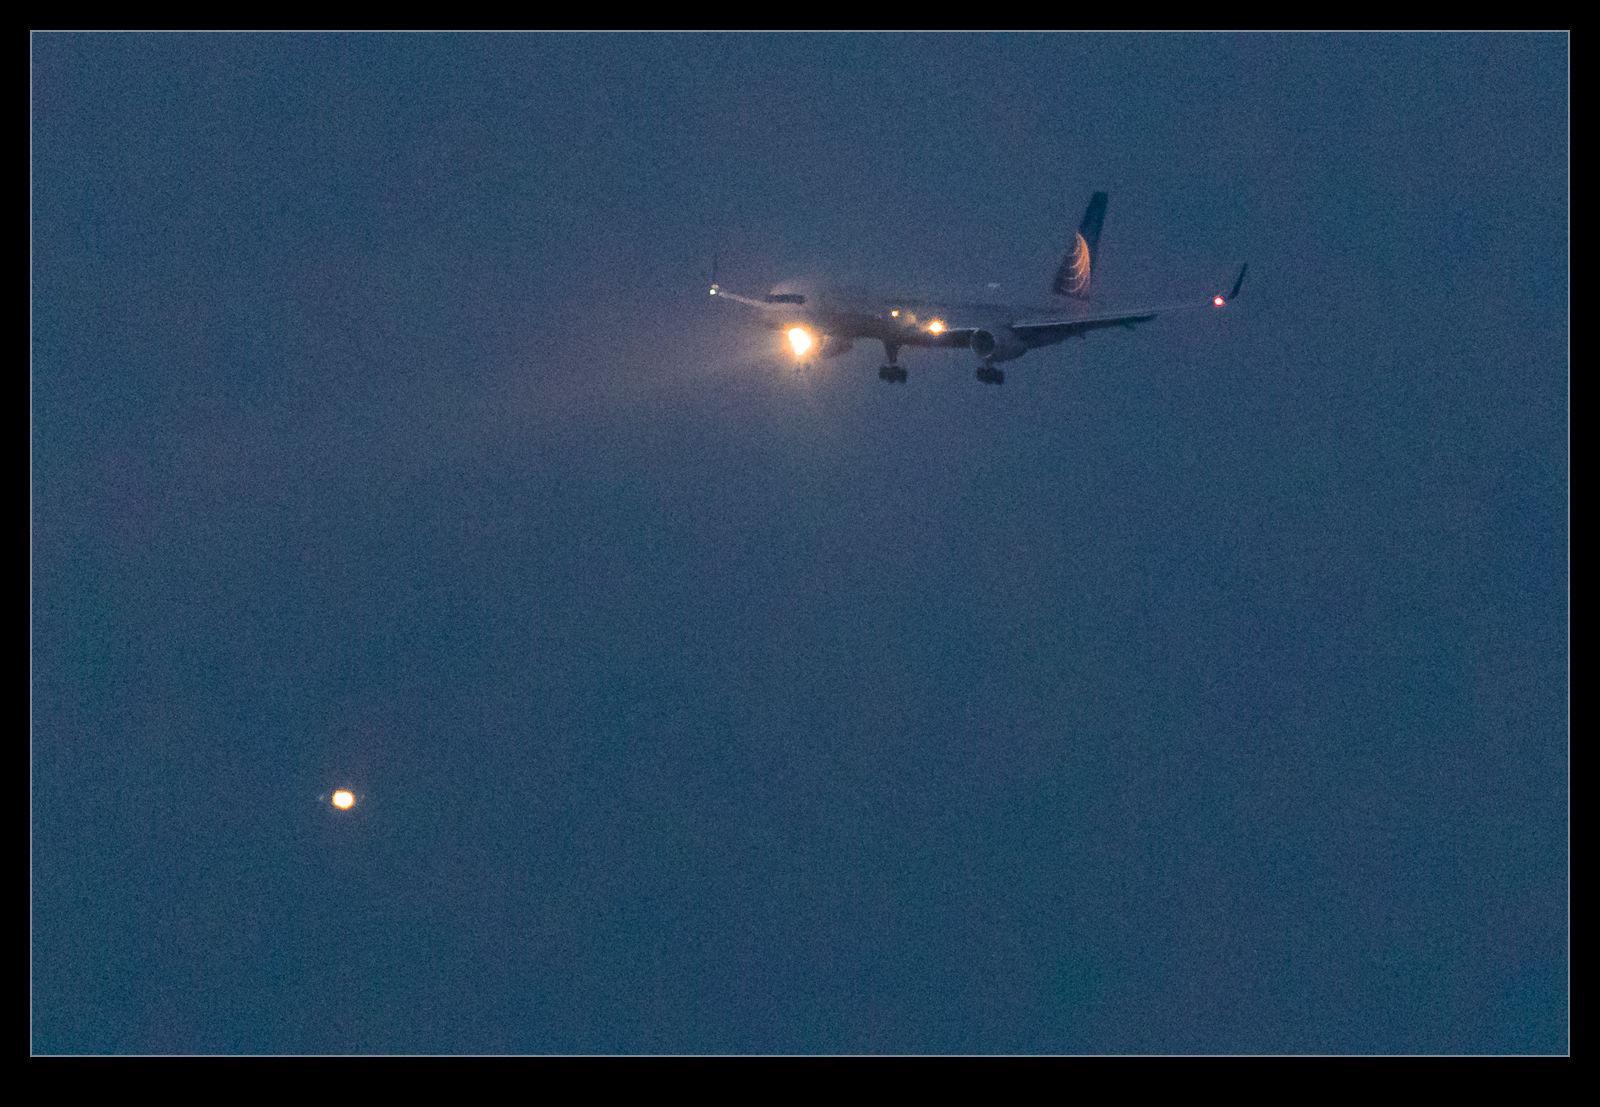
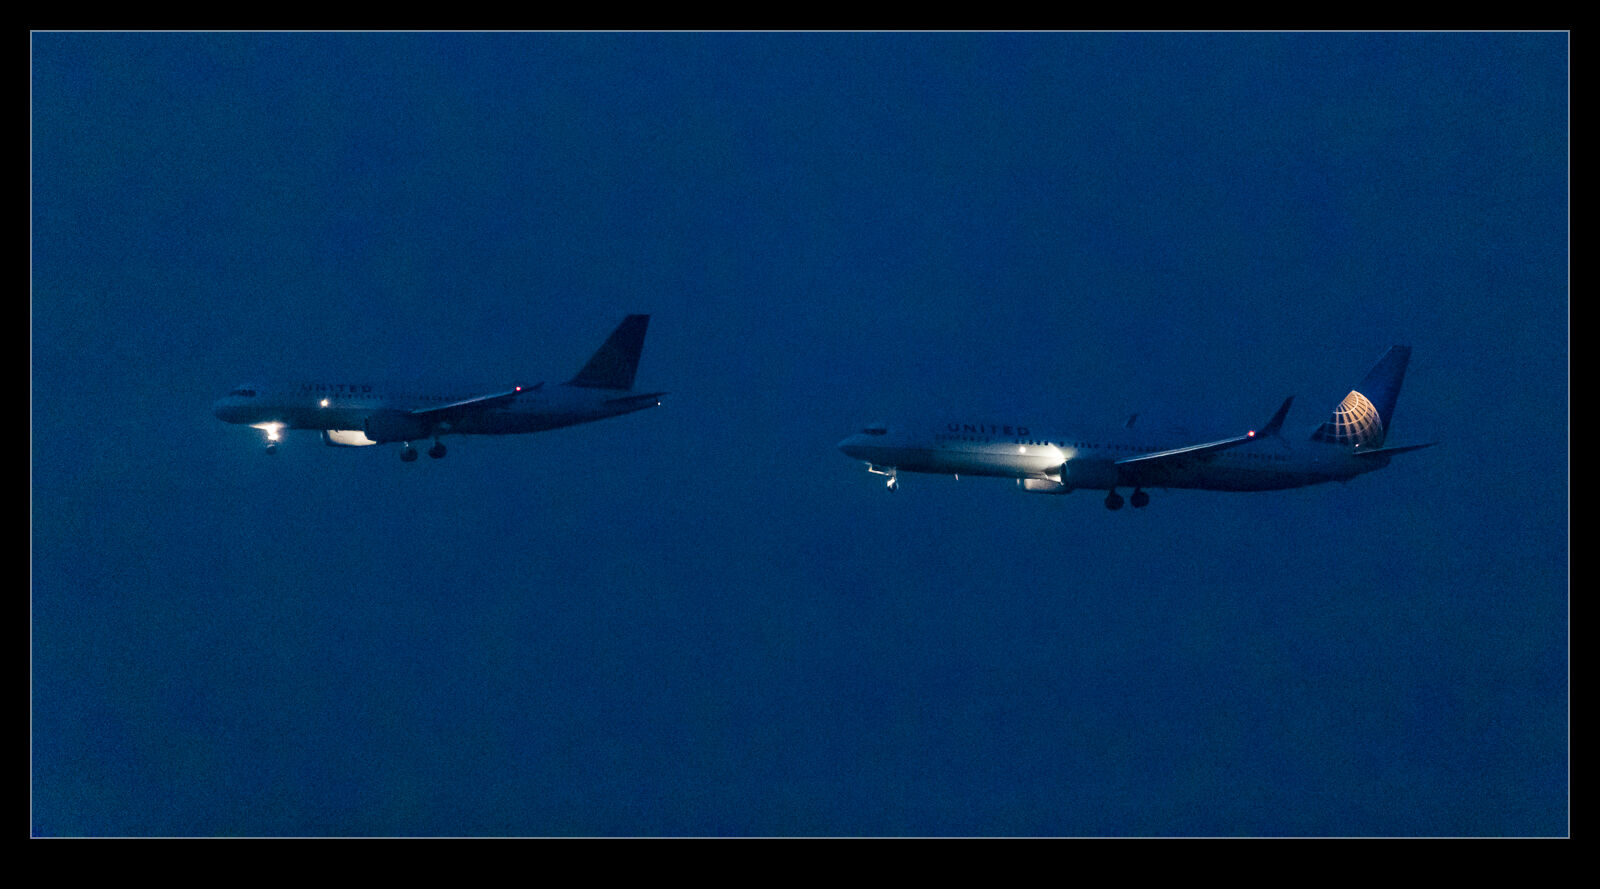
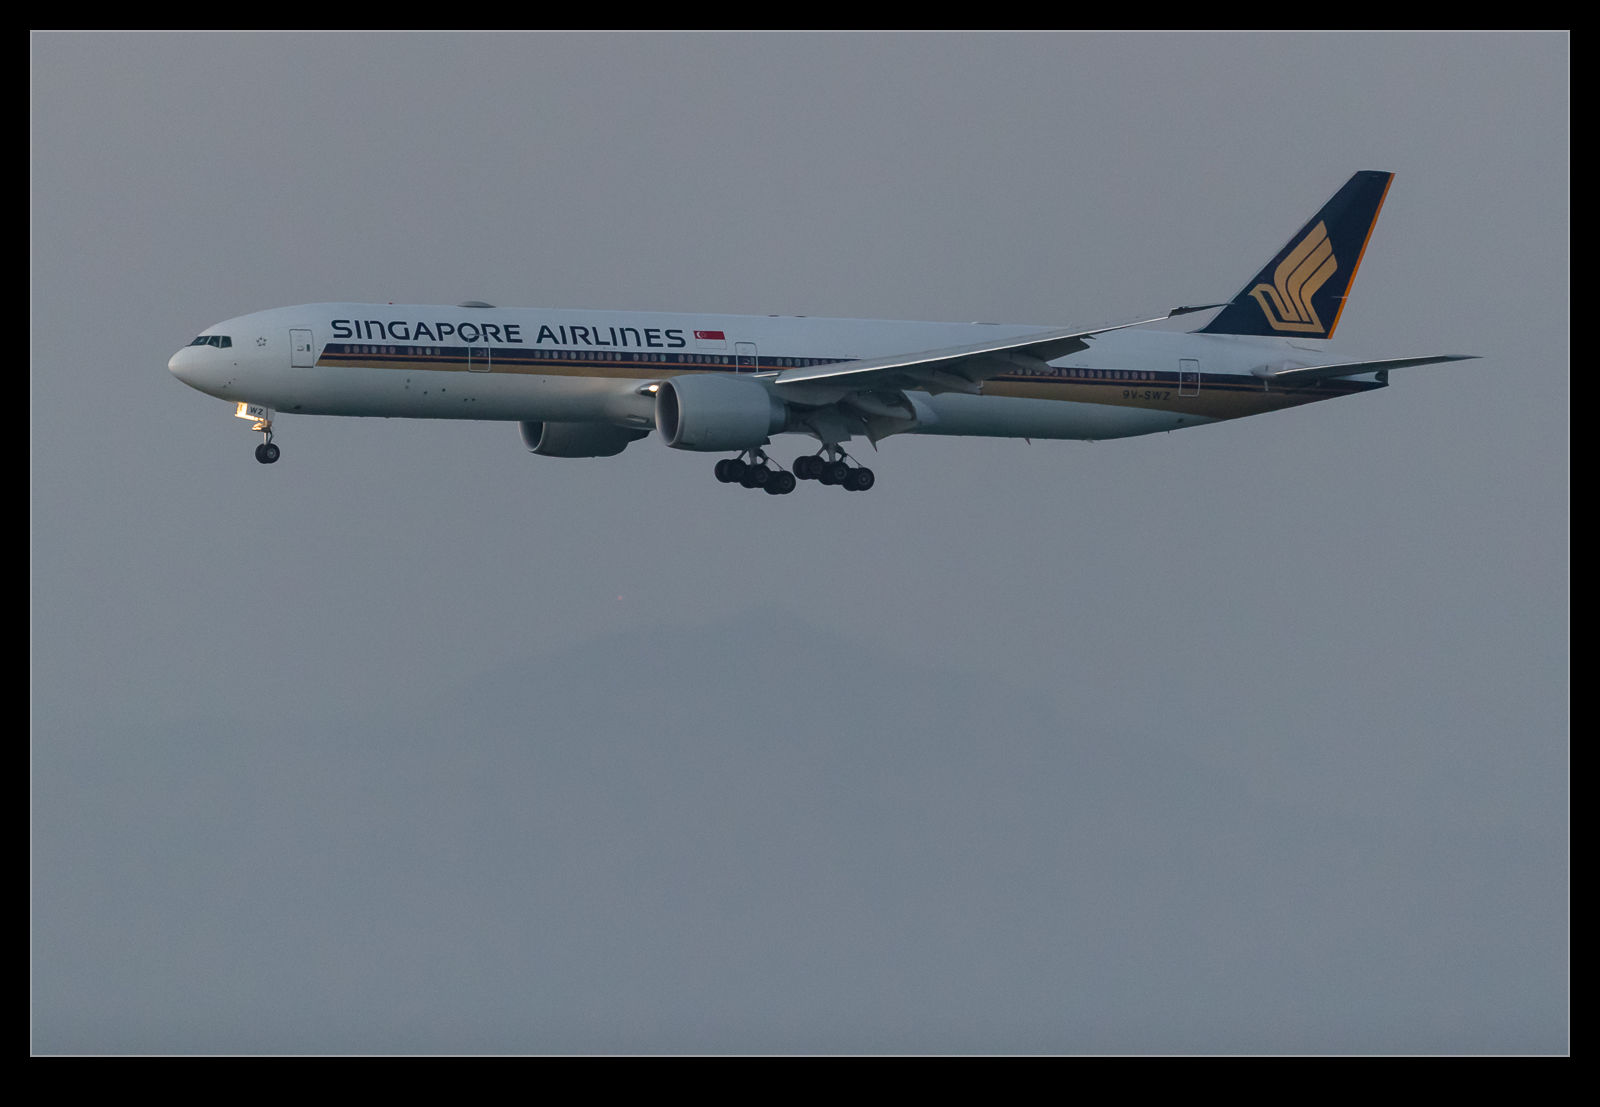
AE7I2413.jpgThe real goal of my shoot after sunset was to see what is possible with the cameras.  An awful lot is written these days about the incredible low light capabilities of the latest cameras.  I am rather suspicious of some of the claims that are made so I was interested to see what could be done.  I have seen reviews in which people describe shooting with ISO settings and claiming they are absolutely clean – no noise!  I am imagining that there is a little bit of over enthusiasm in these claims.  No one wants to write a review that says nothing much has changed for fear that they won’t get to review the next camera.

AE7I2611.jpgConsequently, while I do expect some improvement in capabilities – particularly given I skip generations of cameras when buying my own – I am skeptical that they will be quite so dramatic.  Even so, I did anticipate some improvements from my previous bodies and I did get this.  I am not talking about noiseless shooting at ridiculous ISO settings.  I am able to work in a far higher range though.  It is worth noting that a blog post involves relatively low image sizes so the worst of the noise becomes less apparent.  Full size images are a lot more harsh.  (For this post I won’t focus on a previous issue of mine which is how printing is far more forgiving of noise than a screen is.)

AE7I2394.jpgA tricky issue with shooting as the light disappears is the use of exposure compensation.  From having some positive exposure comp during the day, as the night comes on, I go through normal exposure to having a bit of negative exposure compensation.  It is dark so the shots should be dark.  It shouldn’t look like daylight.  I ended up playing around with the settings a bit to see whether -1 to -2 should be used.  -2 ended up being a bit too much.  However, it is a bit of a guessing game depending on what you are shooting and how much light there is in the background.

AE7I2482.jpgOne good thing about these bodies is their ability to handle some post processing.  If the shots were a bit dark, boosting the exposure did not bring as much noise into the shot as I would have expected with my previous bodies.  I was able to mess around with them a lot more without things going horribly wrong.  I am not getting amazing shots (unless you are comparing them to what you could do in film or early digital days in which case this really should be considered amazing – that’s how spoilt we have become).  The contrast at night is harsh so things will always be a bit difficult.  However, you can get shots in some very difficult conditions.  You won’t get detail in the images like you expect in normal lighting but that really would be phenomenal!

AE7I2773.jpgAE7I2508.jpg AE7I2647.jpg

Camera Profiling

AE7I0561-2.jpg AE7I0561.jpgFor all of my previous cameras I have created profiles.  When I got the new cameras I decided not to bother and to go with the profiles that are built in to Camera Raw/Lightroom.  This was working okay for a while but there were some shots where I felt like the adjustments were having slightly odd effects.  It was almost like the files had less adjustability than my old Mark IV files.  This didn’t seem likely.  I figured I would have a go at creating profiles and see whether that made any difference.

AE7I0336.jpg AE7I0336-2.jpgThe profiles are relatively easy to create.  I have a color card that has twelve different color squares.  You take a shot of it in RAW mode.  Then comes the slightly annoying step.  You have to cover it to a DNG file.  Not sure why, since this is all Adobe software, they can’t combine the steps but never mind.  Then you open the profiling software.  Pull up the DNG file, align the four color dots with the corner color squares and let it do its thing.  Choose a name and the profile is saved on your computer where the Adobe software can see it.

AE7I0439-2.jpg AE7I0439.jpgIt does make a difference.  The thing I found most interesting was that the profiles for the two cameras were quite different.  It shows up most in the blues for my bodies which, given I shoot aircraft a lot, is no small deal.  The shots here are versions of the same images with the default profiles and the new profiles for comparison.  Everything else is the same so the difference is purely profile related.

AE7I0619-2.jpg AE7I0619.jpg

Sunset Shooting at SFO

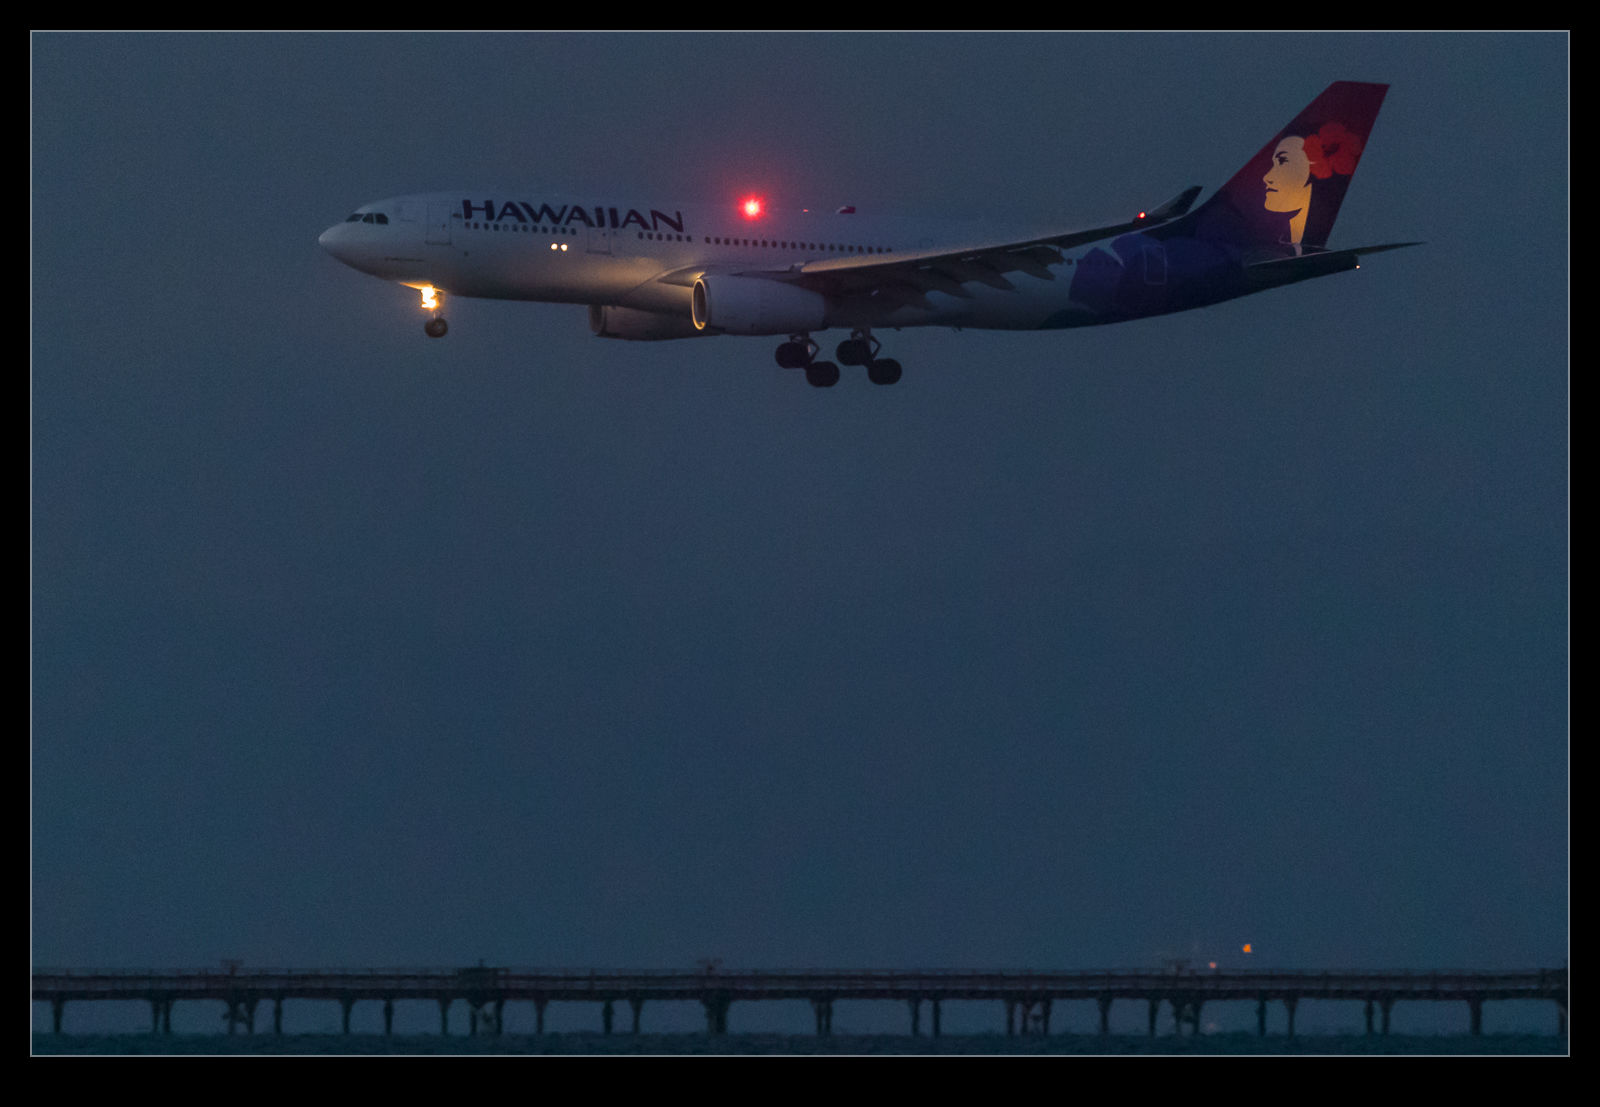
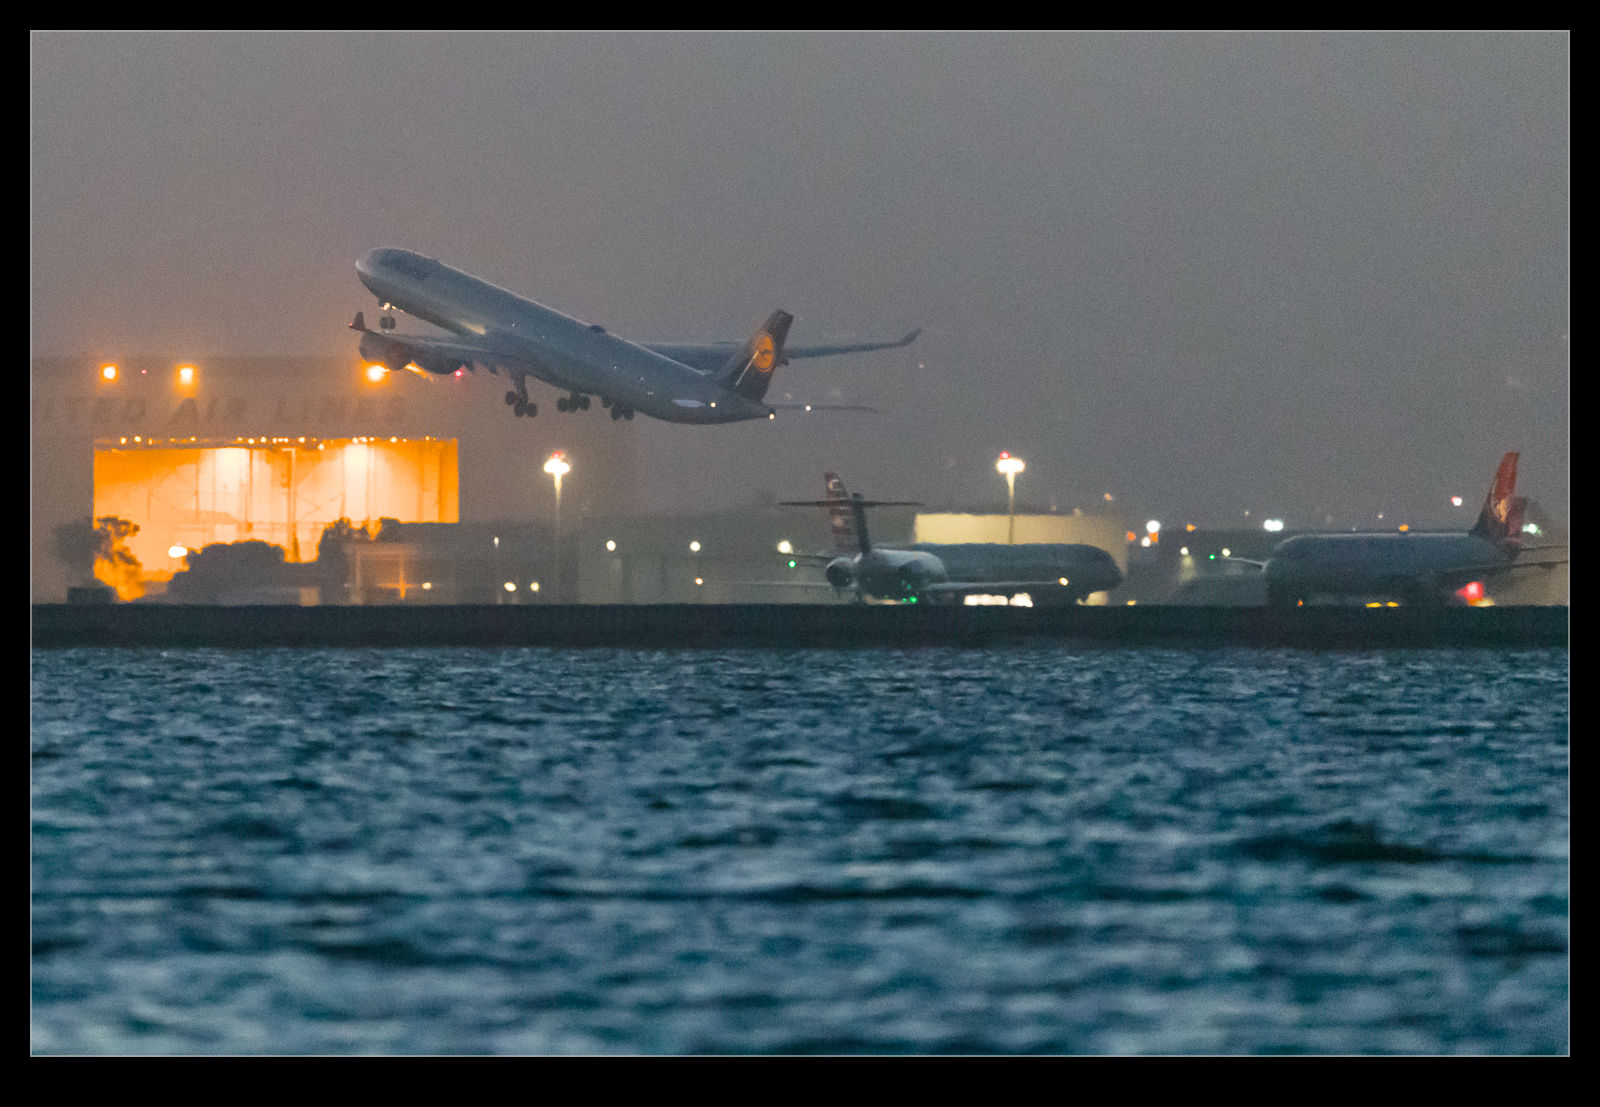
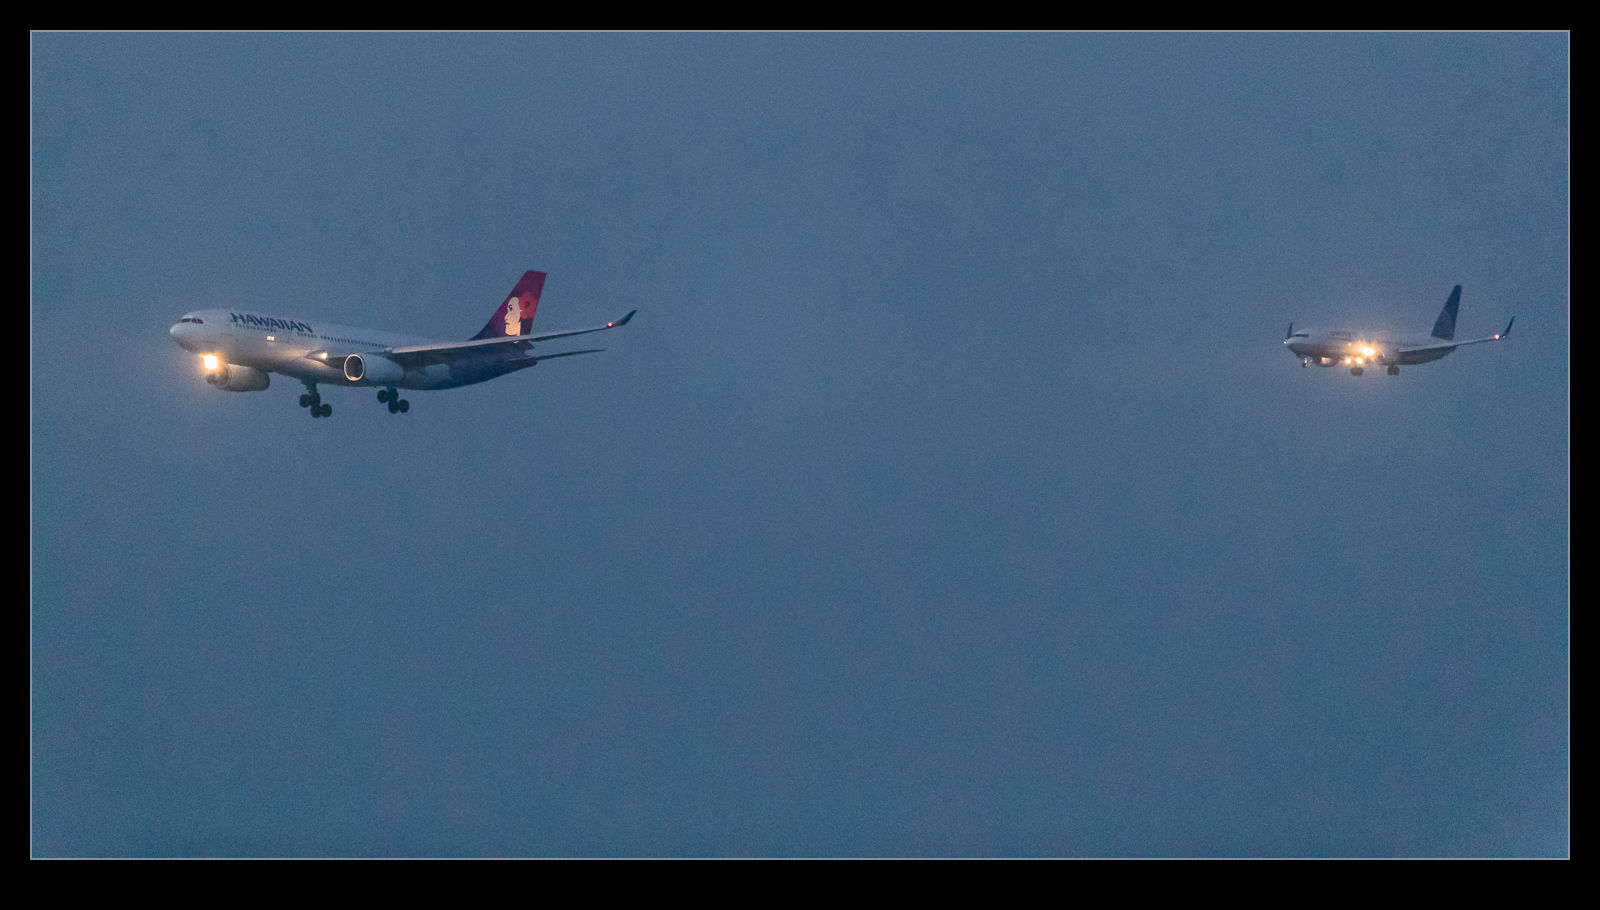
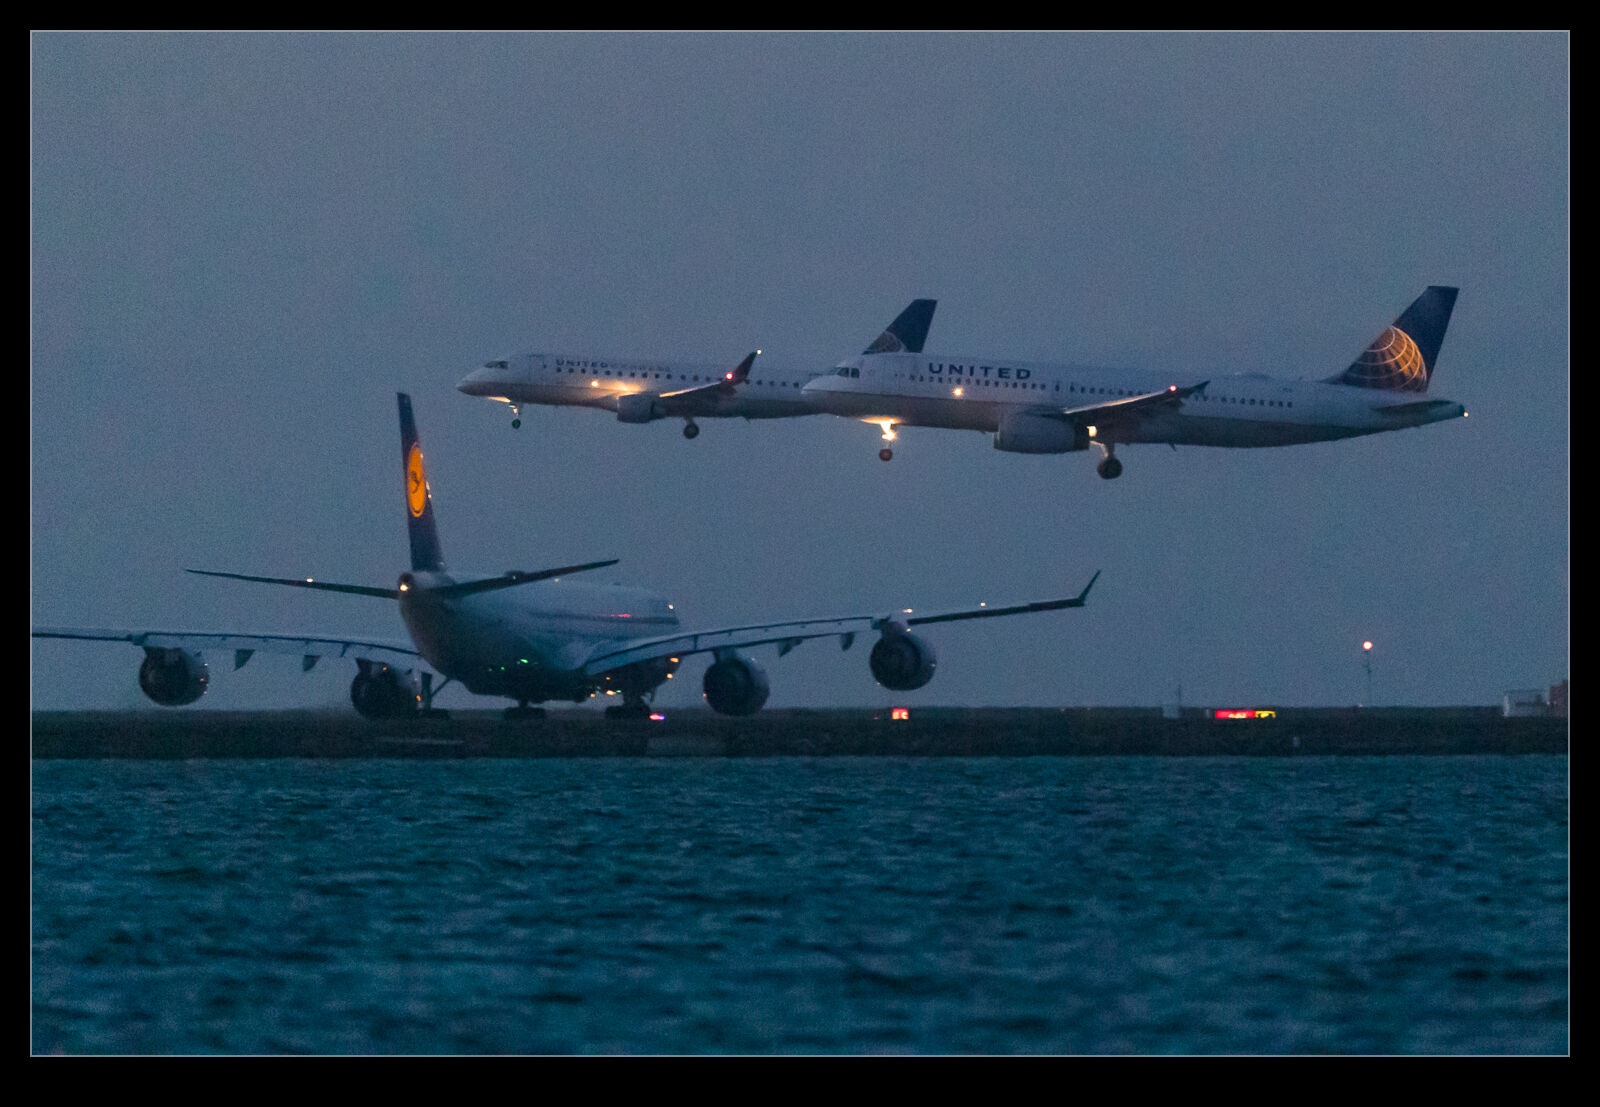
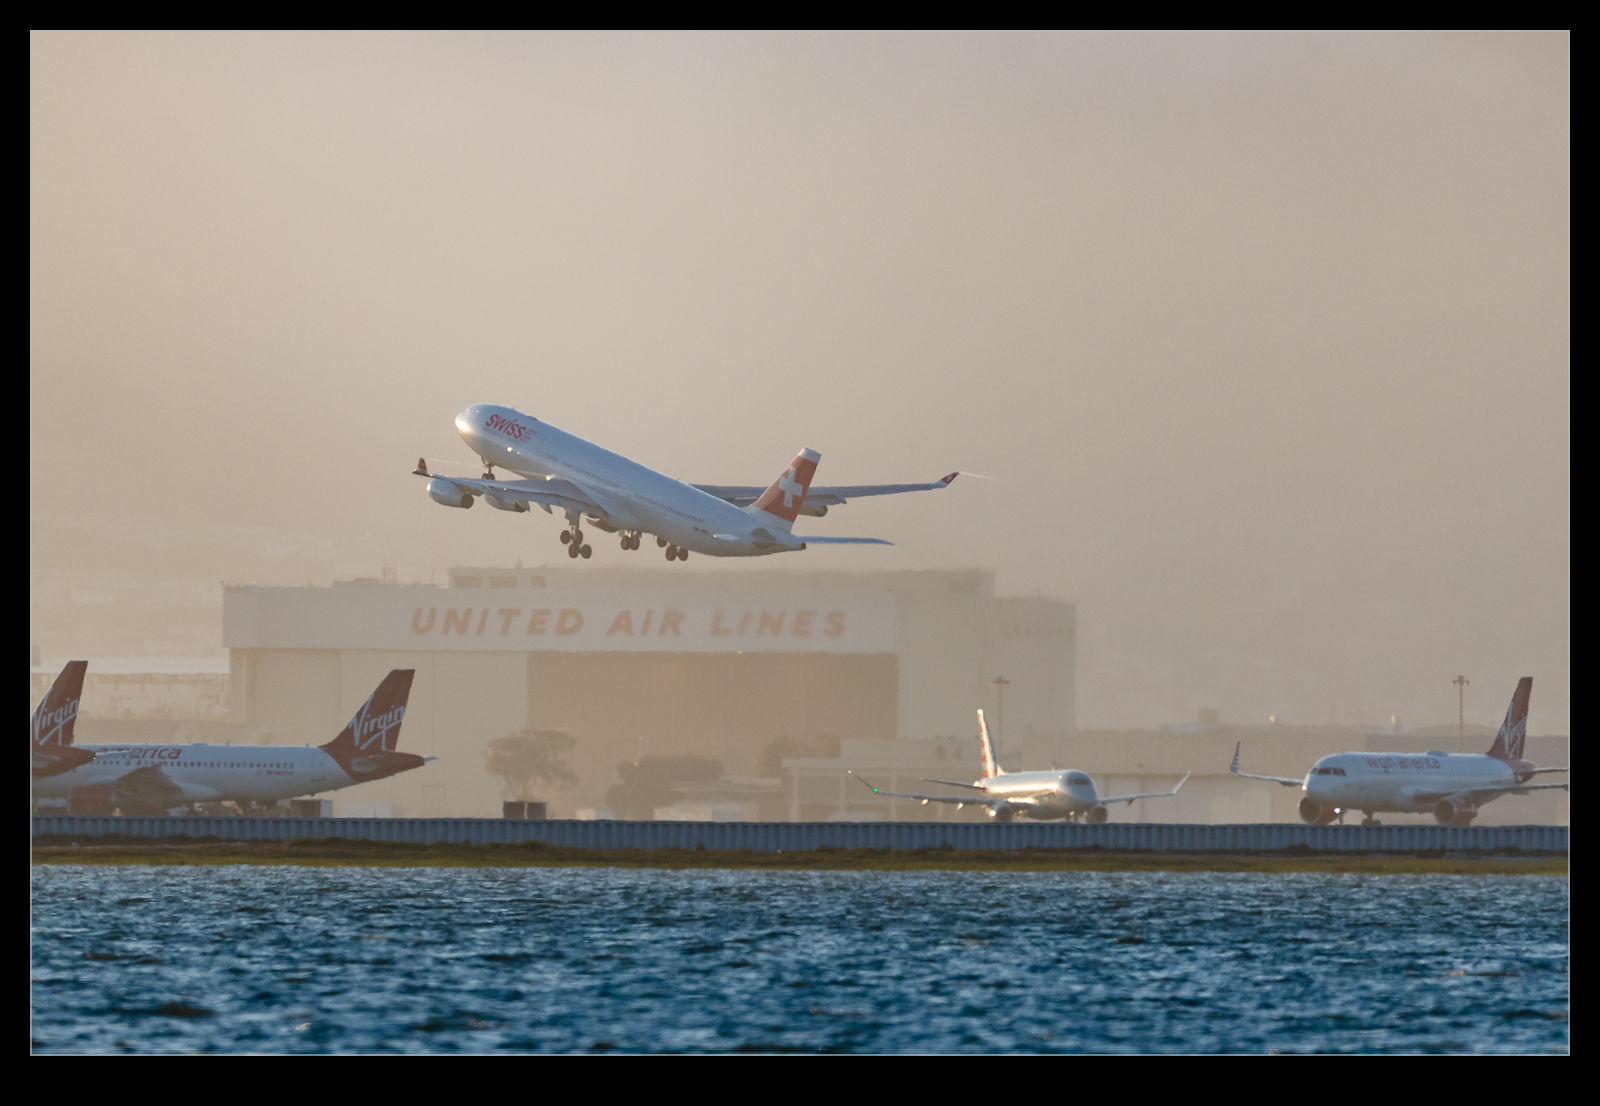
AE7I2058.jpgA holiday weekend combined with an early closure of the office meant I had a bit of time to experiment with some things I wanted to try on the new cameras.  Normally I don’t want to blow out a whole evening at a weekend but, with a bit of extra time, I decided to see what I could do with shooting aircraft in sunset and really low light conditions.  There will be some other posts that look a how the cameras do in very low light/night conditions.  However, to get there, I also got some sunset to play with.

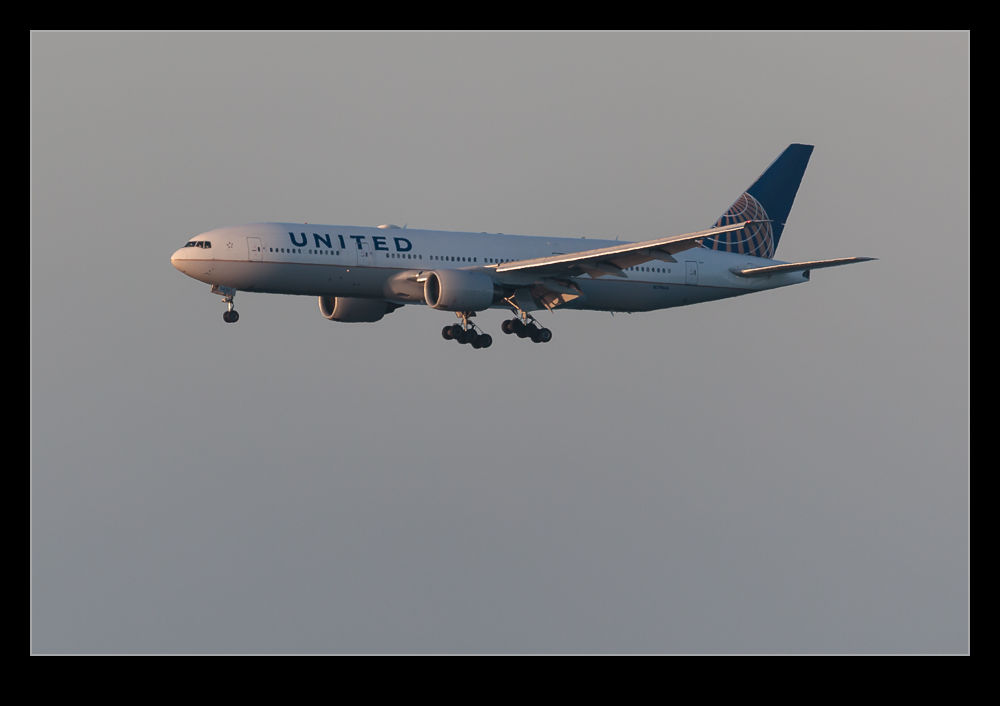
AE7I2071.jpgAt this time of year, sunset is not as good as it will be later.   The sun goes too far north late in the day so, instead of getting good light on the jets, you end up with some backlighting.  Even so, there are some good chances to get some more delicate light on the planes.  You do get a bit too much contrast as the remaining light is on the nose and the fuselage sides are pretty shady but you can get some reasonable results.

AE7I2189.jpgI was interested to see how the camera dealt with the light.  The use of exposure compensation becomes a bit variable in these conditions.  The light starts to get nicely balanced but then you can end up with more brightness in the background with less on the subject.  This can make things go a little dark.  I found myself playing with the settings quite a bit as I explored how the camera reacted.

AE7I2268.jpg

High ISO Raw File Size

On my previous camera bodies I had occasionally shot at very high ISO settings as a result of the lack of light.  I had not paid a huge amount of attention to any secondary effects of doing so.  My current cameras had a work out in some very low light when I decided to test them in some rather unfriendly conditions.  When I was at home, I was running some disc backups and I found I could not get the normal number of files onto a single disc.  A quick bit of investigation and I could see why.  The high ISO shots had a significant increase in file size.  As I understand it, RAW files, while containing all of the data from the sensor, do have an amount of compression applied.  I imagine that the noise inherent in high ISO shots means that the compression is less effective as there is so much variation across pixels.  As an example, a shot at ISO 320 will average at about 22Mb.  The shots at ISO 51,200 are coming in at over 30Mb.  At ISO 204,000, the files can hit 40Mb. That is quite an increase!  Something to keep in mind when planning to shoot in very low light conditions.

1DX Mk II First Impressions

After a little bit of time shooting with the 1DX MkII, I have started to build my impressions of how it is working for me.  This is definitely only a first impressions review since there will be a lot of time before I have got totally used to it and have worked out the details of its functionality.  For reference, I have previously been shooting with the 1D MkIV so things have moved on a lot from that.

Focus is a good place to start.  I didn’t have a particular problem with the MkIV but this one does seem to be a bit snappier when it comes to focus.  I was recently shooting some subjects which had a lot of scope for the focus to get confused.  However, it seemed to be reliably on target – certainly far more than I used to experience.  There are a multitude of focus points and combinations.  I haven’t even started to get into them yet.  I tend to have simple requirements of the focus points, generally based around the center point but I will be trying more in due course.

Exposure has thrown up a couple of things of note so far.  First is the amount of light you get with a full frame sensor.  I have read a few things about the way camera manufacturers reference ISO and aperture combinations with crop bodies but I hadn’t had a chance to explore this.  Using the same ISO and aperture as I used to, I am getting shutter speeds noticeably higher than before.  I will now revisit what my settings are since I don’t need speeds that high.  The other change is in the handling of backlight.  I had got a good grip on what exposure compensation I needed for various sky conditions with the previous body.  Starting with those resulted in overexposure.  I find the body is better able to get it right itself so I have been tweaking the exposure comp down.

Video capabilities have been significantly expanded but I have yet to get too far into them.  I started out with the default HD settings but I have changed to a larger file size format to get more latitude for editing.  Having not done any detailed editing yet, I have not found out how much of a difference this makes.  I have not played with 4K at all yet.  The big thing in video is the dual pixel autofocus.  Previously I had to fix focus before the shot started and any zooming would tend to move things out of focus.  Now I can select by touch what I want to track and the camera seems to do a nice job of keeping that sharp during motion, panning or zooming.  This is a nice addition to have when dealing with motion relatively close in.

The setup of the control buttons is an evolution of what I know.  There are some additional buttons to work with and they are configurable.  I haven’t tried reassigning anything yet since I want to find out what I need most often before I do so.  They have made a switch in the stills to video control with that now having its own control.  I am still getting used to it compared to the way I did it on the MkIV but I firmly believe the new configuration will be a big improvement.  I just need to retrain myself to use it without thinking.

Preset configurations are a great addition.  I moaned about this to a Canon rep many years ago.  The 40D had preset configurations you could program and switch between quickly.  When shooting props and jets, this is a nice thing to be able to do very quickly.  Everything about the setup is programmed so it is a powerful addition.  Finally I have it on a better body.  There are three presets.  I have one for jets, one for props and the third I have configured so I can give the camera to someone else to shoot without having to explain back button focus and center points.  It is in a more user friendly configuration to hand off.  I shall see whether that gets much use or not.

The card configuration is now CFast in one slot and Compact Flash in the other.  The camera came with a 64Gb CFast card and I have put existing 64Gb CF in the other slot.  So far I have not had to use the CF so I haven’t noticed the write speed.  Buffer is huge so I doubt this will be an issue.  The CFast is working fine.  It does seem to download very quickly via the USB3 card reader that was also included.  The card does also get noticeably warm when working a lot.  No specific upside or downside so far.  The CFast is required for 4K at 60fps but otherwise CF will work fine.

Now for one of the big surprises.  Canon has upped the frame rate to 14fps.  It was 12fps on the 1DX and 10fps on my old MkIV.  I did not think that this would be a big deal.  A small increase?  I was wrong.  This thing flies along.  A quick squeeze of the shutter and suddenly I have three shots.  It buzzes rather than has the sound of individual actuations.  This means a slight variation of shooting technique for me.  I used to shoot short bursts for each view.  I could then pick my favorite of the burst during post processing.  I can still do this but now it is a shorter hold of the button to get the same effect.

A small addition I like is the built in GPS.  I have been using an app on my phone to create a gpx file tracklog during photo shoots.  I can then import this in Lightroom and it matches with the shot times to tag the images.  With a built in GPS, the shots are automatically tagged.  This will help when flying which often meant I couldn’t get the tracklog to work in the old process.  As a aside, the GPS allows the camera time to automatically update so no need to plug them in periodically to get the time synced up.

I can’t overlook the fact that the 1DX MkII is a full frame camera.  I was a little concerned about losing the crop factor I had on the MkIV.  Shooting aircraft sometimes makes the extra reach of the crop factor helpful.  The pixel density is a little below what it was before so I don’t have the virtual crop to play with.  However, so far I am finding that I am just shooting like normal based on what I see in the viewfinder.  We shall see if I notice the difference as I get to do a variety of shoots.

File size is a step up as a result of the higher pixel count.  This is resulting in a bit more effort for the computer when it is rendering the shots.  I can see a noticeable difference in the speed with which the 1:1 renderings get completed.  This is not yet causing a problem but I shall see whether a bottleneck develops.  I will also see how this impacts my backups.  I previously used to back up files in blocks of 1,000 per Blu-ray disc.  If there were no video or large edit files, the disc would have spare capacity.  Currently, it looks like I might still be able to do the same thing but with less margin.  Another thing to watch as experience is gained.

Battery life is officially down on the previous camera.  The increased processing power requires more juice from the batteries.  I have been on a couple of big shoots on consecutive days with many thousands of shots over the days without having gone through one battery.  If there is a reduction, it is certainly not causing me any operational concerns.

That summarizes everything I have identified so far.  I have a long way to go in learning to make good use of the camera but I have to say I am very happy with it so far.  It is a great piece of kit.  I have much to still try.  I have not even got in to the high ISO capabilities at this point.  This is something I want to play with before too long.  Longer days will make that a bit trickier but the opportunity will present itself.  When I do, anticipate a post on that too!  Overall, I love it.  Anyone want to buy a MkIV?