Narita

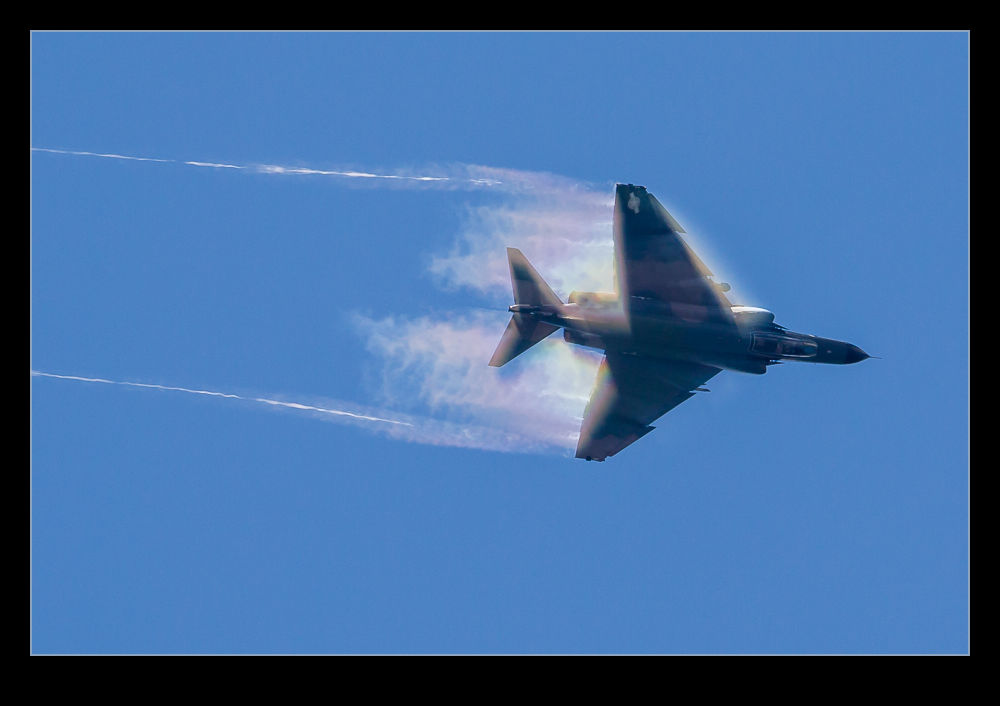
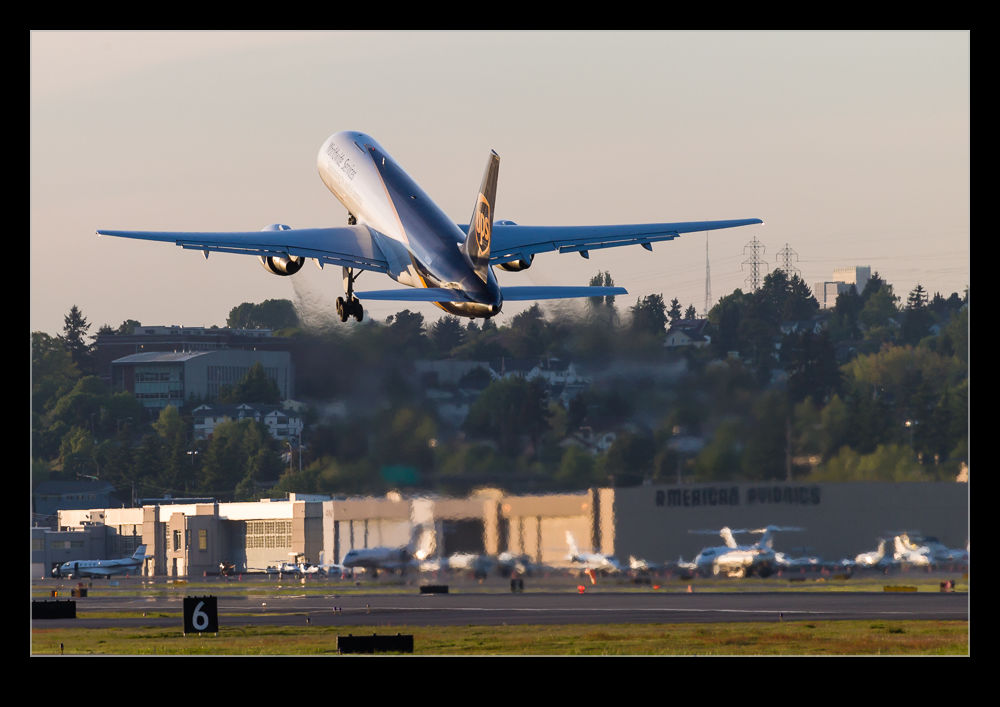
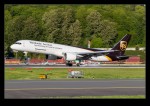
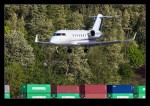
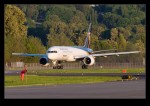
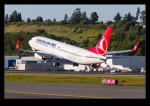
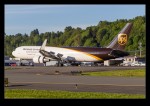
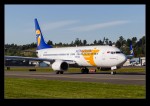
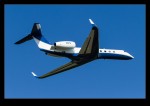
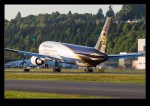
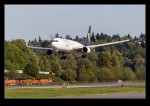
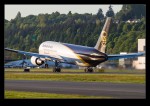
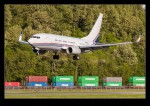
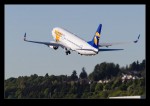
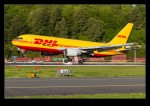
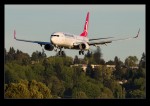
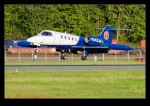
wpid9389-AU0E0607.jpgMy trip back home departed from Narita Airport. The journey out there was swift so I got there with some time to spare. Narita is one of the airports that still has a viewing terrace. Not only that, they provides holes in the wire fencing to stick your lens through! I wasn’t there for terribly long and it was the afternoon when the sun is pretty much in your face. However, it was a far nicer place to be than sitting at the gate. This was the side of the airport where the US airlines tended to operate so I saw a lot of planes that I can see at home. However, there were some interesting operators departing from the runway on that side of the field that I hadn’t seen before so I sat back and enjoyed the new sights along with the old.

Shrines

wpid9486-AU0E0484-Edit.jpgThe reason for being in Asakusa is that there are some famous shrines there. This is a very popular tourist area and there is a market on the grounds of the shrine which is designed to suck up the cash of the passing tourists. While there are some awfully tacky things for sale, there are also some very classy artisans at work too. Quite a contrast. I am not a souvenir person so, while I paid some attention to these stalls, I was more interested in the shrines themselves.
wpid9478-AU0E0475.jpgThey are impressive structures and hugely popular. There are some massive paper lanterns at the entrance which apparently are very famous (shows what I know). They do look great. What was strange to me was that, while the main shrine was very impressive and very busy, there were a number of other buildings, sculptures and gardens in the area that were also very cool but far less busy. Everyone appears to go to the main shrine and then leave. They certainly missed out in my opinion.
Davis Station

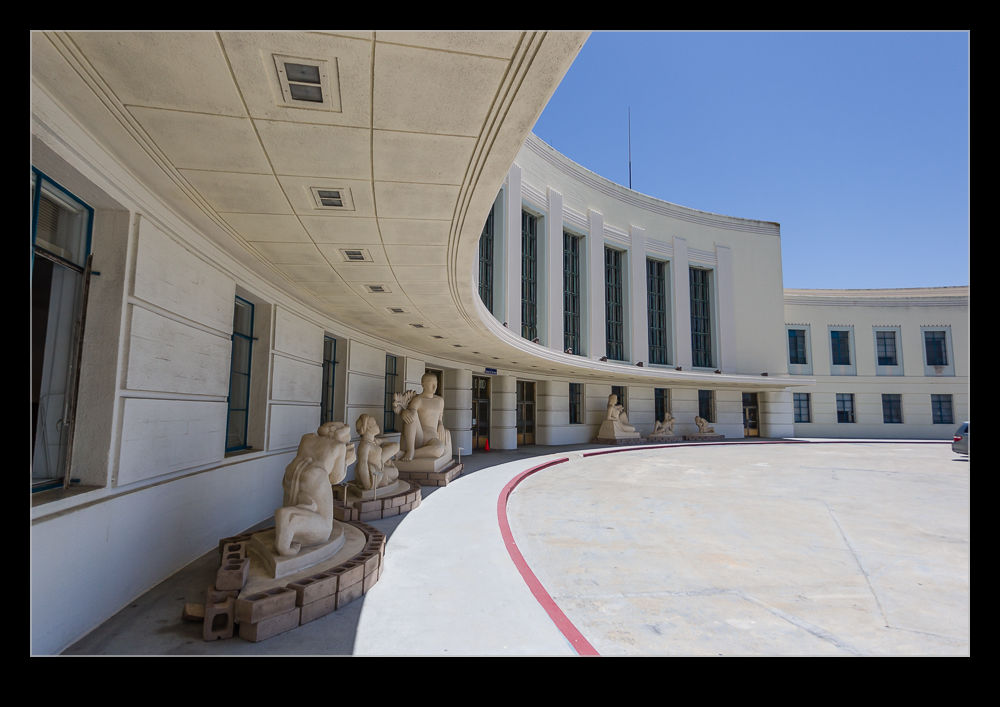
wpid9317-IMG_1841.jpgEarly one morning I found myself in Davis CA meeting a colleague to head to a meeting. I picked him up at the station and arrived a few minutes ahead of time. Davis has a cool station building. I didn’t know anything about it so hadn’t come prepared. The trusty iPhone was all I had with me so here is an iPhone shot of the station in the early light.

Asakusa Figures

wpid9476-AU0E0472.jpgOur next part of the Tokyo exploration took us to the Asakusa district. On the way we headed through a street that had some history related, I think, to the entertainment industry. There are a number of figures that are on the street or, more appropriately on and above it. These characters represent the history of the area and adorn a number of the buildings as well as the ground. They were pretty cool to try and spot.

Mt Diablo Summit

wpid9662-AU0E0964.jpgHaving trekked along the trails on one side of Mt Diablo, we decided to finish the day off by heading to the summit. This time we took a more motorized form of transportation and drove up there. We passed many cyclists heading the same way how all made me feel a bit guilty. I had just finished a hike, though, so didn’t feel quite so bad about my lazy route to the top.

wpid9668-AU0E0980.jpgThe summit has a tower and lookout station which we took a look around. The views were very good, even if the haze was a bit of a problem further away. We aren’t terribly familiar with all of the area yet so we spent some time trying to work out exactly where we were in relation to the places we do know. It is a long drive to the top but worth doing. Soon the Amgen Tour of California will be making the climb too. I suspect they will head up there at a fair old pace!

Imperial Trees

wpid9434-AU0E0337-Edit.jpgWalking back from the Imperial Palace towards the hotel to check out, we passed through an area with many trees planted. Not only were their locations carefully planned, they also seemed to be beautifully manicured. The whole effect was very impressive. All of the trees in the grounds looked great. There was one particular tree that was leaning right over alongside the moat that looked like a lot of effort had gone into getting it just right.

Mt Diablo Hike

wpid9646-AU0E0935.jpgWe may have lived in Dublin for over six months now but, for some reason, we had yet to go and stretch our legs on Mt Diablo. Such a large mountain so close to us, it is hard to miss when you are in this area but we hadn’t got around to going there. It was time for a change and time to get a good hike in since we haven’t been out for a while.

wpid9642-AU0E0920.jpgOur hike started out in Clayton on the opposite side of the mountain from us. It wasn’t a terribly long hike since we haven’t exactly been keeping in shape. However, while it was only just under 6 miles, the terrain was a bit more interesting than we had expected. We certainly got some climbing in as well as some descents that had footing that took a little practice to master. The aim was to get to a trail that loops around some falls. We weren’t expecting to see anything at the falls since it has been a very dry winter but they were still flowing although not with any great force. The top of the valley provided a great view of the land below as well as the terrain around the falls and Mt Diablo above us.

wpid9644-AU0E0931.jpgIt is hard to give a sense of scale in images like this. As I look at them, it reminds me of how cool it looks but also of how an image on the screed is no reflection of the grand vista I saw at the time. It was really lovely even if we were a bit hot and tired by the end of it. It will be interesting to see it at different times of year.

Imperial Palace

wpid9440-AU0E0346.jpgWhile I didn’t have an invitation from the emperor (and I don’t even know if he was home), I did have a wander around the outside of the Imperial Palace grounds. There is a substantial moat surrounding the palace itself so I was stopped from getting too close. However, it is still a very pretty area and worth a look, even if time is limited. One of our colleagues had said the palace is open for tours at certain times but, if that is the case, we weren’t there at the right time and had a busy morning planned so it was a quick visit. Well worth doing though.

Boeing 777-300ER Main Gear

AU0E5067-EditWhen Boeing launched the 777-300ER, they took the stretched fuselage of the 777-300, a model that didn’t sell particularly well and married it to the updated wing that made use of the fuel capacity of the outboard portion of the wing that had been left when the original concept of a folding wing was contemplated.  The increased the weights of the jet, added far more powerful engines and, with the increased fuel capacity, came up with a winning formula that has done a very effective job of killing off the 747.

One problem that they had to deal with during development was runway length requirements for takeoff.  Even with the bigger engines, the long fuselage limited rotation angles at takeoff and meant a higher takeoff speed was required which meant a longer runway requirement.  Boeing came up with an interesting solution (after dumping some slightly more curious ideas).  The main gear on the 777 has a triple axle bogie.  Previously this had rotated about the pin attaching it to the main gear leg.  Boeing’s solution was to lock the bogie level during takeoff.

The result of this is to have the rotation of the jet at takeoff to take place around the rear wheels of the bogie rather than the gear leg pin.  The slight aft movement of the rotation point allows the aircraft to rotate slightly more nose up and gain a greater angle of attack.  This gives slightly more lift for a given speed.  This means an earlier takeoff and a shorter runway requirement.

I have tried many times to witness this at work.  First, it happens pretty quickly.  Second, I am often in a poor position to see the rotation point.  Recently I was at SFO to pick up some people.  I was getting a few shots prior to their flight arriving and a Singapore 777-300ER was taking off.  The rotation point is quite far away (although, if you are in the terminal, you might have a good view) and the heat haze is a problem.  However, I decided to get a sequence of shots anyway.  Now, how to use them.

Heat haze is crappy on stills but less of an issue with moving images so I decided to animate the sequence.  I imported all of the shots into Photoshop as layers in a single document via Lightroom.  The hardest part was aligning them.  I started at the bottom layer and then progressively made each layer above visible.  I then changed the latest top layer blend mode to difference.  This makes aligning them a lot easier since everything is black unless it is different.  I was focused on the gear so used that as the reference as the fuselage rotated.  Once each layer was in place, I changed the blend mode back to normal and moved to the next layer up.

Once they were all aligned, I used the animation timeline to make frames from each layer (and reversed the order since every time I do this they seem to be the wrong way around).  Then I could crop in to get the overall view I was after and save the file.  A Save for Web allows the generation of the animated GIF and we are done.  The image at the top is the final result.  It does allow you to see a bit of what is going on if you look closely although it is still a bit hard given the distance, the angle to the ground and the heat haze.  I guess I will have to find a location closer next time.

More Fort Point

wpid9537-C59F3270.jpgContinuing my theme of return visits to take Mum to places, Fort Point was on the itinerary. Always a cool place to visit on a nice day and it benefited from the swell resulting in some great waves crashing up against the fort. Also, we saw some guys taking advantage of the swell to do some surfing alongside the fort. Very cool although they had to know what they were doing since, if you rode all the way in, a rocky wall awaited you! (This also meant that choosing your parking space was a big deal unless you wanted the car to be covered in salt water!)