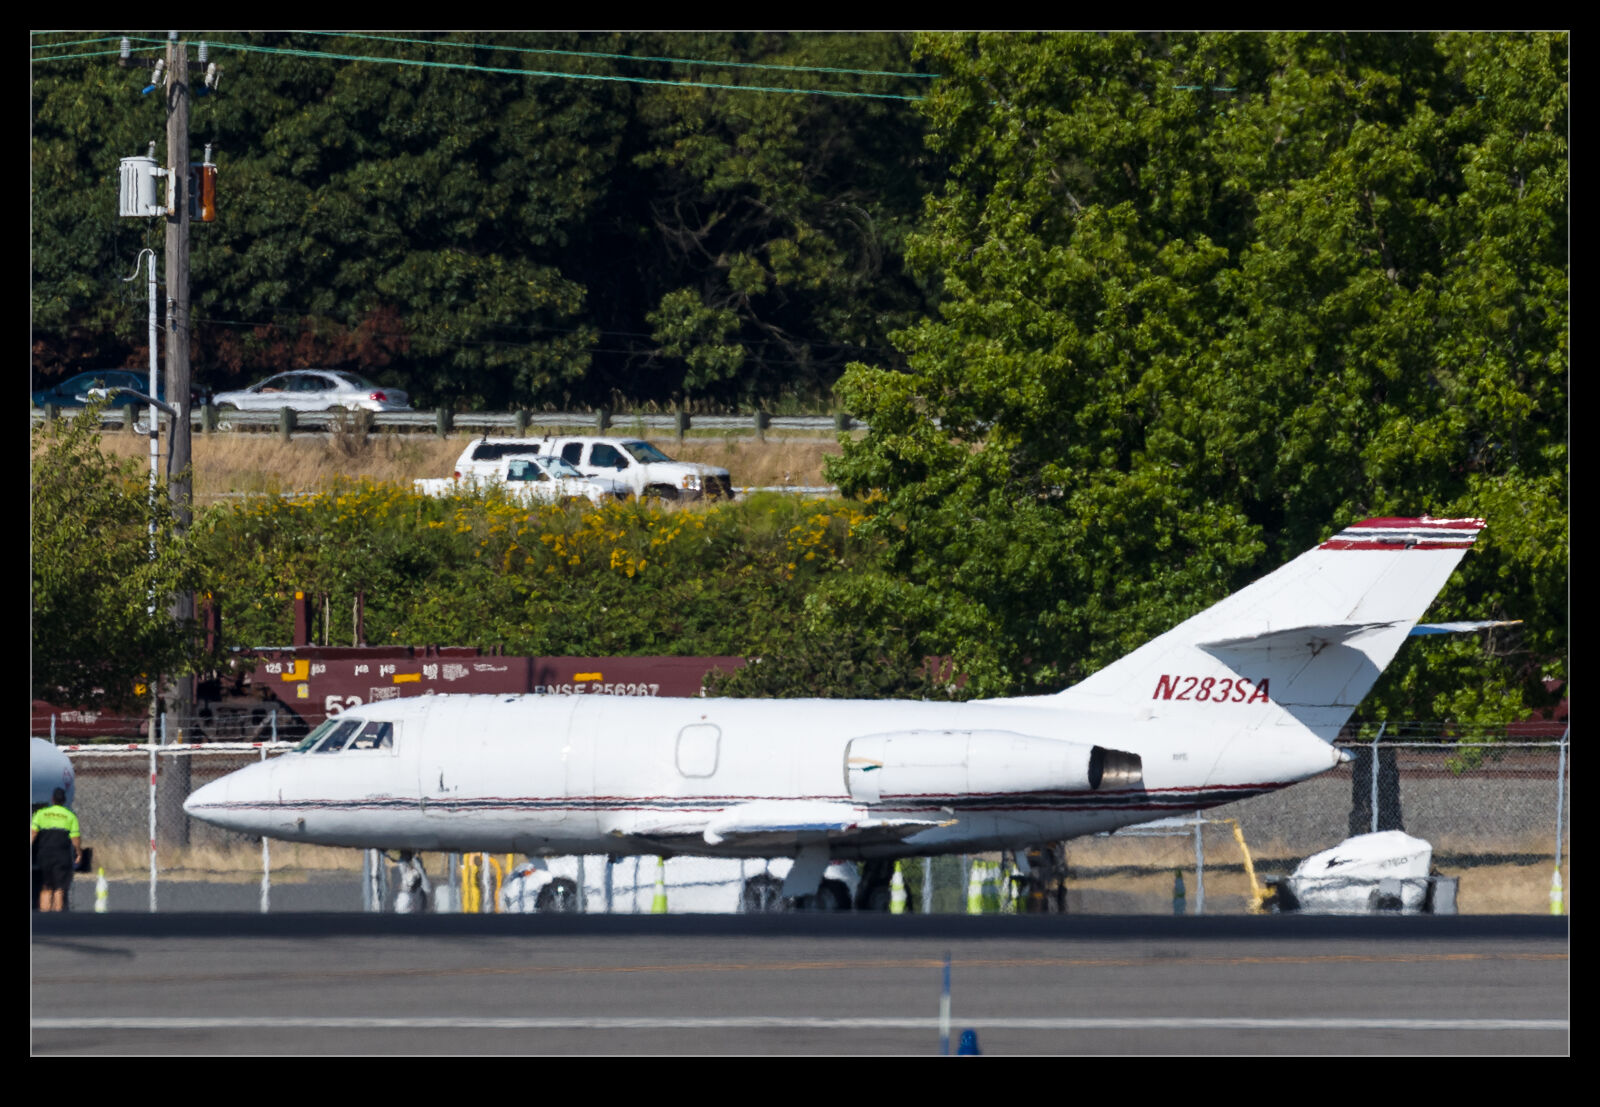
 Summer weather means lots of sunny days but also means lots of heat haze. I was at Boeing Field one sunny afternoon and there were two jets parked across the field that I wanted shots of – one was an Illinois ANG KC-135R and the other was a Falcon 20. Looking through the viewfinder, both of the were shimmering in the heat haze that a warm and reasonably humid day brings. This is the downside of summer in the Pacific Northwest.
Not long before I had watched a video on YouTube about photographing Saturn through a telescope. The image of Saturn was all over the shop but they were using a software technique to take multiple images and build a more stable and sharper final image. It worked reasonably well and this got me thinking about how to do something similar. In the past I have used Photoshop to blend together multiple images to remove the moving elements of a shot like people or traffic. I wrote about it in this post.
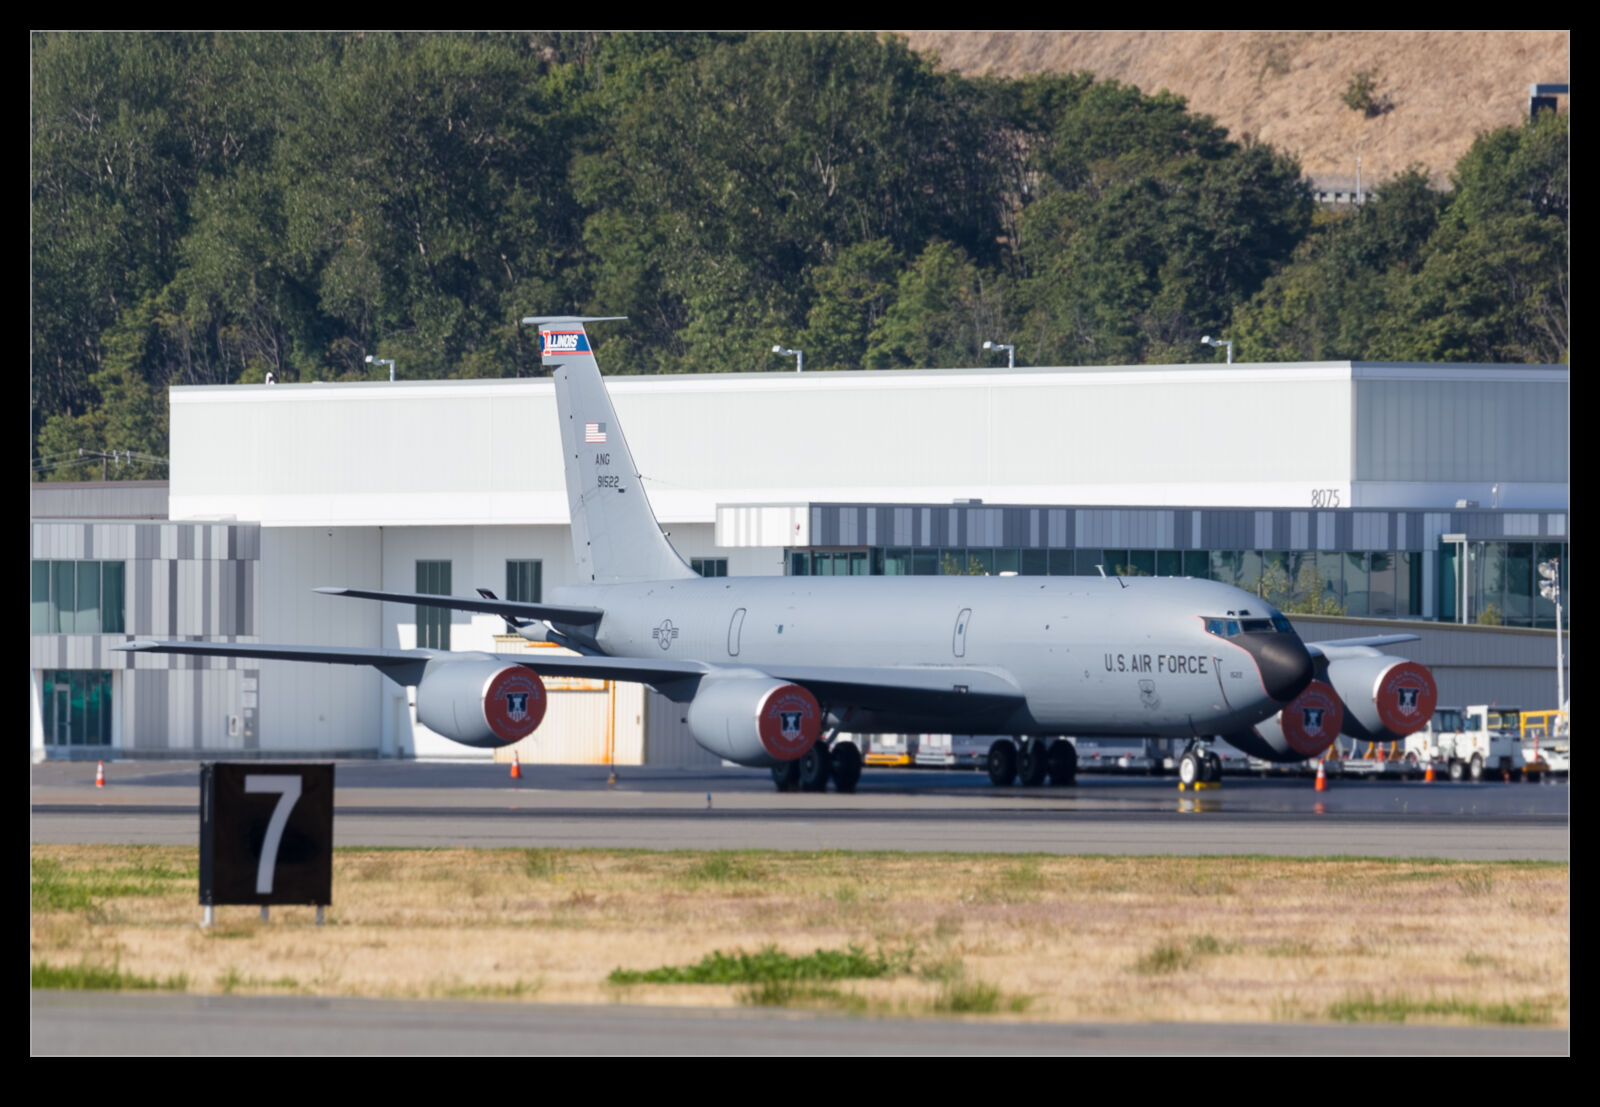
 I thought I would see if something similar could be done. I put the frame rate on to high and steadied myself before firing off a few seconds of shots. I wanted a lot of images to provide the best opportunity for the statistical analysis to find the right solution. Importing this in to Photoshop as layers and then auto aligning them allowed the analysis tool to do its thing. I don’t think the result is quite what I want and I may experiment with different analysis methods – median versus mean for example – to see which ones are most effective. However, there is clearly a smoothing out of the distortion and, if I needed to get a shot on a hazy day when there wouldn’t be another chance, I would definitely fall back on this approach to see whether it produced something more usable.