Tag Archives: adobe

32 Bit HDR

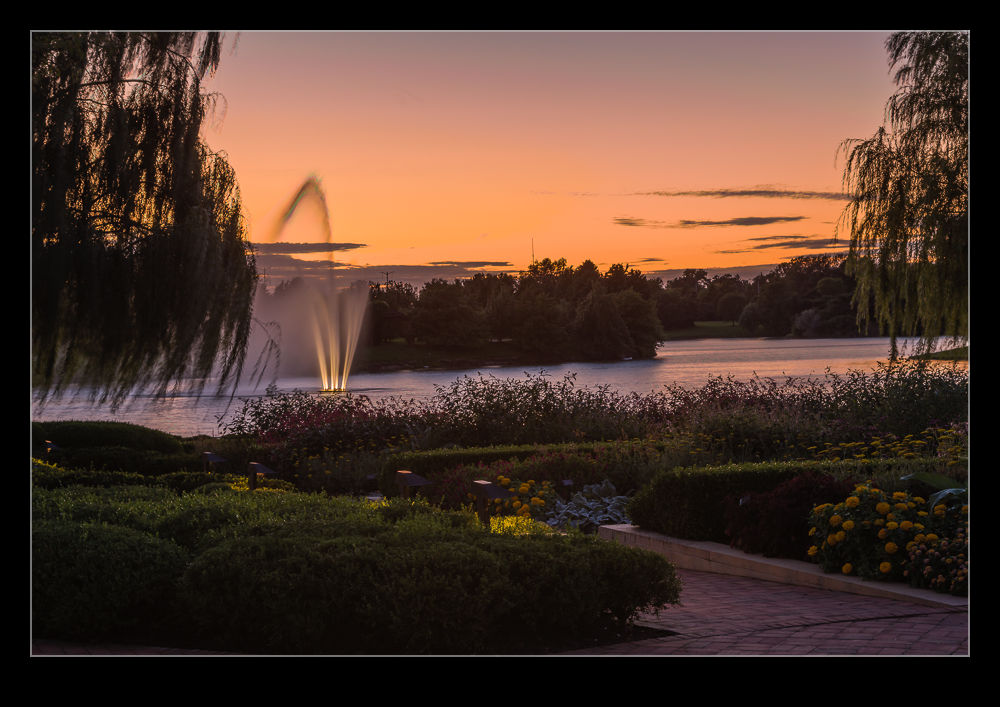
wpid5294-C59F0909-Edit.jpgWhile HDR might be a topic that causes all sorts of heartache for some people (they either love it or loathe it), I find it to be a really useful tool in some situations.  I have played around with some really over the top processing in the past just for the fun of it but my main interest has been in getting an image that can cope with the wide range of lighting that sometimes shows up in images.  While I have experimented with some of the third party HDR packages, I have ultimately ended up using the HDR Pro functionality of Photoshop.

This has been working okay for me but I was always a little less than satisfied with the results.  I have understood that the HDR merging process is only the first part of the technique and then the Develop settings in Lightroom (or ACR) are required to make the whole thing work a lot more effectively.  However, the slightly flatter look along with a level of desaturation that it was hard to bring back meant I was almost there but not quite.
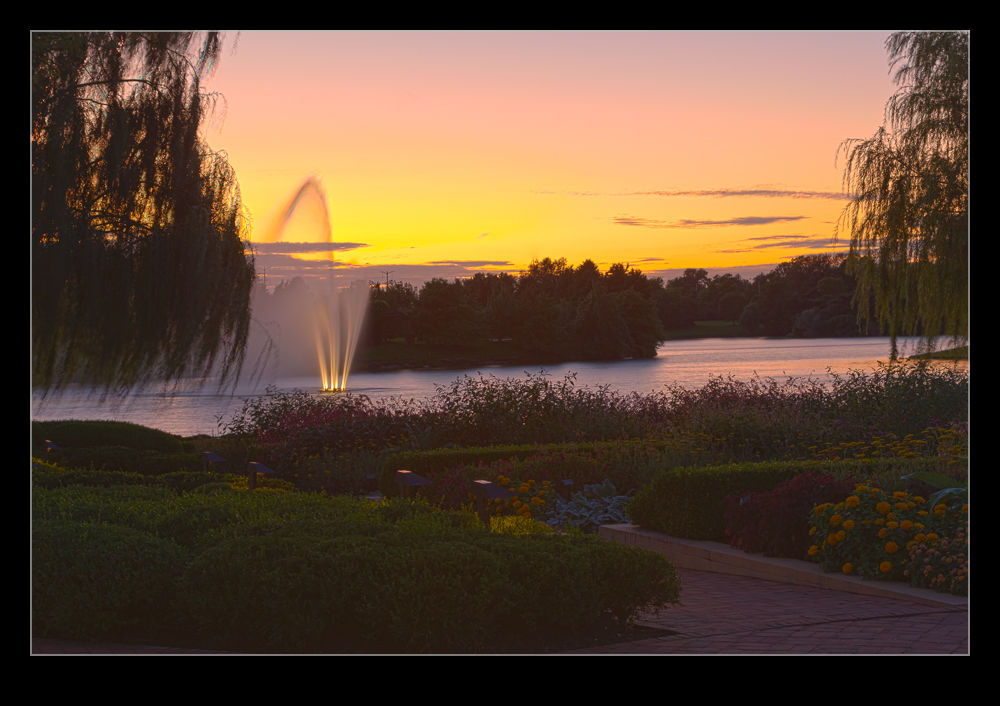
wpid5292-C59F0909-Edit-2.jpgA recent change that has been introduced and which it took me a while to get around to playing with was the 32 bit HDR approach.  In this, the original files are merged to create a 32 bit TIF file.  Getting to this from Lightroom required me to tweak my settings slightly. I always had the file edit settings laid out to make a PSD file.  I had to tweak them to make TIF the preferred file.  I have to remember this so that I don’t always have TIF output instead of PSD which seems to have a smaller file size.

Once you get into HDR Pro, the choice in the tab at the top covers whether you want 8 biit, 16 bit or 32 bit output.  I had previously been using 16 bit.  This includes a lot of sliders that give you options as to what you want the output to look like.  If you change to 32 bit, there is a single slider. It shows you an effect of changing the white point but I don’t think it actually changes the output file.  You decide whether any ghost removal is required as with the 16 bit file and then click to get it on its way.  Once the final file is created, I just save it and go back to Lightroom.
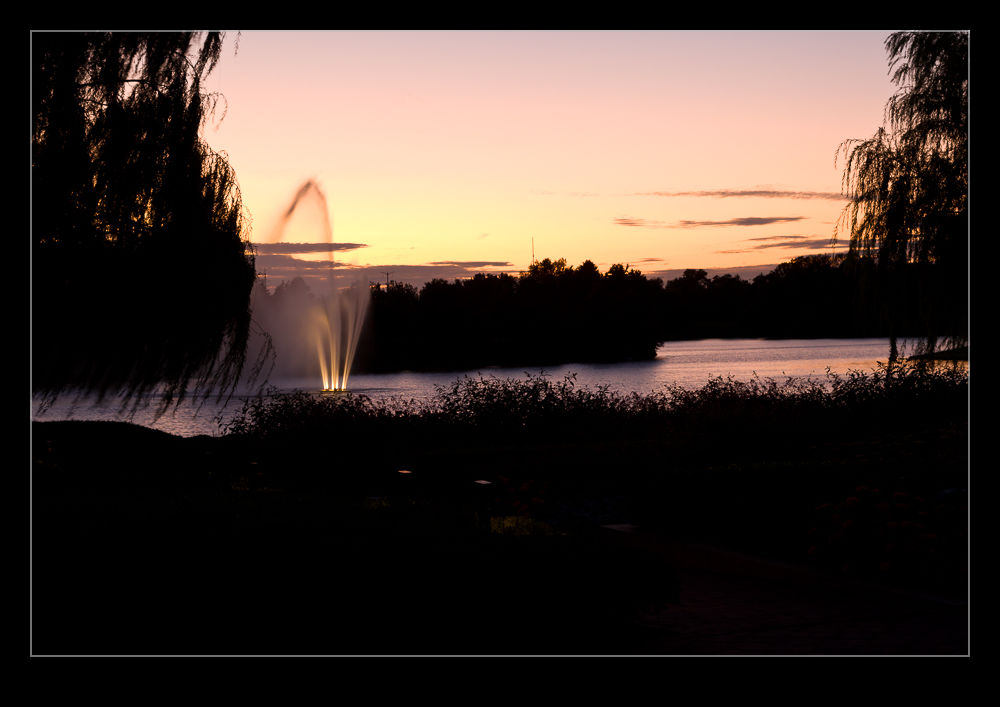
wpid5290-C59F0911.jpgHere, the Develop module is changed in its functionality.  You can make some pretty aggressive changes with the sliders compared to a normal RAW file.  You can work with the exposure, the shadows and highlights and the contract as well as using the Clarity and Vibrance to punch up the image.  The nice thing is that the results are a lot more natural looking.  You don’t have the really crazy styles and you don’t have the flat look that sometimes is the result with the traditional approach.

HDR is not a huge part of what I do but I am interested in having a better result.  I am not interested in investing in new software to achieve this when it is an infrequent issue for me and not usually something that a client cares about.  However, the fact I can now do a better job with the software I already have is a great step forward.  As for these three examples, the top is the new process, the middle is the old way and the bottom is using Lightroom to try and get detail from a single RAW file.
Playing with Noise Reduction

One of the biggest developments that there has been in digital imaging in recent years has been the improvement of performance in low light.  A few years ago, it was hard to get a decent image at above ISO400 and much post processing work was required to try and make the images workable.  Plug-ins for noise reduction were very popular.  However, the camera manufacturers have been very aggressive in developing chips and processors that allow shooting at ISO levels that would have been unthinkable a while back.  You hear of cameras being perfectly acceptable at ISO6400 and above.

My cameras are not the newest on the market but there are certainly not slouches in low light.  However, I have never been terribly happy with the performance at high ISO settings with the image breaking up a bit when viewed up close.  This is where I have to admit that I can be a complete idiot sometimes.

I shoot RAW all of the time and then process the images in Lightroom.  I have created some presets of development settings that I apply each time I import an image and which then acts as the starting point for any additional editing.  This is where my problem lies and why it has taken me so long to realize it I can’t imagine.  Anyway, enough of the self-flagellation and on with the topic.

The problem lies in the Detail section of the Develop module.  This is where sharpening and noise reduction are applied.  I have some basic settings I start with here and, when I was importing shots taken at high ISO settings, I was not changing them.  I would play with the noise reduction but things still didn’t look right.  The problem was, of course, the sharpening.  The basic setting I had entered was sharpening far too much for the ISO setting and was causing some odd breakup of the image.  I finally realized this one morning while lying in bed – I have no idea why I was thinking of this but it suddenly came to me.

I got up and opened some high ISO images and went to the detail area.  I zeroed out the sharpening and the noise reduction.  Everything looked awful.  Then I brought back the noise reduction and things suddenly started looking a lot better.  When I was happy with the noise, it was time to bring back some sharpening.  Things were a little soft after the noise was taken out so the sharpening brought back a bit of punch to the image.  A tweak on the amount and opening up the radius a bit made things look good.  Then a more aggressive level of masking of the sharpening and suddenly the image was looking way better than before.

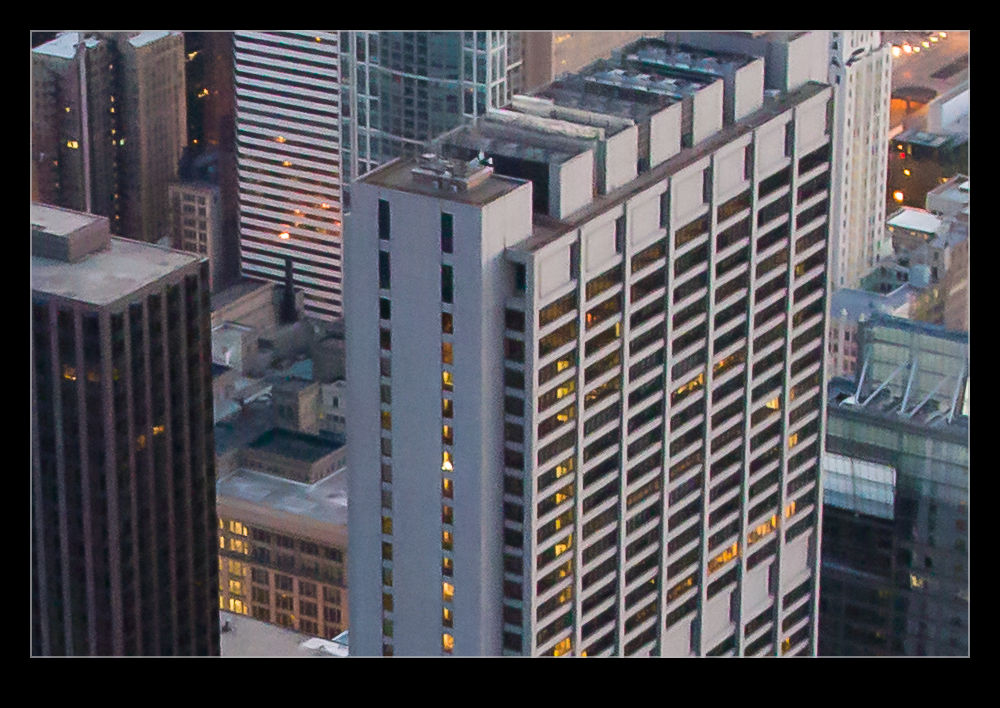
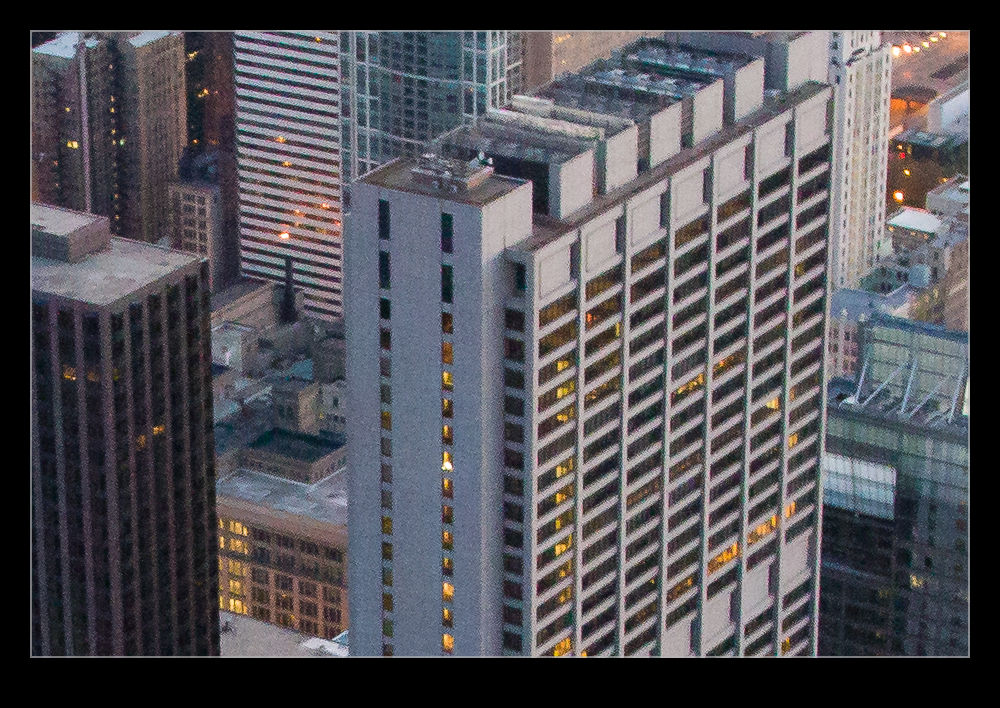
When I was happy with things, I saved a new preset that was just sharpening and noise reduction and labeled it as High ISO Detail.  Now I can apply it to any images that need it and be in a far better starting position for further processing.  Each image will require its own approach if I am going to make more effort on post processing but I will now be starting from a far cleaner place.  The samples above are comparison of approximately 100% crops with my original settings and the revised approach.  Hopefully you can see the difference.  It might be annoying to realize you have been missing something for so long but at least I finally worked it out!

Lightroom 4 Impressions

It is a little while now since I upgraded to Lightroom 4 from the previous version (I will let you fill in the name here!). There were a few aspects of the new version that made me want to upgrade and I had played with the public beta version when it first came out. Of course, having ongoing support and updates is always helpful so staying with the old version was never going to be likely and when they halved the price, no further thought was required.

Now I have been using it for a while, what do I think? Well, on the whole I am reasonably pleased with the changes. The new sliders in the Develop module seem to be an improvement on the previous develop version. I was pretty happy with the way it worked before so the changes had to sell themselves to me. They have modified the way I think about the development settings since I used to be able to use Exposure alone to bring back a sky and maintain the shadows. Now I have to consider the White and Highlight sliders a lot more. I am not convinced that Highlight does a lot. White seems to be far more effective in my new approach.  Similarly the shadows slider is now more important to me than the blacks which is a change.

Another issue is with converting previous develop settings. Since the change of sliders is significant, going to the new develop version tends to result in all sliders being reset to zero. This can turn a reasonable image into something far worse initially. Lightroom does not have a conversion algorithm to get you somewhere close. It is back to the beginning. Maybe this makes a lot more sense.

The Map capability is a big improvement for me. Canon cameras are not well designed for adding a geotagging capability so I have ignored it on the whole or experimented with Jeffrey Friedl’s plugin. This is a very user friendly method and I shall make use of it a lot more I think. I like the book creation capability but would welcome some other outlets getting in the game. I have used Blurb before and they are fine but I have liked Adoramapix and have contacted them to see if they will be making templates soon. Let’s hope so.

So, is there anything wrong? Oh yes! It is slow!! The Develop module is awful at the moment. I have a pretty capable system but the sliders we very slow to react. The real time view of what you are changing is not there yet. You pick a slider, hope that the mouse click has actually selected it and then move to where you think works and then wait to see what happens. Is this acceptable? Not at all. Am I annoyed? Yes I am. Is it the end of the world? Probably not. I seem to recall that Lightroom 3 had similar issues when it first came out and was slow. Adobe released some updates pretty quickly and it ended up being a great tool. I am not going to revert back and will manage the sluggishness until they come up with a fix. If they don’t, I may have to consider but I am not the only one having an issue so I suspect it will be dealt with in the coming weeks.  Turning off the second screen makes a substantial difference but is not very useful so hopefully that will be tweaked.  A release candidate for version 4.1 is out now so, while I won’t try it out, hopefully that means the formal release is pretty close.

One other thing I will tag on her and that is the arrival of the beta version of Photoshop CS6. When the beta was released, I was not sure I would bother to try it out just yet. Photoshop is still part of my workflow but, as Lightroom has become more capable, Photoshop has been used less often and for more specialized tasks. I could probably wait, or so I thought. However, I watched some of the demonstrations of new features online and liked some of what I saw, especially the video editing. Since I shoot mo video these days, having an alternative video editor rather than upgrading the package I have might be good. It does seem to have some good basic capabilities and that is all I do most of the time. What isn’t there at the moment is good bio integration with Lightroom. Version 4 has some video clip editing for end points. It would be good if you could send the video to Photoshop in the same way you can an image. Since it would then come back to the catalog when you had finished, it would help in managing everything. Now I finish an edit and I have to import it – if I remember. If they could allow you to take multiple clips and open them as layers (again like you can with images), that would be even better since that lines up with the way video editing is set up in Photoshop. I commented on this on the Lightroom blog but we shall see if they are already working on this.

In conclusion, I am pretty happy with the new Lightroom. With the price halved I am even happier not least because the Photoshop upgrade is obviously not far away. Now to see whether they can tweak it enough to fix the minor problems.