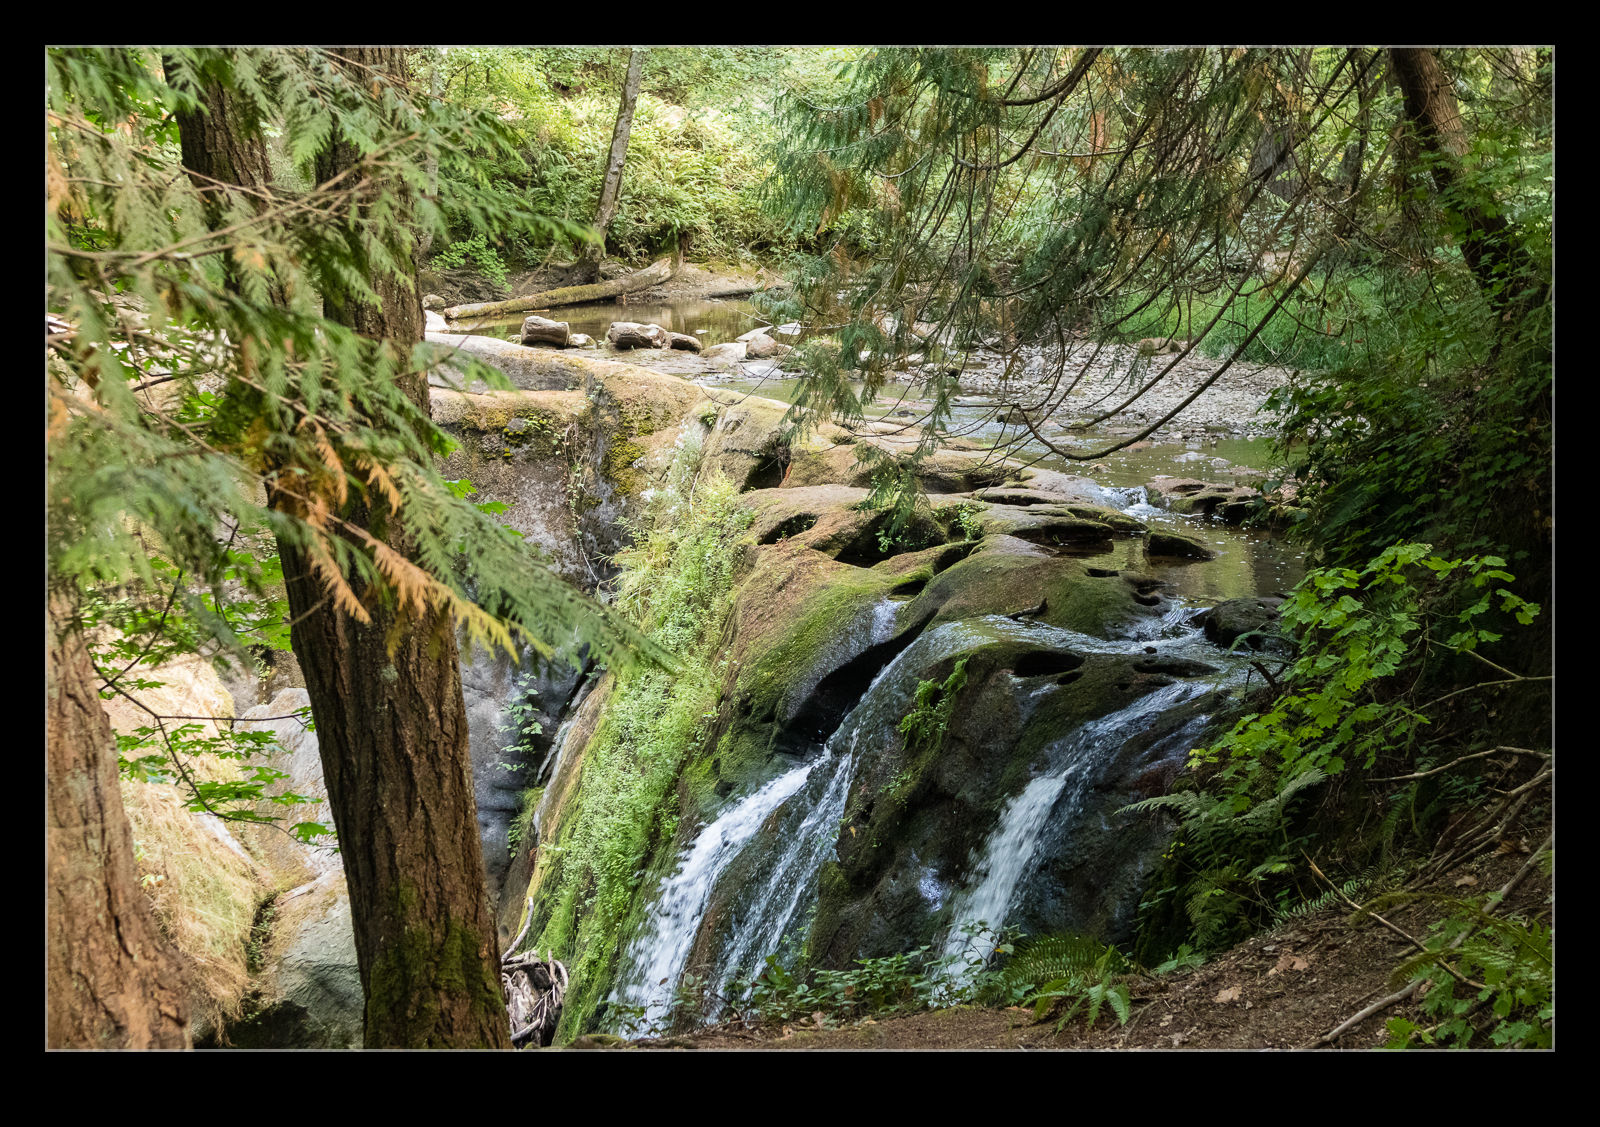
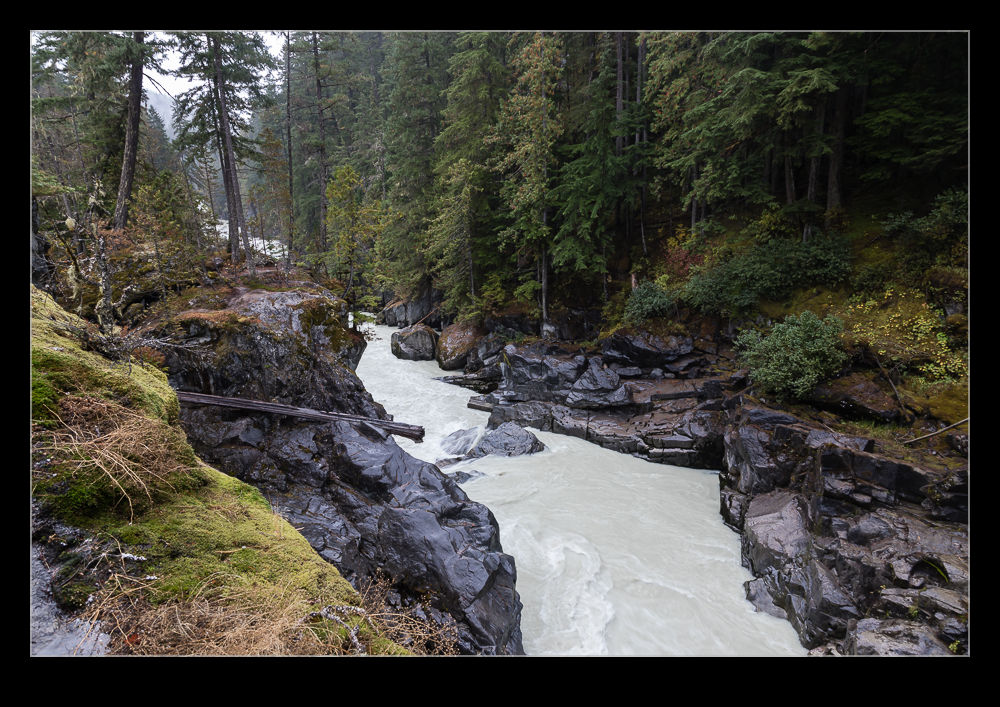
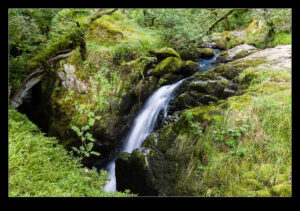
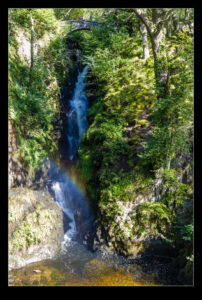
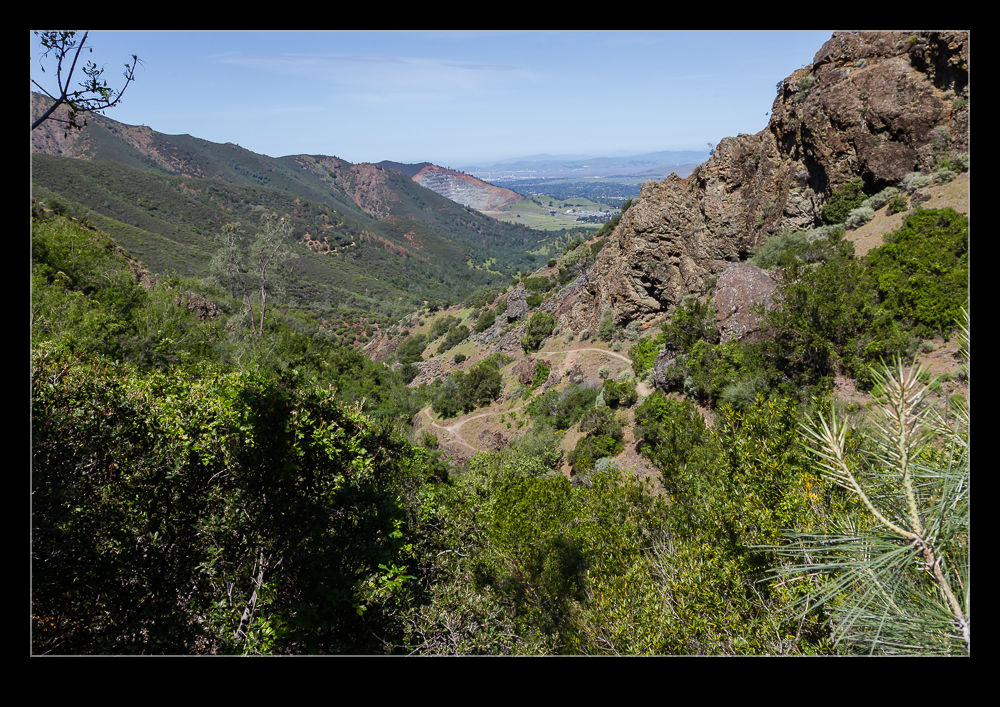
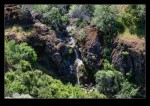
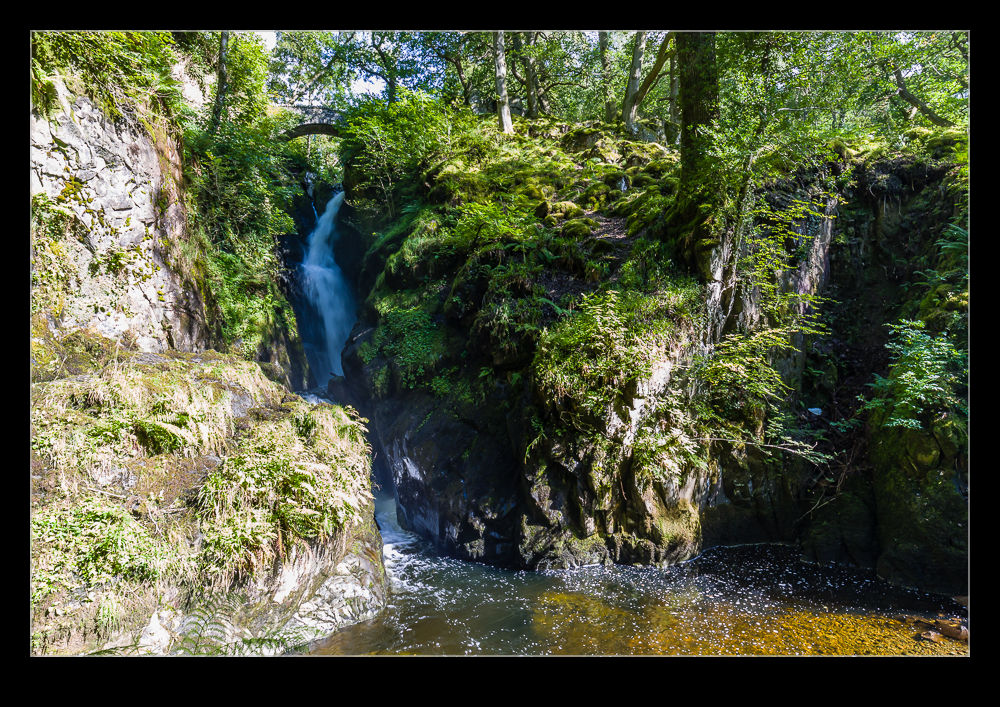
 One of the more frustrating elements of photography is trying to convey the sense of scale. In the past I have had the conversation with people visiting Yosemite for the first time that everything they have seen of it in pictures will not prepare them for the scale of the real thing. Wide angle lenses can bring in a lot of the scenery but they also compress it in a way that reduces the impact. This is a lot more of a problem when dealing with something impressive in a confined space. Aira Force is one such example. Located on the north side of Ullswater, Aira Force is a series of waterfalls of differing sizes. There is one particularly large fall that is in a narrow cleft in the rocks.
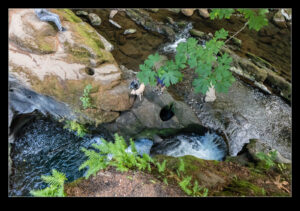
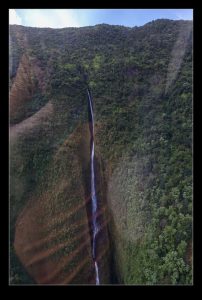
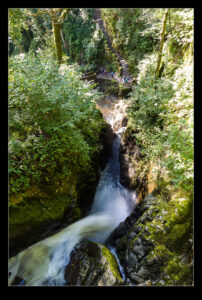
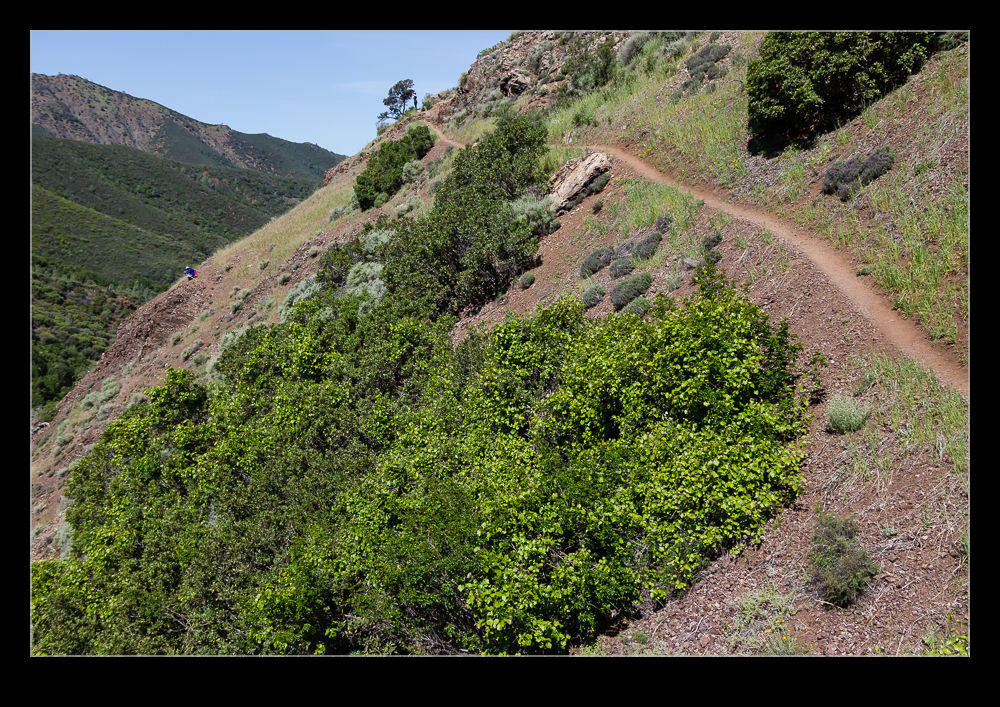
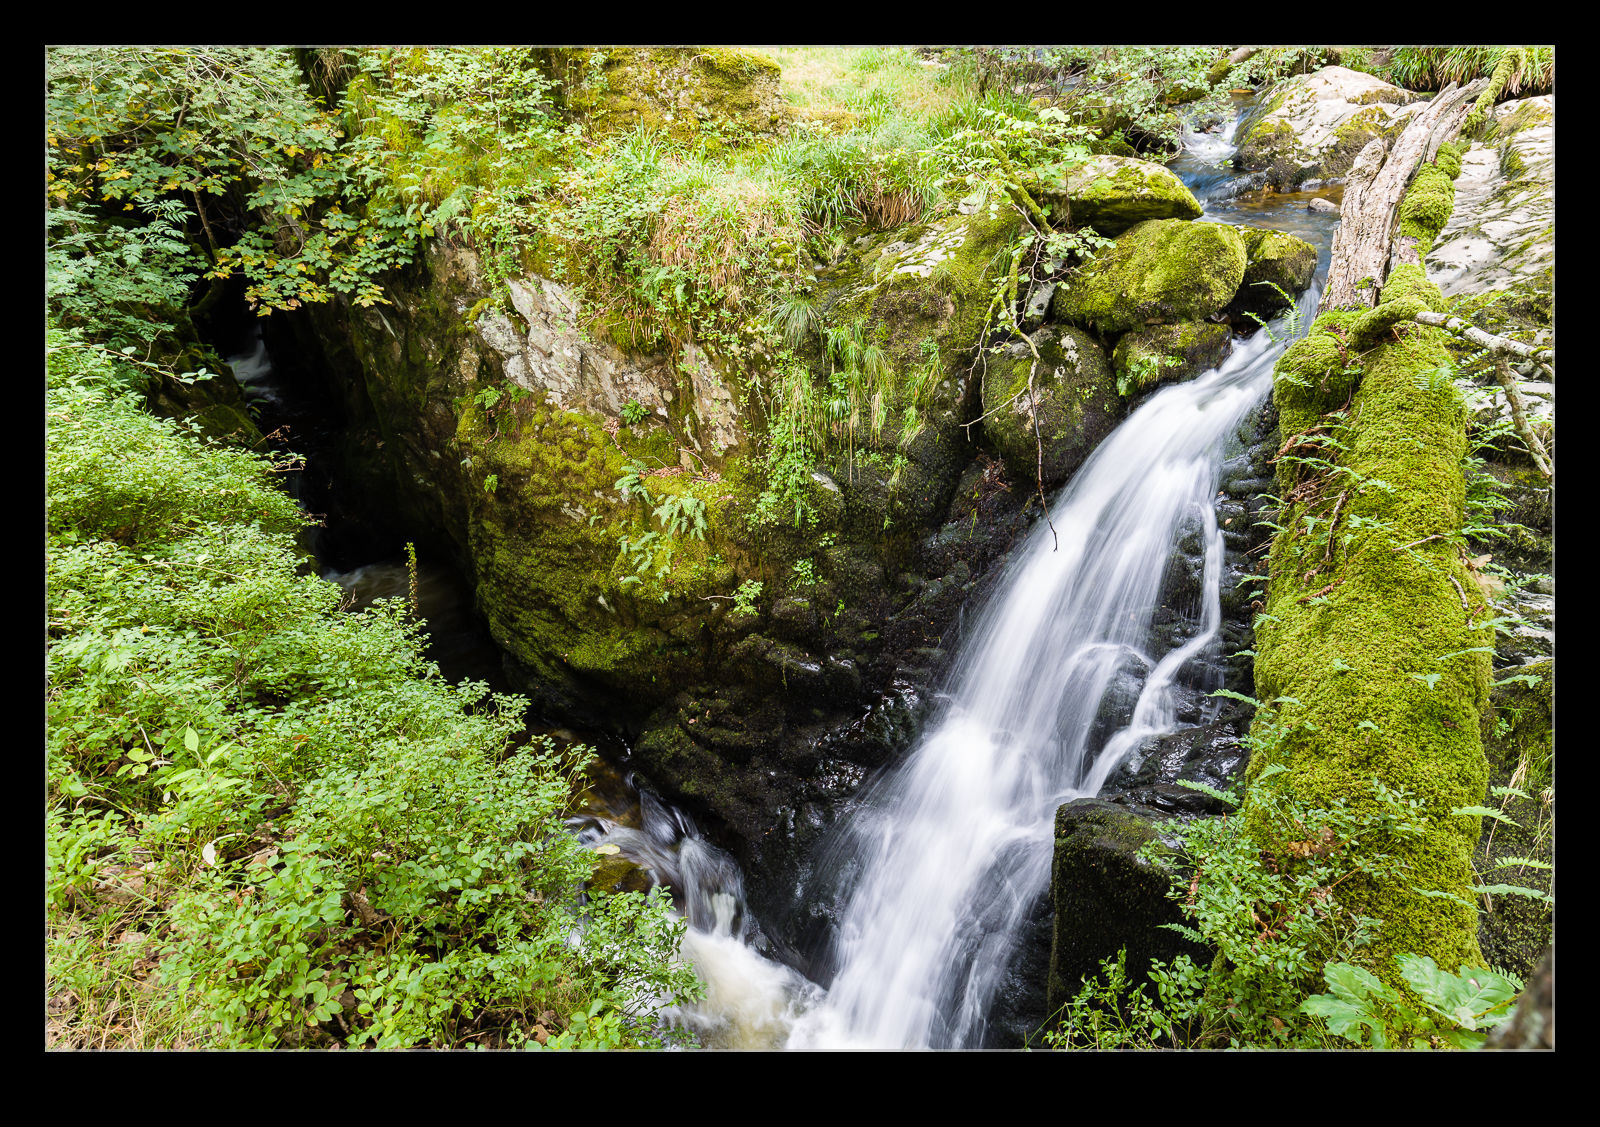 A set of steep steps take you from the top of the rocks down to where the falls hit the water. Getting everything in a single shot of the falls needs a very wide angle on your lens. The downside of this is that it becomes harder to appreciate exactly what the shot is. You are looking down and the bottom becomes very small in the frame. It is hard to appreciate exactly how impressive the whole thing looks. If you get people in the shot that helps but they can be so small that they aren’t immediately obvious so the effect is diminished.
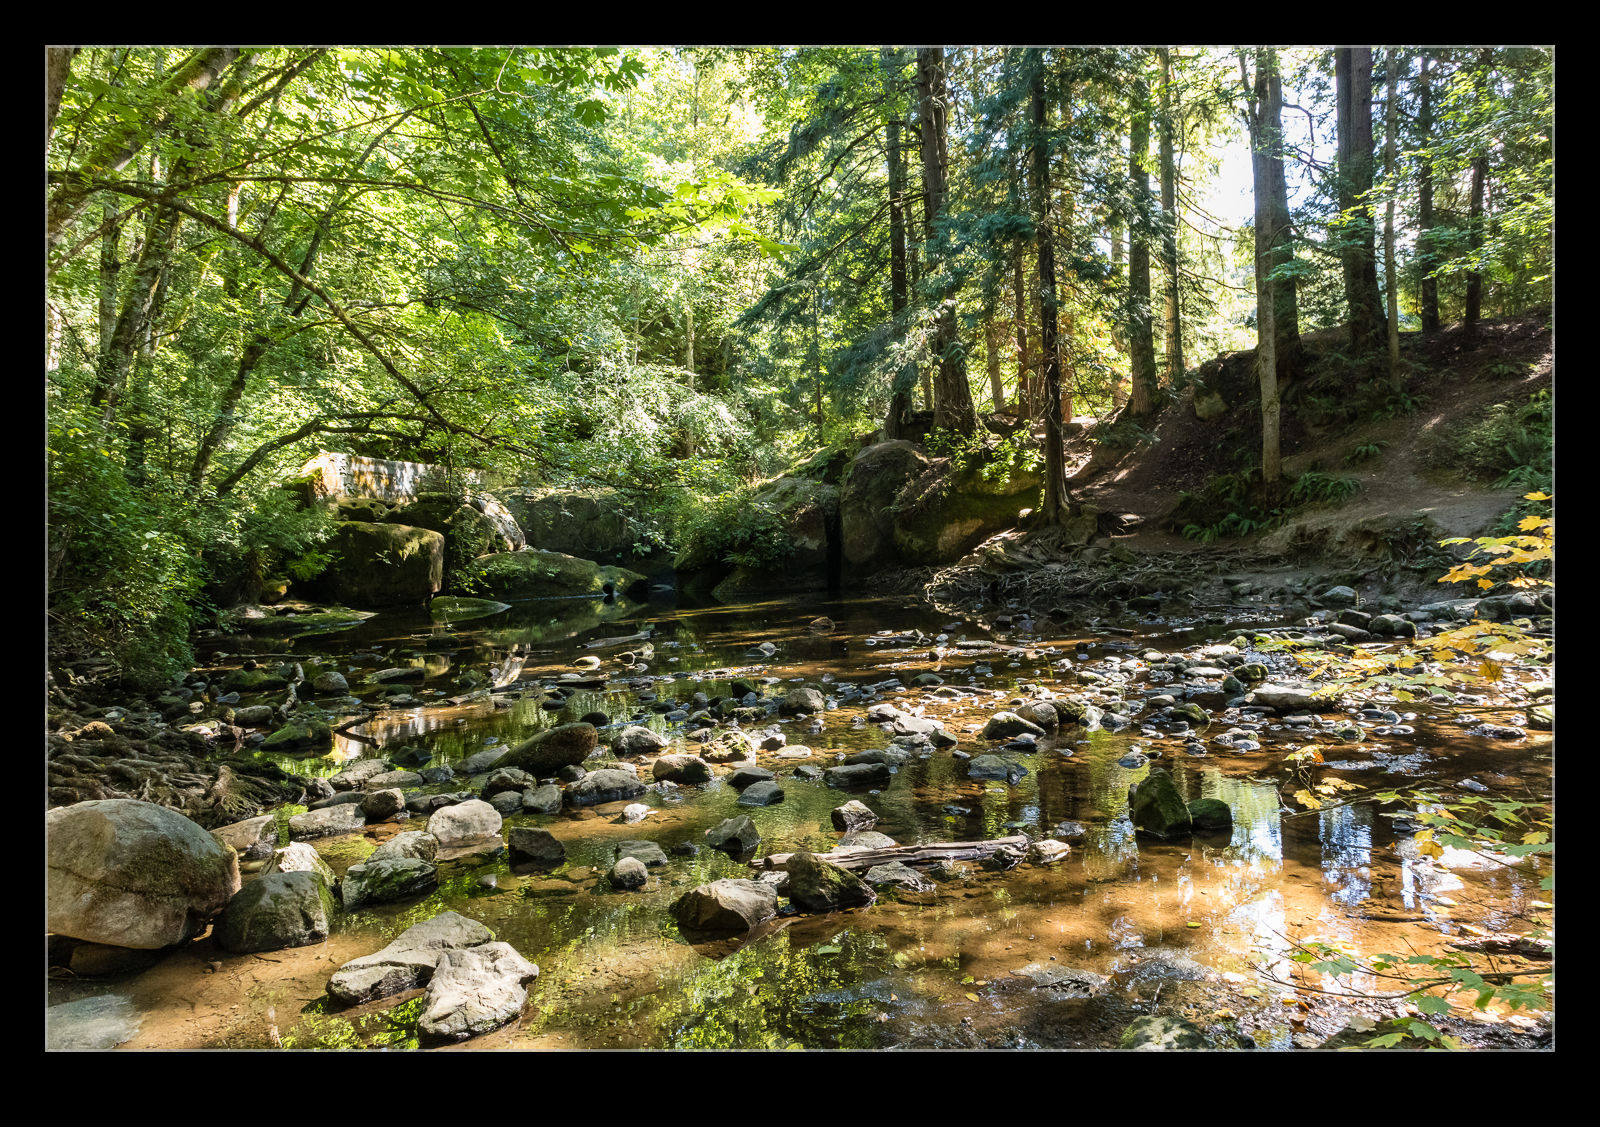
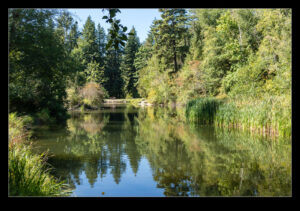
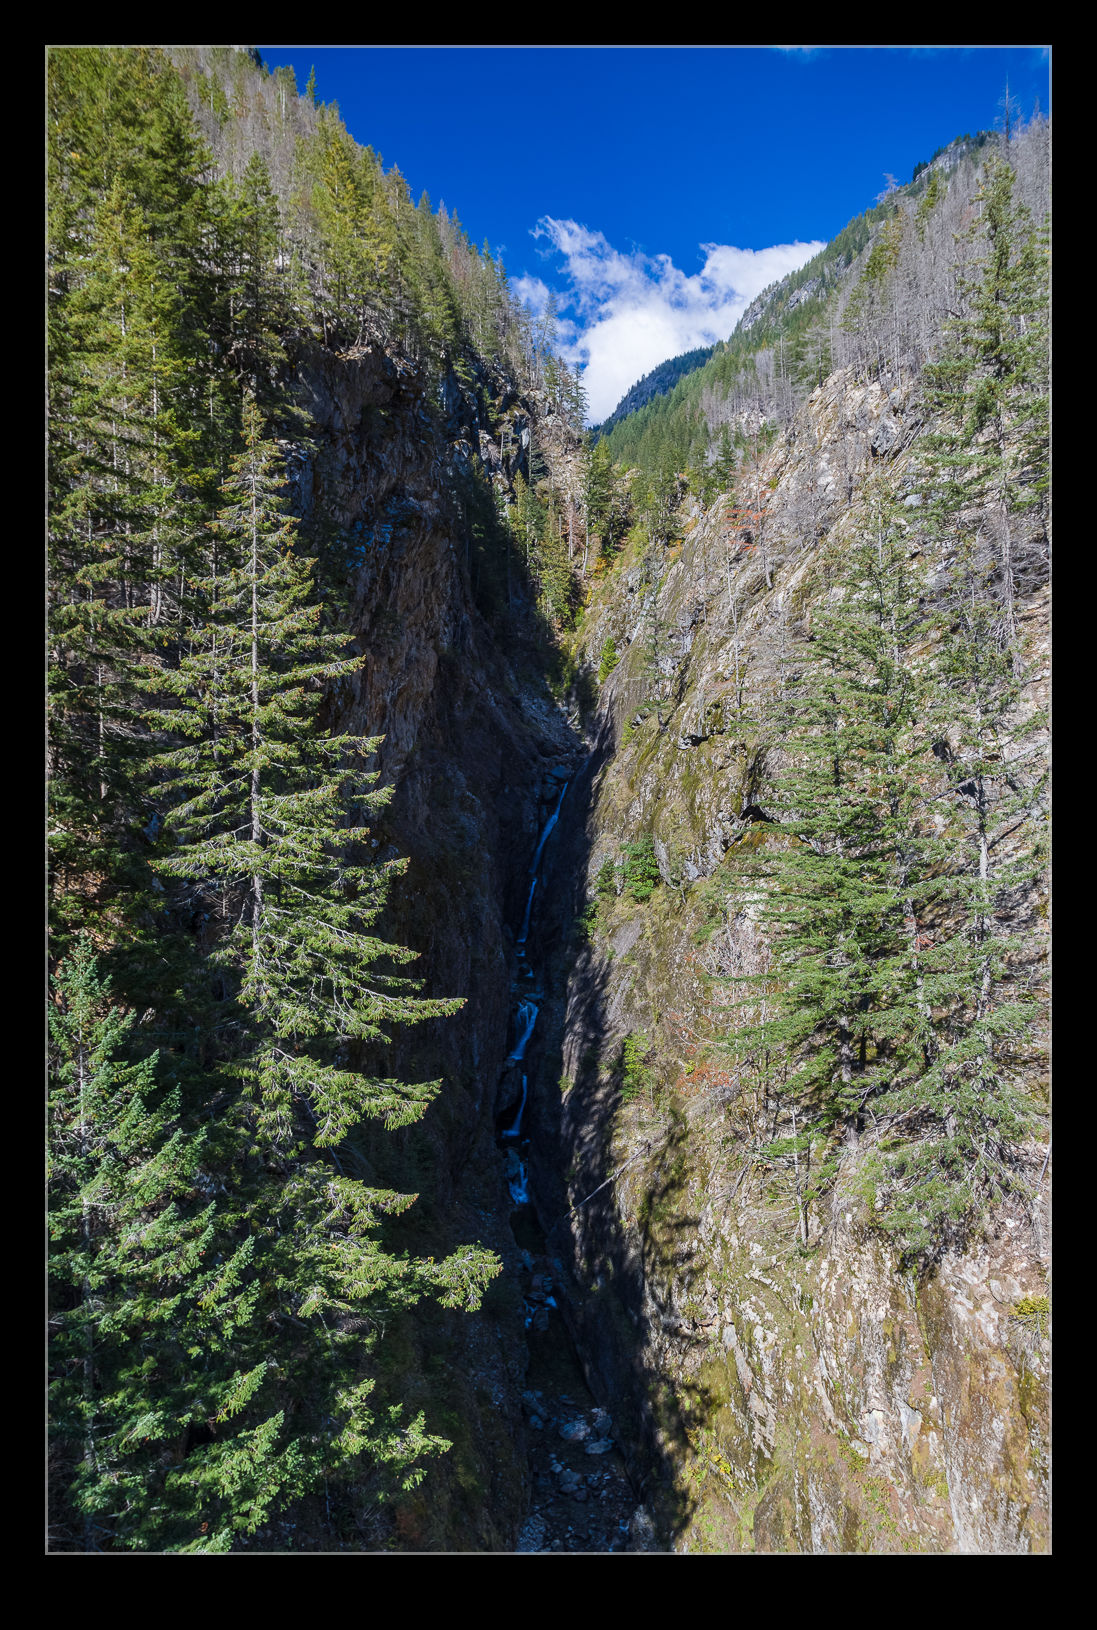
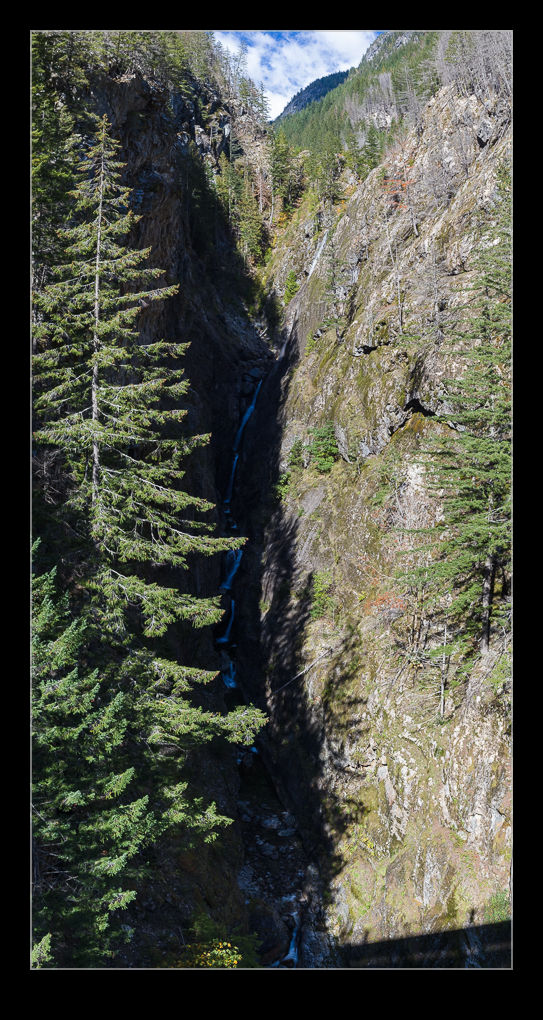
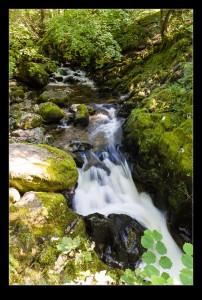
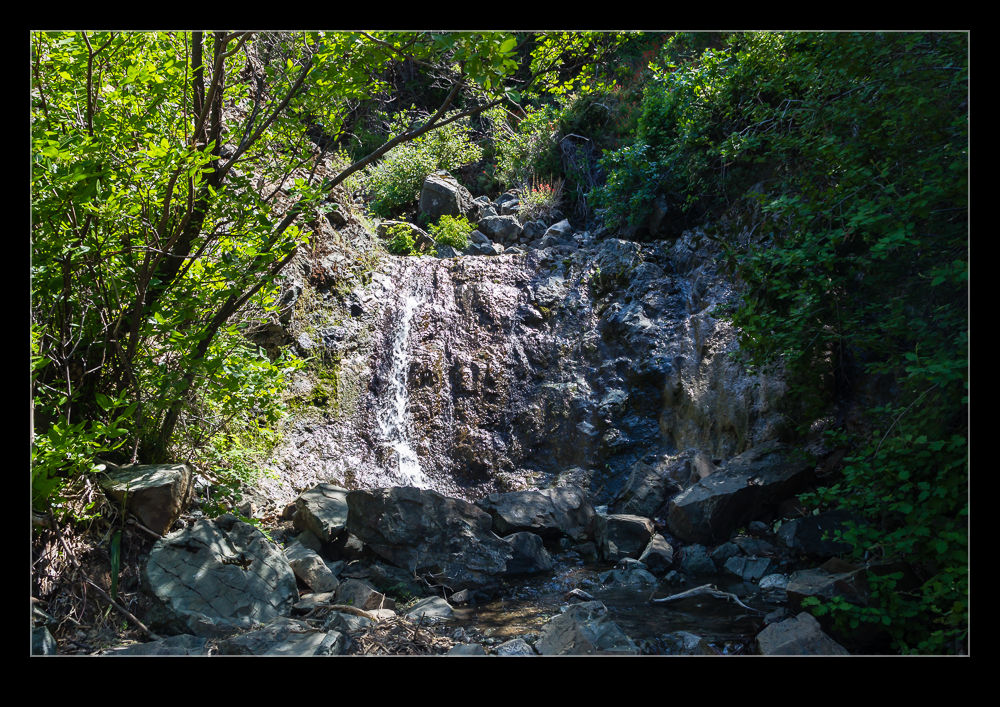
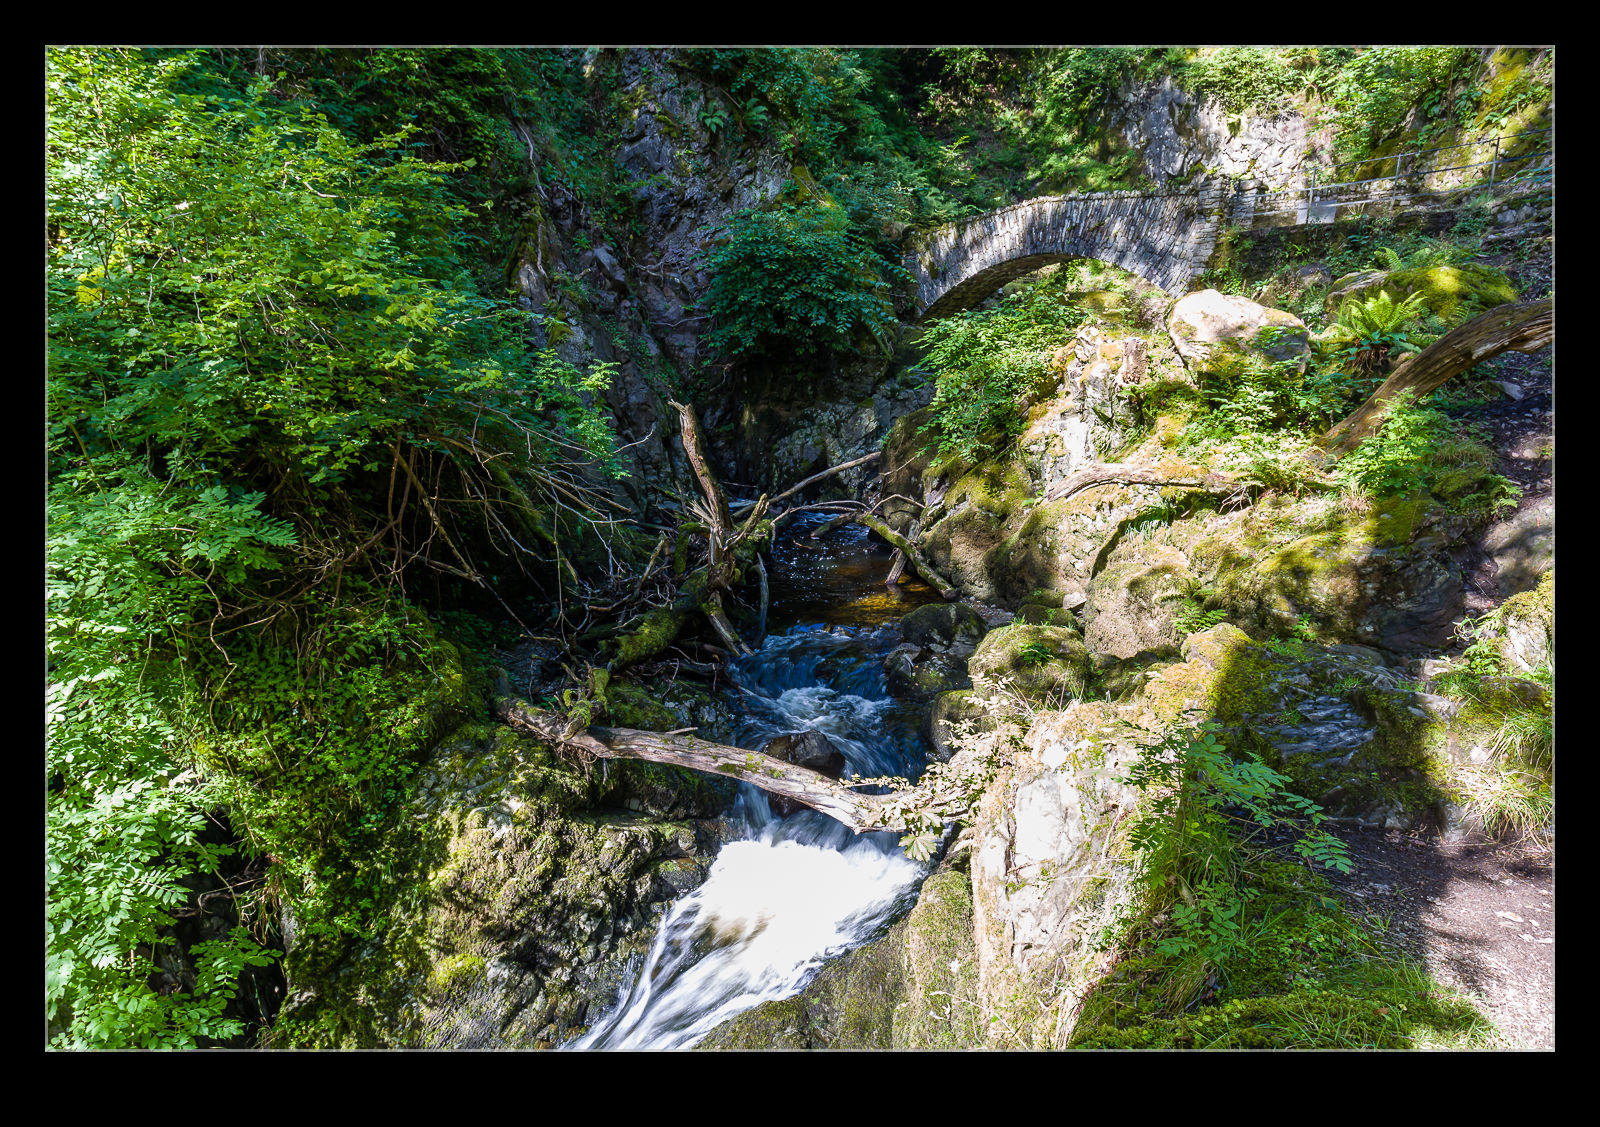 The falls themselves are great in person. You can walk down on one side, across the bottom and climb up the other side before crossing a bridge that runs over the top of the falls. The view looking down from the top is pretty cool too. You are just away from the edge so there is some detachment from the plunge the water takes. If you continue up the hill, there are further falls that the water undergoes as it comes down the hill. The way the water has cut through the rock results in some twists and turns on its way.
Plenty of people visit the main section of the fall but a lot less seemed bothered to go up the hill and see what else was there. They were the ones making a mistake because the whole thing was a really attractive sight to see.
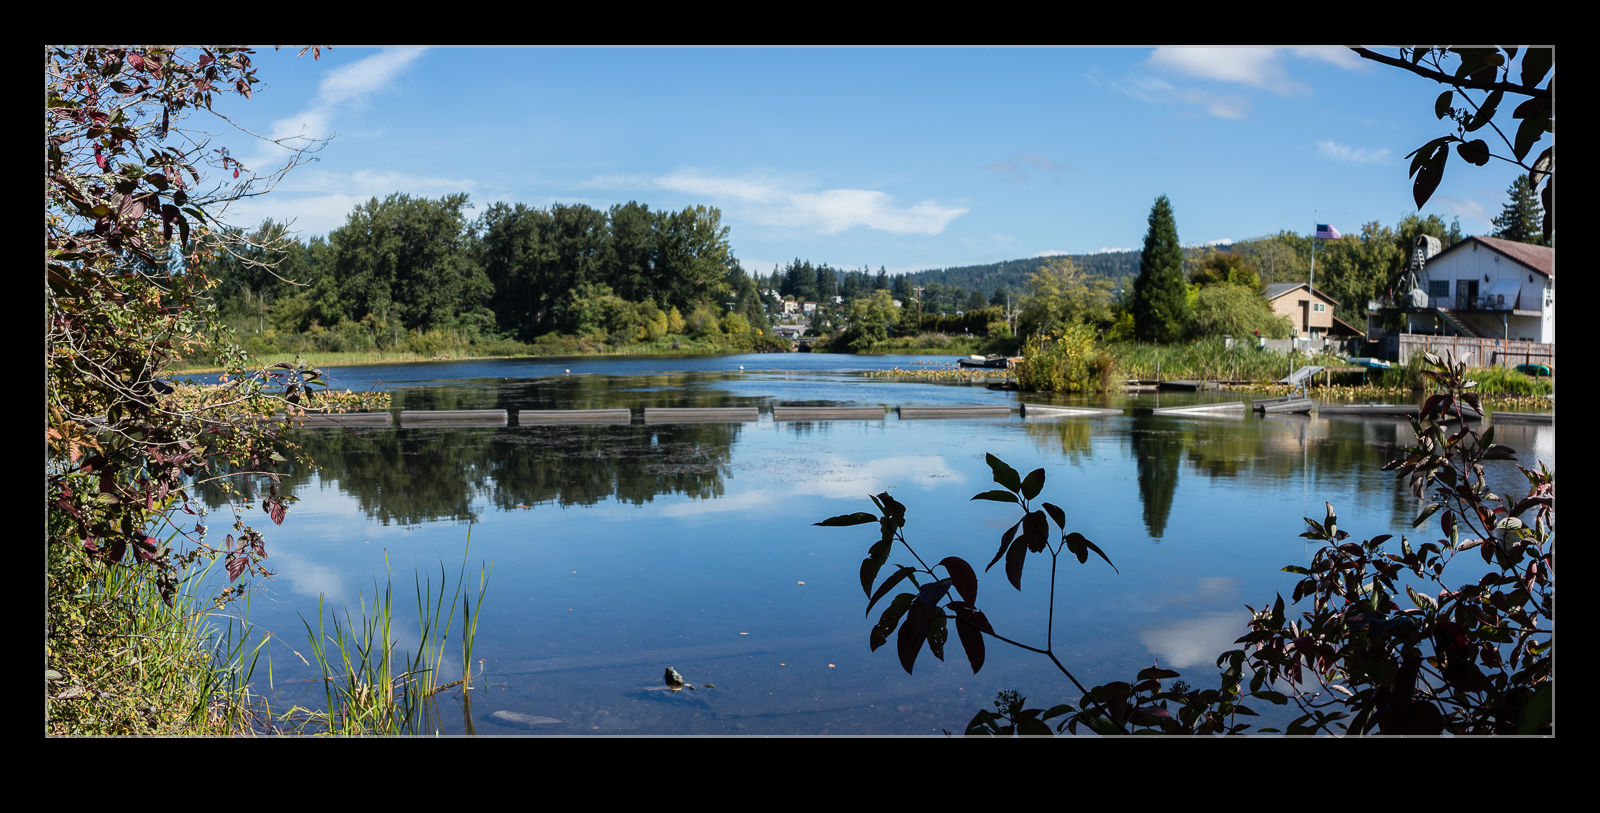
 The beginning of our vacation involved a decent drive, and our route took us right by Spokane. We may have lived here for over seven years, but we haven’t been to Spokane in that time. In fact, we have been there before but only to the airport which we staged through for a trip we made back when we lived in Chicago. A hotel airport doesn’t really count as visiting a city. Since we had built some time into our schedule, we made a diversion into the center of the city to have a look around.
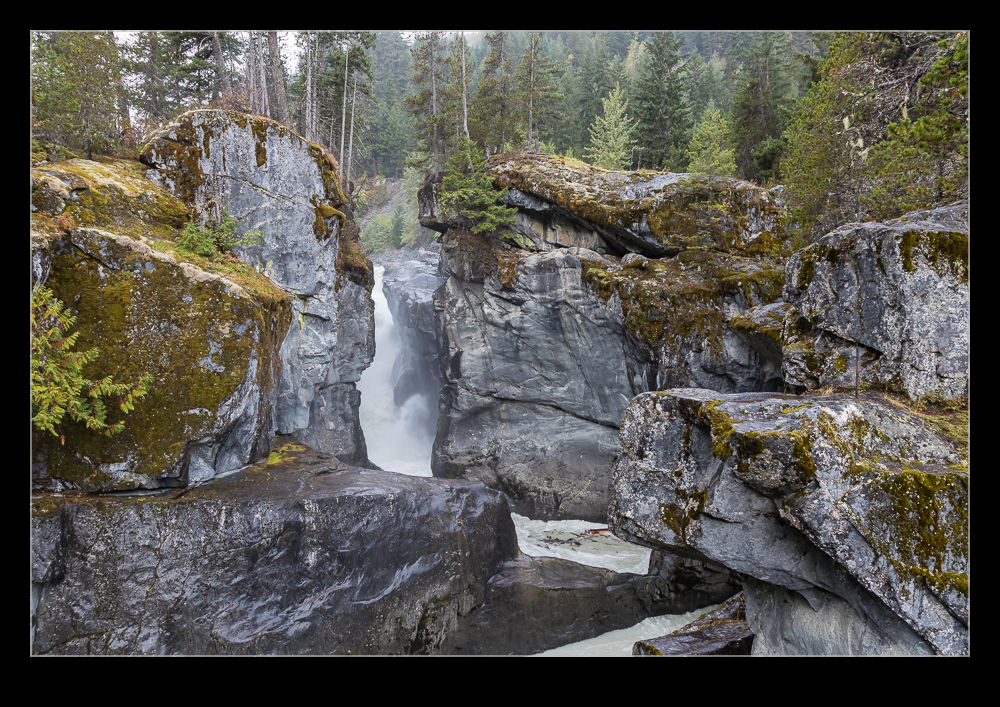
 I had heard about the falls in the middle of the city and that there was some nice development along the river, so we headed for that area. Turned out to be a really nice afternoon to be walking around the river so we had got quite lucky. There are some other parts of our visit that will justify their own posts in due course so I shall just start with some shots of the falls and some of the buildings in the areas that we saw. I shall add more of the sights in due course.