Today we have something of a product review combined with a workflow experiment. None of this was something that I wanted to do but circumstances dictated it was time. I had been out for the day shooting some wildlife including some sea otters – that will show up in a future post – and, one returning home and downloading my images, a few of the shots showed up strangely with no preview in Lightroom when I started to import them and were apparently corrupted on the card. Not sure what the cause of this was. The body had just come back from an annual service at Canon and the card was a new one. However, they both worked fine for the majority of the day with just some minor problems with a couple of dozen shots. I shall try and sort that out later.
So, to the problem at hand. I use Sandisk Extreme cards and have had virtually no problems to date. Therefore, I was in new territory. One thing that I do have as a result of using these cards is a bunch of coupons for RescuePro Deluxe. This is software for retrieving lost files from cards. I had used it once many years ago when recovering some shots that had been deleted on the card but not formatted and it had worked well. That was my issue then. Now I needed it due to a problem I hadn’t created.
My first minor problem was that the software defaults to recovering the images to a folder on the C: drive. Since my desktop has an SSD running the OS and everything else on other drives, it isn’t overloaded with space so dumping 32Gb of images on to it caused a minor hiccup. A kicked out of the program, restarted it and found how to change the output directory and then we were off and running. However, now I came across my next issue. It found all of the files on the card, not just the ones that were lost. This is where the brain had a small “doh” moment. I figured if I opened up the card in Explorer and deleted the good shots, it would mean the search would be a lot quicker. Of course, if you are using software designed to find files that have been deleted, it still finds them all. Why didn’t I think of that at the time? Oh well, no big deal since this was all running in the background.
The result of the scan is that all files on the card are now stored in a folder. Unfortunately, they are named sequentially File001, File002 etc. This makes working out which are the missing files a bit more tricky. So, two things were needed for the next step. First, find out the filename for the first file on the card. Then import all of the files into Lightroom by adding them where they are rather than copying them to a new location. With them in Lightroom, it is a simple task to rename them all to their original names using the rename function and making sure you start with the filename of the first file that we found a moment ago. Now all the files have the right name and are still in the recovery folder.
The next step might seem counterintuitive. I delete them all from Lightroom. I don’t delete the master files; just remove them from the catalog. Next – trust me, I haven’t gone mad – I them re-import them all. At this point, Lightroom sees the files with the right names and details and so automatically recognizes which ones are already in the catalog. It then will pick out the ones which were the original missing files and you can import them properly to wherever you want them. Now the recovery folder can be deleted (subject to your normal backup protocols). It sounds a bit complex but, if you work through the process, the longest part of it is the scan of the card for the files in the first place. After that, it all happens pretty quickly.
While RescuePro Deluxe is not the most user friendly piece of software, it did do what was required and I got it free with the cards I have. You don’t own the software. You get a one year subscription with the coupon. Hopefully I won’t need it again this year but it is there if required. I have a bunch of these coupons from various card purchases so I imagine I will be in good shape as long as required. If you have gone through something similar and have a better way of dealing with it, please do let me know. It is always good to learn from the experiences of others.
 If the shots are good and there are enough, the algorithm will look at each shot and see the changing items – cars in this case – as the oddities. It will see what is consistent in each shot and get rid of the odd stuff. If you have it right, the cars will vanish. In this case, there were some overlaps and not enough shots but it still did a reasonable job.
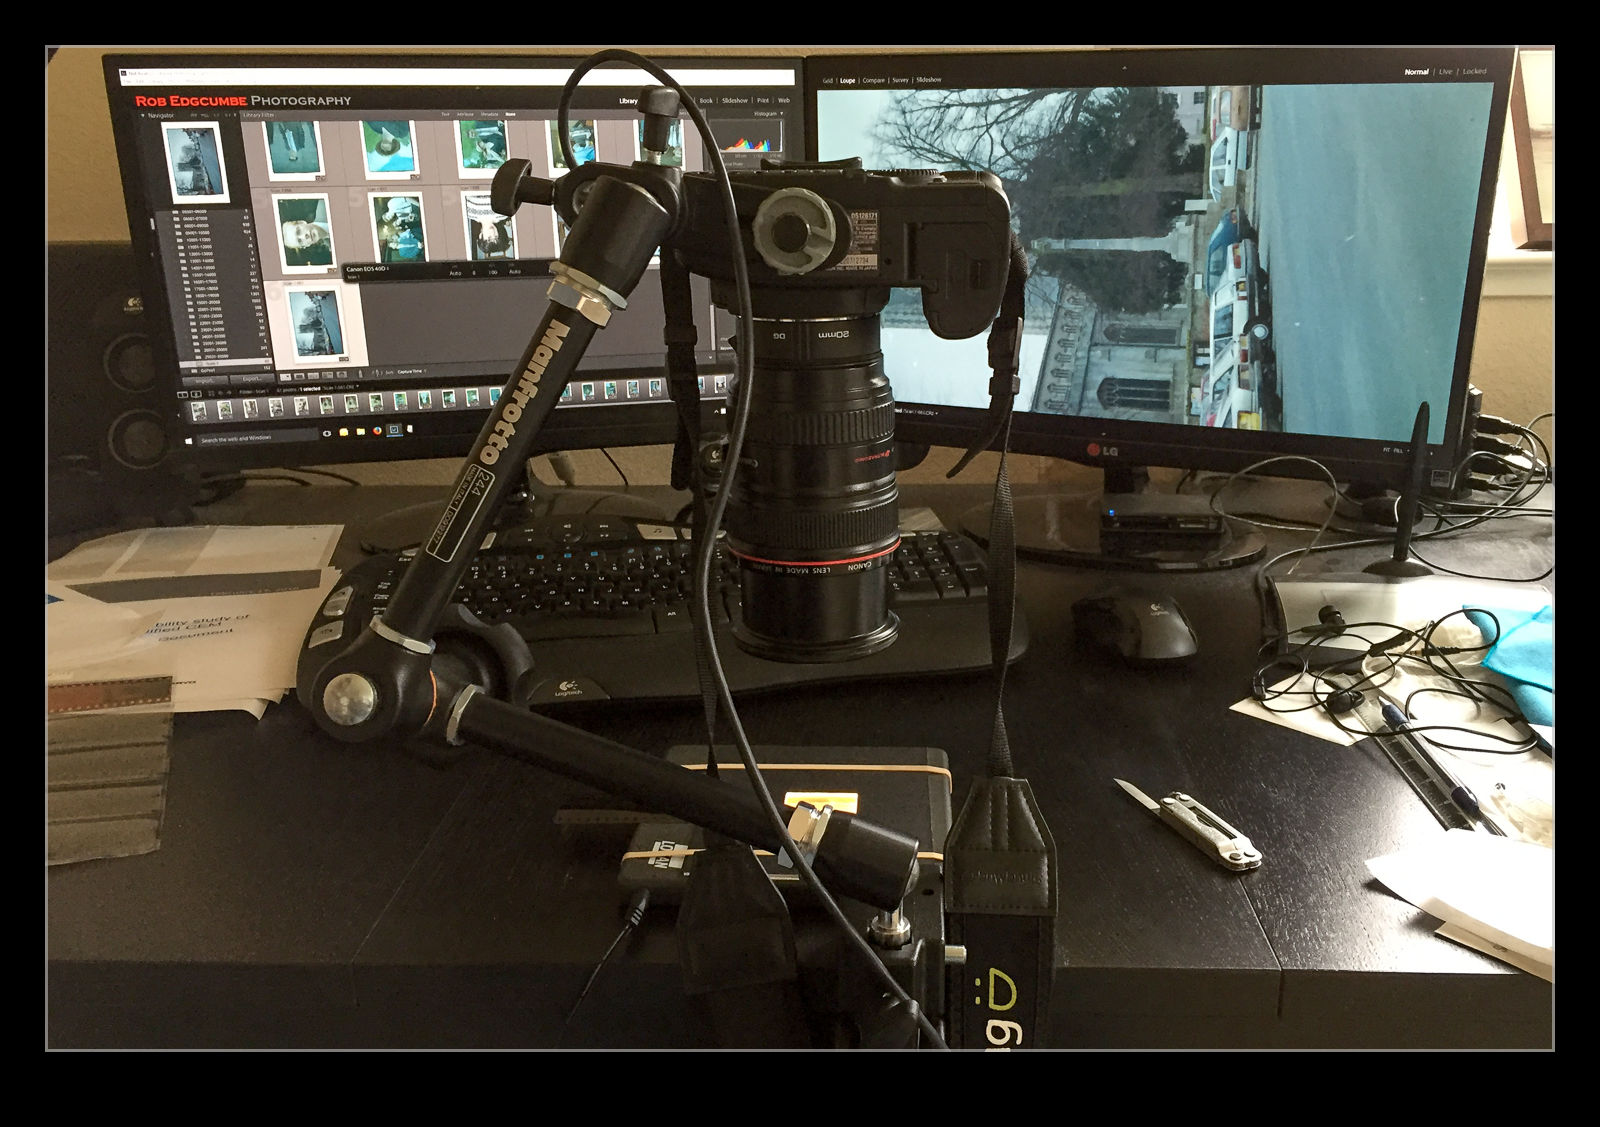 I am in the process of experimenting with a new approach to scanning old photographs. For many years I have been using a Minolta Scan Dual III scanner. It can accept strips of negatives or slides and does a reasonable job of scanning them in. It is a bit labor intensive and is certainly not fast. Moreover, the scanner is not terribly reliable and it will often hang mid scan requiring me to restart it and close down the application before restarting that too. Since it takes a long time, I often get it running and go and do something else so I might miss the problem.
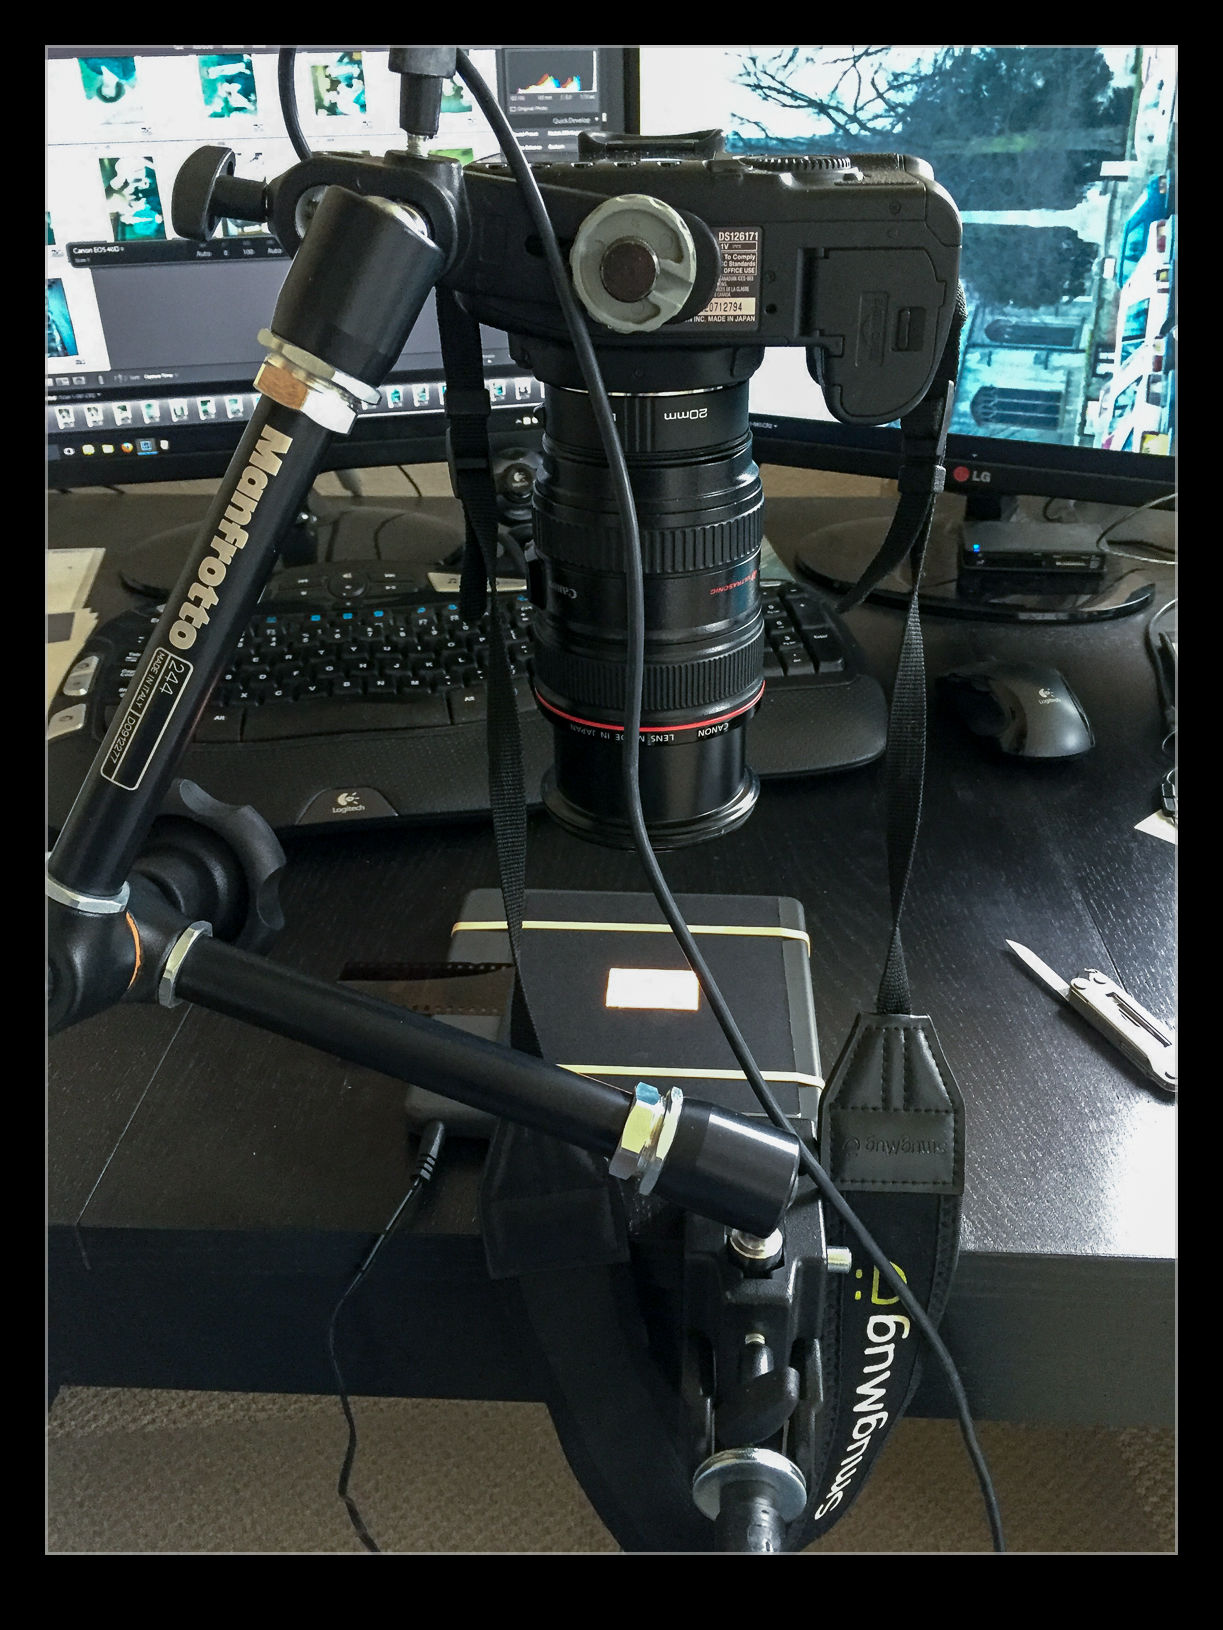
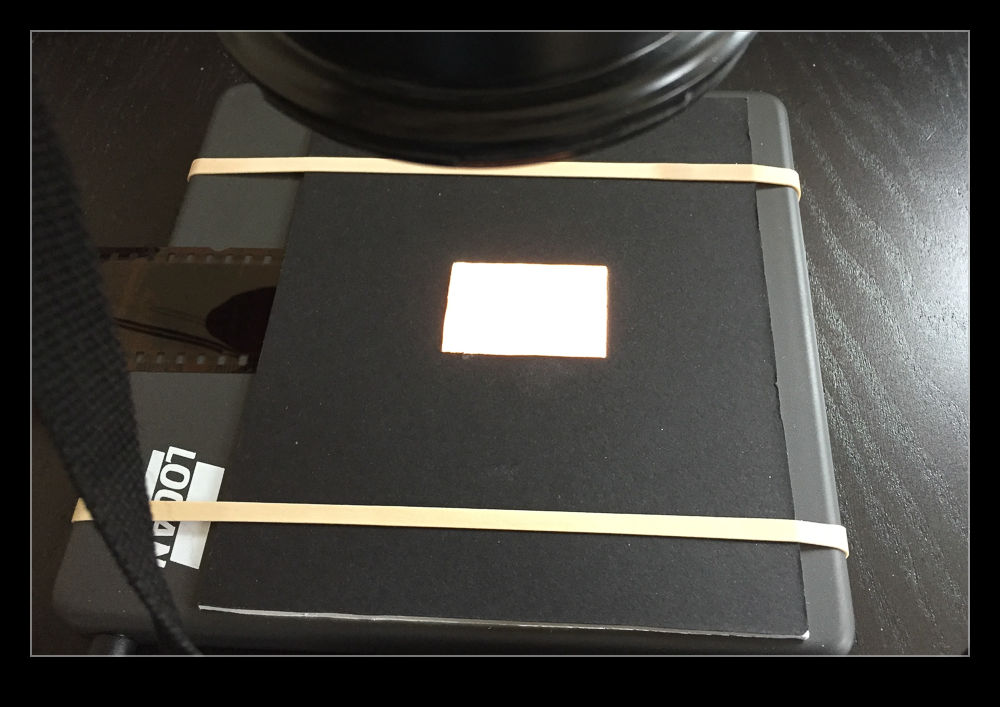 I am taking the images at my desk so I am able to tether the camera to the computer and use Lightroom to capture the images directly. This has actually provided me with an opportunity to drag out one of my older bodies that doesn’t get used anymore. My old 40D has been sitting on a shelf for a long time but it has come back into use for this project. It has more than enough resolution for this task. (Unfortunately, the batteries are now rather old and don’t hold a charge well so I am going to get an AC adapter from Amazon for ten dollars which should free me to scan as much as I want.)
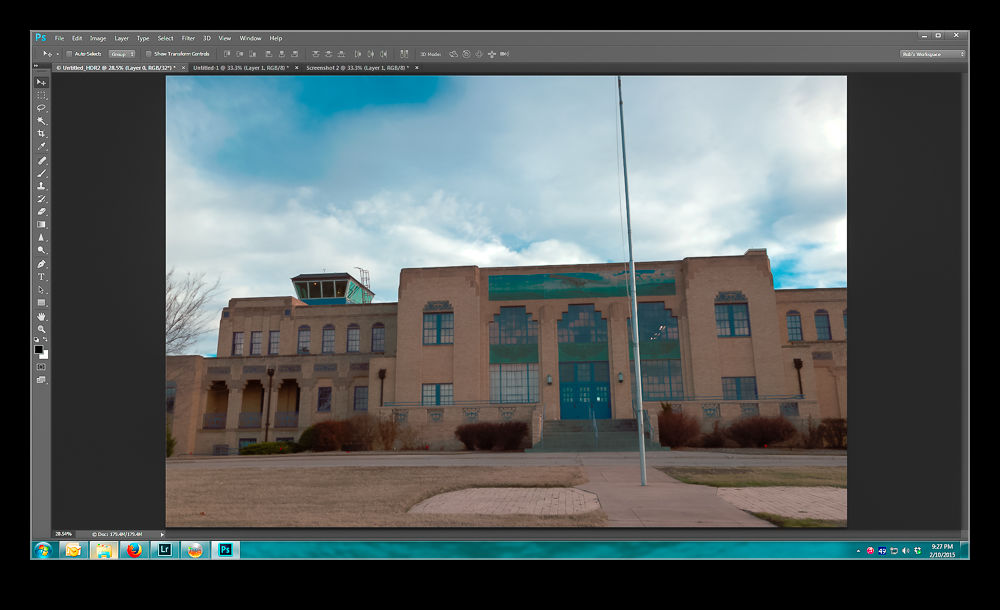
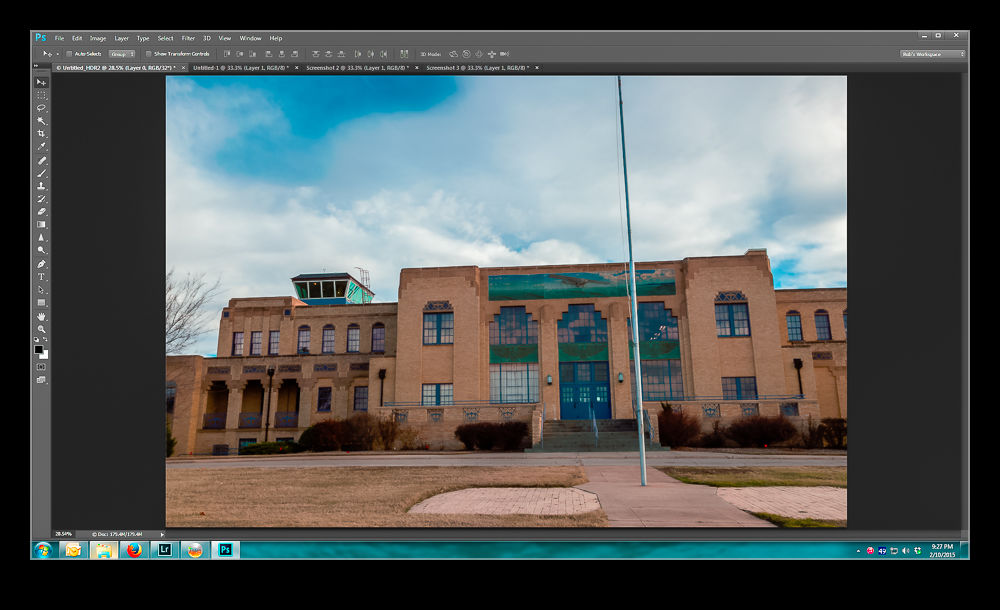
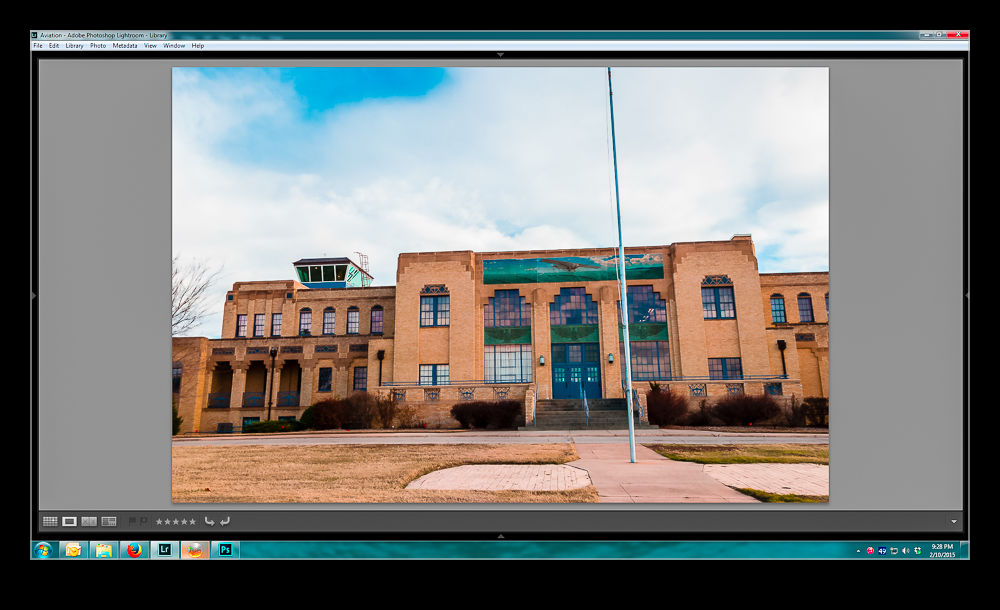
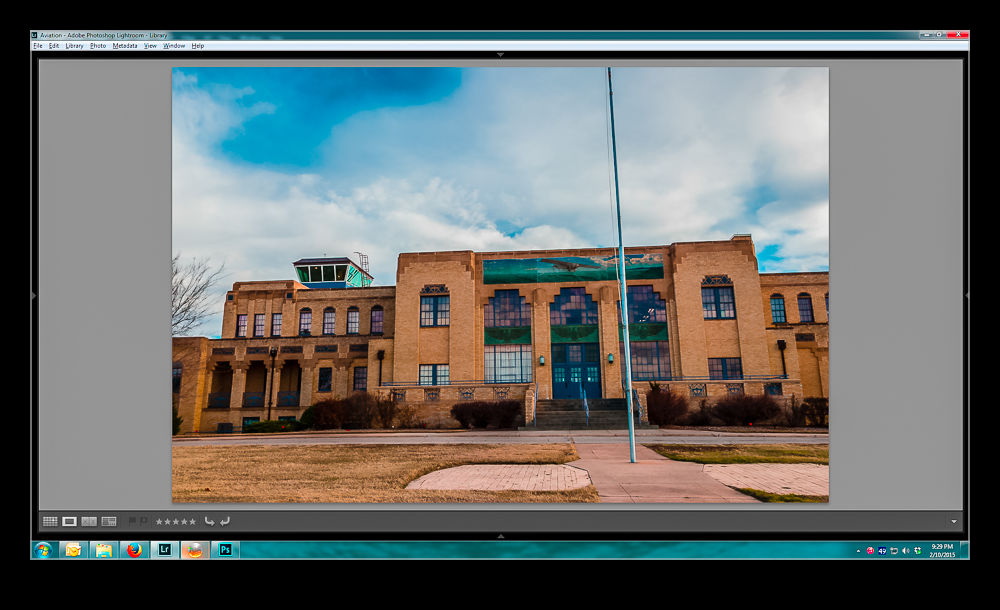
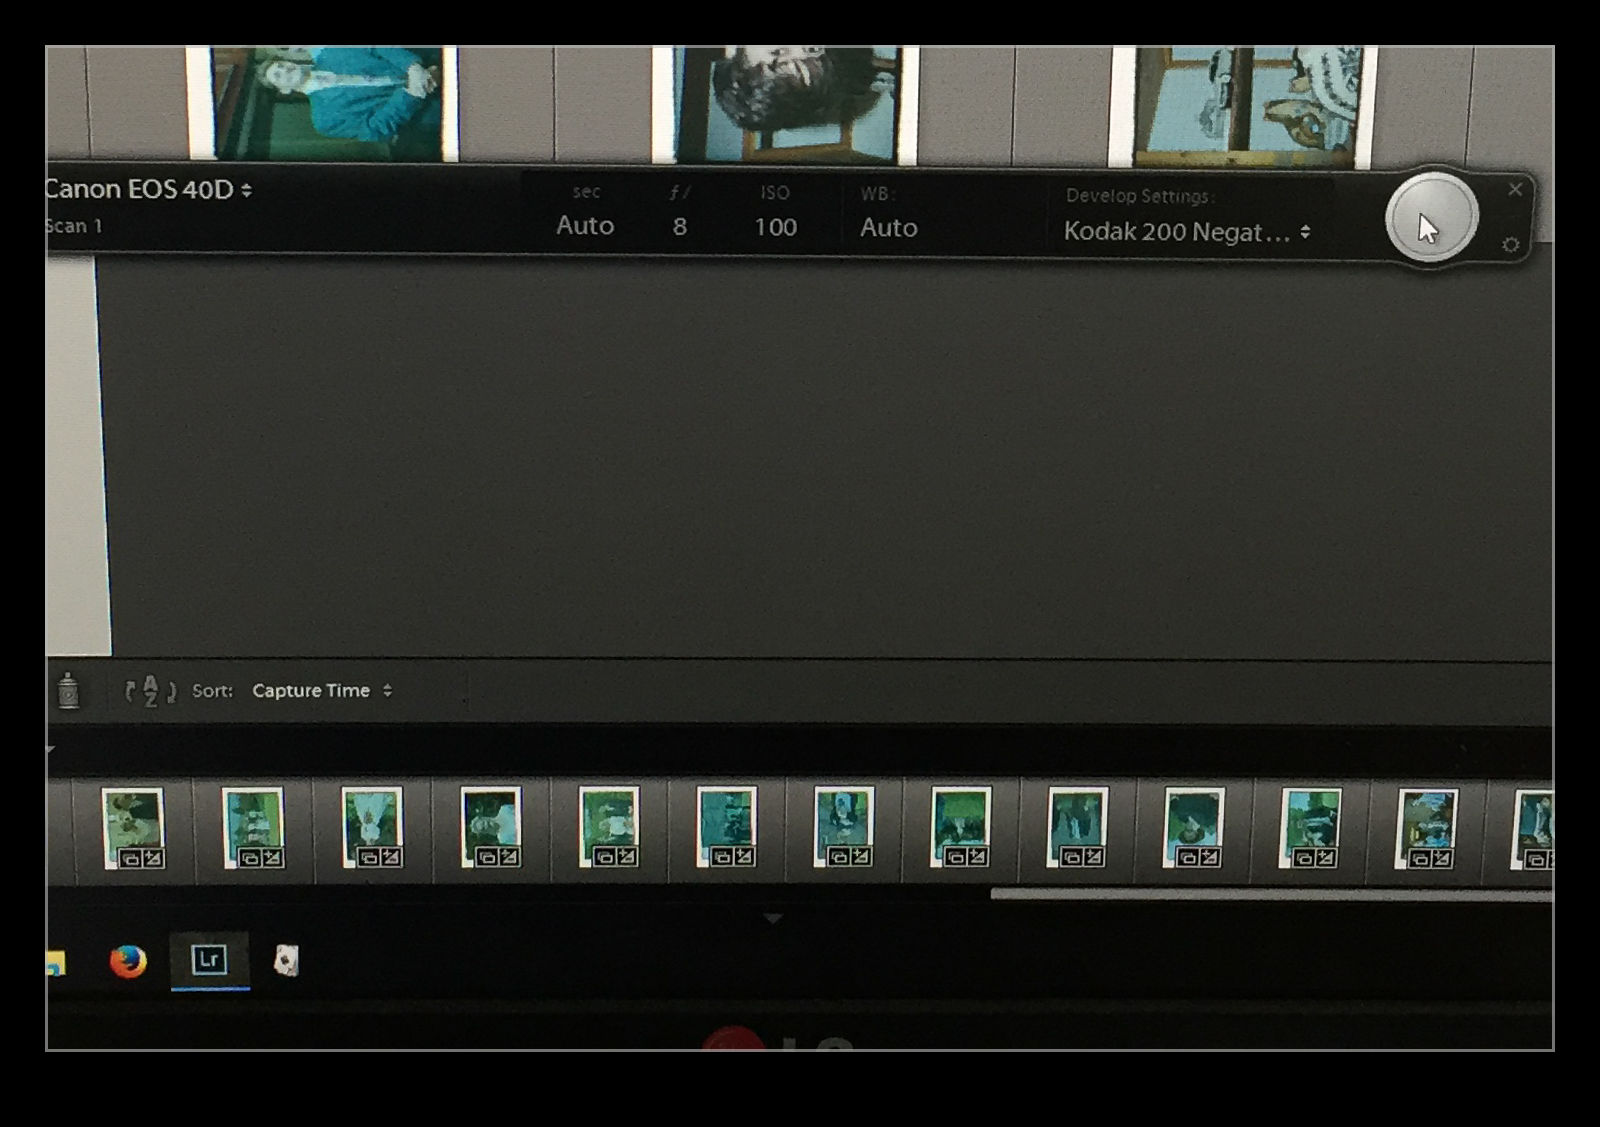 The image is now recognizable but not there yet. Now I have to do some manual manipulation to tidy it up. The sliders have to be used carefully in this case because they are now working in reverse as a result of the tone curve that I applied. This requires some thought. Exposure is still exposure but is reversed. Usually shots look a bit washed out so, what would normally by the Blacks slider is now the Whites. Shadows are handled with the Highlights and vice versa. It takes a bit of getting used to but it is not too hard after some practice. I tried using Auto Tone but it did not do a great job. I imagine the algorithms were not designed for operating in reverse!