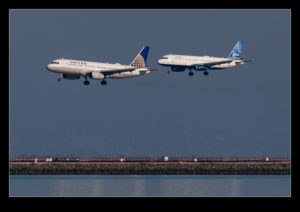
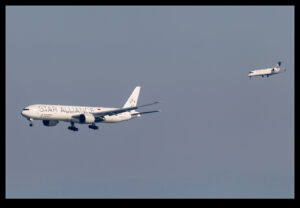
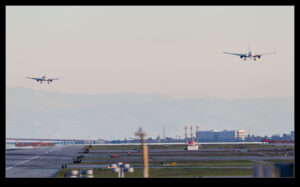
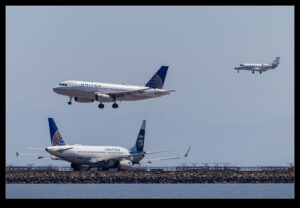
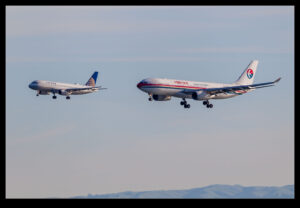
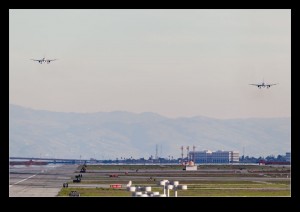
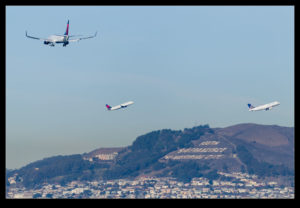
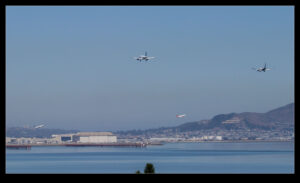
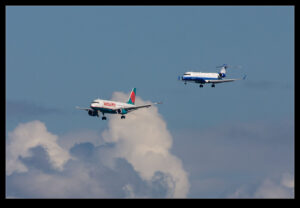
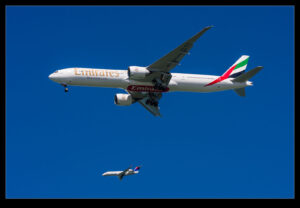
 The layout of SFO with the two pairs of cross runways makes for some operations that are quite specific to this airport. At peak times, parallel approaches are made to the 28 runways from along the bay shore. These approaches require the following plane to make sure it does not overtake the leading plane. I don’t know for sure but I imagine the choice of which side leads is based on the wind direction so the wake turbulence doesn’t affect the downwind plane.
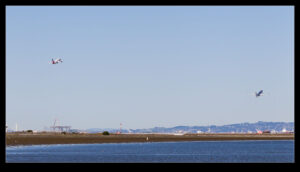
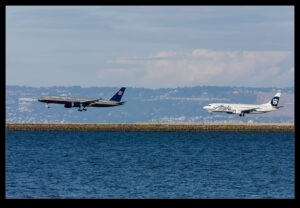
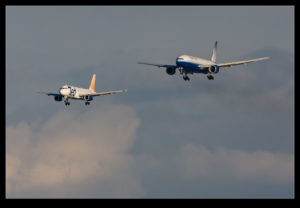
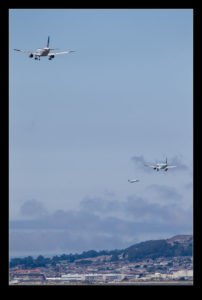
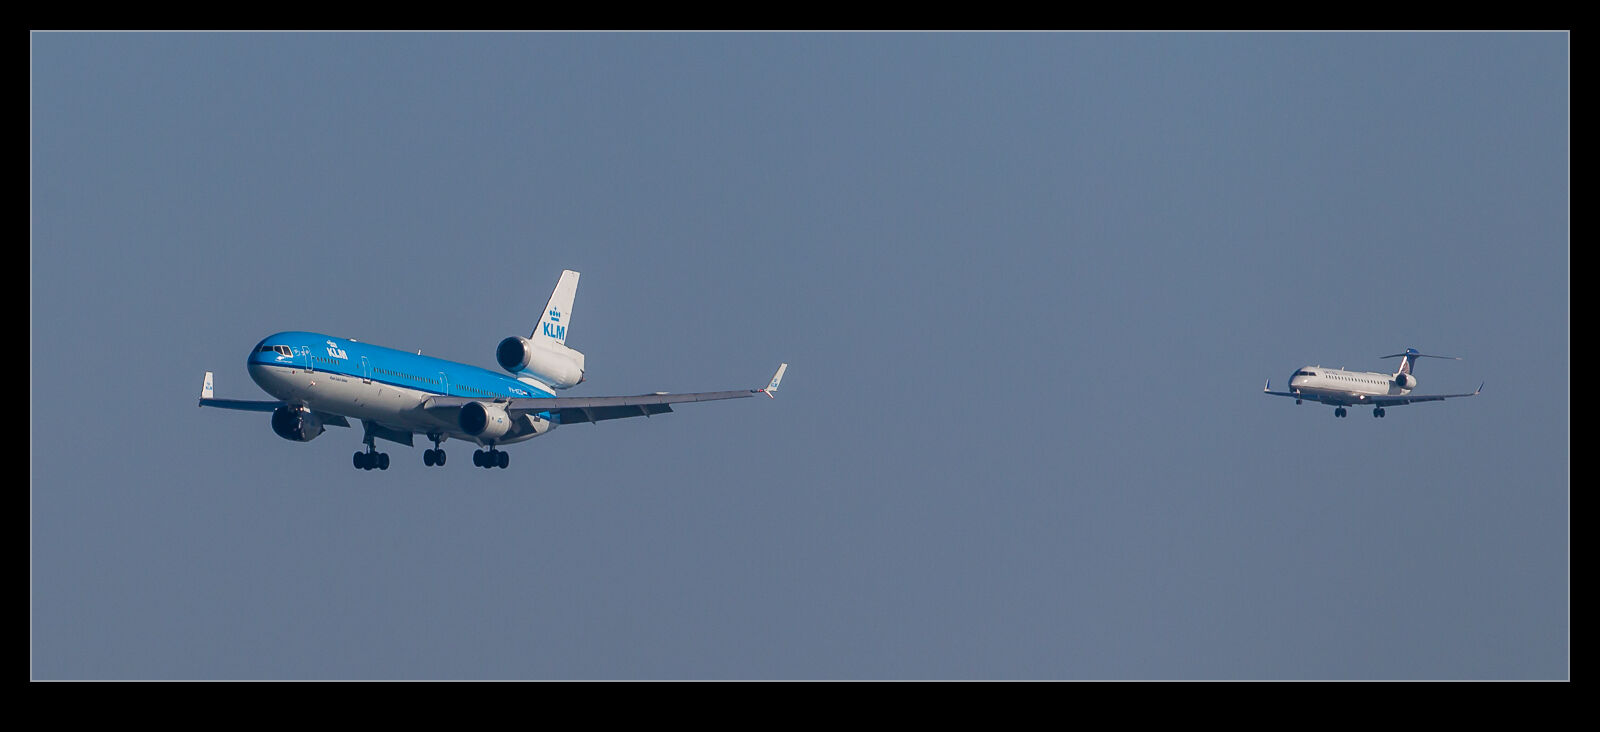 Getting them close together is the goal as a photographer. Often they end up being separated by a lot more than you thought. When further out things look like they are close but then the approach turns out to be more offset than you expect and you don’t get a good shot when they come in to land.
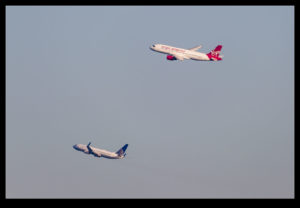
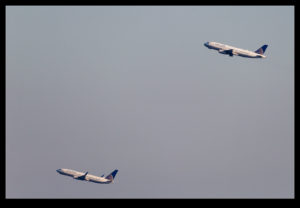
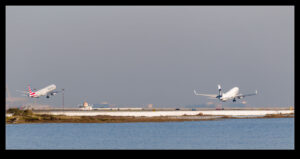
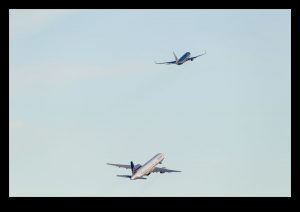
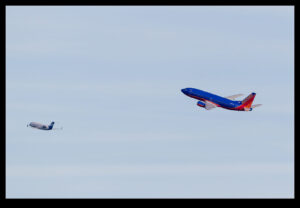
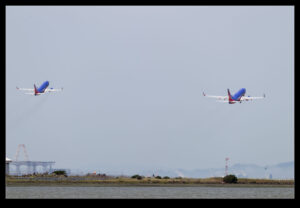
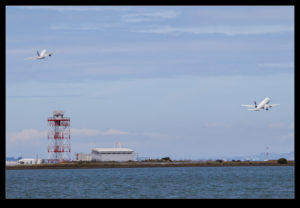
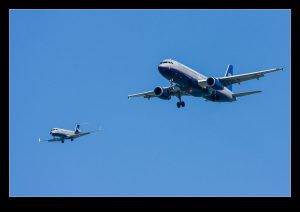
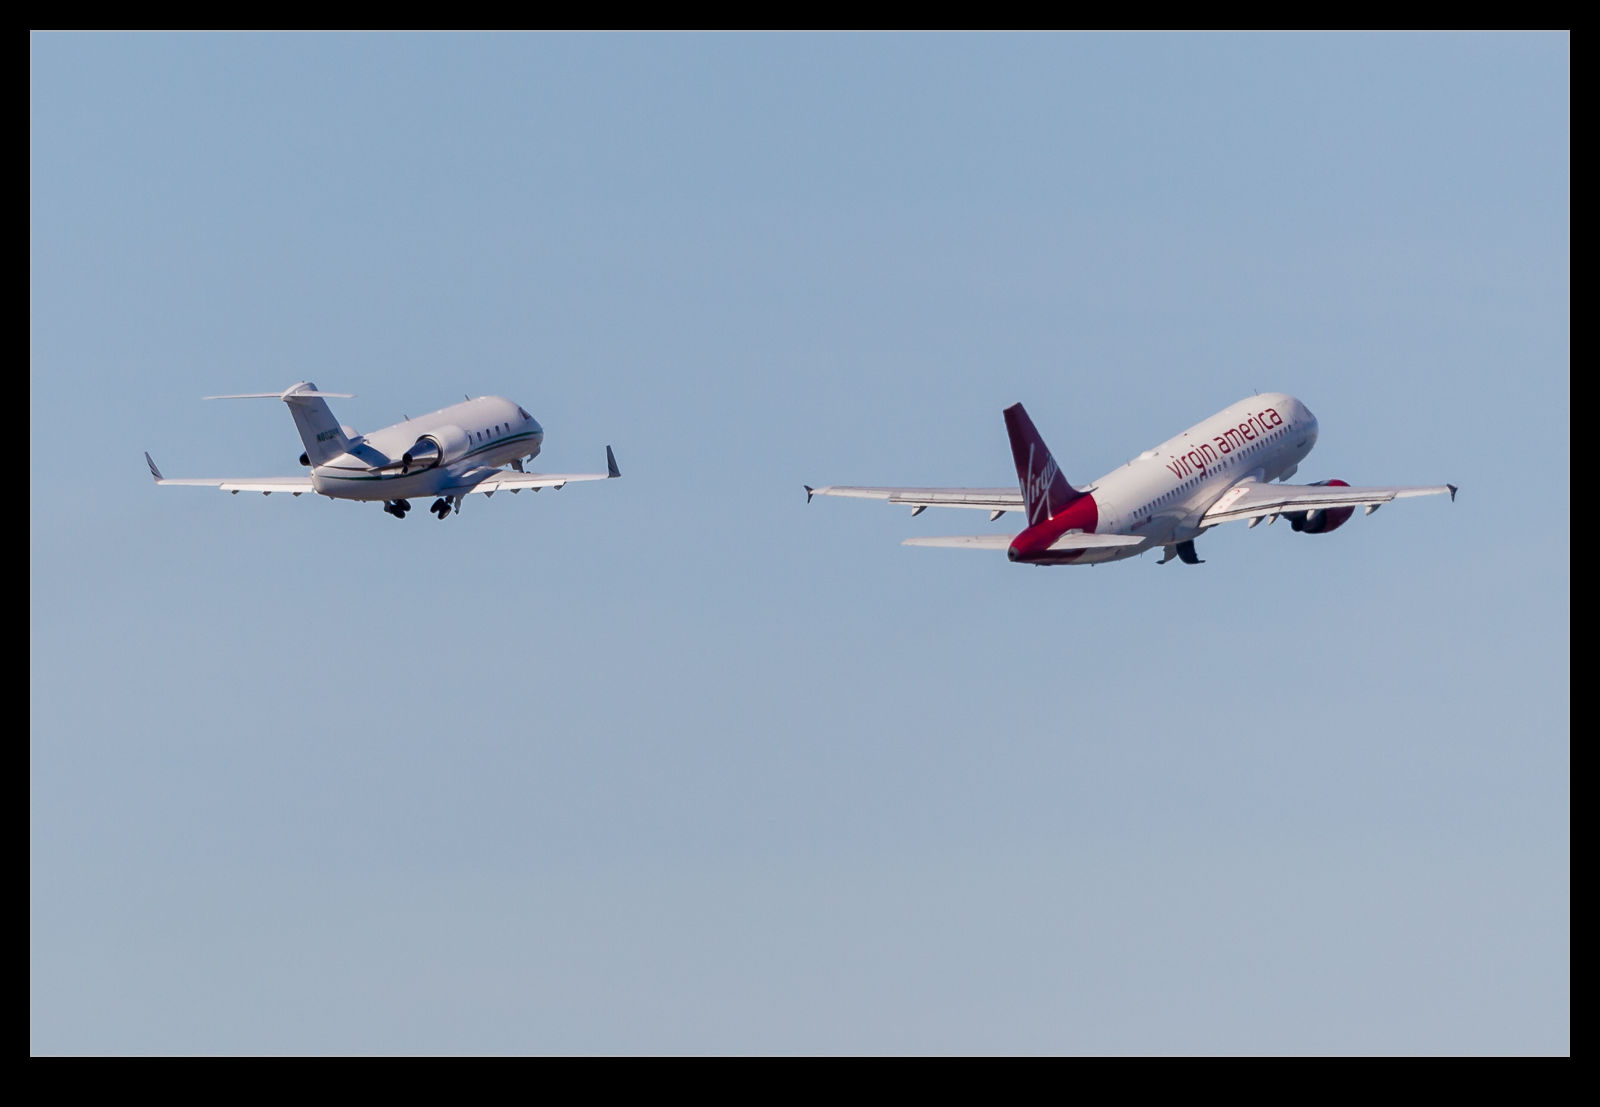
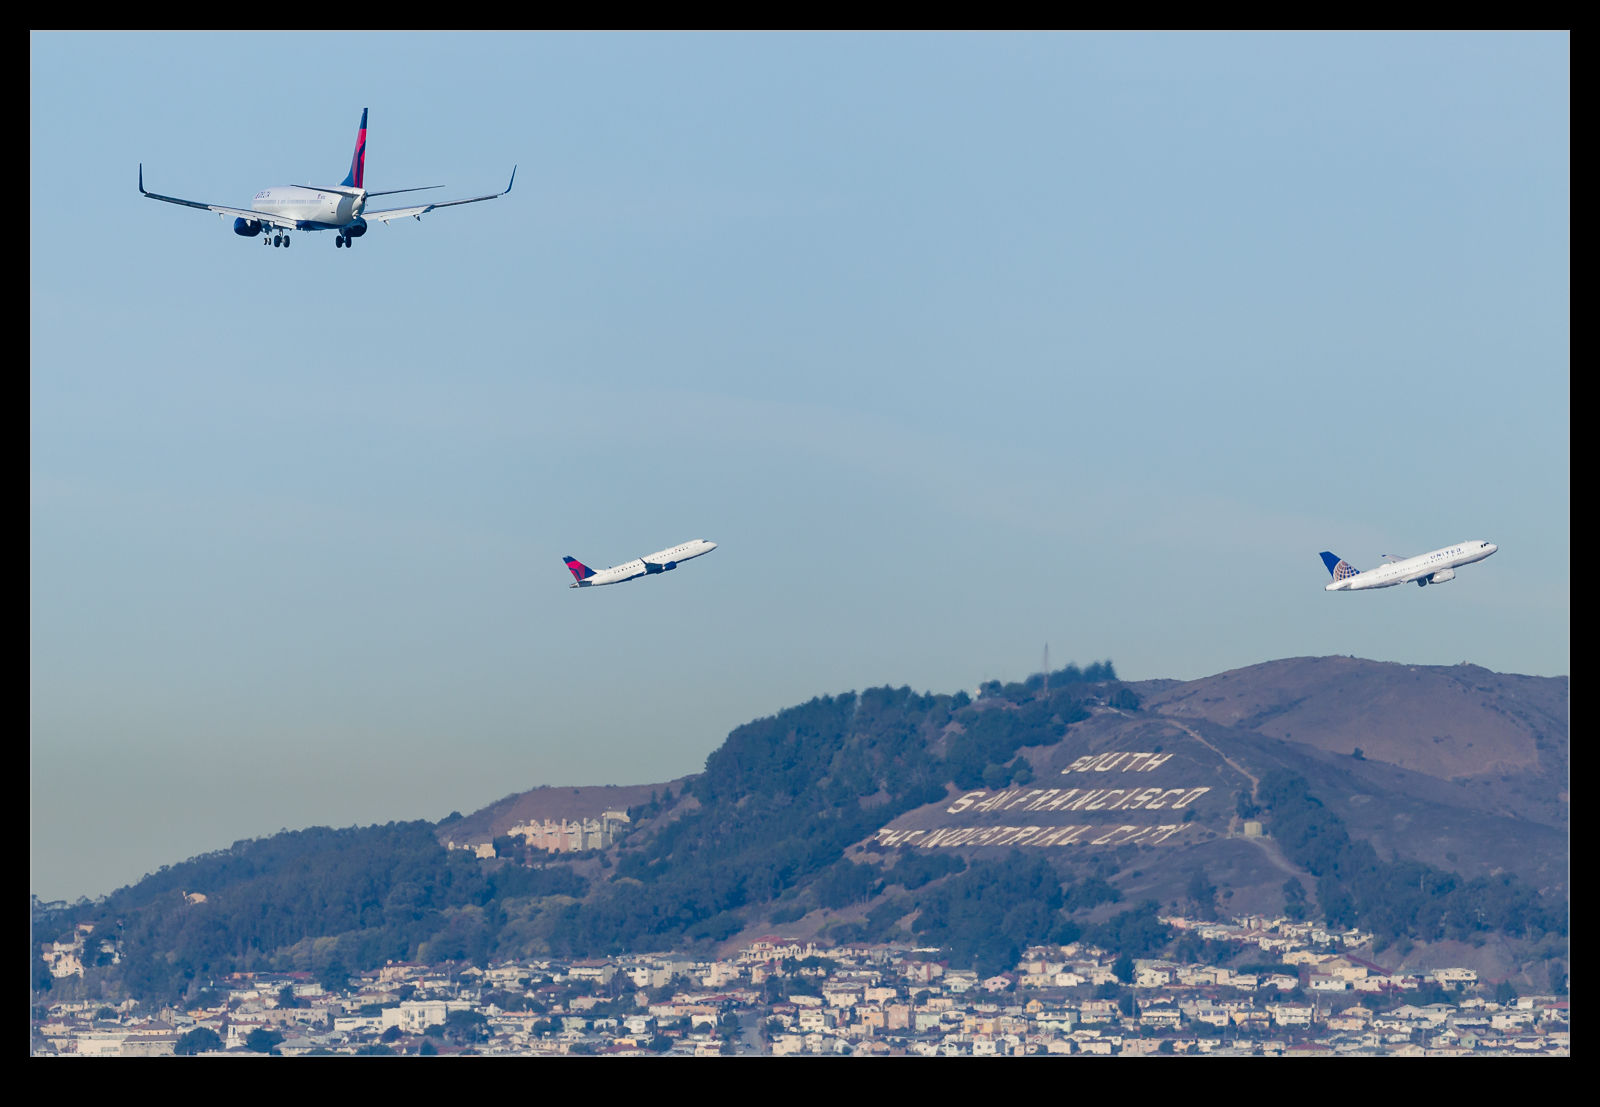 Arrivals aren’t the only parallels though. The departures are sent of the 01s from both sides. The clearances are usually offset and the thresholds are slightly different so the planes often get airborne well apart. However, that is not always the case and sometimes you get what amounts to a formation takeoff. Once airborne, the planes turn to increase their separation. Getting a shot of them close together is something to try for if you can. They are too far away when they take off to be a great shot individually but getting both in frame certainly makes for a more unusual shot than is the case for most departure procedures for big airliners.