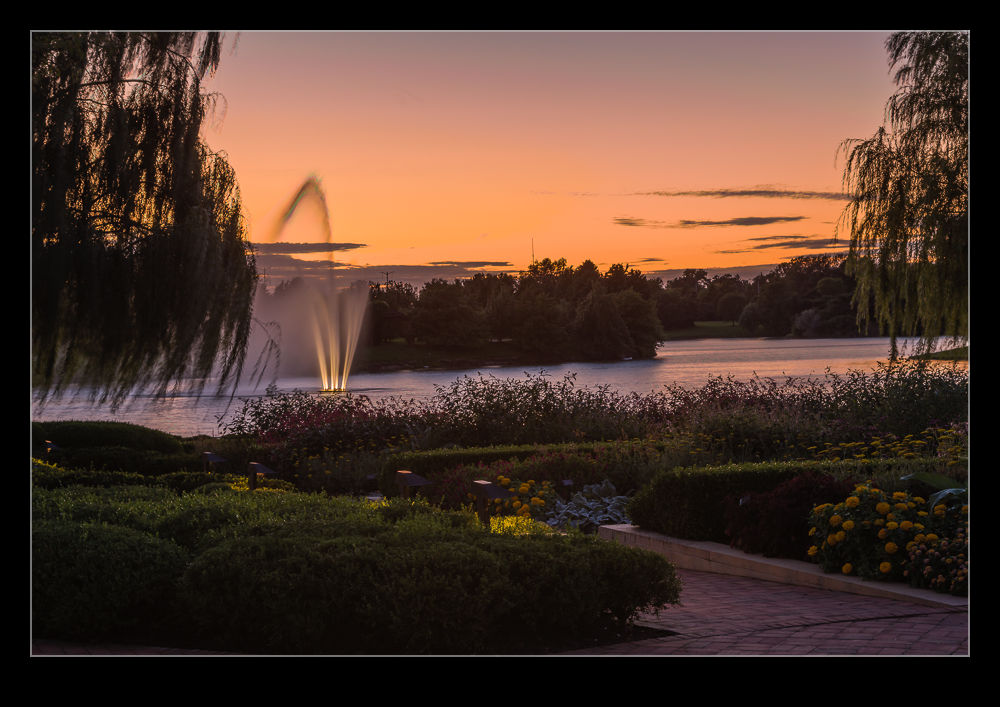
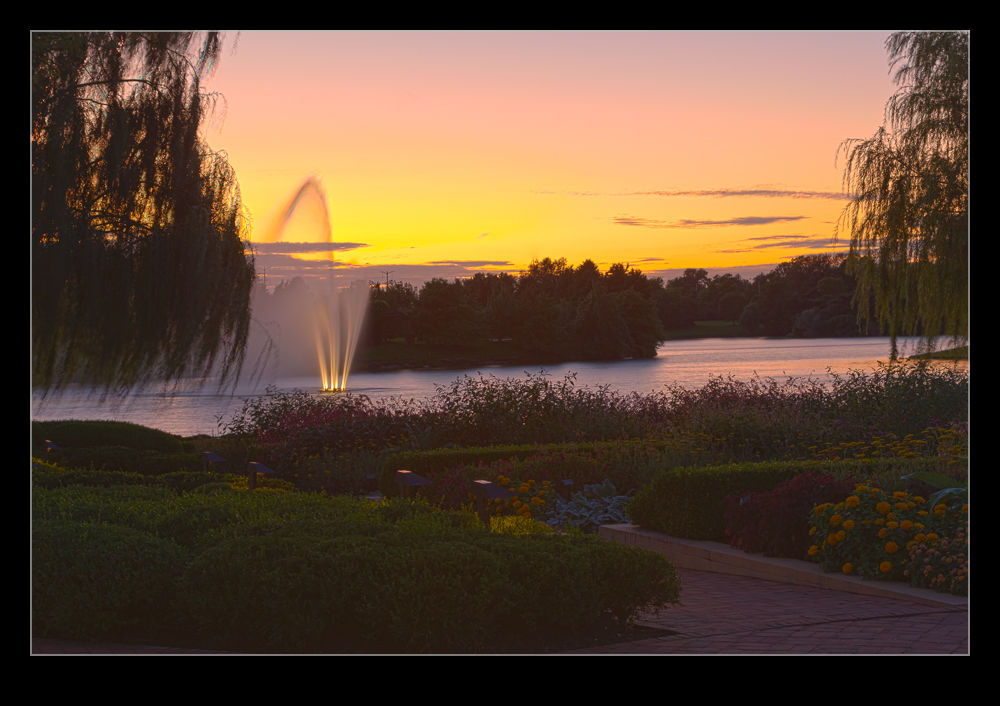
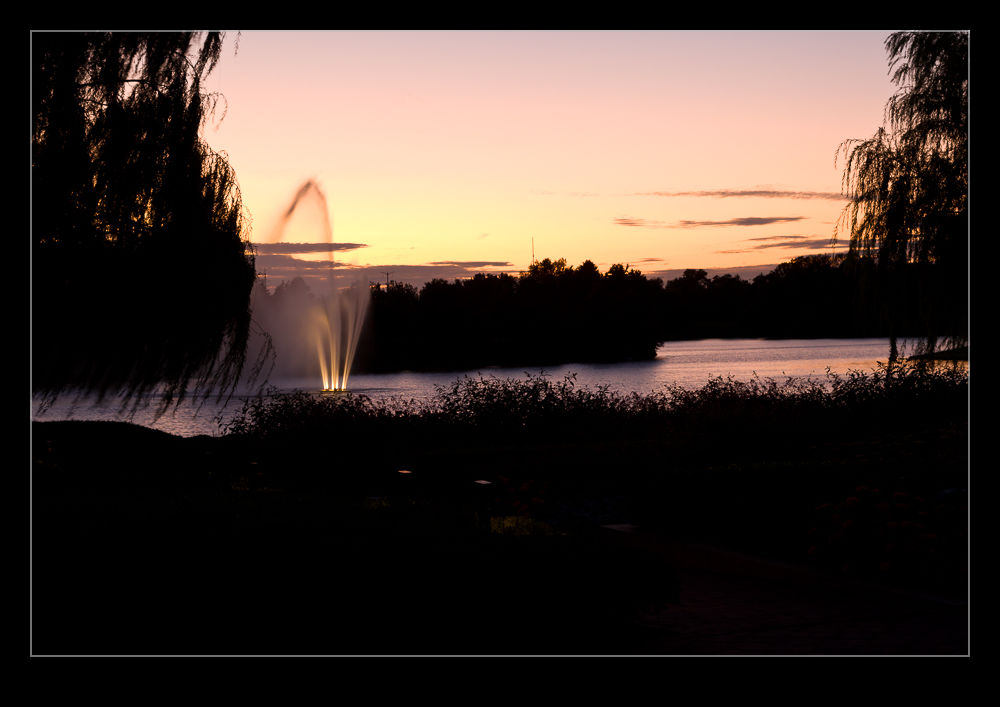
 While HDR might be a topic that causes all sorts of heartache for some people (they either love it or loathe it), I find it to be a really useful tool in some situations. I have played around with some really over the top processing in the past just for the fun of it but my main interest has been in getting an image that can cope with the wide range of lighting that sometimes shows up in images. While I have experimented with some of the third party HDR packages, I have ultimately ended up using the HDR Pro functionality of Photoshop.
This has been working okay for me but I was always a little less than satisfied with the results. I have understood that the HDR merging process is only the first part of the technique and then the Develop settings in Lightroom (or ACR) are required to make the whole thing work a lot more effectively. However, the slightly flatter look along with a level of desaturation that it was hard to bring back meant I was almost there but not quite.
 A recent change that has been introduced and which it took me a while to get around to playing with was the 32 bit HDR approach. In this, the original files are merged to create a 32 bit TIF file. Getting to this from Lightroom required me to tweak my settings slightly. I always had the file edit settings laid out to make a PSD file. I had to tweak them to make TIF the preferred file. I have to remember this so that I don’t always have TIF output instead of PSD which seems to have a smaller file size.
Once you get into HDR Pro, the choice in the tab at the top covers whether you want 8 biit, 16 bit or 32 bit output. I had previously been using 16 bit. This includes a lot of sliders that give you options as to what you want the output to look like. If you change to 32 bit, there is a single slider. It shows you an effect of changing the white point but I don’t think it actually changes the output file. You decide whether any ghost removal is required as with the 16 bit file and then click to get it on its way. Once the final file is created, I just save it and go back to Lightroom.
 Here, the Develop module is changed in its functionality. You can make some pretty aggressive changes with the sliders compared to a normal RAW file. You can work with the exposure, the shadows and highlights and the contract as well as using the Clarity and Vibrance to punch up the image. The nice thing is that the results are a lot more natural looking. You don’t have the really crazy styles and you don’t have the flat look that sometimes is the result with the traditional approach.
HDR is not a huge part of what I do but I am interested in having a better result. I am not interested in investing in new software to achieve this when it is an infrequent issue for me and not usually something that a client cares about. However, the fact I can now do a better job with the software I already have is a great step forward. As for these three examples, the top is the new process, the middle is the old way and the bottom is using Lightroom to try and get detail from a single RAW file.