Tag Archives: shutter

Staring at an Escalator

I was waiting for some visitors at the airport.  At SeaTac, you stand at the top of the escalator waiting for people to come out from the shuttle station.  I was starting at the escalator for quite some time and decided to see just how slow a shot I could take with the cellphone.  Using ProShot, I have a lot of shutter speed control but the brightness does eventually overwhelm things a bit.  However, it was still possible to play with some interesting effects with the steps blurring out along with anyone standing on them!

Cormorant at Low Shutter Speed

An impromptu shot of a cormorant is a good thing as far as I am concerned.  Normally when I photograph birds, I am shooting wide open at as high a shutter speed as possible.  However, this time I was set up for shooting at a lower shutter speed when the cormorant came by.  Consequently, the success rate was down a bit.  I did still get some shots though and the motion blur gives more of a feel of speed, even if it is just the water blurring out.

Blur That Prop!

wpid7596-C59F7698.jpgAsk any aviation photographer about camera settings and they will quickly turn to shutter speed for prop aircraft.  The goal is a nicely blurred prop and no frozen blades.  This requires a slow shutter speed and this can have downsides.  If you are using a long lens, getting a sharp shot of a moving target with a low shutter speed can be tricky.  A bit of spray and pray with the shutter button can be required.  Interestingly, if you are closer to the aircraft and using a shorter focal length, things are not necessarily better.  When you are close in, the different parts of the airframe are actually moving at different speeds and angular rates to you so one part might be sharp when another isn’t.  Sometimes this looks okay but often it just looks crap.

I have become less focused on gaining the great blur for ground shots.  Air to air it is something a lot more worthwhile since the other plane is not moving relative to you – well, hopefully not that much.  Therefore, you can experiment going slower with hopefully some good results.  Similarly, when I am shooting helicopters close in and hovering, I will give it a go too.

wpid7594-C59F7690.jpgRecently, I was at the Waukegan show and I decided that, since what I was shooting was not something that I had to get (either I would have other chances or I wasn’t so bothered anyway), I would play with some really low speeds.  I ended up shooting at 1/80th of a second which, on a 500mm lens is a stretch.  Needless to say, you are not going to see the failures.  When I have played like this before, I have had times when not one of the shots was of any use.  However, this time I did get a few lucky results – yes, they were luck.  You can have great panning technique (which is not always true for me) but the math is not in your favor when doing this.  Therefore, I shall be happy with the results this time around.  I won’t be doing this all of the time but playing around is an important thing to do when you have the chance.  Just don’t do it when you really want to have a shot you can keep.

Night flight

A recent flight home meant an arrival into Midway a while after the sun had set.  I had been taking some pictures out of the window as we headed back across the country and decided to try my luck after dark.  I had thought about trying out some auto ISO shots as I described in a previous post.  However, since I was shooting night scenes, the camera does its best to try and make things look properly exposed and this is not what you need.  Instead, I had to manually set the ISO to a higher number and then drop the exposure compensation to between -2 and -3.

The shots came out okay but they weren’t terribly interesting.  However, as we got lower, I decided to go for something a bit more interesting and slowed the shutter speed down dramatically.  I braced the camera against the window frame and decided to see what sort of light trails I could get.  The exposures were a couple of seconds or more so this is rather tricky.  While the background is blurred deliberately, I had the top of the engine and the winglet in for reference.  Avoiding blurring them was more hit and miss.

I tried a bunch of shots and was pleased with the number that came out well.  However, the effect only seems to work in a couple of situations.  One is a turn.  This puts more ground lights in the frame and turns everything into a nice curve.  The other is when you are very low at which point everything is moving past you close and fast.  I might try this again before too long but will have to ponder what might improve things.  One technique issue I was pleased with was remembering to turn off image stabilization.  With long exposures, it causes the image to wander so, when bracing, it actually makes things worse.  Unlike me to remember that first time out but sometimes I do get lucky!

Auto ISO

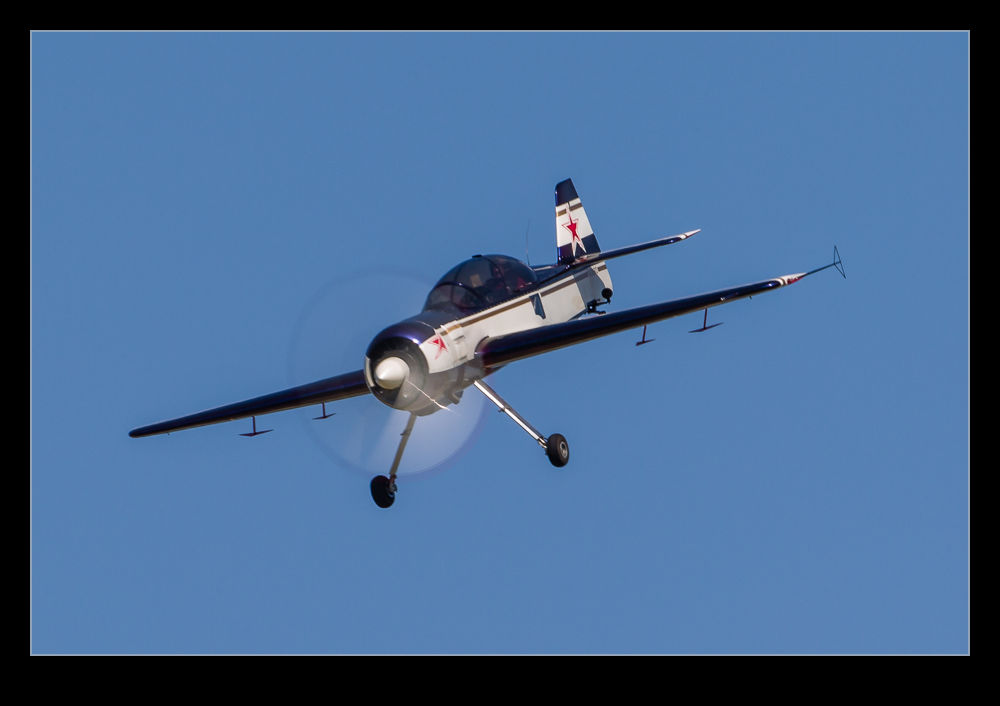
There is a function built in to my cameras that, until recently, I had never bothered to use.  It hadn’t been something that immediately grabbed my interest and so I had forgotten about it to some extent.  Therefore, when it could have been useful to me, I had not thought about how to make good use of it.  This is Automatic ISO.  This is an interesting idea when you start to think about it in more detail and one that might cause some to react in strange ways.

Many photographers will react poorly to the camera doing anything automatically.  They will say how they like to have control.  Then they will totally contradict themselves by telling you that they always shoot in aperture priority mode, totally ignoring the fact that the camera set the shutter speed for them in this mode “automatically”!  Therefore, for anyone reading (is anyone reading?) who jumps to the “I am against automatic anything” approach, why don’t you go and analyze exactly how your camera works and you use it.  If you are totally manual in everything you set, congratulations.  You obviously don’t need to read this anyway.

For anyone else who is a little more open-minded and who hasn’t played with this capability, let me explain why I tried it.  Plenty of times I have the camera in aperture priority in a situation where it is quite dark.  I know this is not clever of me but I often notice that the shutter speed is low because I can hear that it is!  In situations like this I might then tweak the ISO setting to try and bring things back into a range I am comfortable with.  My technique for this is rolling the dial a bit and seeing what I get.  Not clever analysis by any stretch.

Recently I was shooting a job in natural light (or lack thereof) that started long before the sun came up.  I knew I was going to be using some pretty high ISO settings to get useable shots and this is when the auto ISO function came to mind.  I went to manual mode, set the aperture and shutter speed I wanted and switched ISO to A.  Now, it worked out what was needed to get the exposure right.  As the light conditions improved, the ISO got dialed down but I didn’t have to do anything other than find what I wanted to shoot, compose and get on with it.  The only limitation I had was that I don’t know how (or even if) you can add exposure compensation in this situation.  Something for me to research – maybe even take the dreaded step of reading the manual!

The results were very satisfactory.  I got the images I wanted and didn’t have to constantly wonder about whether my ISO setting was right.  Obviously, this is not a solution for every situation but it does provide a good approach in some conditions.  Maybe you will have a time when it is worth a go to.
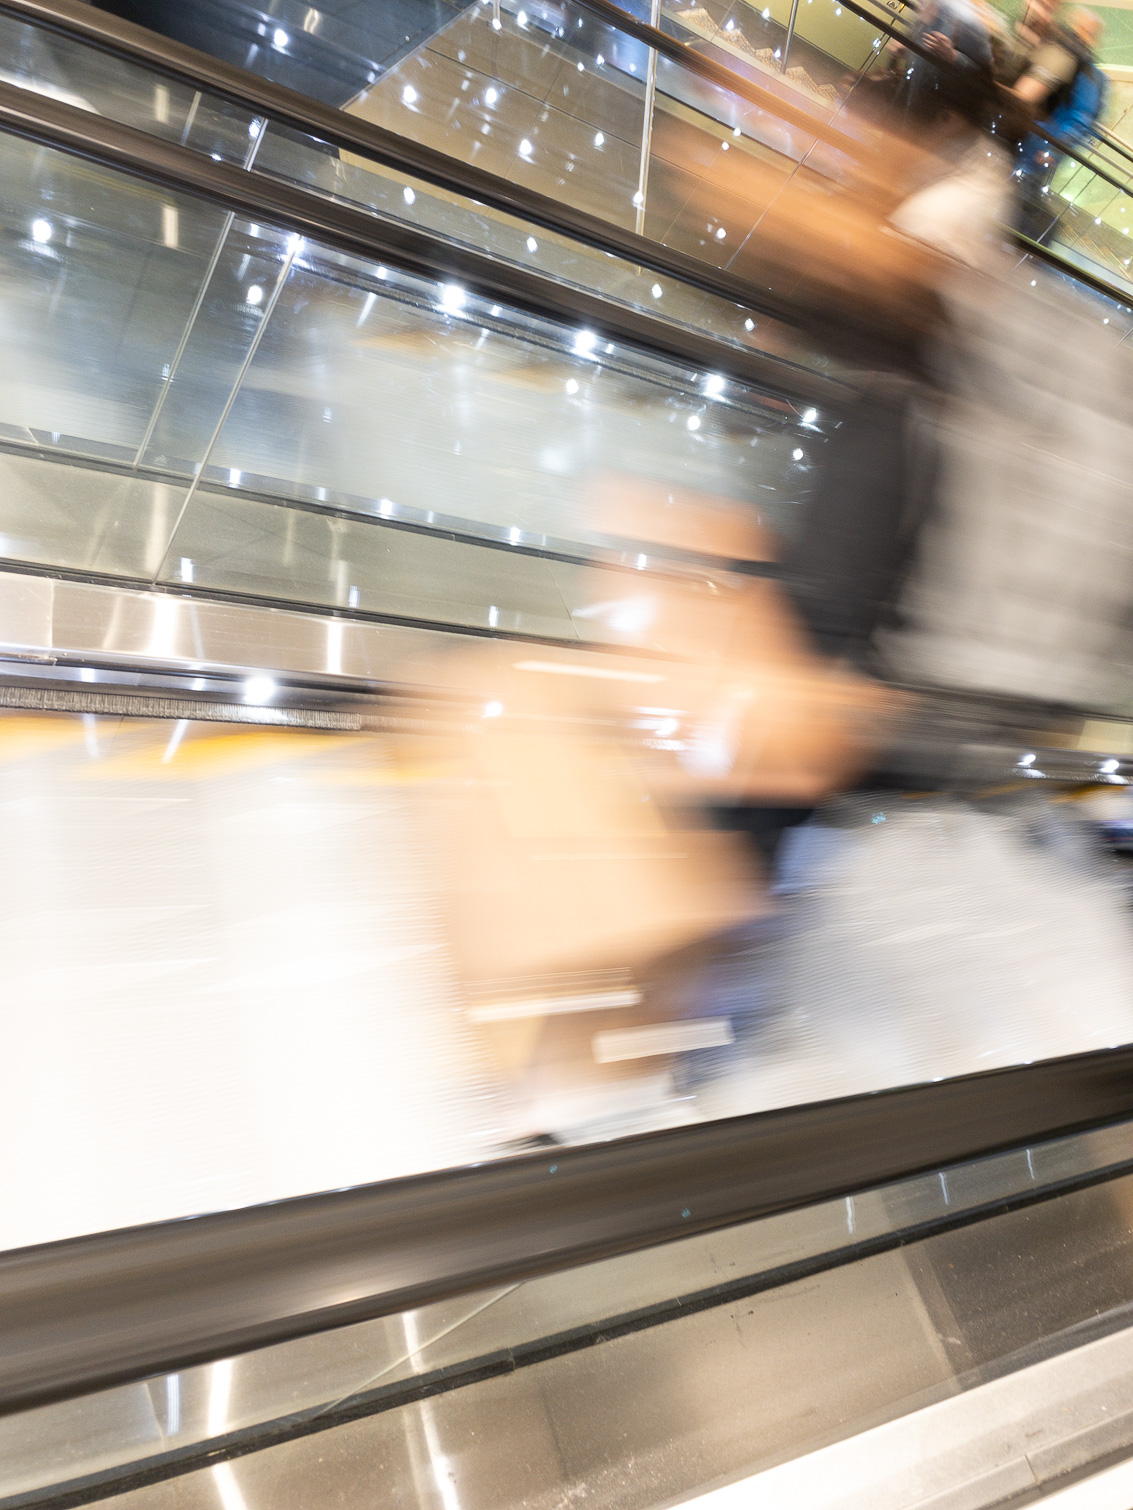
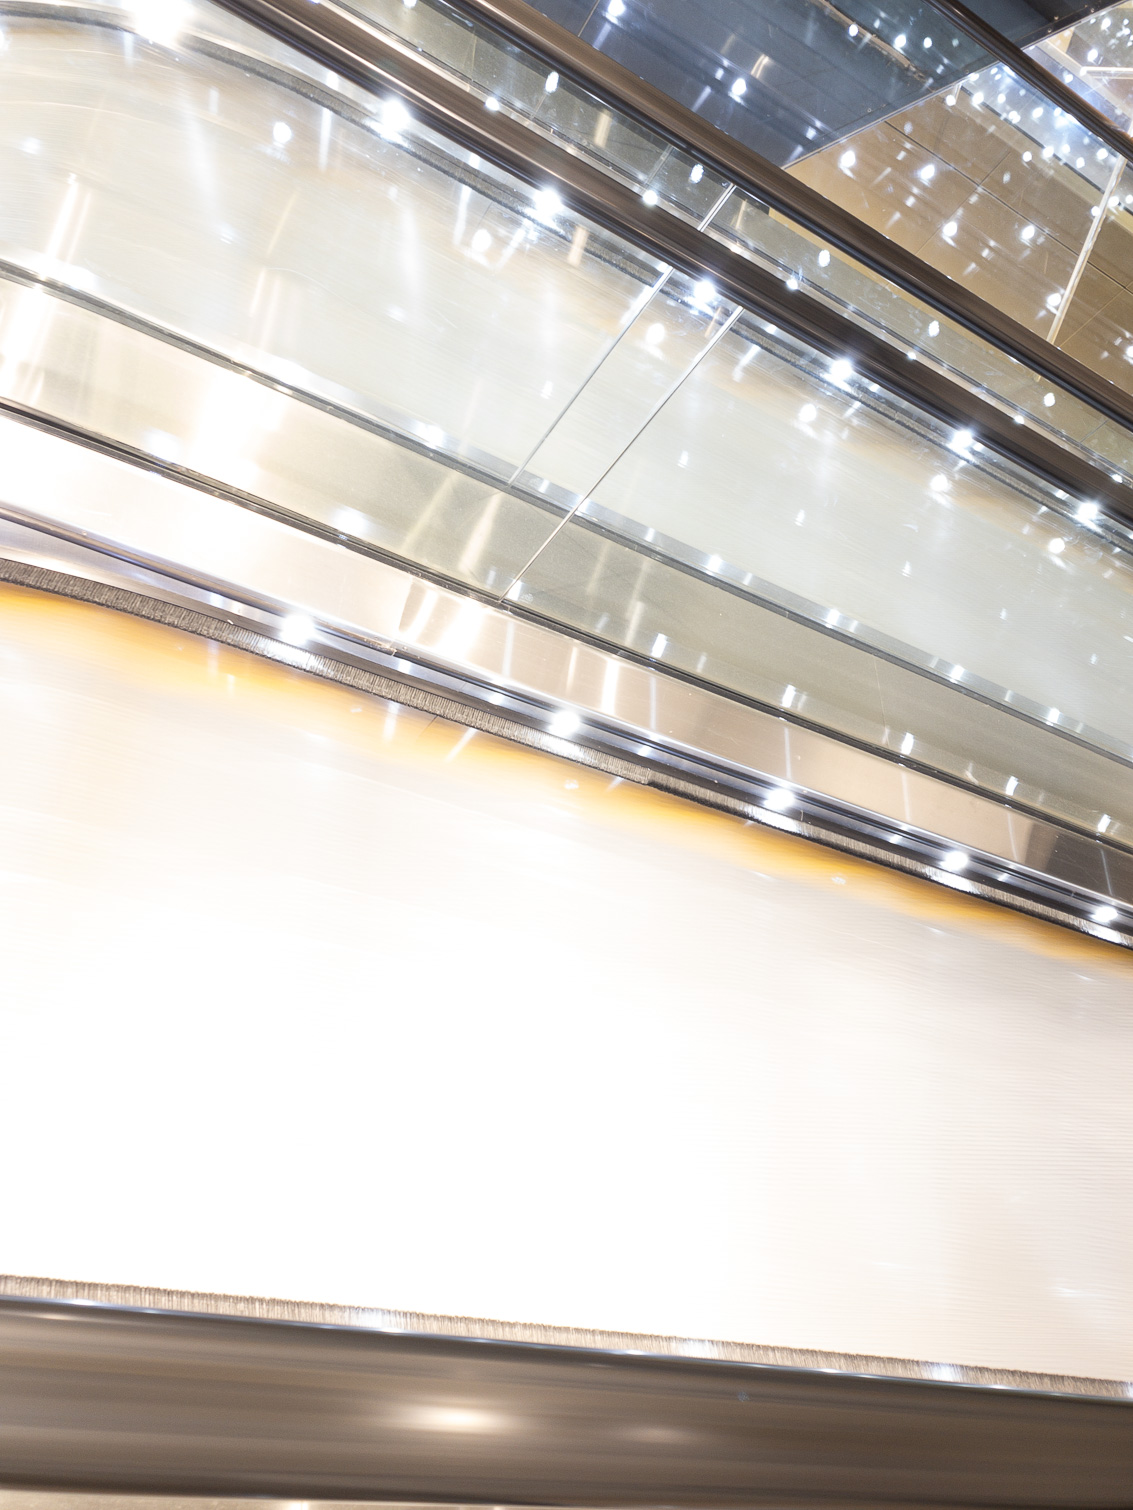