 I used to play with time lapses a fair bit. I would shoot a series of images and use LRTimelapse to process them. However, that software had a license agreement that meant, when they upgraded the software, they required you to update your license and the old version was deactivated. This was very annoying. I figured I would be able to keep using the old version but apparently not. I don’t do it that much to justify the cost and was disinclined to use that software after this experience.
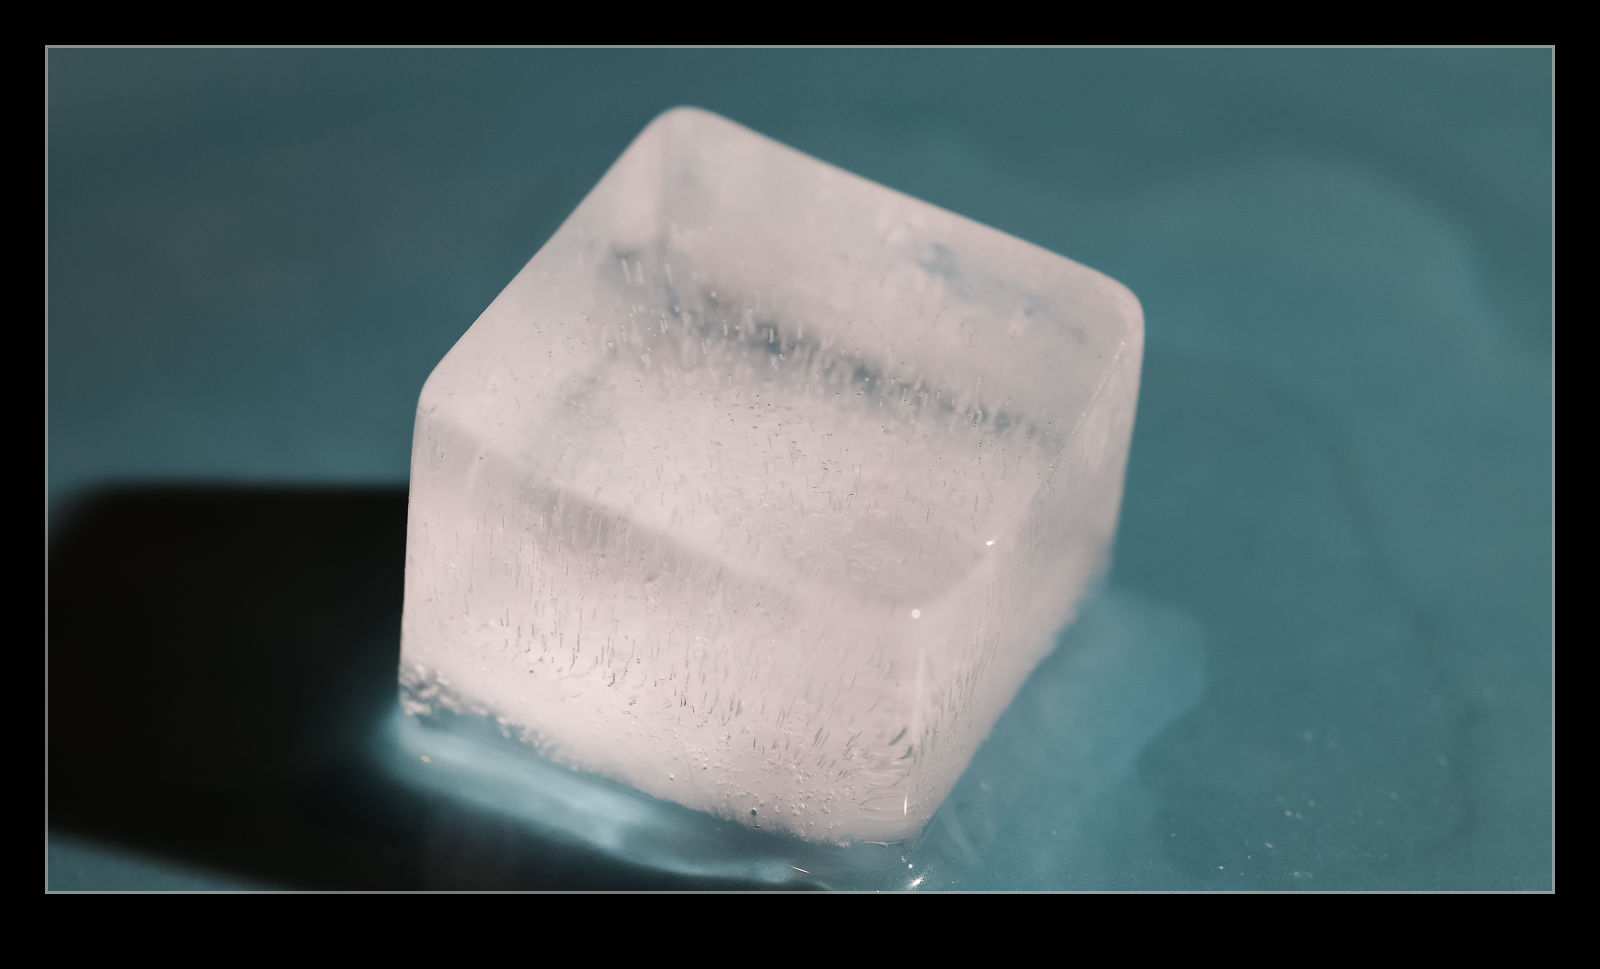
My latest cameras have a time lapse function built into them which I had been meaning to try out. I had done this on my little M6 but not with the latest bodies. What to use them on, though. I figured an experiment doesn’t require me to be original in the subject. Just try it out and see how it works. Consequently, I thought melting ice would be good enough. My first effort was not successful. I hadn’t given it enough time to record the melting fully. Second was better but, while the timing was okay, I had focused on the ice cube when it started melting and it slid across the plate as it melted and out of frame. The mode on the camera sets focus and exposure on the first shot so this meant everything was well out of focus.
This is why you experiment with things. The last try worked pretty much as intended. (I should note that I did all of these in the evening, so the lighting didn’t change during the shoot.) I had a long enough time for the ice cube to almost fully melt, it didn’t move, and the lighting was fine. Watching the ice disappear and the cube gradually sink into the water that is progressively growing was rather fun. This isn’t some epic revelation of the nature of melting ice, but it did teach me about some functionality of the camera.