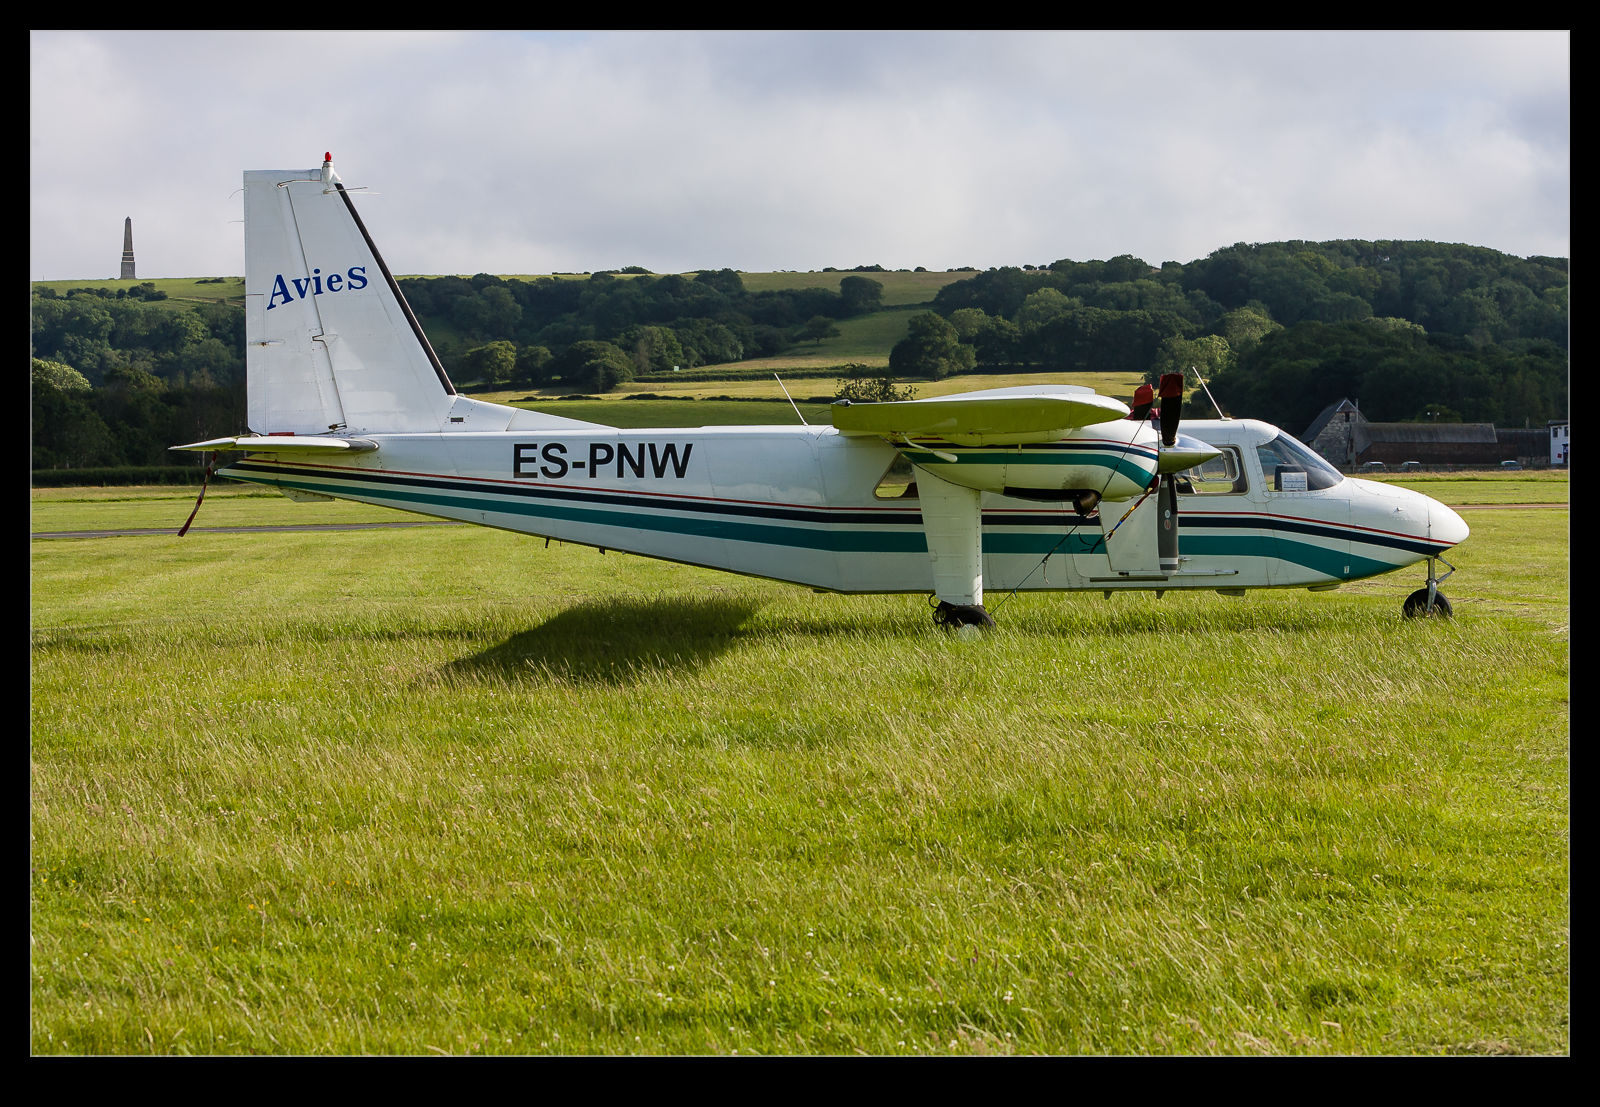
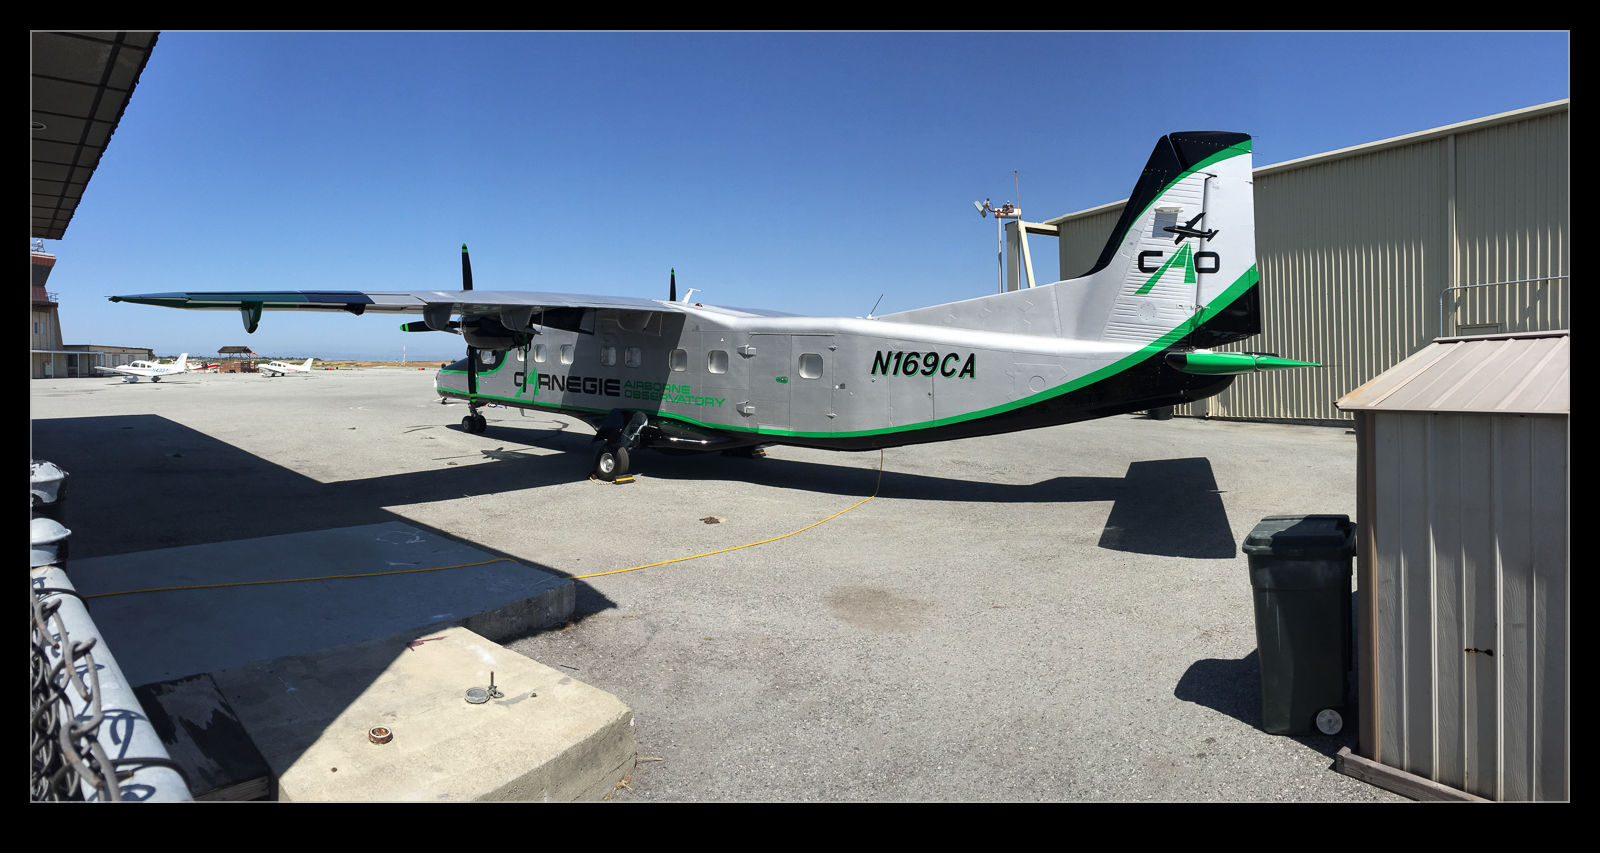
 A recent arrival at San Carlos is a Dornier 228 that is apparently configured for aerial survey work. The guys mentioned that it had been active prior to my visit but it was not doing much the day I was there. However, it was parked close to the fence. It wasn’t easy to get a shot of it but a bit of reaching above the fence line meant I could at least get something. It is a cool looking plane so I hope I get a chance to see it in action at some point.
Monthly Archives: June 2015
HDR Within Lightroom
The changes in Lightroom CC that included the Photomerge also included a change to the processing of HDR images. Again, the functionality has been brought within Lightroom rather than requiring the move out to Photoshop and the output file is again a DNG file. This means a smaller file than the 32 bit TIF that I was previously getting. A while back I wrote about some of the odd experiences I was having with moving these high bit depth files between Photoshop and Lightroom so a new workflow is of interest.
According to some of the publicity at the time of roll out, the new processing approach does not require as many images to work with. I have been shooting five images for HDR to date. They say that only a couple are necessary. I have tried carrying out the processing with five and with two and there doesn’t appear to be an obvious difference in the output. There is a benefit in the time taken to process the images though so this does appear to be a good improvement.
You can either let the output be automatically toned using the normal Lightroom processing functions or do it yourself. I let it have a go at first but have not liked the choices it made so have reverted to carrying out the toning myself. It is not a time consuming process so seems worthwhile to me. While I felt that Photomerge was not as capable as using Photoshop, in to case I think it is a better solution and this will be part of my workflow. Now to reset the camera to shoot fewer bracketed images!
Islander Anniversary
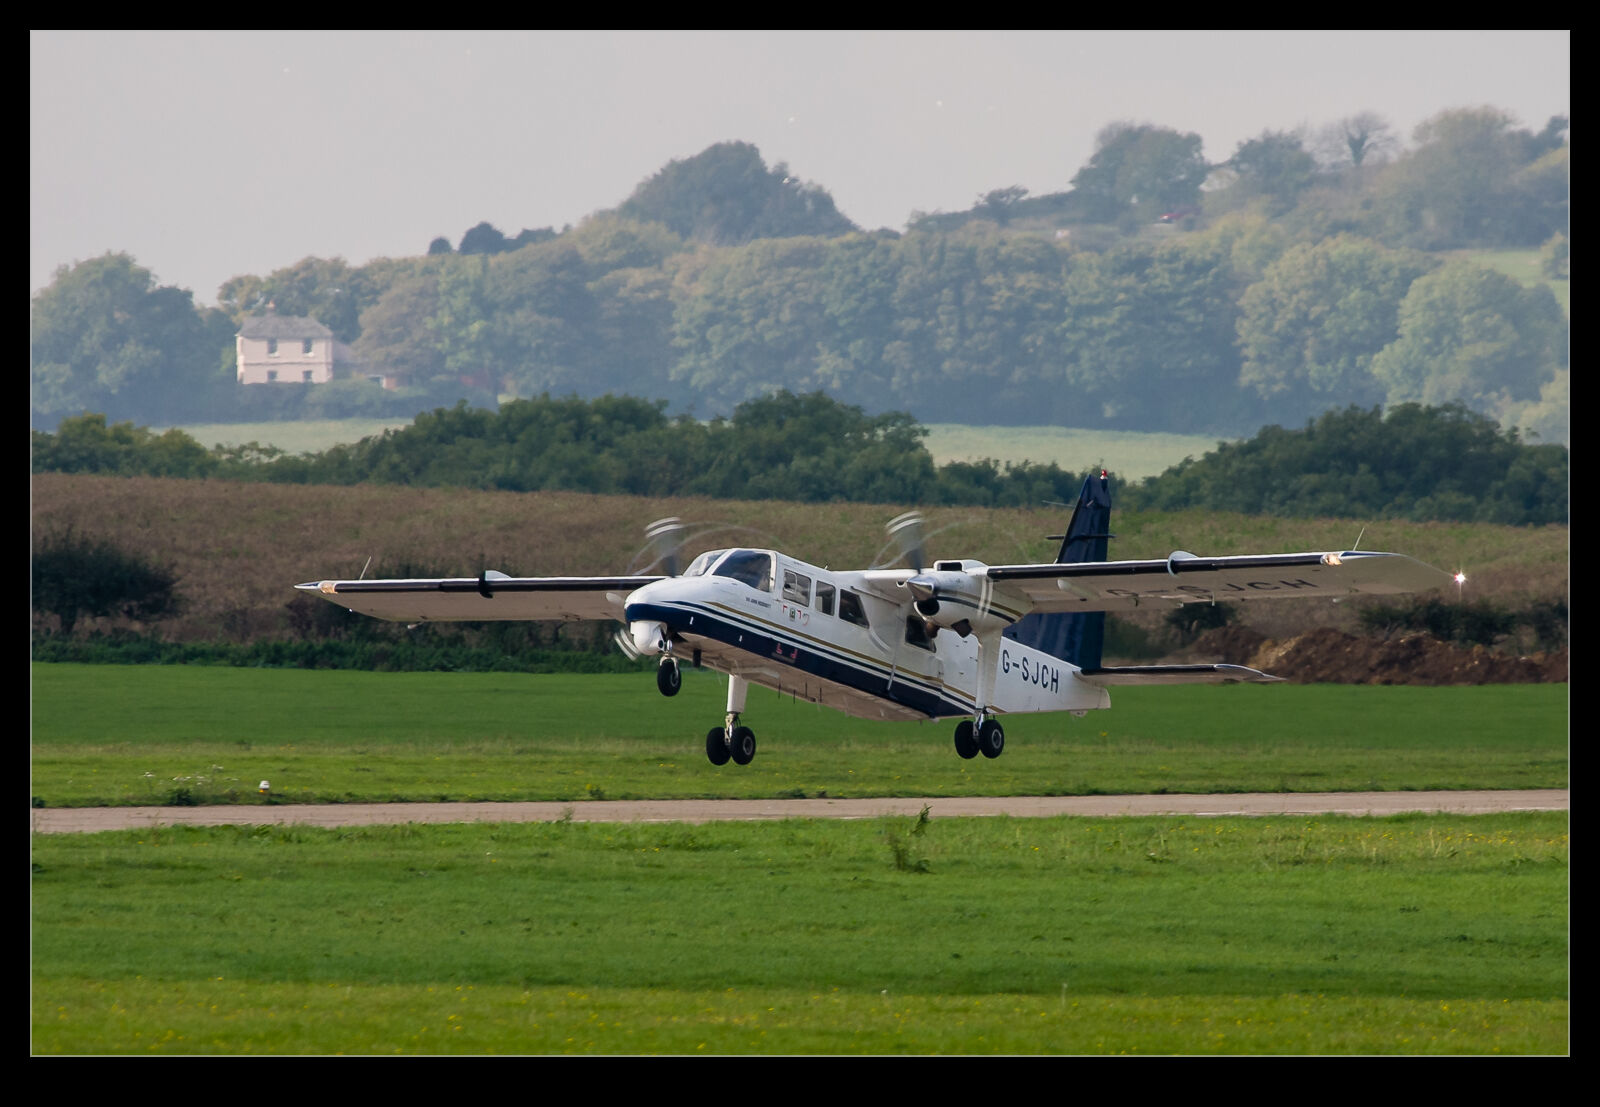 The Britten Norman Islander recently celebrated its 50th anniversary of the first flight. A group, based in Bembridge on the Isle of Wight – the home of the Islander – were involved in celebrating this event. BNAPS is the group and they have been restoring the first production aircraft. My mum is a part of this group so this one is close to home.
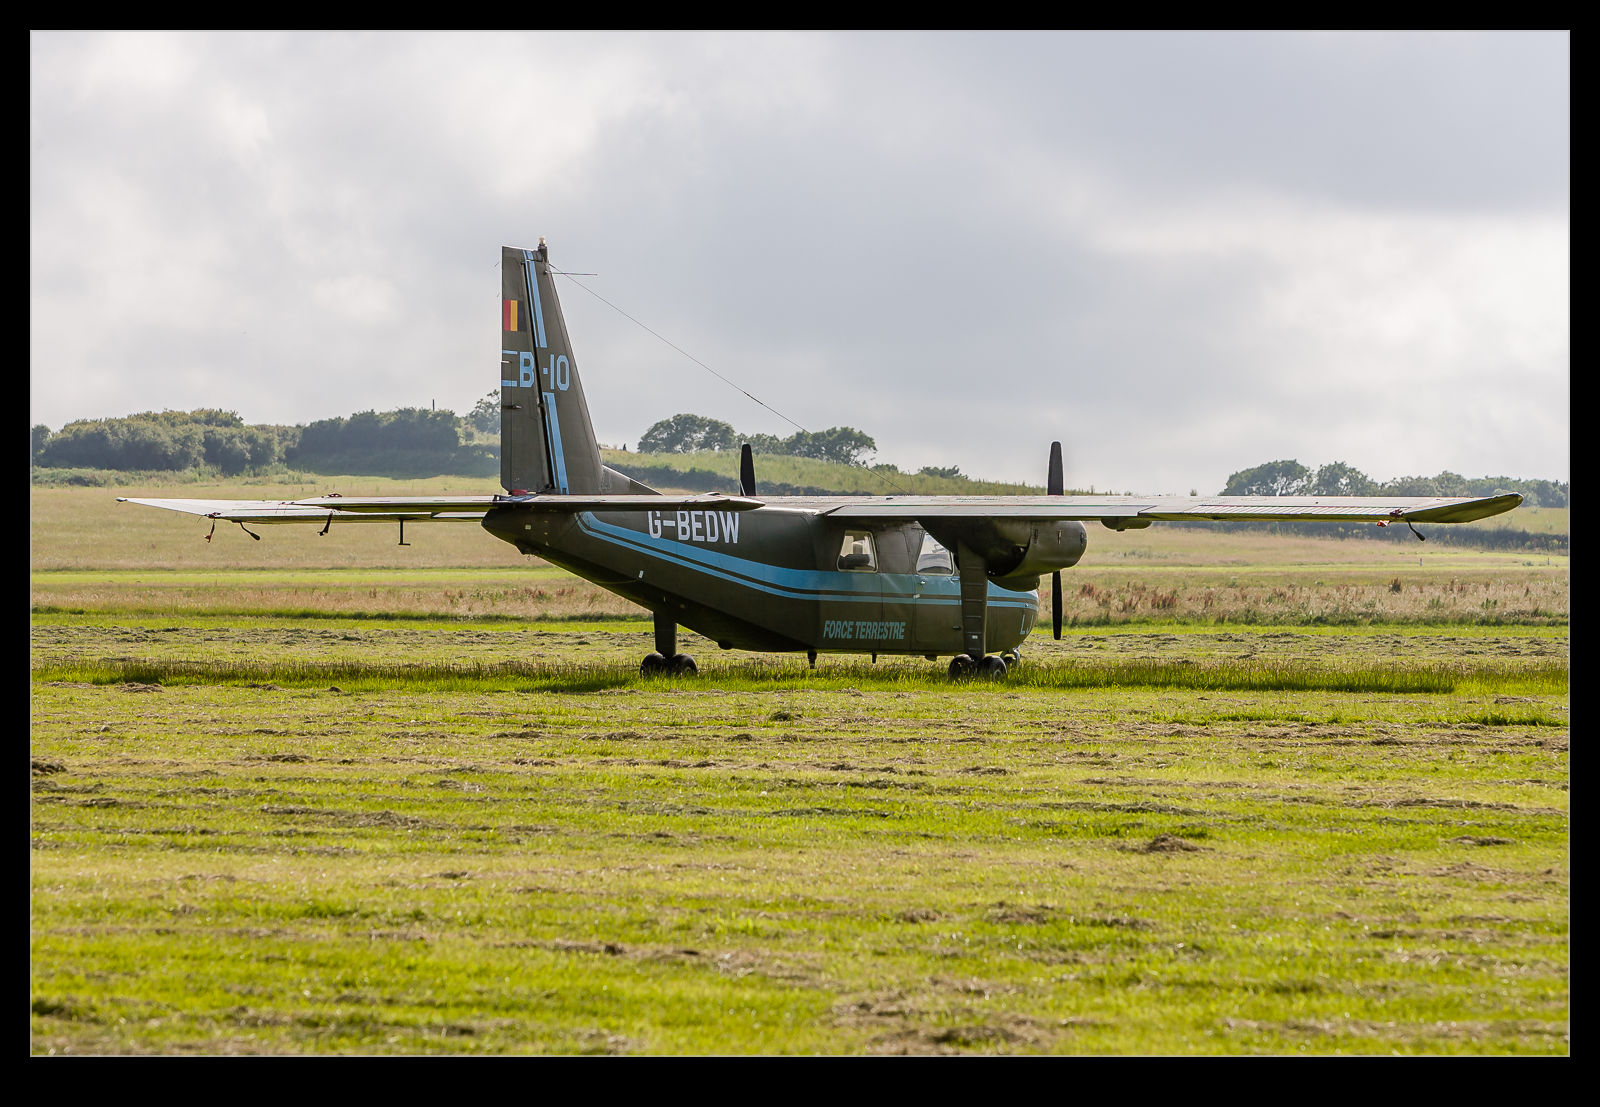 GAR covererd this topic via two articles produced by Bob Wealthy who is a key player in BNAPS. It was good working with Bob on these pieces and you can find them at the links below.
Lightroom’s New Panorama Feature
Lightroom CC comes with a number of new features. High on the list is the new panorama feature. Previously, if you wanted to stitch a panorama, you would select the shots in Lightroom, make sure you had them synced up for any exposure edits and white balance corrections and then send them to Photoshop. Photoshop had a Photomerge function that you could use or you could open them as layers in a document and carry the merge out yourself with a bit more control. This was the approach I used and I wrote about the technique here a while back.
The new Photomerge in Lightroom CC is designed to do without Photoshop. It takes your original files and then makes a new DNG file which is the stitched panorama but, as a RAW format, it still allows you to edit the image using the normal editing tools. I had to give this a go so, how well does it work?
The answer is a mixed one. In many cases, it works just fine. It stitches together the shot nicely and you can go on your way. While the initial preview process takes up a little time, the processing of the final stitch is done in the background so you can get on with something else – something I find very handy. However, it does have some shortcomings.
First, it doesn’t always find the way to stitch the shots. I have had a couple of times when it couldn’t work out the alignment. When I tried the same shots in Photoshop, they worked just fine. Not sure why these didn’t work but the algorithms must have some limitations. Next, it doesn’t always deal well with curvy edges. I have had a couple of stitches that I tried where the aircraft fuselage, although a smooth curve, ended up with some kinks at the area where the stitch took place. Photoshop never caused me trouble with these either. Big panos also seem to make it unhappy with some very odd alignments being chosen (after a long time processing) so they may have to stay in Photoshop for now.
The last problem is cropping. You have the option to have the whole stitch or to have it crop in automatically (or you could crop manually afterwards). Cropping pulls you in to the shot more aggressively to get rid of any blank pixels. You can fix this by shooting a lot wider to have more to work with. However, having been used to being able to fill odd little gaps using Content-Aware Fill in Photoshop, not being able to do so in Lightroom is a limitation. I can, of course, open the file in Photoshop and do just that. However, if I do so, I might as well use Photoshop to do the merge in the first place.
Overall, it is pretty good. I suspect there will be some tweaks behind the scenes as CC gets updated progressively so I might not even know that Adobe have fixed some of the issues. The Fill issue will be more obvious though. I shall probably keep using it unless I feel the Photoshop is merited and it is a good addition but I hope they take it further so I don’t have to consider Photoshop in the future. We shall see because the new update of Photoshop is out and includes Content Aware Fill of the gaps in panos which might be enough to sway me back.
Drakens
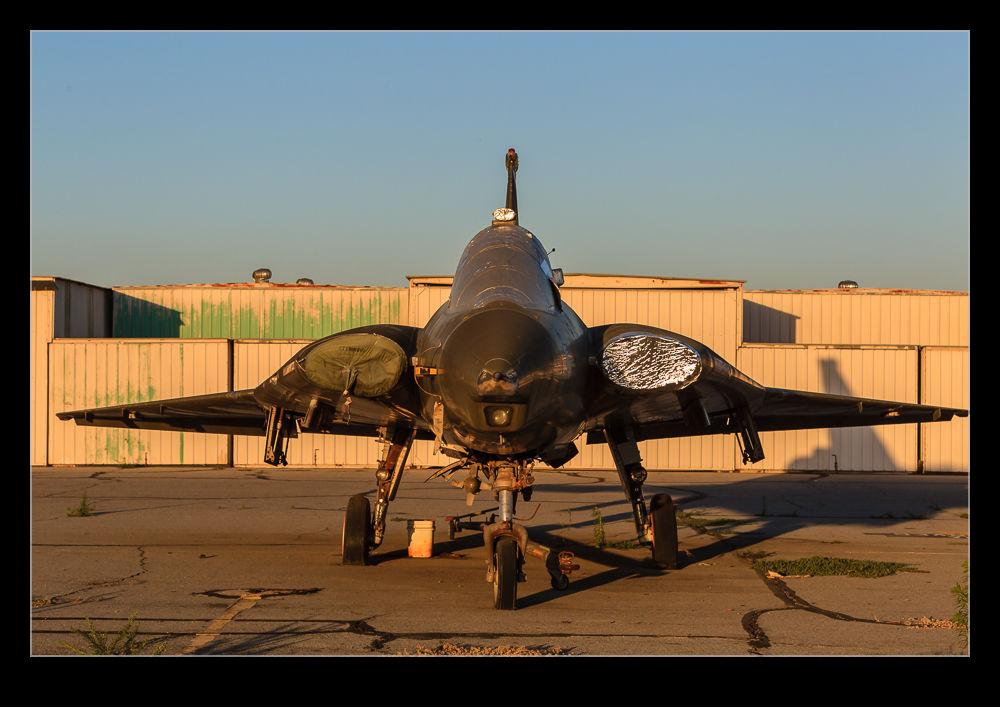
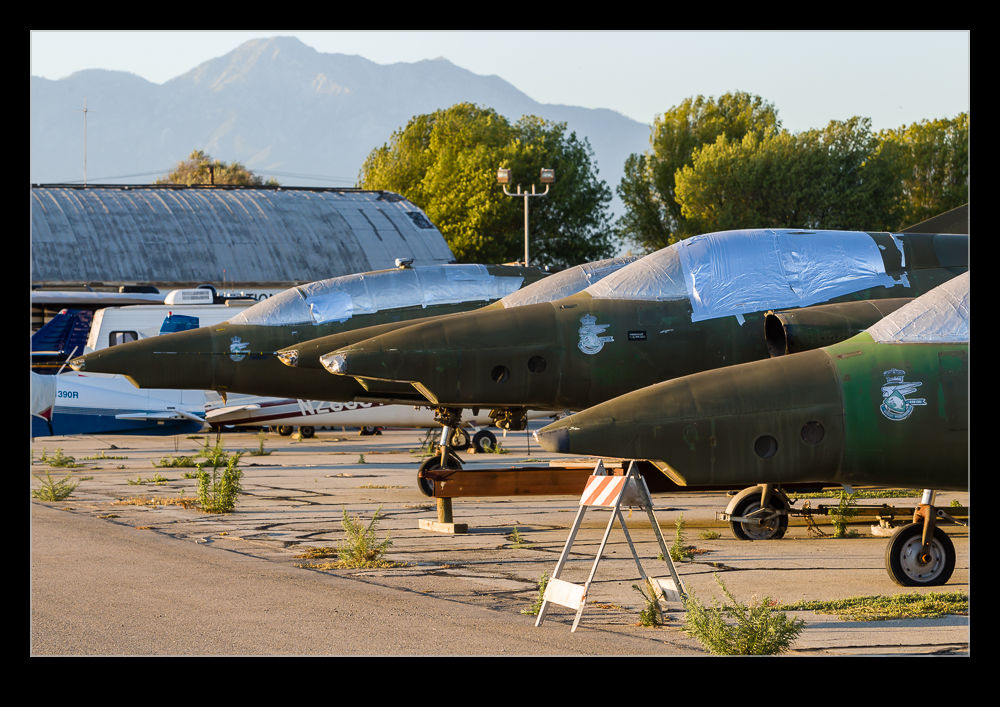
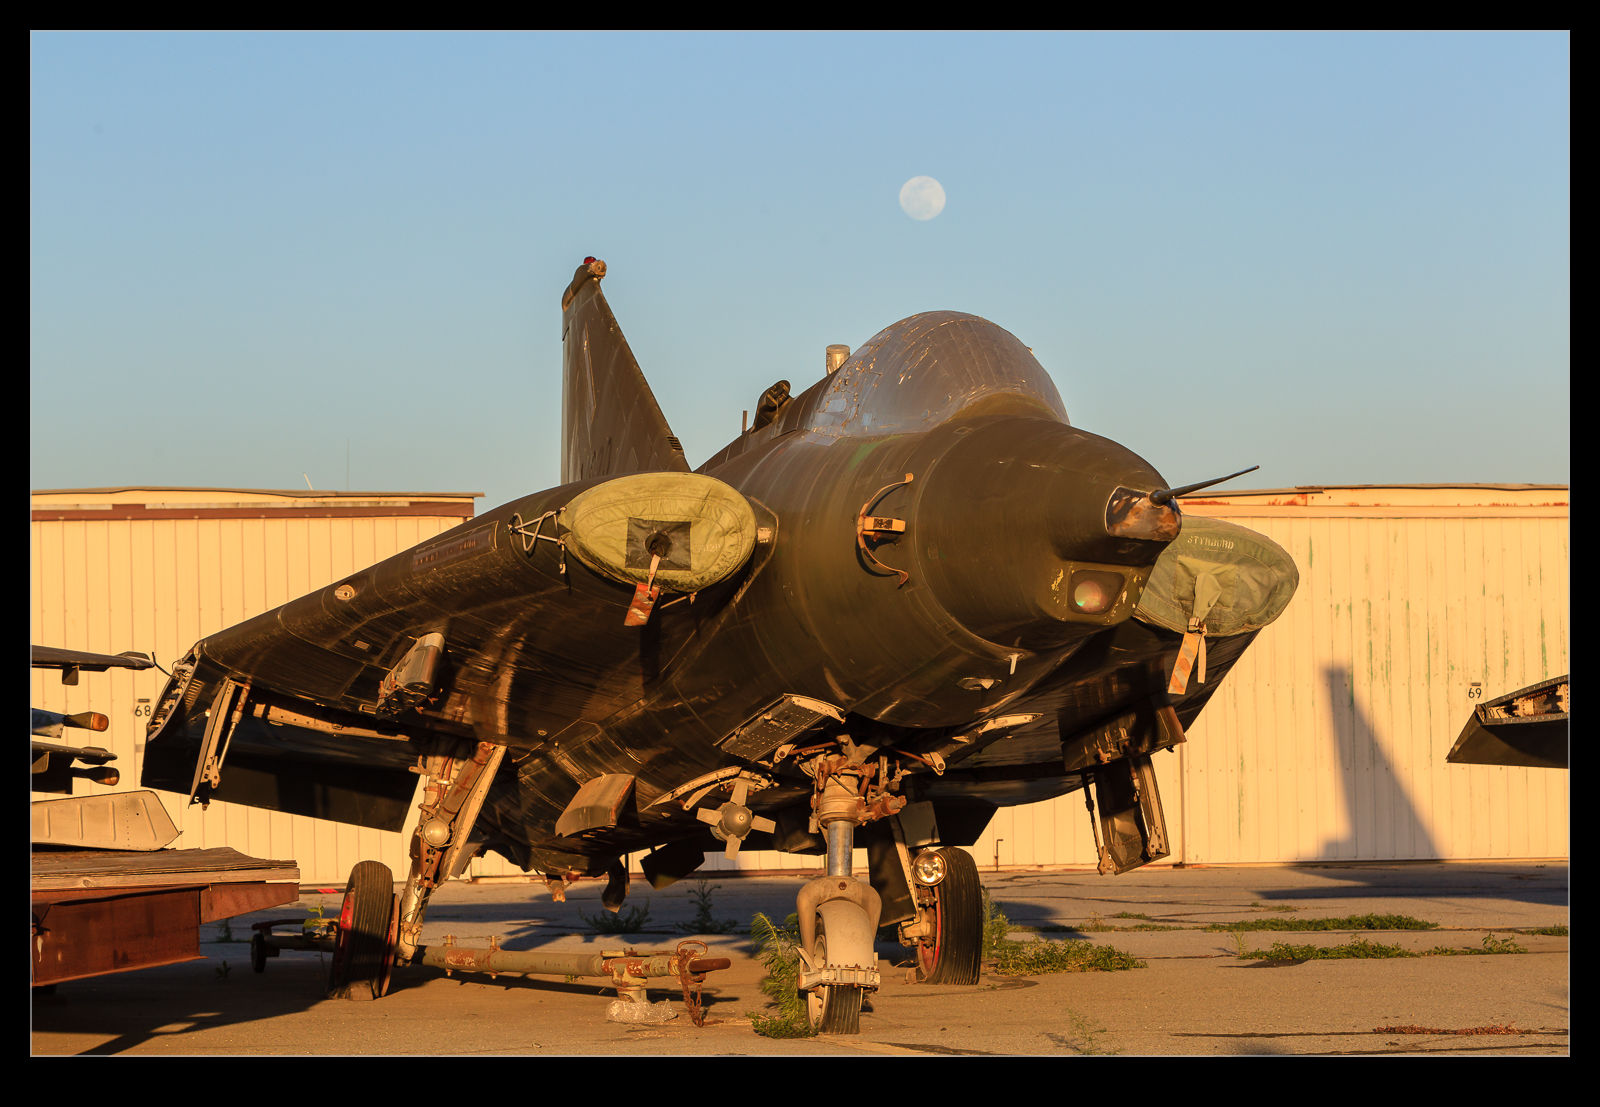 Chino Airport is home to all sorts of interesting aircraft, many of which are unlikely to ever fly again but for which the dry environment is one that means they do not deteriorate quickly. The ramp has a collection of single and two seat Saab J-35 Drakens. The Draken is a cracking aircraft and one I sued to see fly a lot in Europe when I was young. I have also seen one flying around at Pt Mugu on a Navy contract.
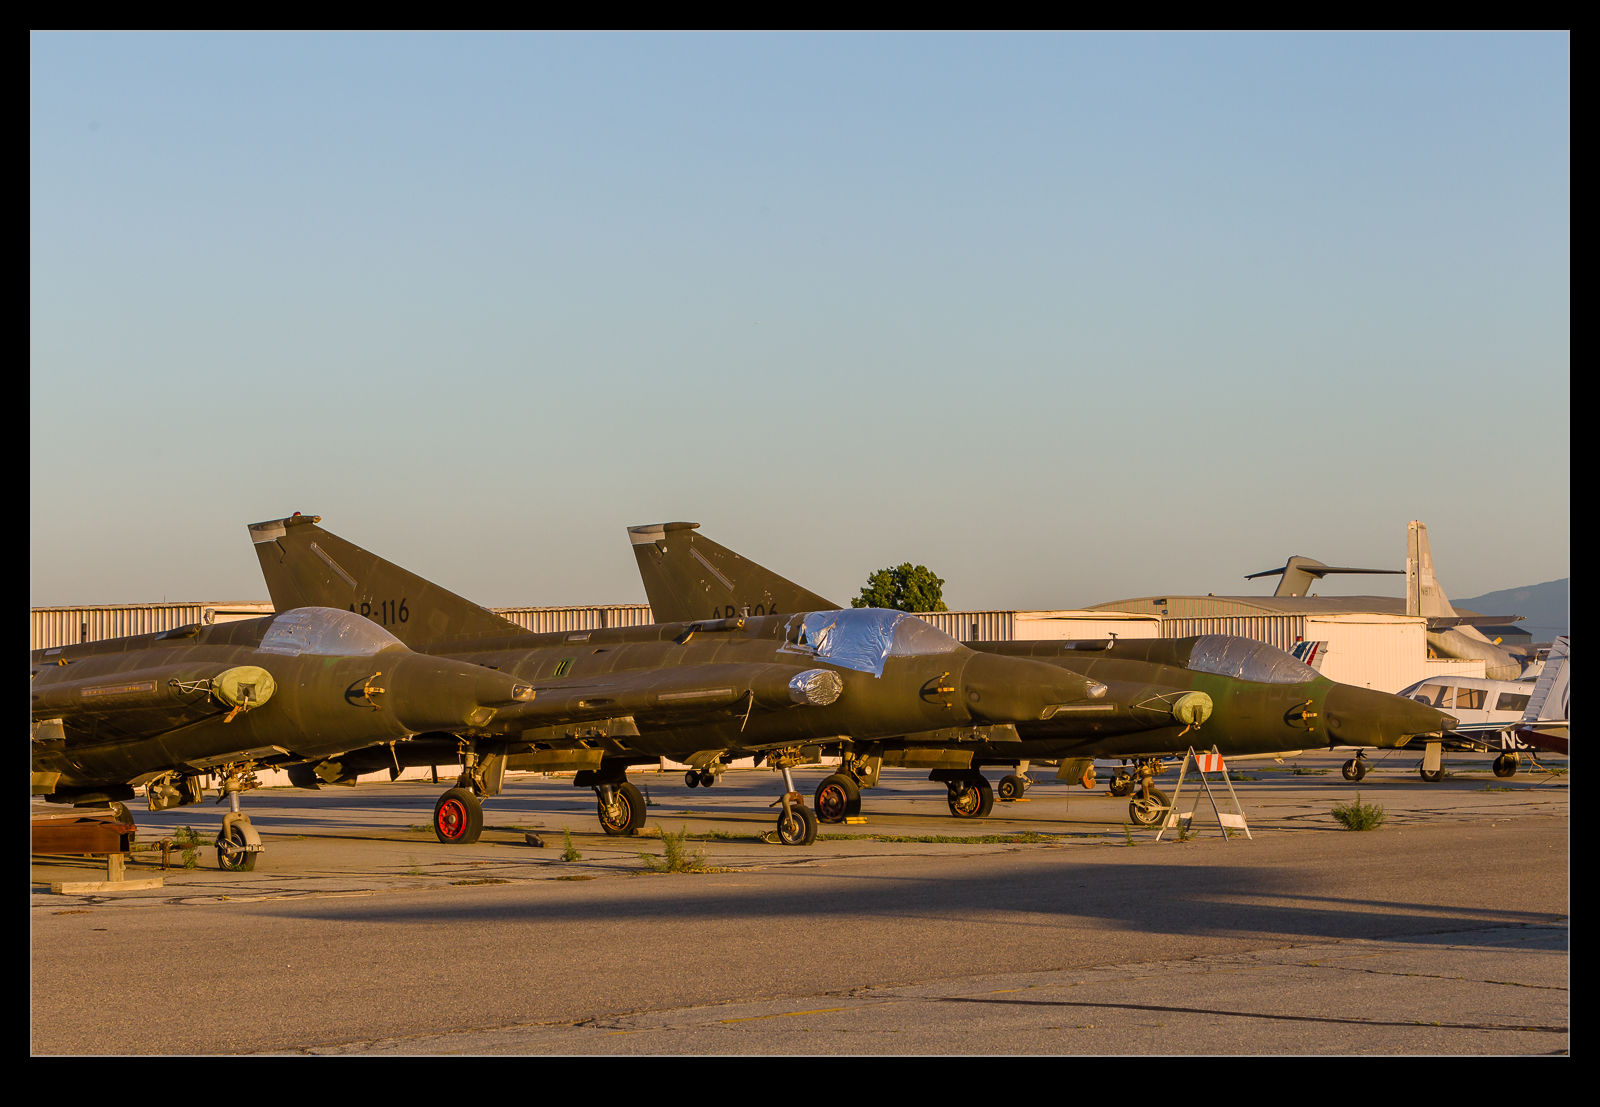 I am not sure how these jets arrived here but the appear to be Danish in origin. Most have their wings removed and stacked at one side. One does have them attached though. There are single and two seaters and they all have recce noses. I doubt we shall see them fly again but it is nice to think that you might.
Helmet Mounted Sights
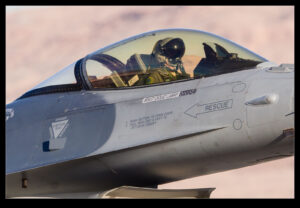
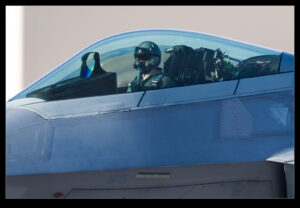
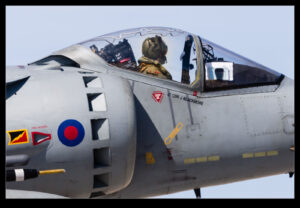
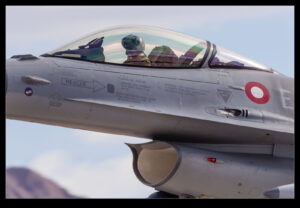
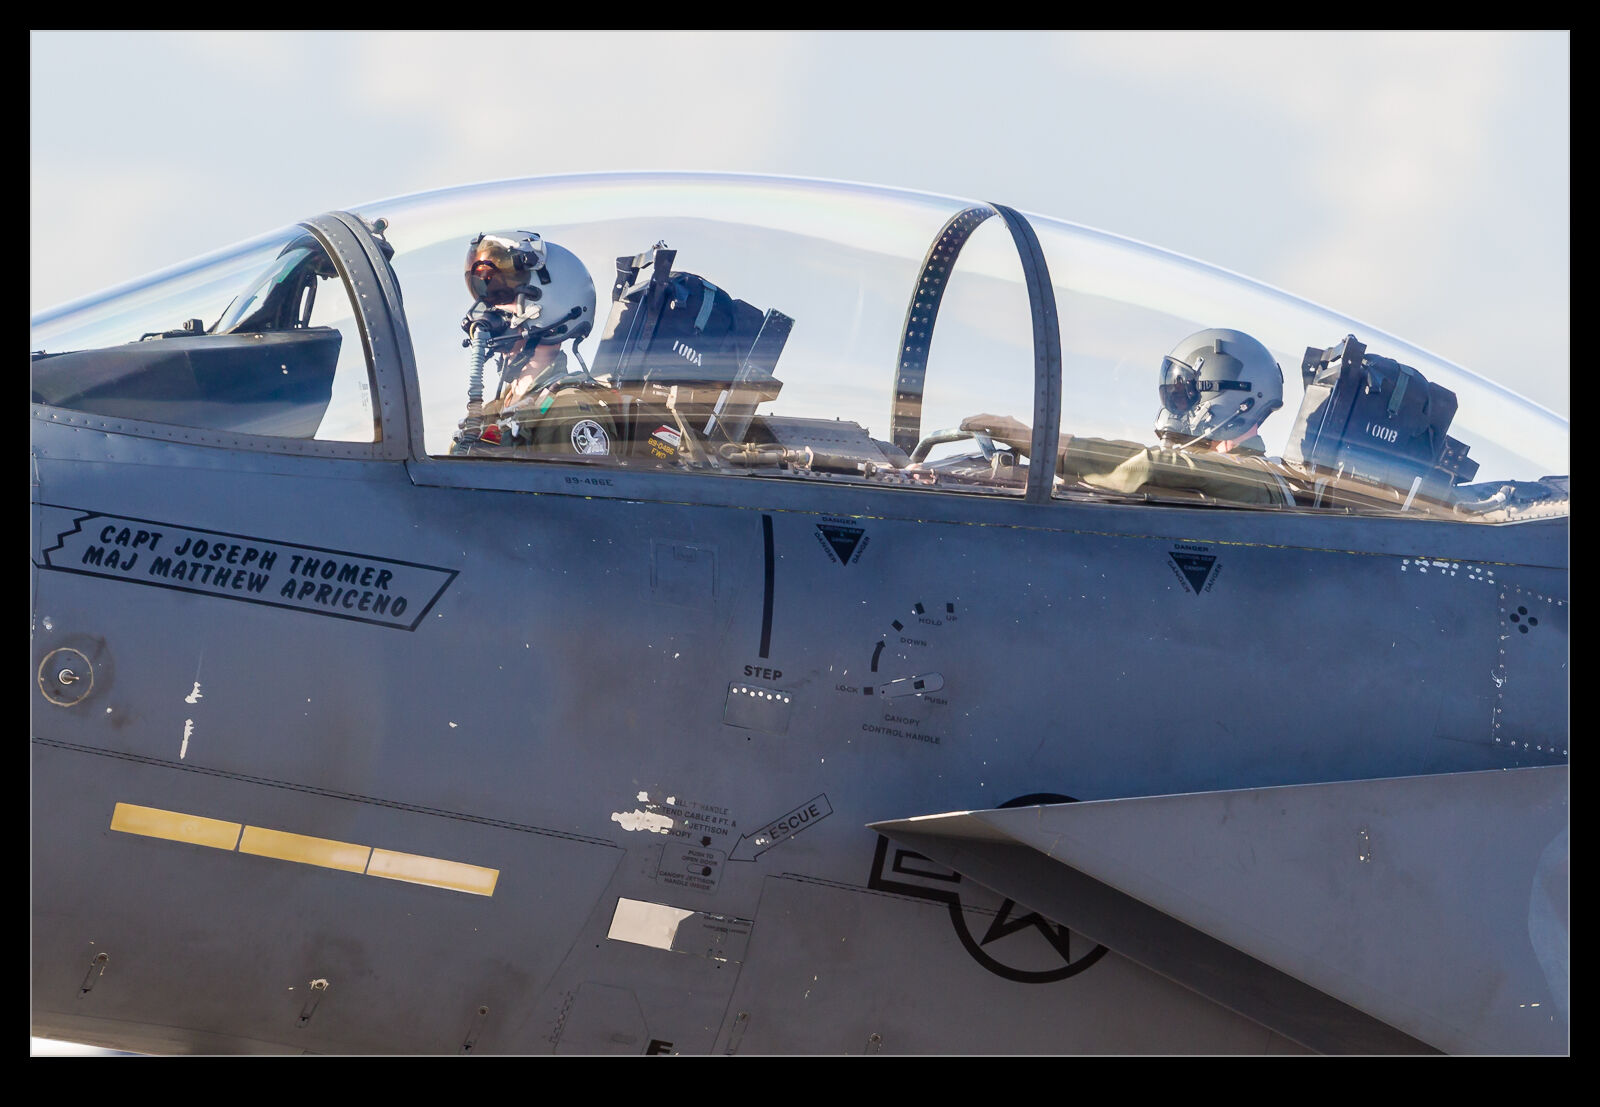 A feature becoming more and more common in fighters these days is a helmet mounted sight/display. These allow the pilot to look at the target he is interested in and designate it or to have his attention cued to something courtesy of the helmet displays. The more complex helmets now coming in to service on the F-35 have access to distributed viewing systems around the aircraft so the pilot can actually look through the aircraft – just as well given how crappy the visibility is from the F-35 cockpit!
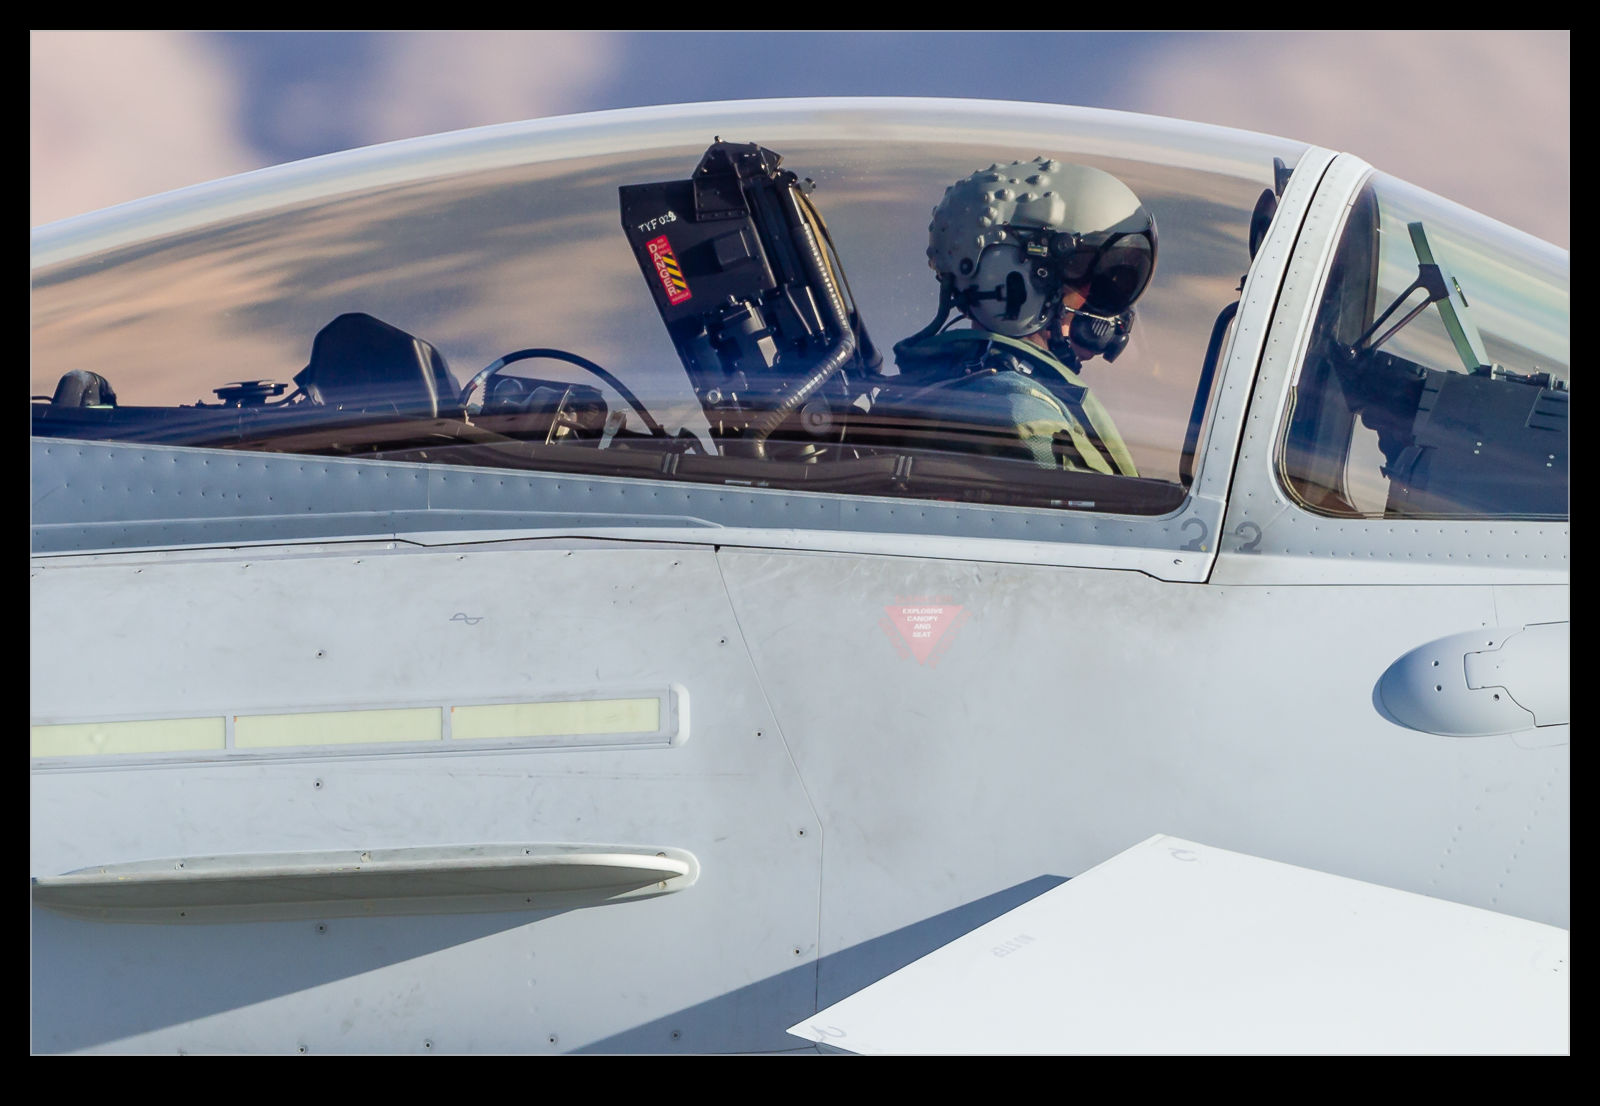 These helmets need to know exactly where they are all the time so they can align accurately with the other sensors on the aircraft. They also have to have the image generator for the pilot displays built in. Consequently, they appear a bit bulky compared to traditional helmets.
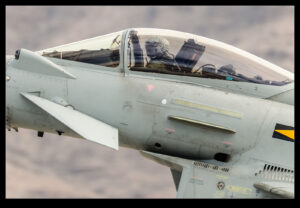
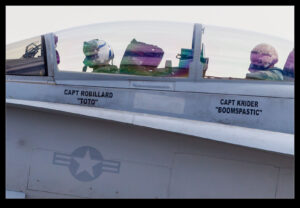
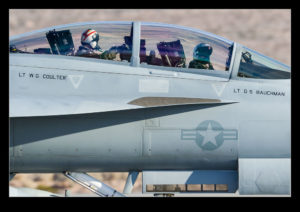
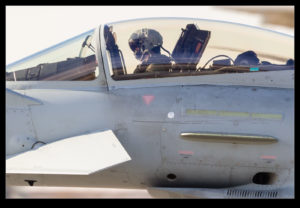
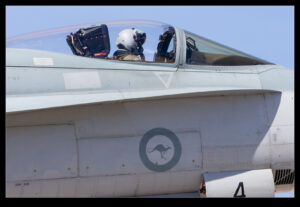
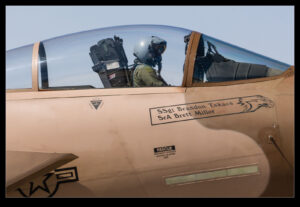
 They still have to be kept light in weight since the pilot does not want a lot of weight on his or her head when pulling g or, even worse, ejecting. Therefore, the bulk is a space issue but less of a weight issue. Spotting the helmets is not too tricky. The accompanying shots give you a number of different pilot shots and you can see what they are all wearing. Some two seat jets only have the helmet mounted display for one occupant. Compare the normal helmets with the display helmets. The Typhoon’s helmet is very conspicuous with a load of bumps covering the positional sensors.
- The pilot of a Royal Air Force Eurofighter Typhoon FGR4 gets his plane airborne from Nellis AFB NV.
- A reconnaisance equipped Boeing F/A-18D of the US Marine Corps gets airborne from Nellis AFB NV.
RAF Sentinel
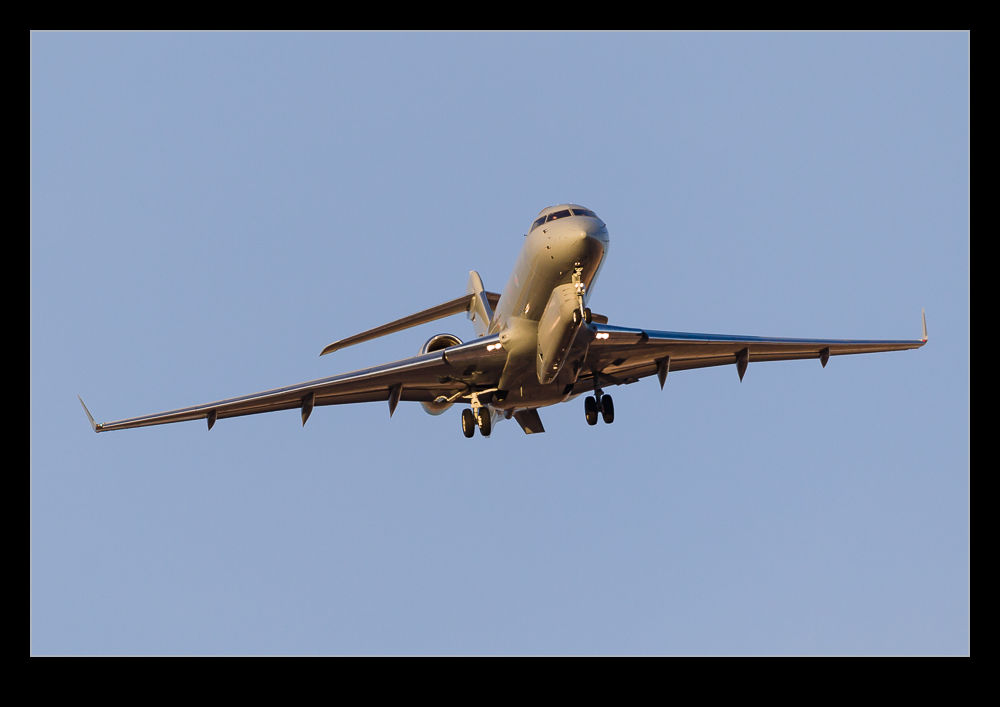
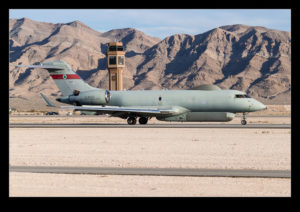
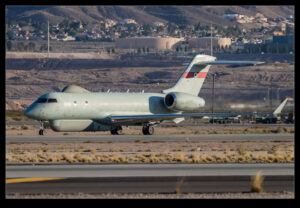
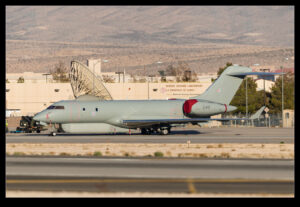
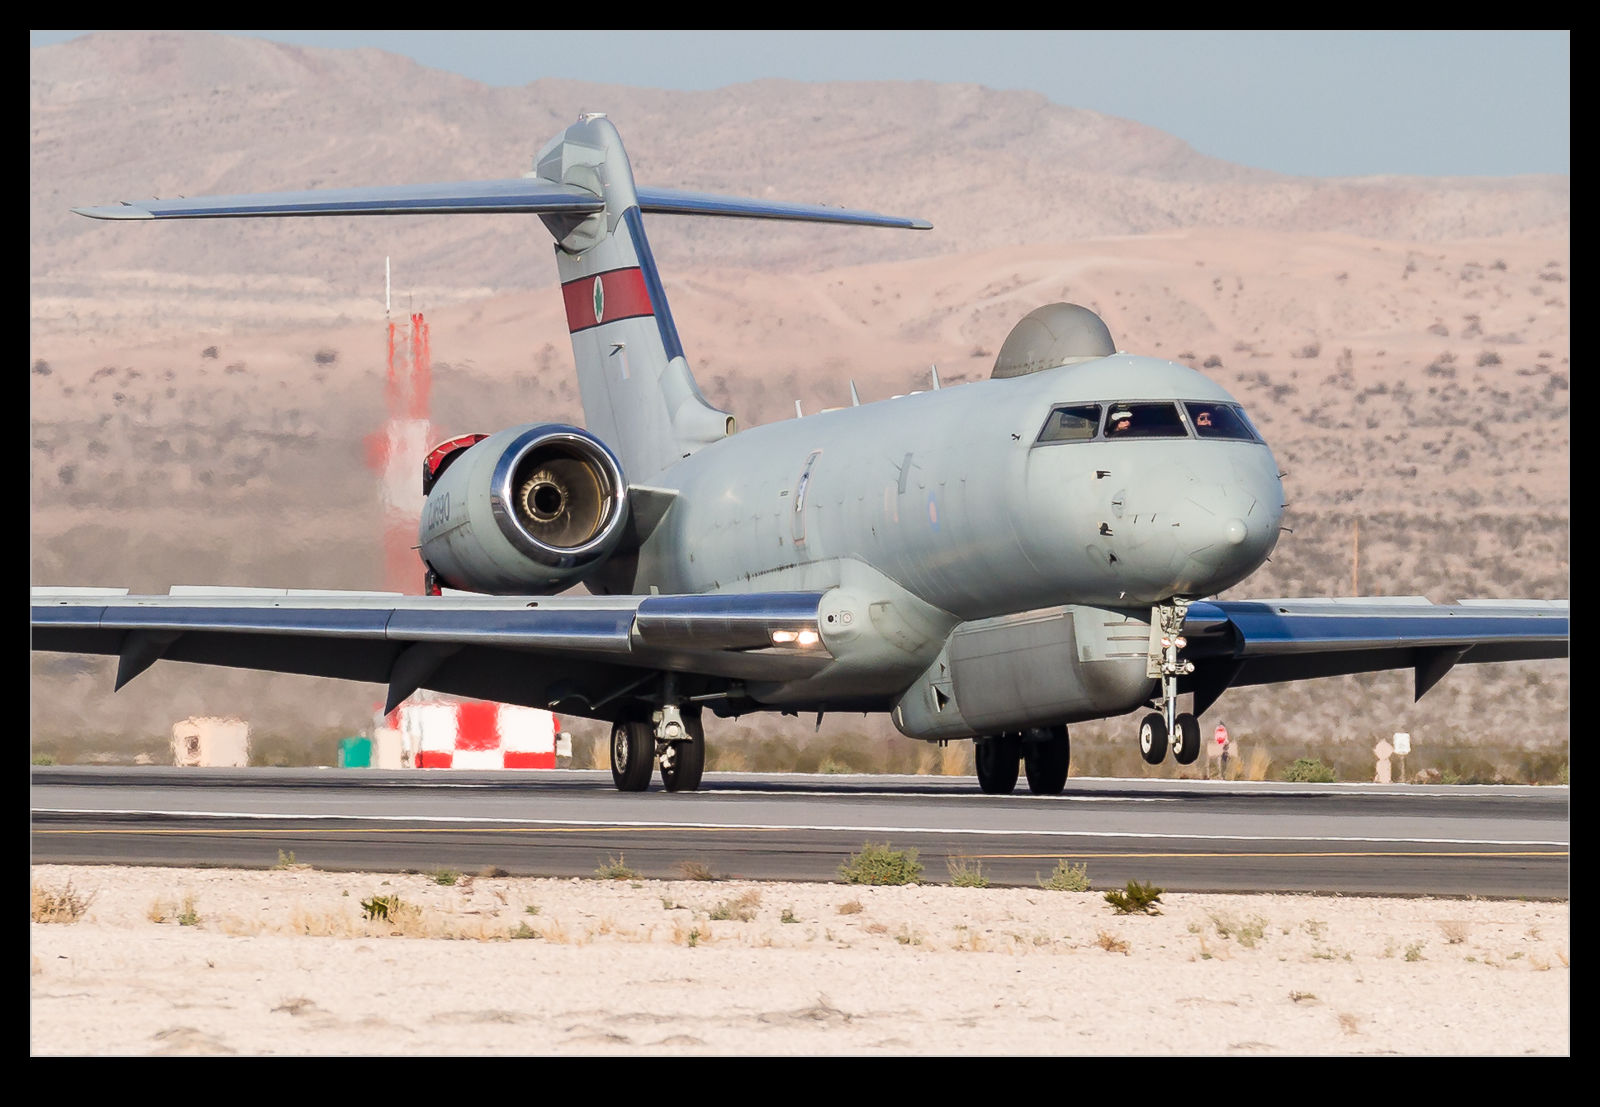 I really do appreciate an aircraft that looks elegant. One such type is the Bombardier Global Express. Built to take on the Gulfstream family, it is a great looking plane with a graceful front fuselage, cracking looking wing and even the empennage is stylishly done. Therefore, you might be forgiven for thinking that I was not impressed when Raytheon took a great looking plane and grafted on some enormous lumps and bumps to create the Sentinel.
Built for Britain’s Royal Air Force, the Sentinel is a battlefield surveillance aircraft in the mold of the USAF JSTARS program but a generation on a bit more compact. It also makes use of a more modern airframe as its starting point. While the changes have not done anything to make the plane look pretty, I do have a soft spot for unusual aircraft configurations and large radomes and sitcom covers fit with this idea. Consequently, I rather like the Sentinel. Seeing them in action at Red Flag was a nice opportunity.
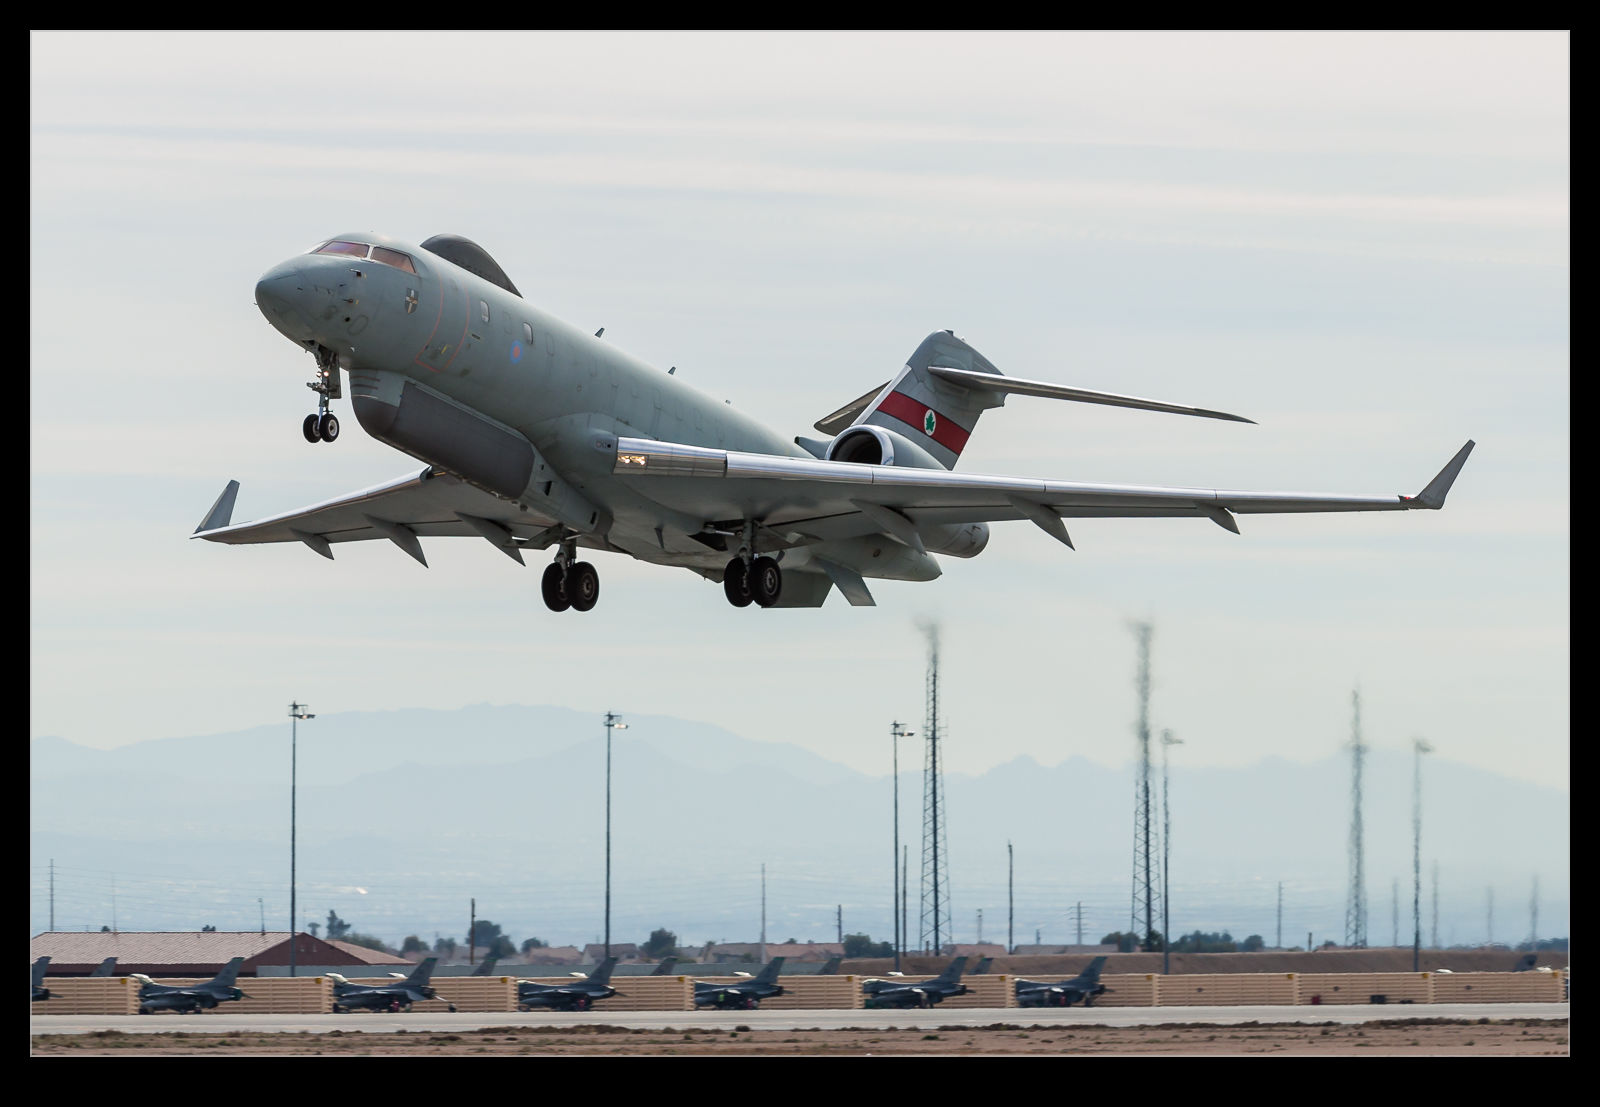 Having spent a lot of money on the Sentinel, the UK government announced that, with the reduction in involvement in Afghanistan, the Sentinels would be retired. Retirement sounds inappropriate for something so new but that was the story. Fortunately, it appears that the plan has been adjusted and they have been reprieved for now. We shall see how that develops.
The aircraft are operated by 5 (AC) Squadron of the RAF. 5 Sqn was one of the early Tornado ADV squadrons when it converted to Lightnings. I liked their colors with the maple leaf on a red background. When I worked at Warton, one side project I got involved with was the repainting of a restored Lightning in 5 Sqn colors before it was put on display. Having the Sentinels showing up from 5 Sqn was nice, not least because one of the two jets had the squadron colors displayed over the usual dull grey finish. Both aircraft flew while I was there both day and night. They are an unusual sight to see so it was good to catch them at work.
Sailing with a Wing
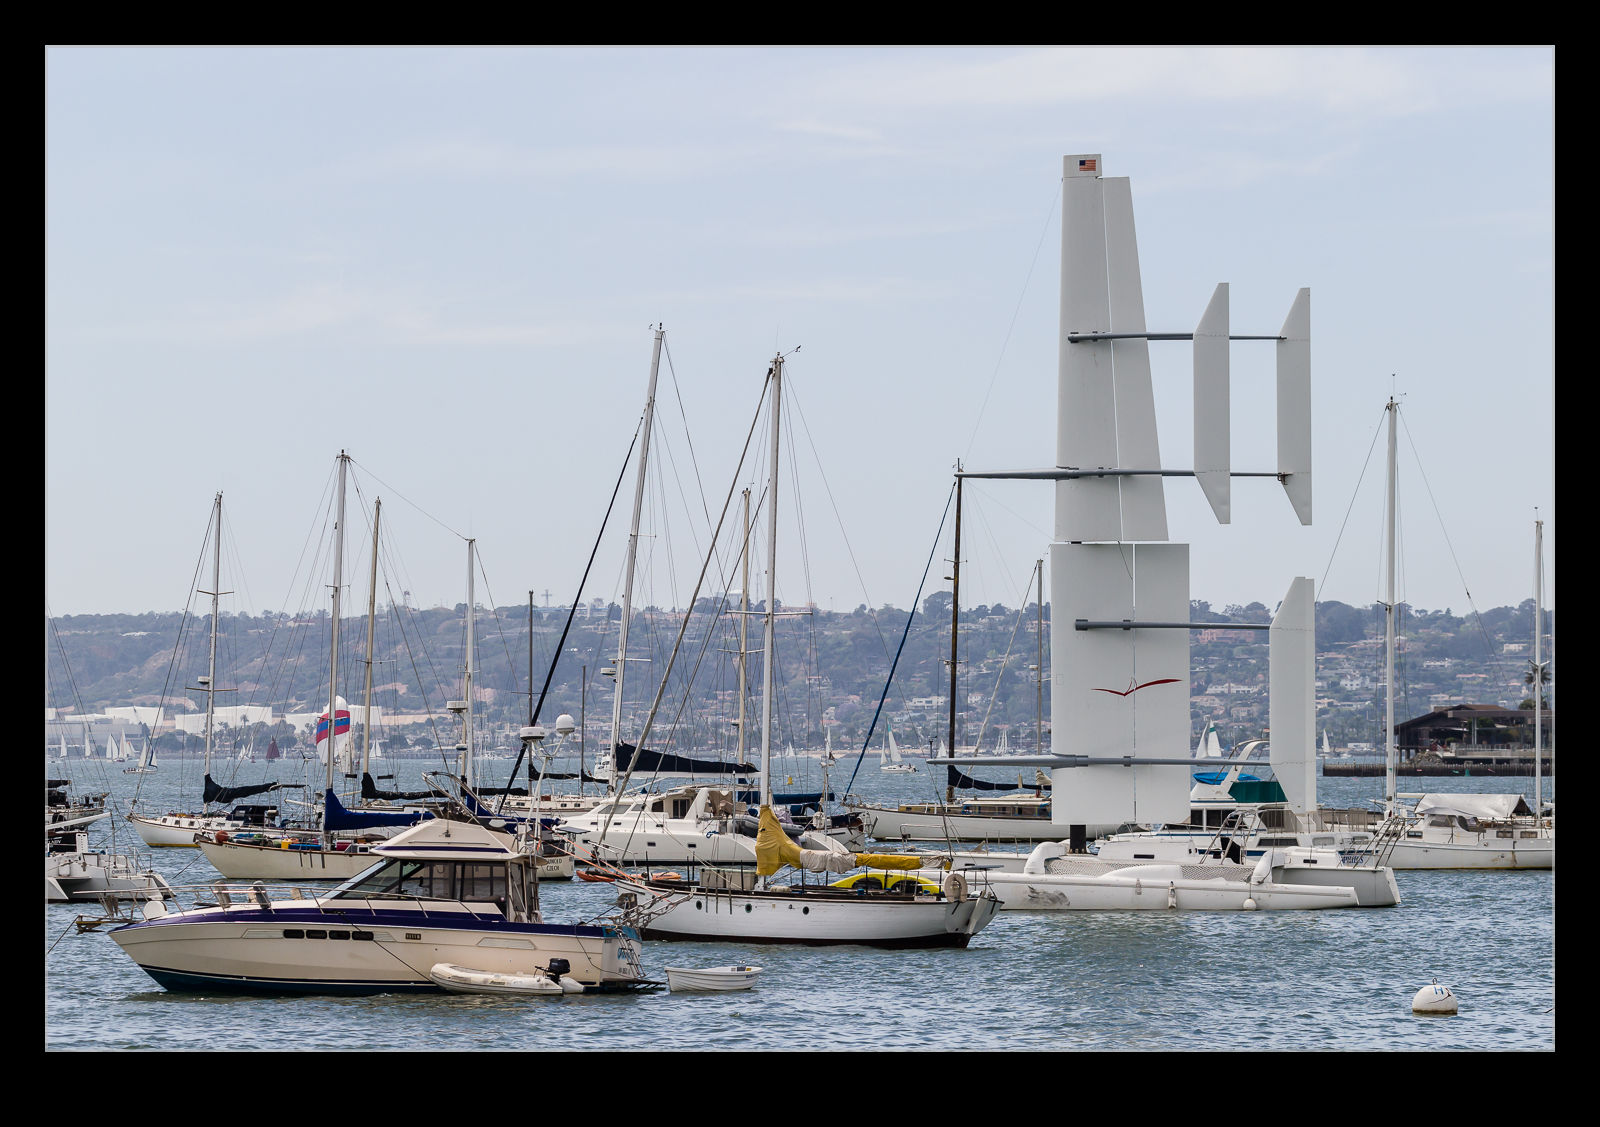 As we were driving along the harbor in San Diego, I saw something odd in the marina area. We doubled back and found somewhere to park so I could investigate further. It was a sailing boat which had an airfoil style of mast as opposed to a normal mast with rigging for sails. The wing section appeared to be in multiple parts which, I imagine, would provide a greater degree of control. Since the boat was moored, we didn’t see it in action so I have no idea how well it performs but it certainly looked pretty interesting.
Jukeboxes
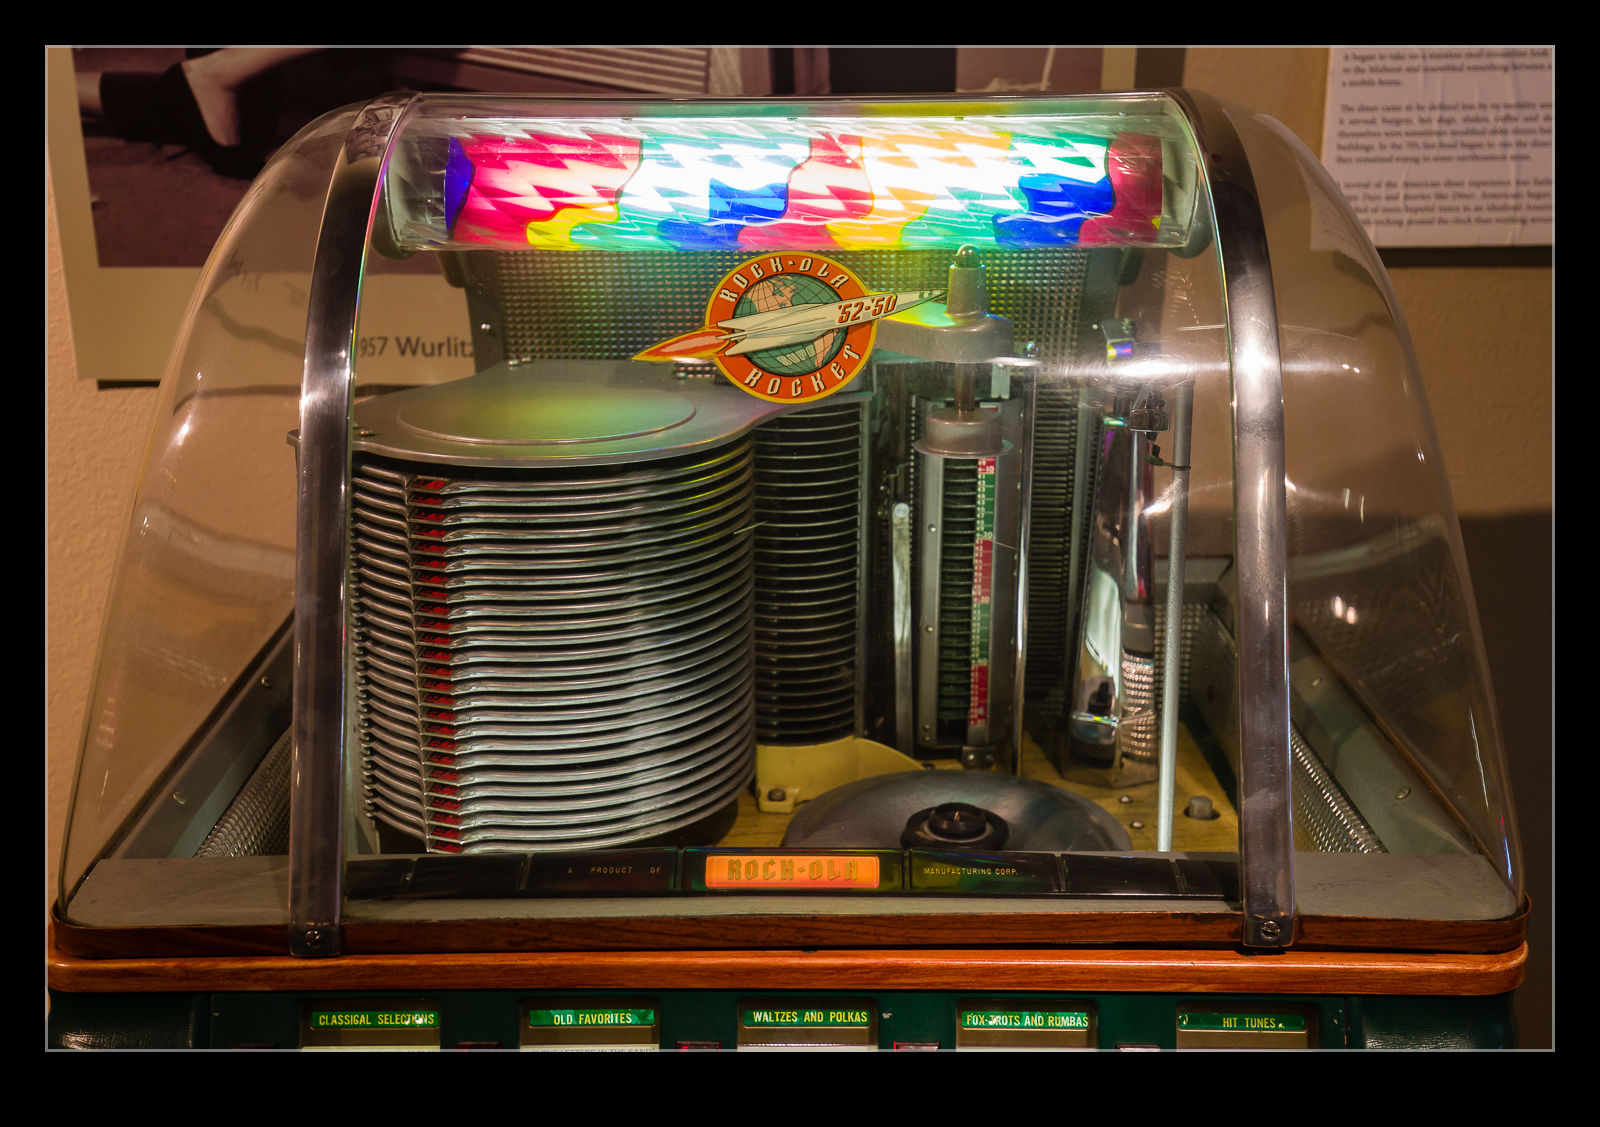
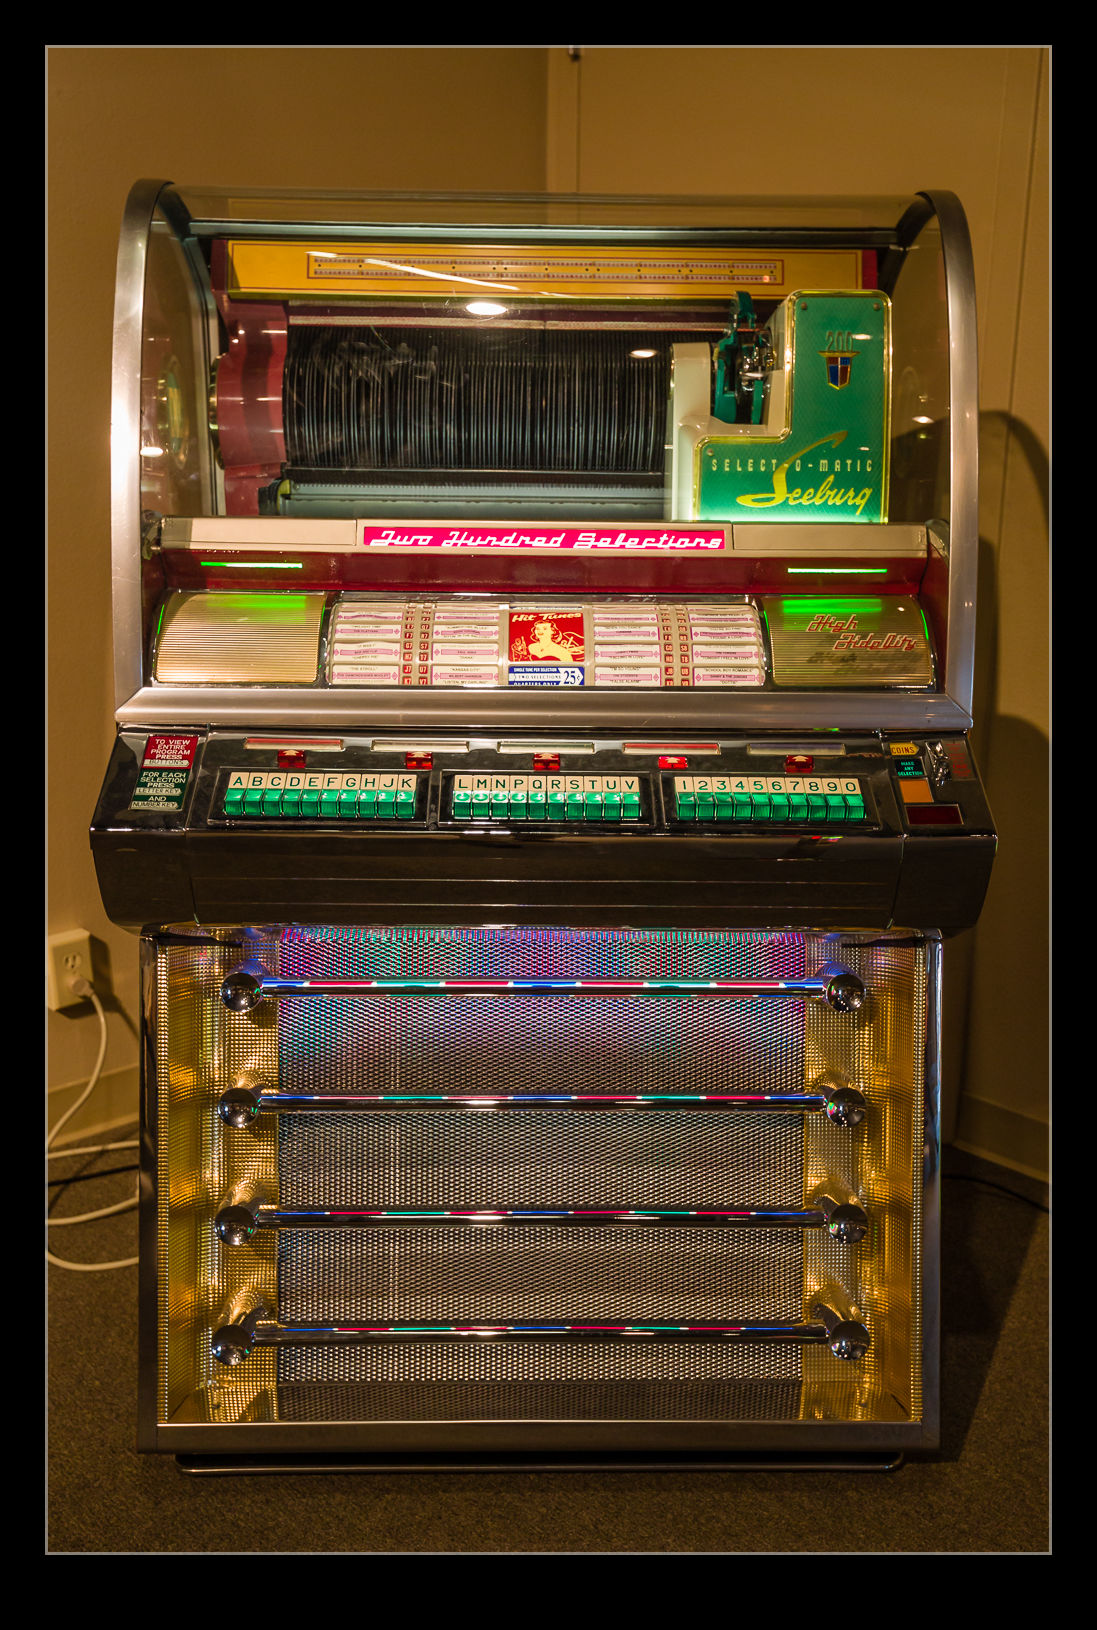
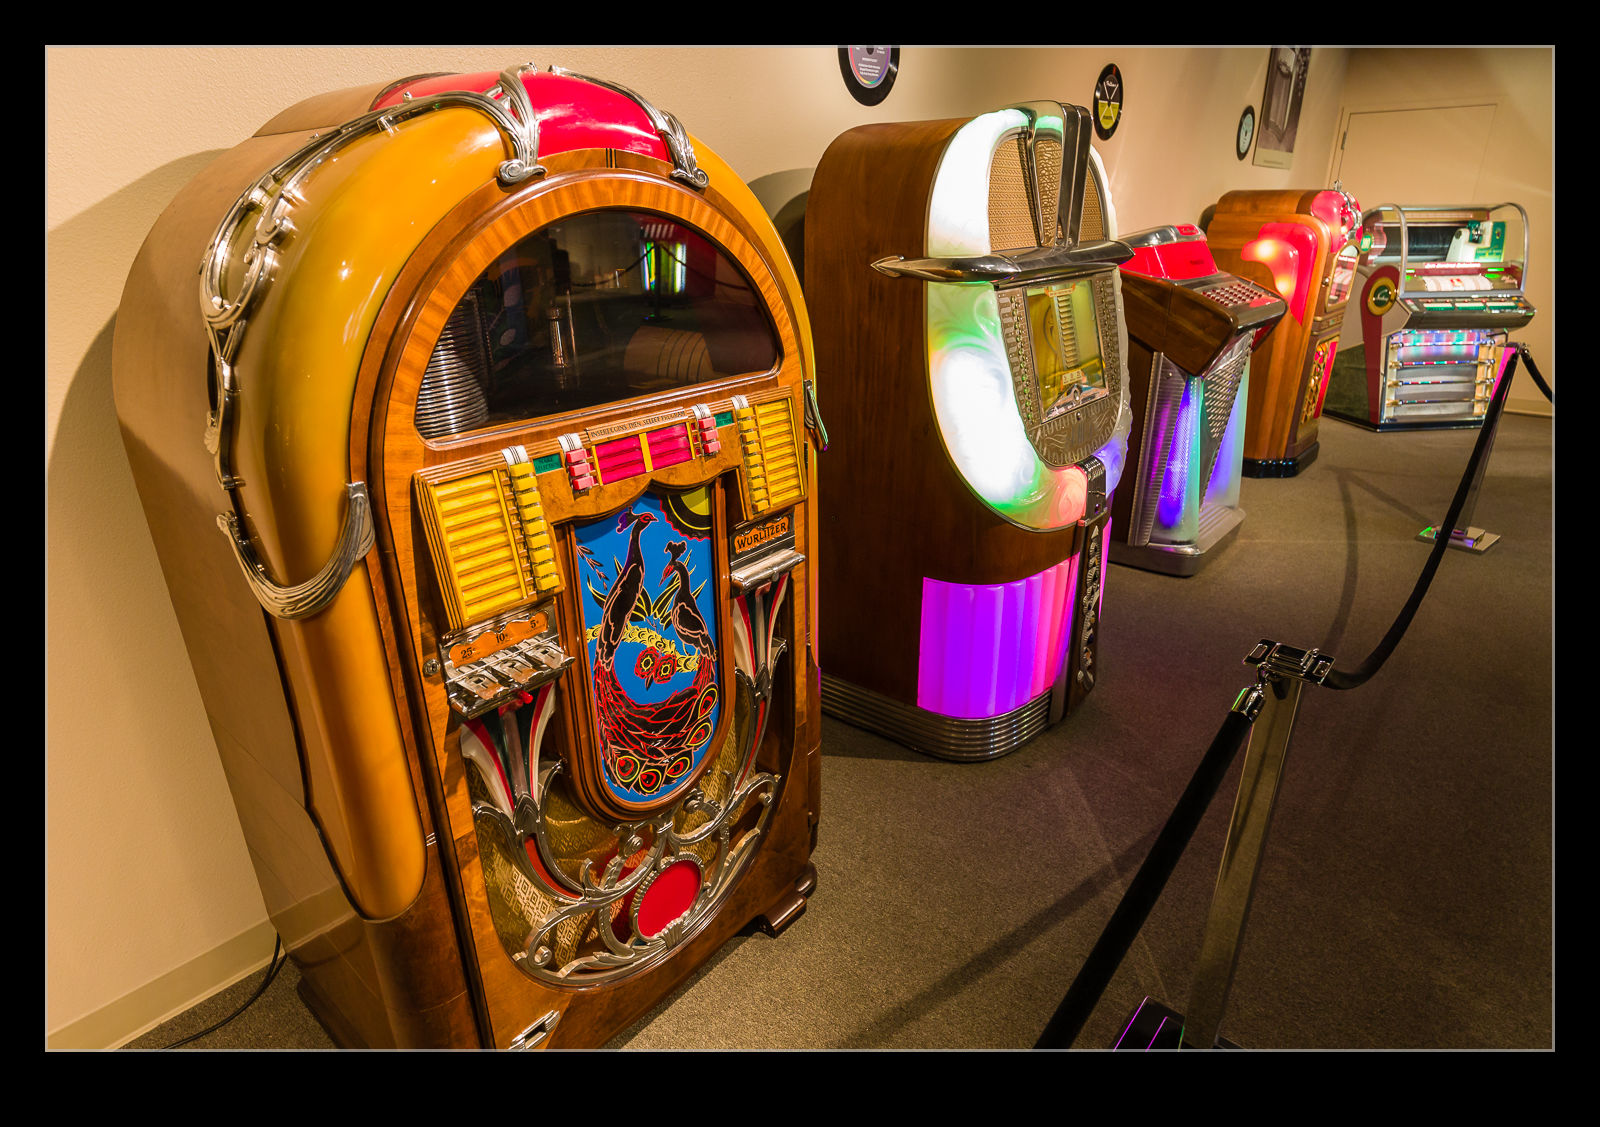 While the majority of the Blackhawk Automotive Museum’s collection has a clear car association, there is also a room dedicated to the history of the Jukebox. I imagine this is because it is an area of interest to the patron of the museum. Various ages of jukebox have been preserved and restored. Some are quite basic in their design while the more recent ones have a greater level of complexity.
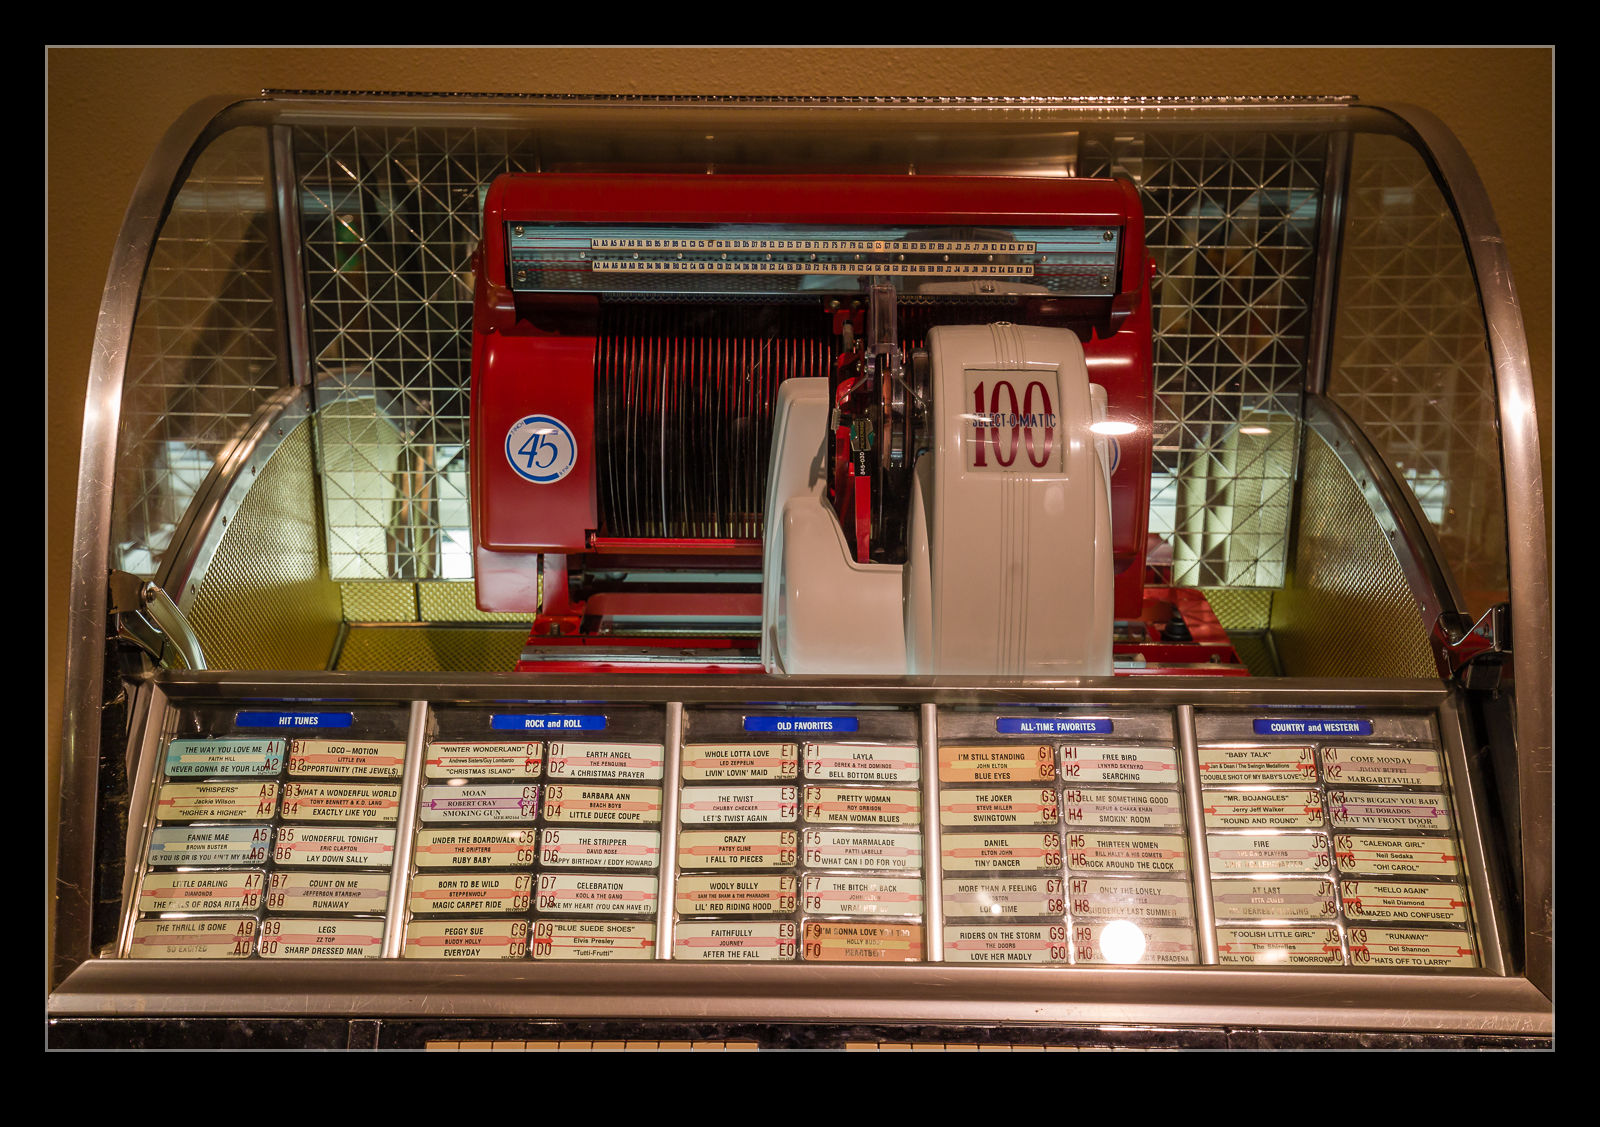 What they all seem to share is a design aesthetic that goes beyond the functional requirements of playing the music and encompasses a glamorous level of styling. The newer they were, the more exotic the styling. It might not be my sort of look and I don’t think I would want one in my house but I can certainly appreciate the effort that went into the design.
Hornet After Dark
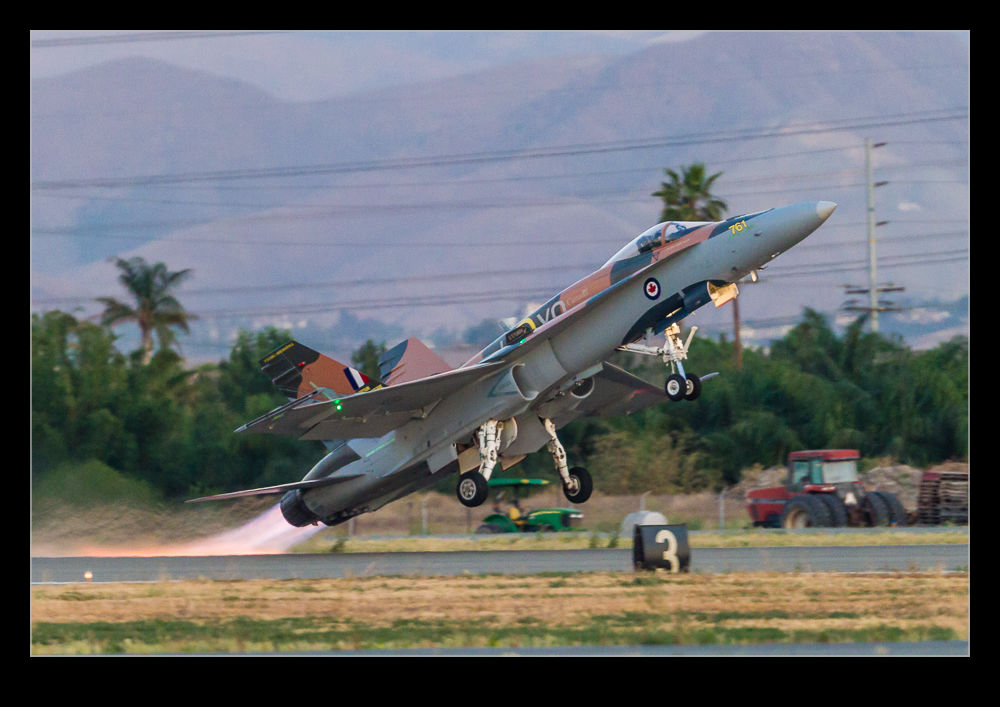
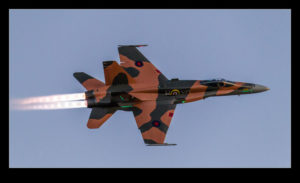
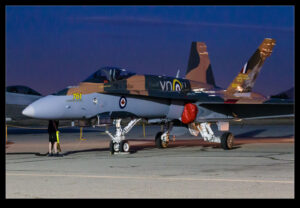
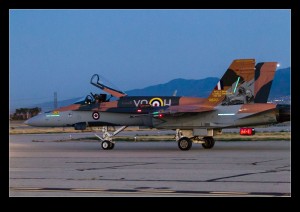
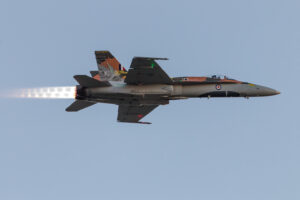
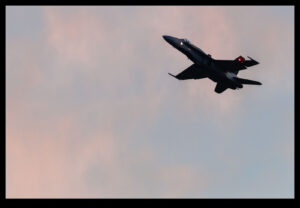
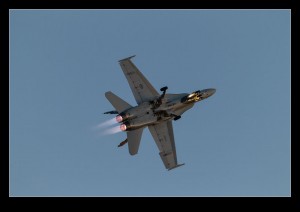
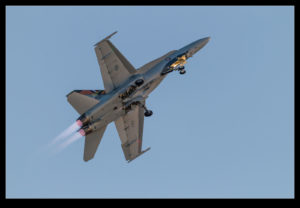
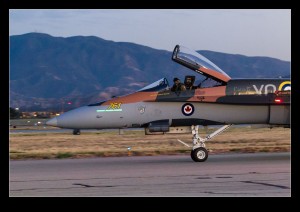
The Canadian Hornet that was at Chino was the last display to fly during the sunset show. (We had a long discussion about whether it is a CF-18 or a CF-188 during the down time but that can be saved for another day.) The aircraft taxied out as the sun was just getting close to setting. We were thinking this would be the perfect combination. Taking off before sunset would allow us to get some shots of it in the low sun when it would look at its best and the, as the sun finally set, we would get the glow of the burners against the darkening sky.
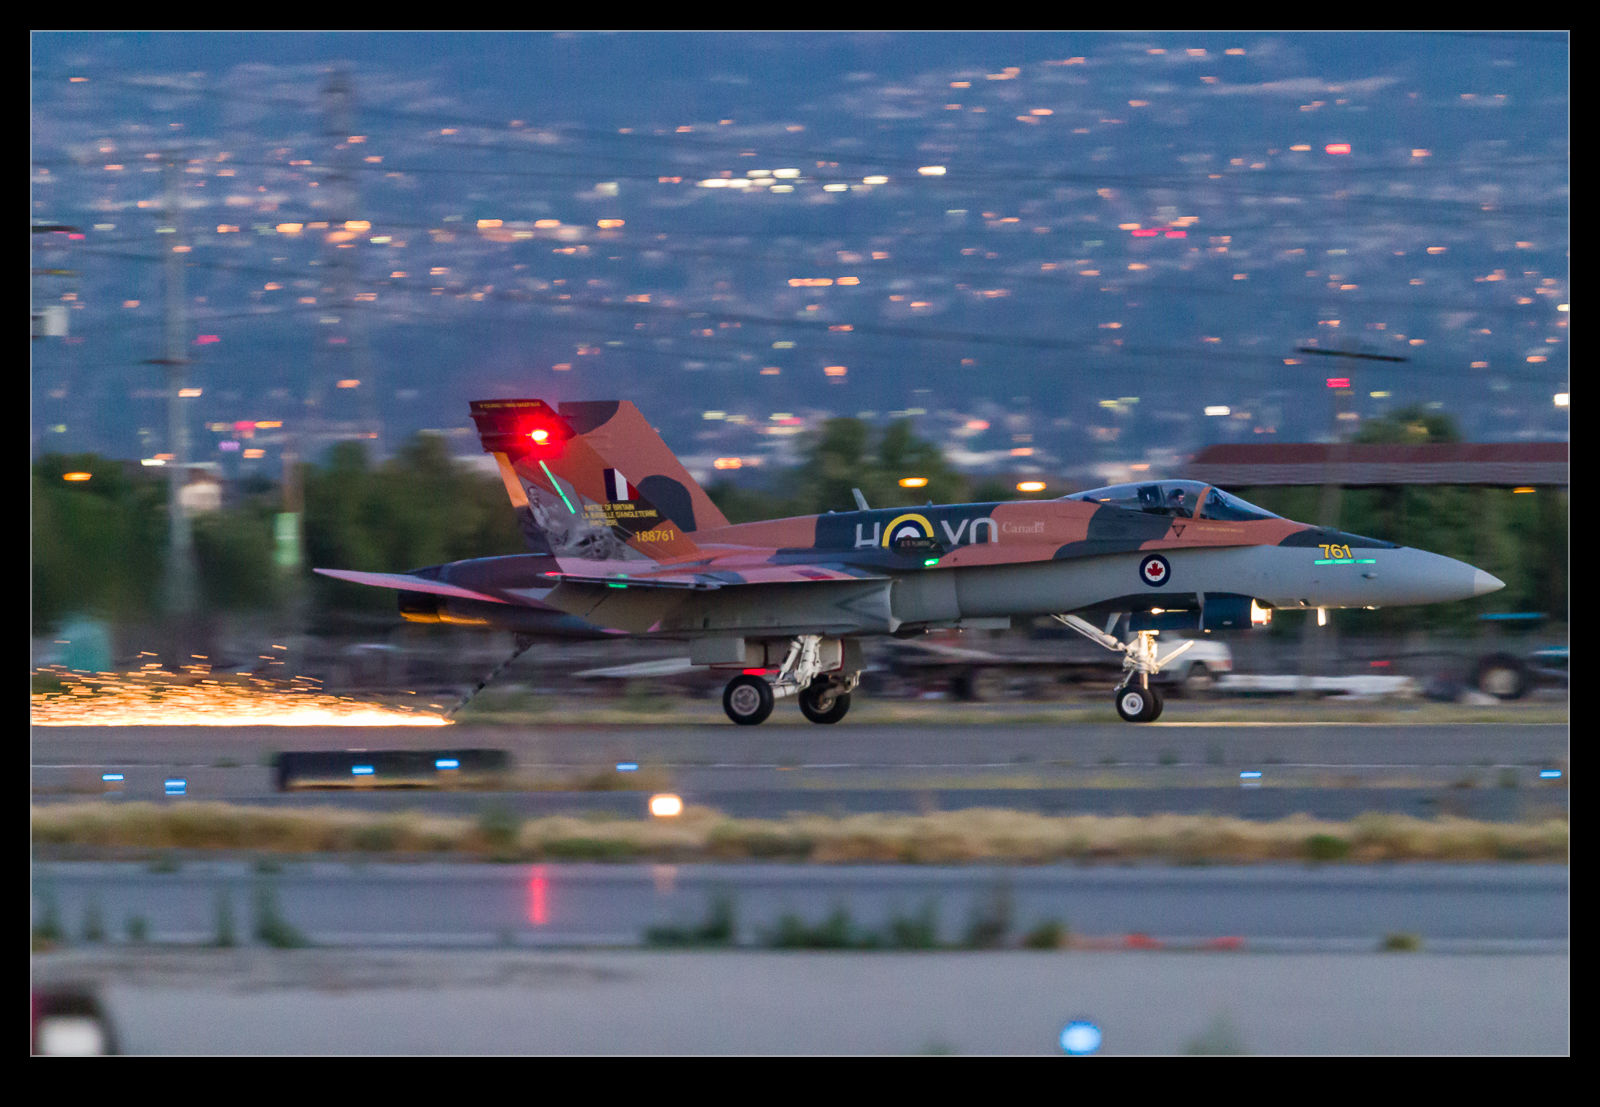 Sadly, they decided to hold their departure until after the sun had already set. I think this was a missed opportunity. It did mean, though, that things were really dark by the end of the display. This was a time that really testing the capabilities of the camera. I was shooting at very high ISO settings in ranges that I would normally avoid. However, getting the shot sharp is better than having a low noise shot that is blurred.
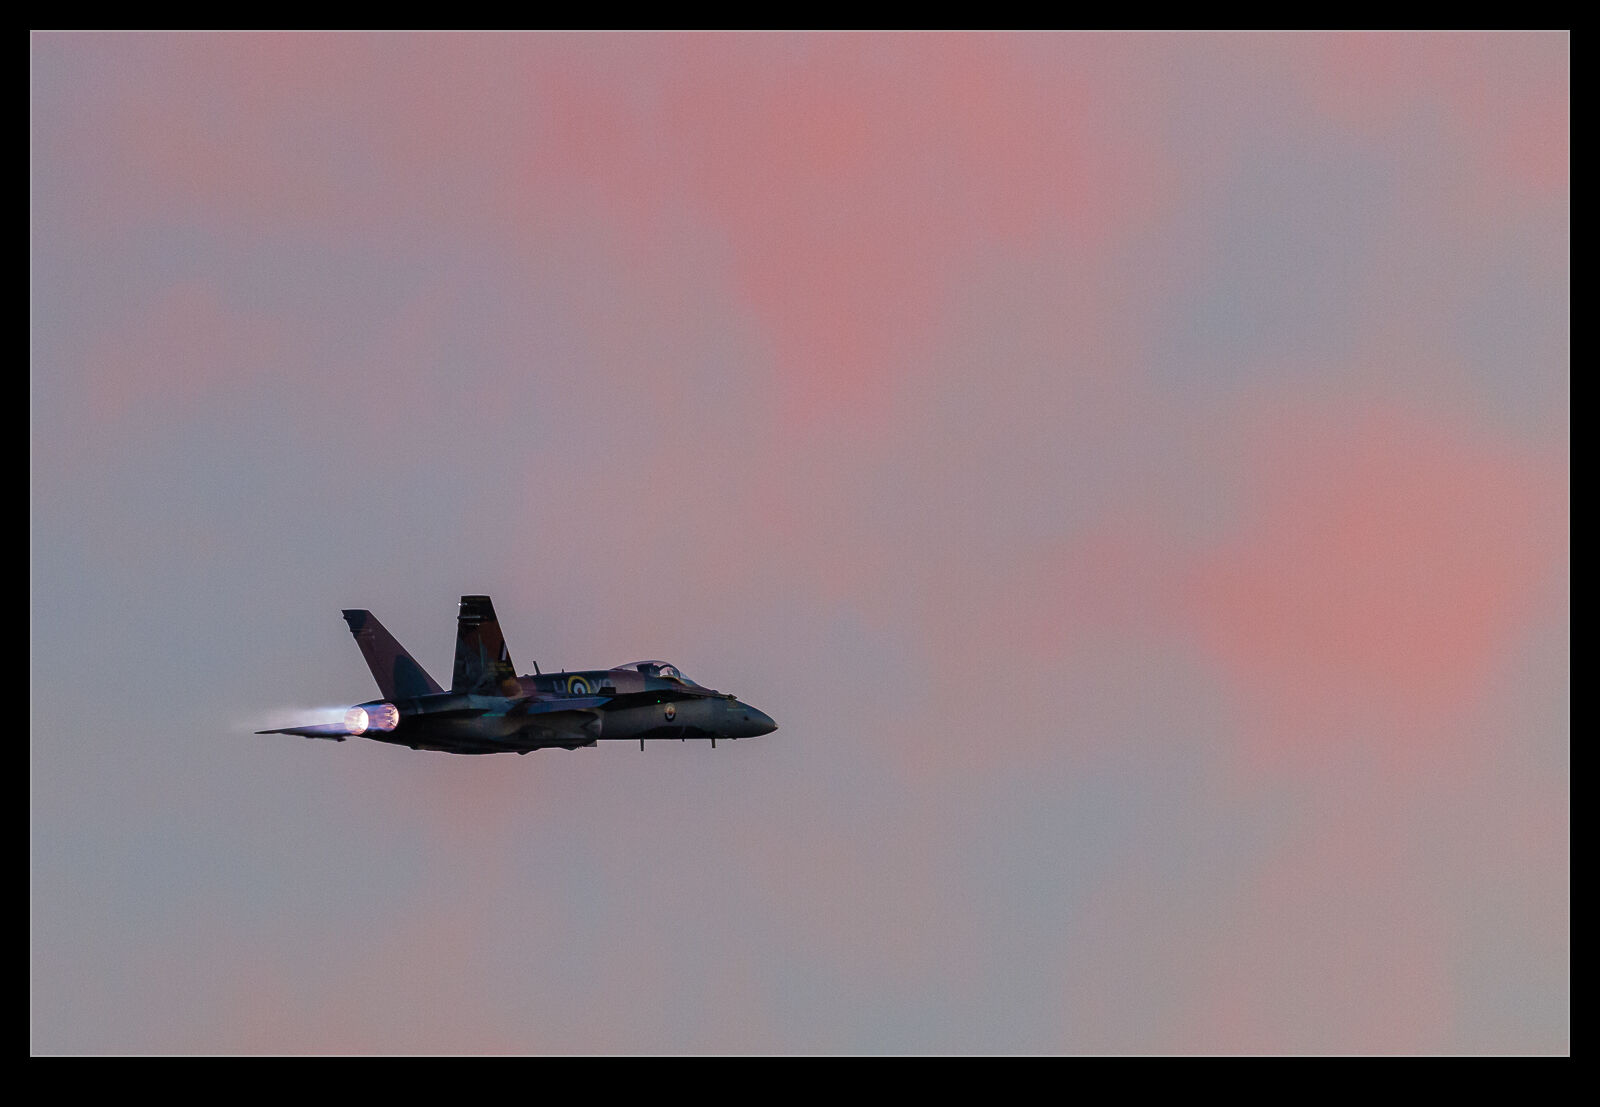 The aircraft pulled off the runway pretty aggressively and the burners really showed up nicely against the runway surface. The display itself was fine but the camouflage of the commemorative scheme was a bit tricky in the conditions. The finale of the display was the landing with the hook lowered. The Hornet touched down and the arrestor hook dragged along the runway surface leaving a bright shower of sparks behind it. The effect was pretty dramatic! I talked to one of the maintenance technicians later about it and asked how many of those they could do. One landing is enough to kill the head of the hook. He did say that they are easy to replace and that he had brought five of them on the trip. A neat way to wrap up the show.
