Monthly Archives: August 2011

Movie Shooting

One of the things that happens a lot in Chicago is the filming of movies. These can be small scale movies that will be unlikely to make a big impact to blockbusters. The recent Batman films were shot in Chicago for example. One film that really took over the city for a while was Transformers 3. I haven’t been to see the film – Netflix for that one I think – but they really destroyed the sections of the city around where I live if the trailers are anything to go by.
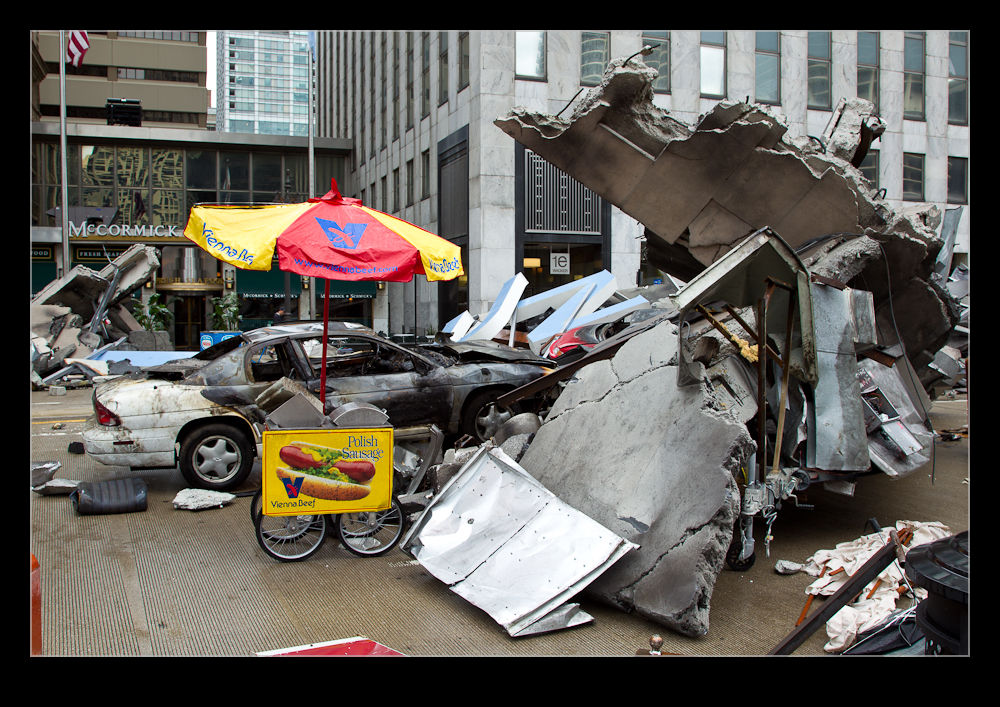
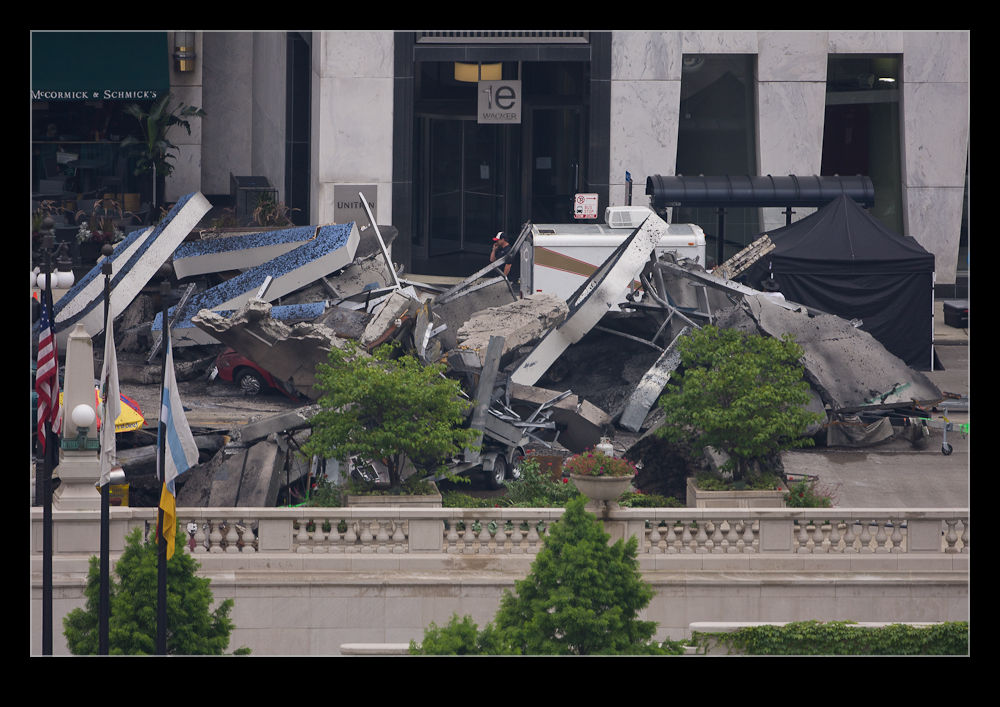
The city granted them an amazing amount of access including closing Michigan Avenue for quite some time. A lot was filmed across the river from us on Wacker Drive. Two aspects of the filming were fun for me. First they had made some pretty impressive effects for the cityscape with ripped up concrete and destroyed vehicles scattered around which you could get very close to. The second thing was the use of aerial filming. A lot of filming was done from an Astar and it seemed to spend a lot of time hovering near enough that I could take photos – admittedly through the windows which doesn’t always help.
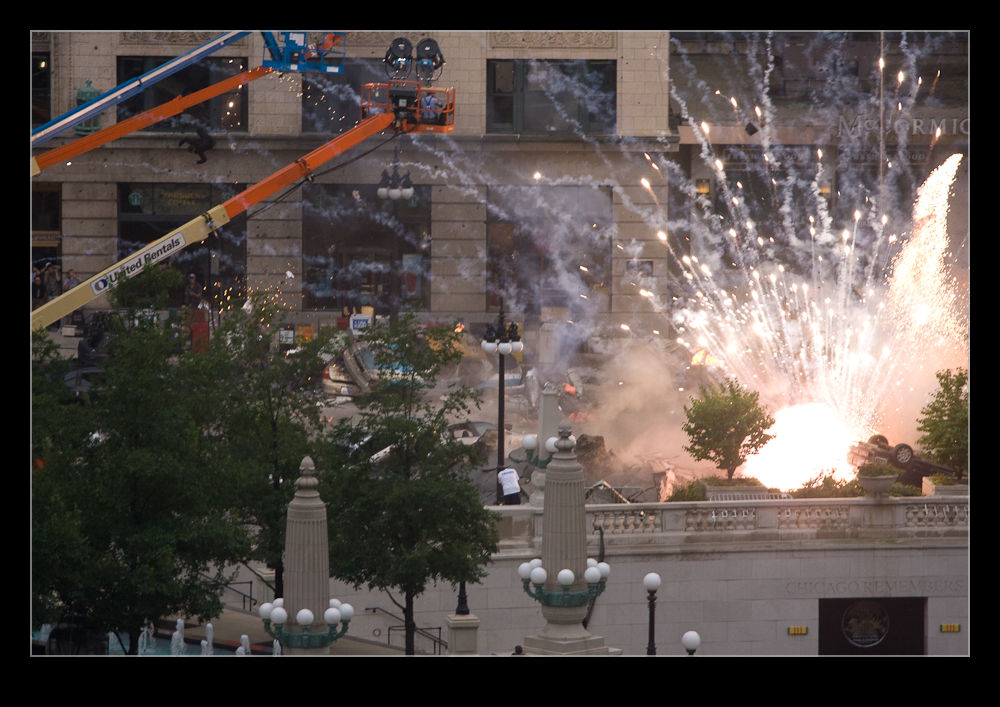
They also had some skydivers both jumping from helicopters into the city and also base jumping from the buildings. I saw bits of that but was not close to it all. I did see a few sequences being set up. It is interesting just how long it takes for a sequence to be put together, rehearsed and finally shot. I saw a bunch of guys on wires getting hauled into the air numerous times before they finally shot it with the explosions going live.
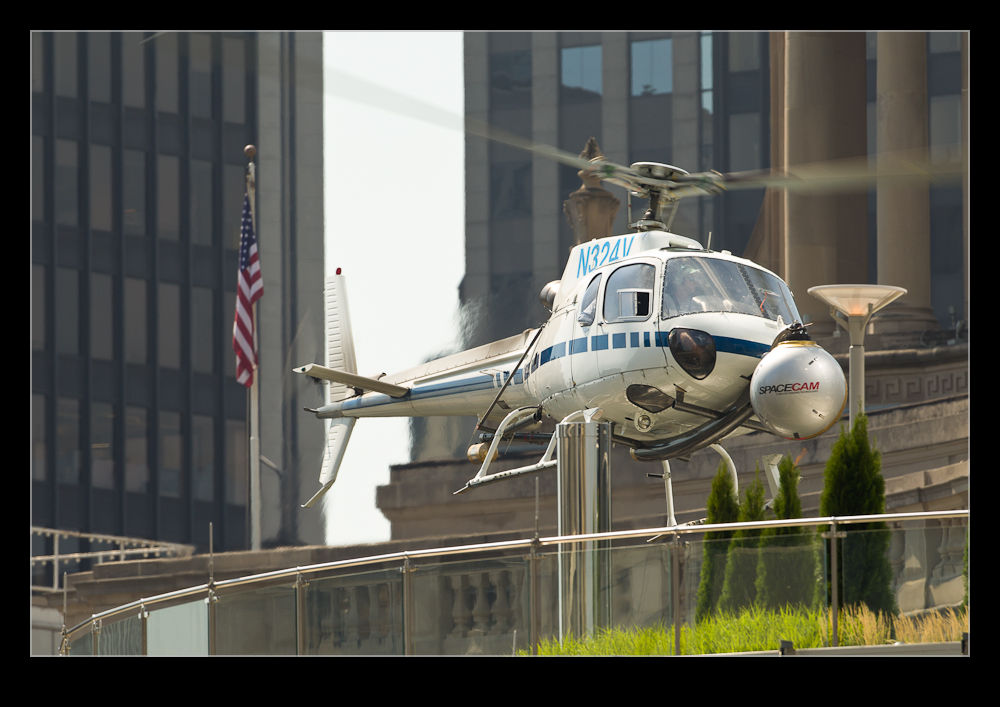
They also filmed a sequence with explosions along the rooftops of a number of buildings along the ricer. We should have been suspicious as we sat in our living room in the evening when we heard the helicopter again but it was only as the buildings started erupting that we realized what was happening.
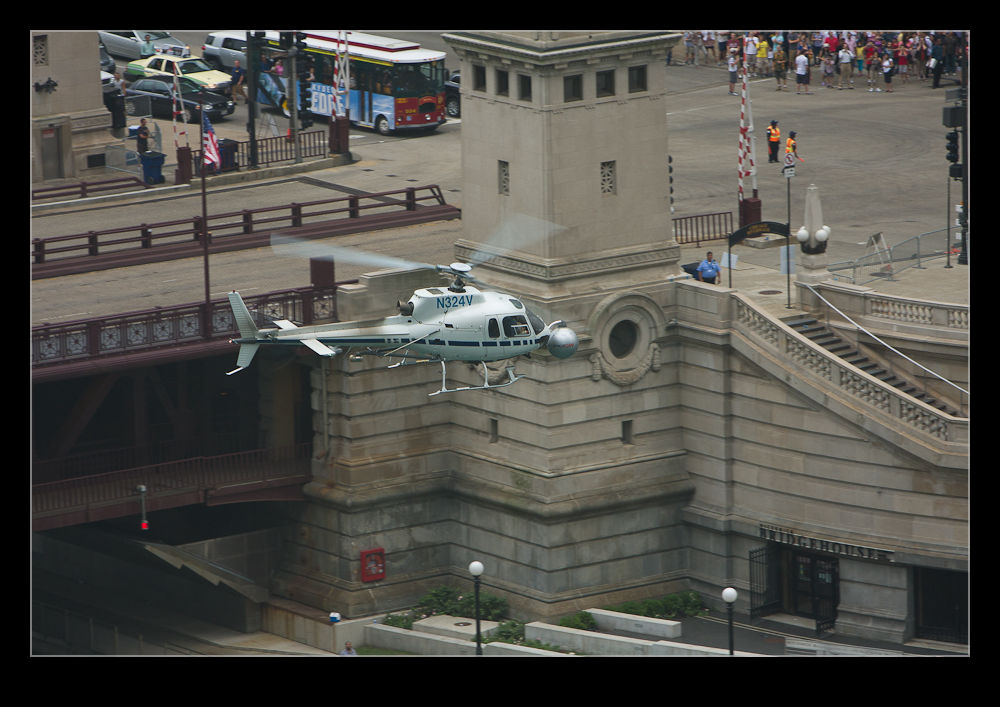
I have no great interest in the movie itself but, having seen so much of the filming work underway, I shall have to watch it just to see the places we know so well getting mashed!
Metal Printing

One of the things that I am always experimenting with is the alternatives available when it comes to reproducing the images I produce. I am always a fan of printing things. My home is full of prints that I have made on my printer or I have bought from MPix. There are far more of them than I will ever be able to hang or frame. However, while it is nice to see pictures on the monitor, I find a physical print to be a lot more satisfying.

Recently, though, I have been trying out various different methods of printing. I have blogged before about my experiments with canvas prints and I have previously tried some metal printing on tiles to make up larger images. I was introduced to another company that prints on metal via a couple of fellow ISAP members, Bill Fortney and Moose Peterson. They have used a company called Image Wizards. I decided to give them a try.

The website provided all of the image requirements for setting up the file for them to use. Unlike my previous experiences with metal printing, they wanted a high pixel per inch count for the file. I have no idea whether this is really necessary or not but I followed their guidelines which obviously increases the file size. I contacted them about the order and took some advice on what the different finish options would be. I uploaded the file through an FTP upload and they also had a discount from my NAPP membership.

About a week later a very large box showed up. They certainly pack the print well for shipping and buried in the middle of the protective material was my print. I have to say that I love it. It was an image I was already pleased with and the metal finish both looks great and also is very accessible to the viewer since there is nothing to get between you and the lovely print finish. The metal base gives it a very attractive look.

My problem, as with all of my printing experiments is what to do with it. Where I live does not have a huge amount of wall space and my wife is not keen that what space there is gets filled up with my aviation prints. Storing them is possible but still takes space so this one is actually going to go to the guy whose plane is featured. I just hope he likes it as much as I do!

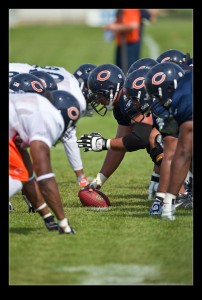
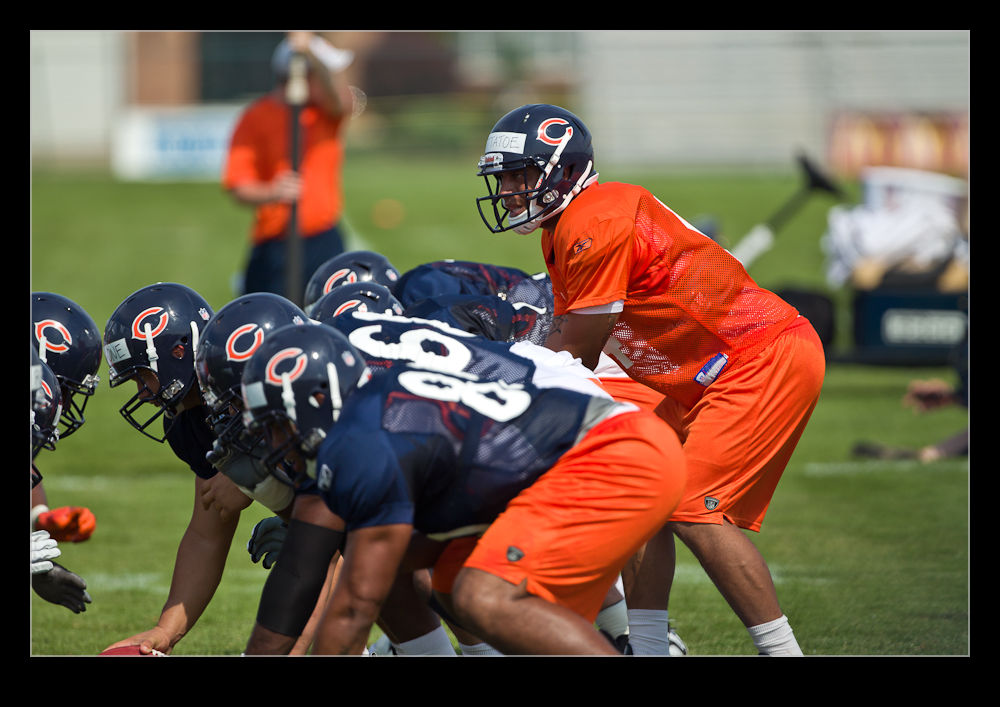
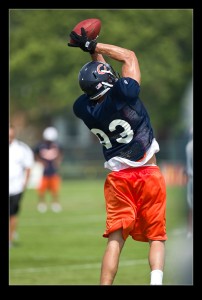
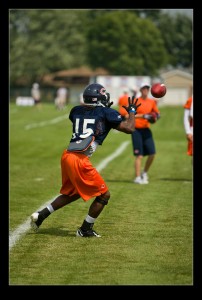
Bears Training Camp

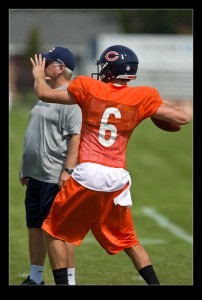
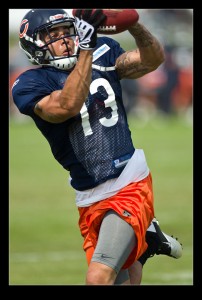
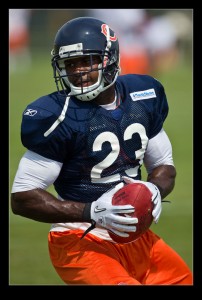
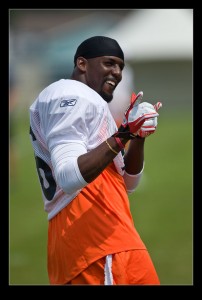
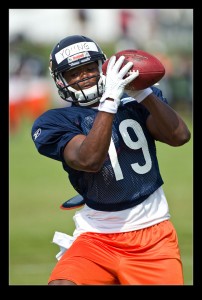
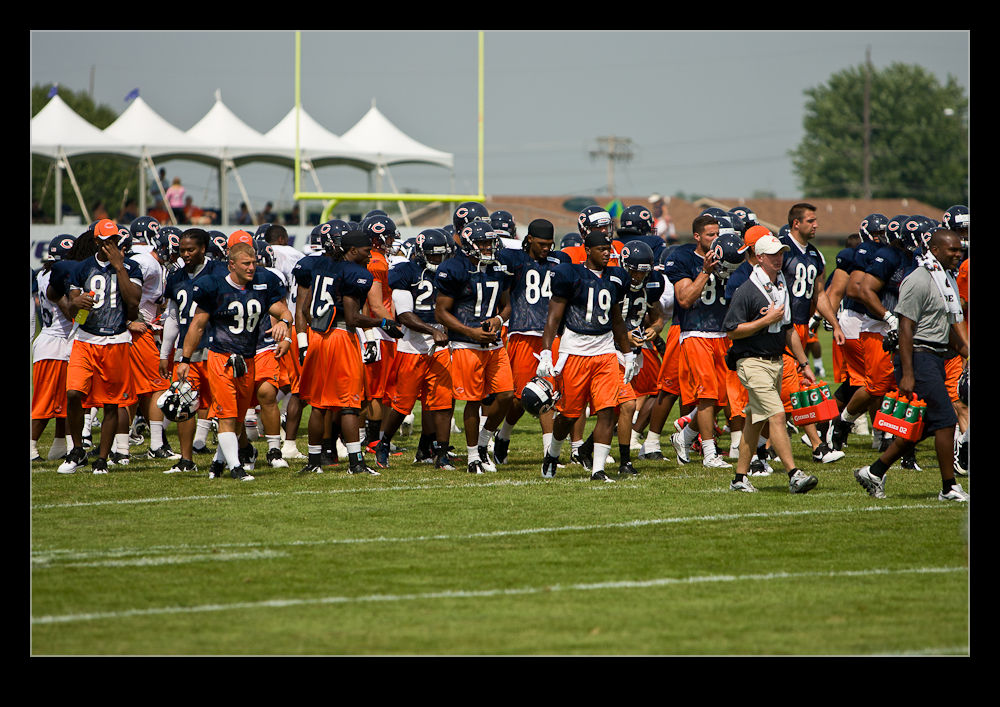
It is that time of year when large men start practicing to inflict pain on each other – and if you are a Bears fan – on us too!  With the negotiations over, it is time for training camp.  The Chicago Bears hold their camp at a university down in Bourbonnais Illinois.  With some spare time now on my hands, I decided to make a trek down for one of the public sessions.

With the temperature in the 90s, this might not have seemed like the best idea but it was windy and that really made things feel a lot better – although I think some of the receivers might have been using it as an excuse!  I went to the camp for the first time last year.  I had checked on what camera gear they allowed and the person I had spoken too said nothing too big.  That time I took a 70-200 as my biggest lens and got there to see a fair few honking pieces of glass.

This time I took what I wanted and I’m glad I did.  Not only does it make shooting easier but people are amazingly accommodating when they see big lenses.  While they were all fighting each other for a spot when they were shooting with their phones, as soon as I wandered up, people would drag their relatives out of my way without me ever having to say a thing.  Great stuff.  Don’t see that at an air show very often!

I didn’t stay for the whole session.  it was a bit toasty and lugging the gear around to different spots to try different things doesn’t help to keep you cool.  However, I was happy with what I saw and slightly happier in the car with the aircon cranked up!  It is a great thing if you like football.  The price of a ticket for Soldier Field is astronomical but this is free and you get to see a bunch of stuff.  The staff were all universally welcoming and you felt good about being there.  Plus, some of the shots came out quite well!

More Time Lapse Fun

I have been messing around with time lapses for a while as regular readers will know.  One of the things that I had been thinking about was getting a panning effect in a time lapse.  I was chatting with Ken Sklute at ISAP and he told me that, rather than bothering with expensive motorized panning heads, it was simpler to use the full image size that a DSLR offers and let the video software undertake the panning for you by cropping in on the shots.

I am not a big video guy and have Pinnacle Studio as my package.  It is fine for the basic stuff but doesn’t have the most impressive features.  When I goggled this topic, I came up with After Effects techniques for doing what I wanted.  I tried the free trial but struggle to come to terms with what was required, despite the detailed tutorial.  Guess that says something about me as a self teaching student.

Then I got lucky,  My friend Jo Hunter over at futurshox posted some video from Oshkosh of time lapses doing exactly what I wanted.  I dropped her a message and she came straight back with the solution.  The program is called LRTimelapse and it is a standalone program that makes Lightroom develop settings that you can then combine with a video output setting to make the final product.  It is developed by a guy called Gunther Wegner and you can find the whole thing at his website.  It is donationware and I have made one because it works and has solved a problem that had been troubling me for a while.

I need to get better at the effect but for the time being, here is a sample of the effect.  For comparison, first I have the original time lapse and second I have the panning version.  No change in the content but certainly a more interesting thing to watch I think.

Thunder Over Michigan

I made a last minute decision to go to Thunder Over Michigan at Willow Run.  For some reason, I have never been to this show before.  I have seen plenty of interesting shots of the aircraft from previous years so why I have never been is a mystery to me.  There are some practical issues about going  but not that can’t be overcome.

Being just outside Detroit, it is the best part of a four hour drive to get to Thunder.  It is also a time zone change so making the trip across early in the morning is not a practical proposition.  Therefore, an overnight is required.  I decided that two nights would make for a more relaxing time.  In the run up to the show, the heatwave across the Midwest was still forecast to be in place and the chances of storms were mixed in with the high temperatures.

I booked the room since I could cancel it at short notice and then decided to wait and see.  In the end , I figured I would take a chance.  Nancy was convinced I was not going to make the trip and looked amazed when I finally walked out of the door.

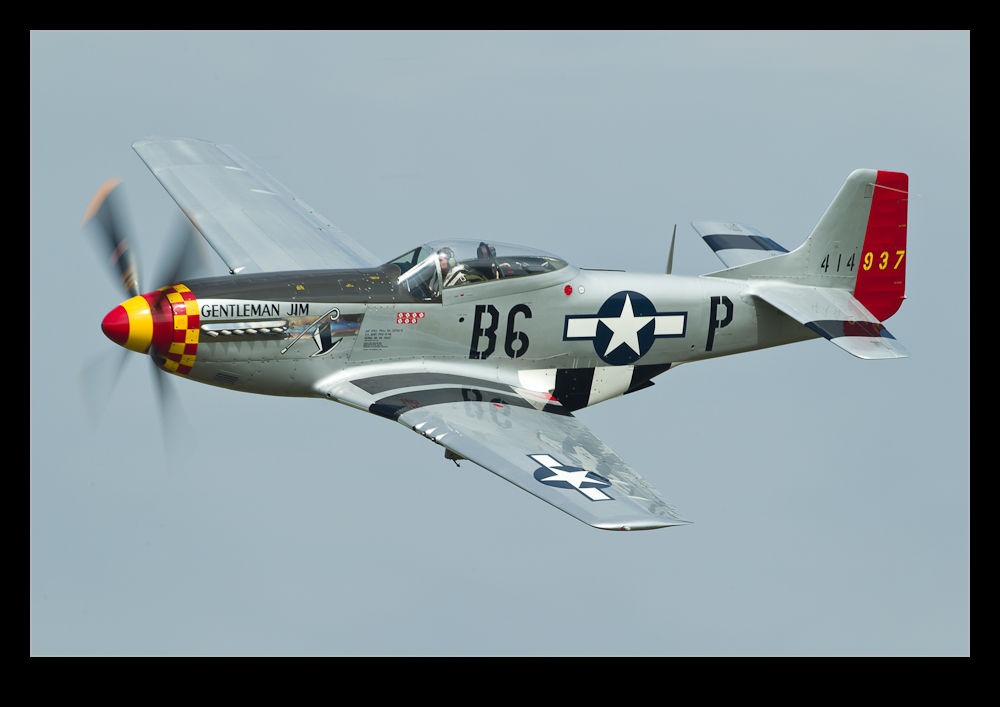
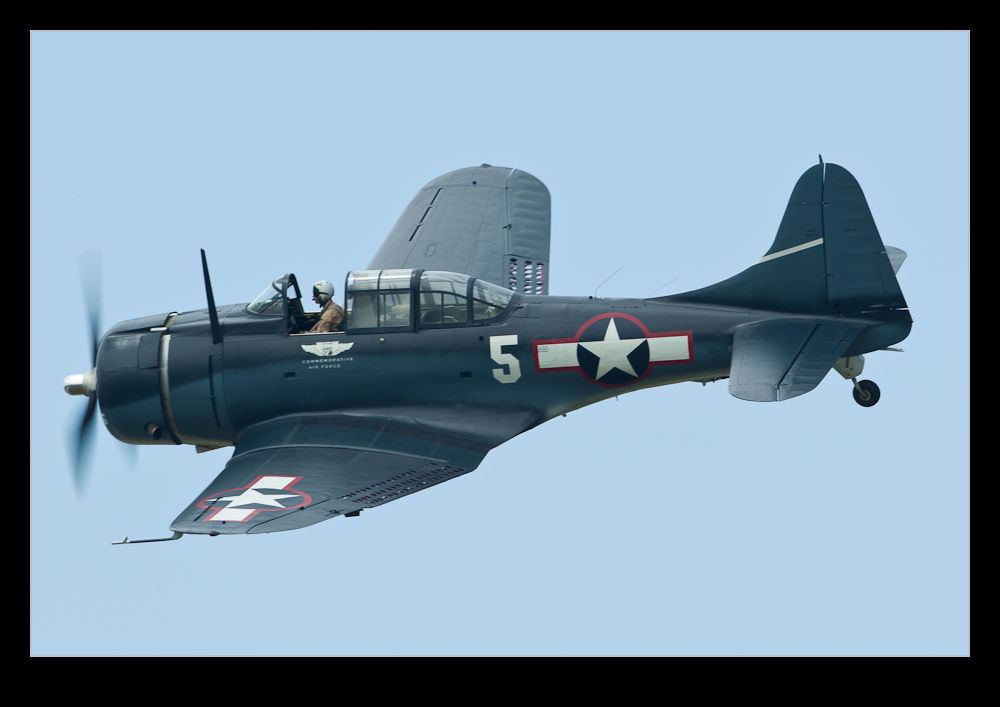
It was definitely worth the trip.  I met up with a bunch of people I either already know or have crossed paths with online including the team at Warbird Digest who recently published the article on Warbird Heritage Foundation I wrote.  Greg was particularly generous as he had a photo pass I could use for the show.  This was a welcome addition since it not only provided a good location but also included shelter from the sun and cold drinks!

The weather ended up being okay.  The heat was pretty significant and the light moves round during the day making the shots a bit trickier. It also got cloudy when the Blue Angels closed out the show.  however, it was the warbirds that I was there to see and they were a lot of fun.

I would include pictures to share with you but instead, I have written a piece for Global Aviation Resource which is illustrated so here is the link to that instead.

http://www.globalaviationresource.com/reports/2011/airshows-usa-thunder-over-michigan-review/index.php